I have been painting, still not a joy, as yet. But plugging away and chipping away at the pile on my desk. I realised how much I had missed having a window to look out of. I moved my painting lights upstairs. Now printing off some paint racks to free up some desk space. Photos to follow when set up.
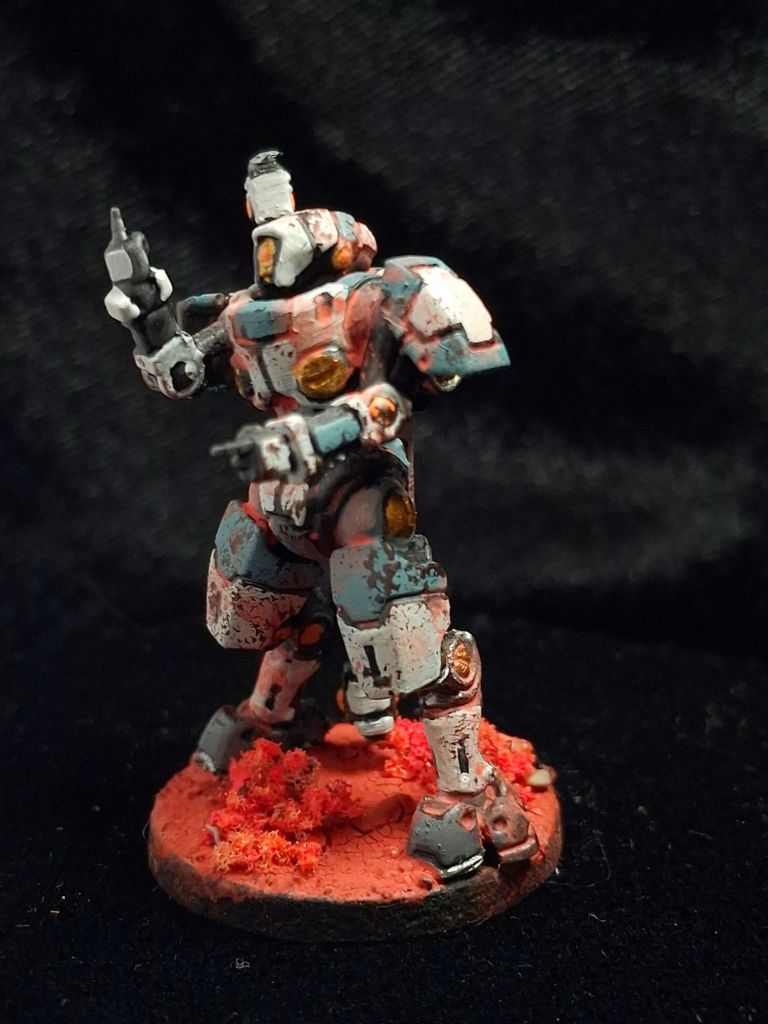
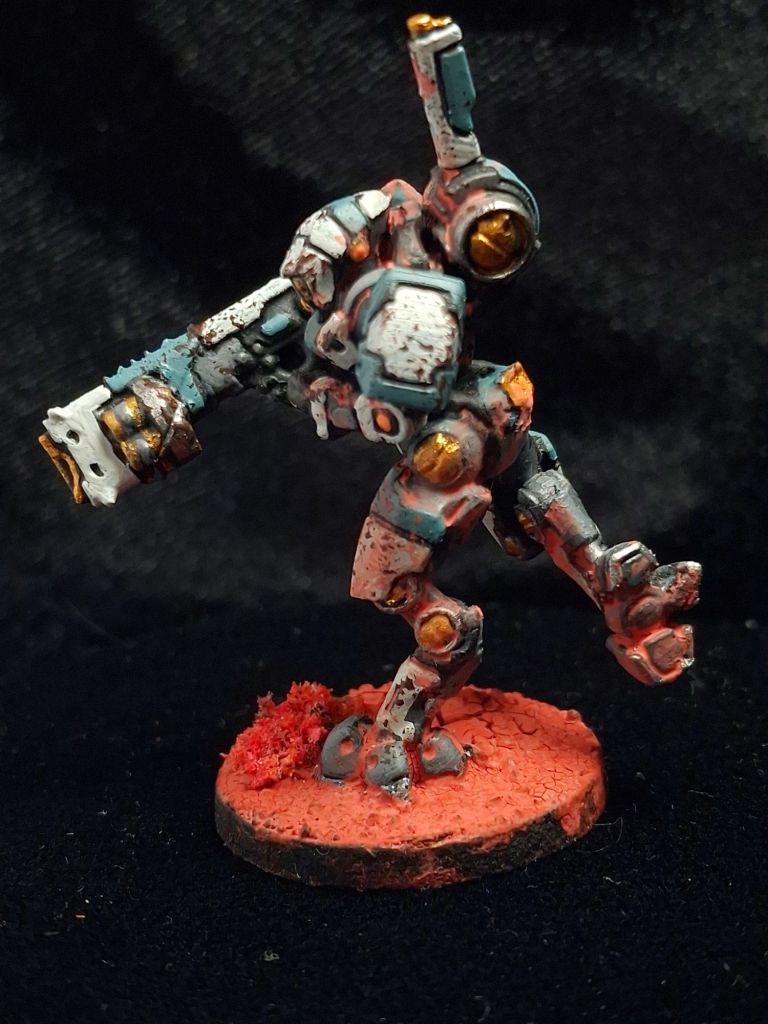
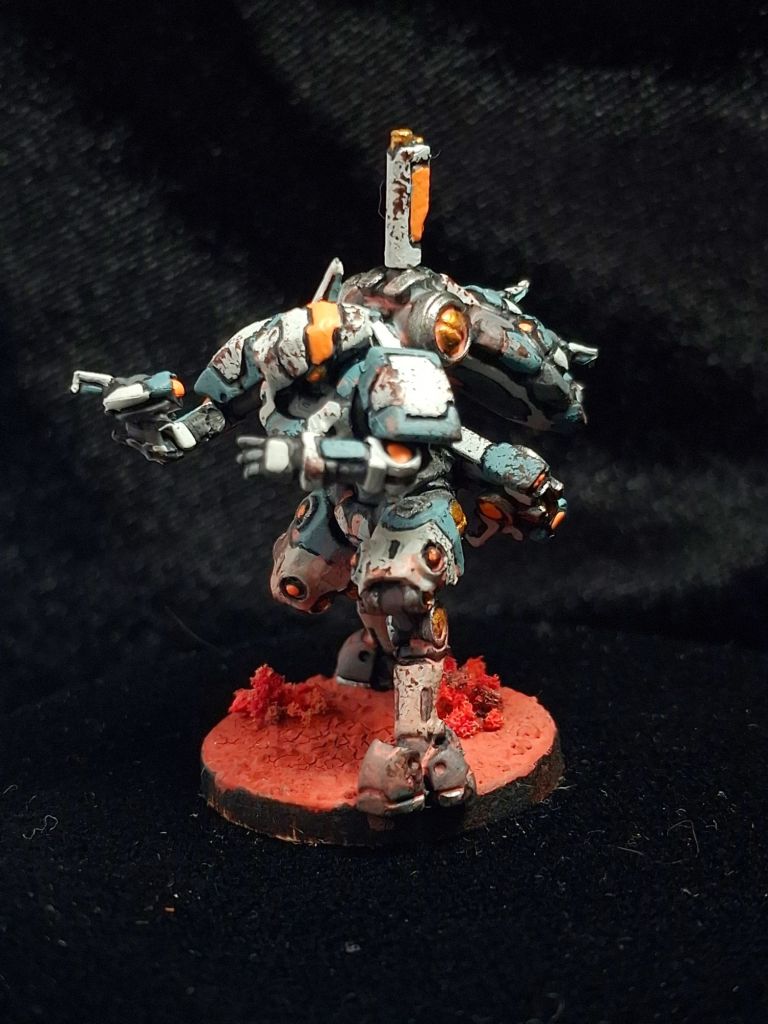
Now to a photo dump of work done.
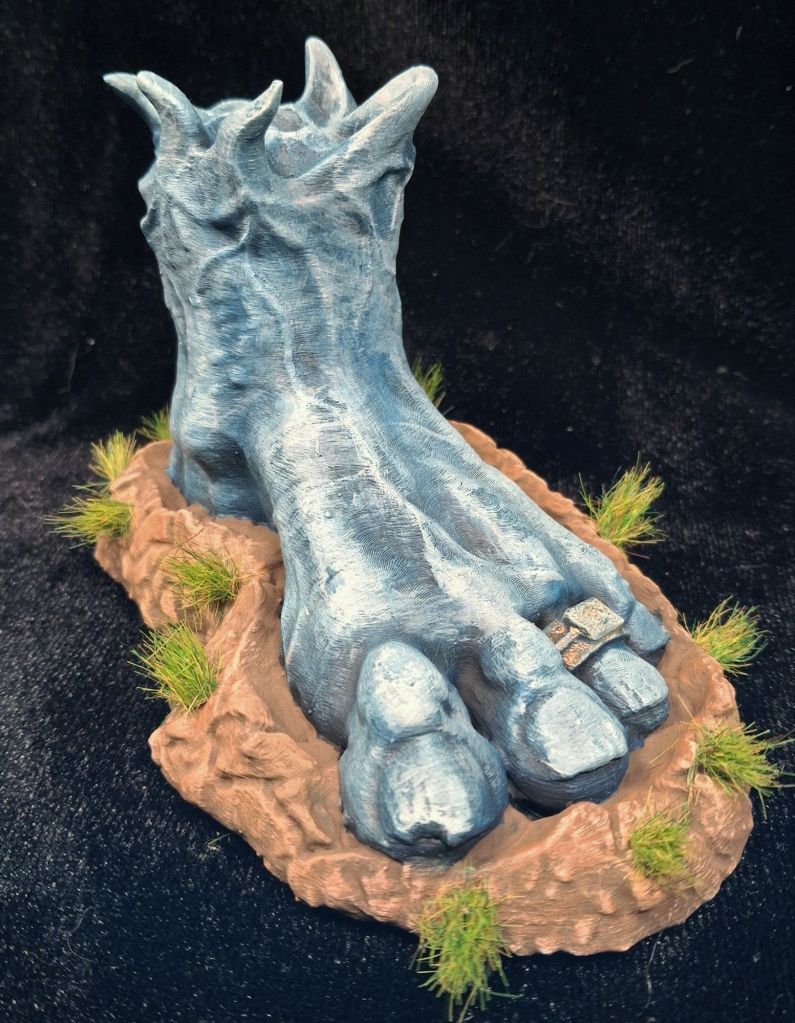
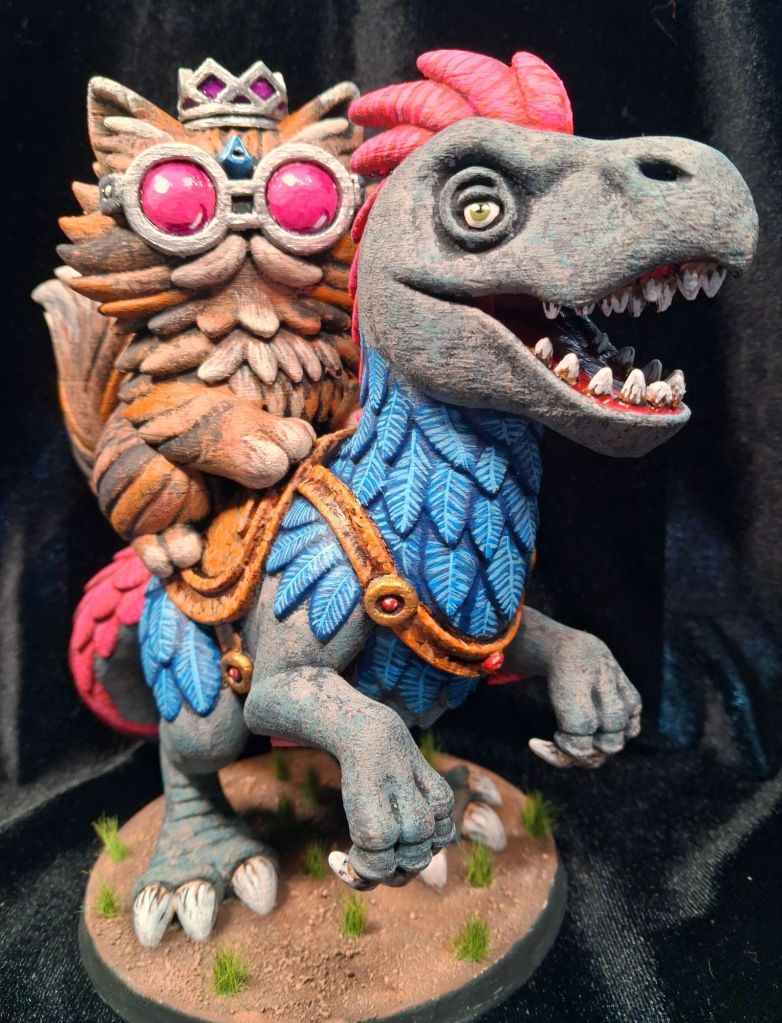
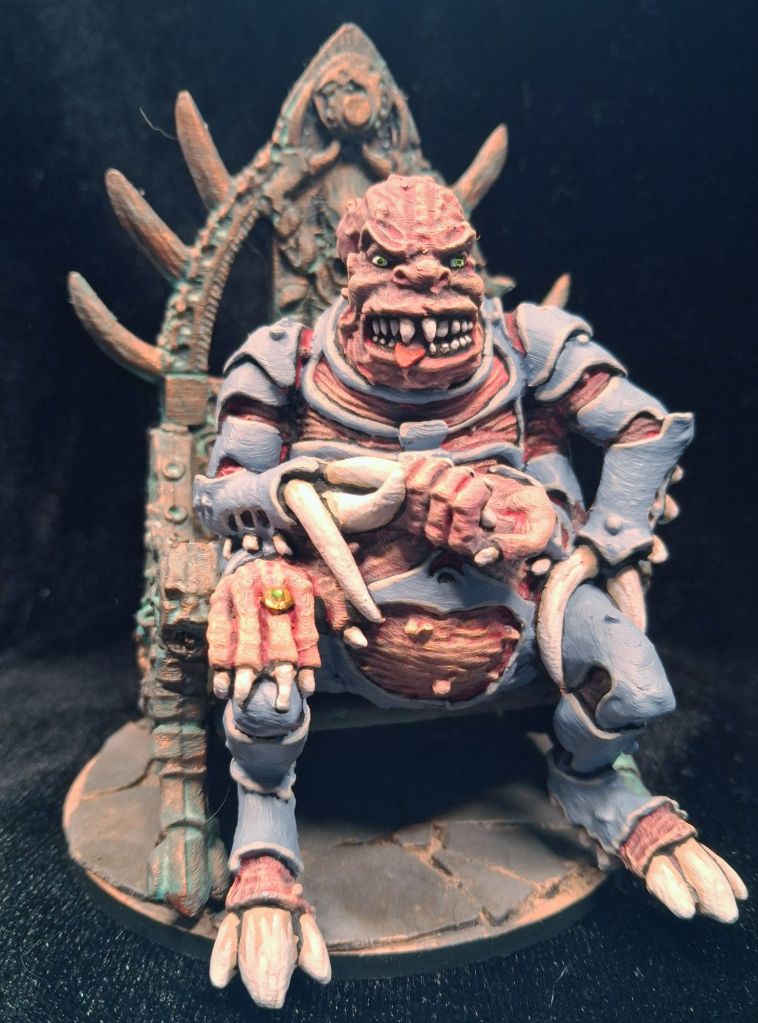
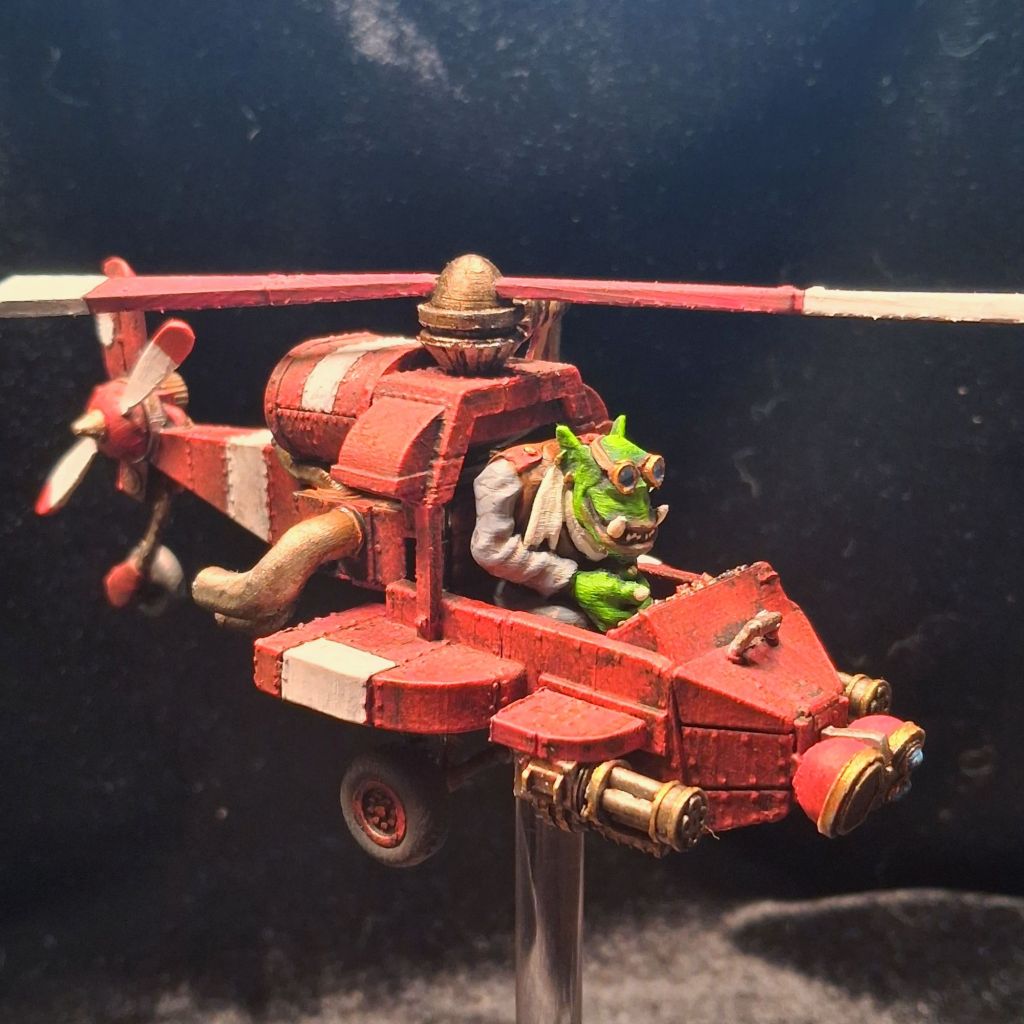
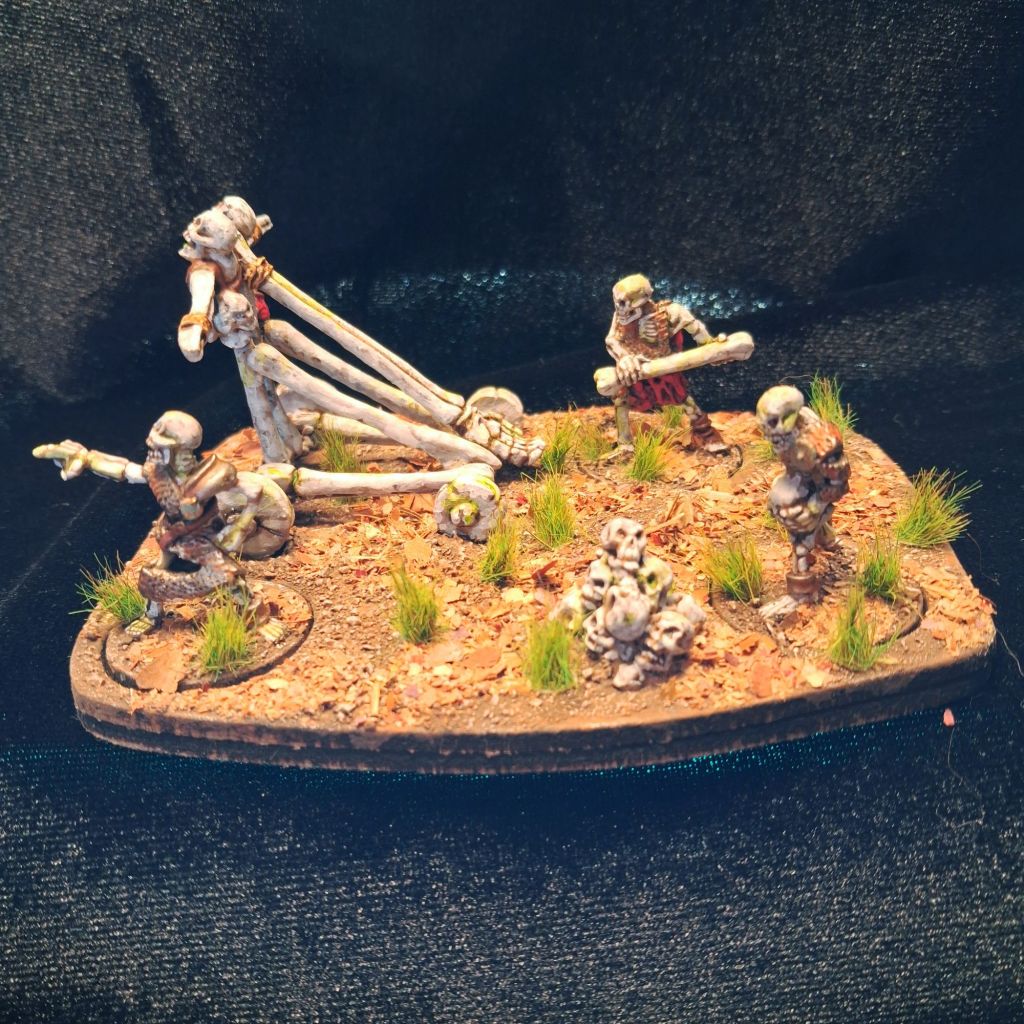
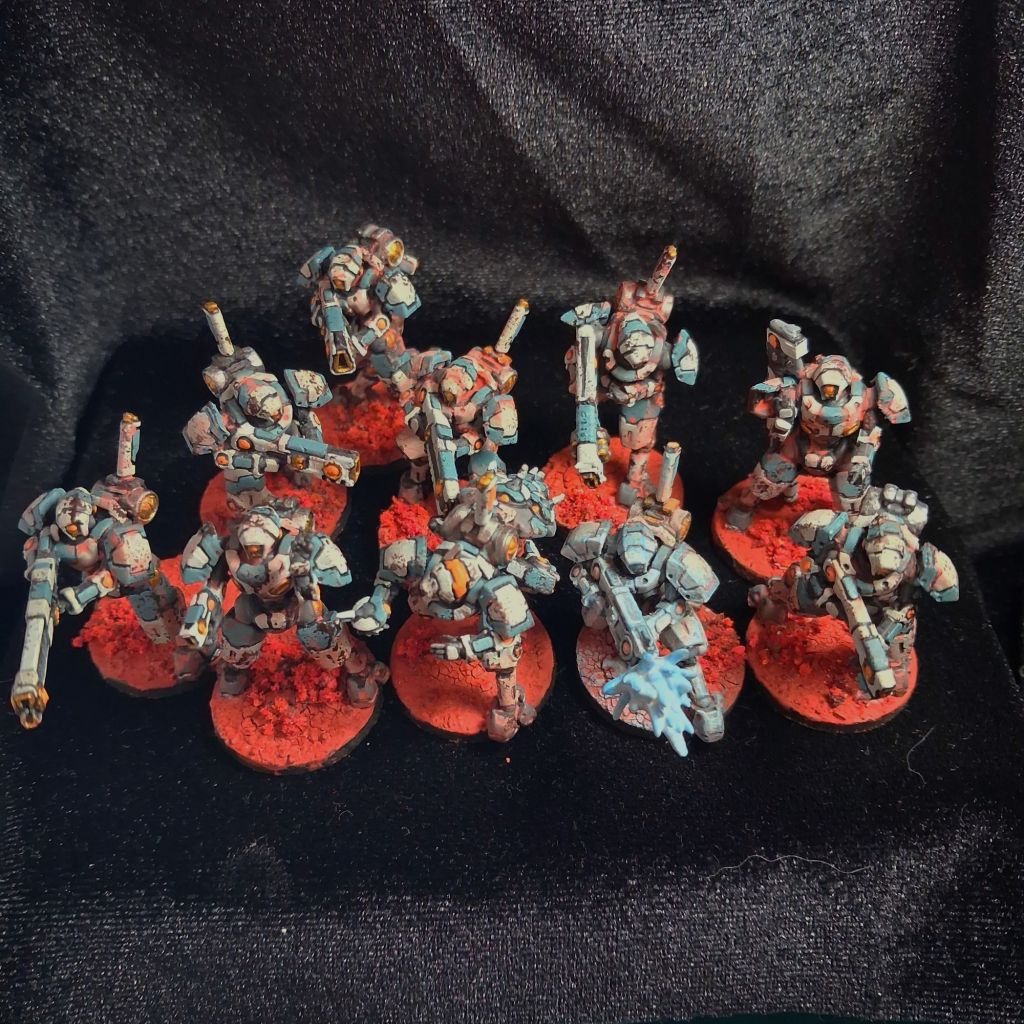
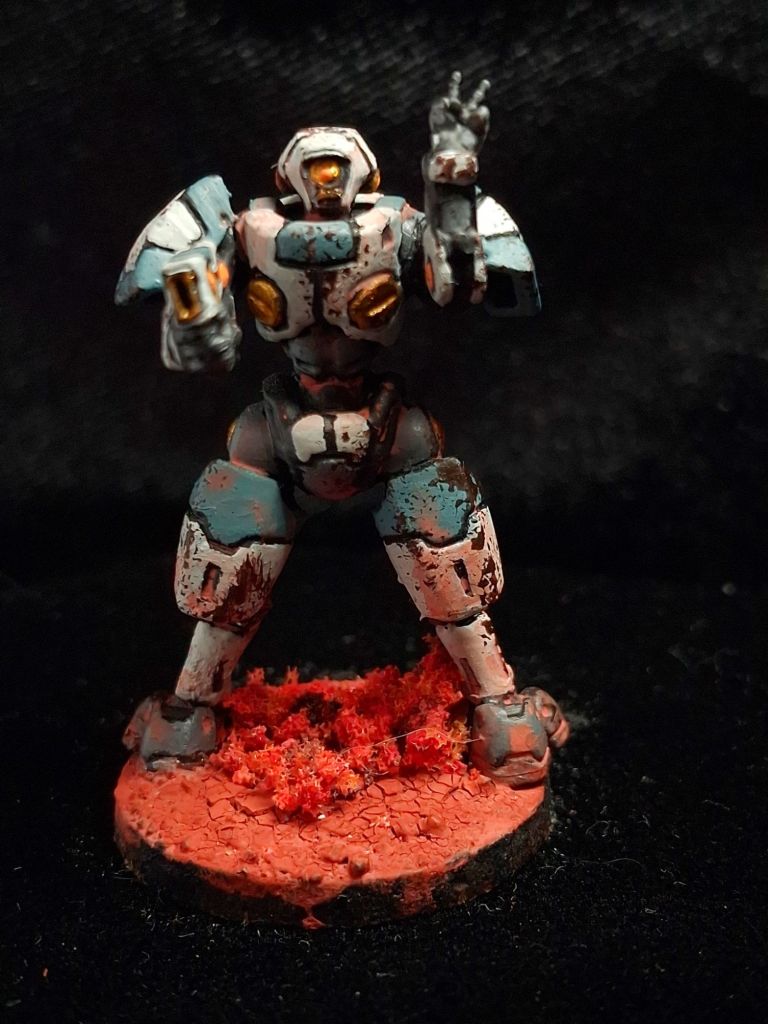
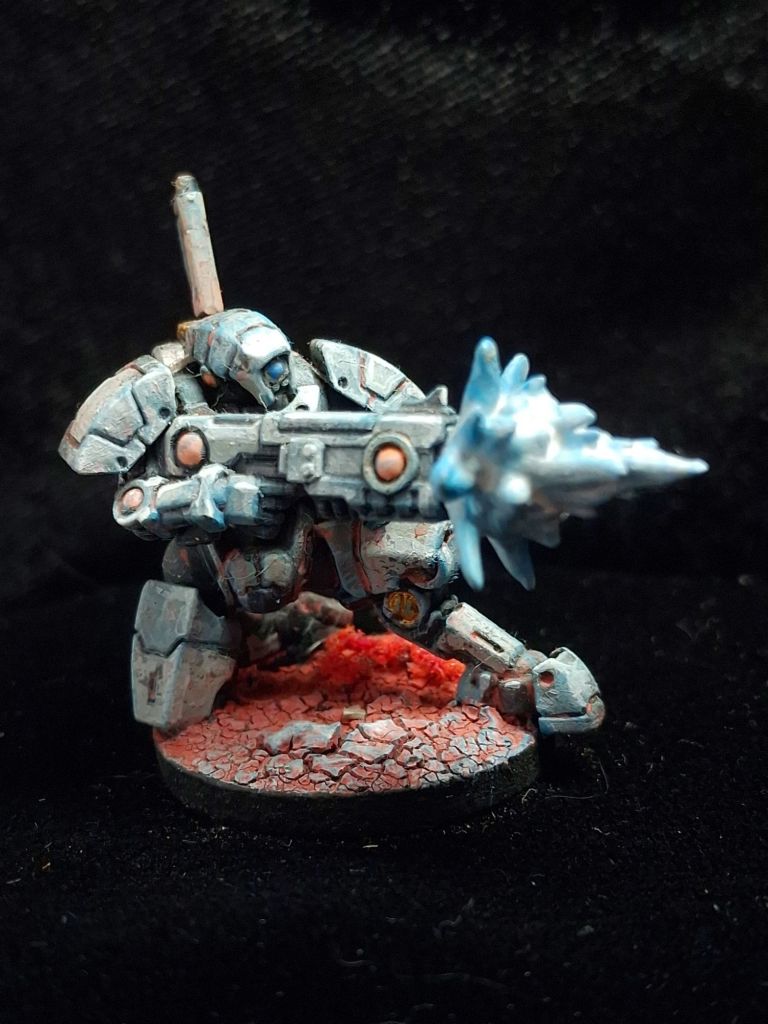
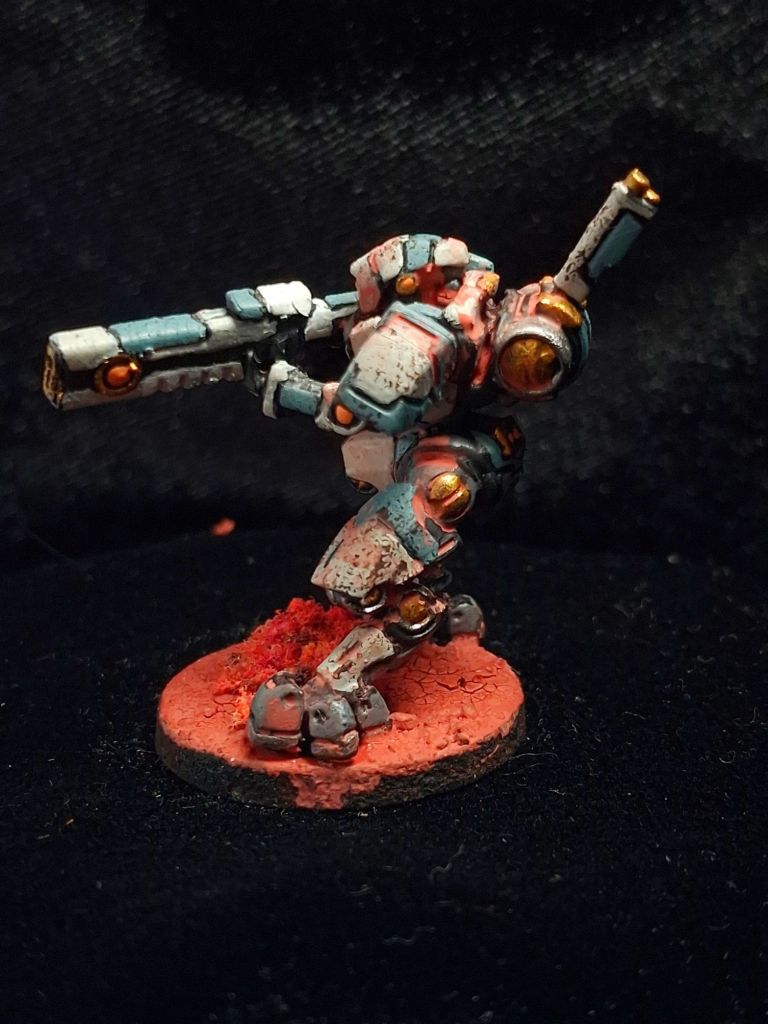
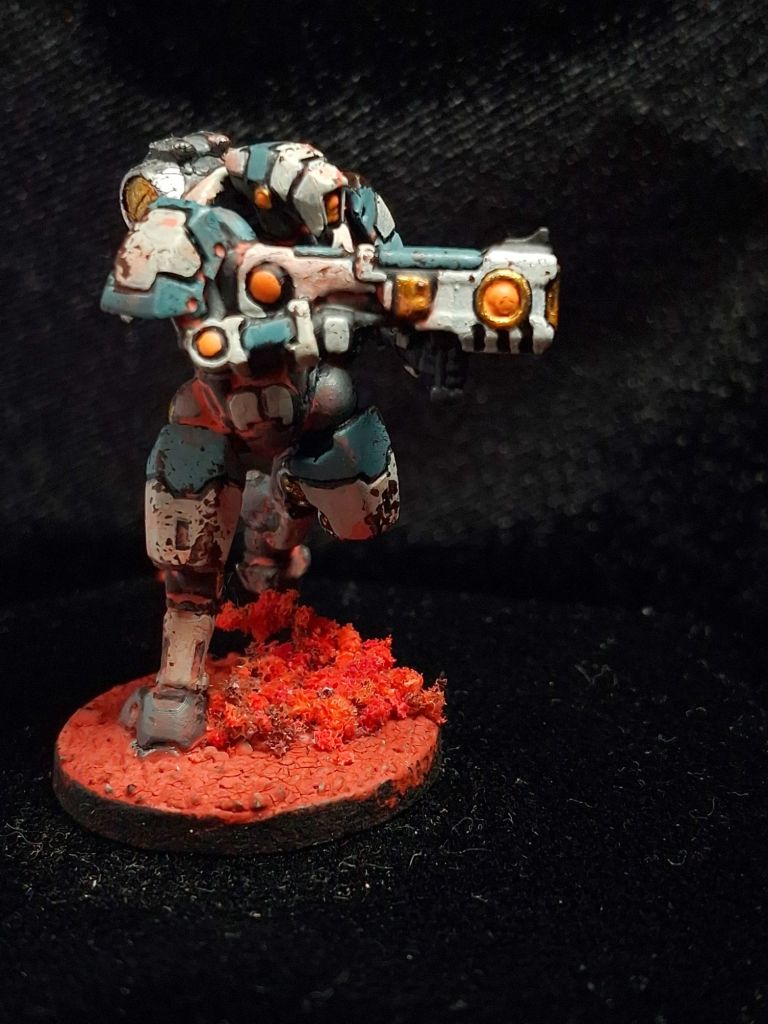
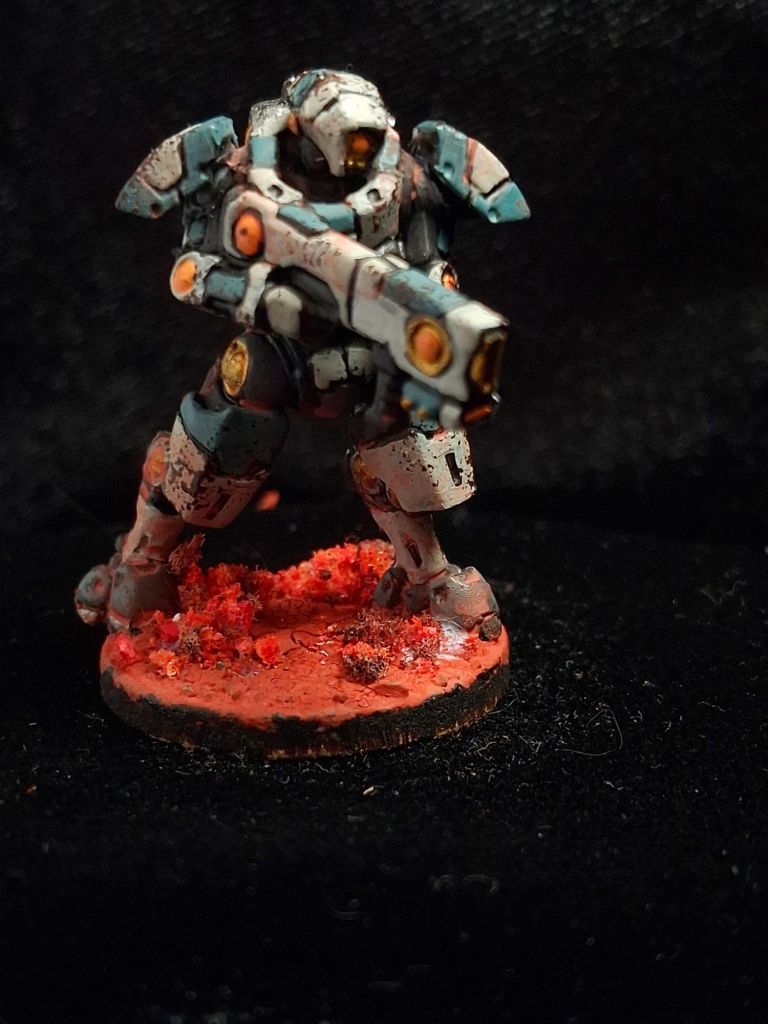
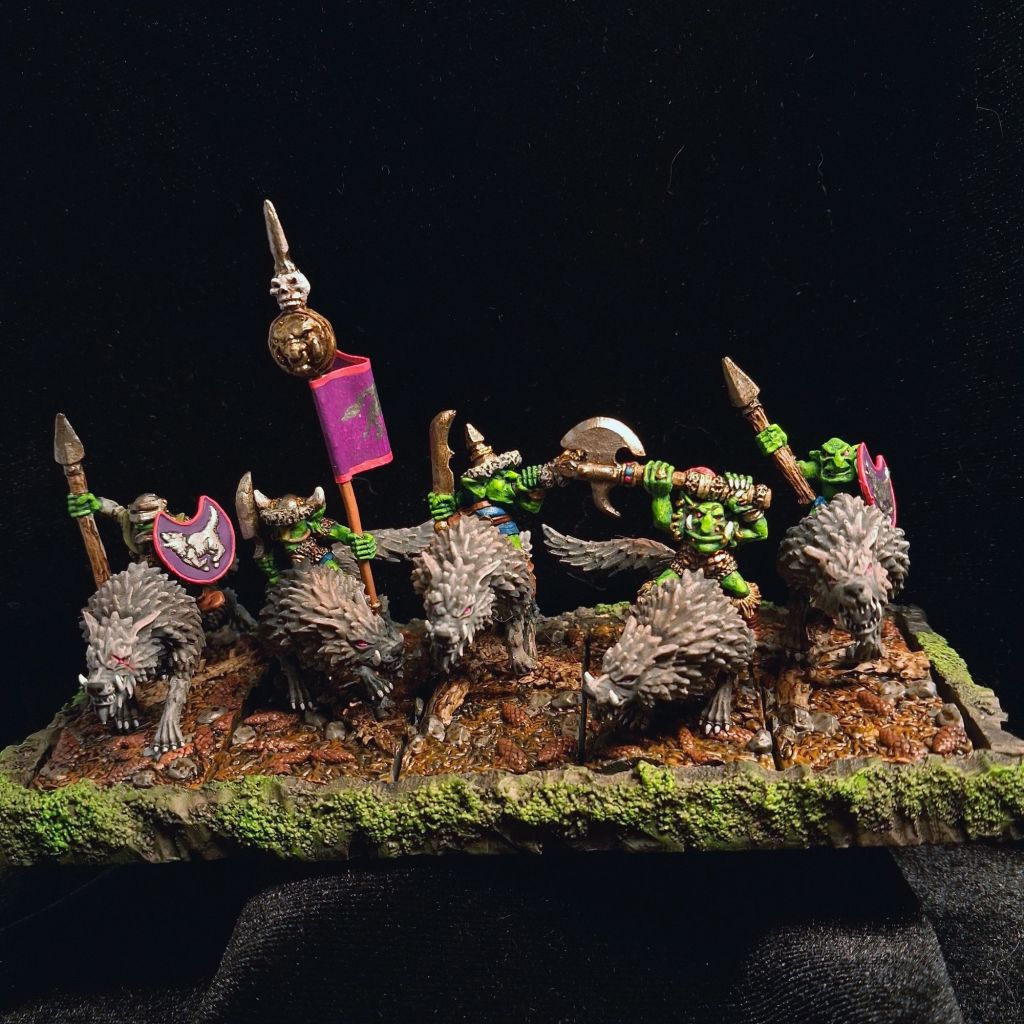
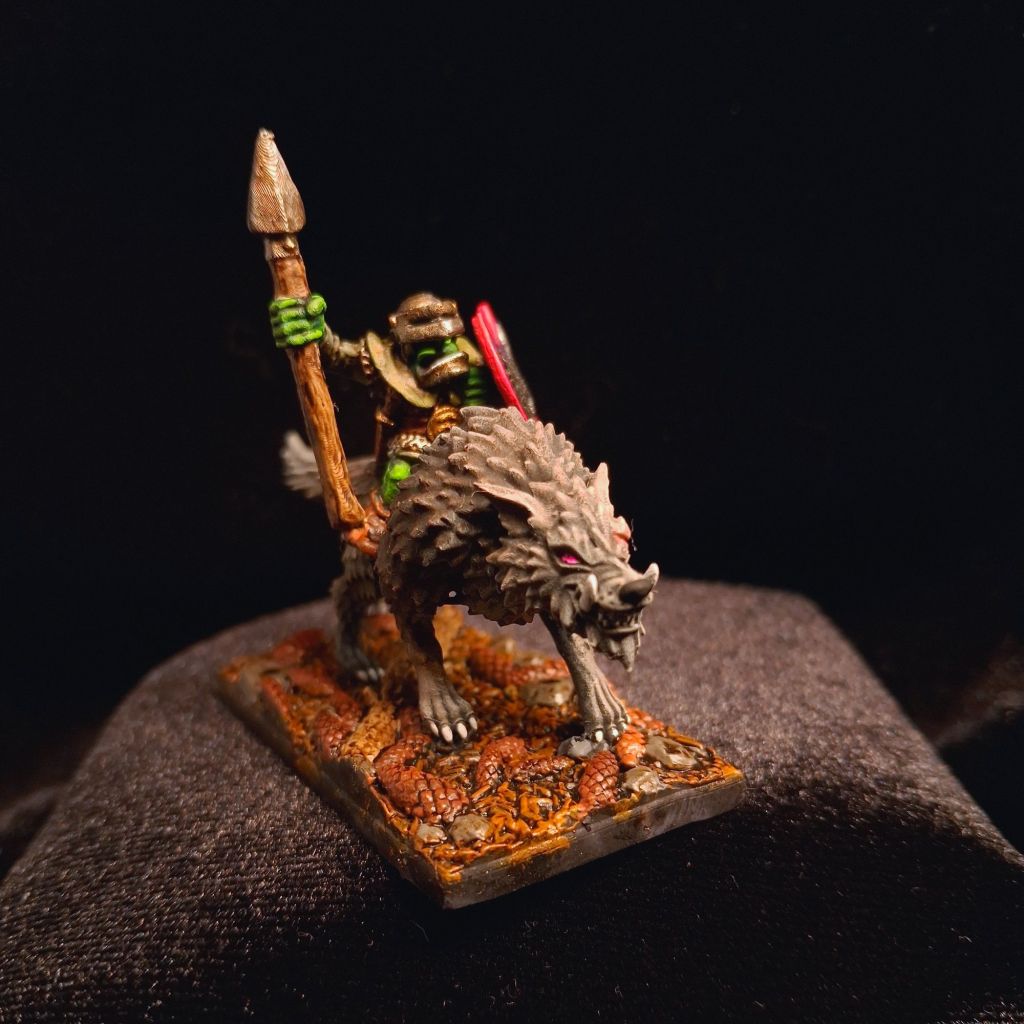
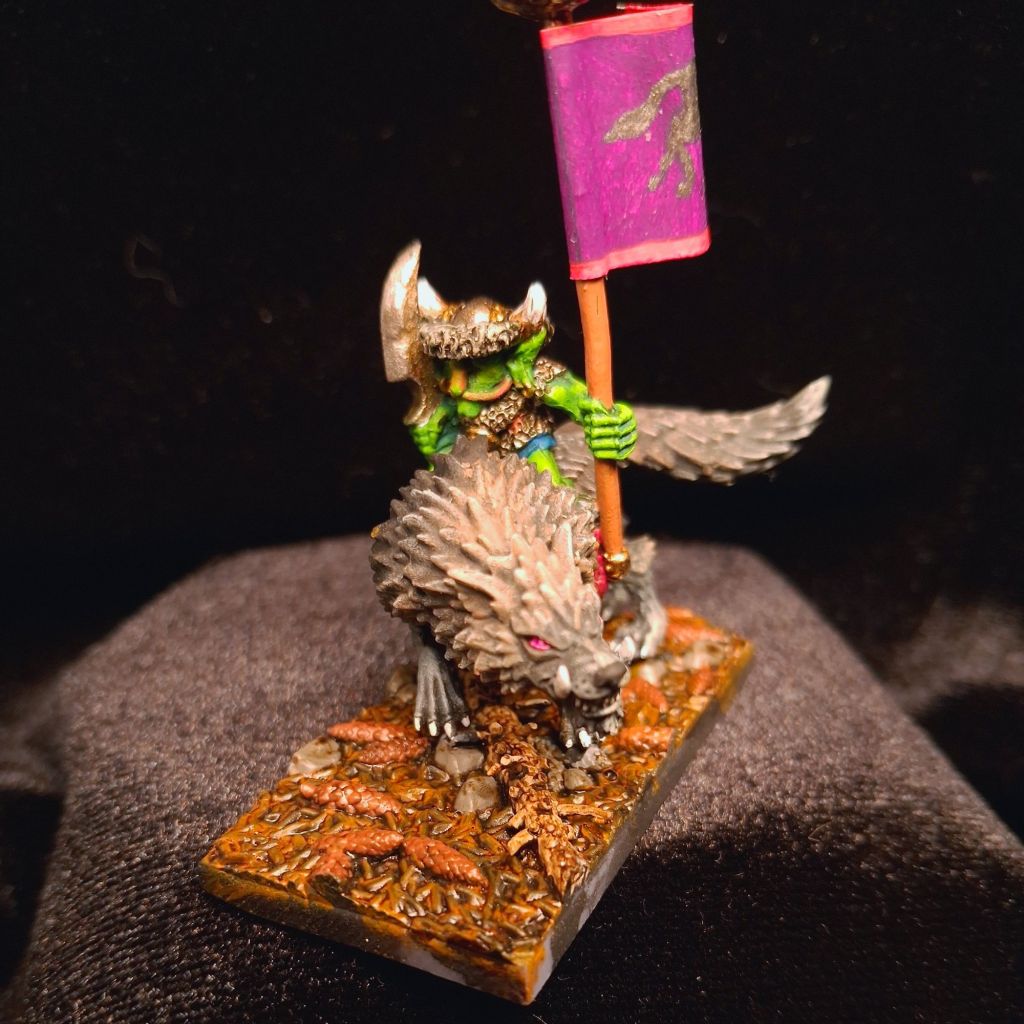
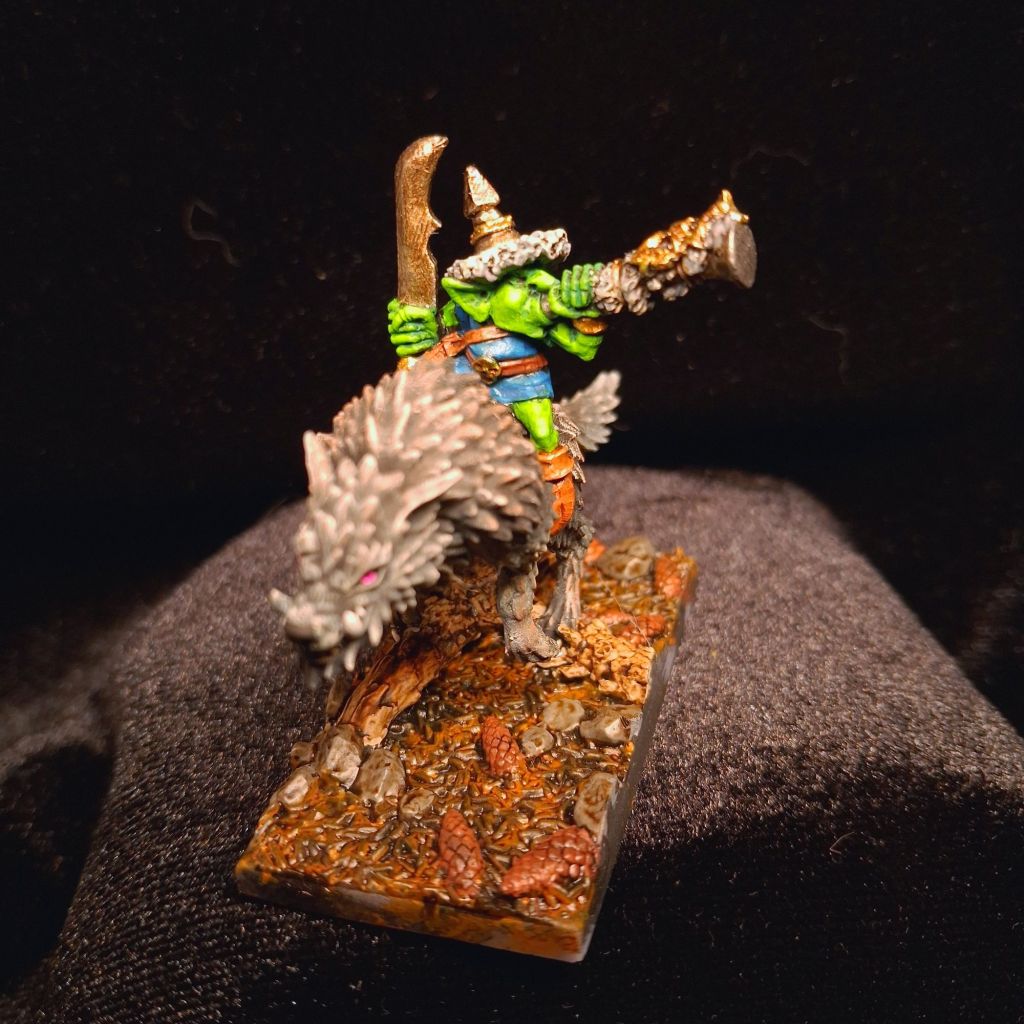
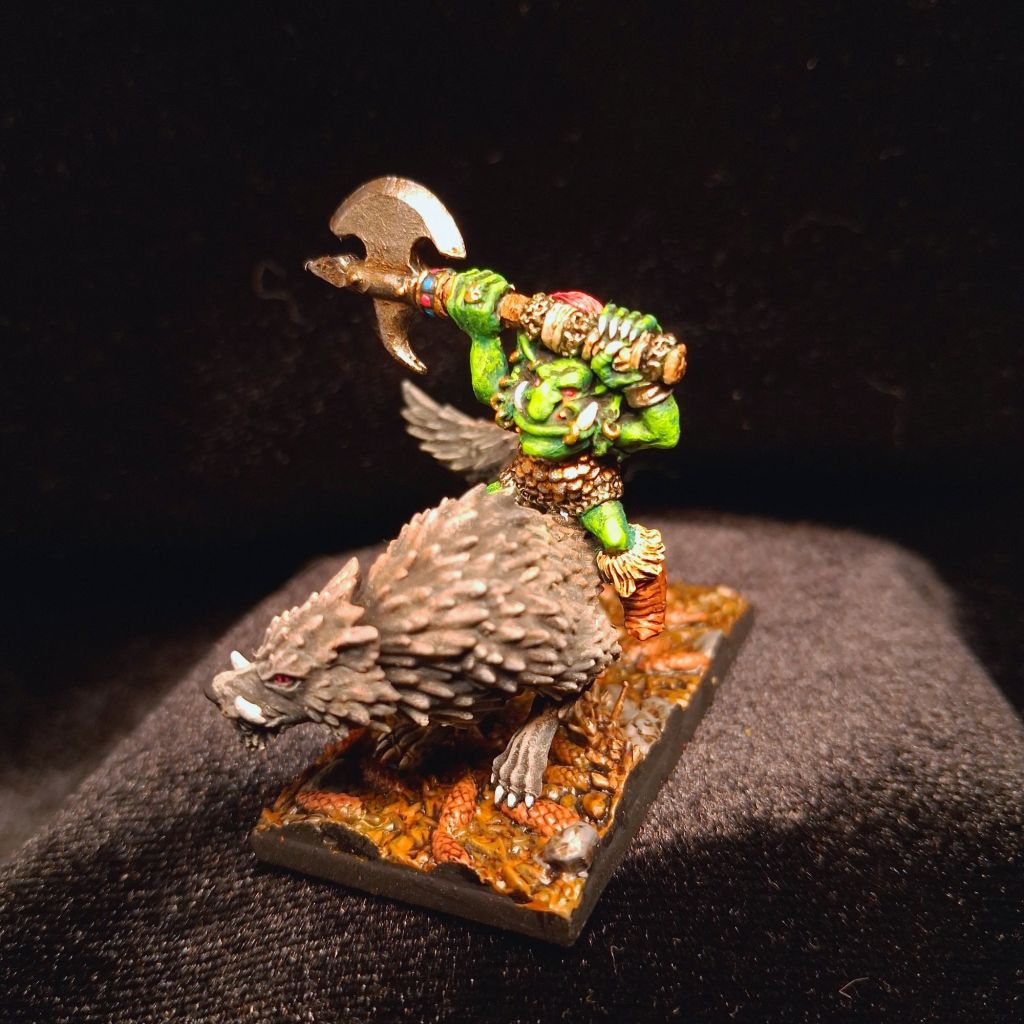
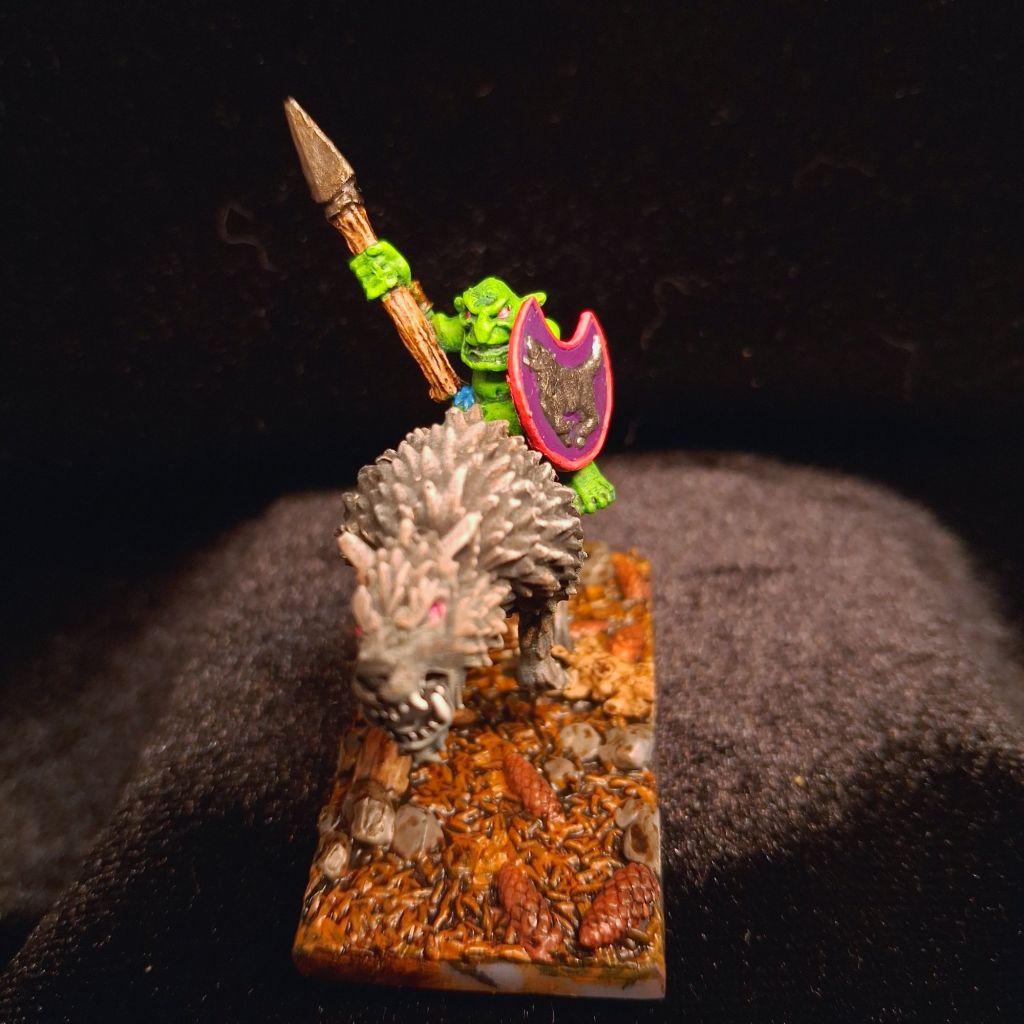
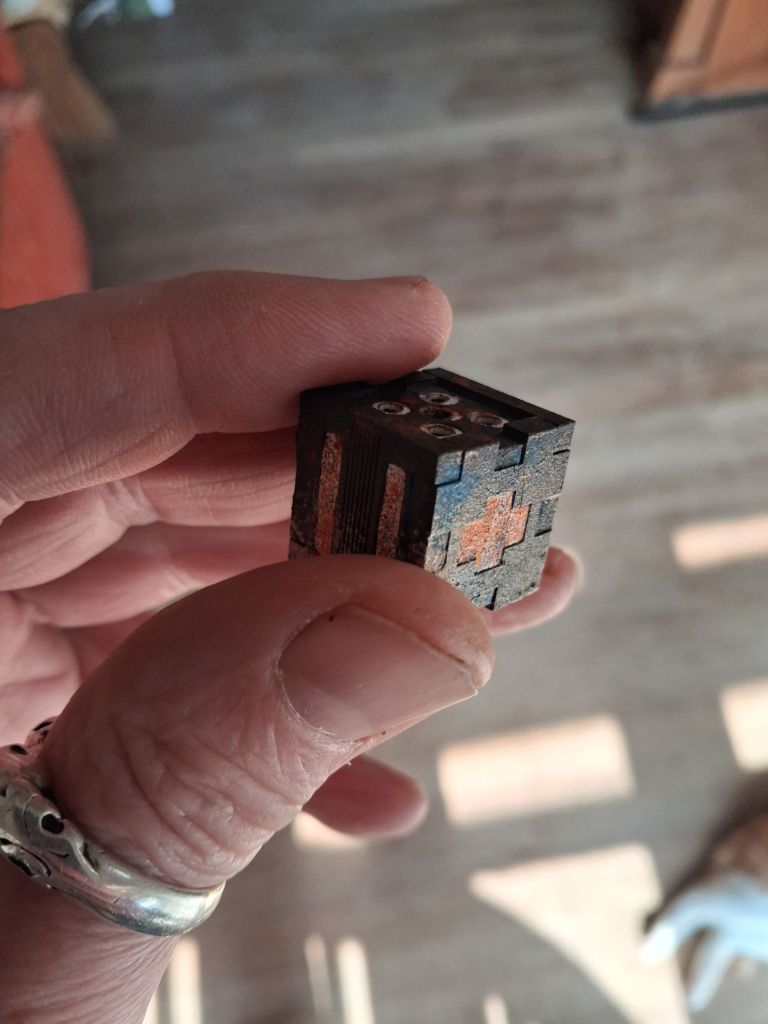
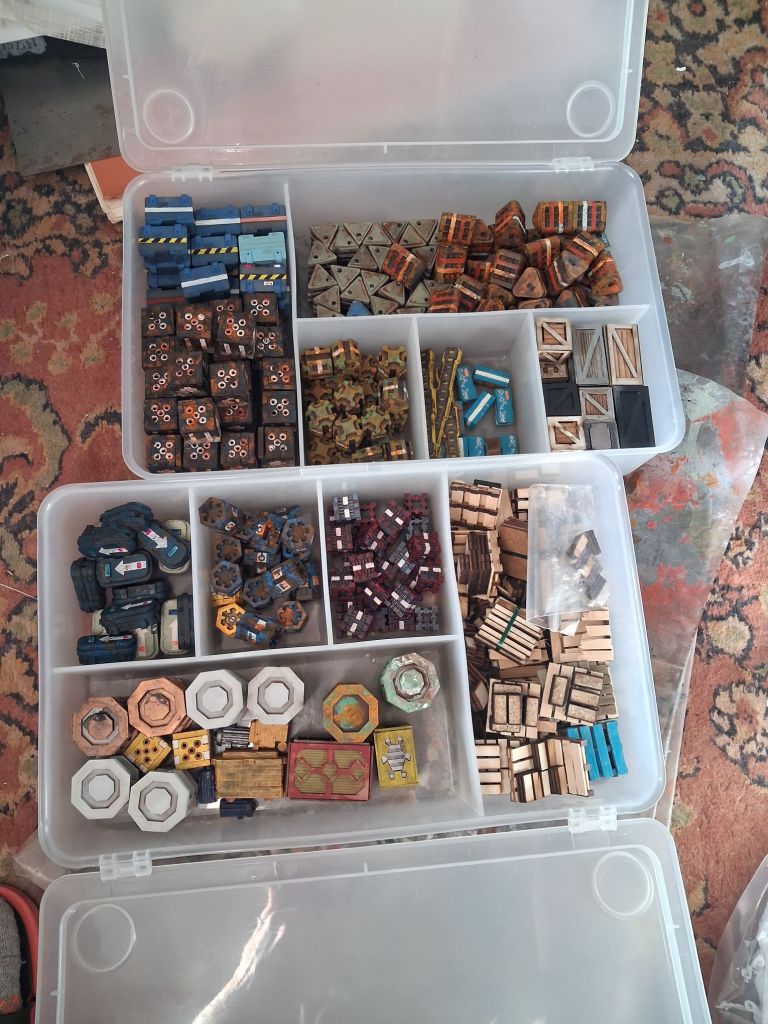
Foot of GorkPrincess Donut on Mongo I have been listening to Dungeon Crawler Carl.Genestealer PatriarchDeth KoptaSkull Chucker based for Dragon Rampant Tau proxy Pathfinders from #PipermakesFlowerpotWulfridersMdf containersSet dressing
That’s it for now.
The Sun has started making an appearance and it’s now warm enough to sit outside.
These last few weeks have been a bit of a struggle. Covid has left me suffering with fatigue, lack of focus, demotivation and shortness of breath. I have been doing small stabs at hobby, but I haven’t had the enthusiasm to really get stuck in with the painting.
I have been making progress with Blender, 3d modelling software. And I am attempting to rig, basically putting a skeleton inside the figure, my model which will make posing a lot easier.
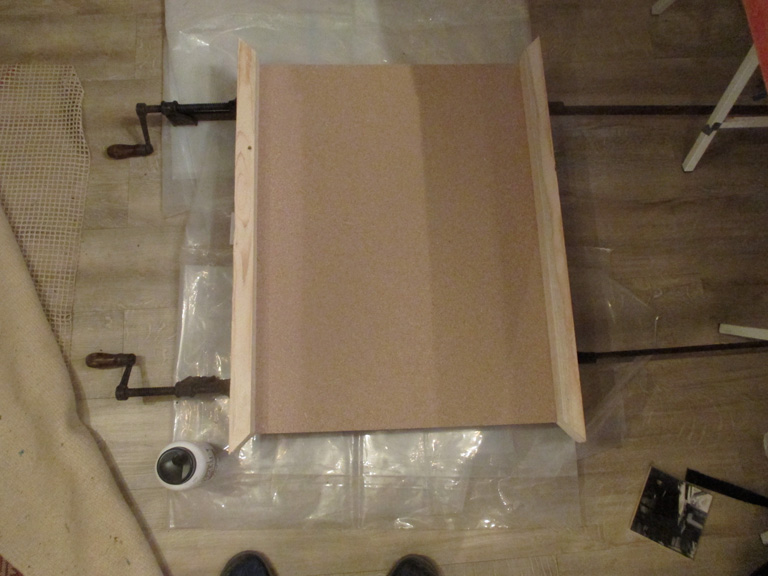
I have been making some tools for my workshop. I always need clamps for glueing and I have been eyeing up some right angle aids on that fabulous far eastern trader. My aim was to avoid plastic and as I had a lot of spare wood scavenged from the Happylab bins I thought I would attempt to make my own.
I am now working on a bigger version of this now.
The weather has been going from snow to sunshine and back again in a day.
I have had some nice walks when the weather has been clement. My mood improves after being out.
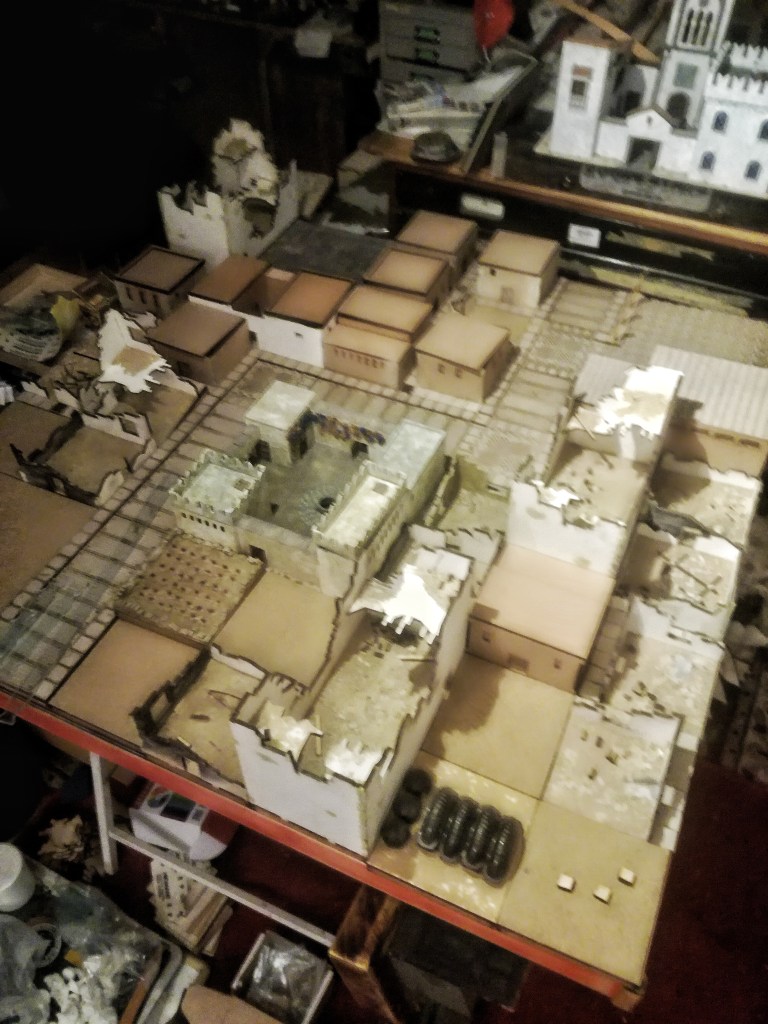
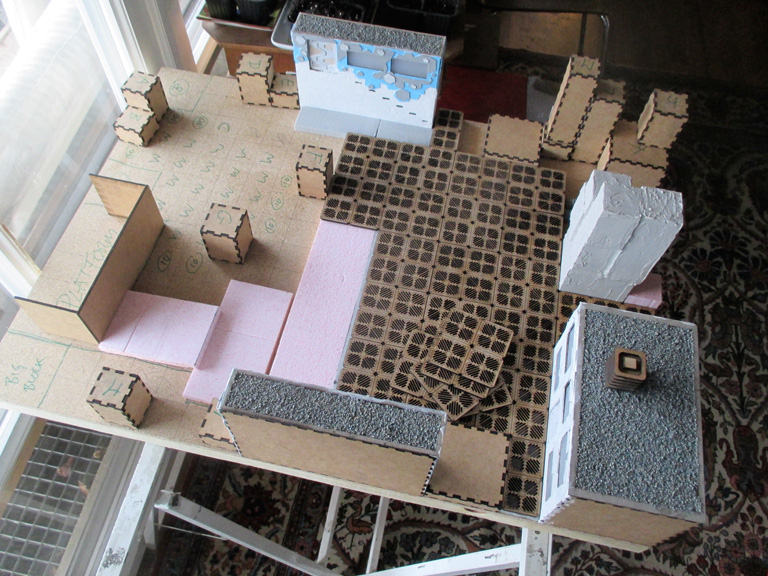
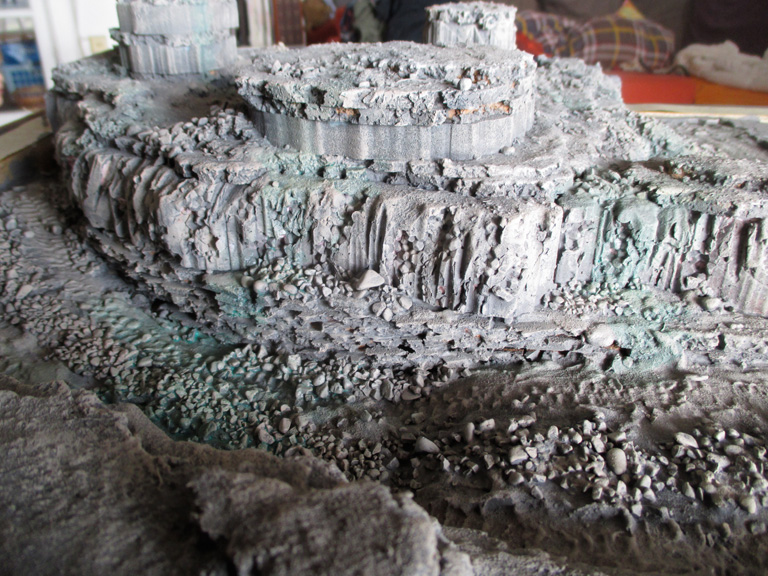
I have finished building the modular tiles for my 4 x 4 modular ruined city table. Now to slap some paint on them.
My neighbour, who is a bit of a perfectionist, took ten hours to deconstruct my Ender3 3D printer and rebuild it totally square. The difference is amazing and I will be posting some pictures soon.
There you have it. A brief catch up on what has been happening.
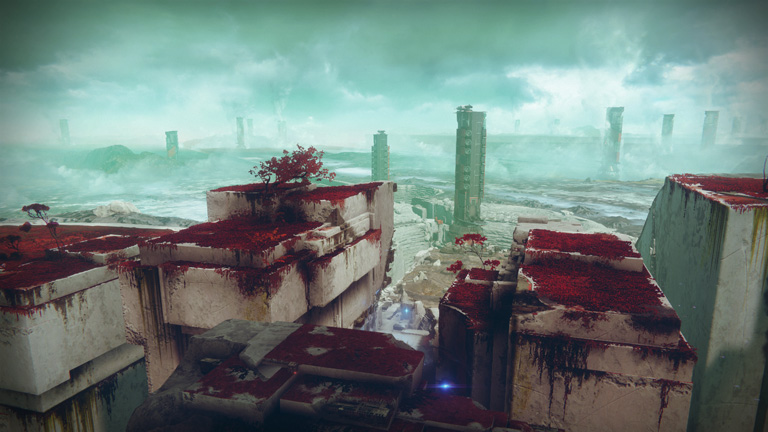
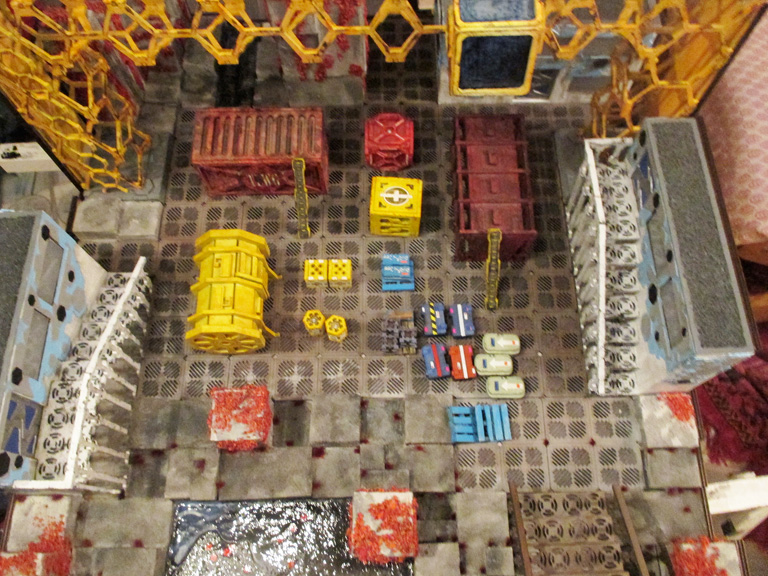
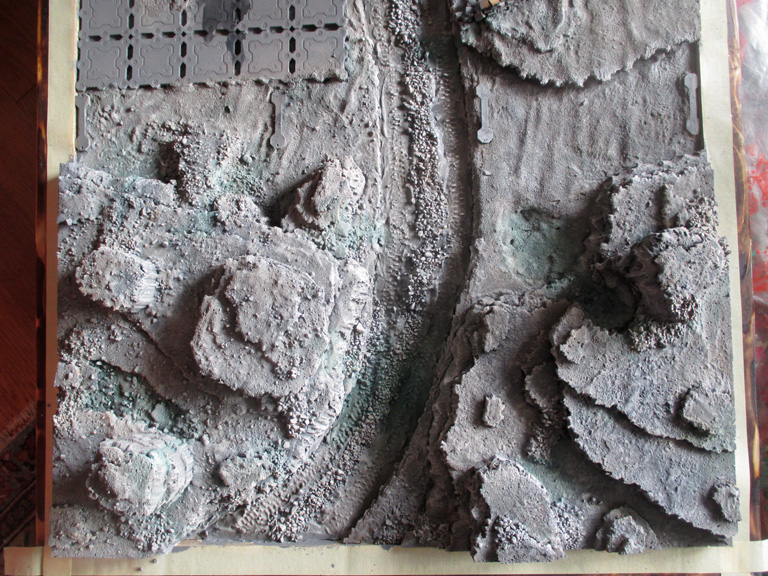
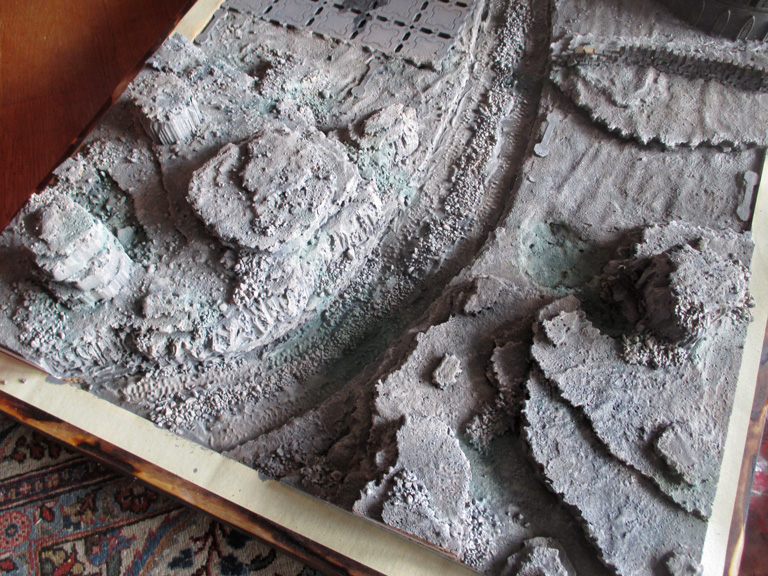
This is the second board that I made for the Tabletop Knights gaming day. My kind Daughter gave me a copy of Destiny 2 when she gifted me her old PS4. One of the worlds you visit is Nessus.
This is not my image and it is used without permission
I fell in love with the visuals and wanted to recreate them. In the small space of a Kill Team board I wouldn’t be able to do it justice, but maybe I could give a taste.
First up was to make flocking, My local DIY store gave me a small piece of pure white foam and the poundshop provided cheap paint to colour it.
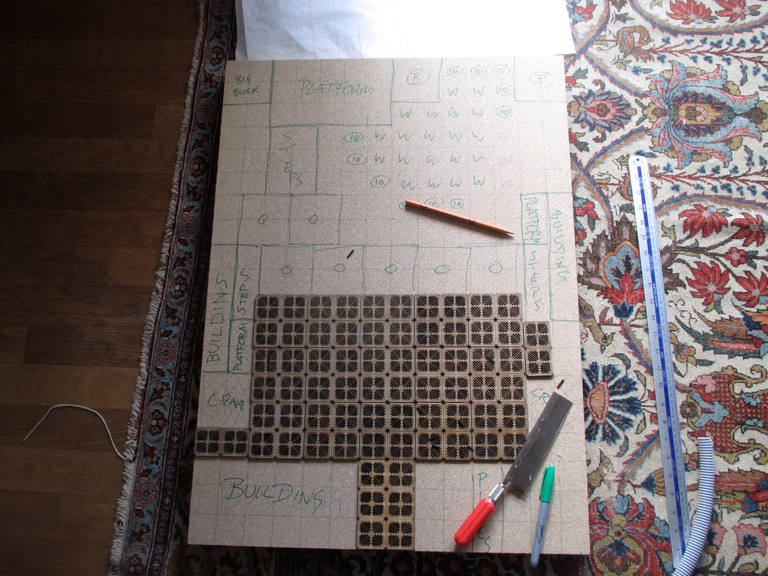
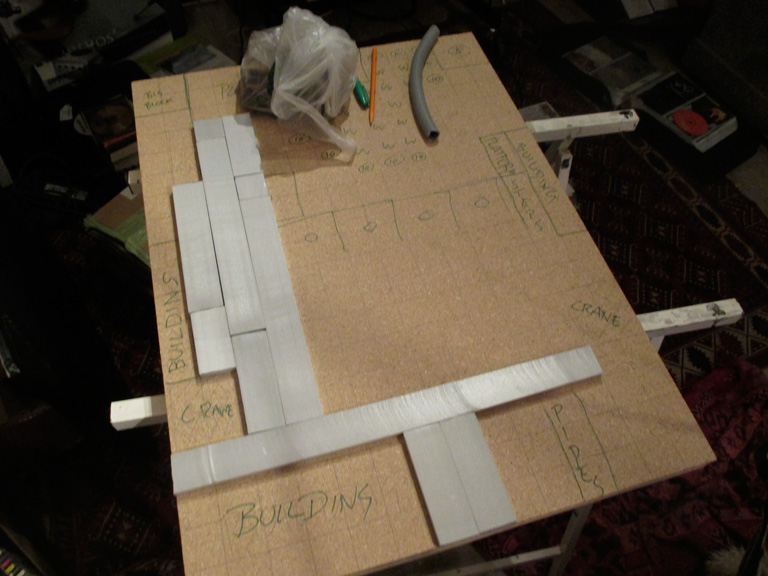
Planning out the board
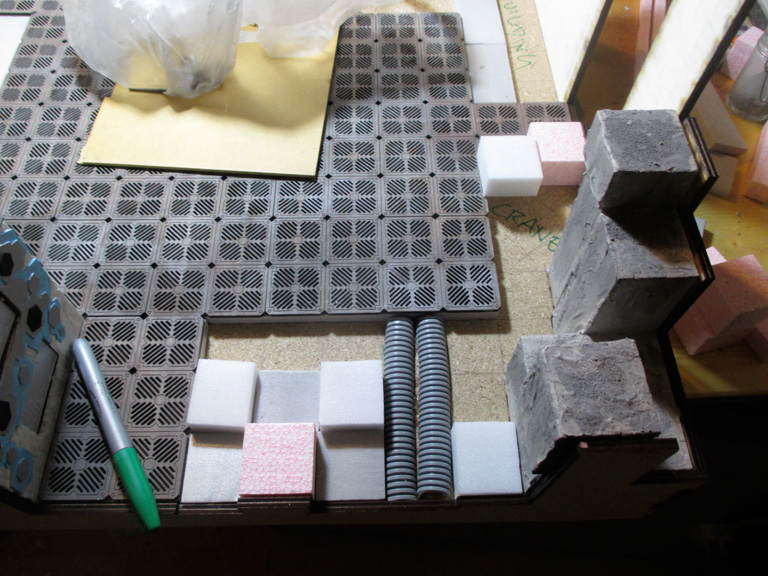
Laying down 10mm of foam under the “metal” floor plates. I wanted them raised so there was some variations in the floor level.
The buildings
Adding the sides for extra strength.
Glueing parts into position
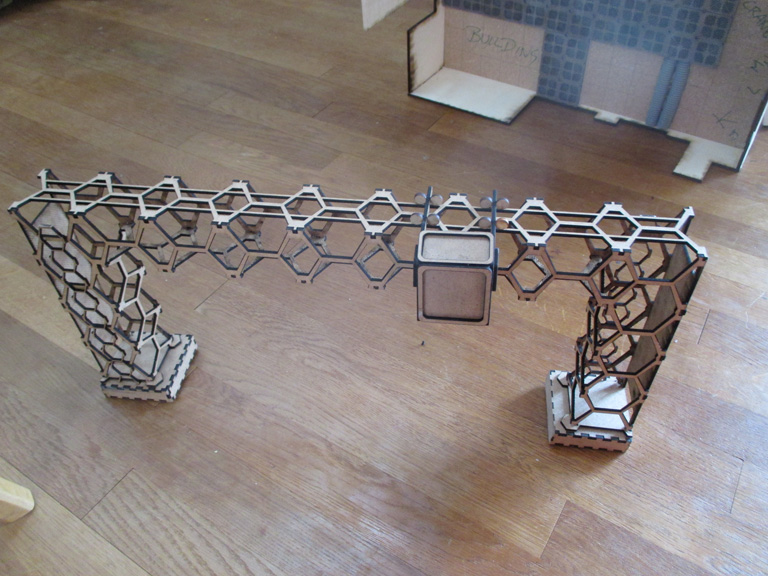
The crane
Adding colour and weathering.
More details.
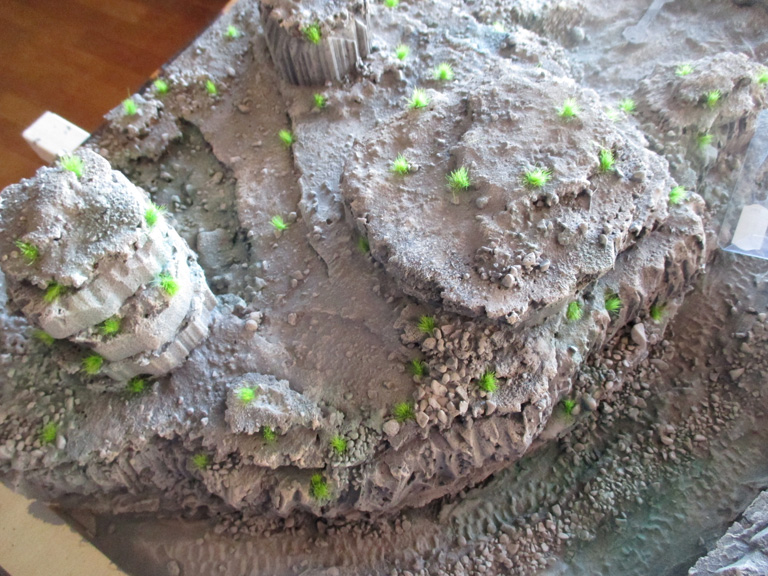
Some of the columns in place with vegetation.
Set dressing.
Over all I wasn’t so happy with this board. There were a few tiny mistakes. I didn’t like the colour scheme on the buildings. I would have approached it differently next time. I have no idea where I am going to store it now. I did offer it up for sale at the event, but no interest.
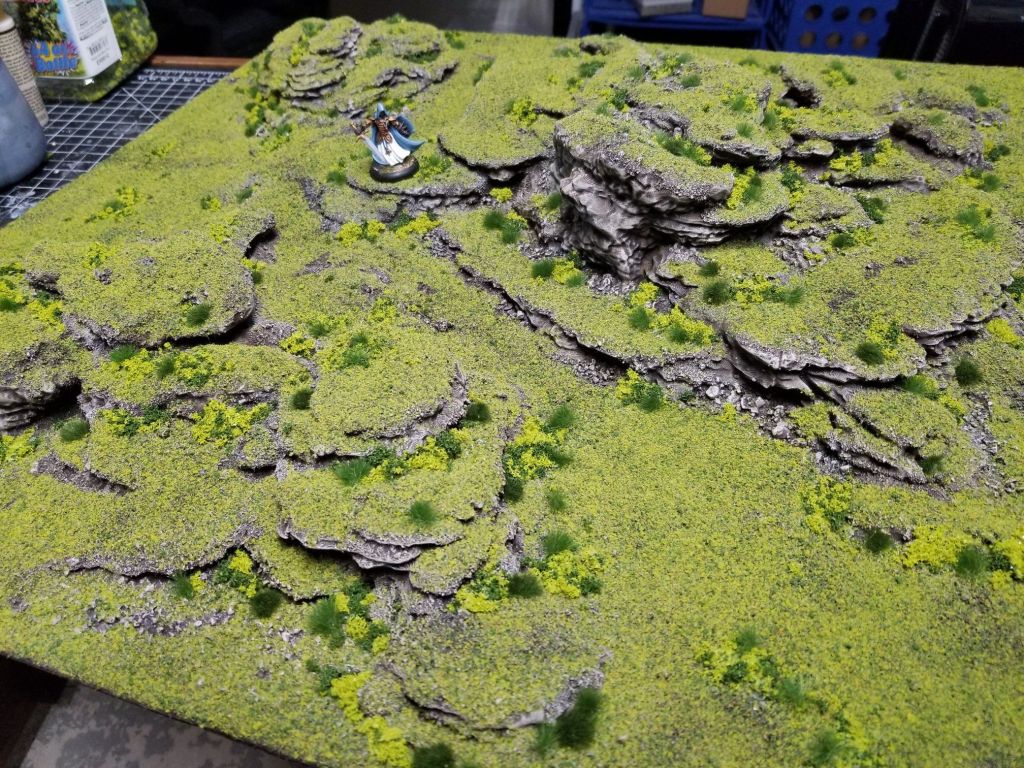
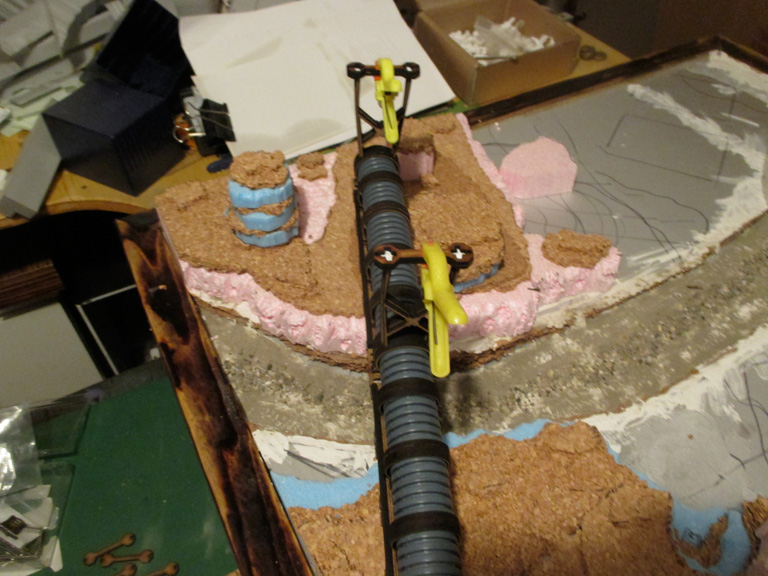
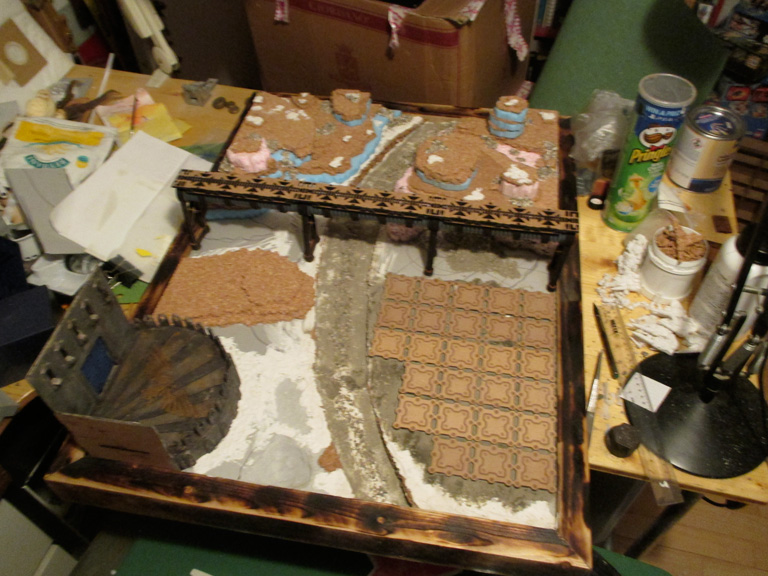
This is the first post of three regarding the Tabletop Knights show in Germany.
This will be about the first display board, Gone?
I saw this image, credit to whoever did this (if you let me know I will credit that person here) and thought, “I want this!” If you are interested I have a Pinterest page devoted to scenery. Look for Nik Green. I highly recommend Pinterest as a resource for keeping ideas from all over the interweb neat and tidy and in one place.
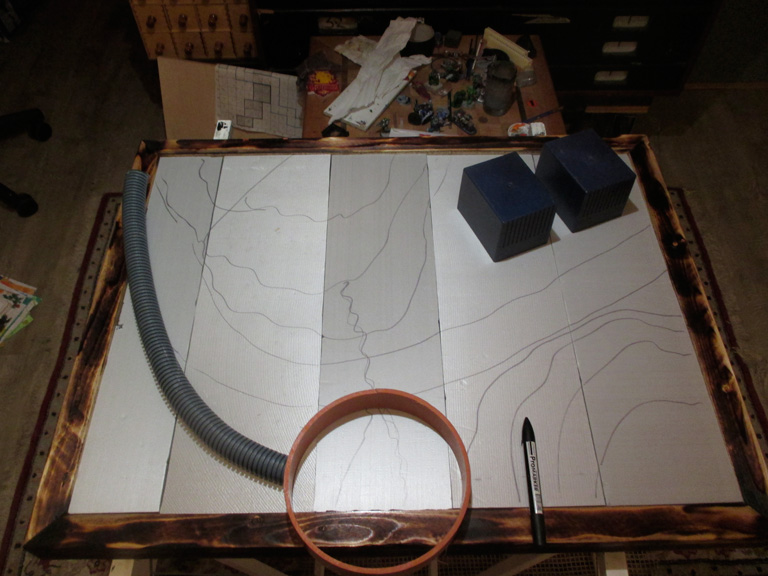
I got the dimensions of a Kill Team board, thirty by twenty two inches, and got two sheets of chipboard cut.
Clamping the sides
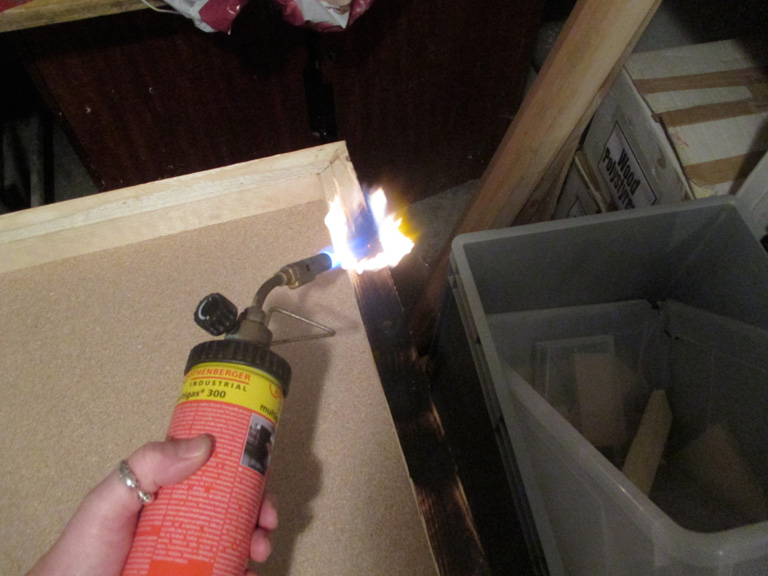
Burning the splinters off the cheap wood frame
Trimming the foam for the inserts with my Proxxon
Foam inserts fitted
Playing around with ideas
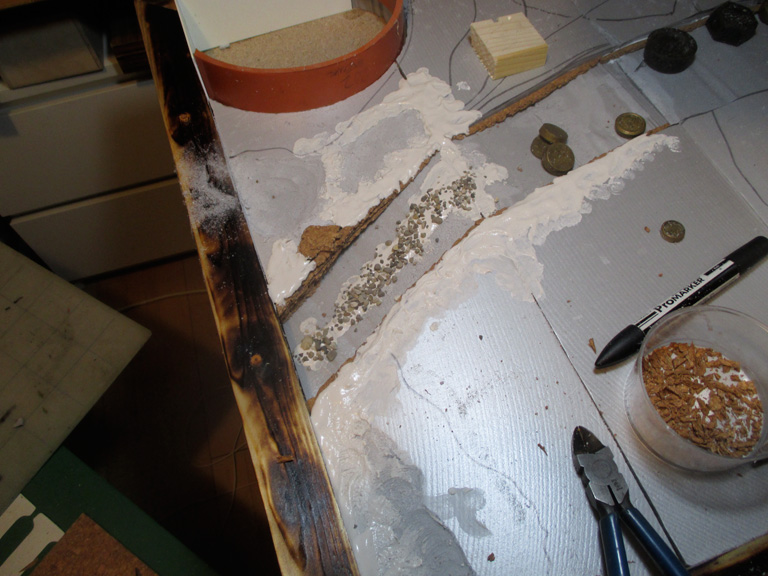
Track chopped out and starting to detail the edges with strips of cork tile
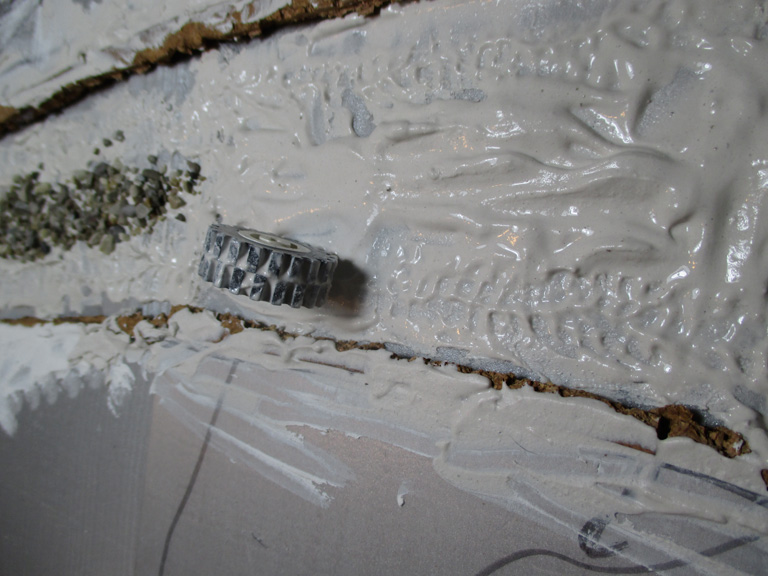
A Lego wheel being used for detailing
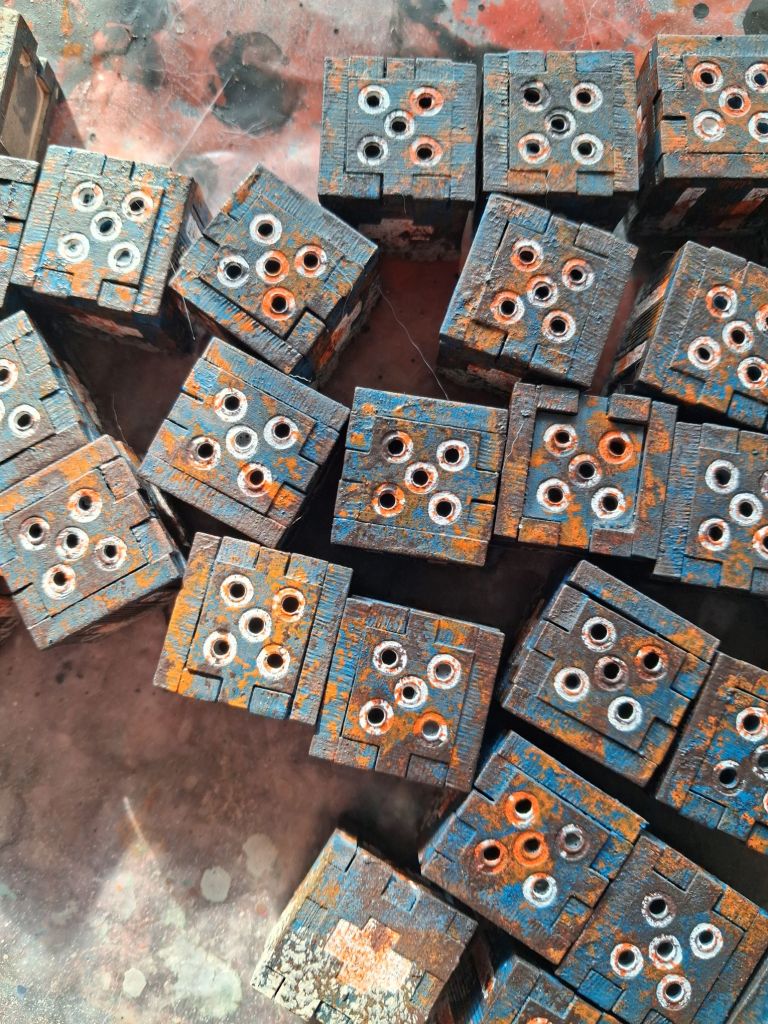
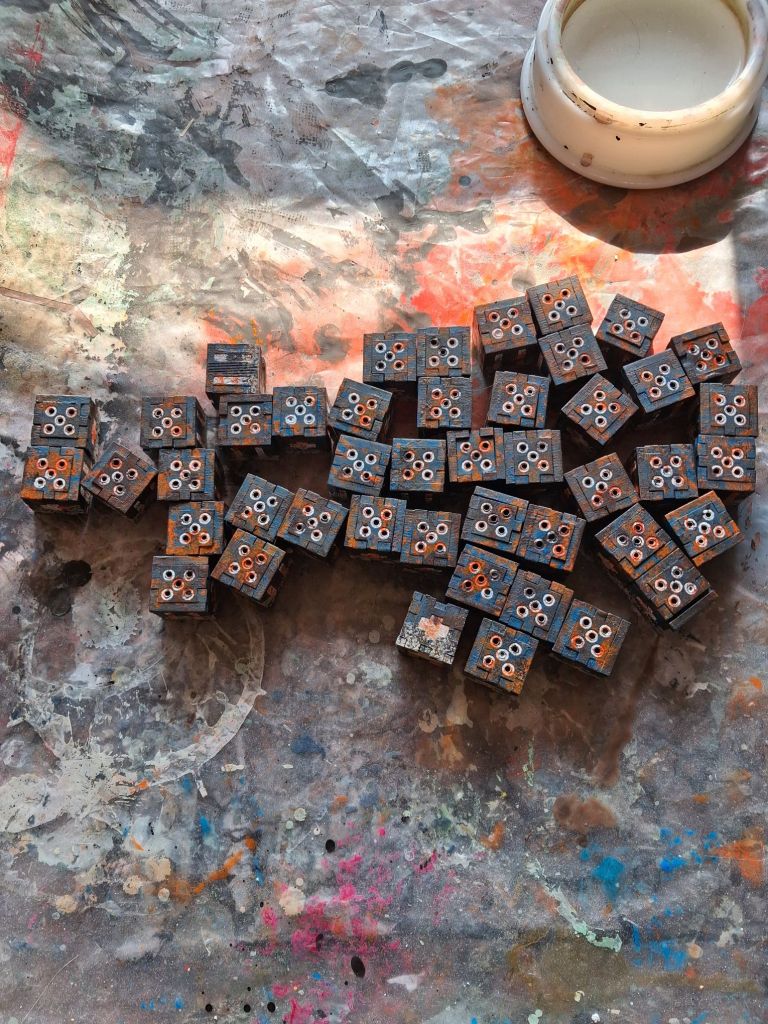
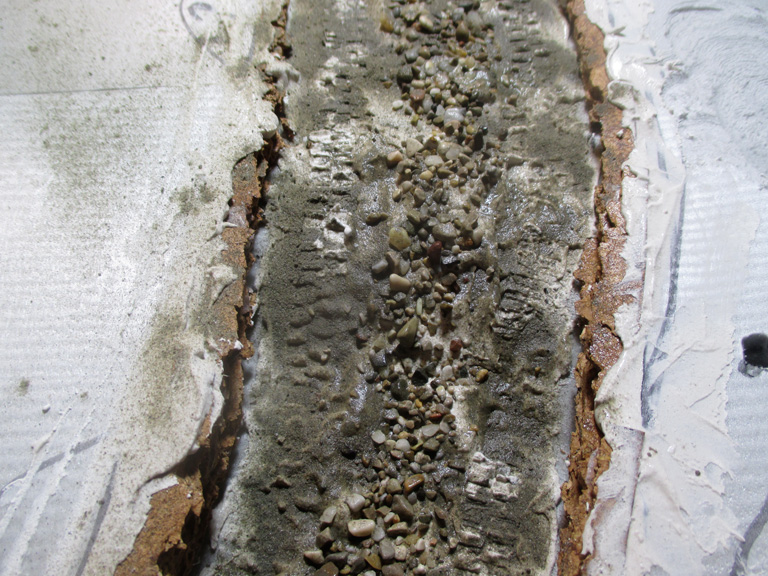
Gravel from Walersee and fine river silt used for detailing
Building before and after painting
Starting to build up the layers
I made a pipeline out of some scrap pipe from a skip and some laser cut supports. I magnetised the feet so it could be removed for transportation.
Everything in situ
Silt! Silt everywhere!
Paint and weathering applied
Tuft mania
And then scatter
I think the scatter needs to be more yellow to match the tufts. Added to this was some water effects. Overall I am very happy with this board. Some minor tweeks as noted are required.
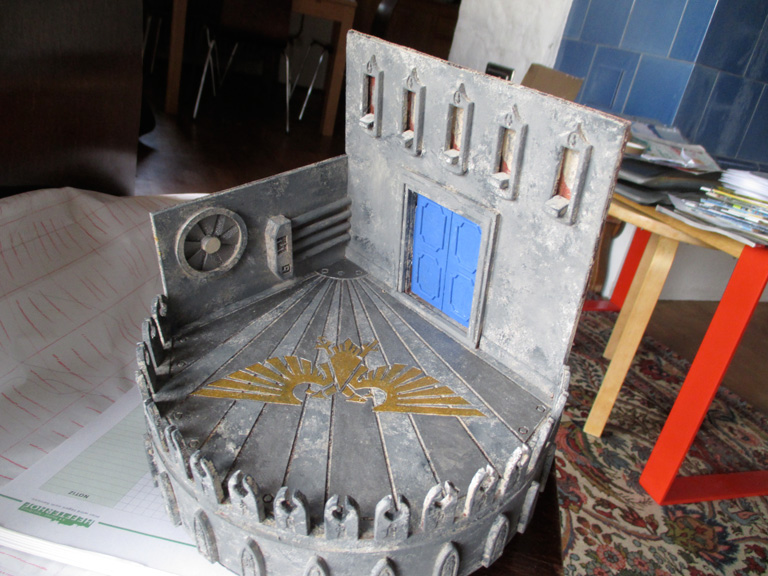
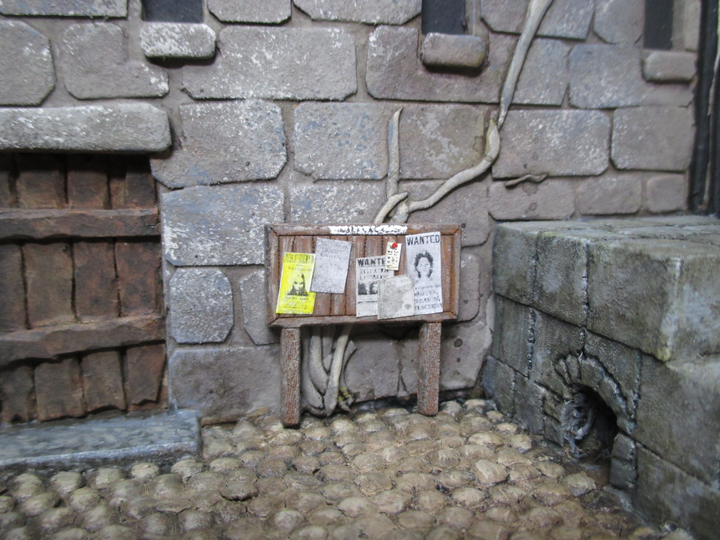
One day I will learn how to take decent photos of my painting. Maybe if I stop gadding about from project to project? One thing that I have seen has been a little photographic scenic corner made by one of the Oldhammer Community. That would be useful and wouldn”t take up too much space. So I set out to make one. This is my work in progress and I’ll post when finished.
Basic shape cut from MDF and steps from foamDetailing of door using coffee stirrers from your favourite tax avoiderFoam detailing of archLentilsA lot more lentils and some foam silsArial view of lentils, foam blocks and roof tilesA coat of household emulsionWash to pick out a bit of detailMiliput vineBit of whitewashA wash on the stoneworkWindows and woodwork. When was this taken?Sponging of stoneworkStarting work on sky and rooftilesA notice board
2018 is the year of extracting digit. My old gaming buddy, mugodice.wordpress.com, had wanted an inn for his games a couple of years ago and I had been putting it off.
The brief was that it had to occupy an eight inch square footprint.
So spoiling his birthday suprise here it is.
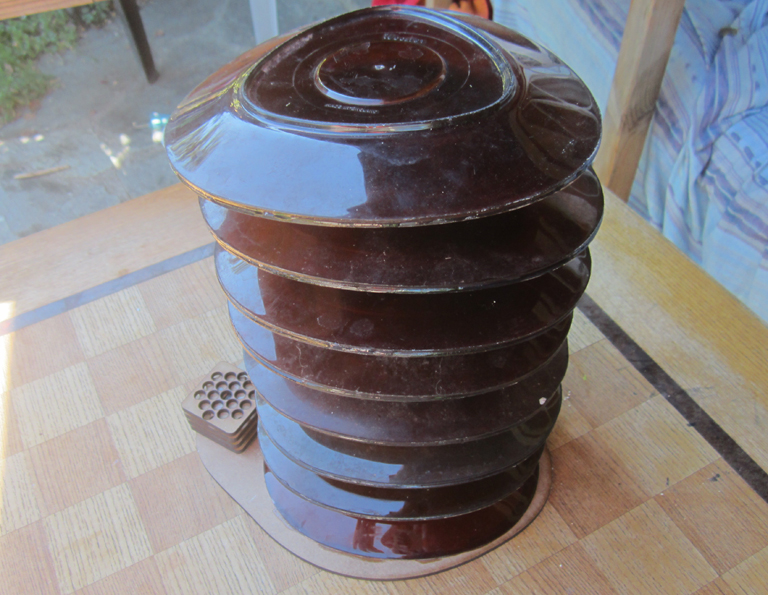
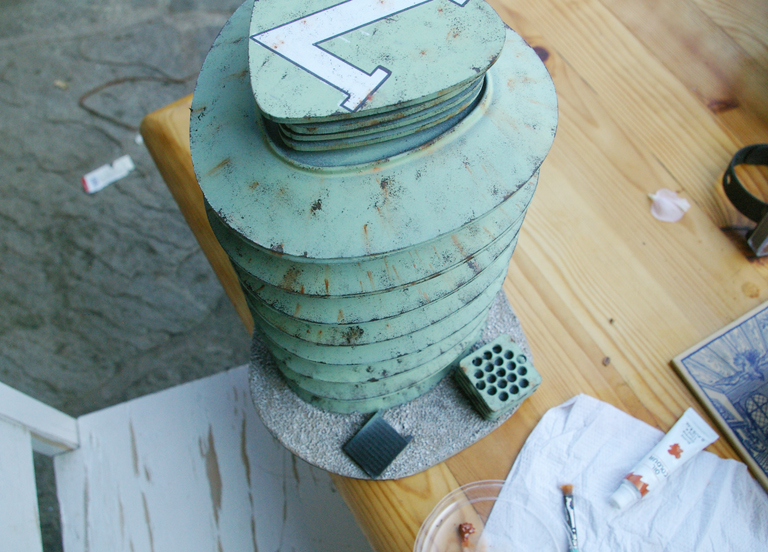
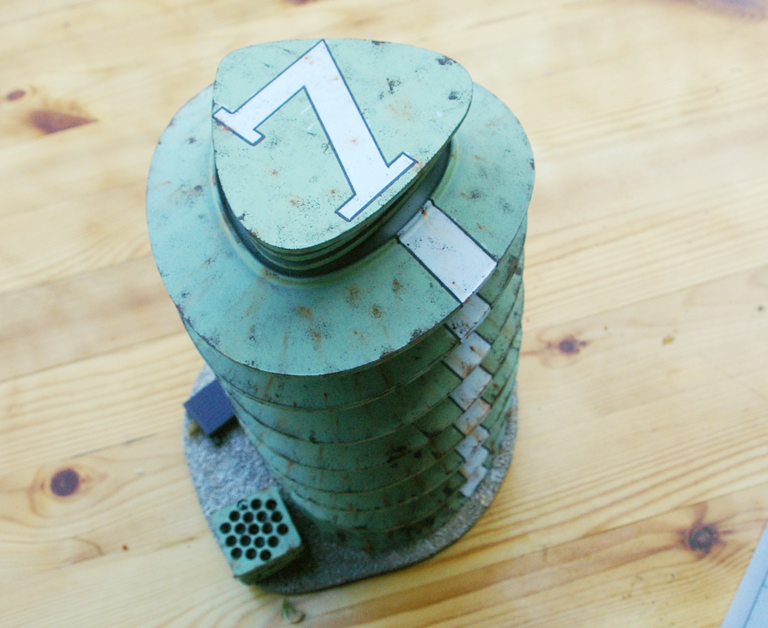
A few years back, when I was at CSM, the canteen was having a clear-out and I came across these plastic plates.
We used them in our greenhouse, back in London, to put plant pots on. But always in the back of my mind I thought they might be useful for something hobby related.
Over here now and getting settled. Time to start unpacking boxes and I came across them. Tick tick tick, hmmmm?
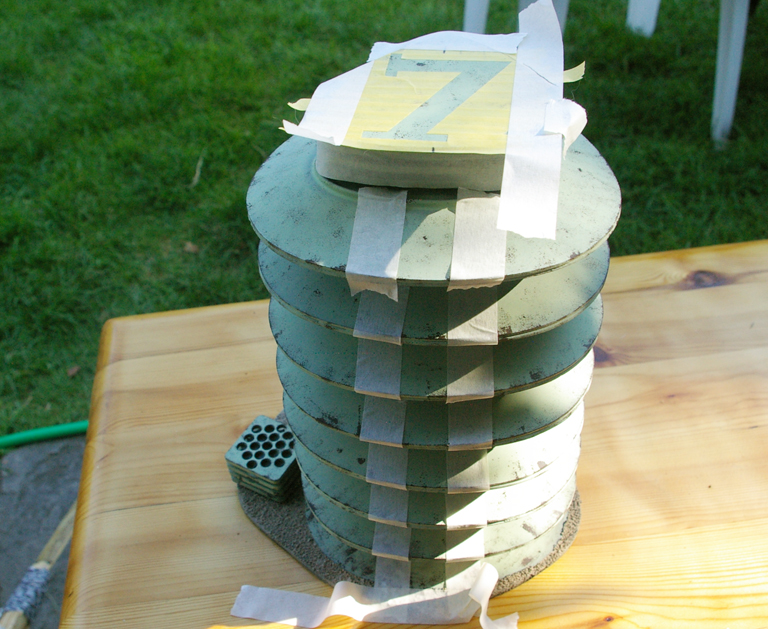
I laser-cut a base and some gubbins to make it a bit more interesting but I seem to have missed out photographing the base painting and the chipping.
Here we are masking the structure to add a white stripe.
Masking the whole structure to avoid overspray.
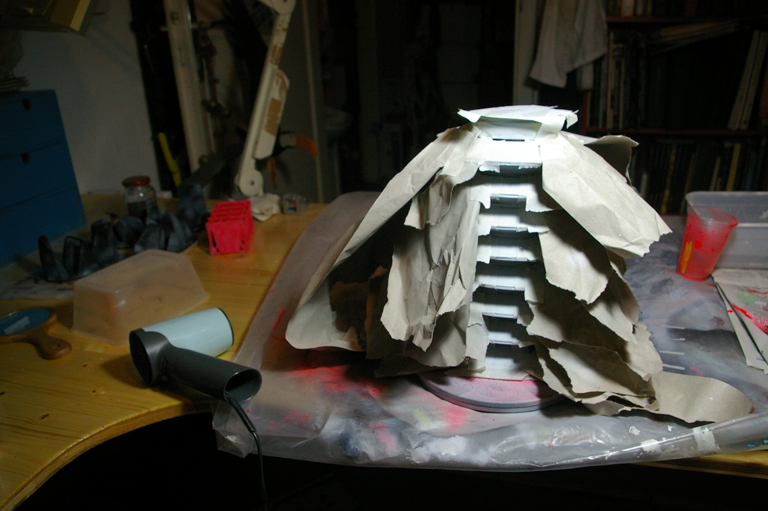
As you can see my airbrushing was not very successful. Instead of gently building up the layers I blasted away with the end result being this where the paint went under the masking.
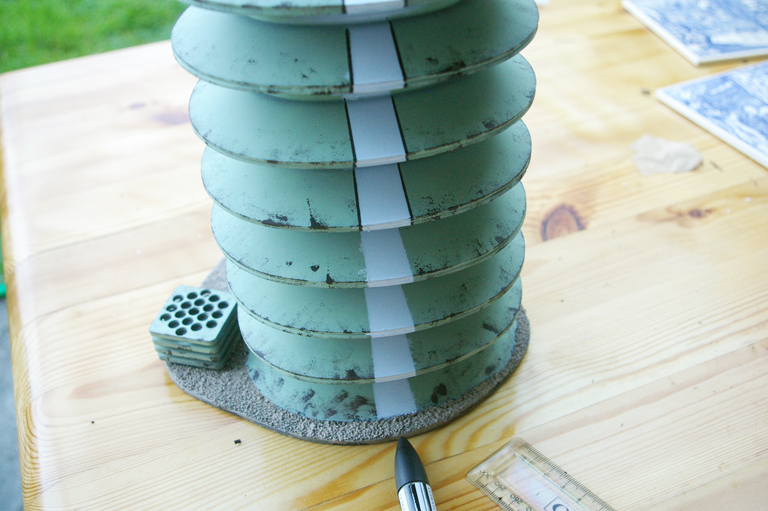
This was remedied by adding a line of marker pen.
Adding rust streaks with oil paint.
The finished product. I wanted to provide a quick photo as I’m certain it is going to feature in more photos in the future.
If I can point you in the direction of this blog http://port-imperiale.blogspot.co.at/
It’s Blogs like this that keep me on my toes.
Now that reminds me…. I’ve got some small flowerpots I picked up at Ikea because they had some plastic grass in them.
Today has been hotter than yesterday, if that is possible. The cicadas are in full voice and the mountains are a pearly grey in the heat.
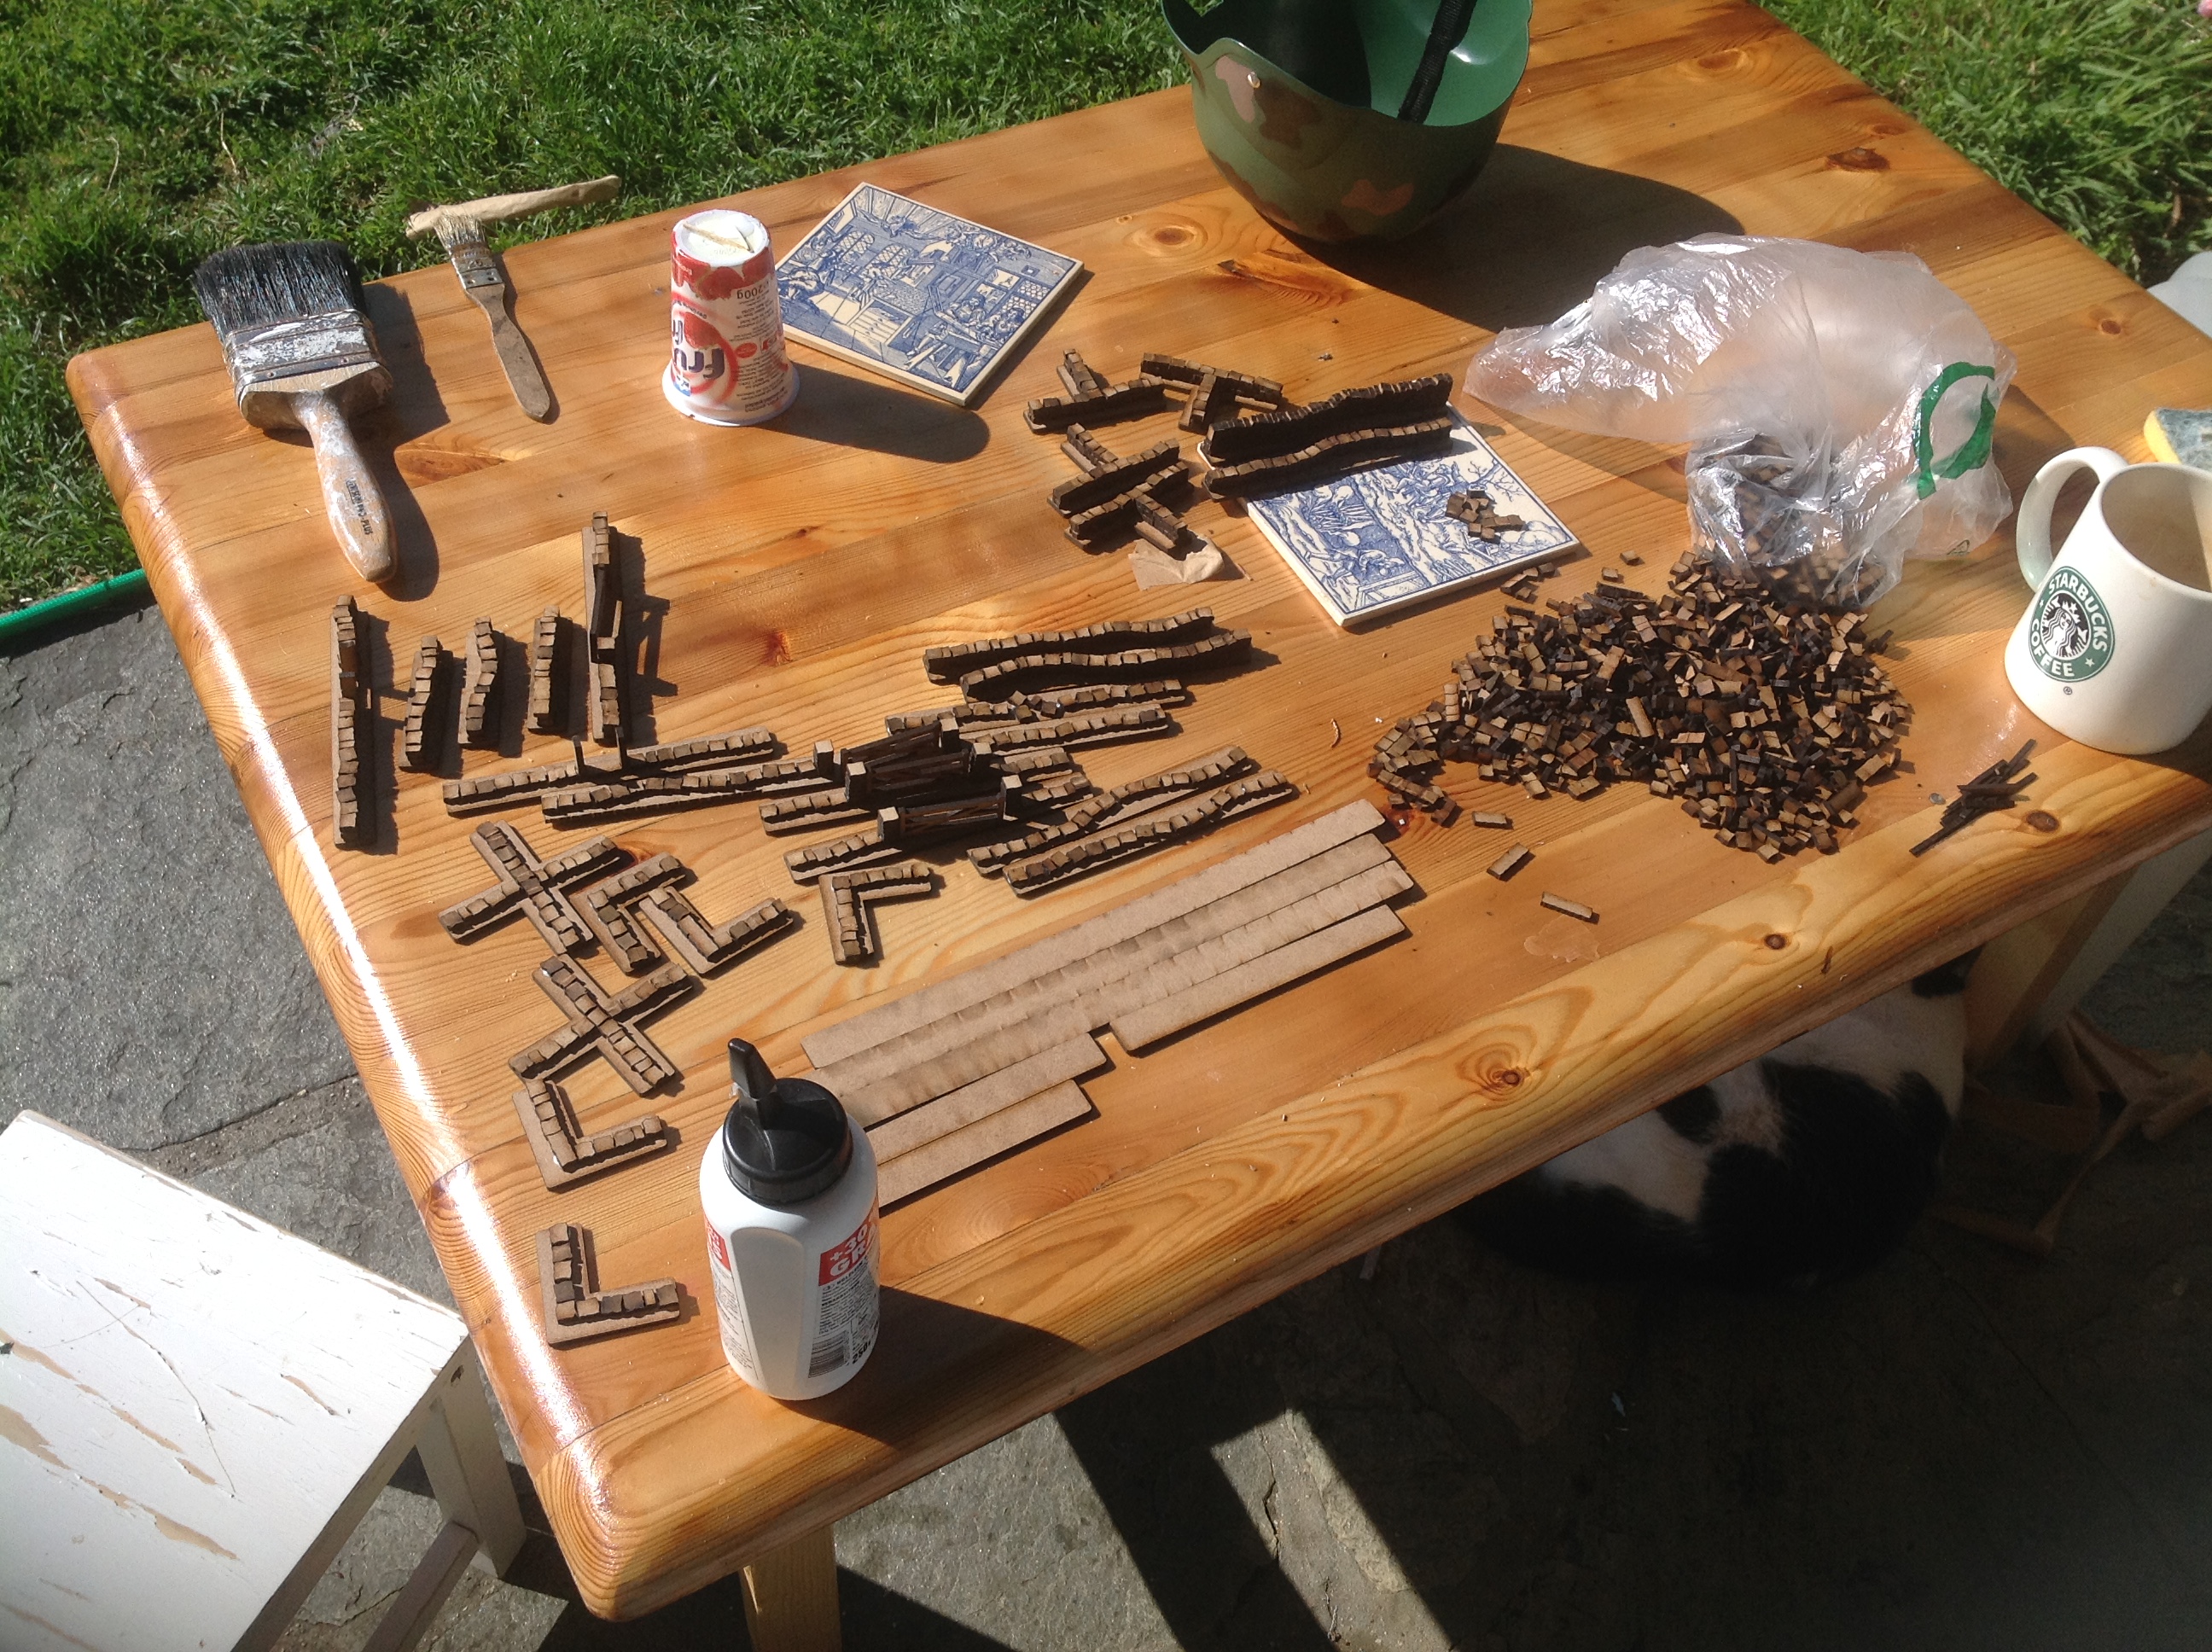
This mornings task was to glue some walls together that I had laser cut over the last few weeks using up old scraps of MDF.
These were inspired by one of GDubs scenery books where they made walls from thick card. I really did not fancy spending hours and hours with a knife cutting out card shapes. This is where a laser cutter comes in handy. Each wall section only takes a couple of minutes to cut and I have loads of scrap that I want to use up. The only pain is glueing it together.
By ten this morning I had to stop as the glue was setting almost immediately in the rising heat.
Here’s some of the bits I picked up for modelling over the holiday season.
The amorphous white blob on the left was some “Snow” used in my local shopping centre. I will be using this to make some explosion markers. Teased out, glued onto washers and airbrushed. Also in the future I plan to make some flickering musket smoke for my British Peninsular Army.
In the middle you see some nose cones from fireworks, very popular here for New Year’s Eve. These will go in my bits box to make rockets and random scenery for my Orks.
At the bottom are the left over wires from Christmas Tree sparklers. I was looking at Daggerandbrush’s, https://daggerandbrush.wordpress.com/, rather excellent tutorial on making trees and thinking about getting some florist wire to try it out.
Come Christmas we put sparklers on the tree.
Tidying up the next day I was taking them off the tree and thought, “Umm nice pliable wire”. So these have been put to one side to be used soon.
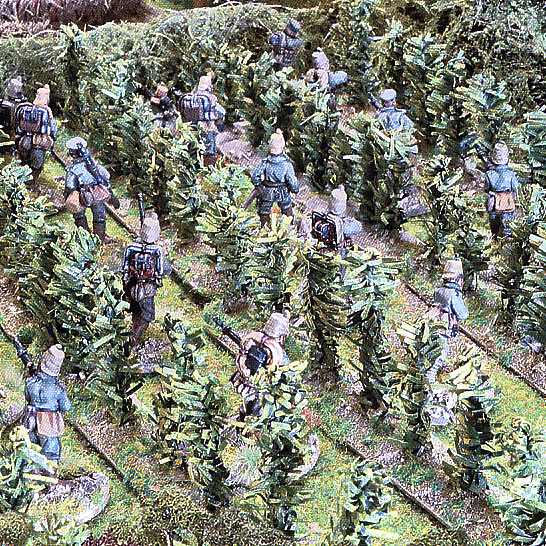
I read Wargames Illustrated, it’s for the articles, honest! Looking at the December 2014 issue there was a photo feature on Brits versus Germans.
Image copyright Wargames Illustrated. Used without permission. Taken from issue 326 December 2014. Article Brits versus Germans. Page 105. By the Derby Wargames Club. http://www.wargamesillustrated.net
Now I’m a sucker for good scenery and ideas for making it, especially on the cheap. I kept returning to this image wondering what was familiar. Then it dawned on me that the crops were in fact bits of carefully trimmed artificial Christmas tree. All I had to do was keep my eyes peeled after the festive season for any discarded trees.
What turns up? And in the bins in the block where I live, so I didn’t even have to leave the building!