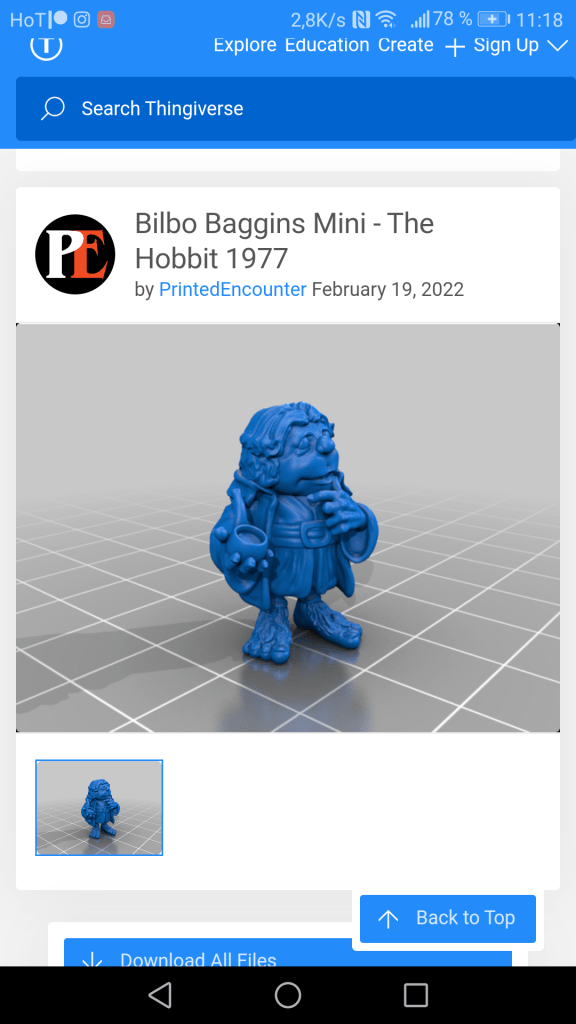
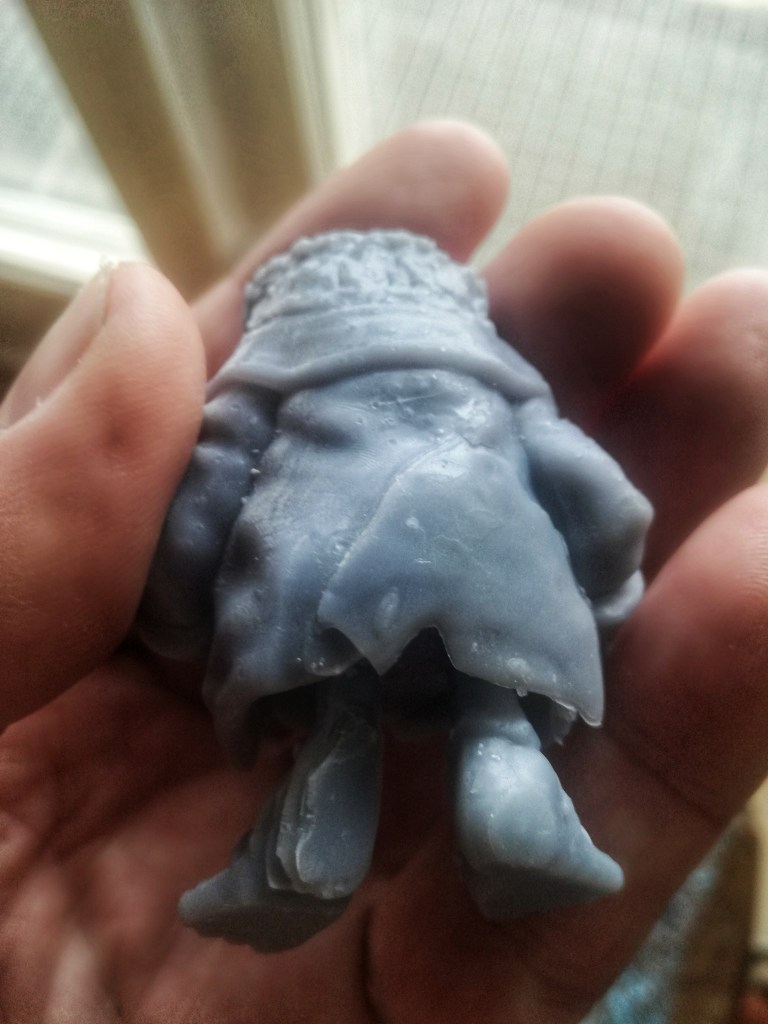
Reddit is my default opening page on my interwebs browser. When I opened it yesterday at the top of the feed was an interesting post. One of the feeds I am subbed into r/PrintedMinis had a post from u/PrintedEncounter. They had been challenged to speed sculpt. Printed Encounter took it on and produced a sculpt of Bilbo Baggins in two and a half hour.
A link was posted to it on Thingiverse. And a challenge was posted that if someone wanted to paint and post it they could suggest the next sculpt.
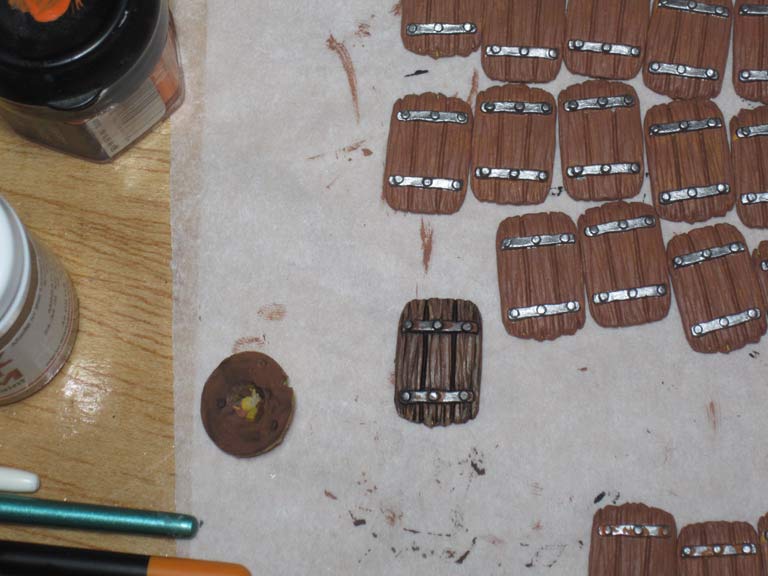
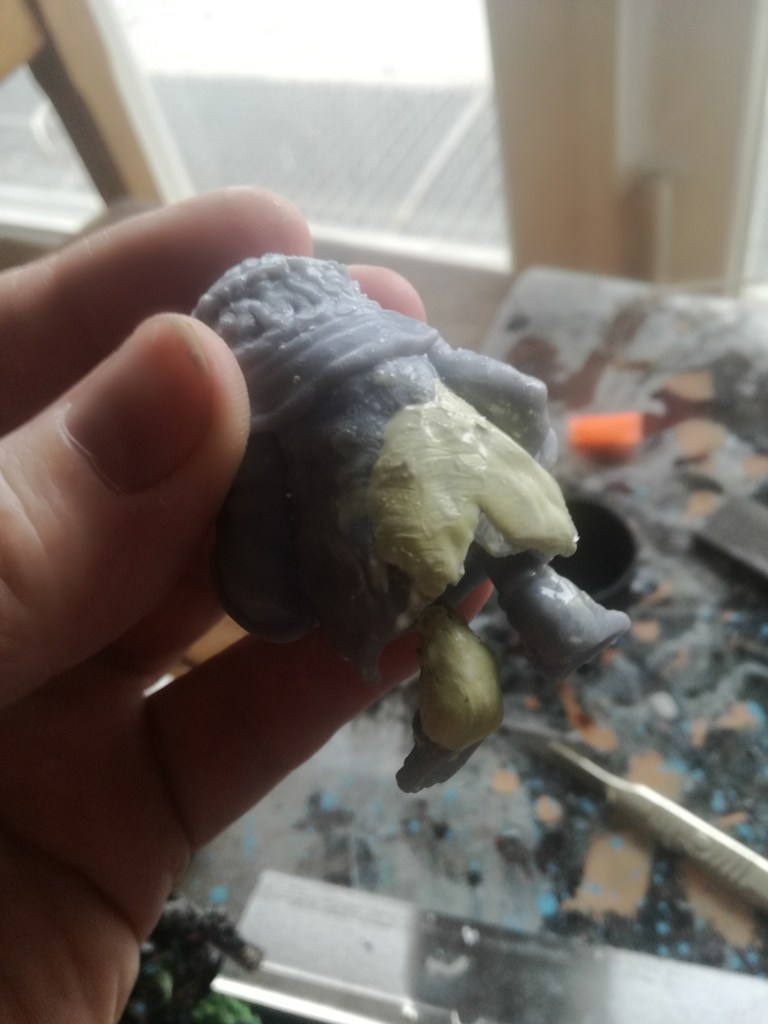
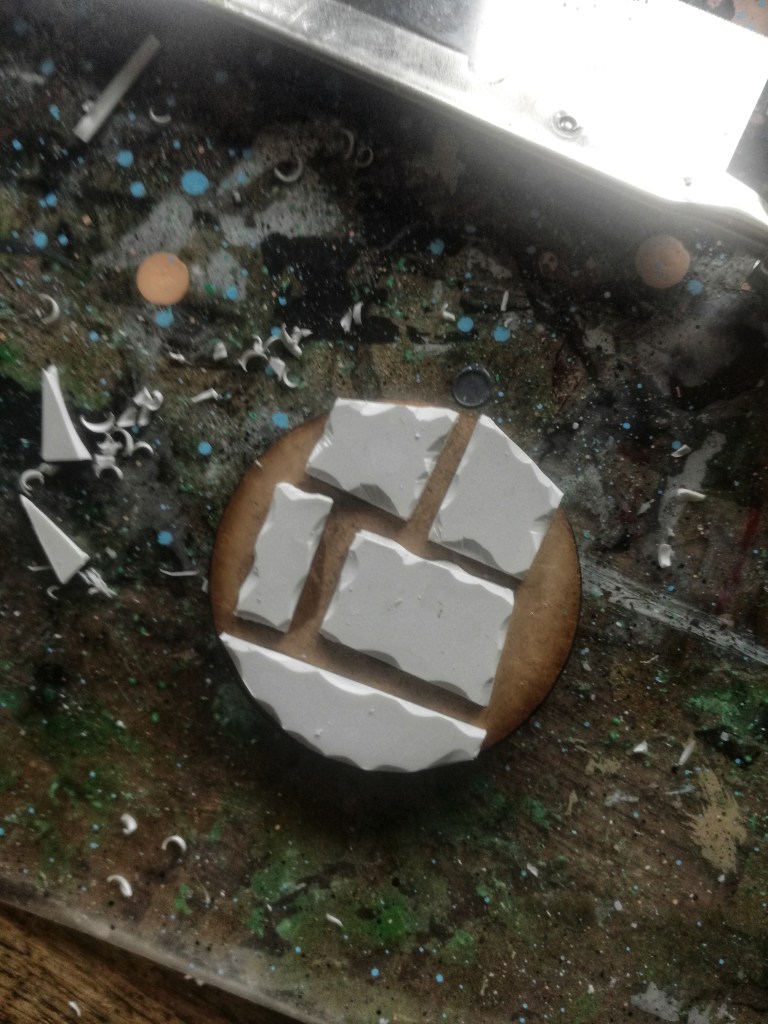
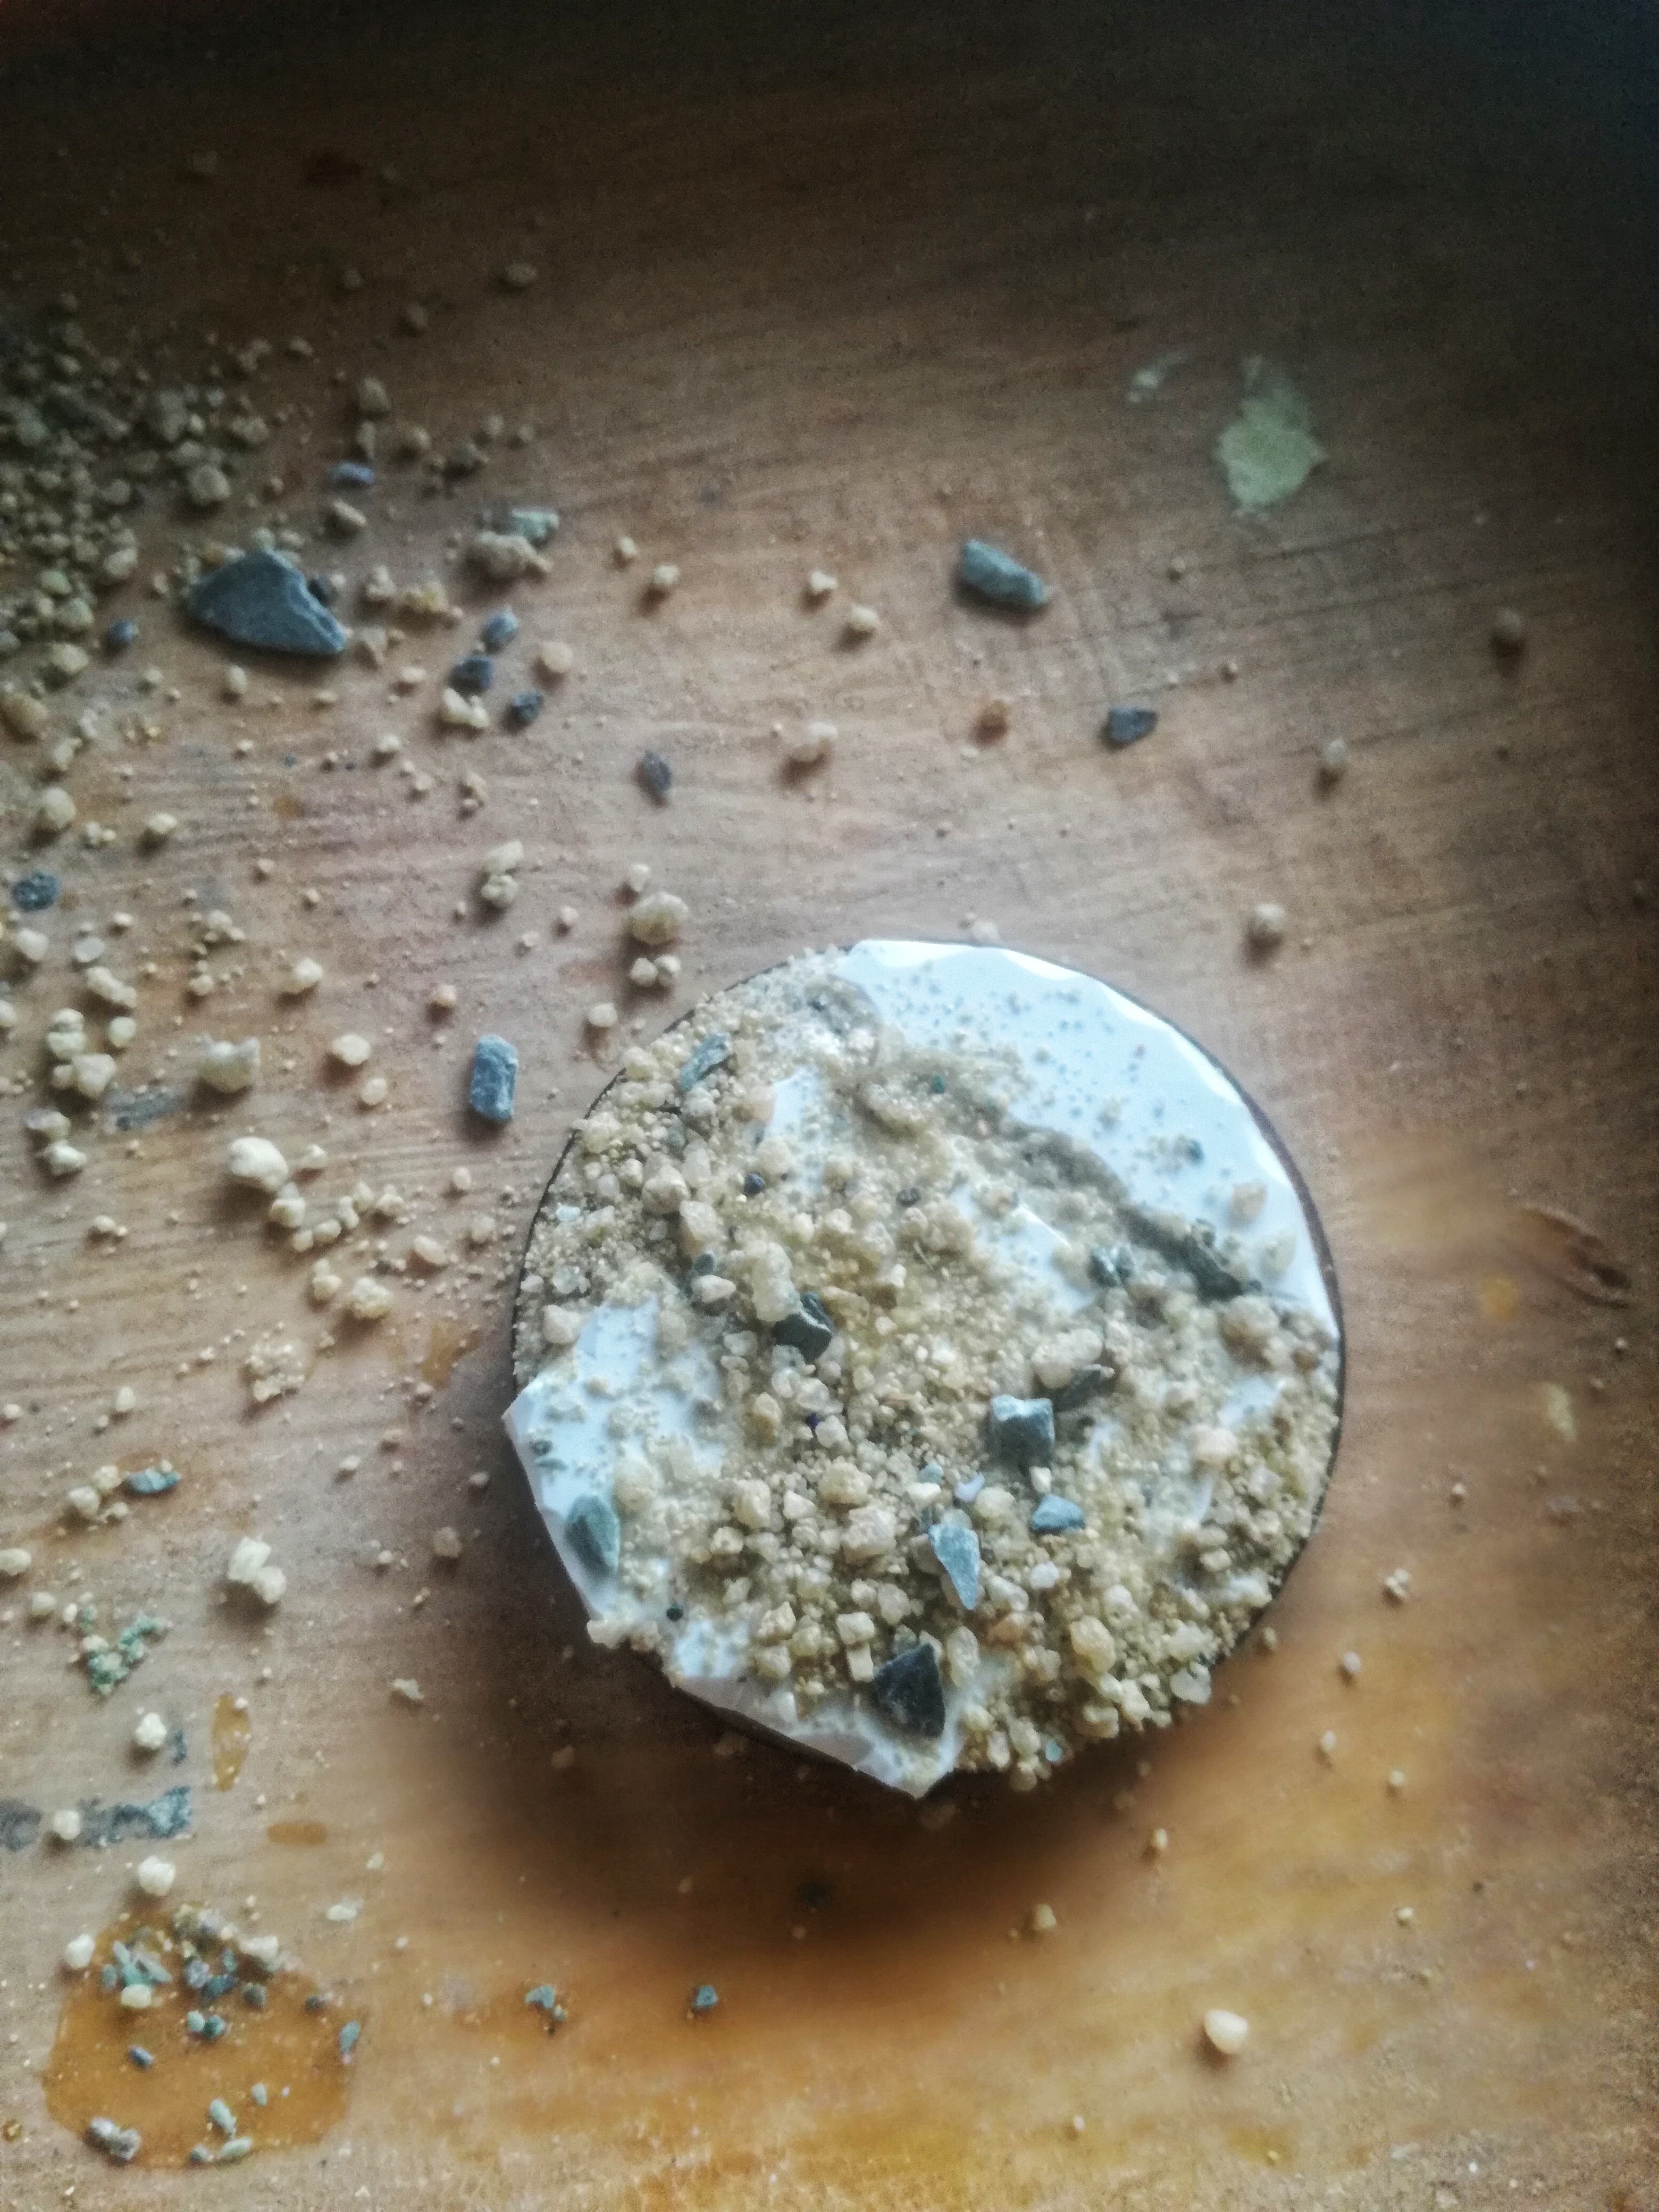
Model printed outNot enough supportsMilliput to the rescueWorking on the base
I will post in a couple of hours when I have applied some paint. I aim to have this finished by the end of today. First I have to help my youngest in Assassin’s Creed Odyssey while I wait for the milliput to dry.
Every summer my Wife and the Boys drive down to Croatia for a holiday. Well somebody has to stay and tend to the chickens and cats. My chance to have a bit of time to myself and spread out and finish any projects that have been on hold for a while. I was a bit ill with a virus that made me very tired and demotivated so I didn’t do as much as I wanted.
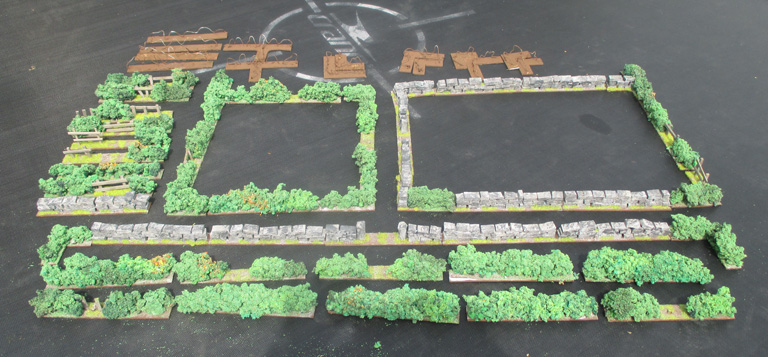
Way back in 2011 I was approaching my redundancy at St. Martins and I used the time wisely. I made a whole load of these.
A plastic base, wire looped and glued into position, sand and PVA applied and primed in black. I didn’t do anything with them until now. This was the base build for some hedges. Following Mel’s videos on his YouTube channel I made a load of foam clump foliage. https://www.youtube.com/watch?v=ZN16RxVNrvcThen following Luke’s videos on his YouTube channel I hade some flock. https://www.youtube.com/channel/UCsmD5774MOQhjYBkXqu3JdwUsing Luke’s videos I purchased some Tacky Glue, I must find somewhere here in Austria that stocks it because the postage was a killer. At my local DIY store I purchased some spray adhesive.
Stage One: paint base brown. Stage Two: drybrush base. Stage Three: apply Tacky Glue to wire and press on clump foliage. Stage Four: spray on adhesive and sprinkle with flock. I didn’t bother photographing these stages as you will get a better idea from the videos.
What I managed to do. There are some still to do but I had run out of clump foliage and the blender used for making it was awaiting a part from the UK.
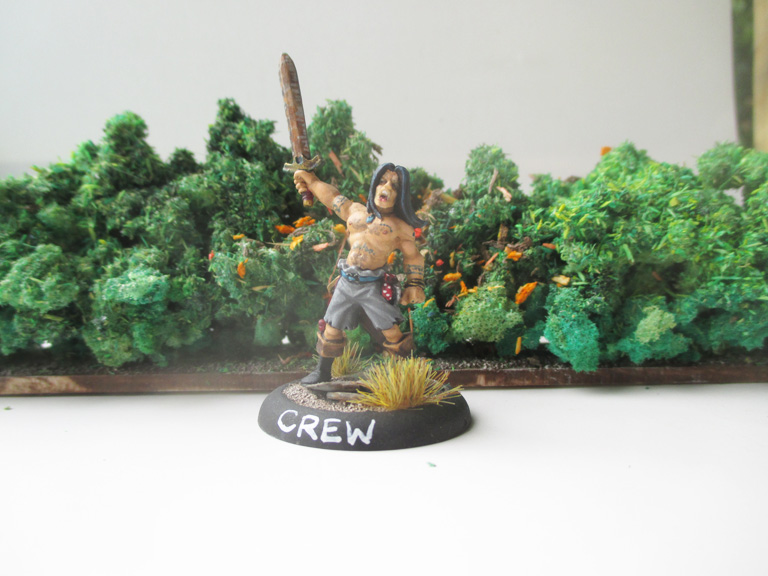
Figure for scale, available from Heresy Miniatures
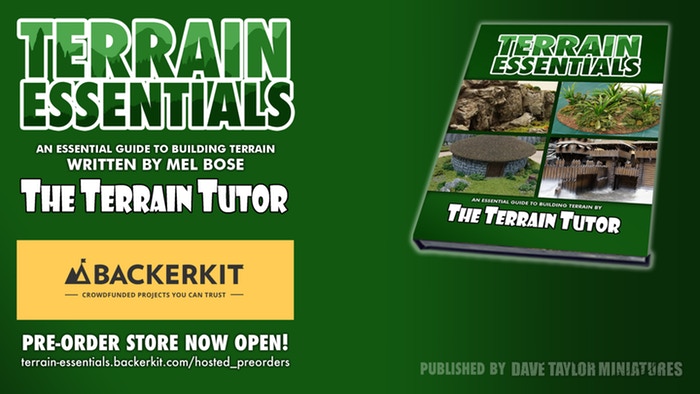
I must mention that Mel has been hard at work and recently had a Kickstarter to promote a book all about making wargaming terrain. If you missed it, or like me don’t have a form of money that Kickstarter recognises…. you can get on board herehttps://terrain-essentials.backerkit.com/hosted_preorders
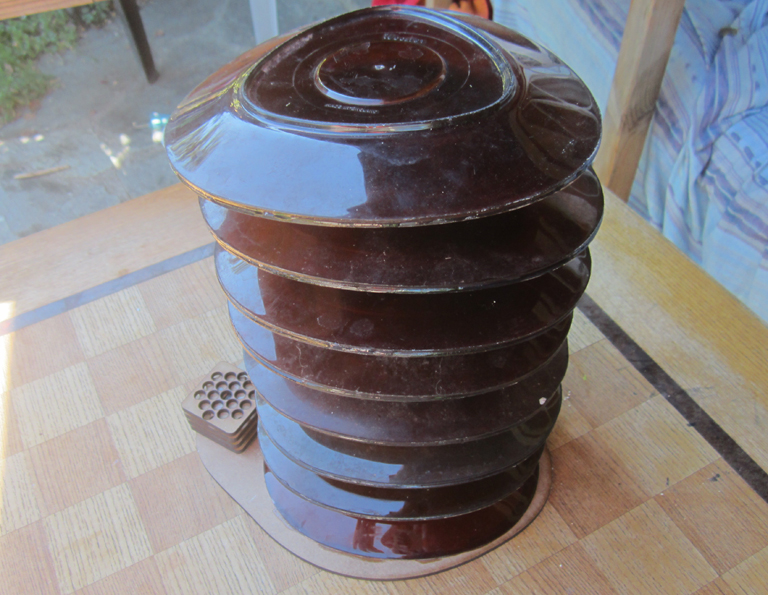
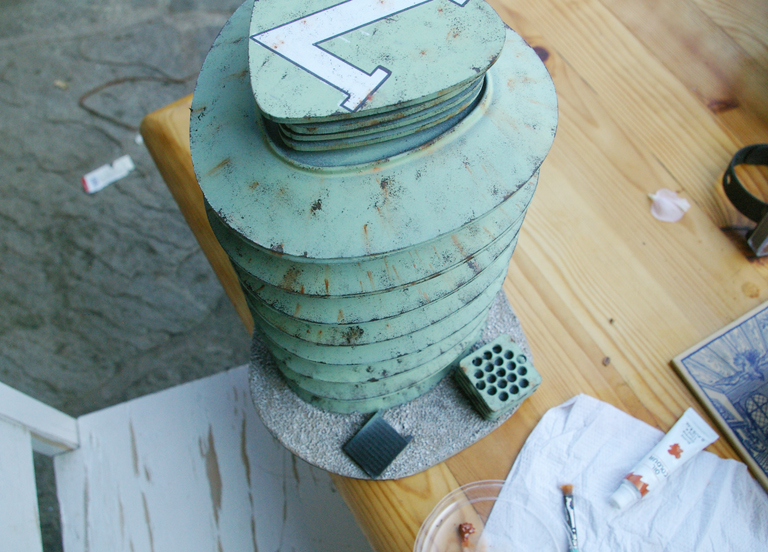
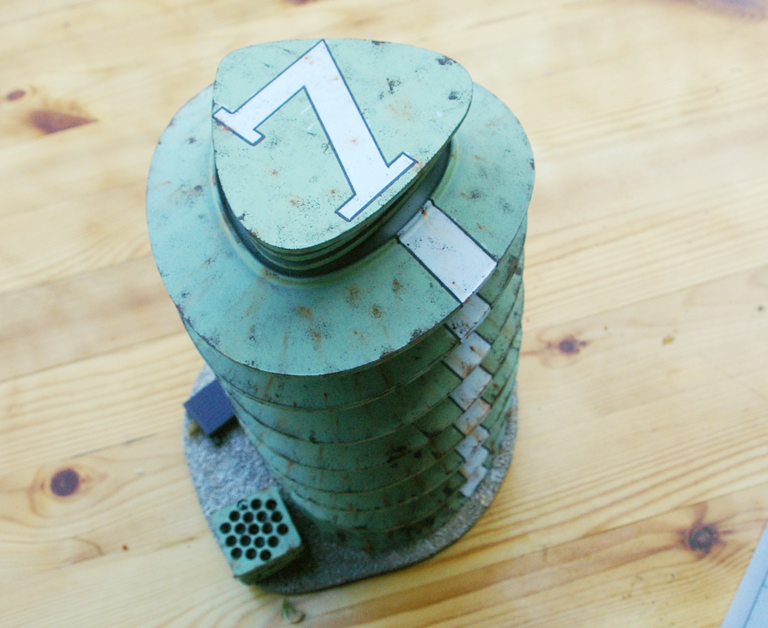
A few years back, when I was at CSM, the canteen was having a clear-out and I came across these plastic plates.
We used them in our greenhouse, back in London, to put plant pots on. But always in the back of my mind I thought they might be useful for something hobby related.
Over here now and getting settled. Time to start unpacking boxes and I came across them. Tick tick tick, hmmmm?
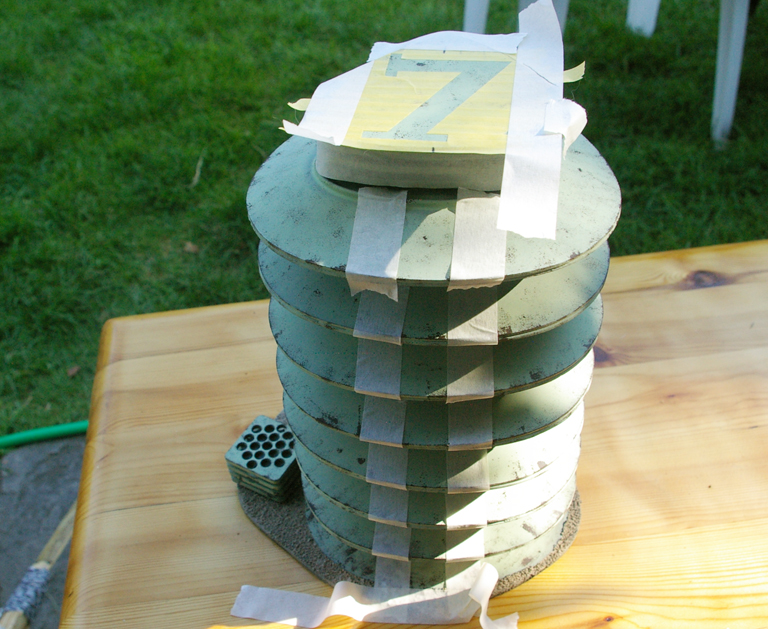
I laser-cut a base and some gubbins to make it a bit more interesting but I seem to have missed out photographing the base painting and the chipping.
Here we are masking the structure to add a white stripe.
Masking the whole structure to avoid overspray.
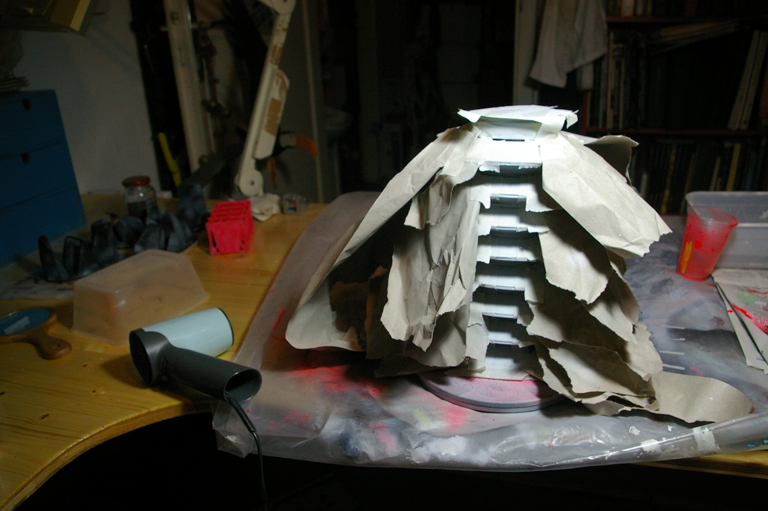
As you can see my airbrushing was not very successful. Instead of gently building up the layers I blasted away with the end result being this where the paint went under the masking.
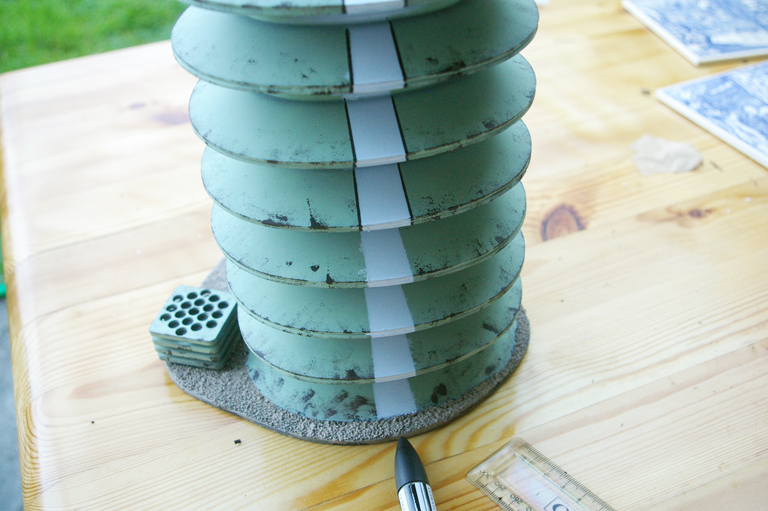
This was remedied by adding a line of marker pen.
Adding rust streaks with oil paint.
The finished product. I wanted to provide a quick photo as I’m certain it is going to feature in more photos in the future.
If I can point you in the direction of this blog http://port-imperiale.blogspot.co.at/
It’s Blogs like this that keep me on my toes.
Now that reminds me…. I’ve got some small flowerpots I picked up at Ikea because they had some plastic grass in them.
Well I haven’t been painting prolifically as I have been mostly working on the house.
I joined a Facebook group called 1houranight which sets monthly targets and this has been keeping me motivated.
Anyway here is a selection of work. Apologies for the variable quality of photos, one of this year’s targets is to set up a little photo set-up so I can take decent photos.
The Adventurer, his Concubine, his Accountant and his Bodyguard.
These are from Moonraker Miniatures and are part of my Rouge Trader collection.
This was a Christmas present.
It’s from Mirleton. I was disappointed to find out that there is only one pose of this as I wanted a small unit of Skaven cavalry.
Another Christmas present a Female Orc from The Dice Bag Lady aka Bad Squiddo Games.
This is from Scibor and I bought it because a friend of mine is really into Dwarves. Seriously into them. And the thought of one of his little men consorting with one of the hated enemies will drive him to dispair.
This one is from Spellcrow I think.
This is Ozzy. He was a giveaway from Casting Room Miniatures. An offshoot of Foundry. Sculpted by none other than Kevin Adams. This plus a sale and free postage was too good an offer to pass up.
This is a test paint for my Imperial Guard Ogryn unit.
Some armour for my Imperial Guard. I think I may have gone over the top with dust and mud.
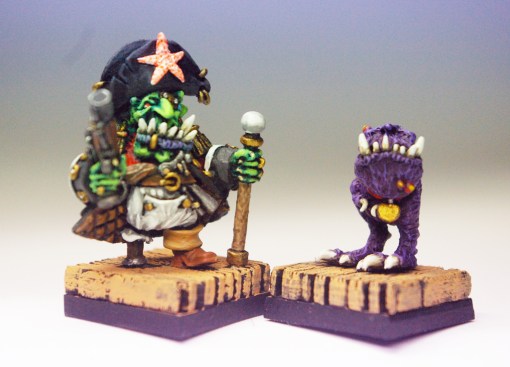
This is from Kromlech. They are doing some very characterful Orks and Goblins. I have my eye on some more Goblin Pirates.
Anyway that is a round up of most of what I’ve painted. That I can remember. Sometimes I am getting a bit “Senior”.
It’s been a while, and it gets worse everyday thinking I must add some more content. And then you don’t. And then the guilt builds up. So I am biting the bullet and adding a bit more content. It wasn’t helped by the fact that the editor when using a iPad was decidedly arsey.
This is the next stage for my painting, consistency in basing. I have, now, several armies each with an individual look, so it is important that the units in each army have some cohesion in basing style.
I am already recording what paints I use in a journal.
This piece of wood has been laser-cut with spaces for some 30mm bases that I don’t intend to use. The plan is to make up these bases as I make my armies and record what I have done in my journal so I will have a written record and a visual one.
I also want to experiment with other basing techniques and record the successful ones for future use.
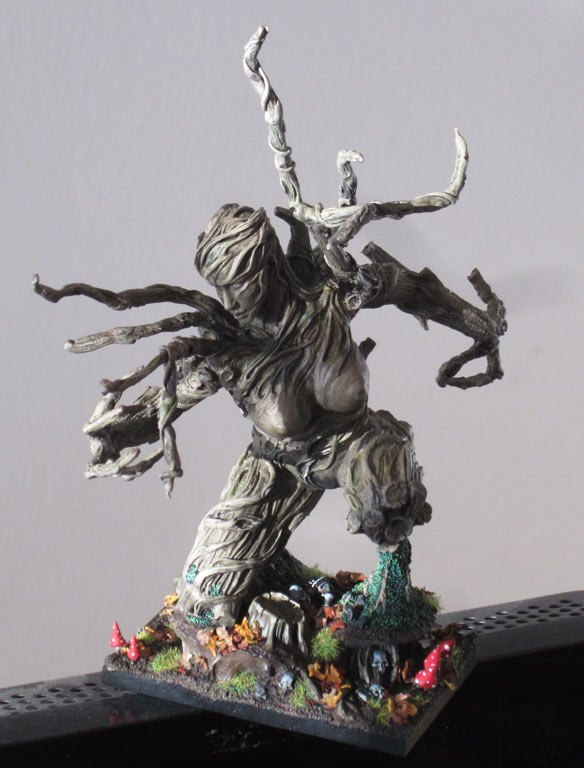
Treelady from Ultraforge Miniatures for my Albion Army.
I didn’t manage to do much over December, I wasn’t very inspired and this shows it. There are bits i am happy with and bits that are a bit bland and ho-hum. It was good practice with the airbrush getting some highlights and shadows.
This month I have mainly been despondent. A mixture of birthday blues and the weather. After an amazing autumn the winter has come, it’s all grey and bleak. This month’s workbench was all about finishing the unit of Fir Bolg for my Albion Army. I really started to hate batch painting and not really liking the colour scheme I used. So I broke off to paint one of Alex Huntley’s Arcworlde miniature. Do check out his company, Warploque Miniatures.
http://www.warploqueminiatures.com
He is alarmingly young and alarmingly talented. His figures have a certain style, not to everyone’s taste I will say, which I like. I backed his Kickstarter because I believe that in about ten years if we keep supporting him he will be an awesome sculptor. This perked me up a bit. I do enjoy painting single figures.
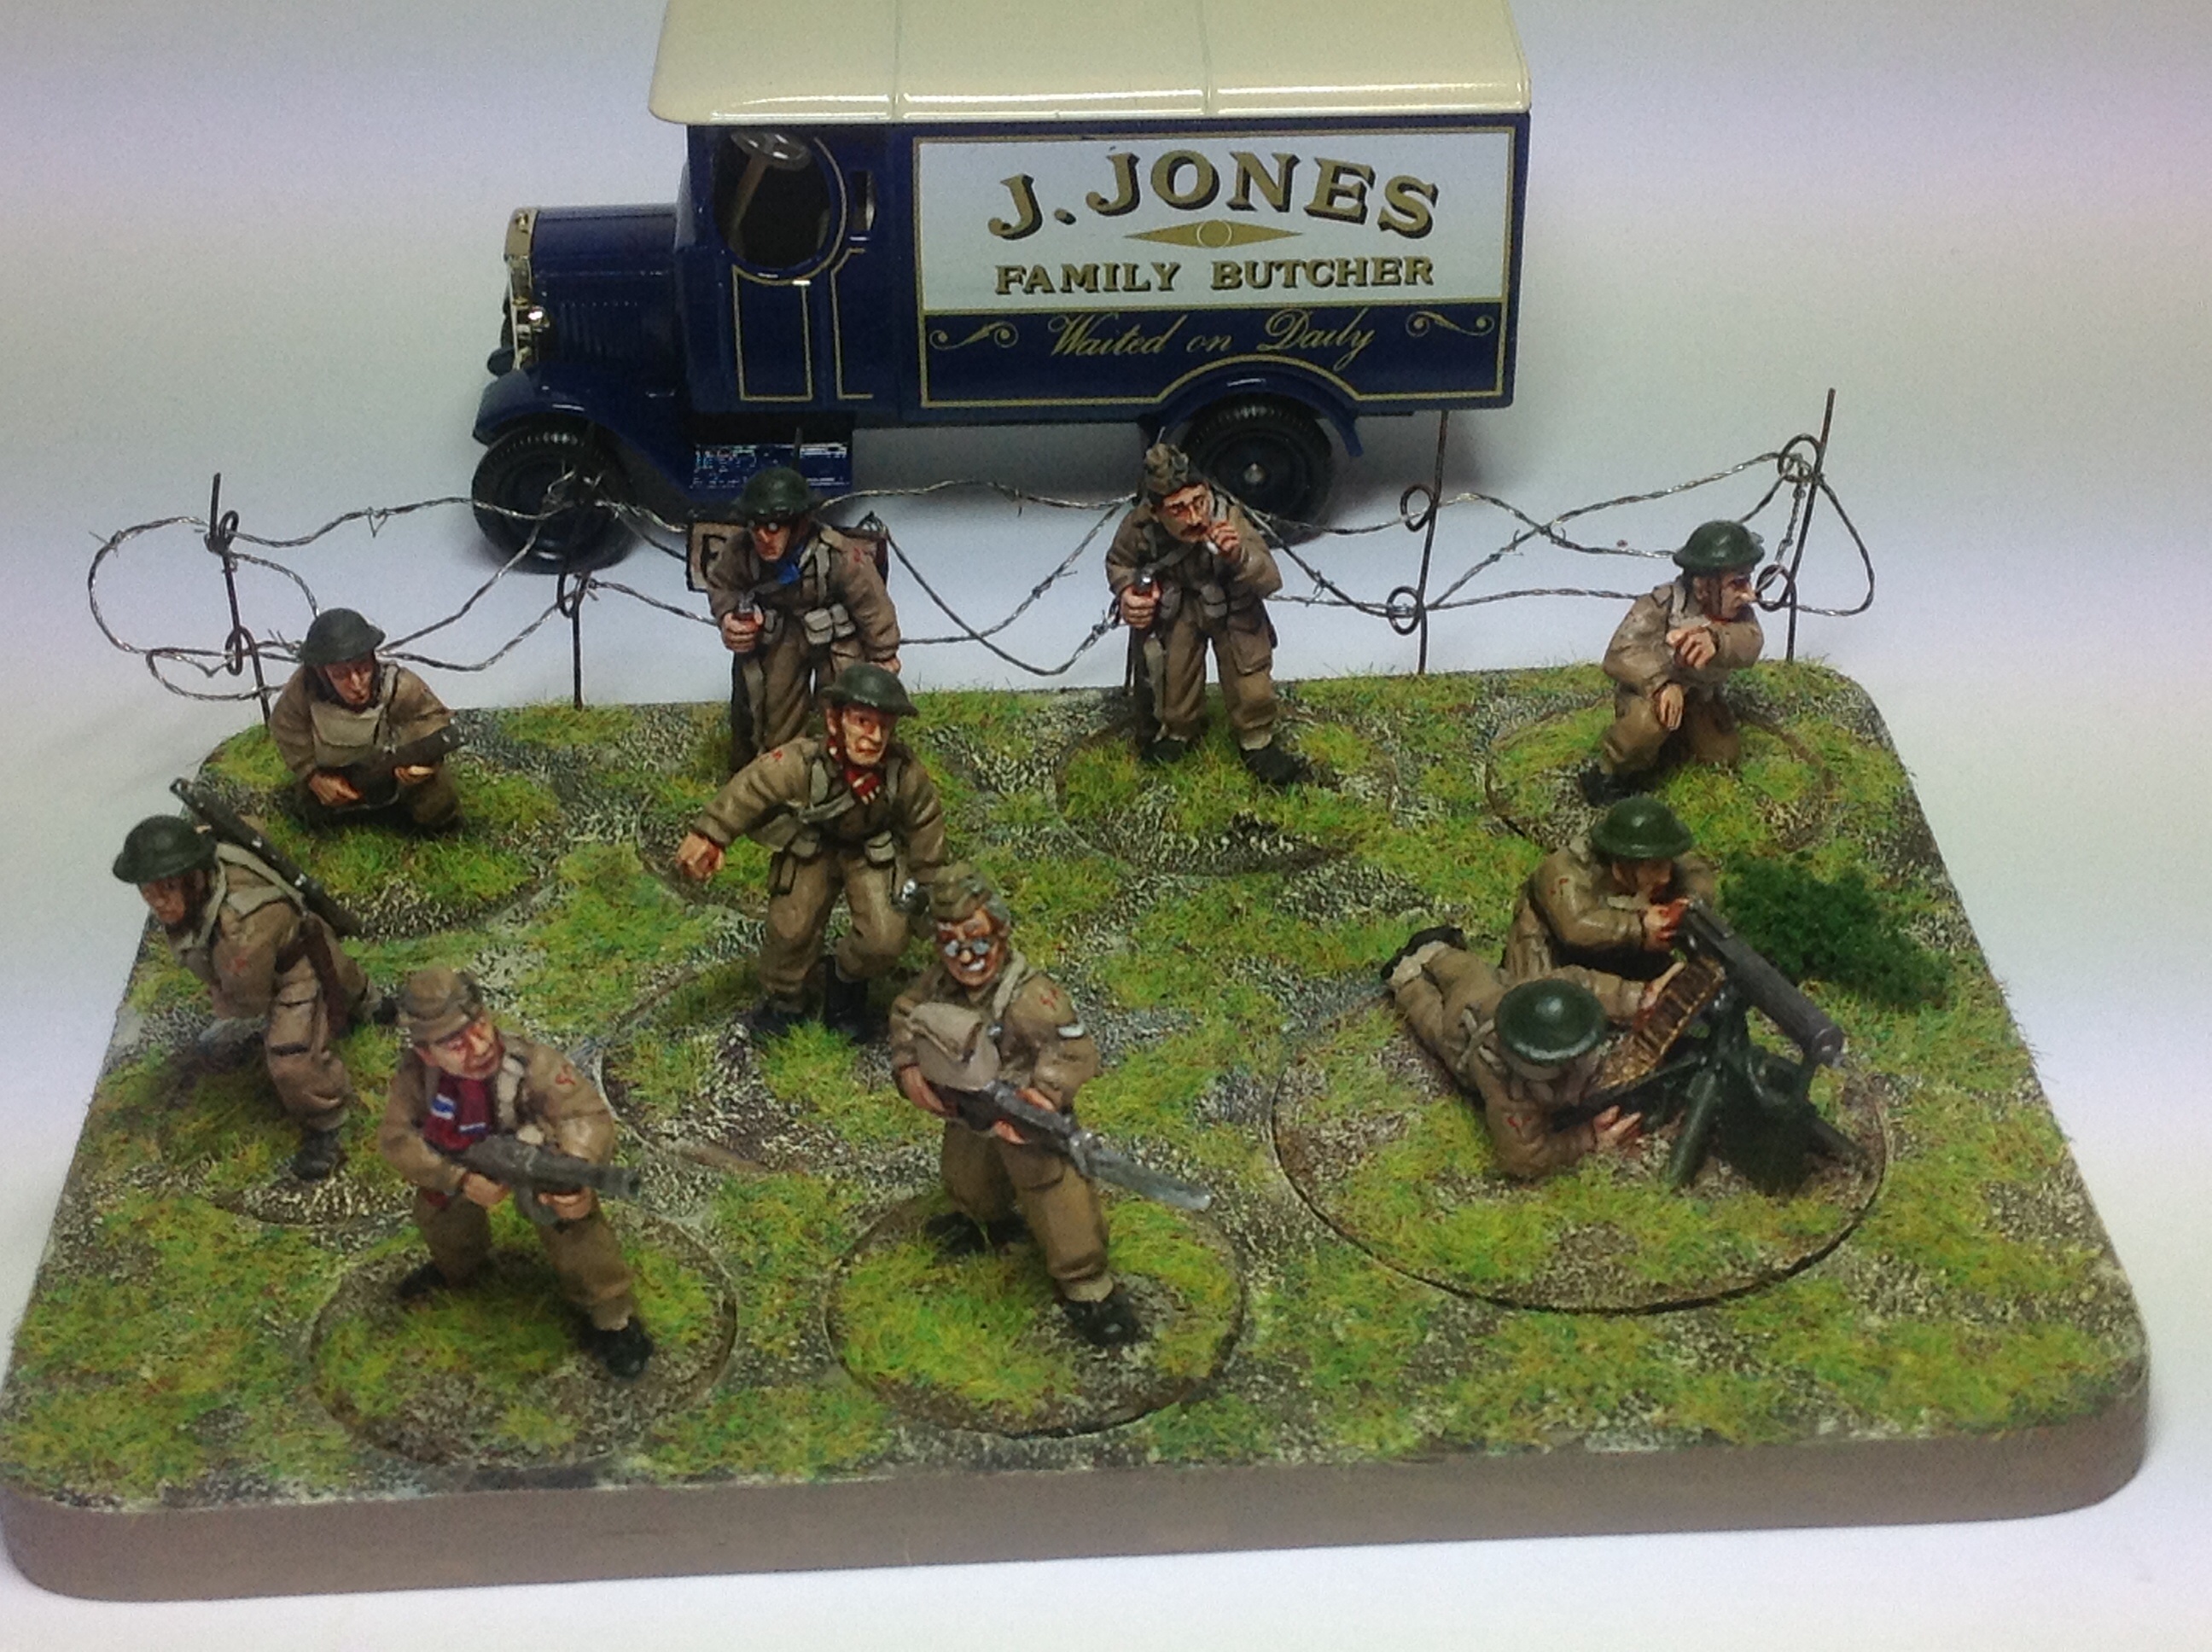
Then I got on with the Bolt Action Dad’s Army squad. These were Foundry figures. Much nicer than the ones that Warlord Games released. It’s obvious when you know that the Foundry ones were sculpted by the Perrys. Some of the figures I had already painted in England. I just wanted to get the squad finished and the command. Had a little play around with the movement trays to make them a bit more interesting.
Then it was back to the slog of the Fir Bolg. I painted them in block colour and it was only a couple of days ago that I finished that. I dug out two new brushes to finally replace my old ones. The fine detail one was down to four bristles and the blocker wouldn’t hold it’s shape. My new fine brush is a Creative Models Synthetic 2/0. So far impressed. And the blocker is a Daler-Rowney Dalon D77 1. Not so sure yet. New brushes suddenly made the painting easier. I perked up a bit but the figures were just not doing it for me. Then two days ago I finished the blocking. Time for a wash, using Army Painters Strong Tone Wash. POP! Much more interesting. Shadows, grubbiness more depth. I’ve highlighted the bones. It just remains to finish the bases, paint the eyes a glowing pink (or green, haven’t quite decided) and paint the Cross of Saynte George in Tamiya Clear Red; once varnished.
So still a couple more days work before starting December’s work.
And having to go to Vienna for a Nicholaus Party.
Oh the suffering!
This is what I have planned for this months workbench.
The main job is to finish a unit of Mantic Undead which will be used as Fir Bolg in my Albion Army.
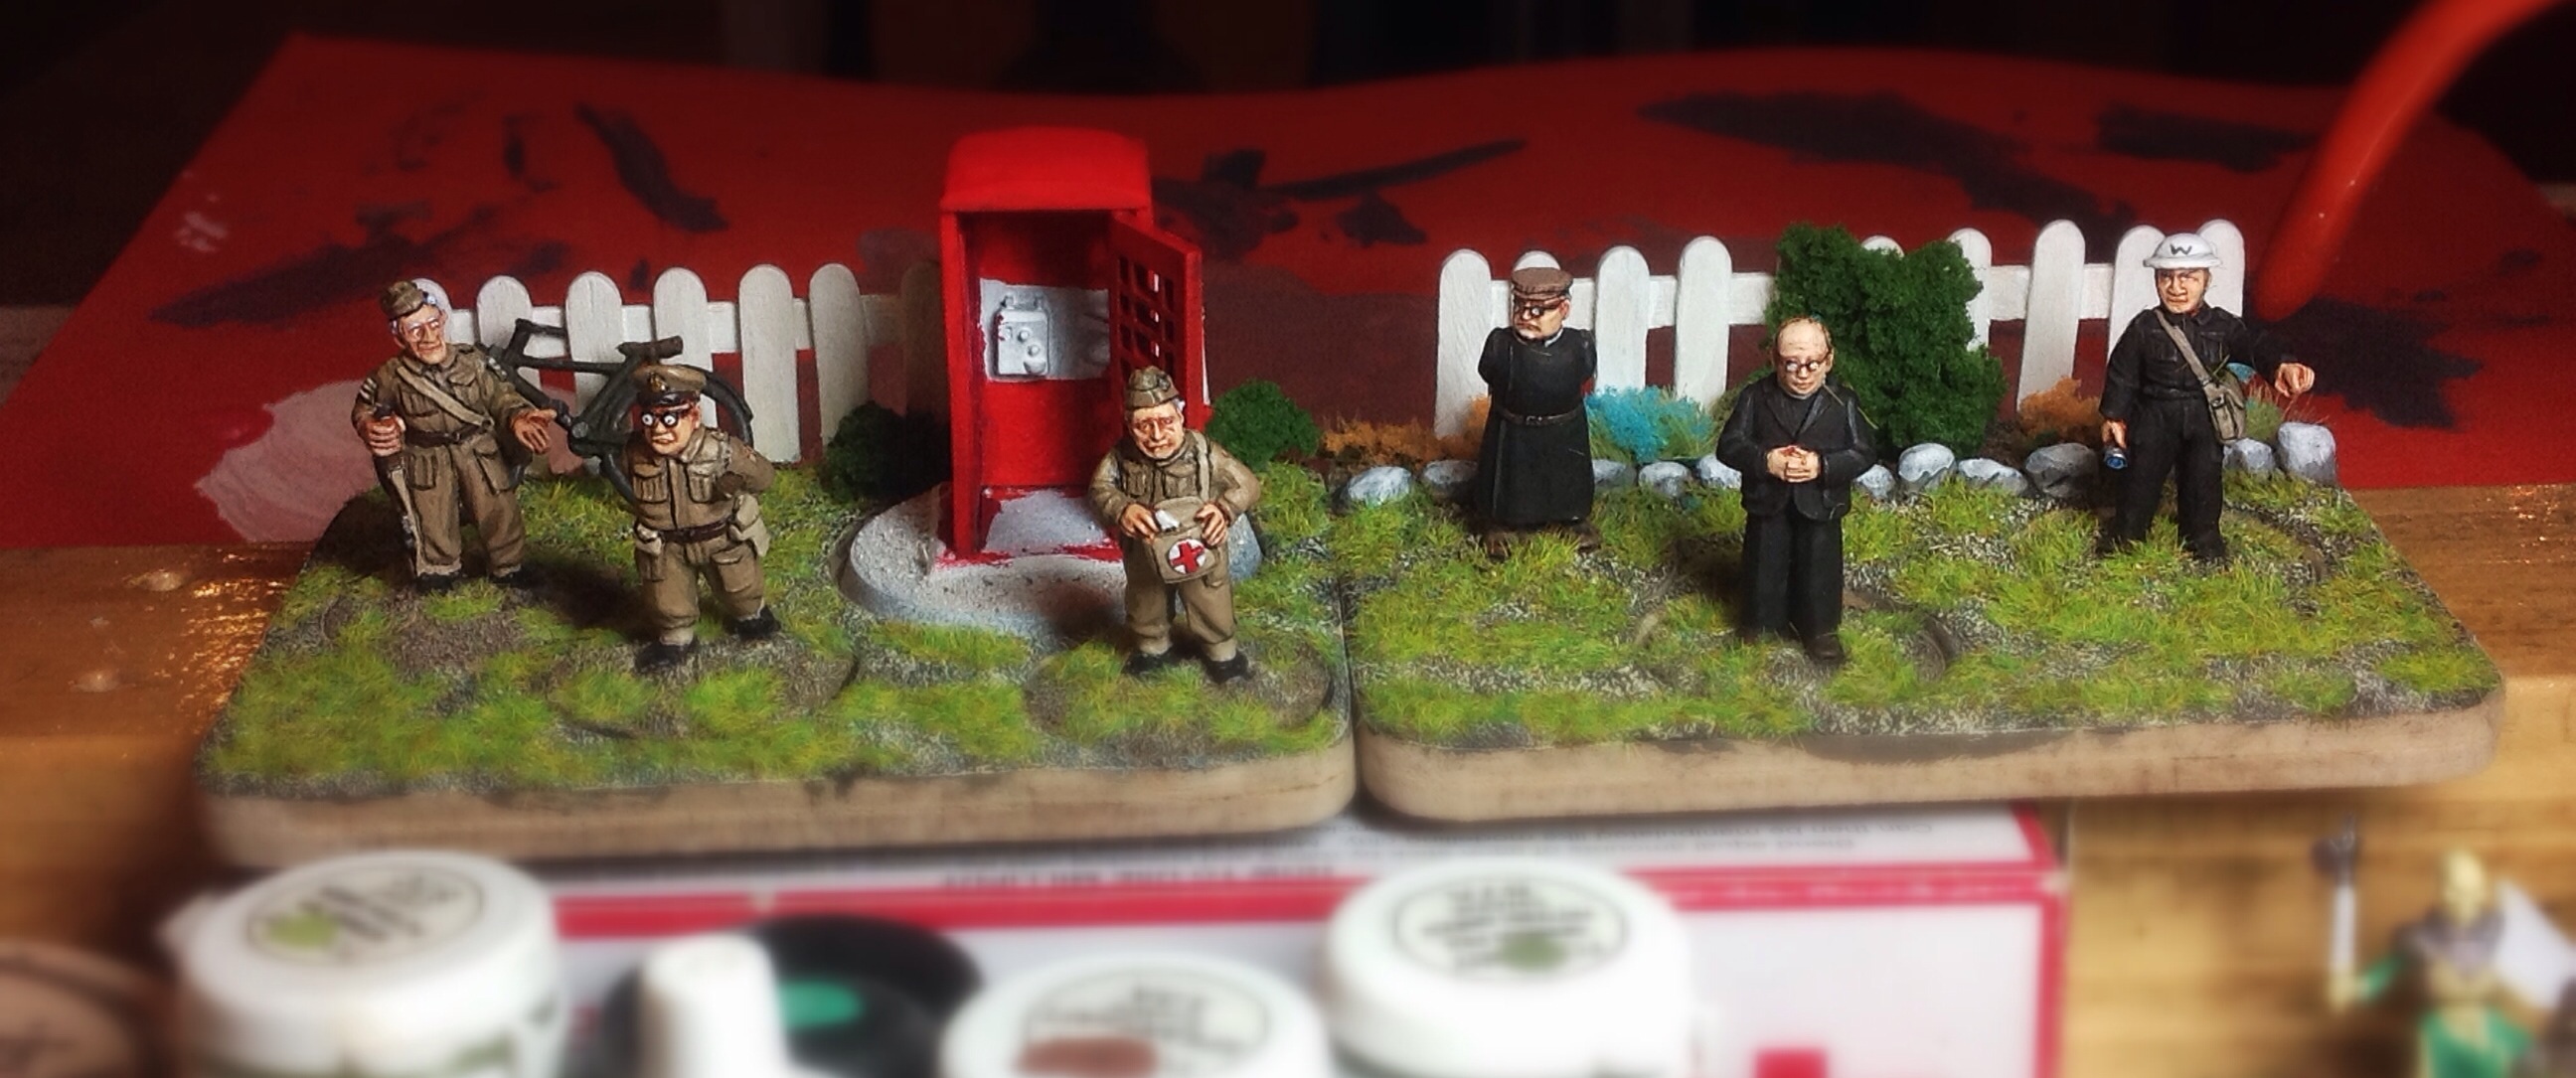
Next up is to finish a unit of Home Guard for my Bolt Action Army. The figures are from Foundry and feature some well known characters.
I want to get a Penal Unit, top center, prepped and ready for painting. They are from Victoria Miniatures and they look very very good and I can’t wait to paint them. Maybe in the New Year? These are destined for my 40K Imperial Guard/Not DKK Army. Finally on the right are some Arcworlde figures, just for fun.
There I was, being disciplined in my painting, and along come the Orcs from the Lancer Miniatures Kickstarter.
Shiny!
So what happens? I stop painting what I was doing and start these.
Here is a view of my production line. This is pretty much what I do when I have a unit to paint.
Magnetising the bases with neodymium magnets
Cleaning the mold lines with my new Dremmel attachment
Basing with sand and PVA
Undercoating the shields. I’ve been a bit lazy and used an old can of yellow primer that I had lying around rather than using my airbrush.
Wood basecoat.
Metal painted. A test shield with wash and in the background you can see the beginnings of a movement tray.
Test shield with rust, wash and wood highlights.
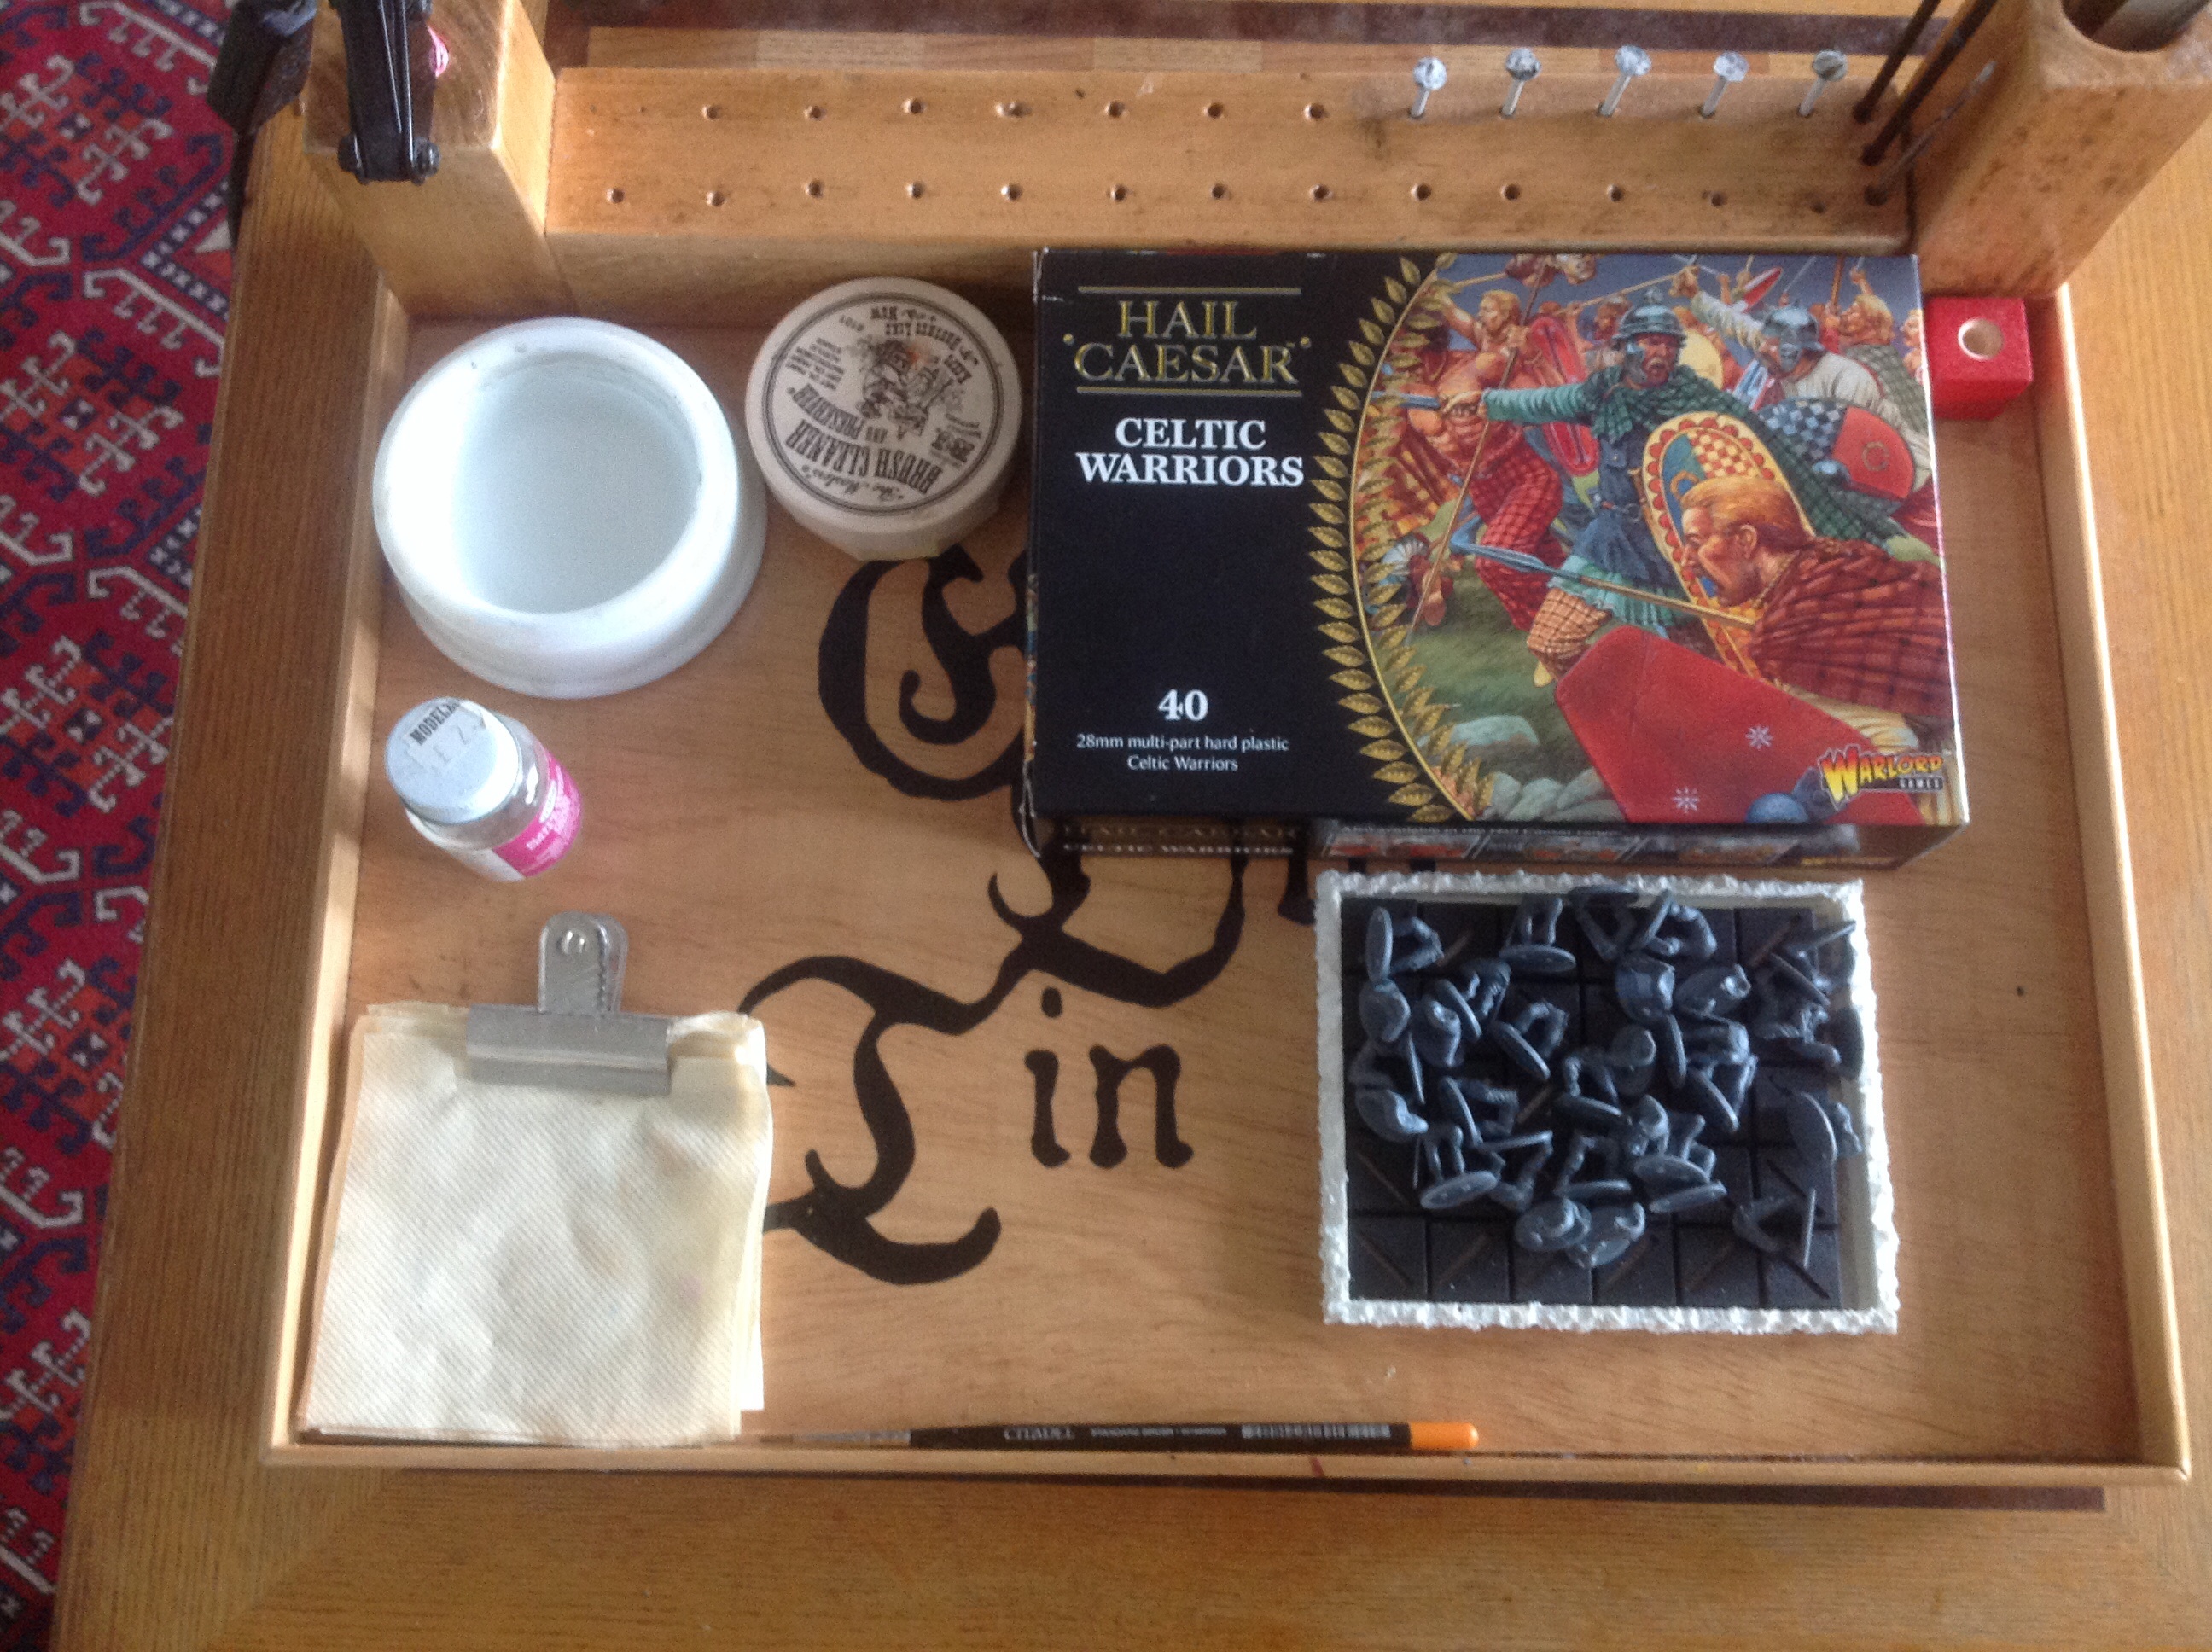
Well I managed to finish painting the thirty strong unit of Celts from Warlord Games. All that remains is to finish the movement tray and the shields. The shields can wait because the transfers provided by Warlord were frankly very disappointing. They looked as if they had been printed on a cheap laser printer that was running low on toner. I’ll wait until I get to Salute and get some shield transfers from Little Big Man Studios.
This month is not going to plan and this month’s work is going to probably be finished in September.
Why?
Days out at Wallersee, our local lake.
Mountain walks with Number One Son
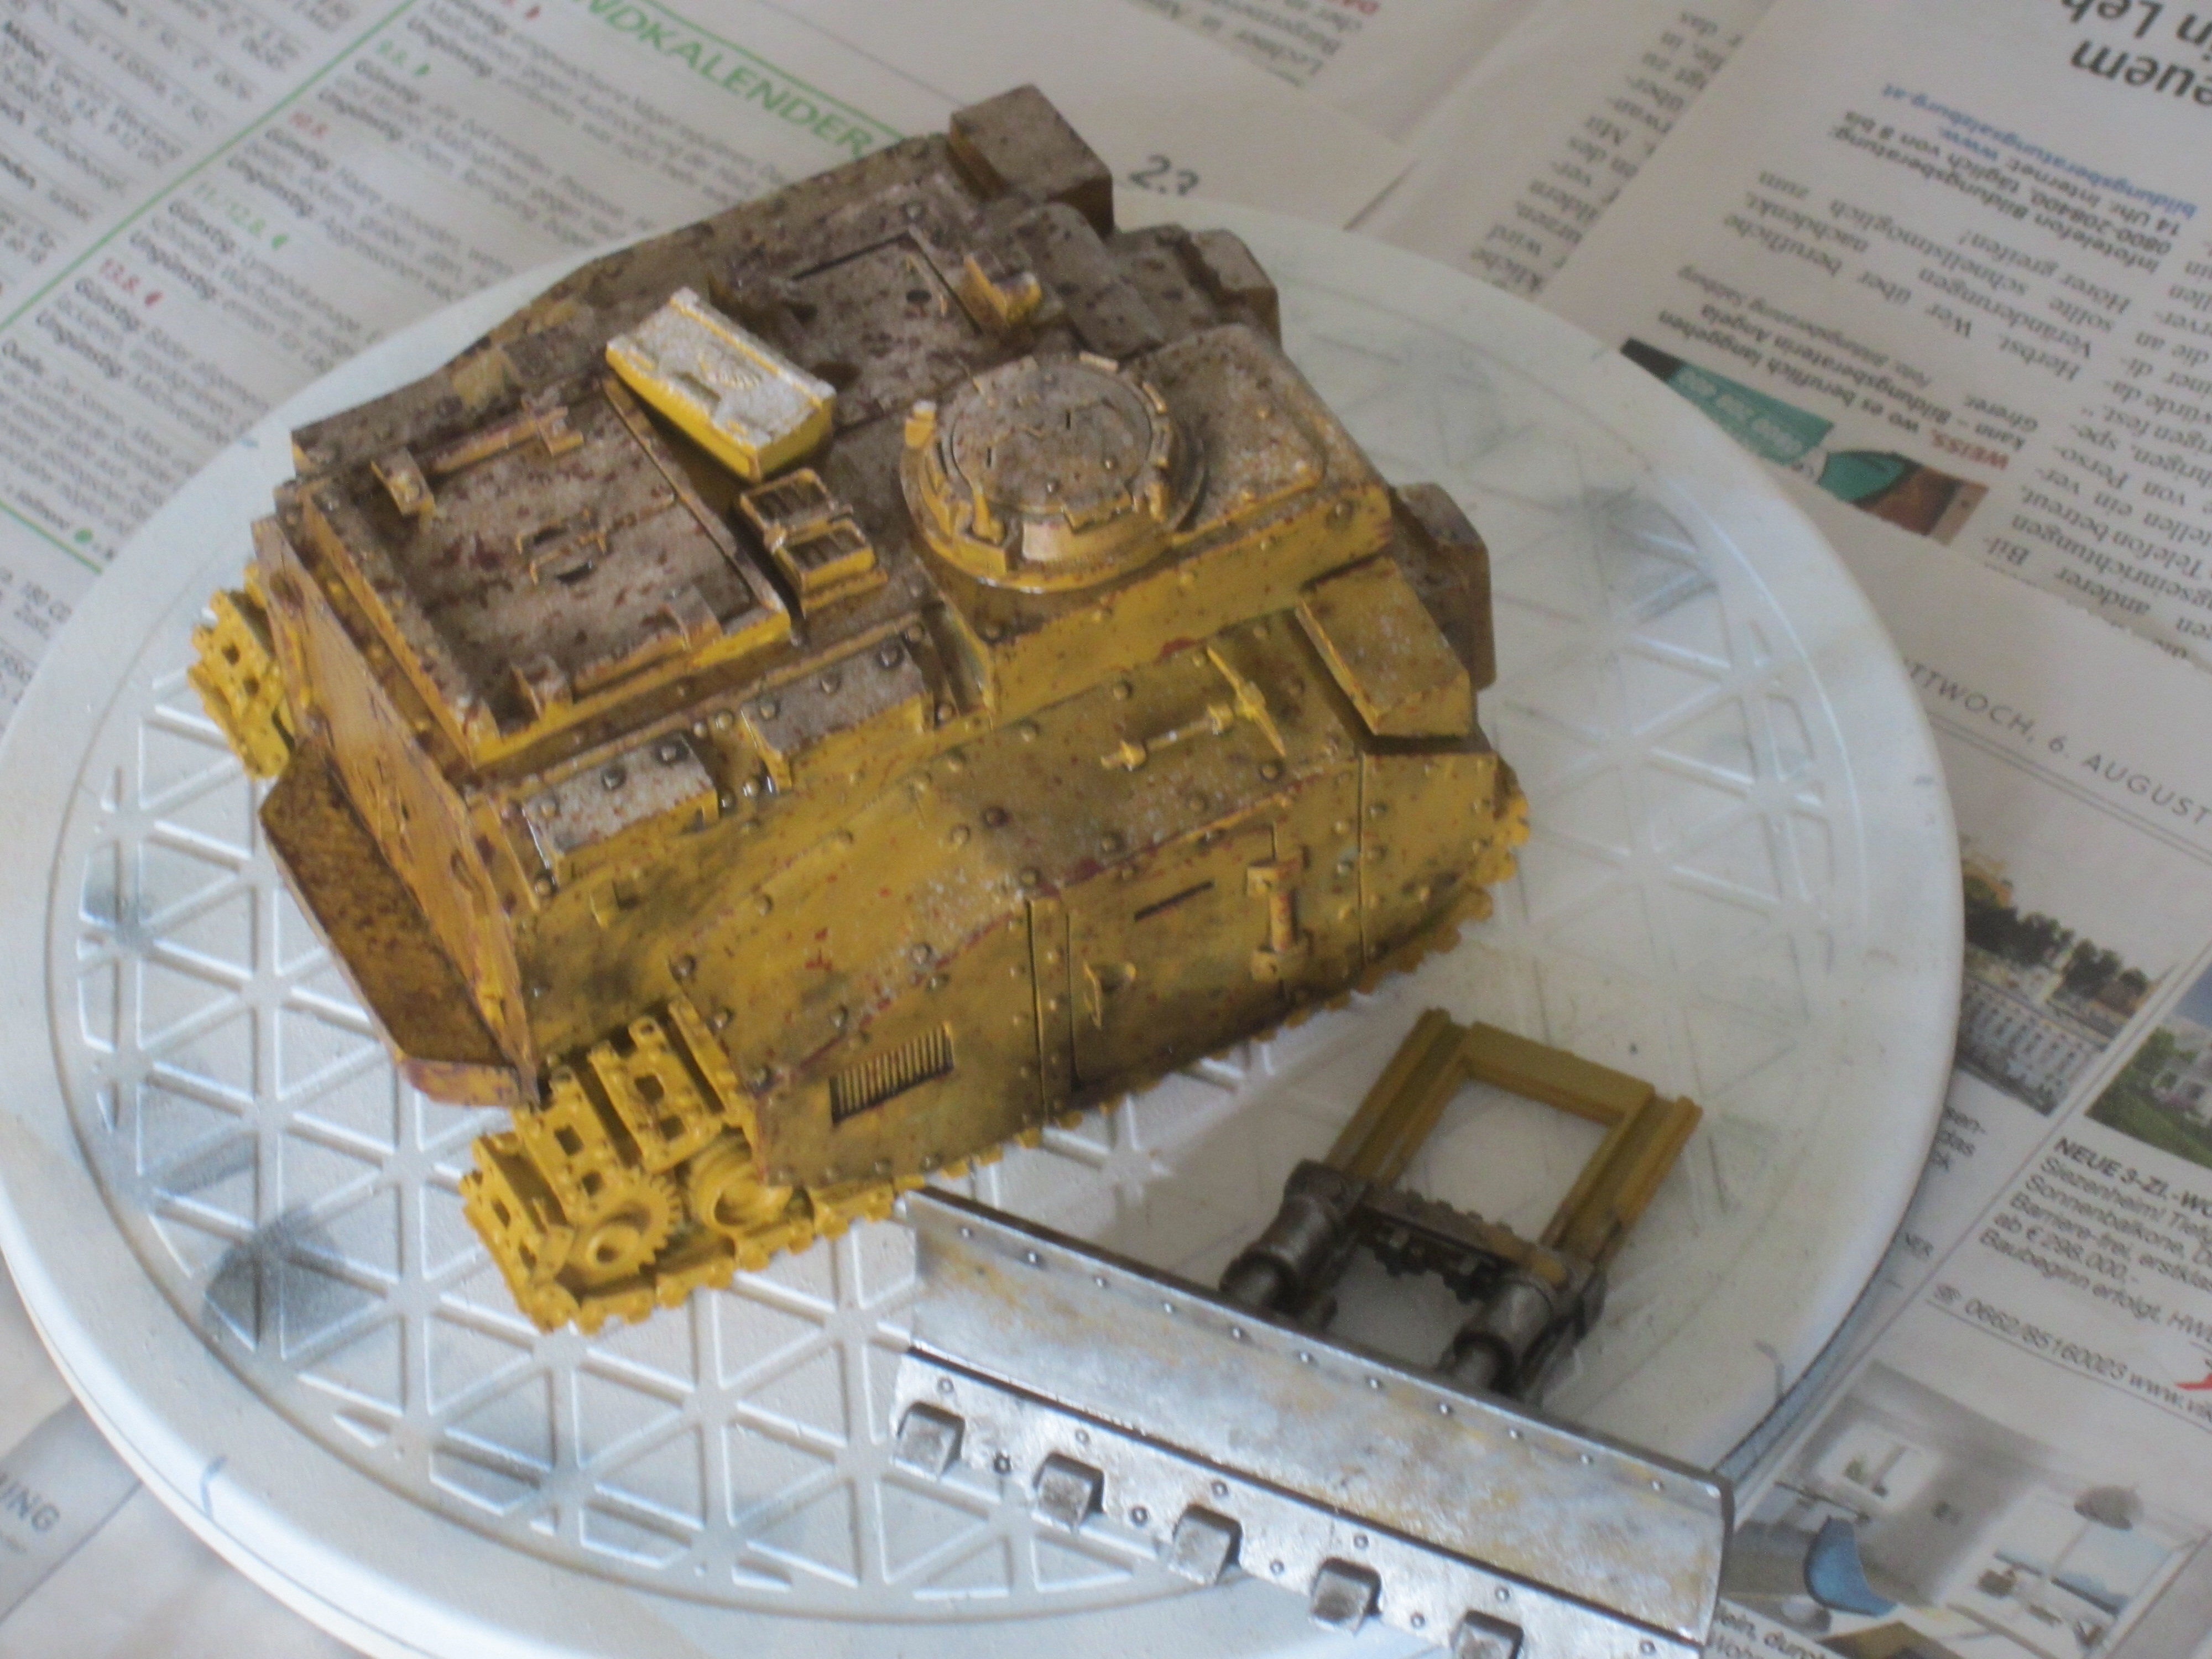
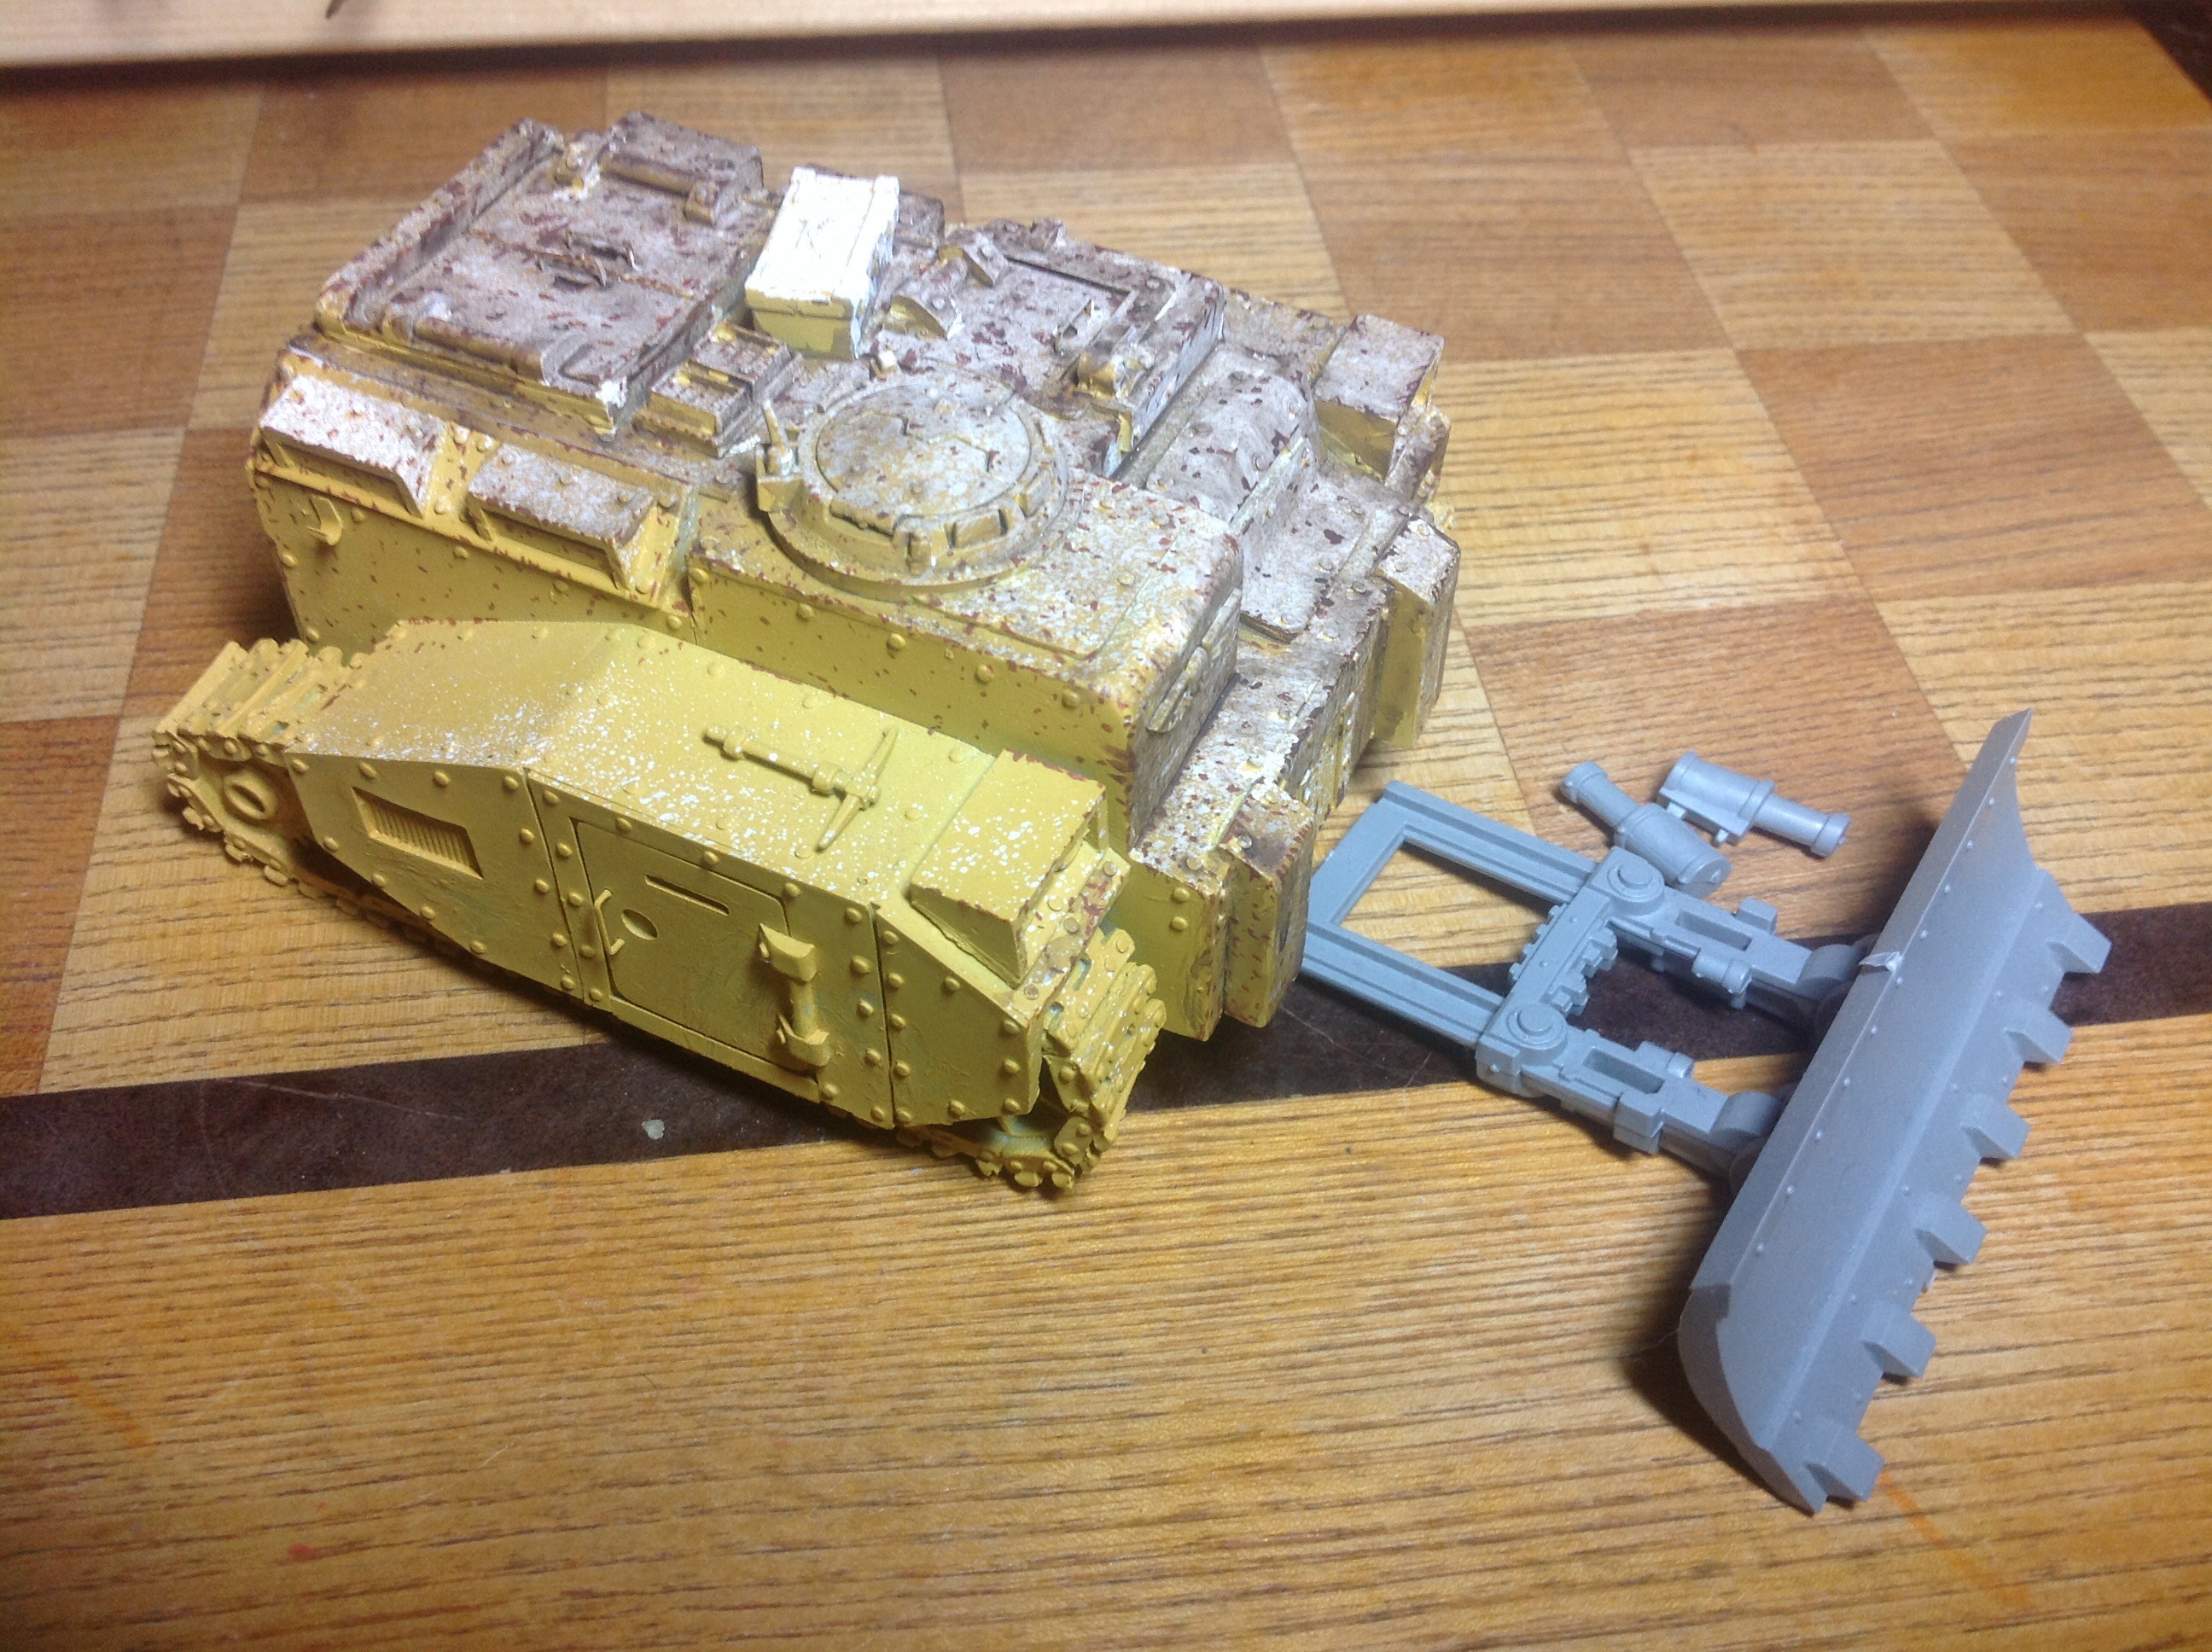
And wanting to try out some weathering effects on the Command Vehicle from Ramshackle Games.
Here it is with the chipping waiting for a coat of hairspray.
Then sprayed white then distressed with warm water and a cotton bud. It is slightly depressing to see the hours worth of painting disappearing under a coat of paint only to reveal a small part.
Next I get to try out some AK Interactive weathering products on the plough. So far my impression that it isn’t that amazing. It’s basically an expensive jar of Humbrol paint. This may change with more use. Next to the plough you can see that I have been making a start on the Celts. It has been a bit of a slog, clipping, cleaning mold lines, basing and then painting the flesh.
This is the unit with the flesh starting to take form. I’m using Foundry paints for this. Standing on a pot is the unit champian.
This last month saw me more involved with the Boys so there was less time devoted to painting.
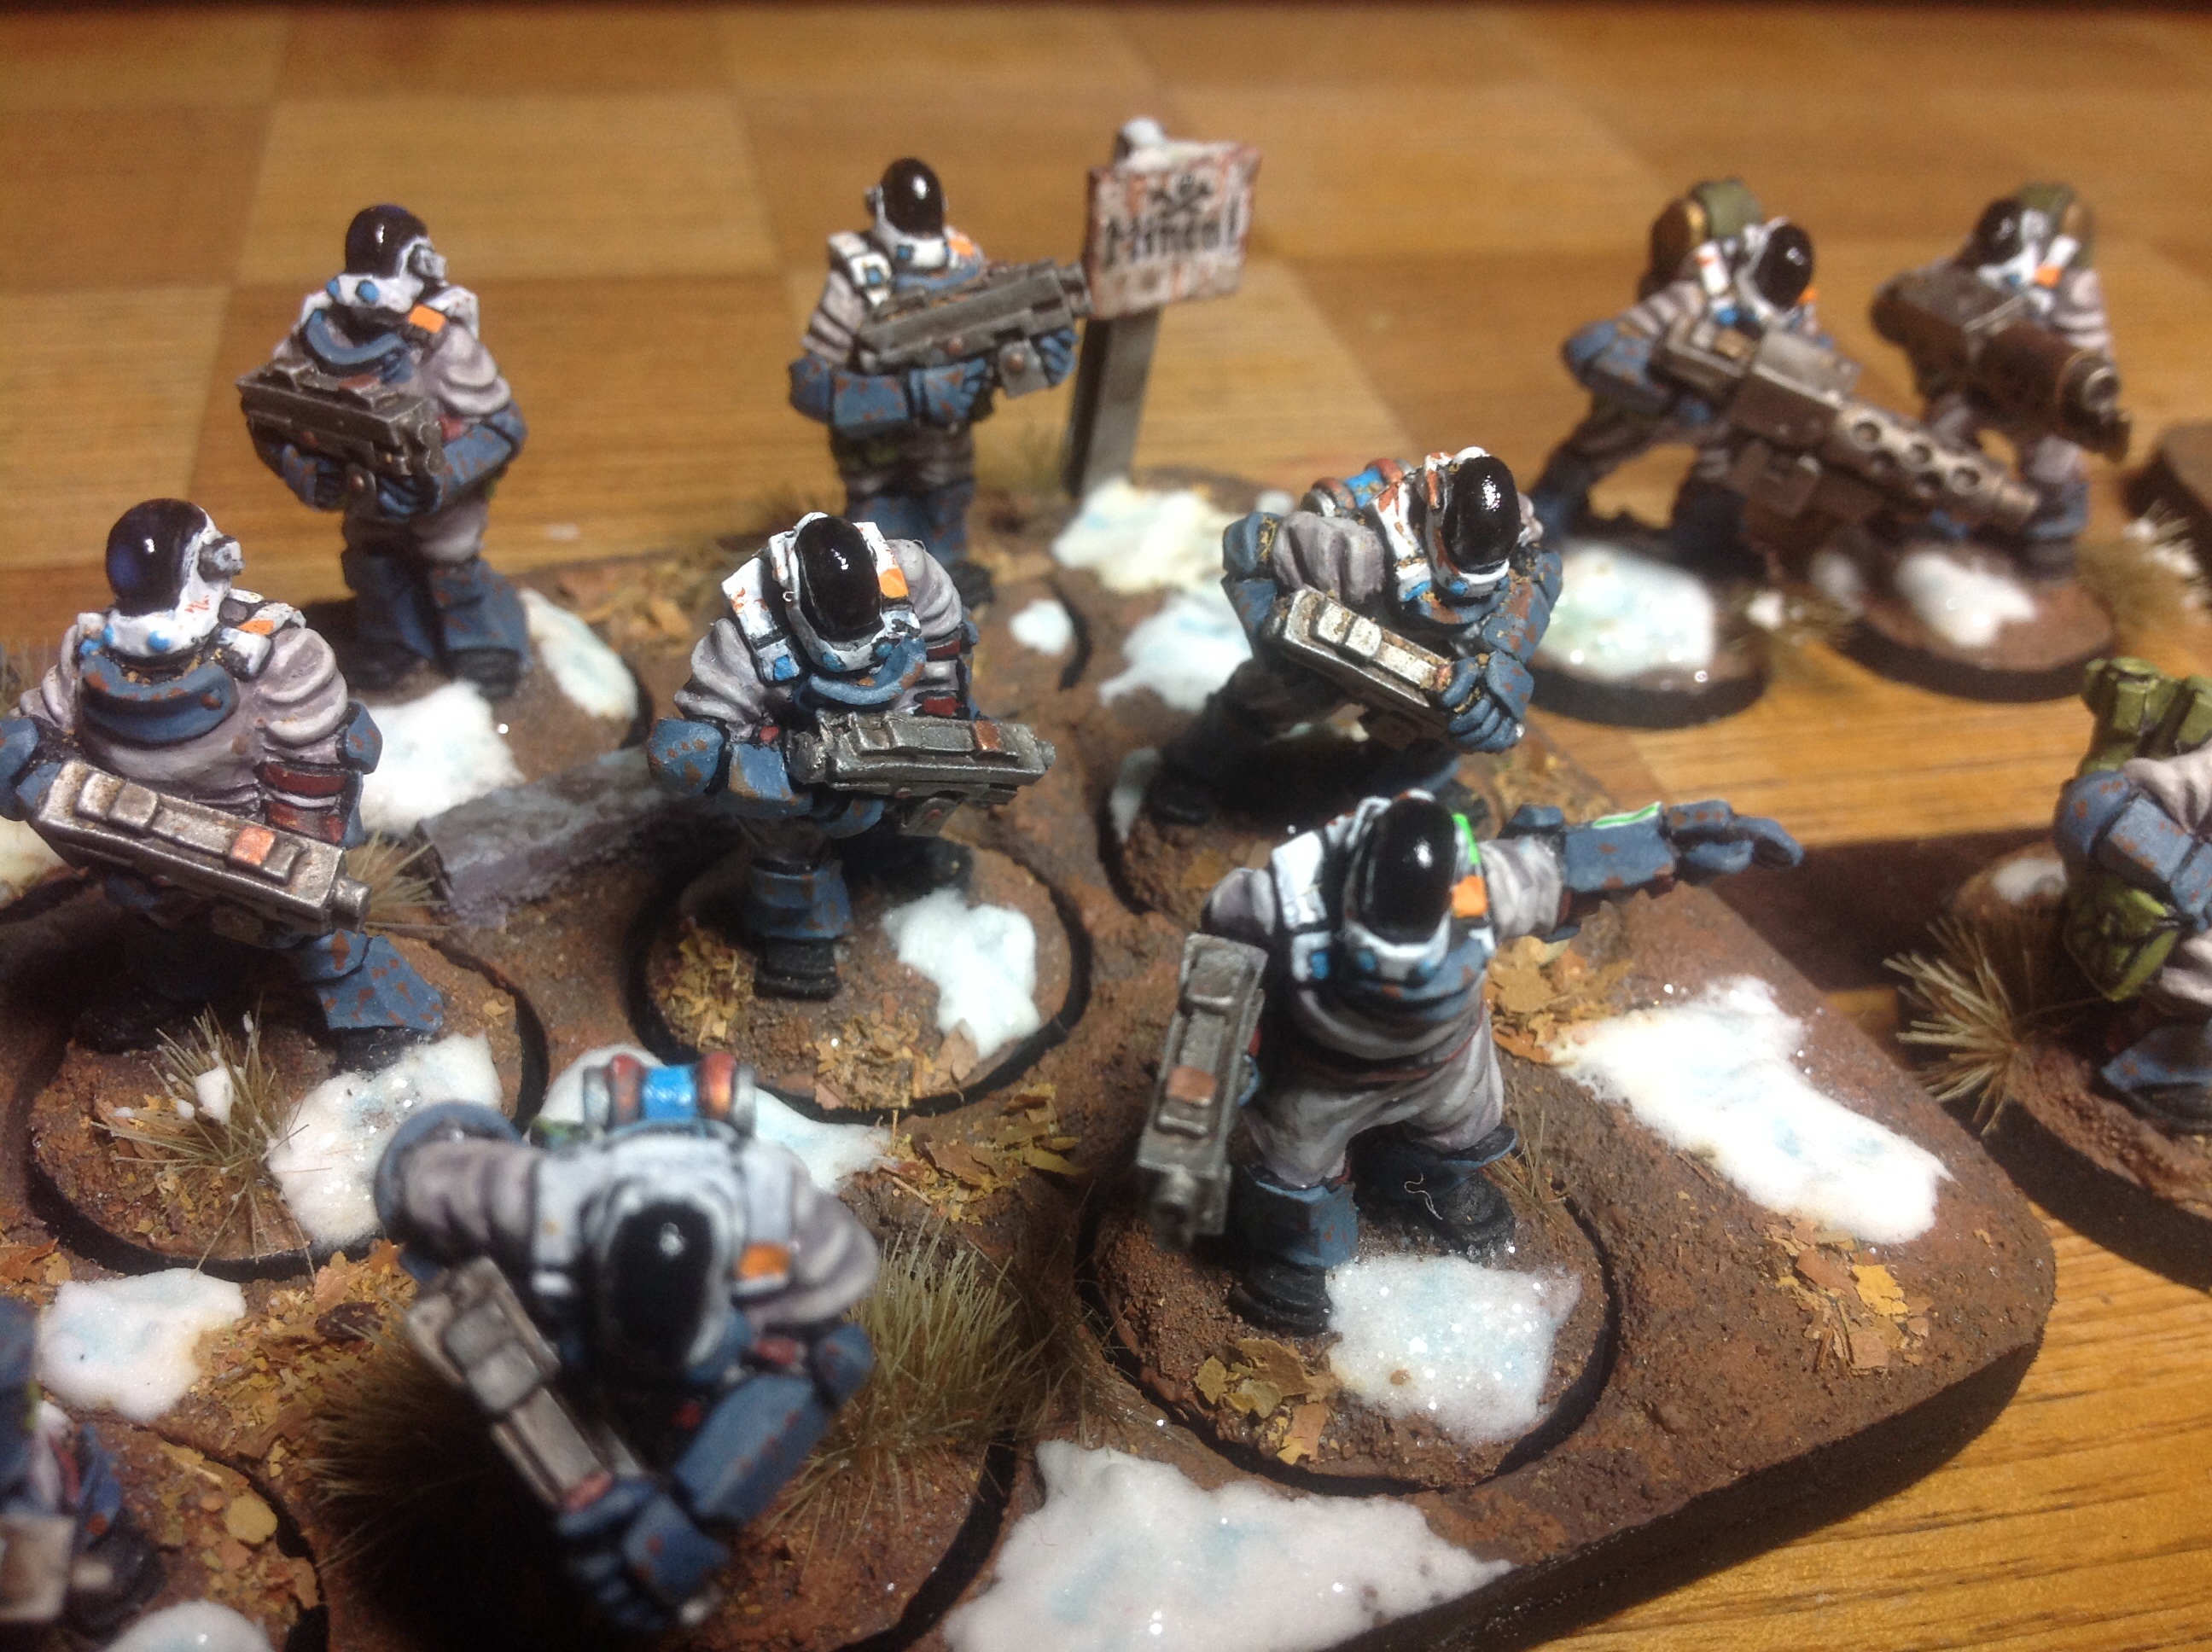
I managed to finish two squads of Ramshackle Games “Iron Brotherhood” troops from the Kickstarter campaign, but I didn’t manage the command vehicle.
These will complement my Anvil Industries “Tox Troopers” and the Raging Heroes “Toughest Girls of the Galaxy”, another Kickstarter I backed. As you can see, a far amount of work to go before I even start on the camoflage.


 https://terrain-essentials.backerkit.com/hosted_preorders