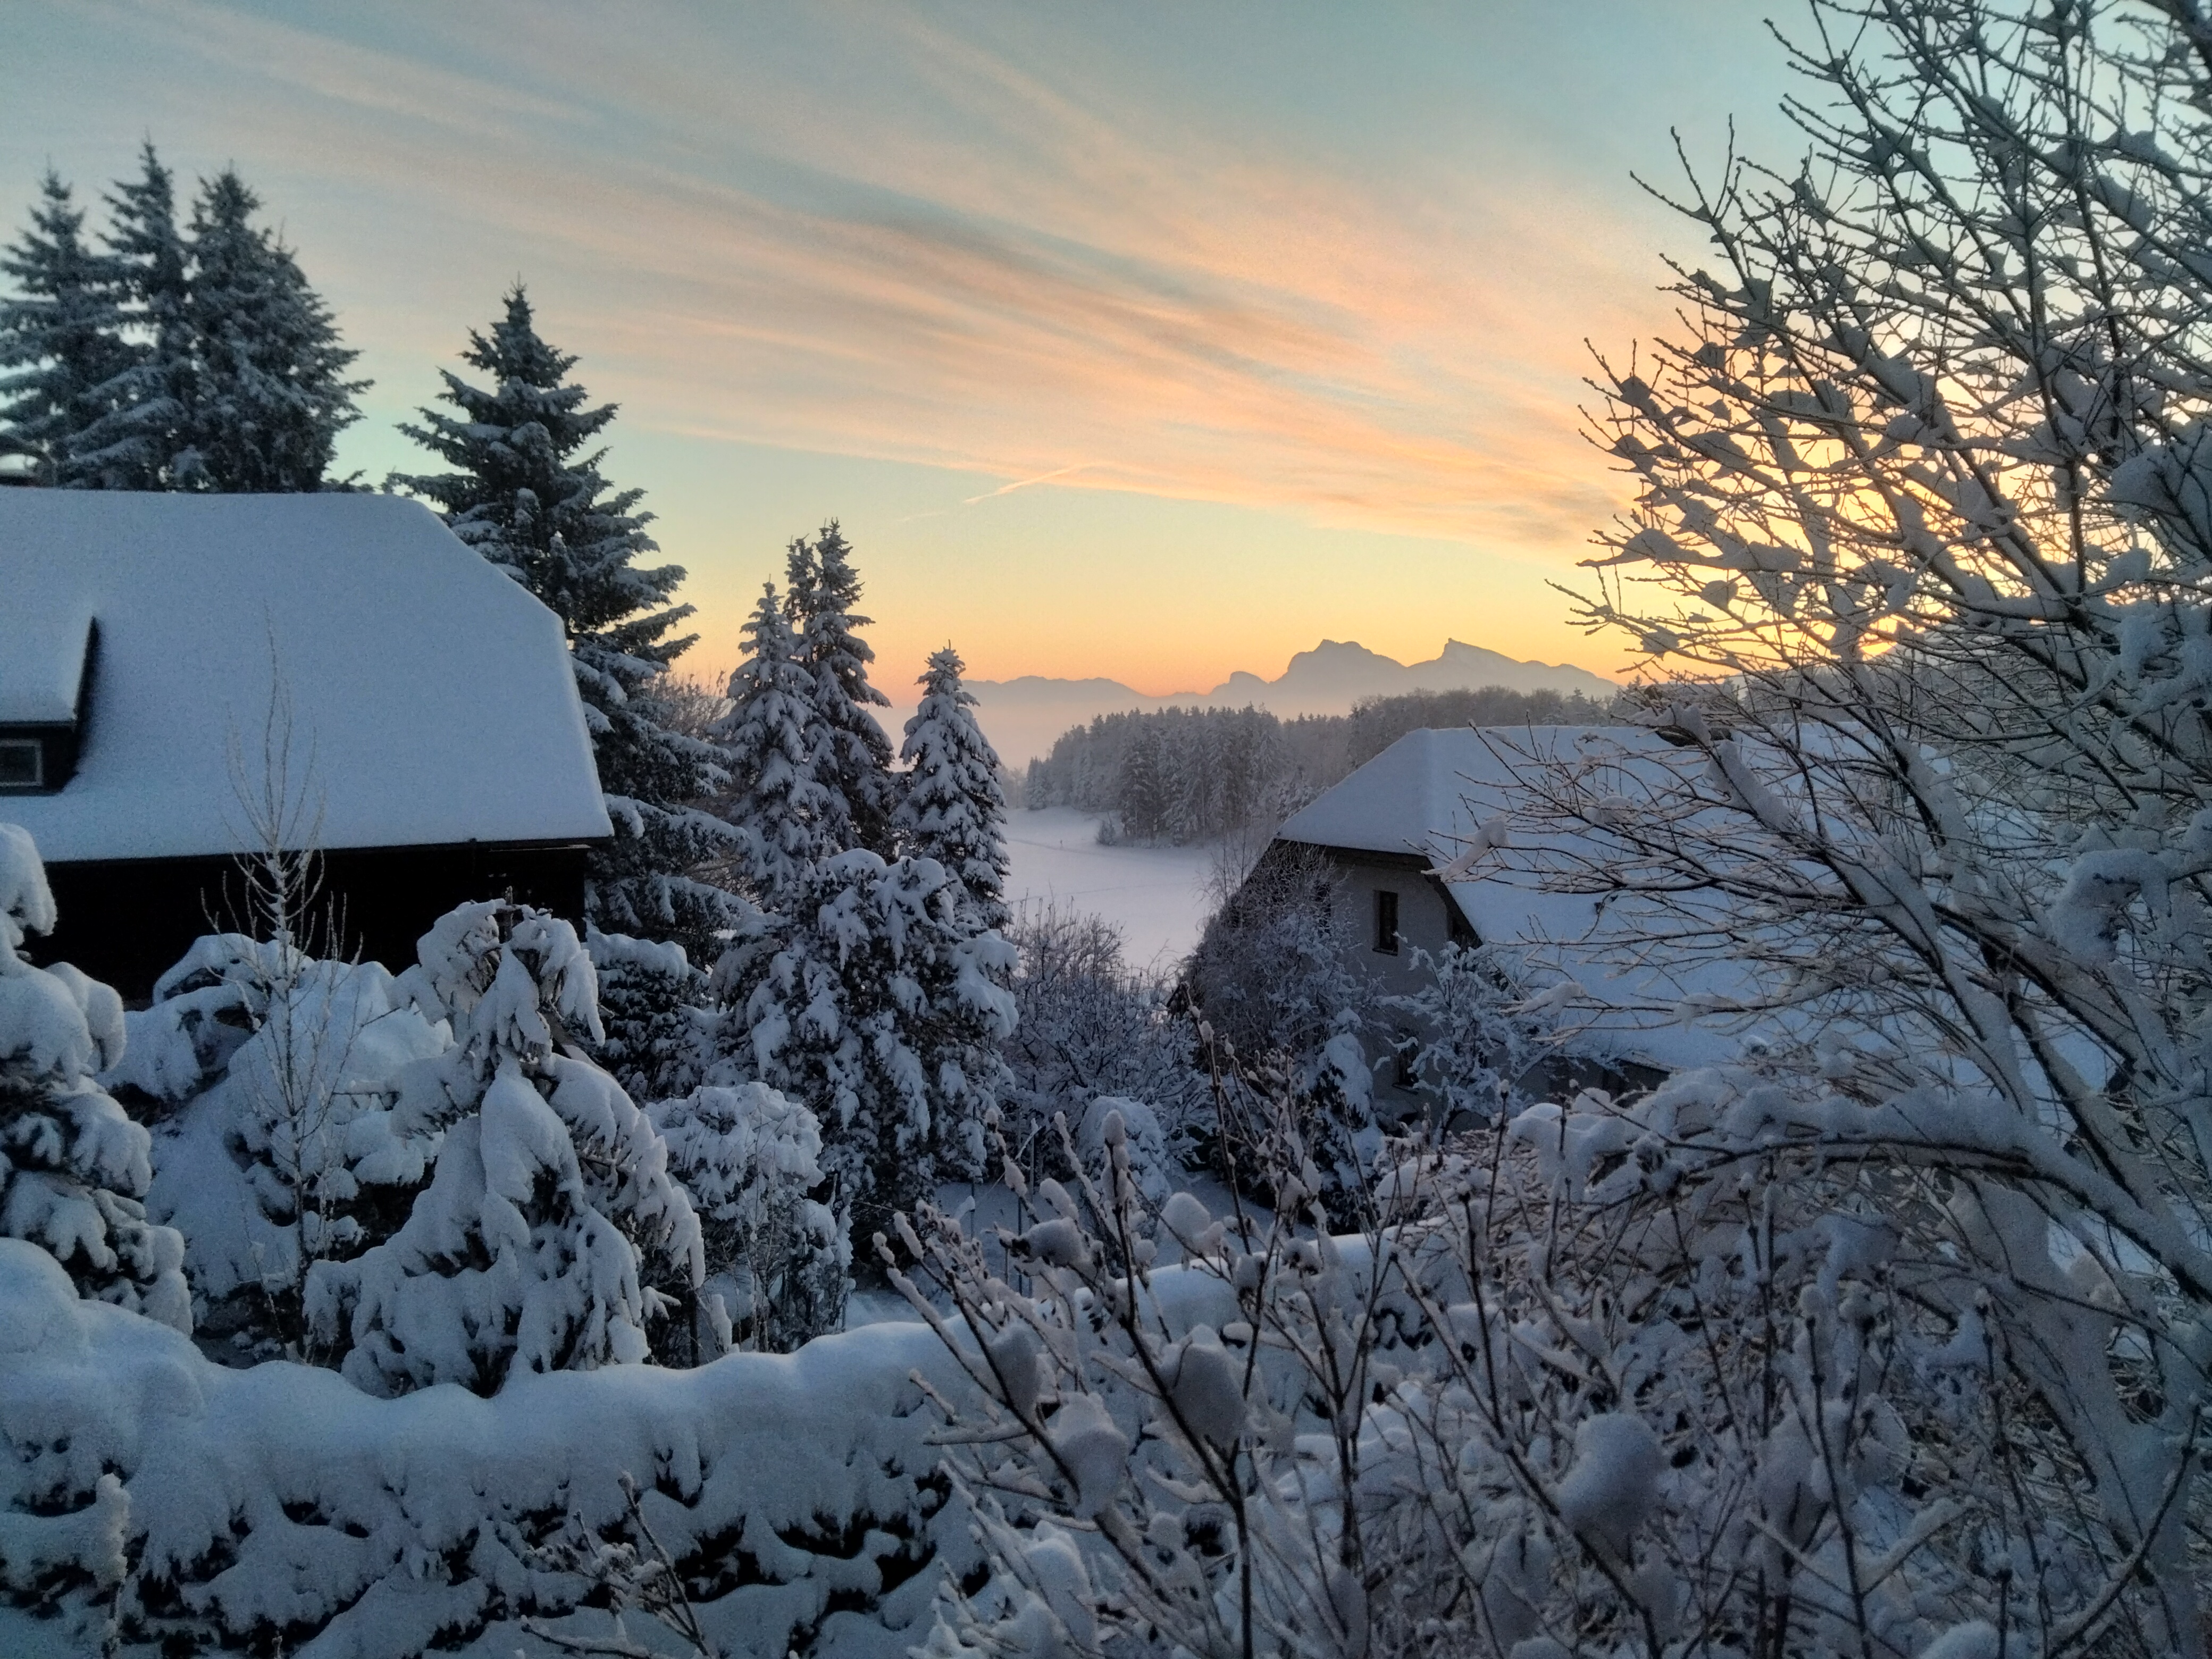
It’s Summer! Hooray a nice thirty degrees in the shade. This is just the start, it has been forecast that we are going to have a hot dry Summer. I don’t mind as it stops various joints from aching. The joys of ageing. Time for a bit of gardening, well I am English after all.
Time for a nice cup of tea while I write up what I am going to say.
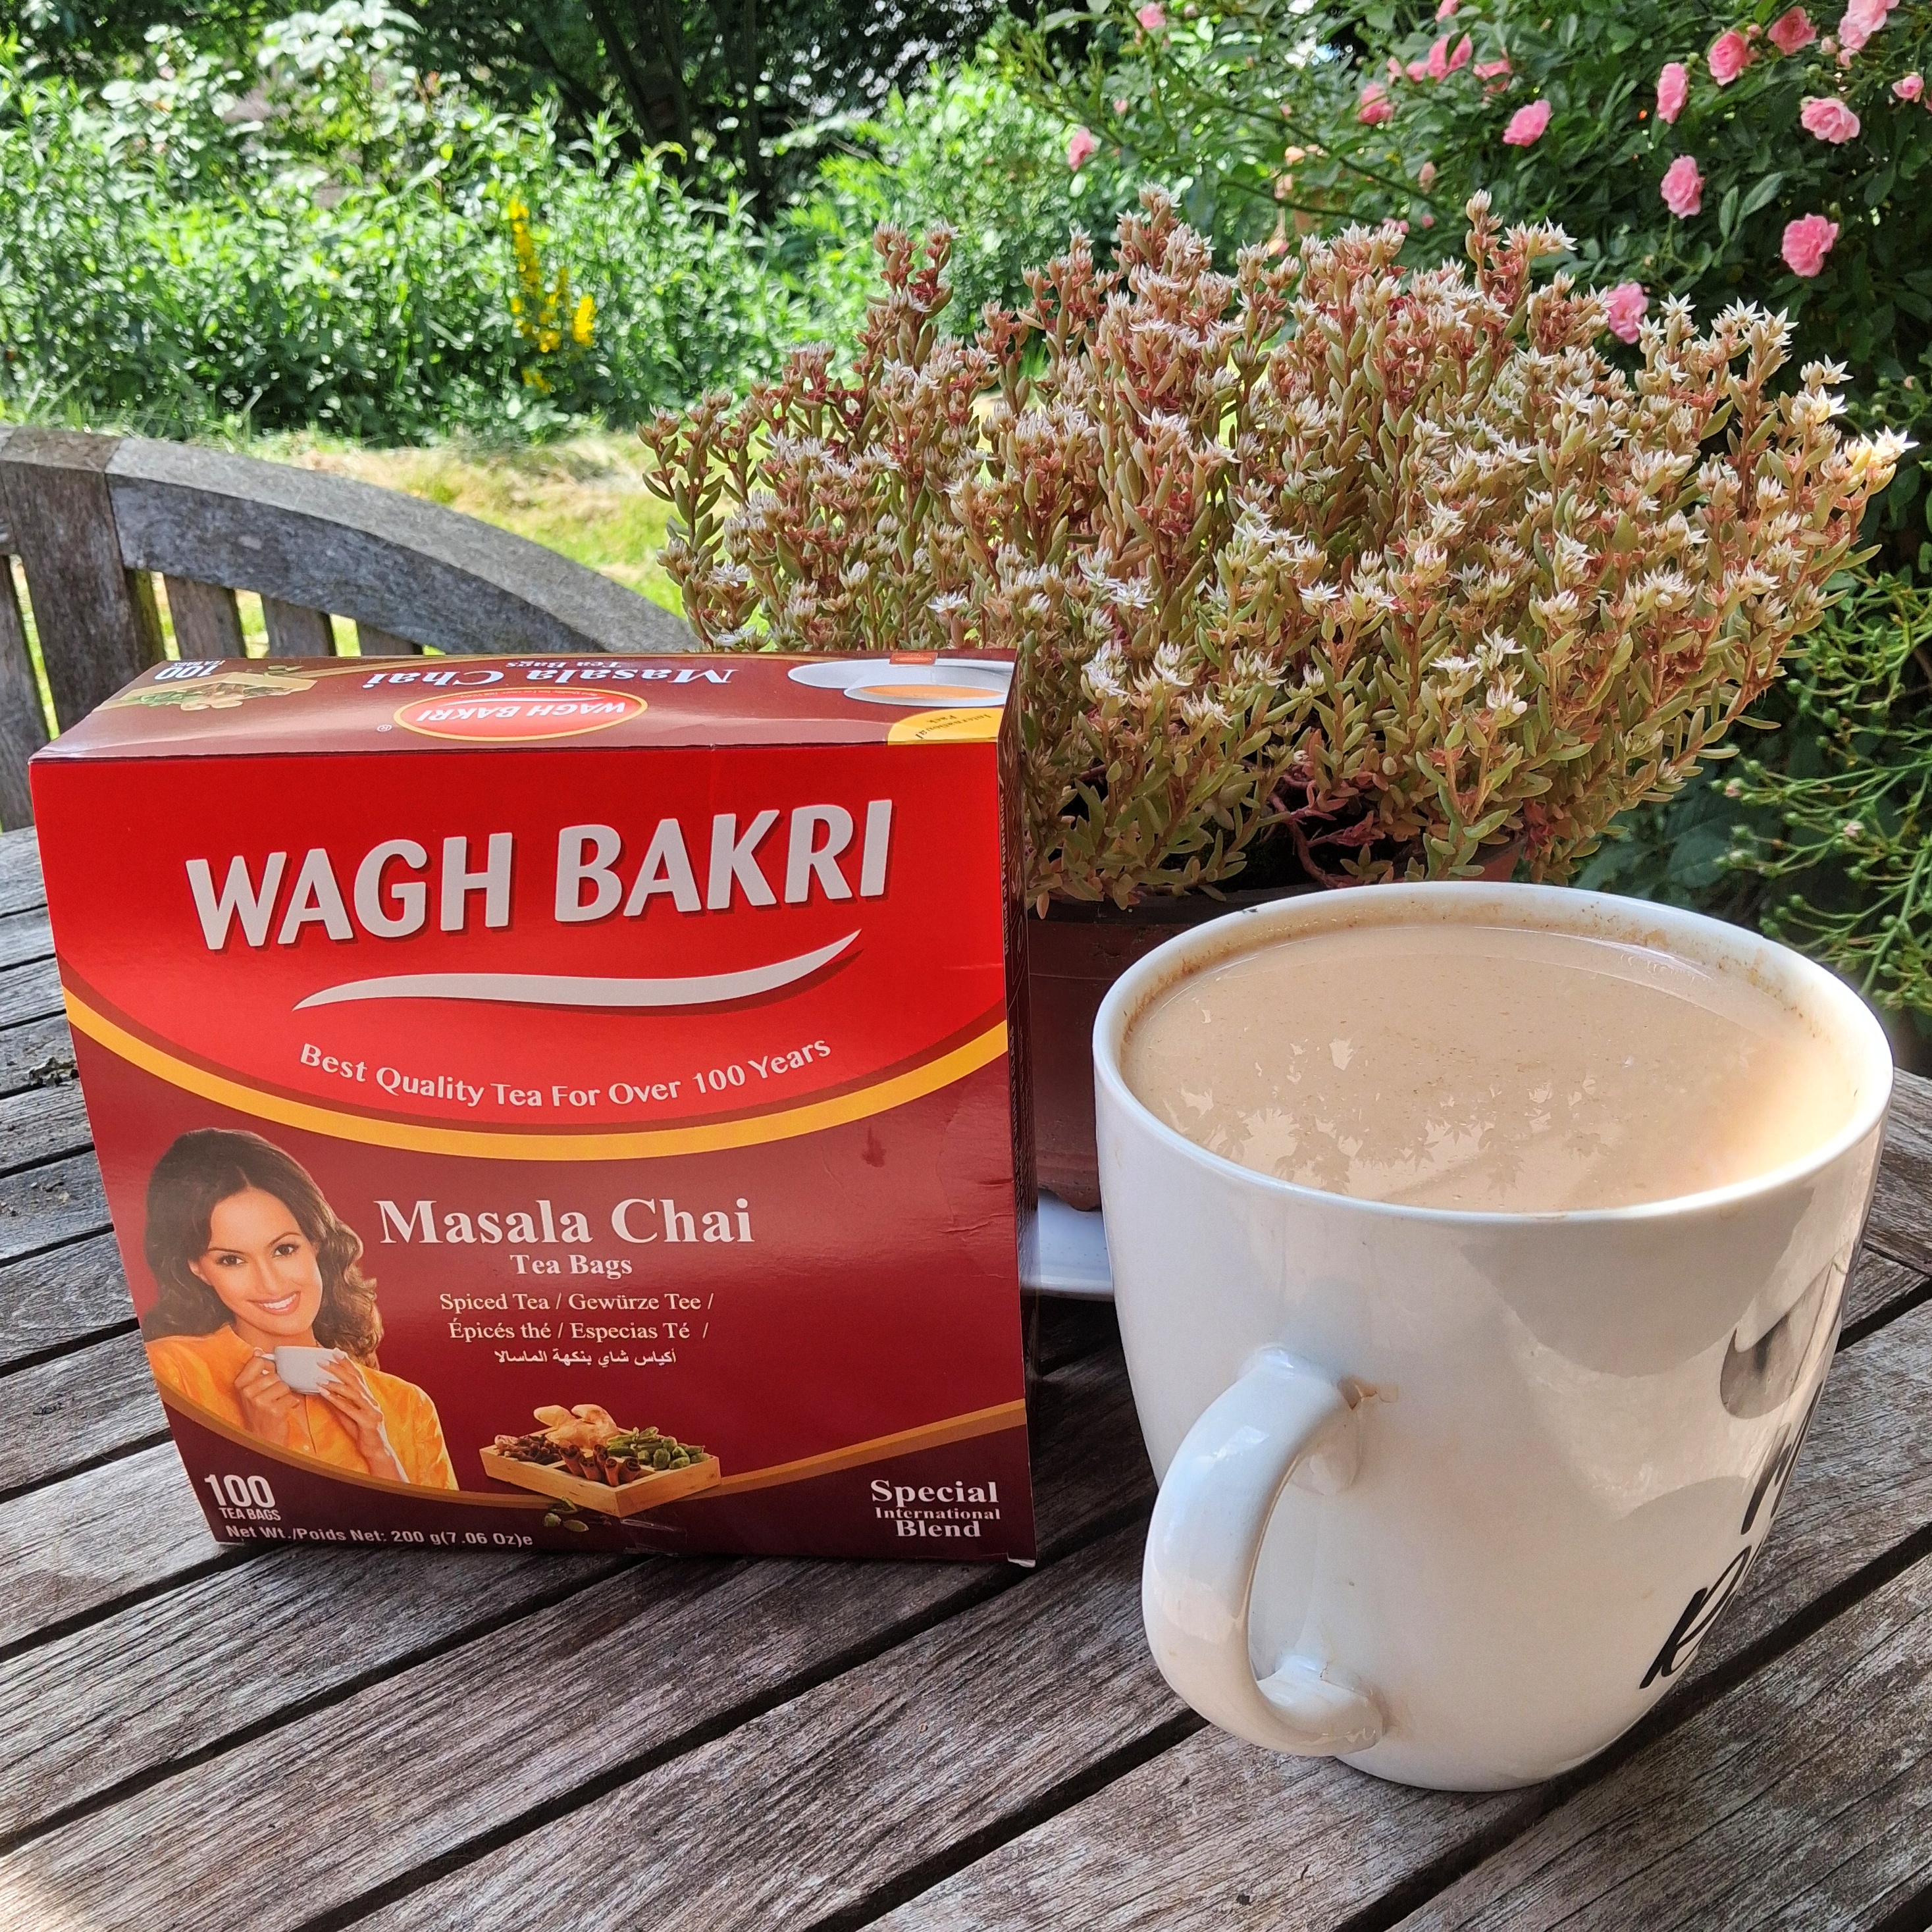
Not sponsored, but if #waghbakritea want to send me tea to appreciate I wouldn’t complain.
RIP John Blanch
One cannot underestimate the impact he had upon the look and feel of our hobby. Although not a fan of all his output (which was prolific) there is still plenty for me to admire.
https://en.wikipedia.org/wiki/John_Blanche
This is a good source of information with useful links to his work.
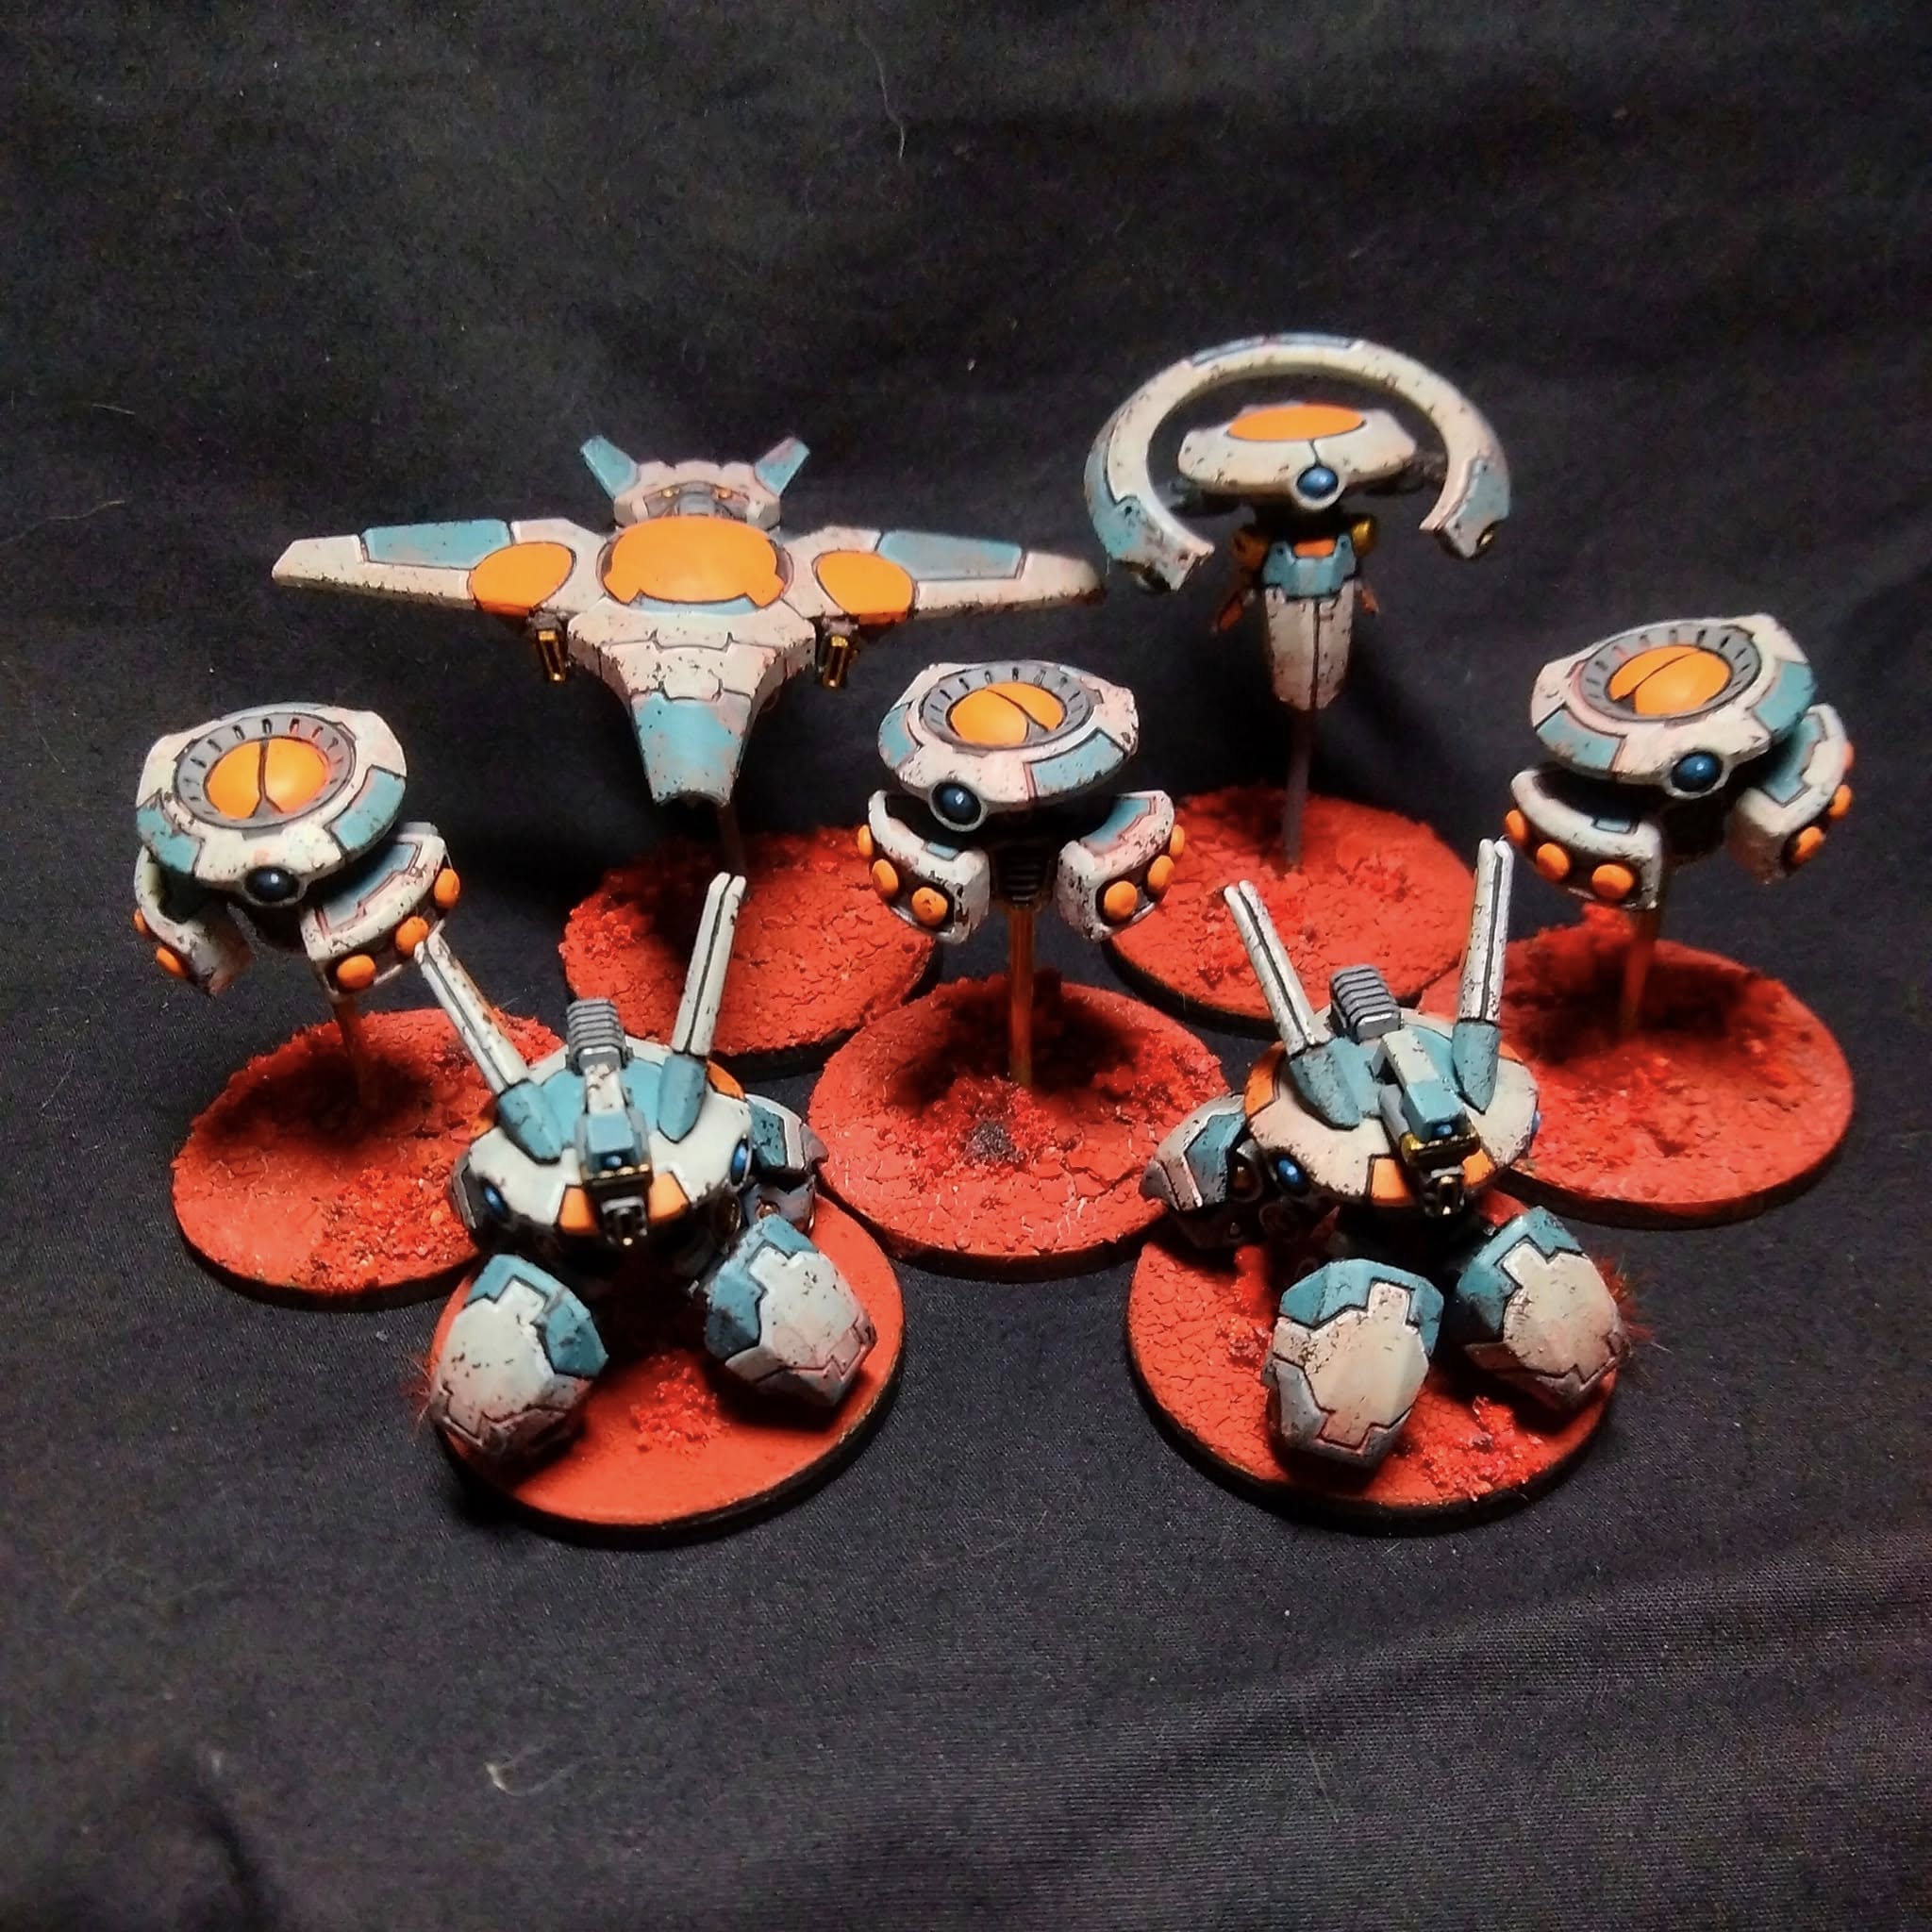
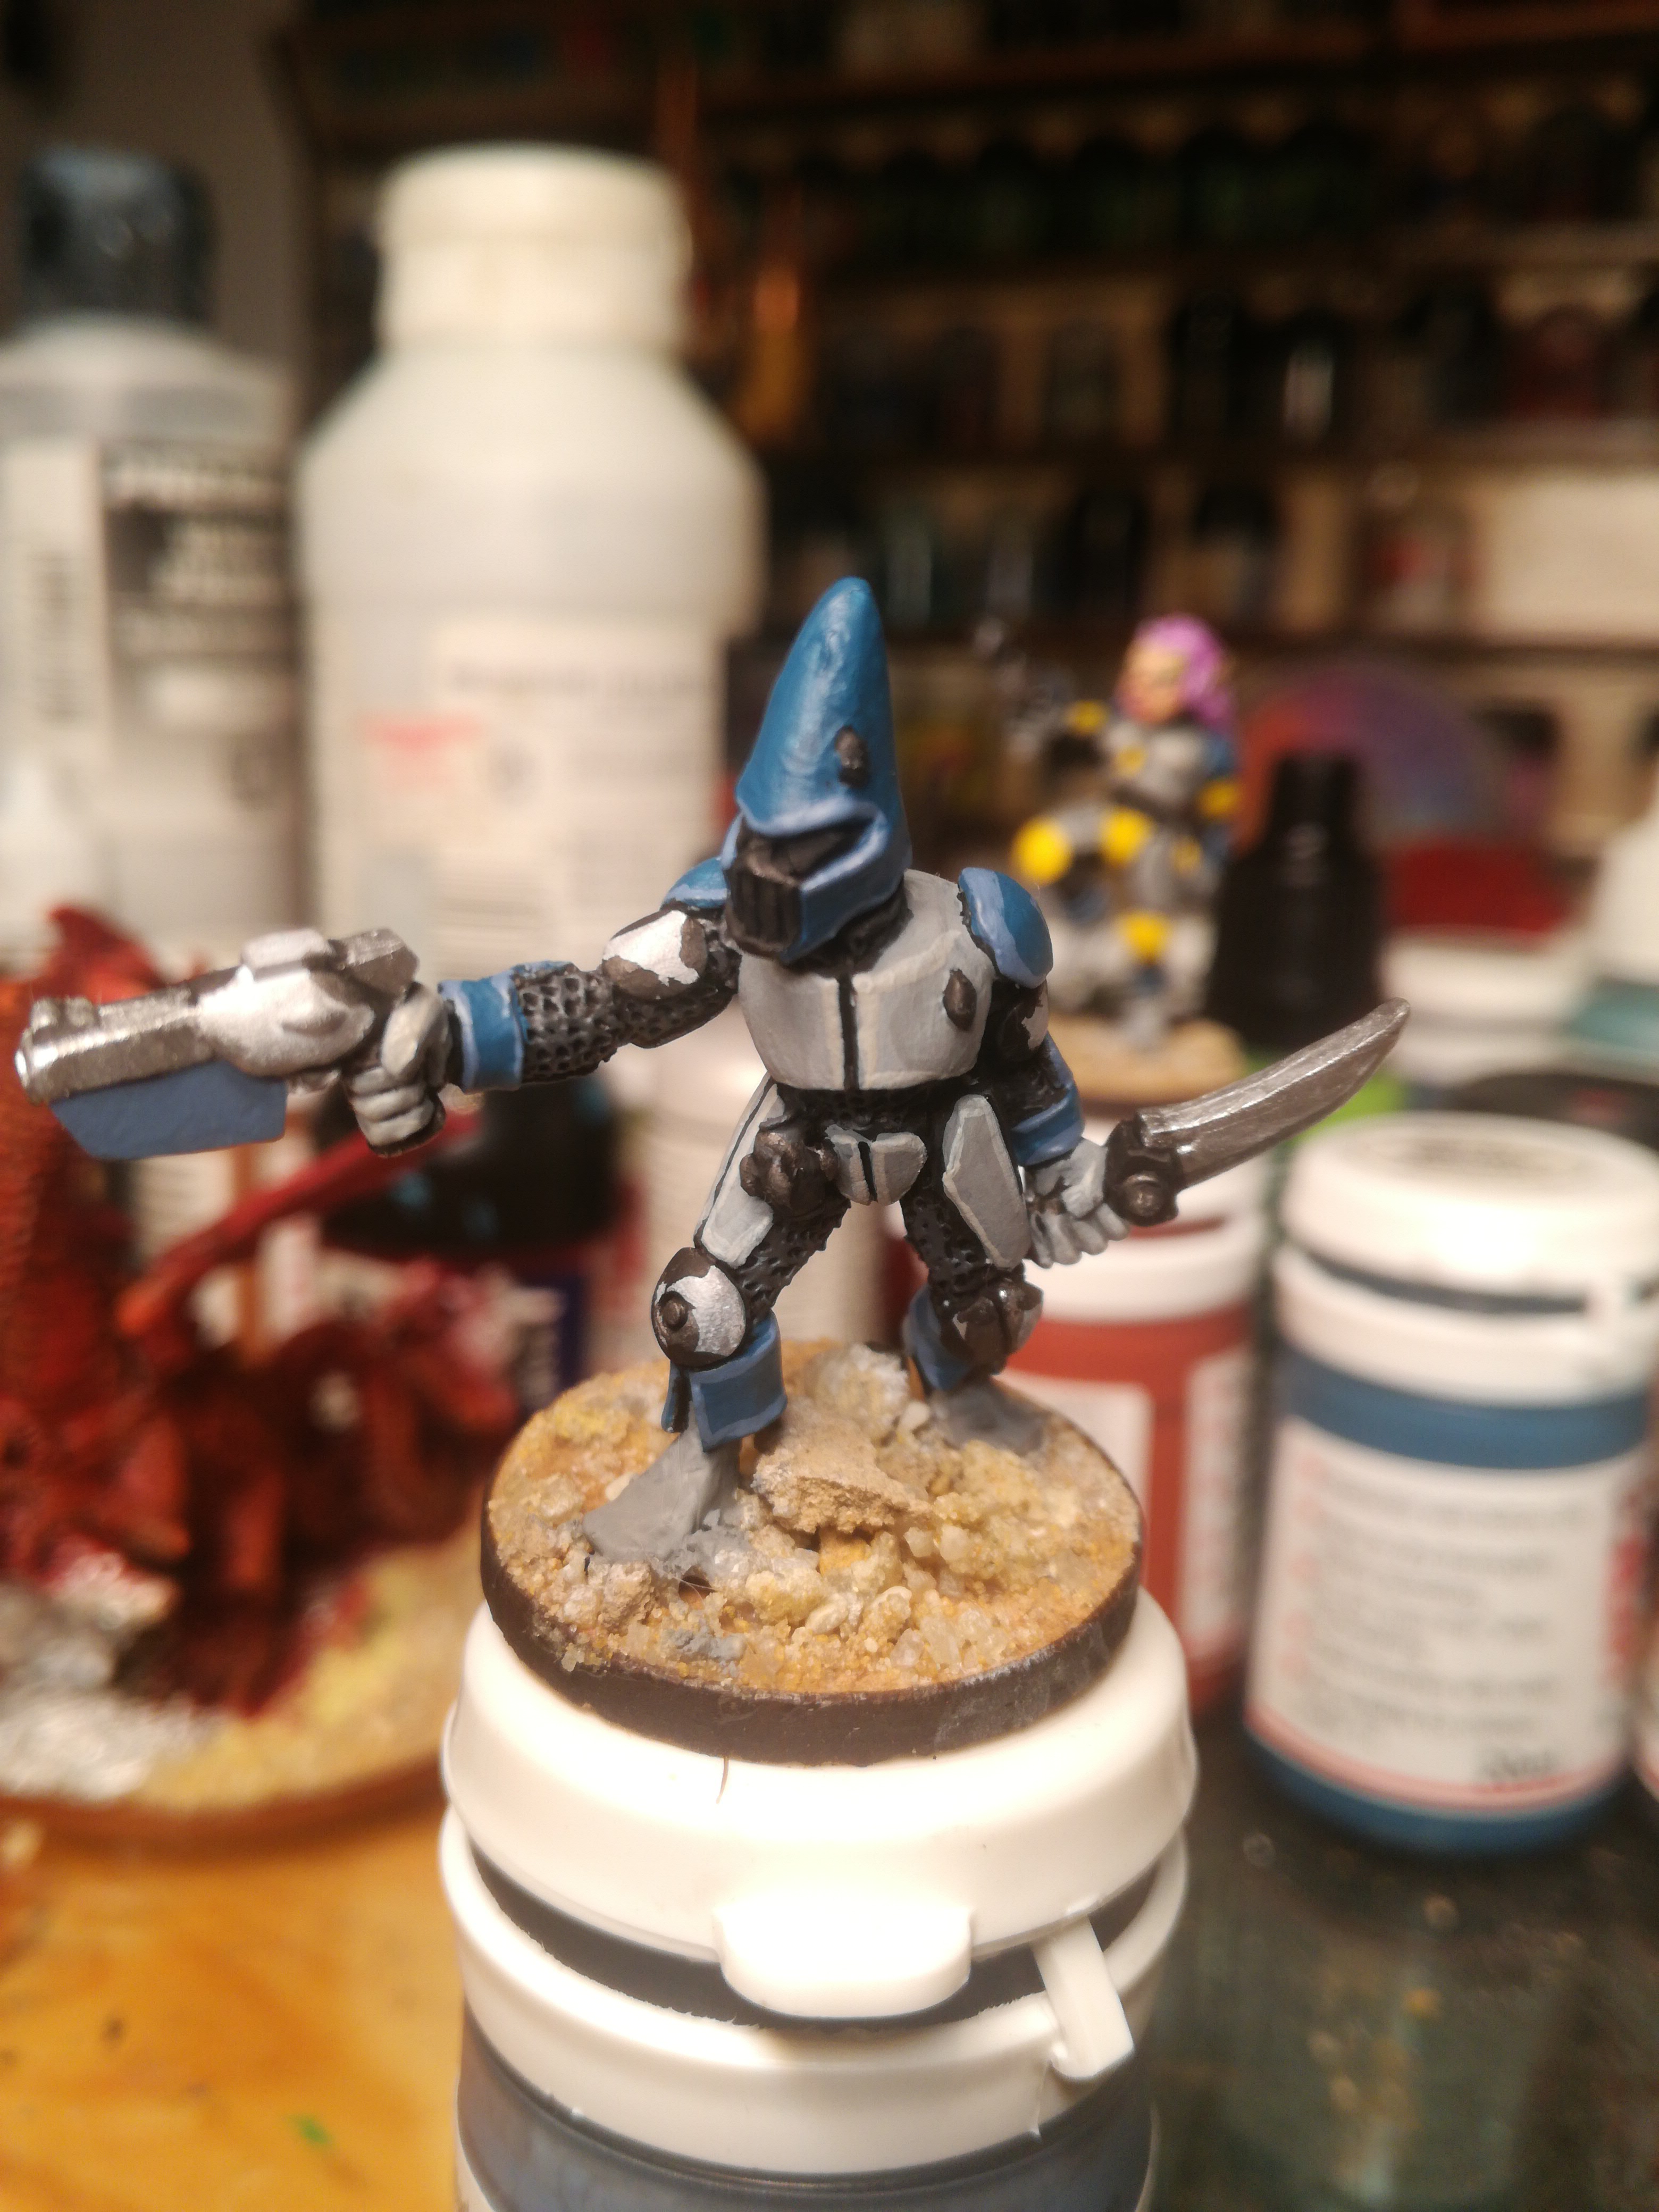
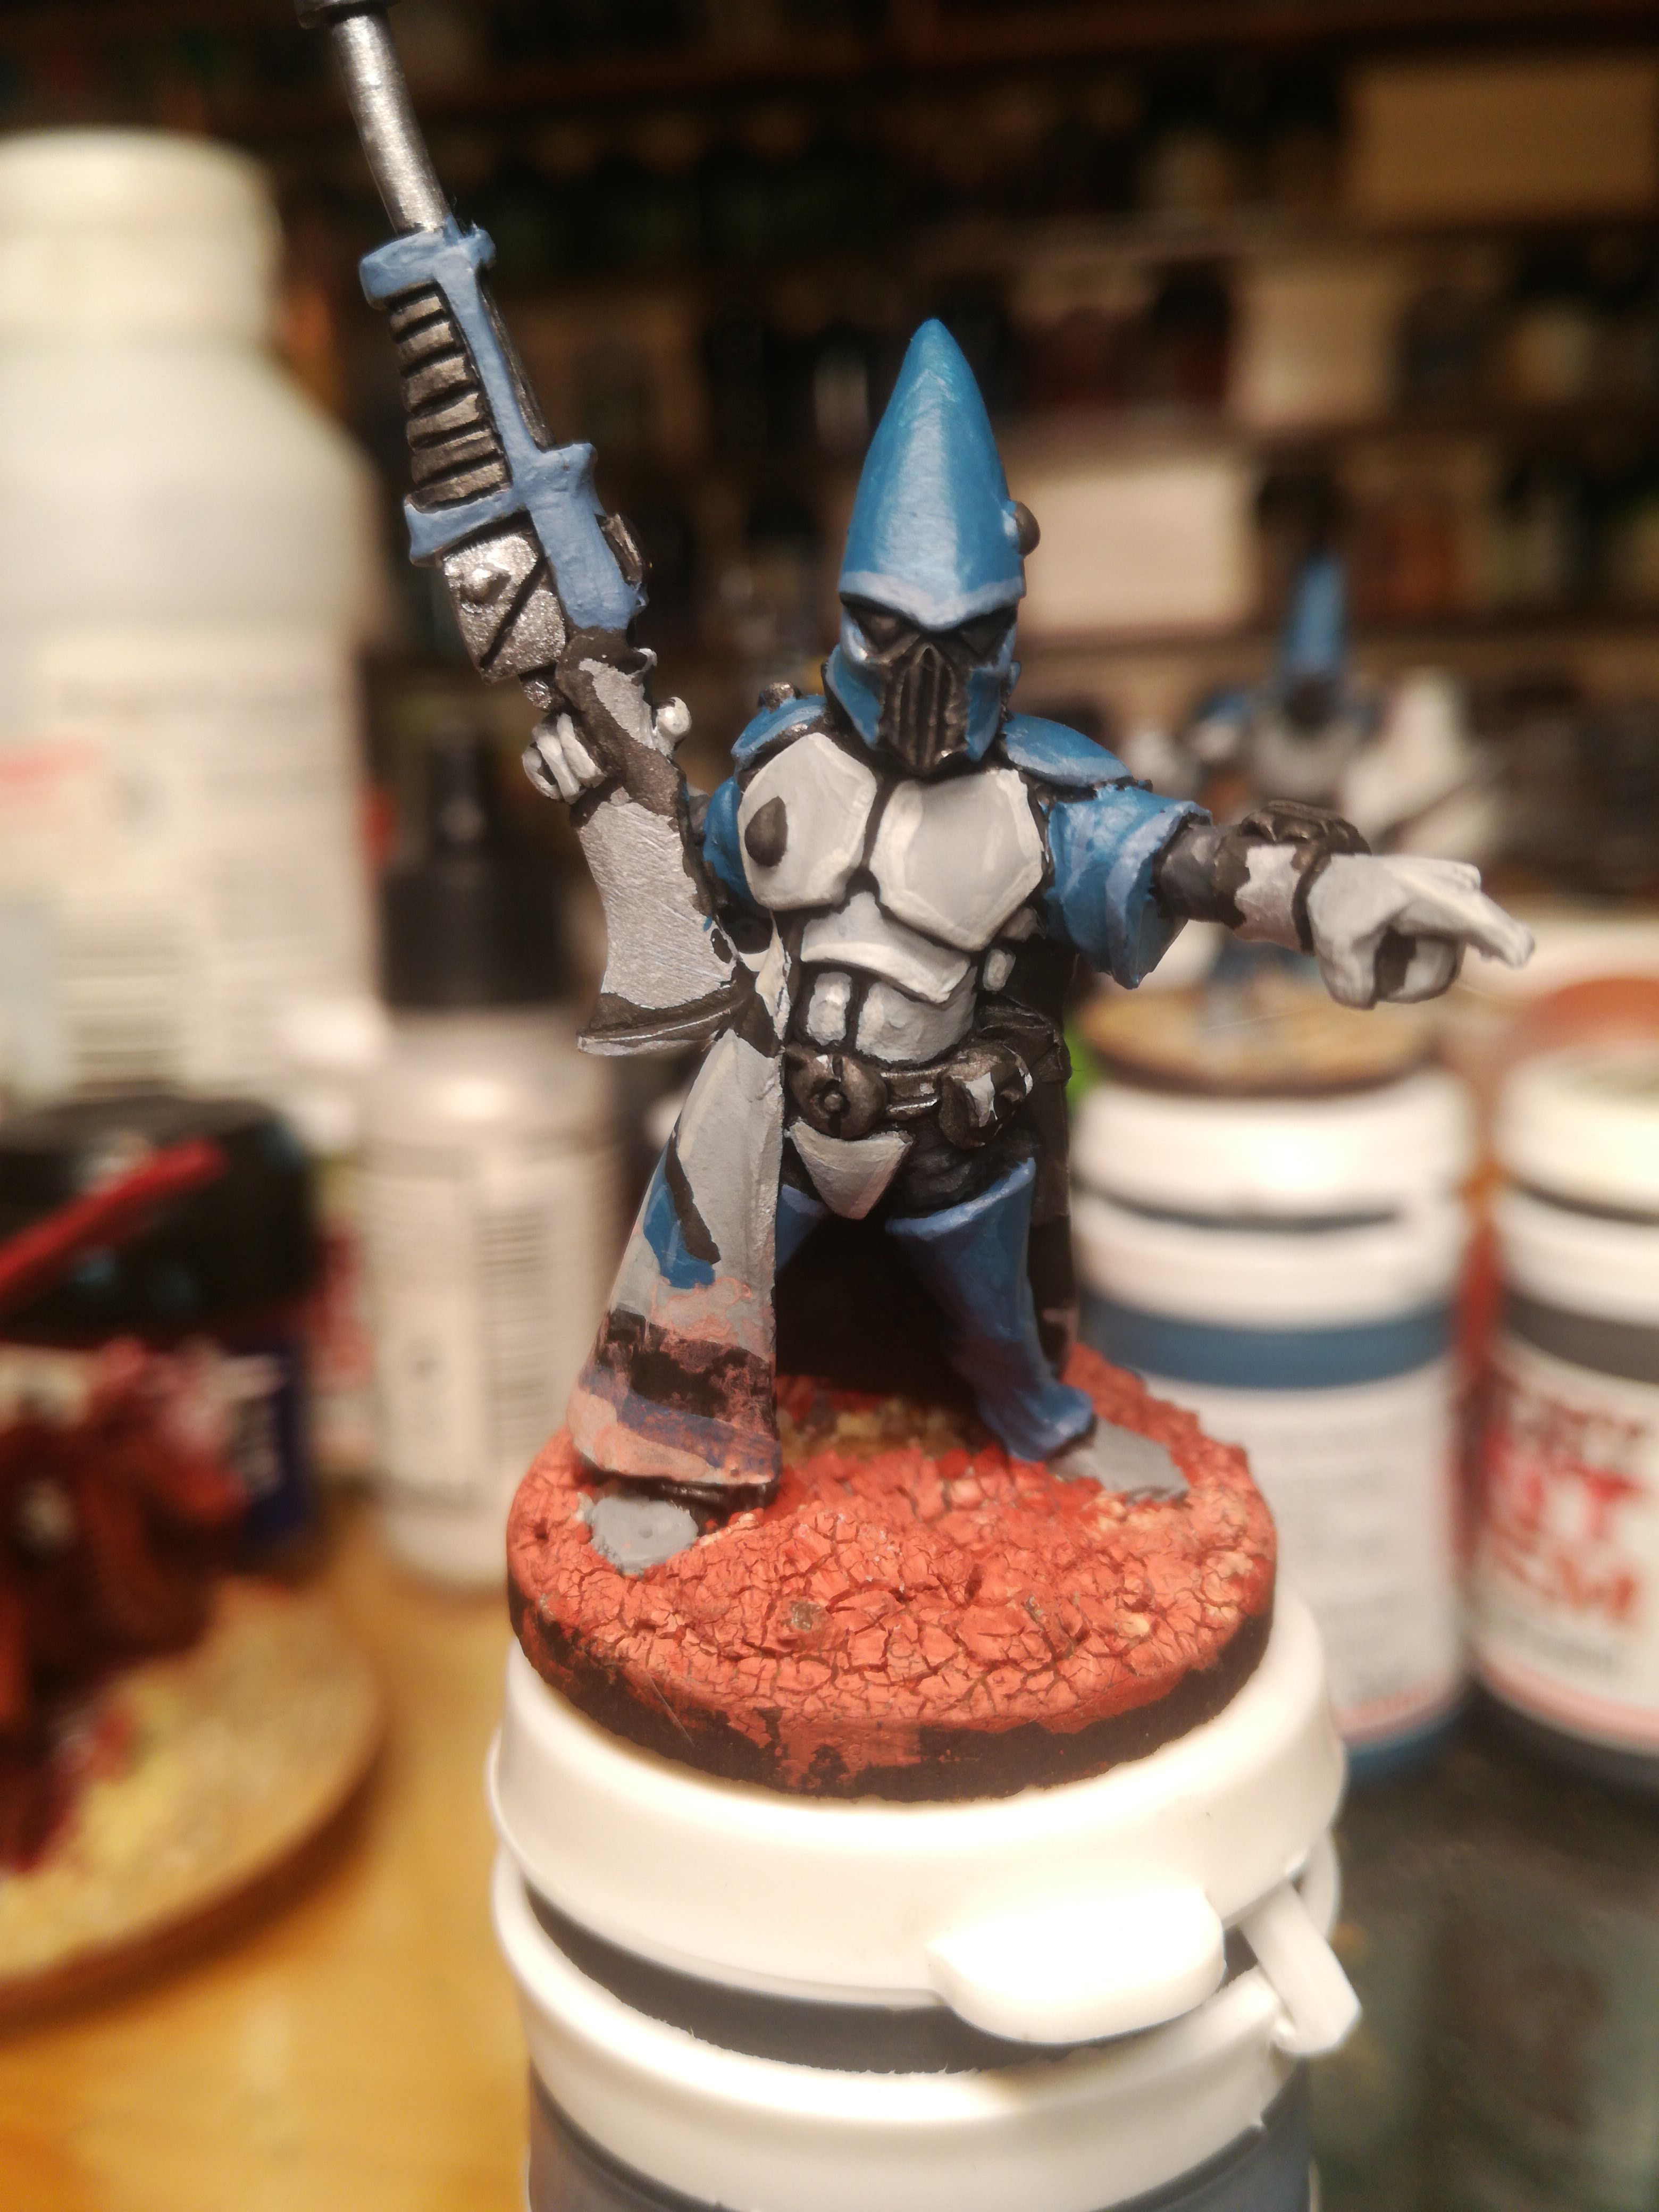
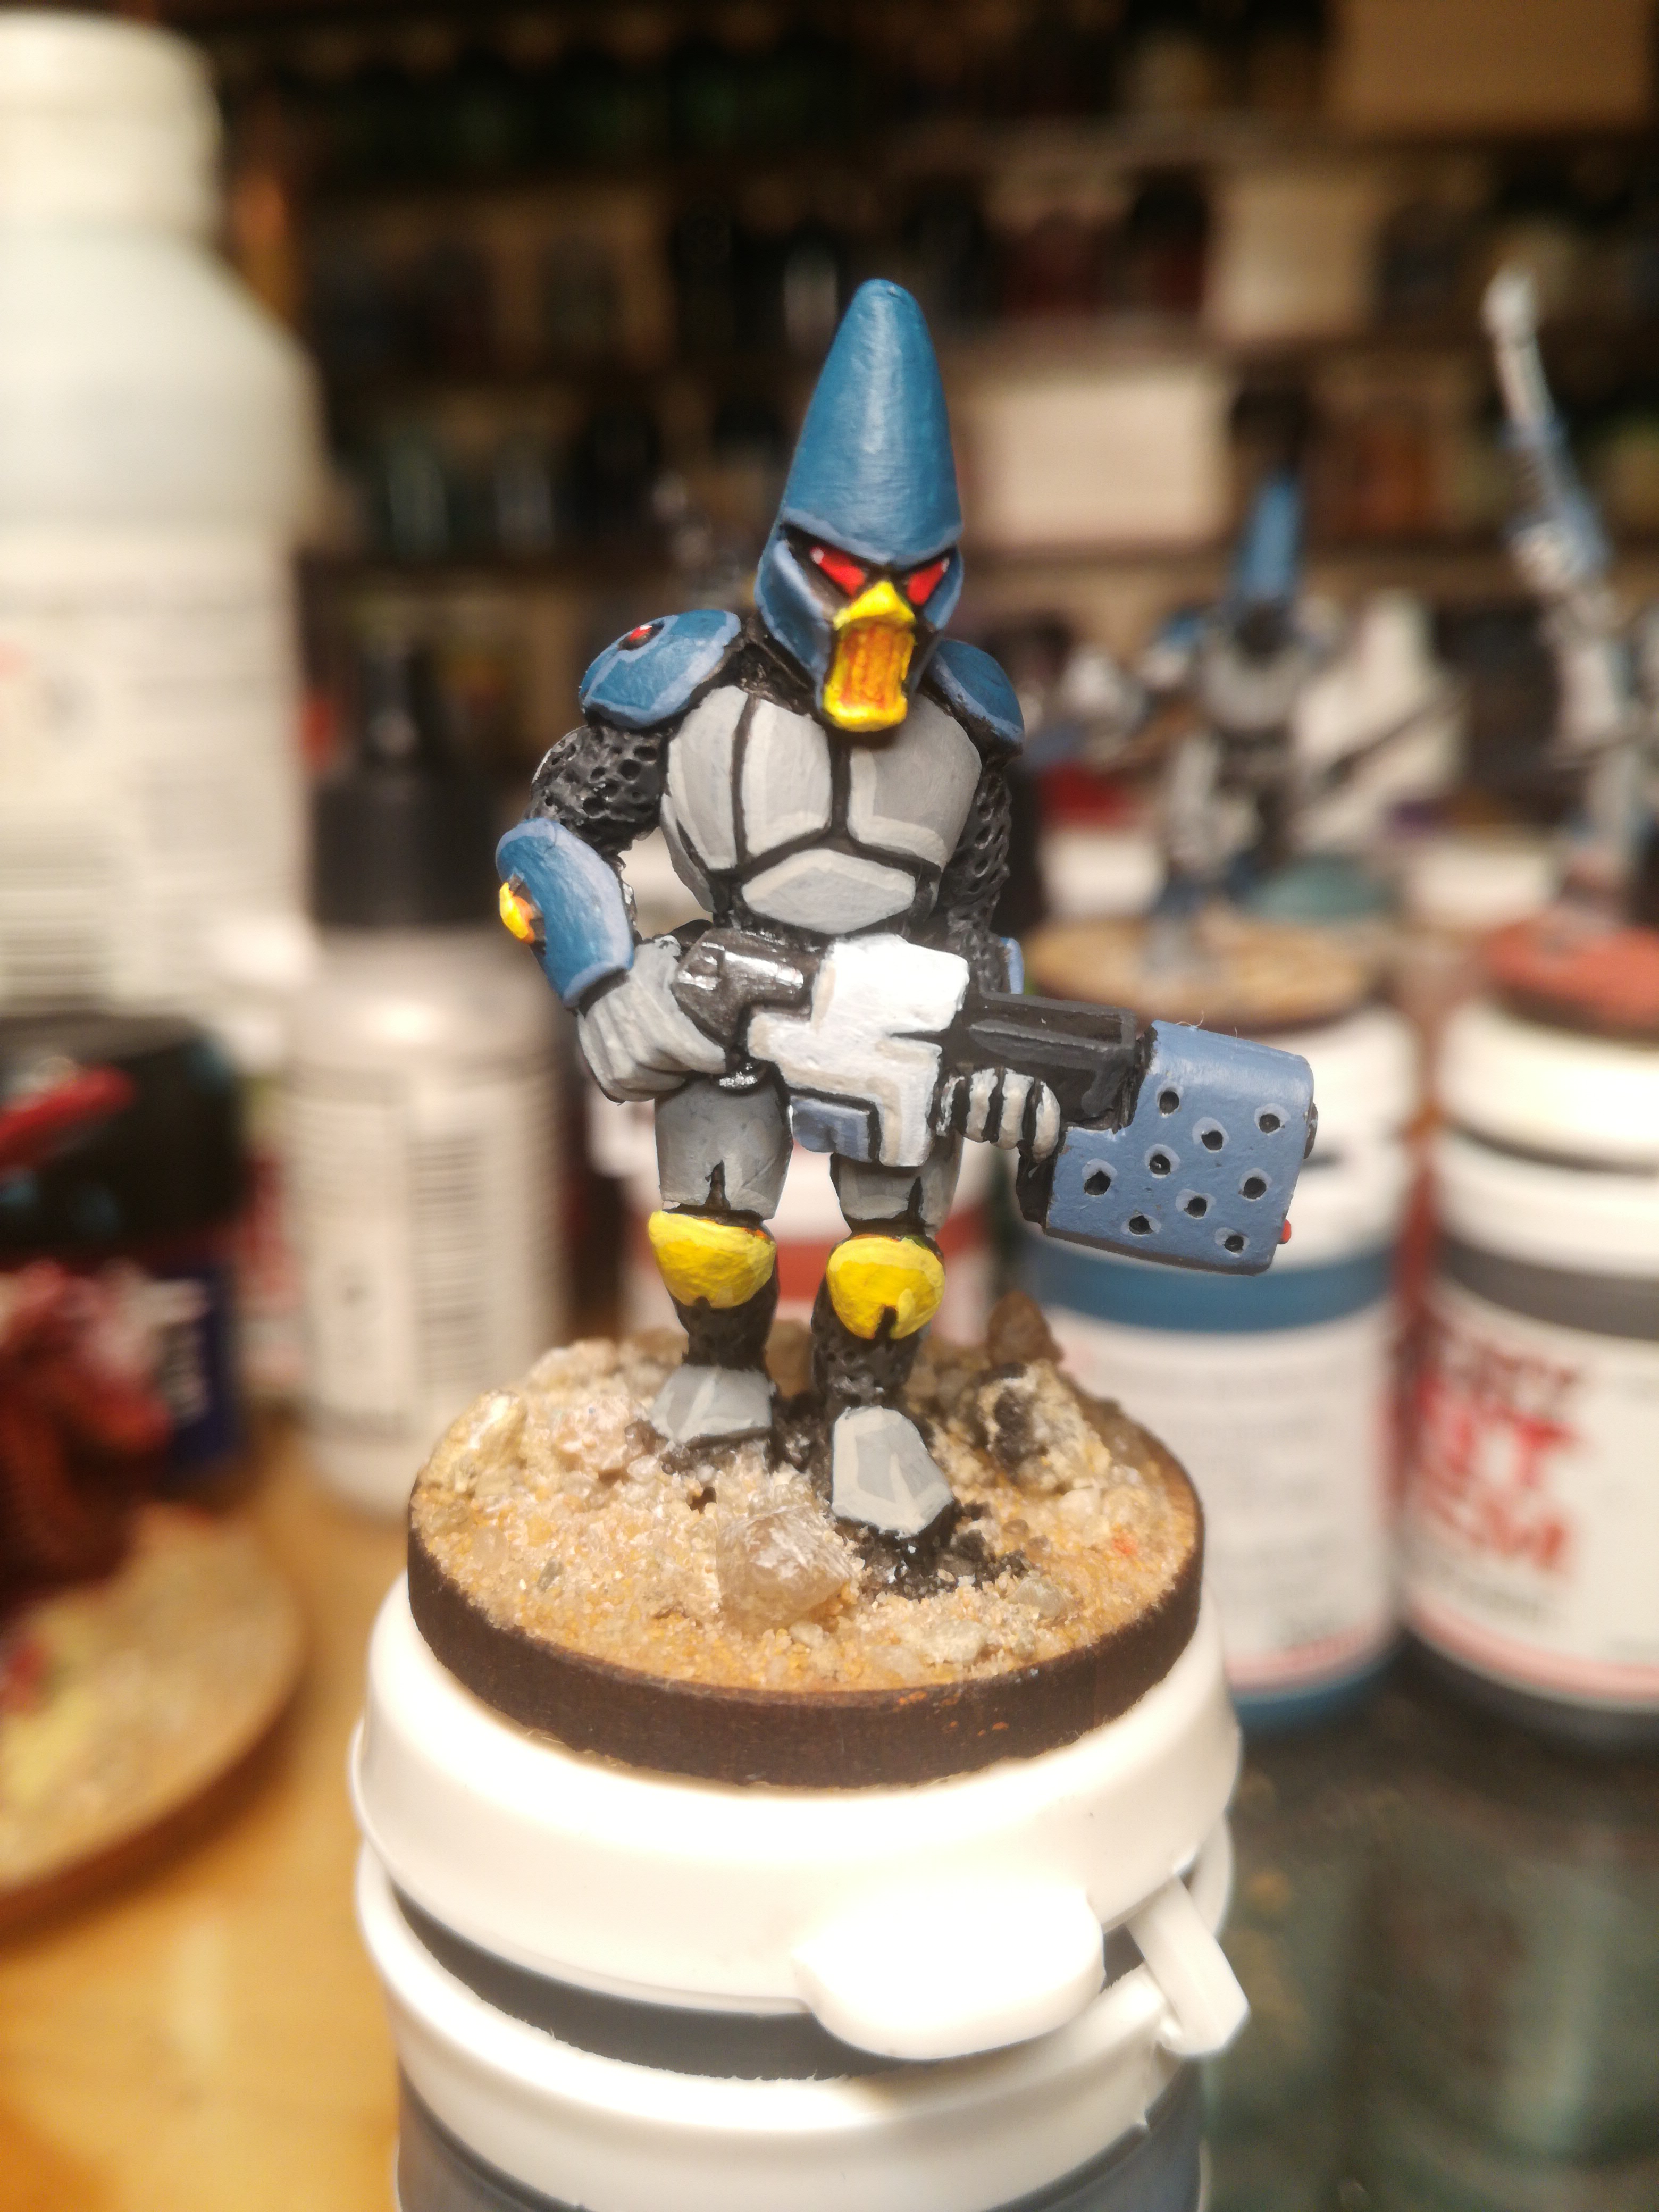
Painting has been slow, but steady. My trouble is that I keep getting distracted by shiny things rather than keep going and finishing existing projects. Looking at you Tau! And of course Forza Horizon 6.

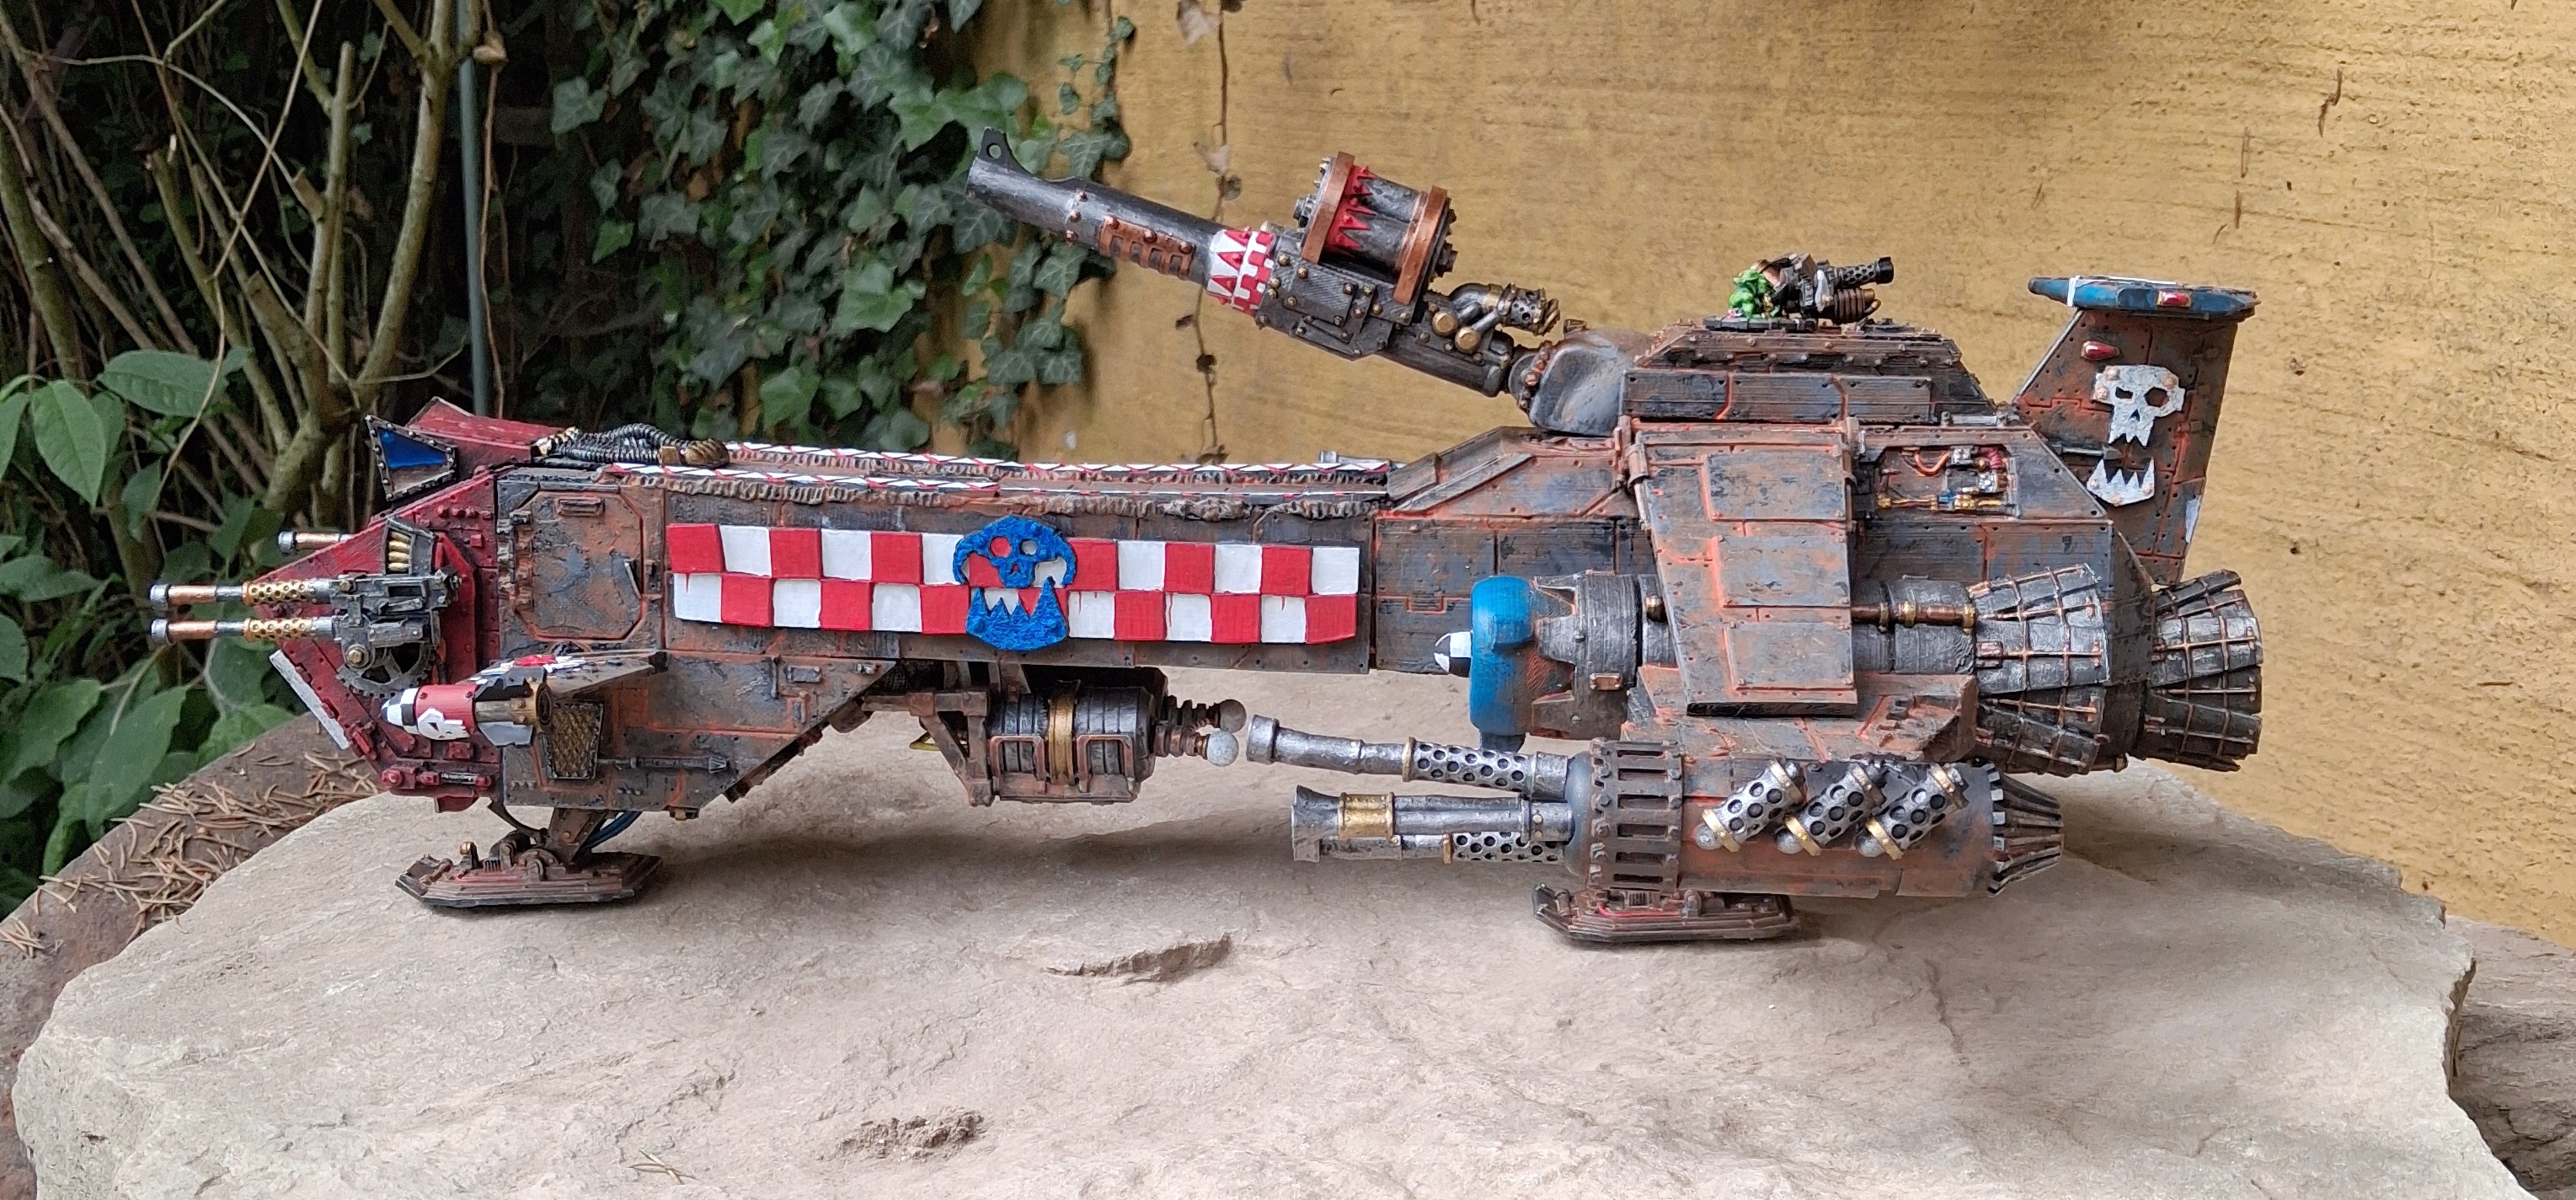
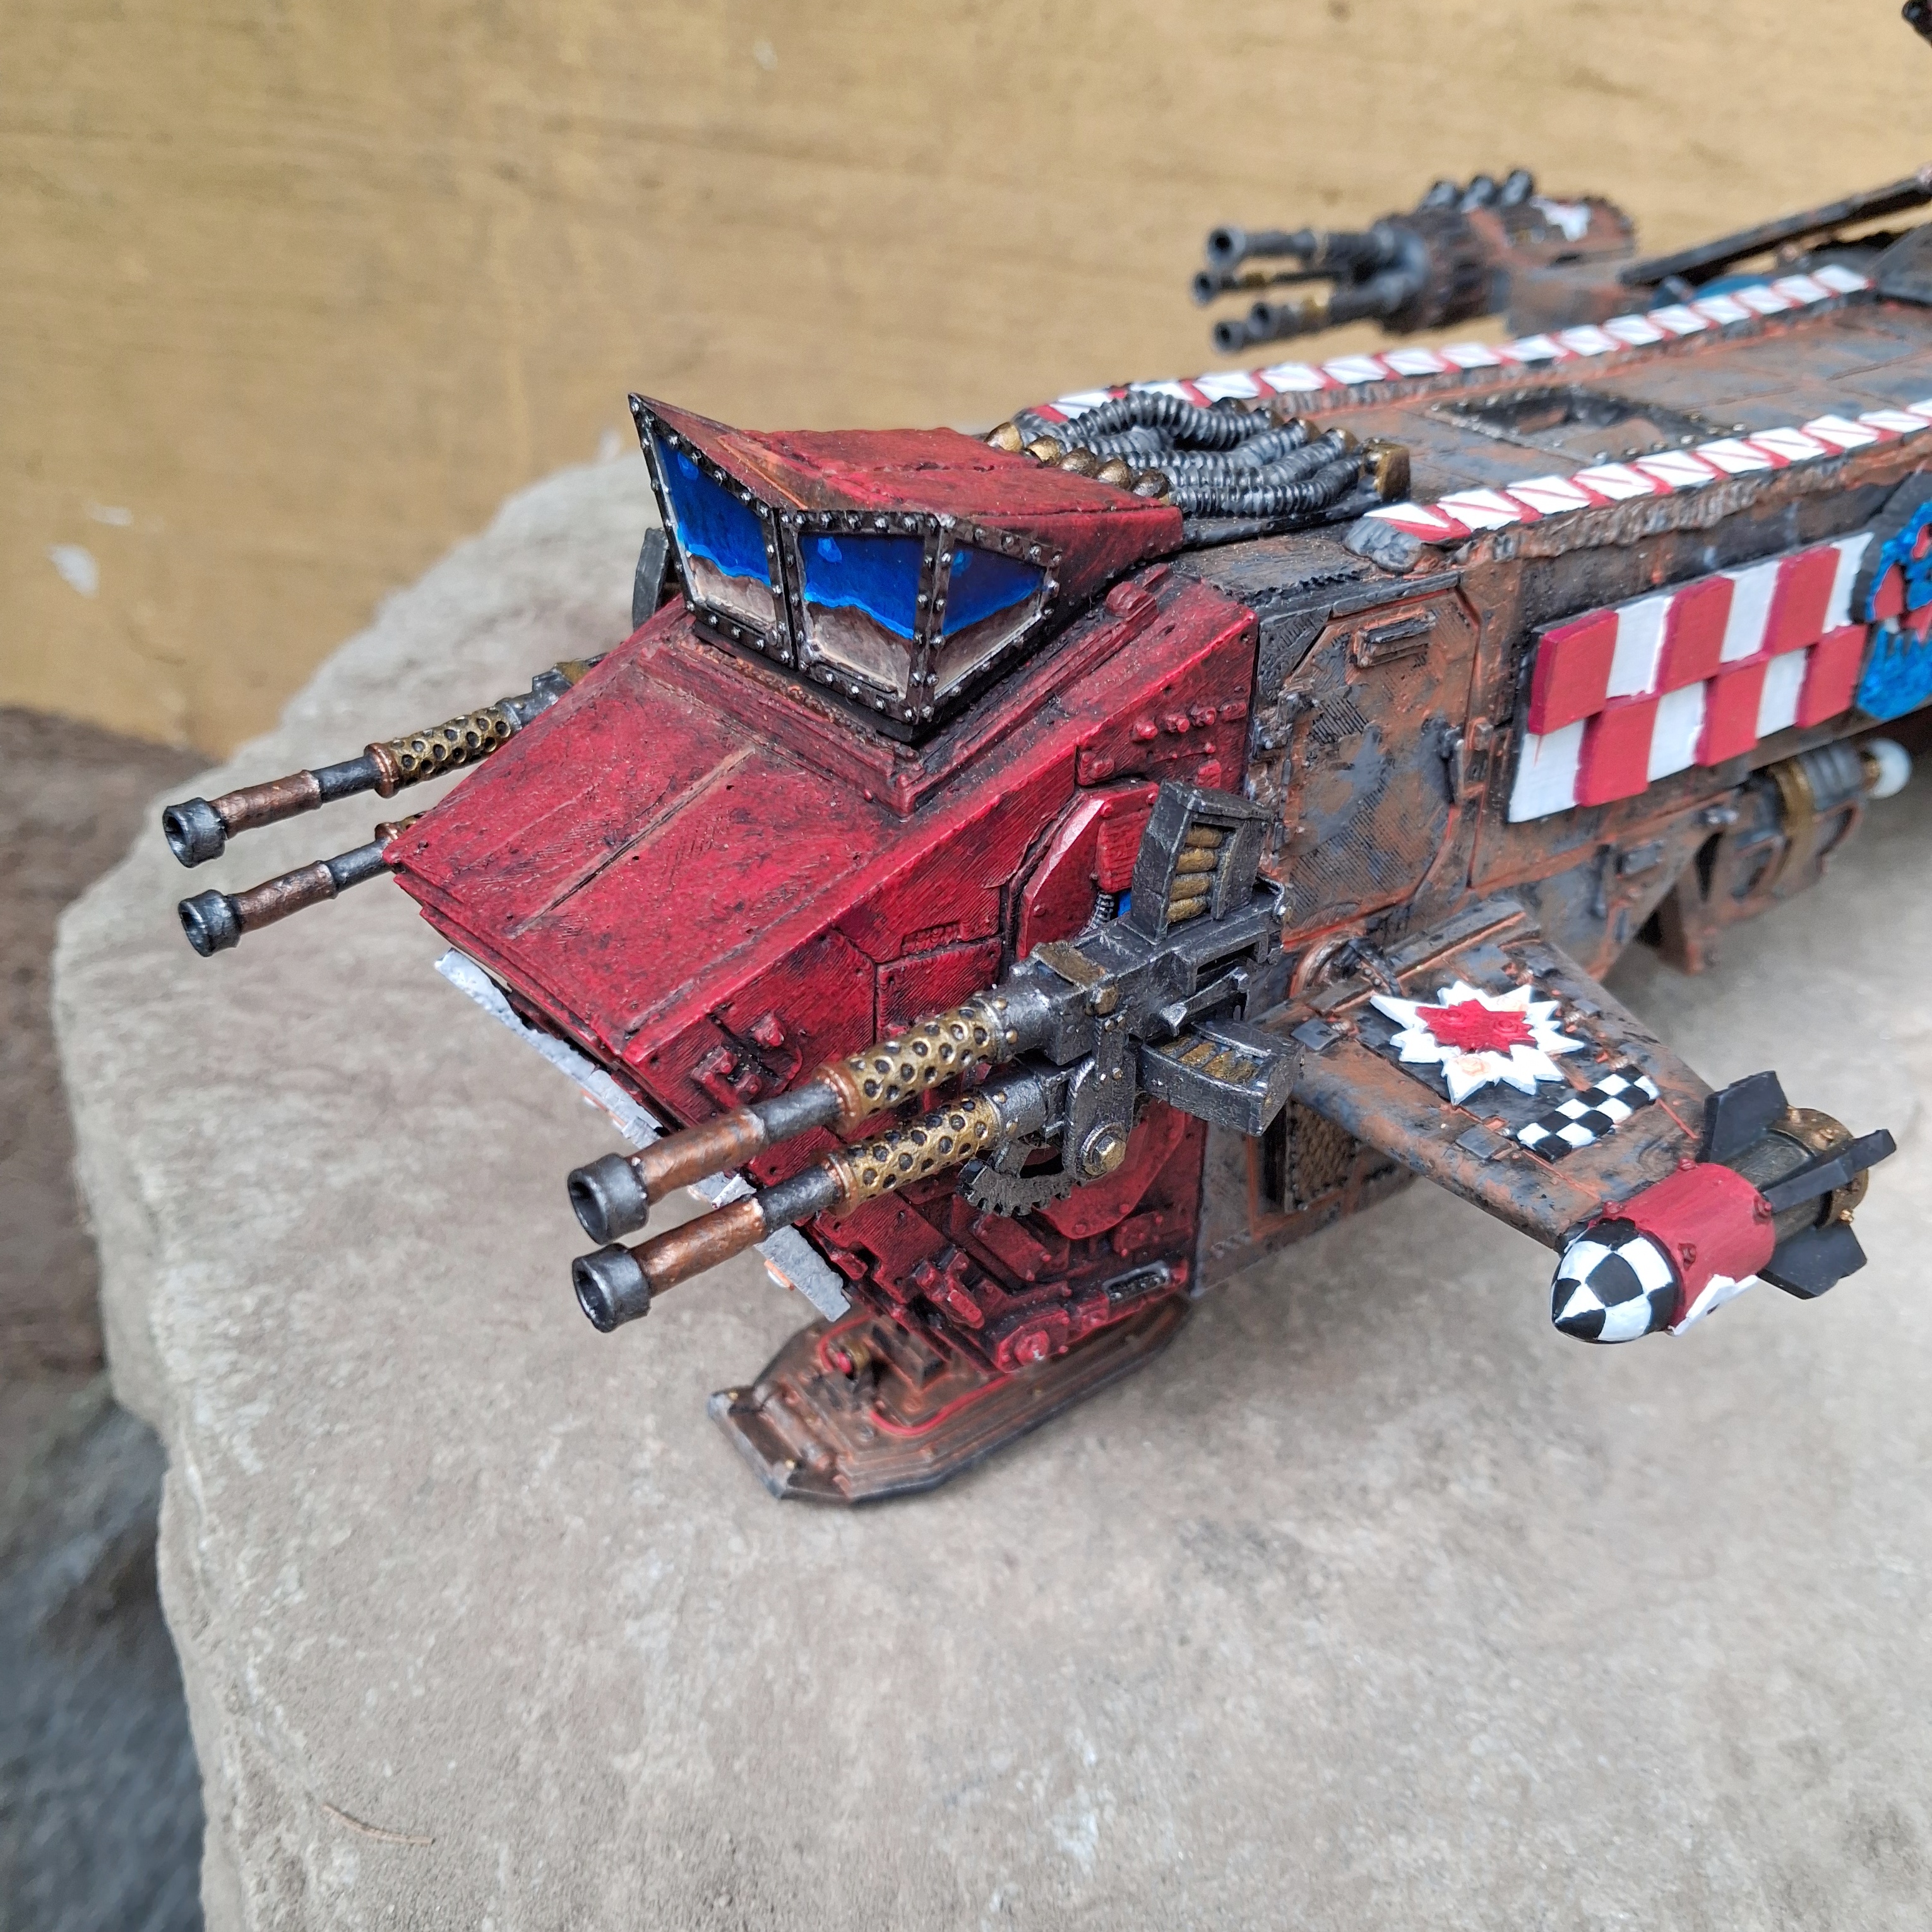
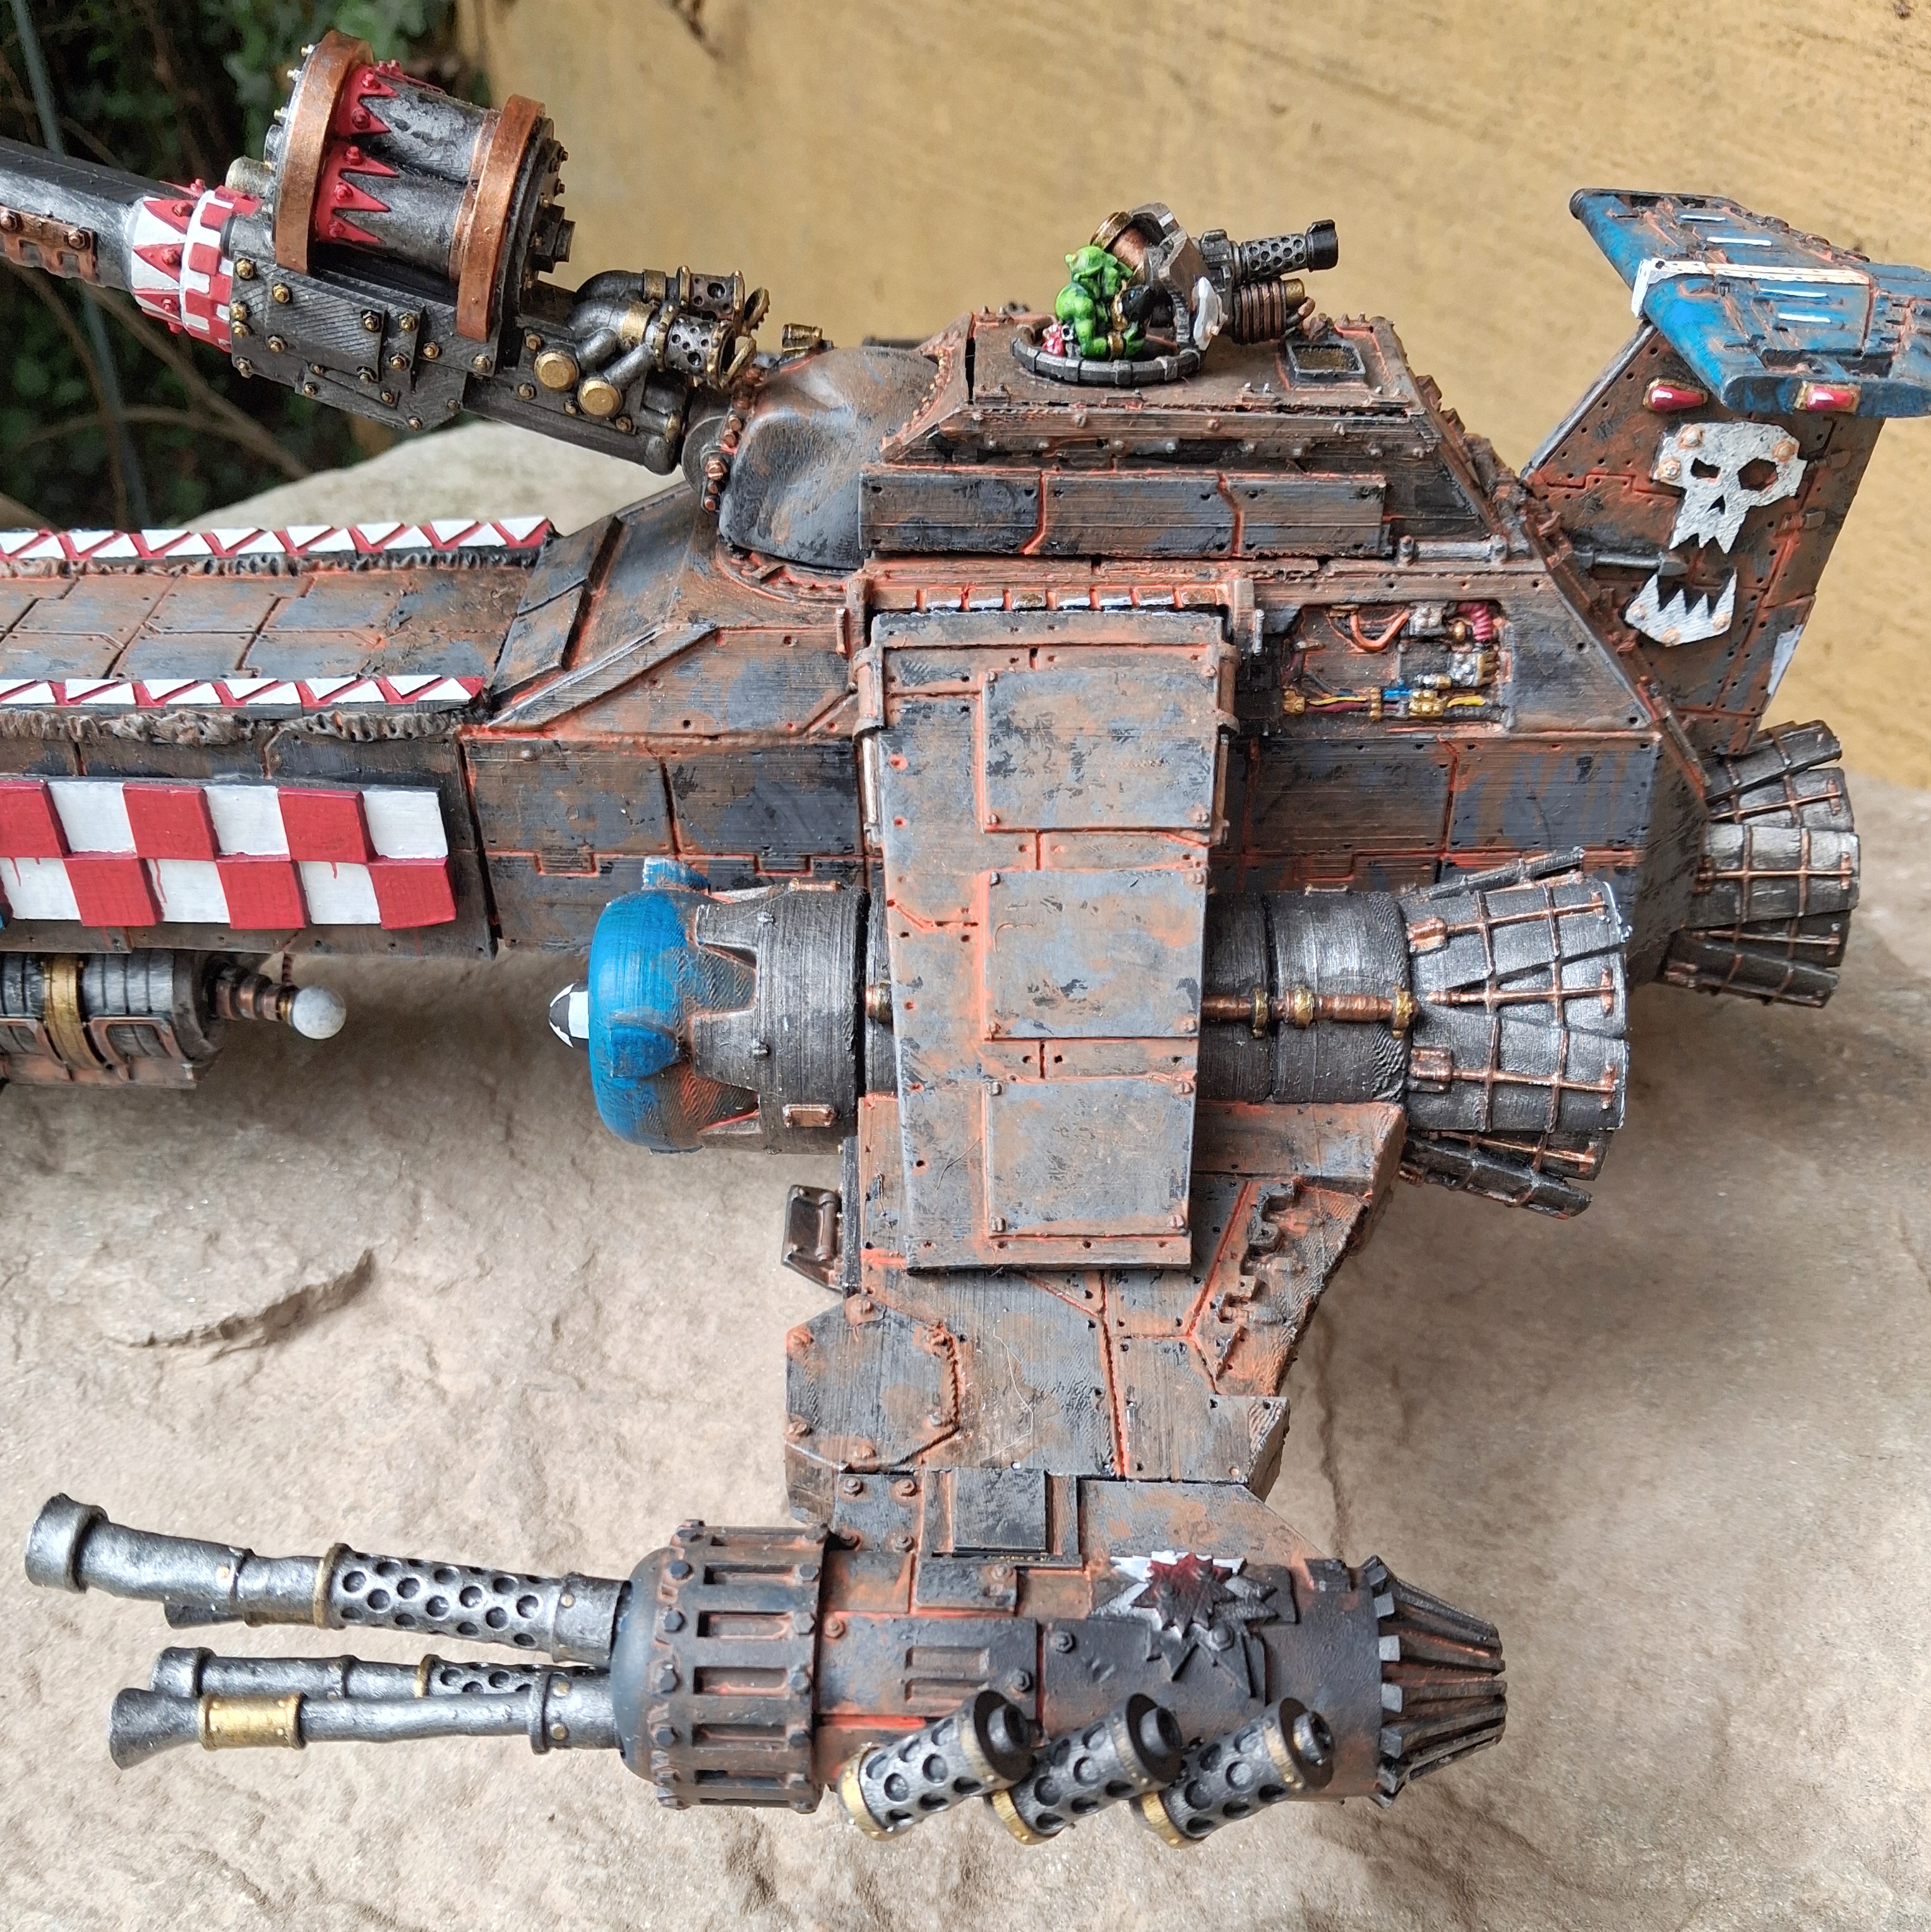
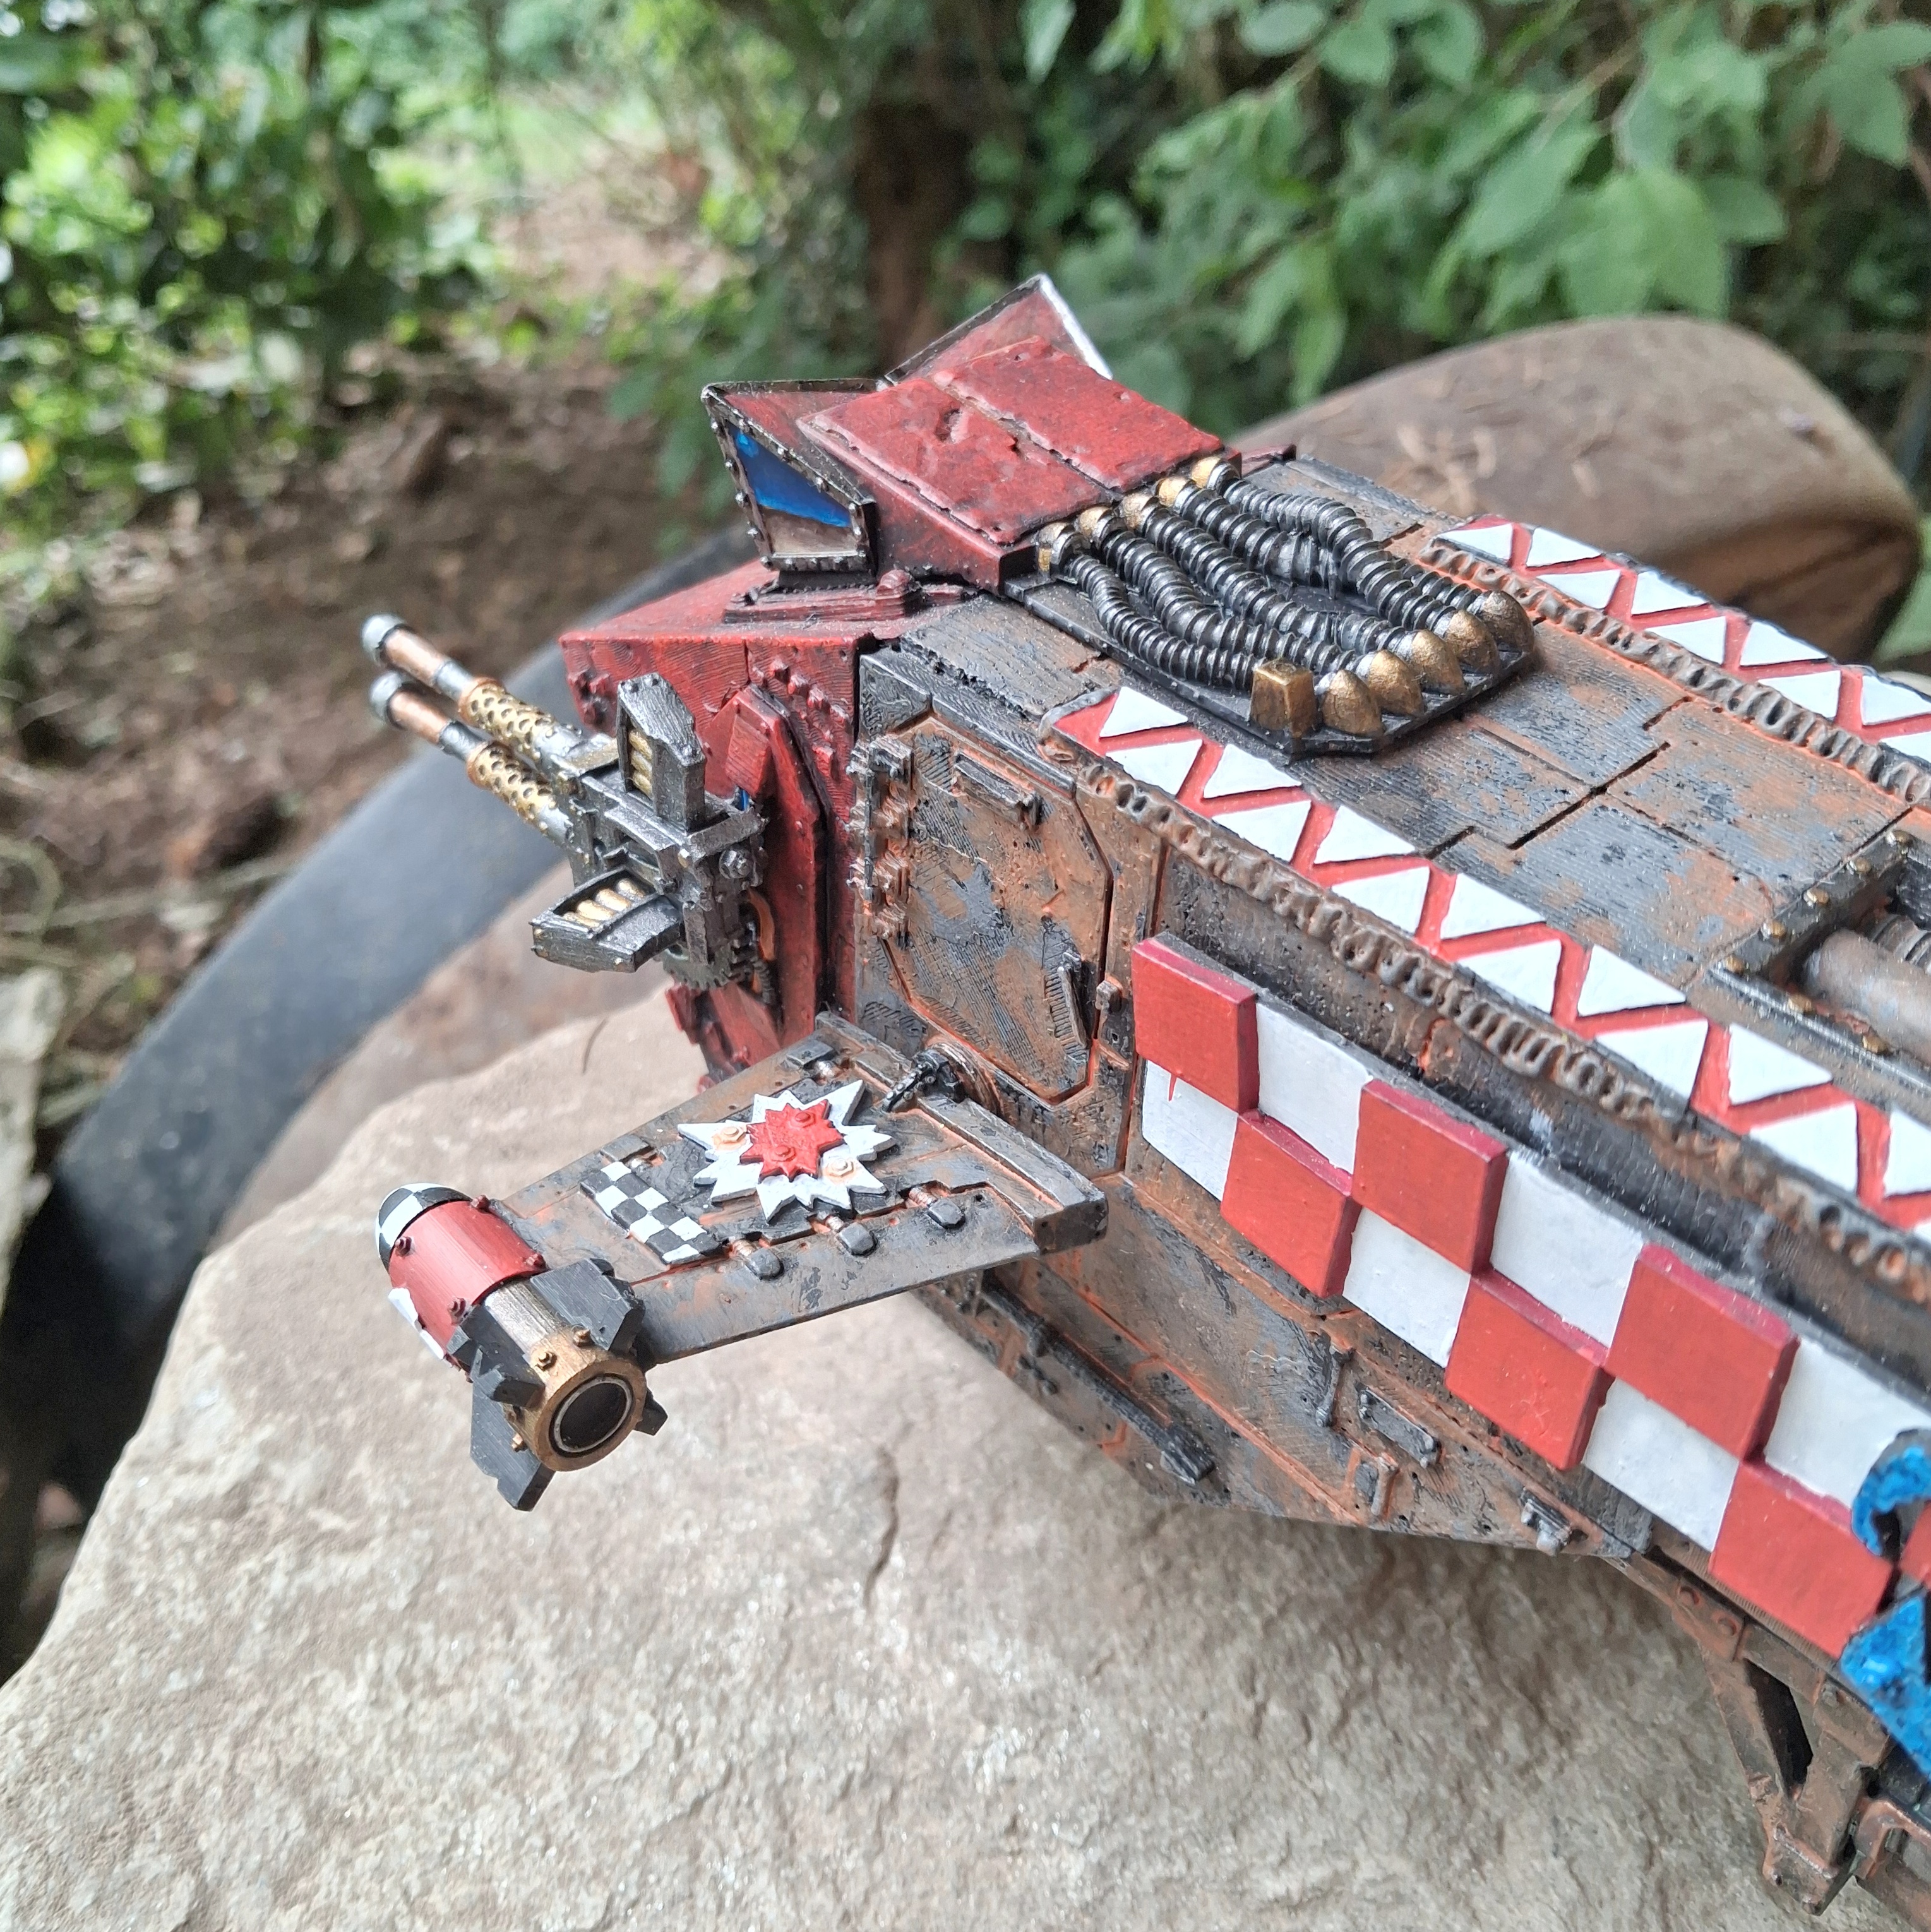

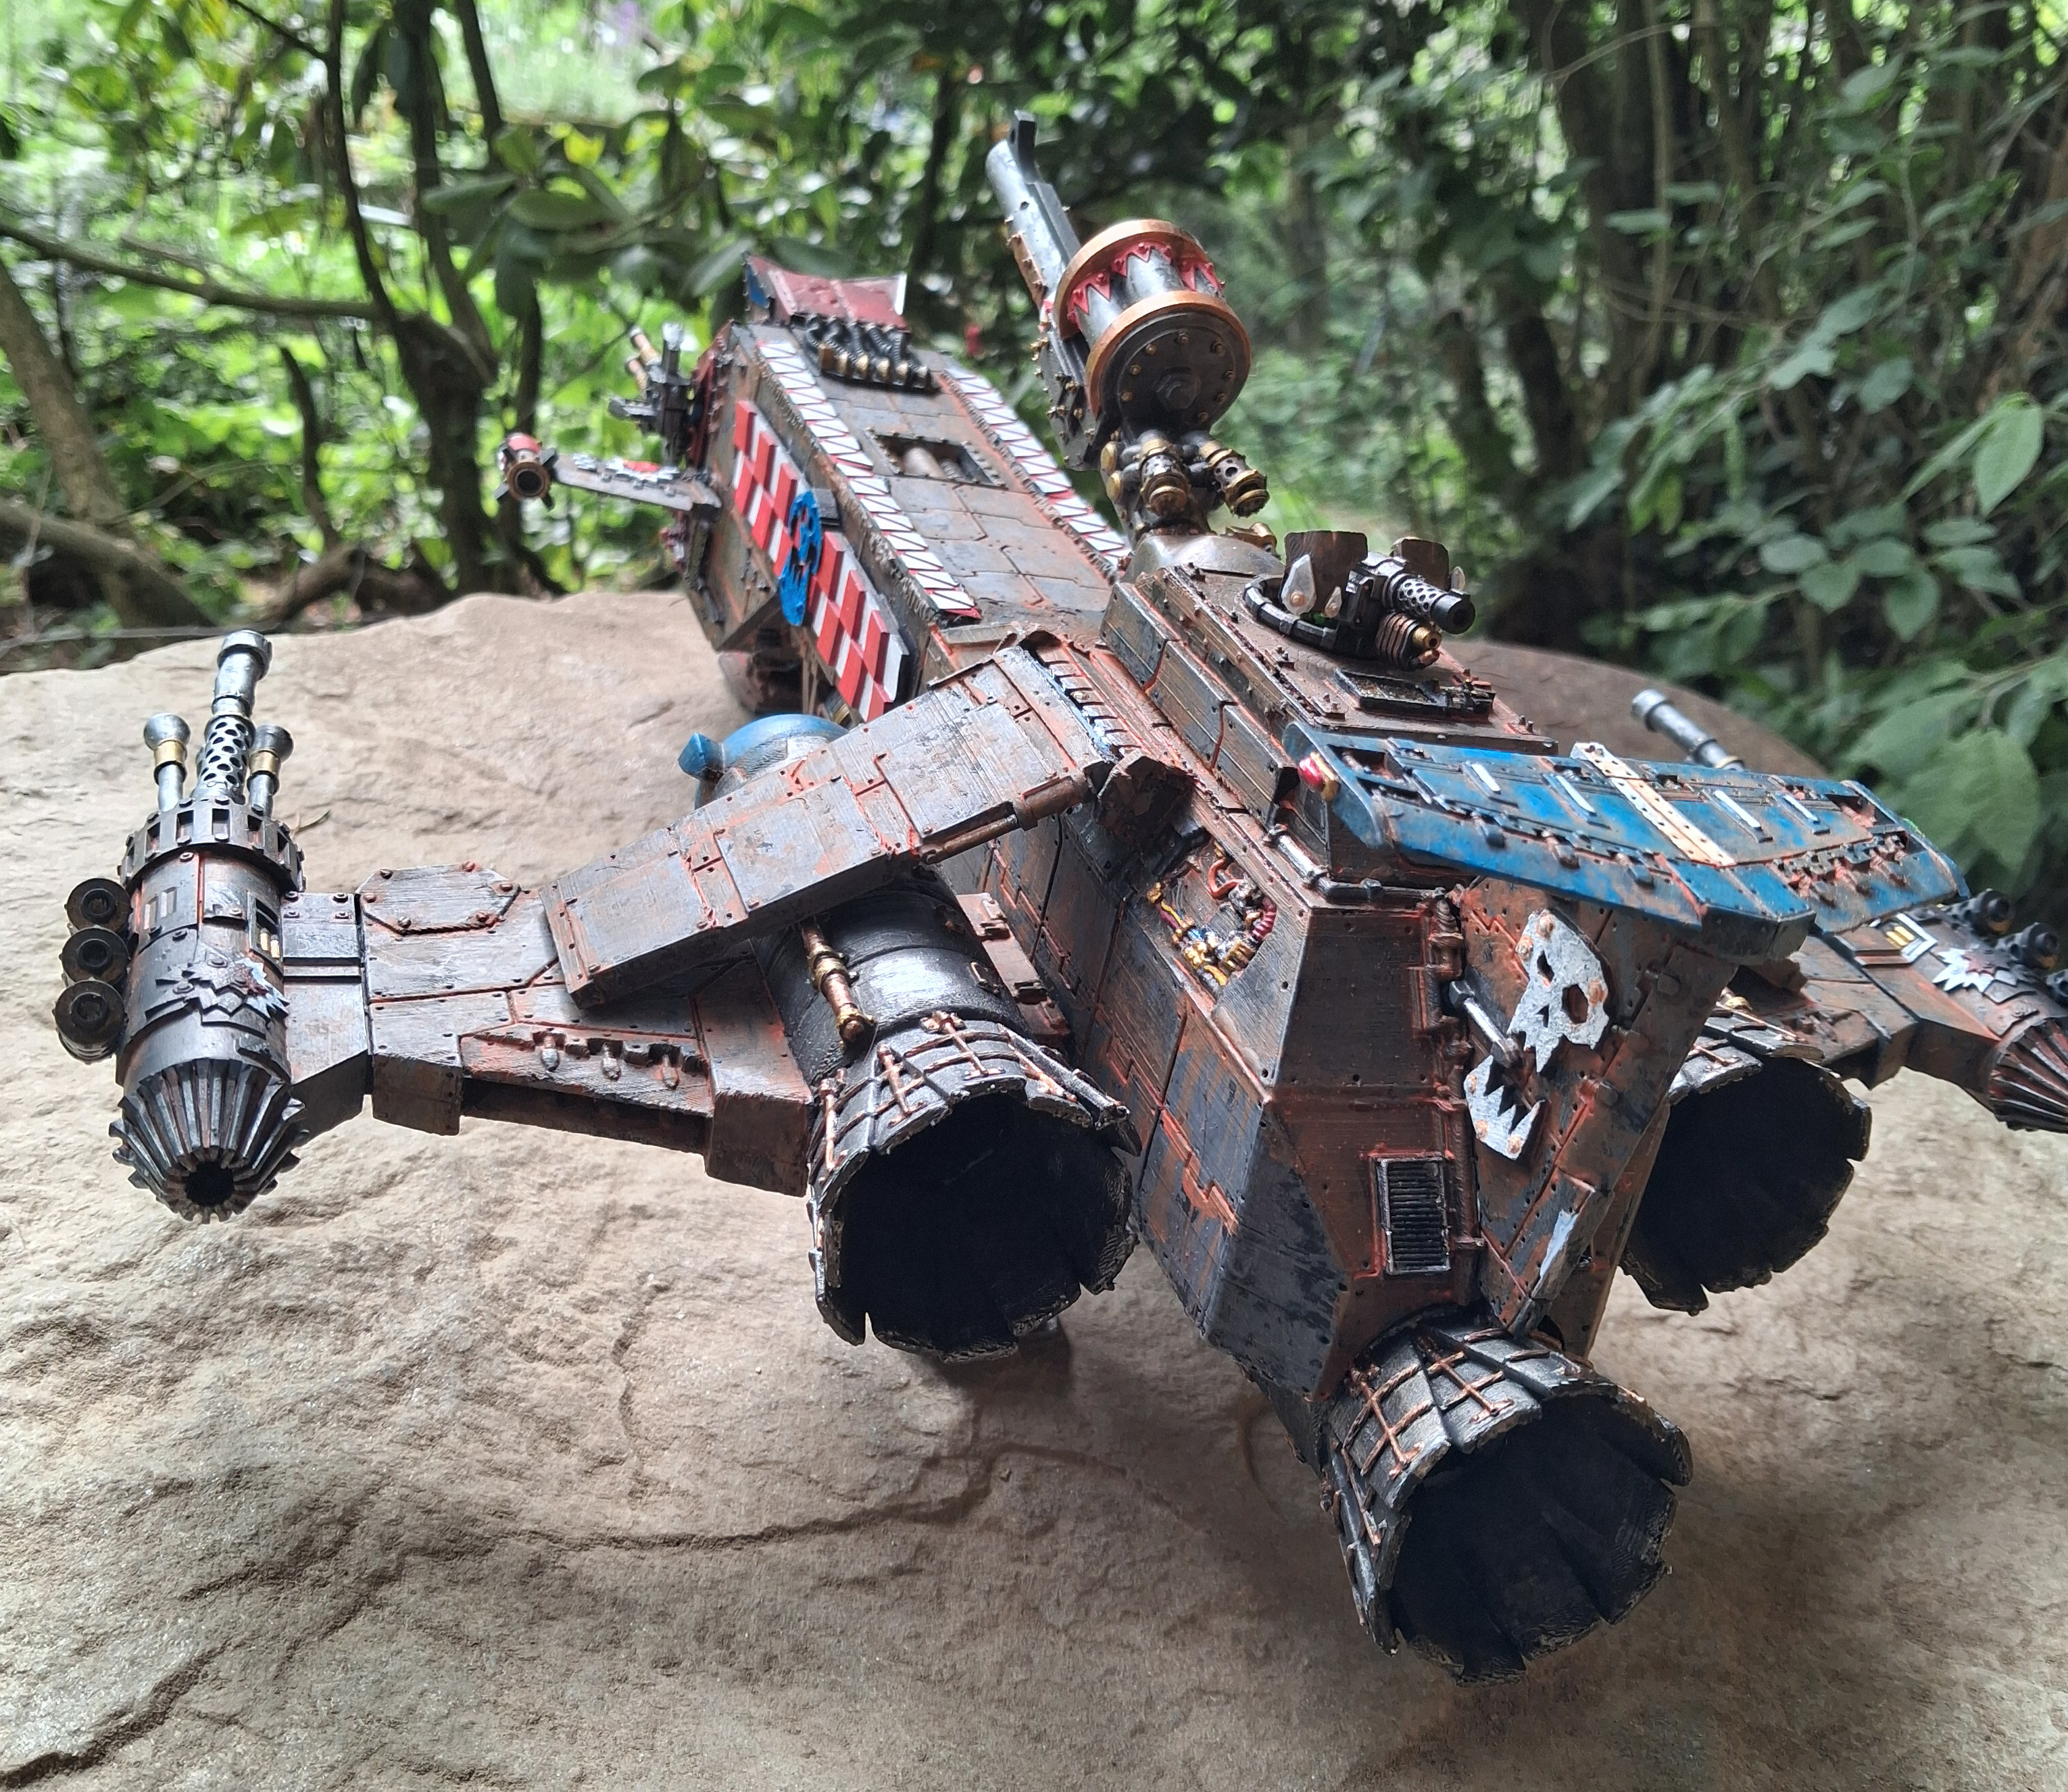
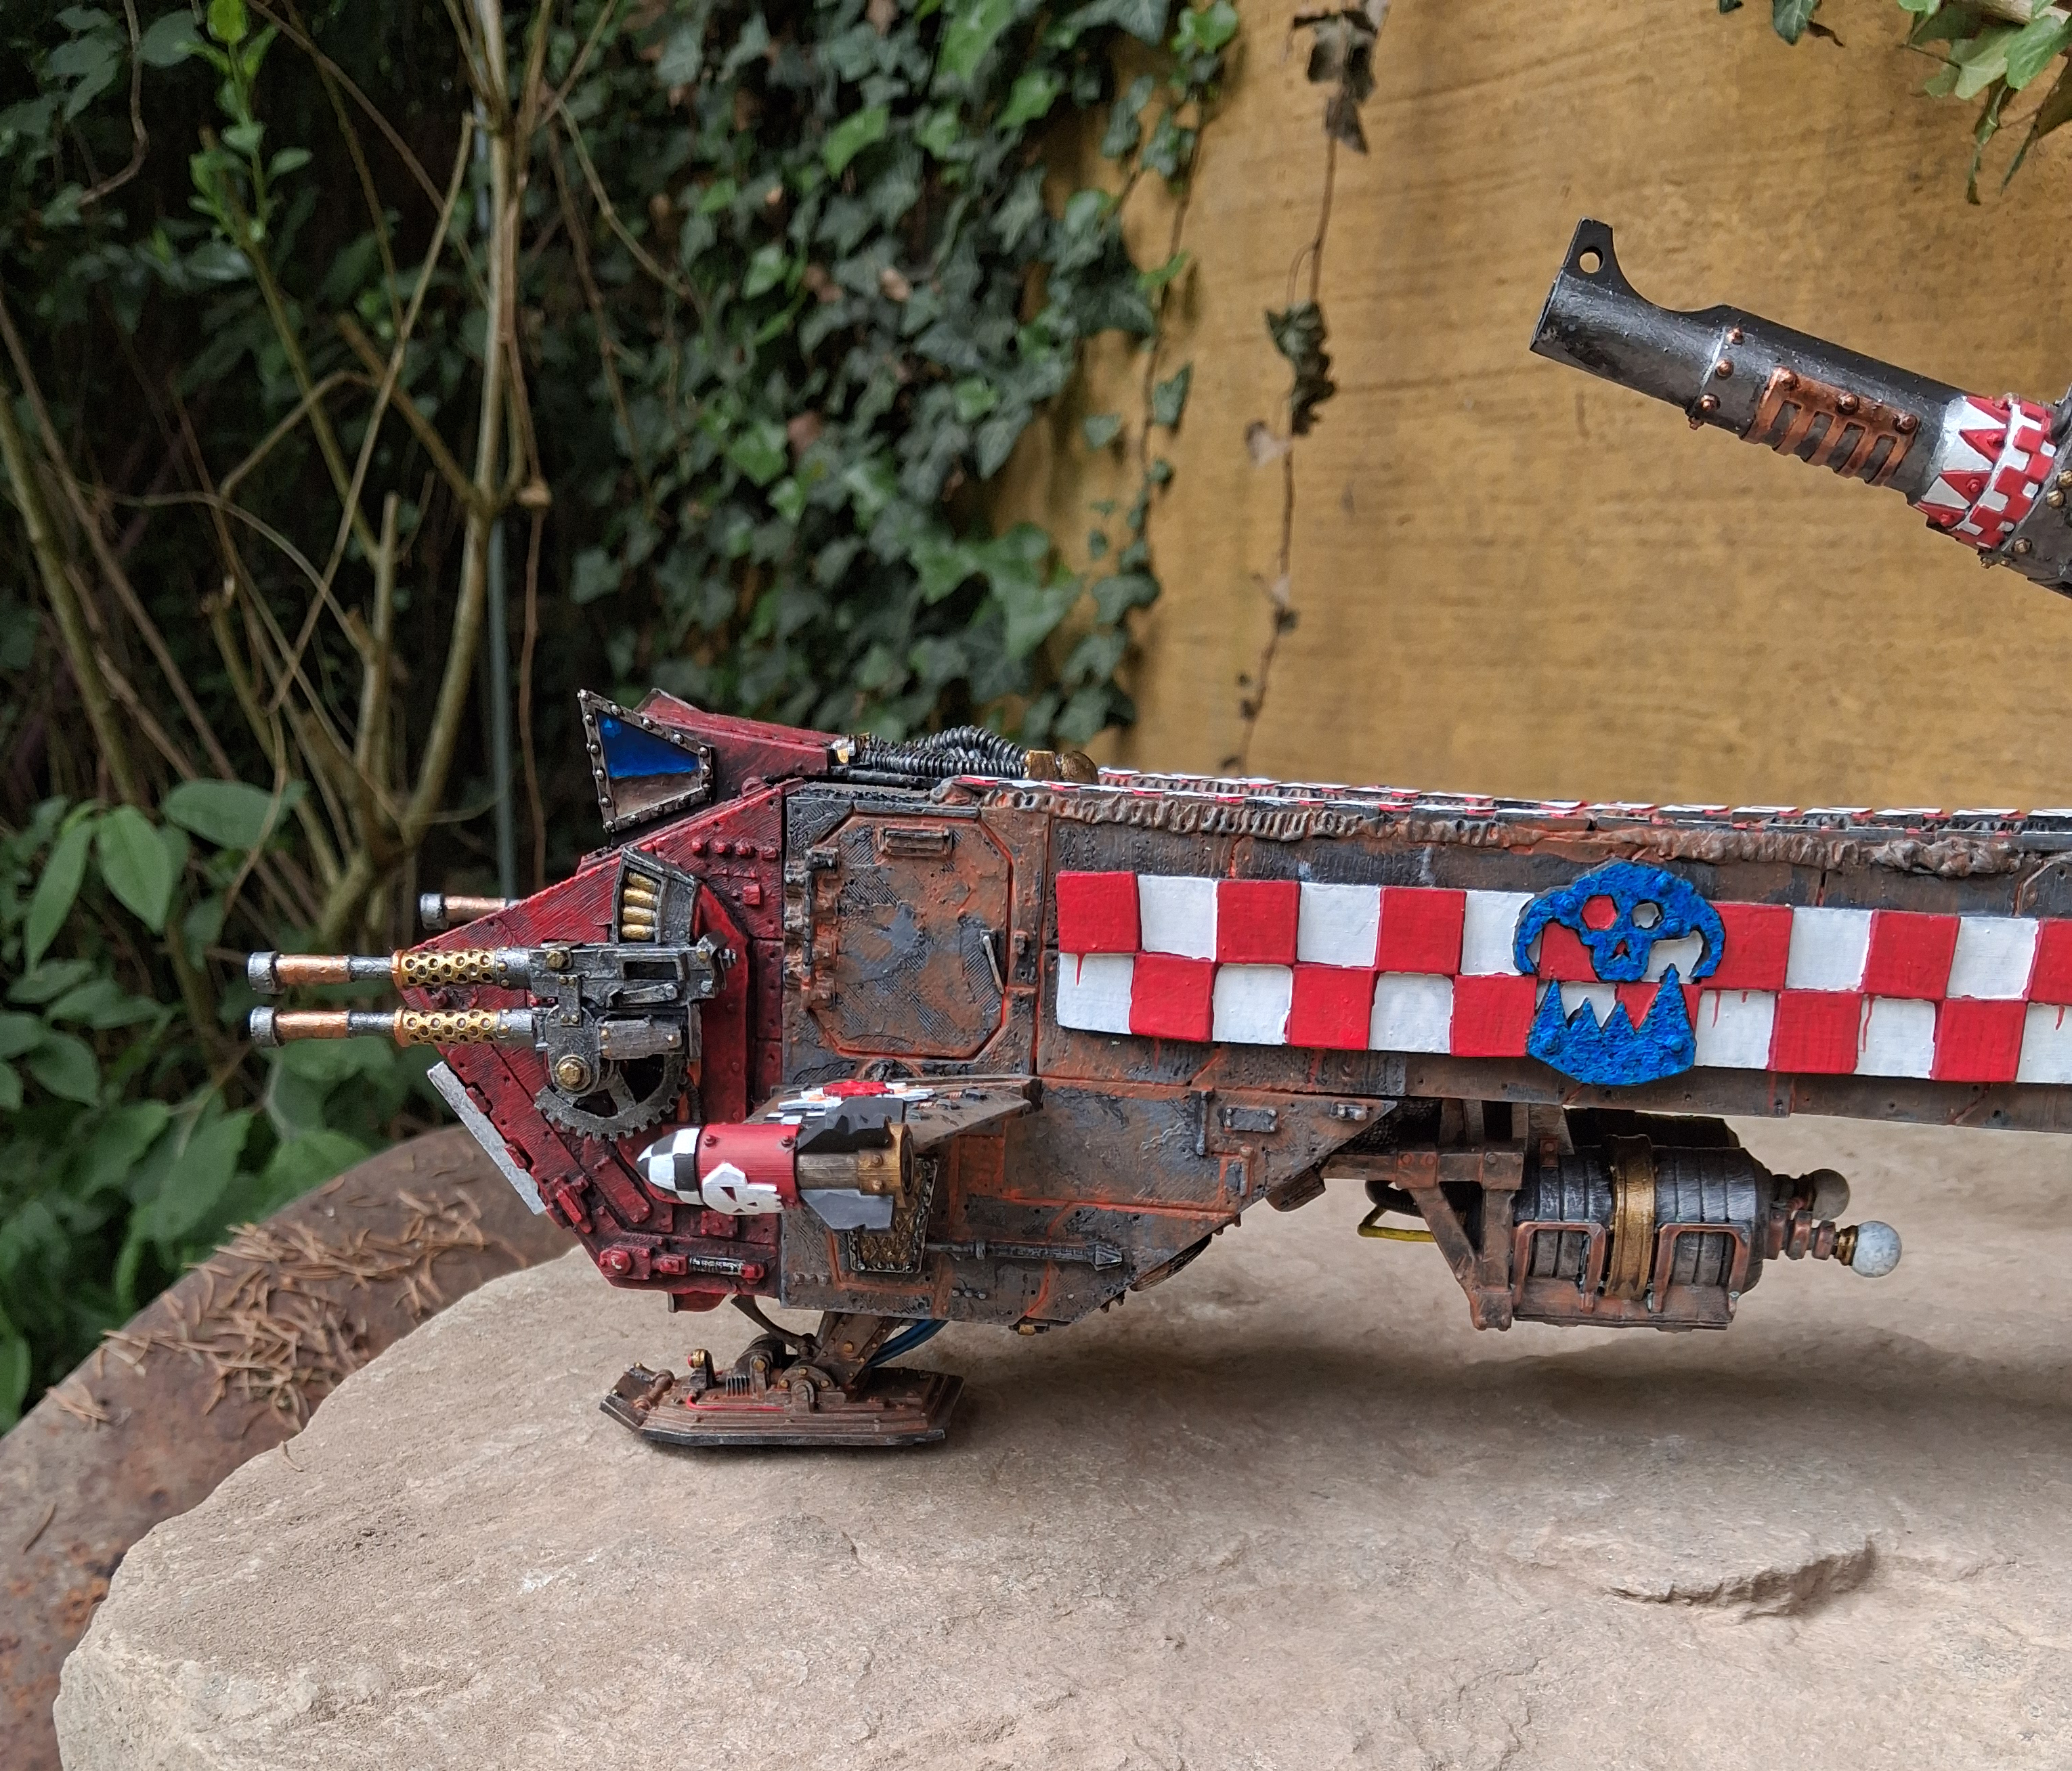
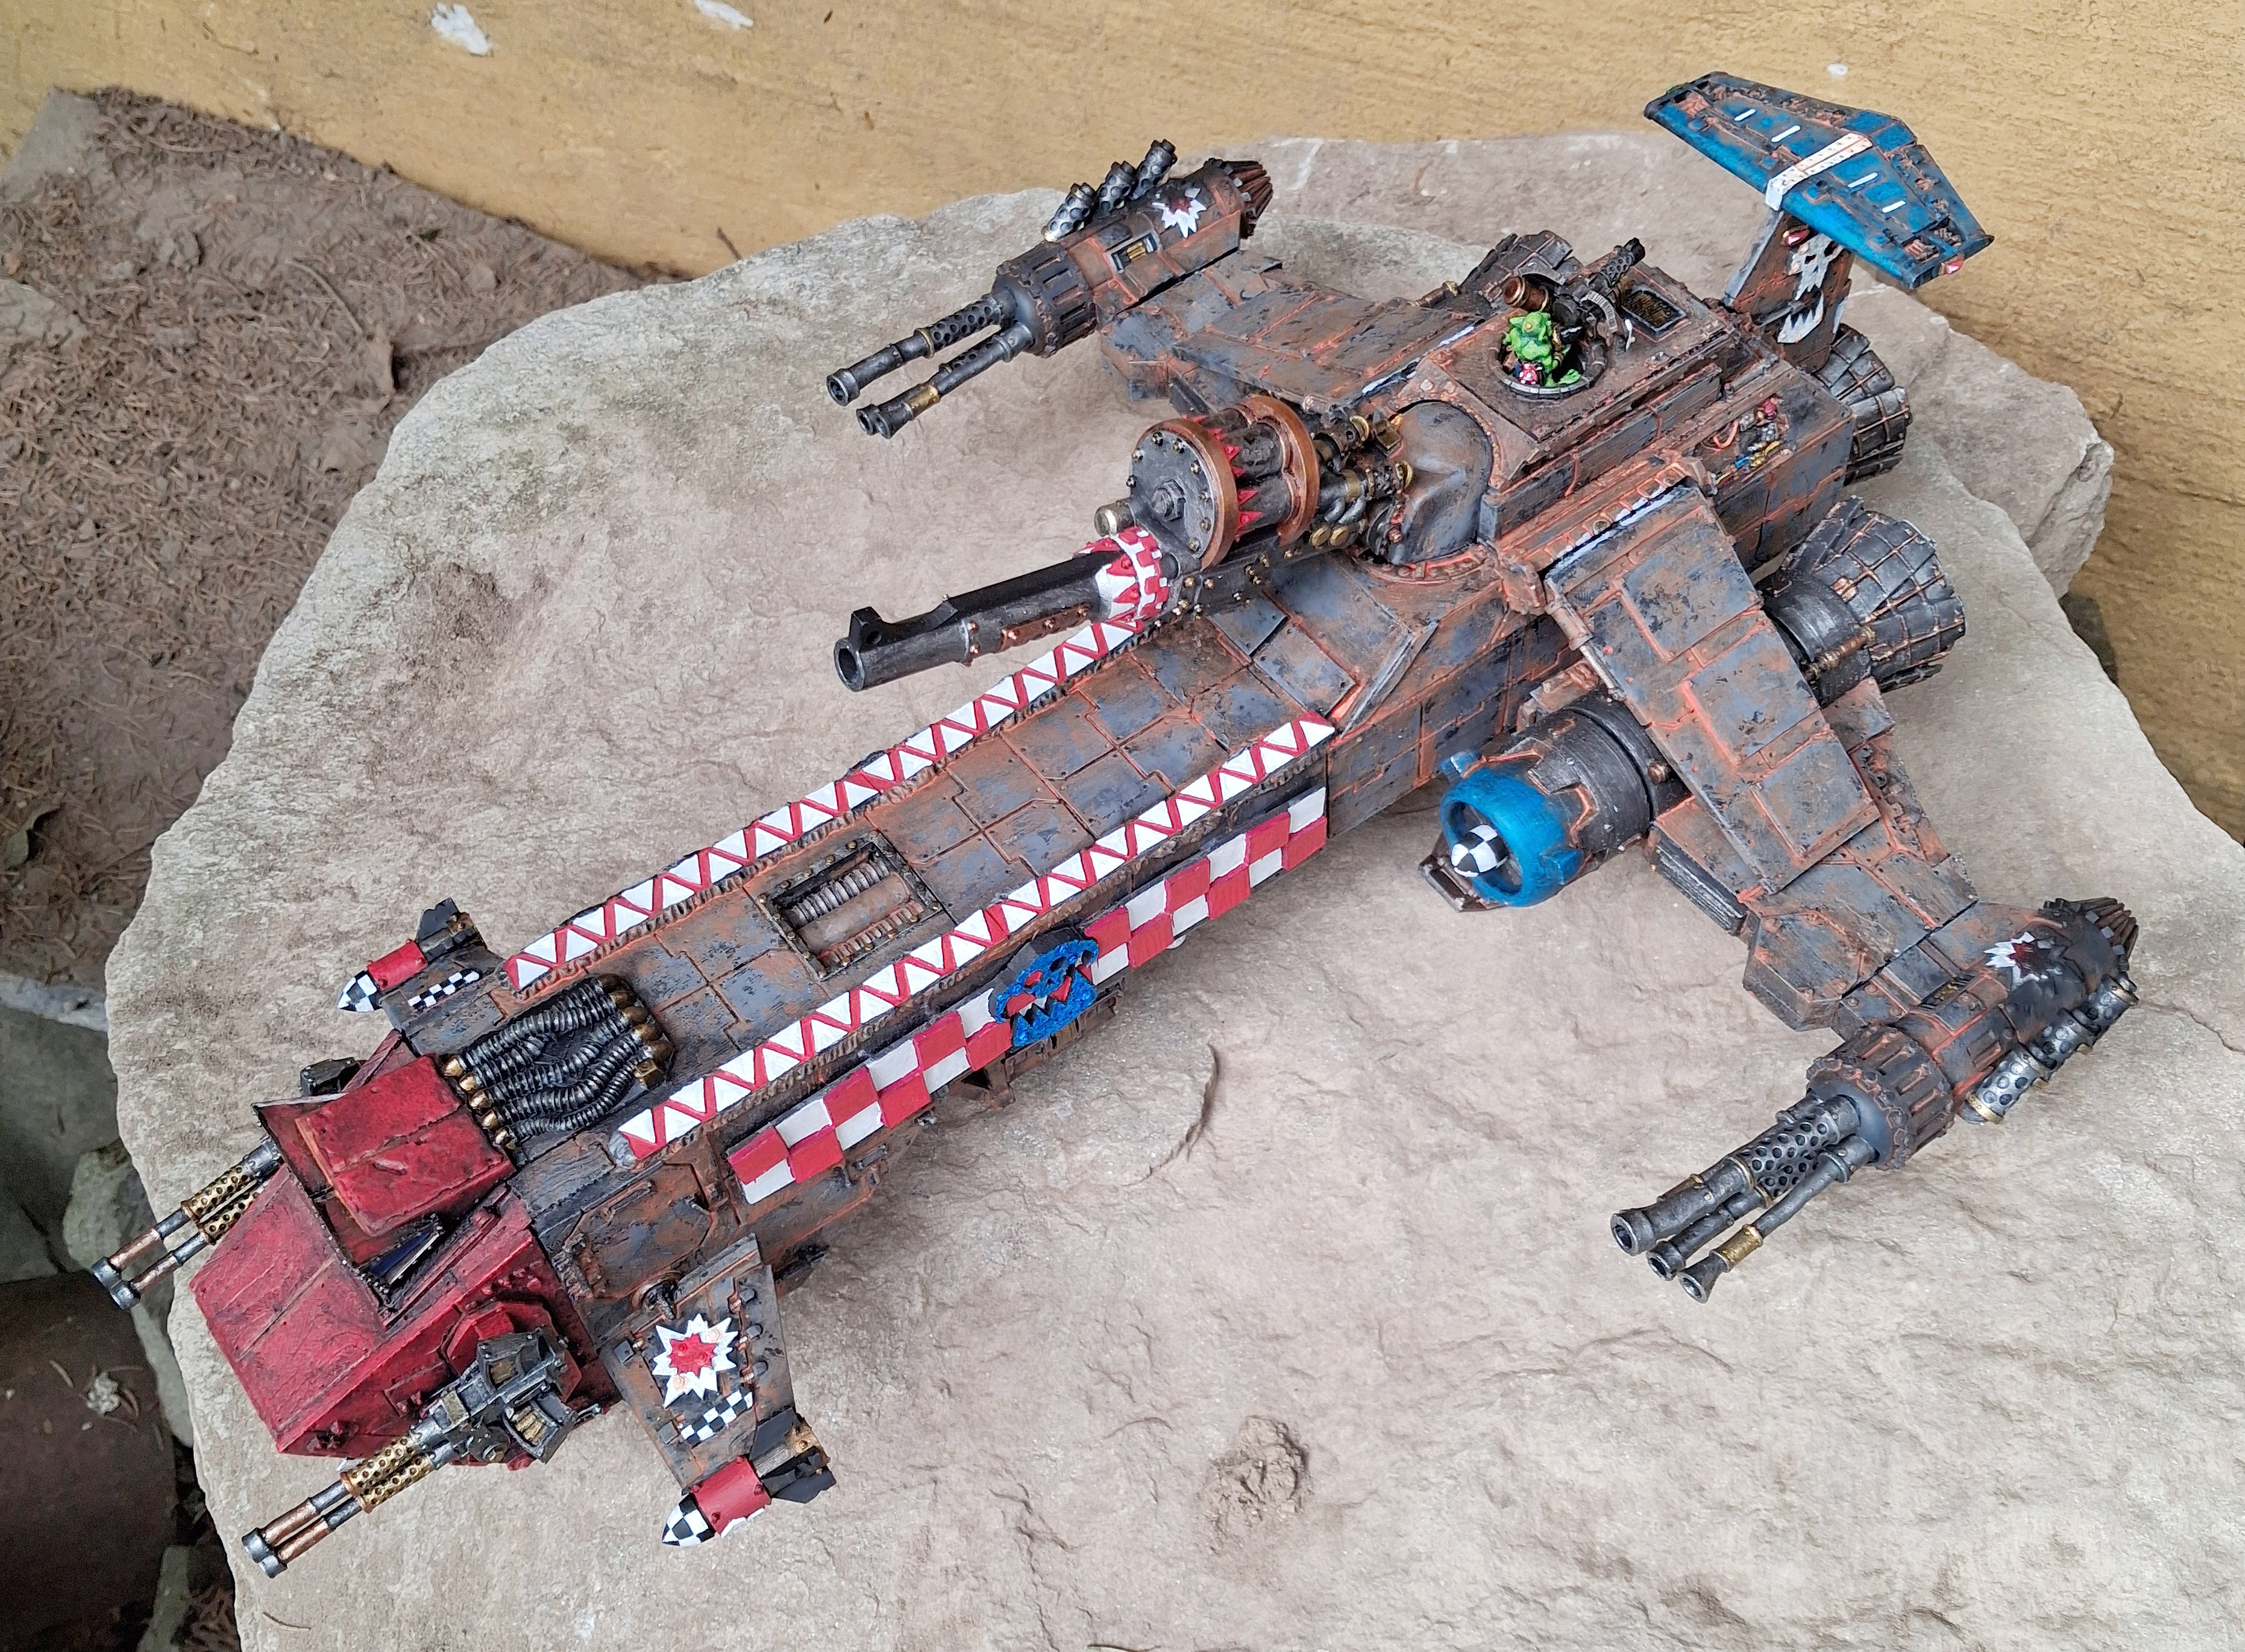
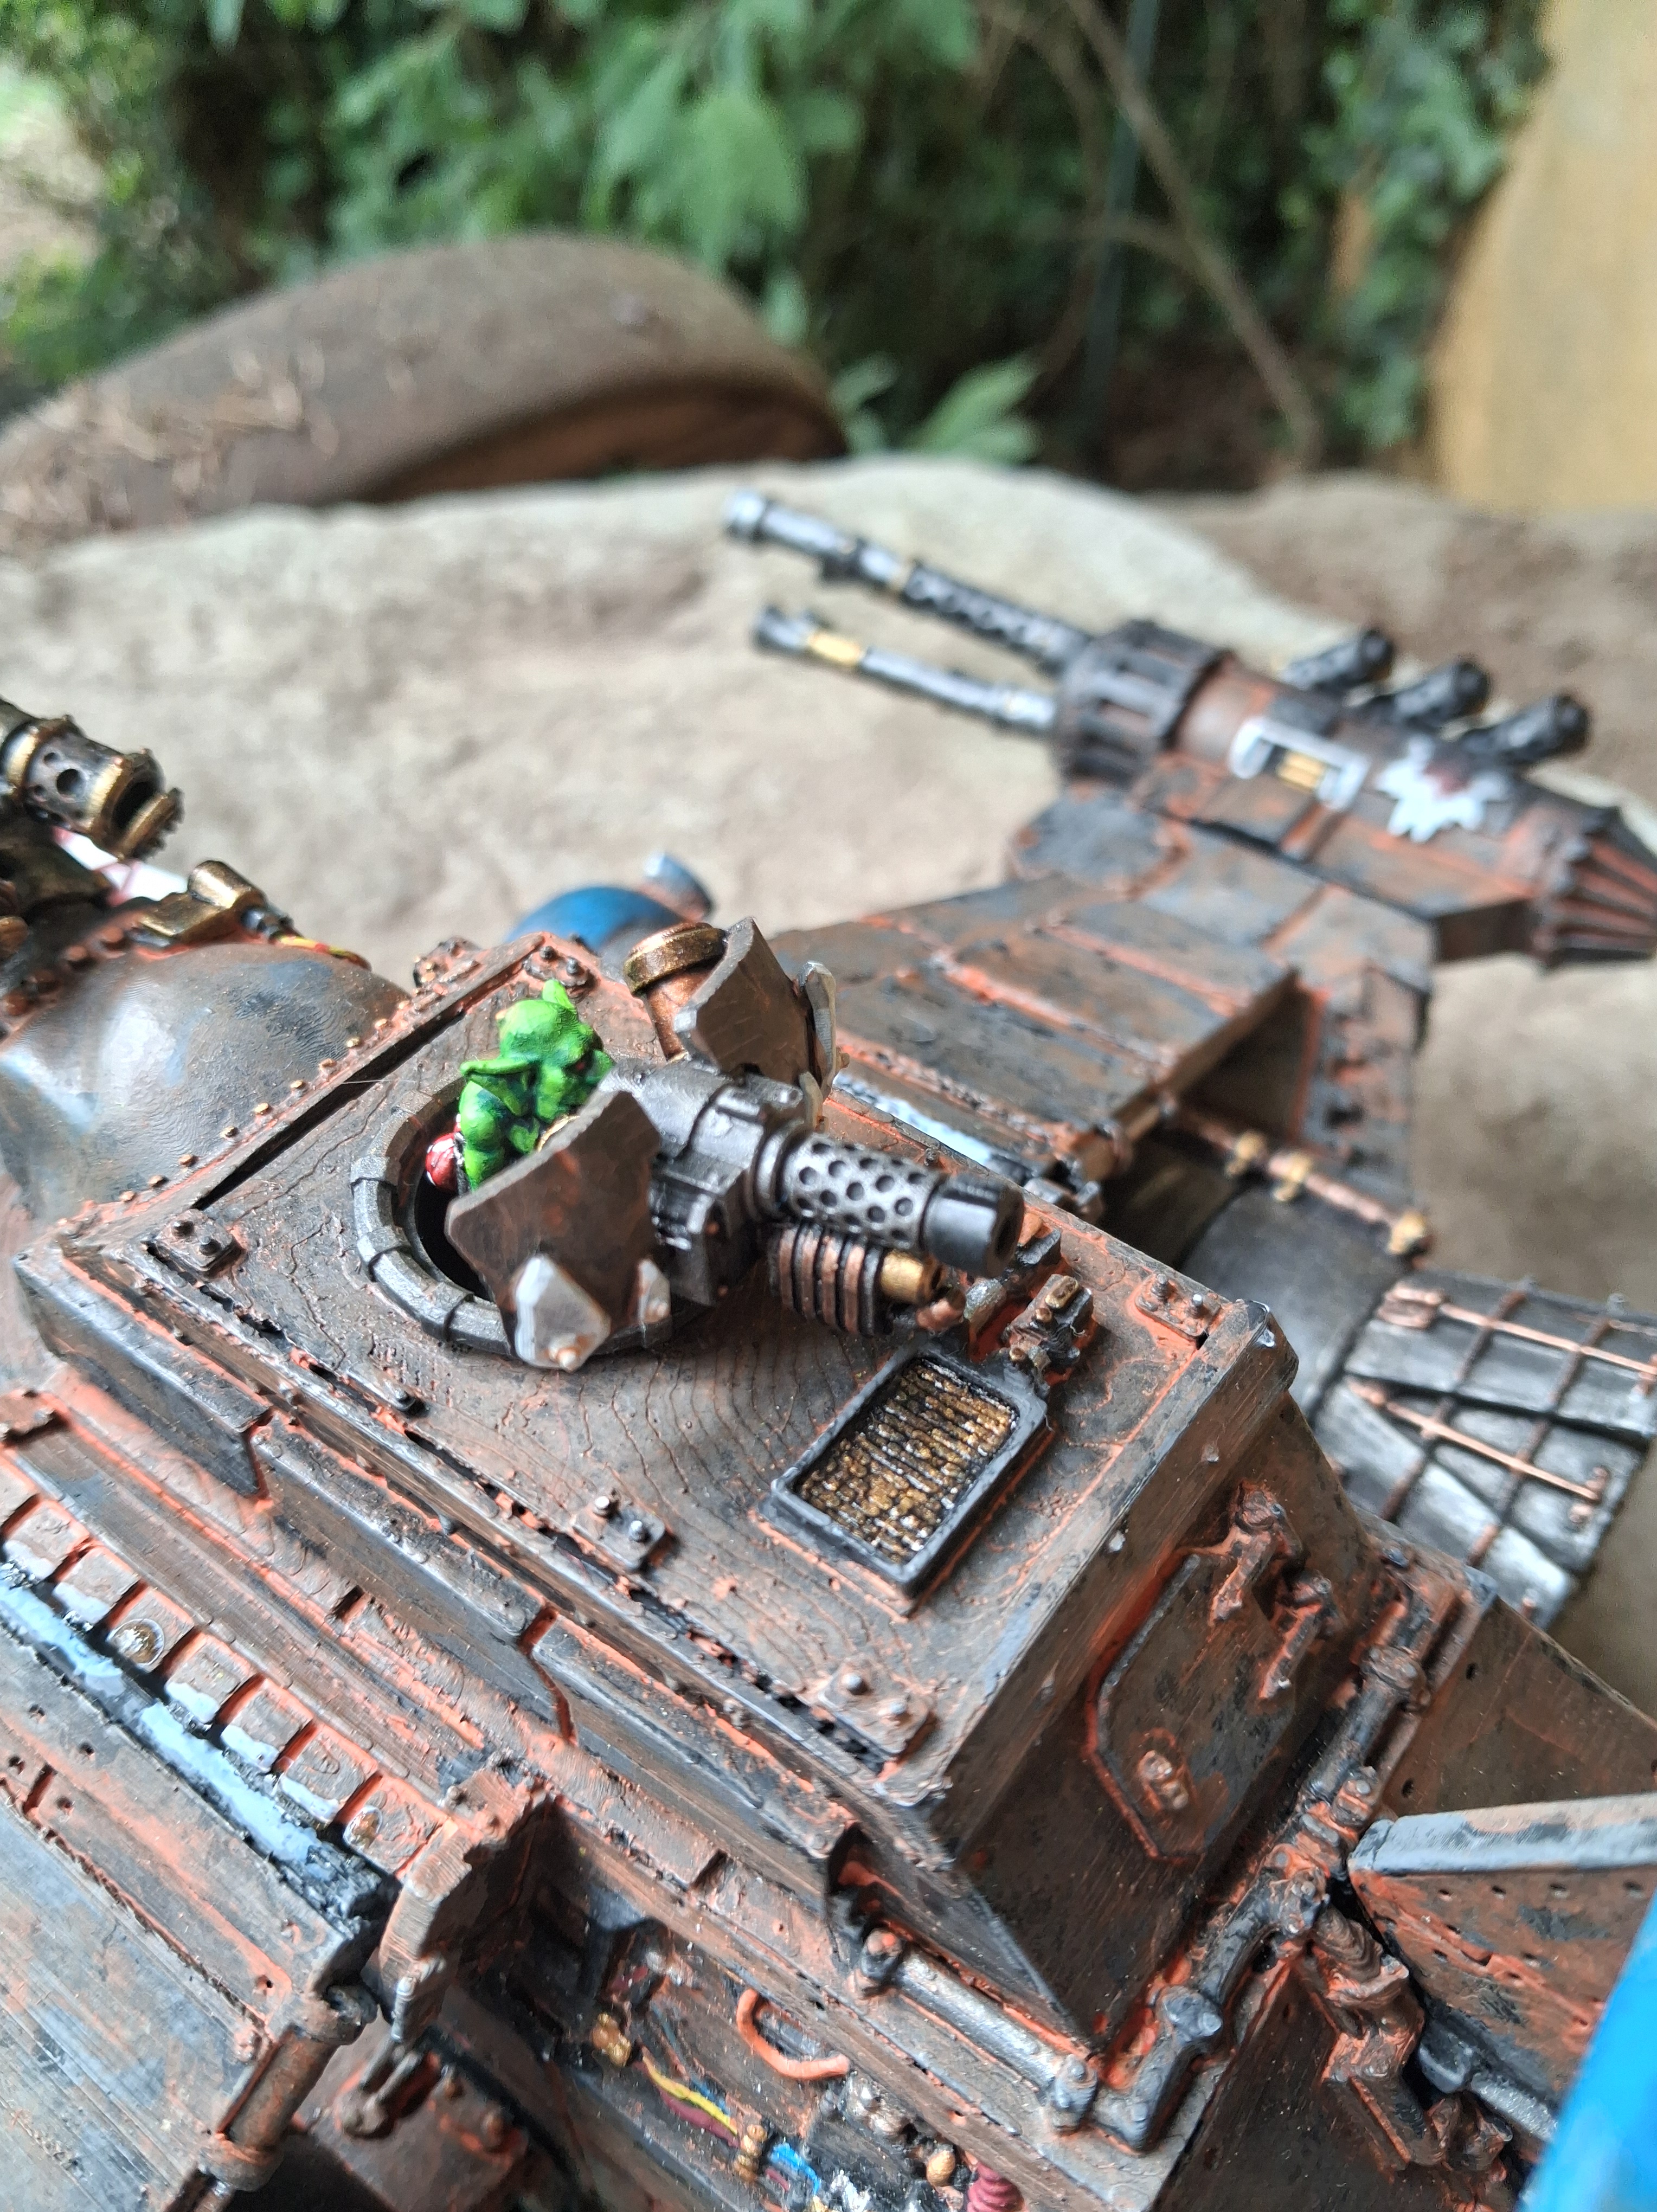
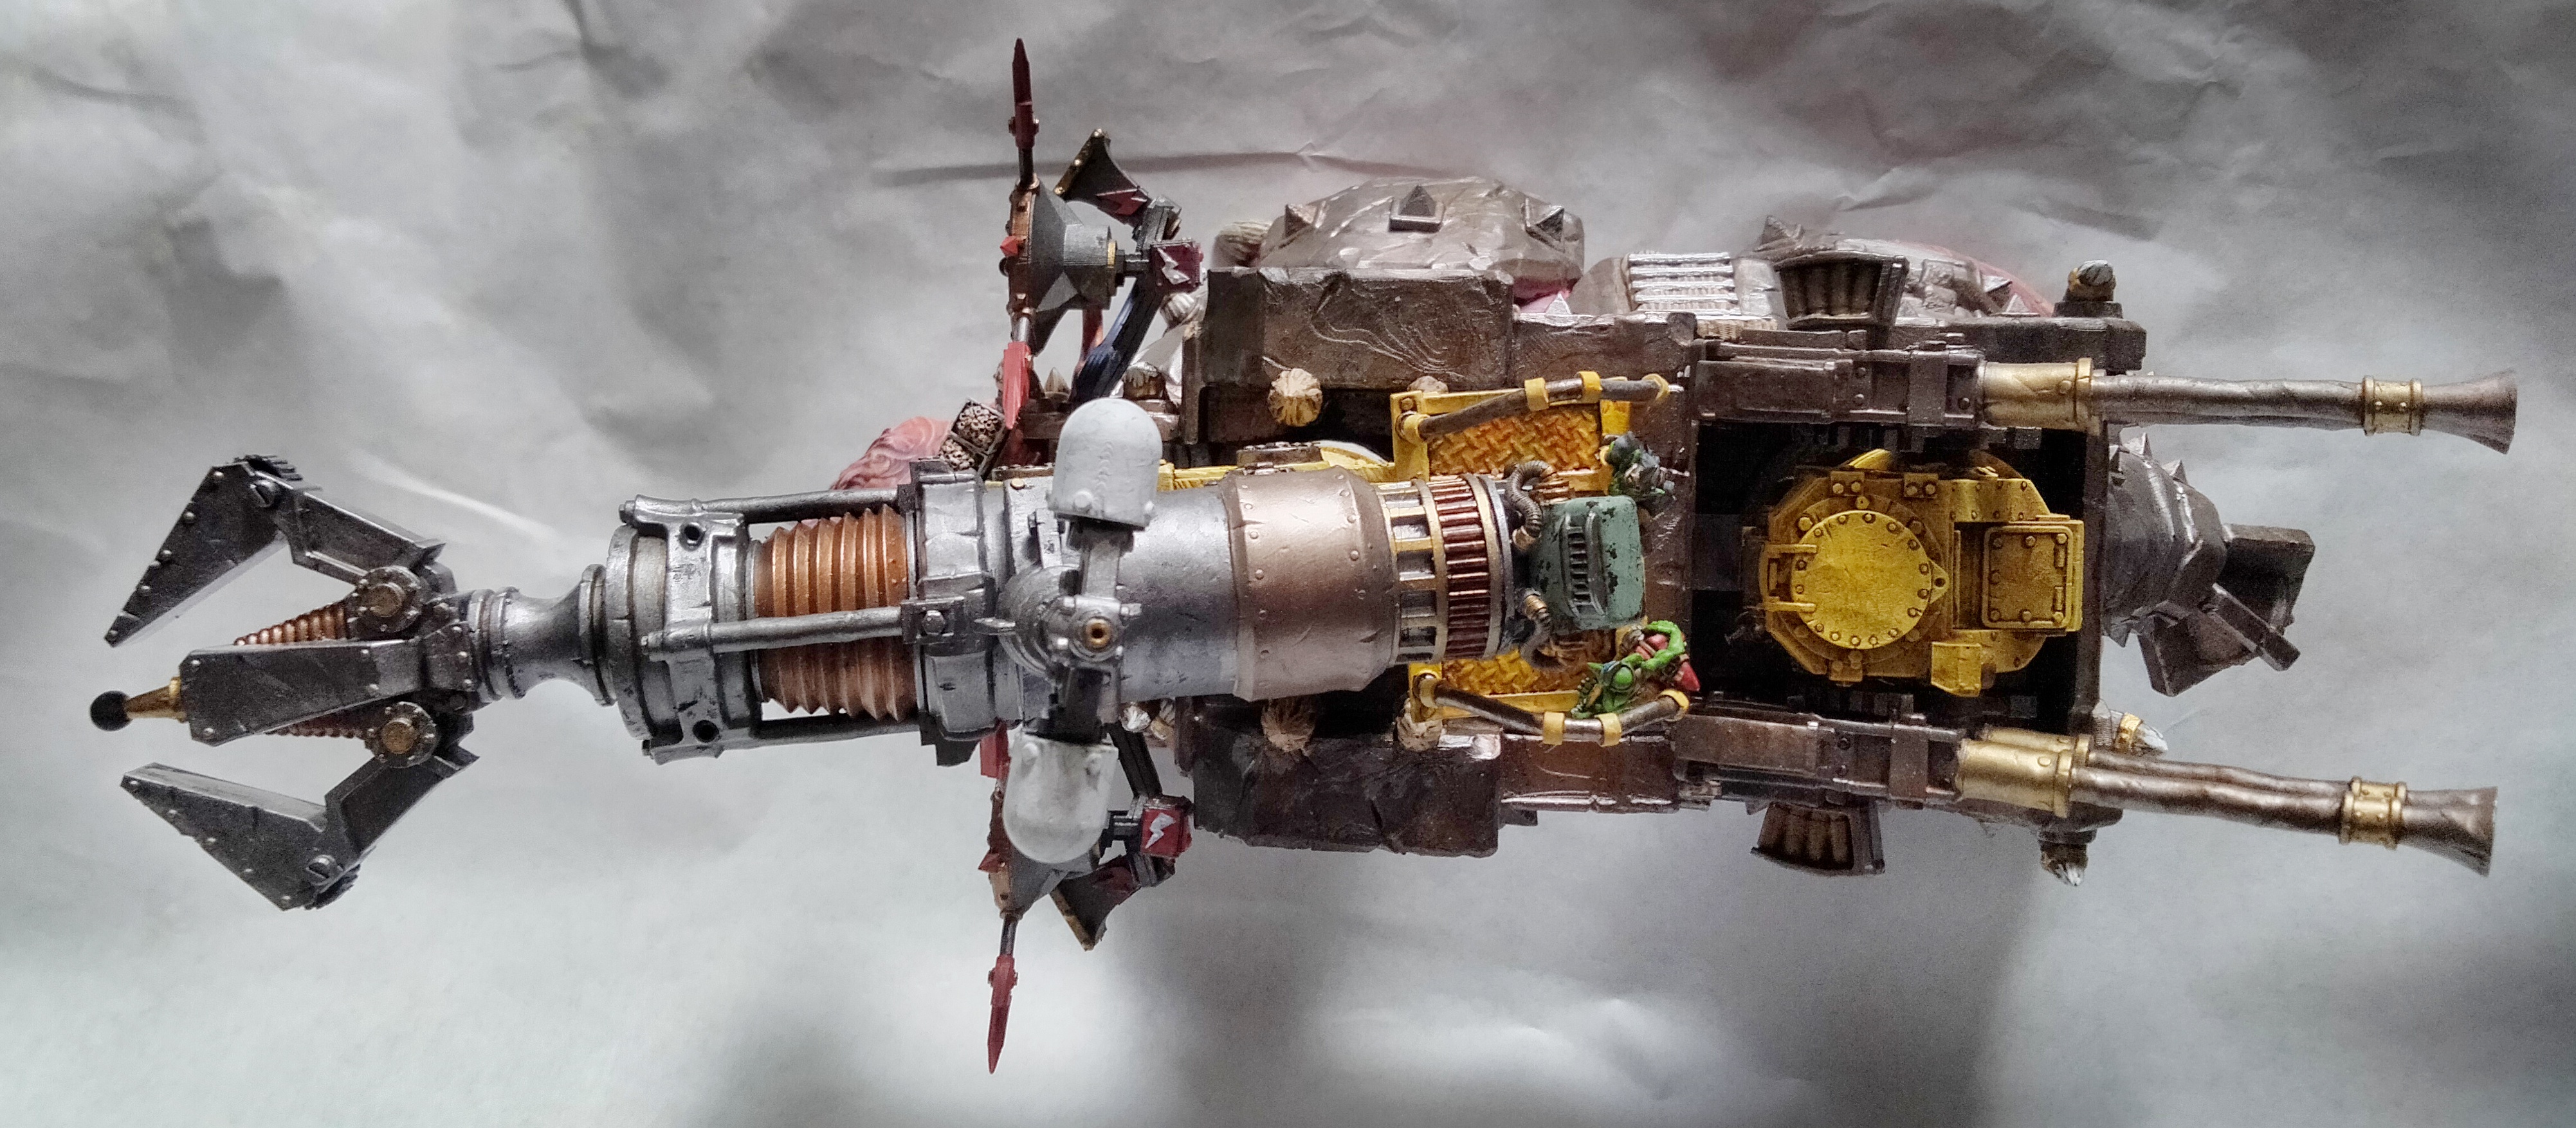
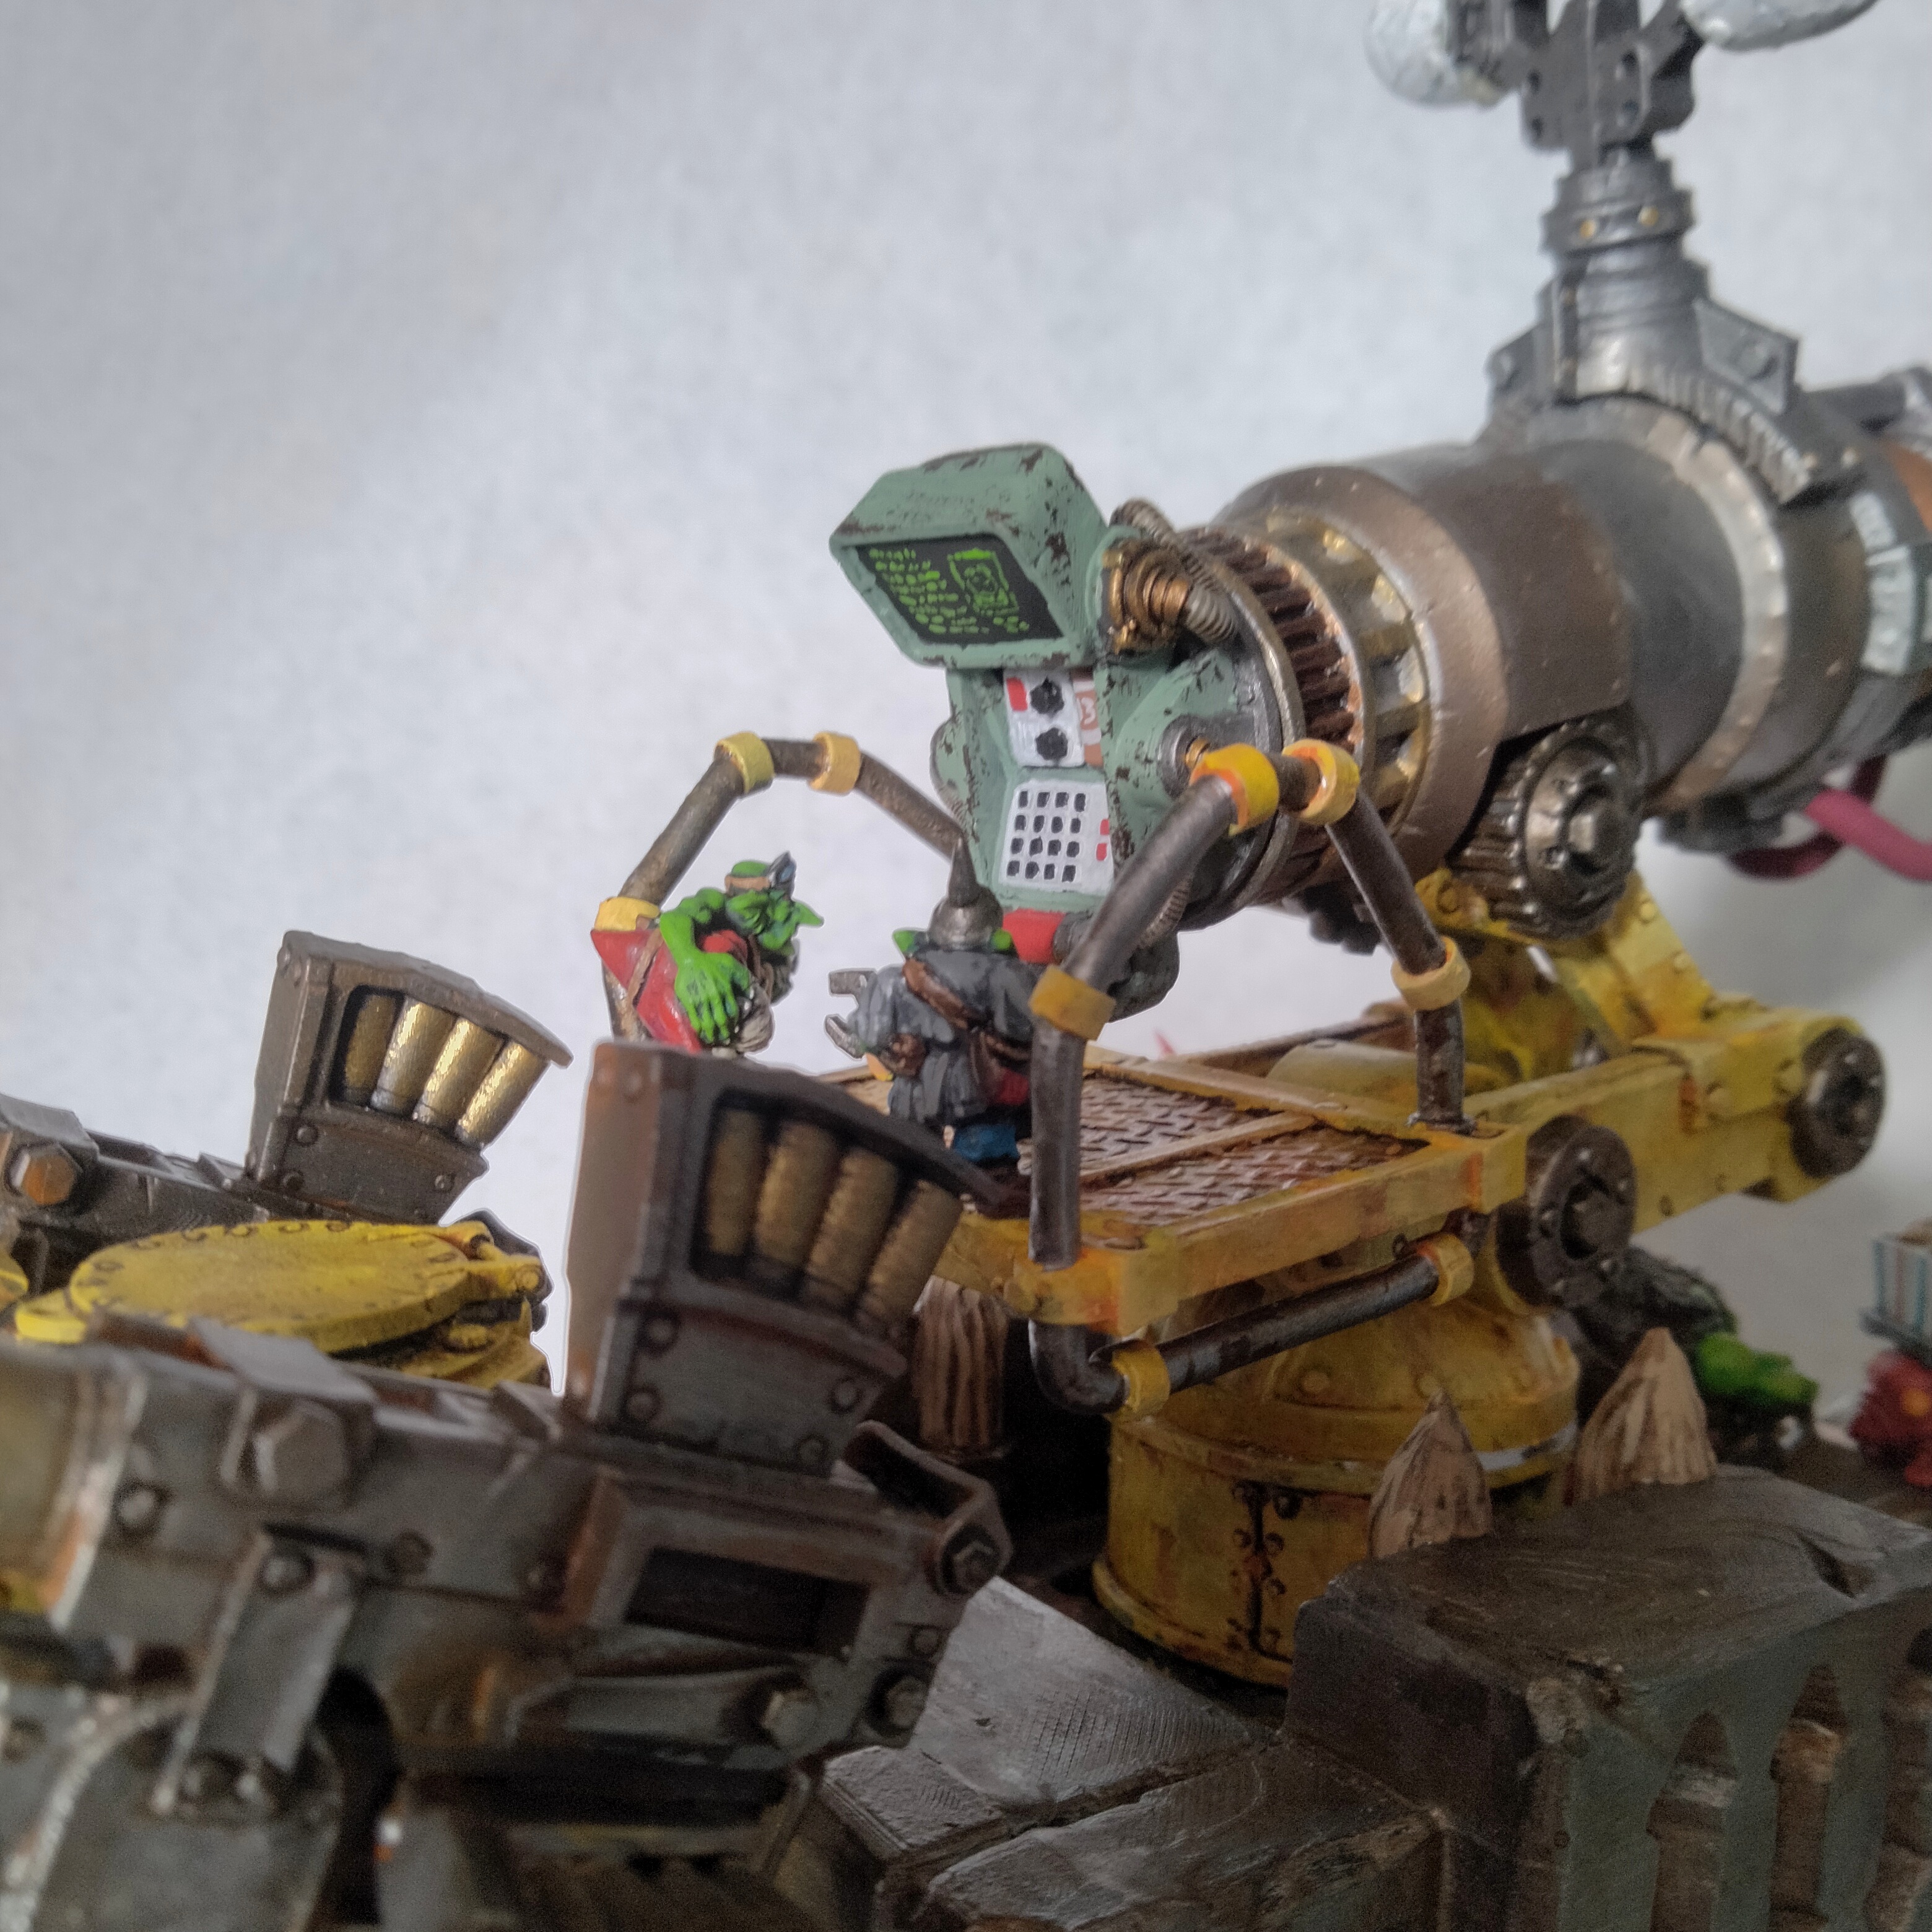
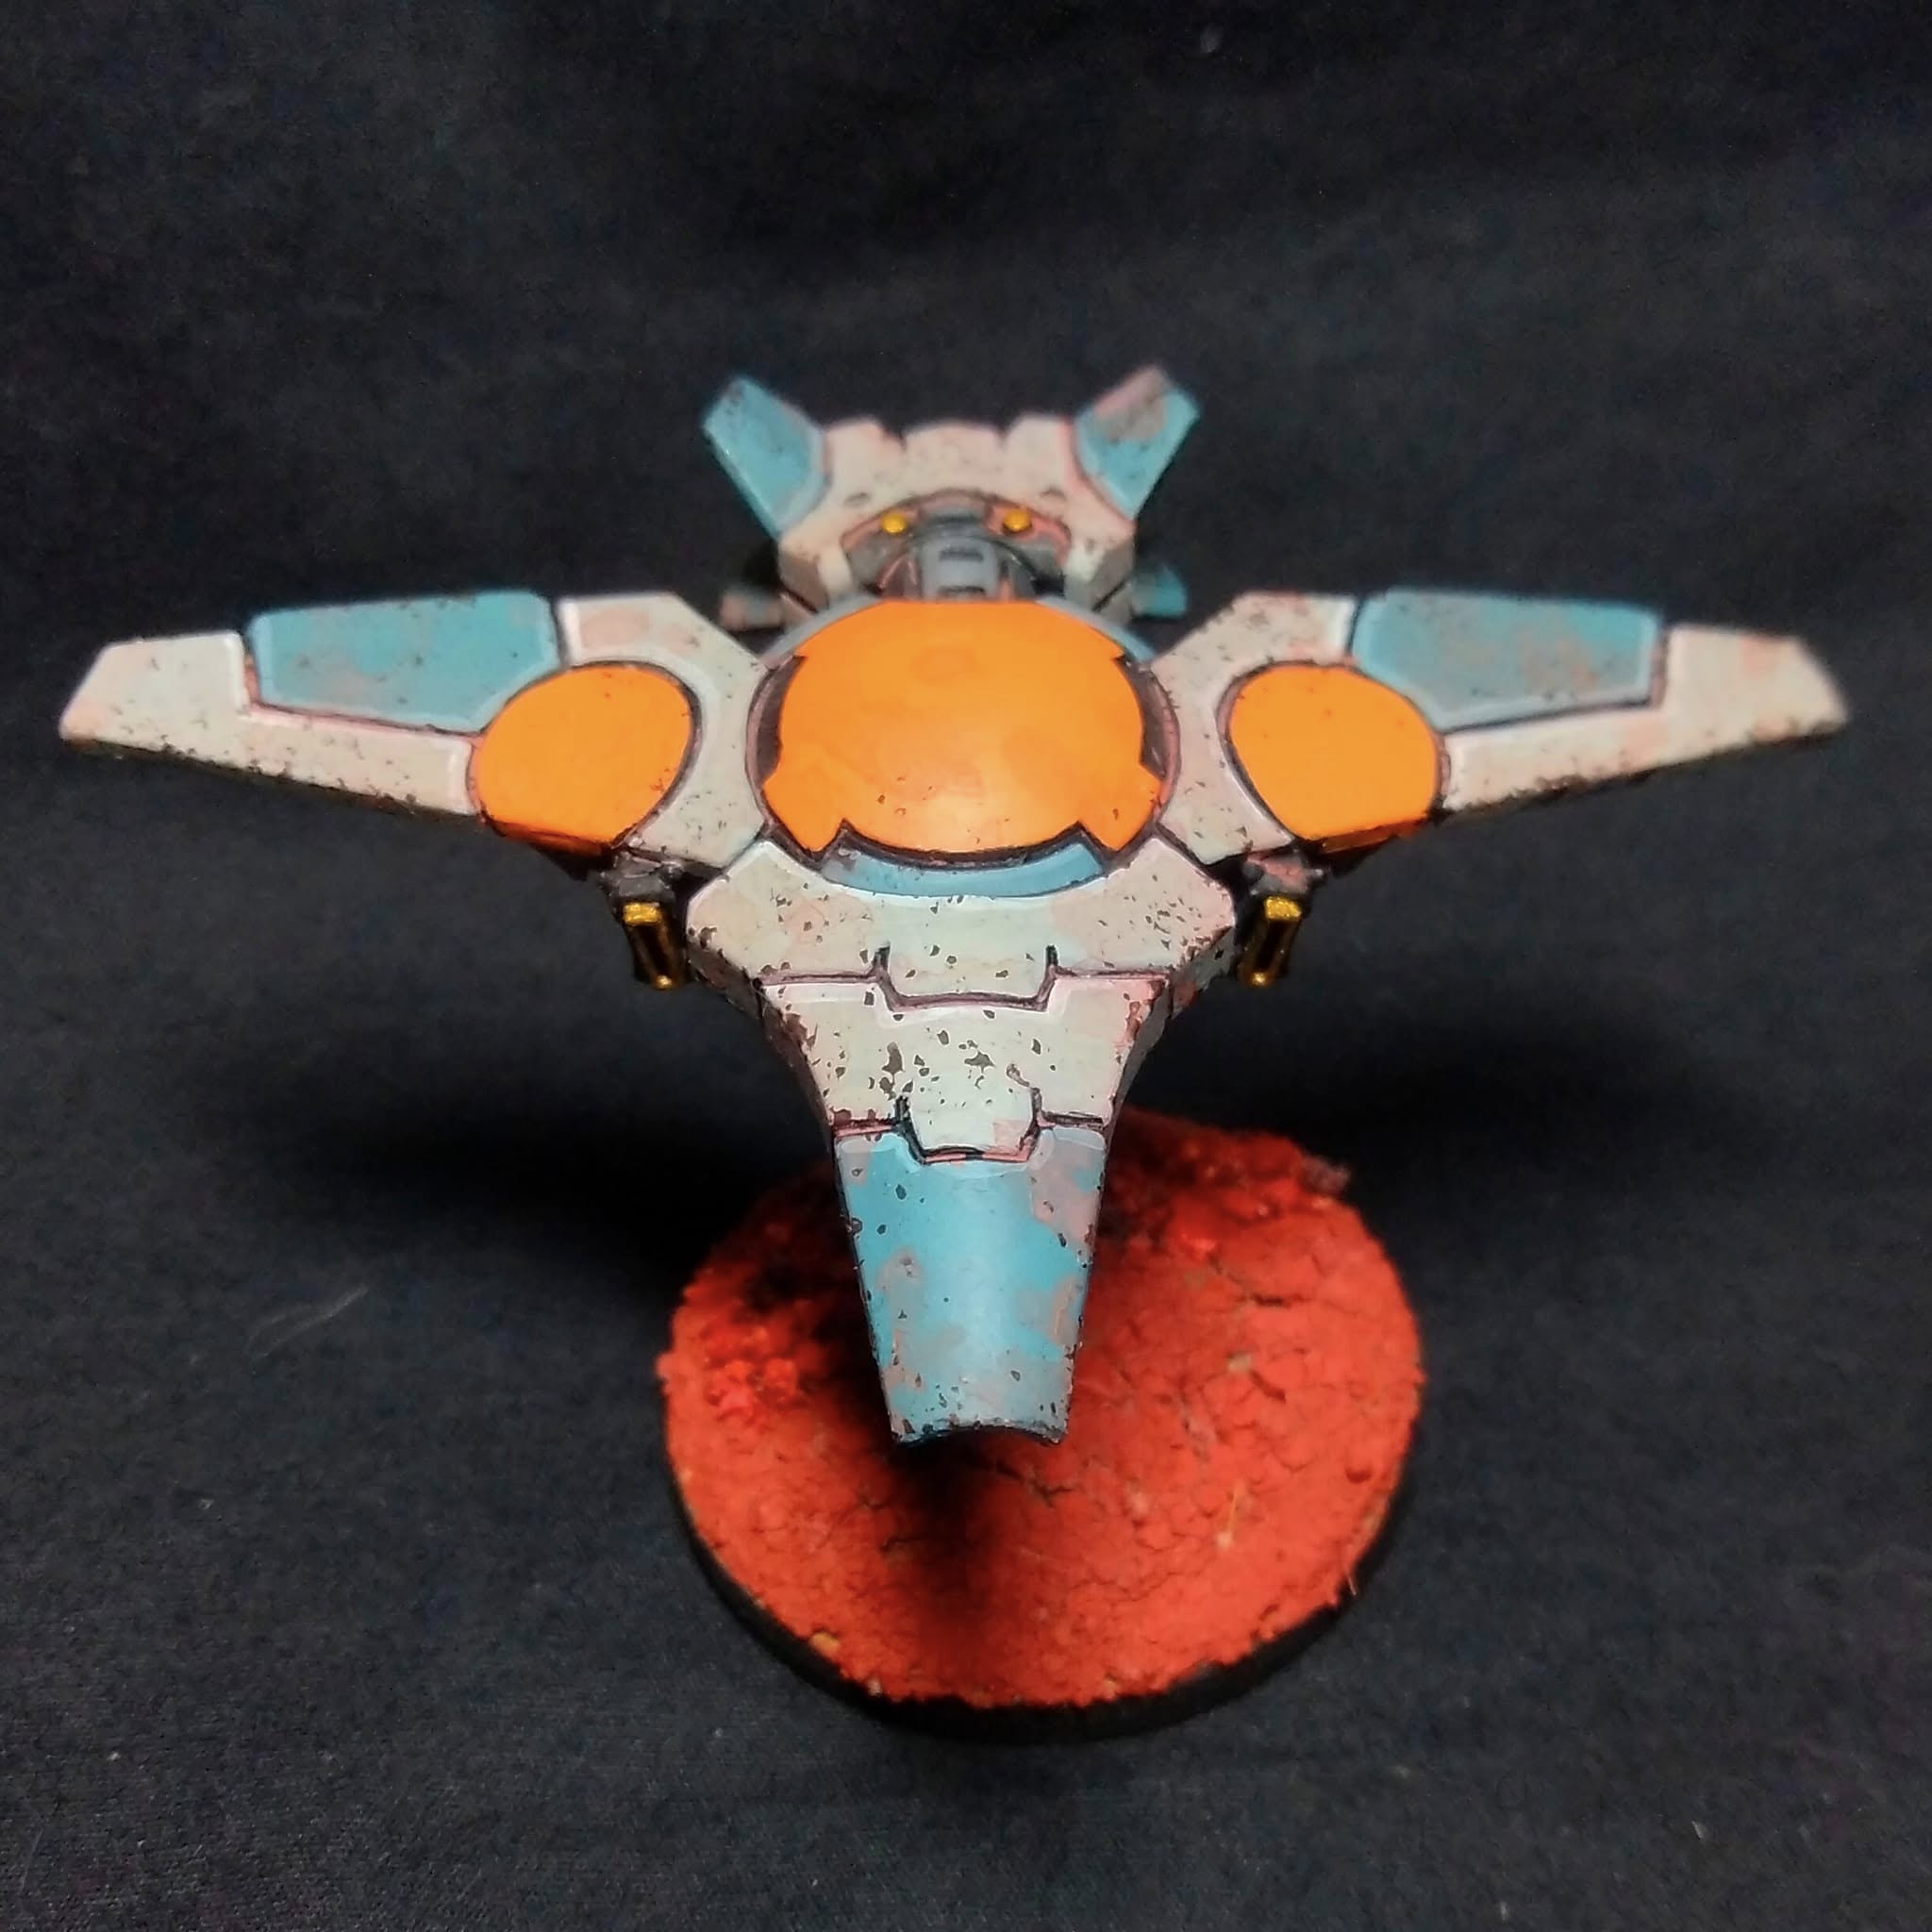
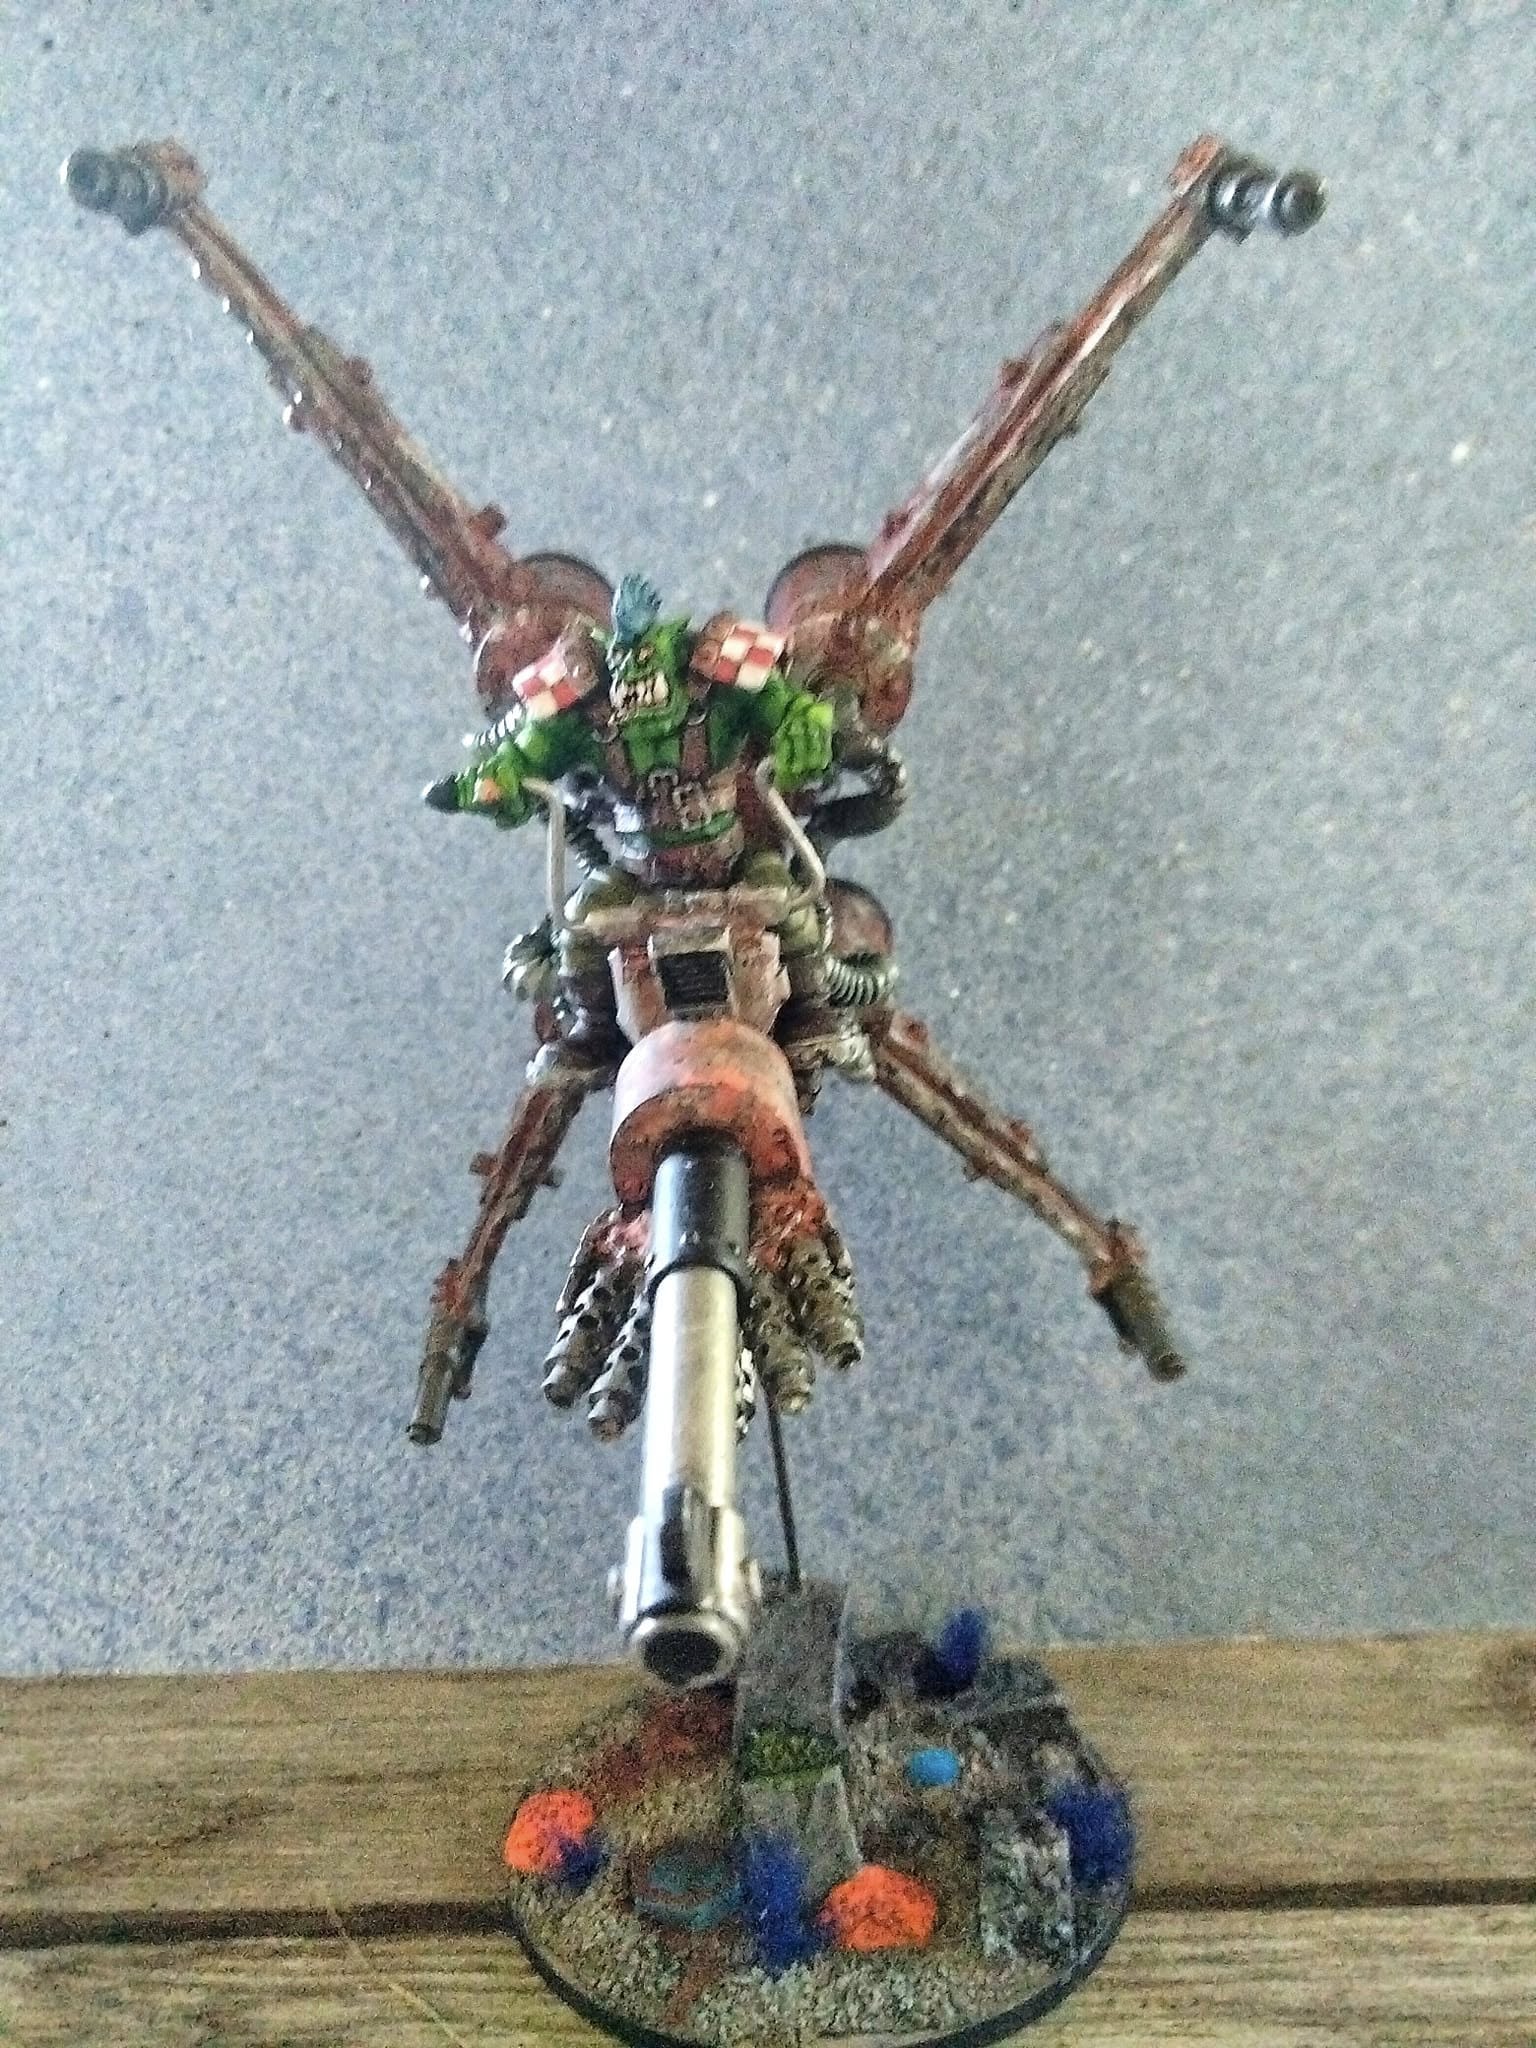
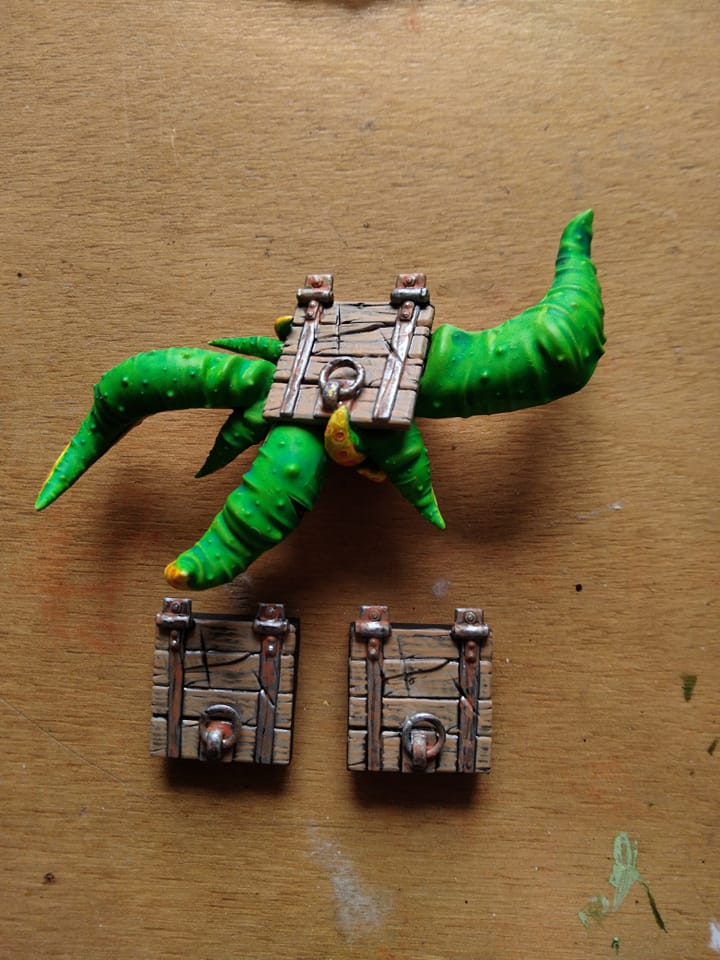
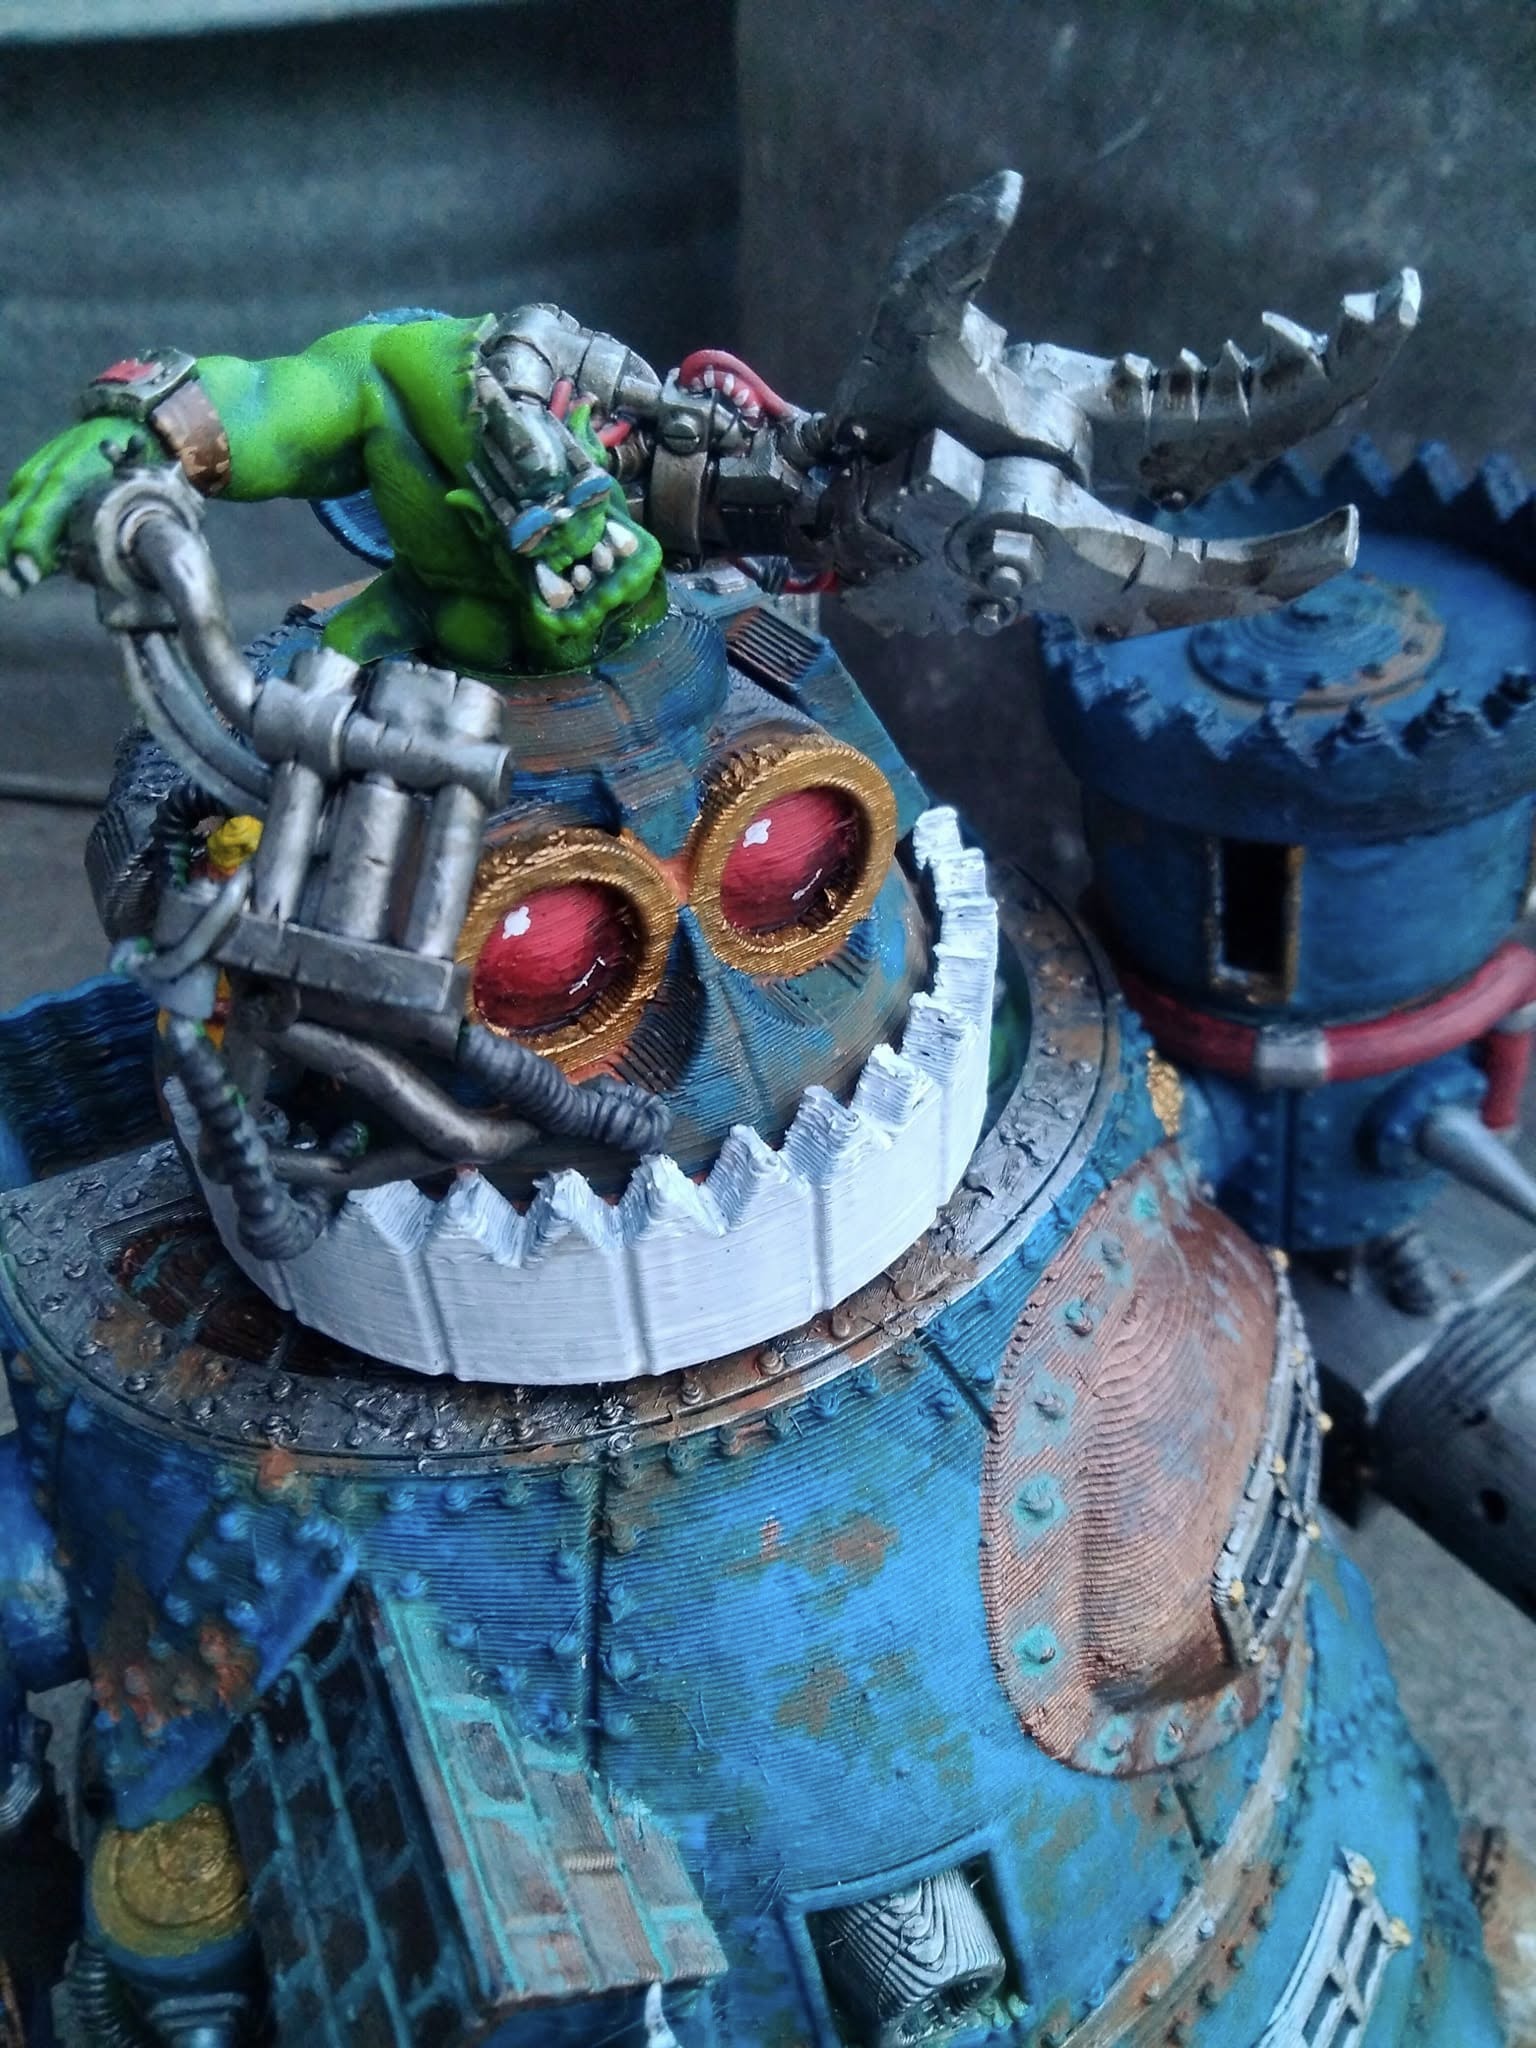
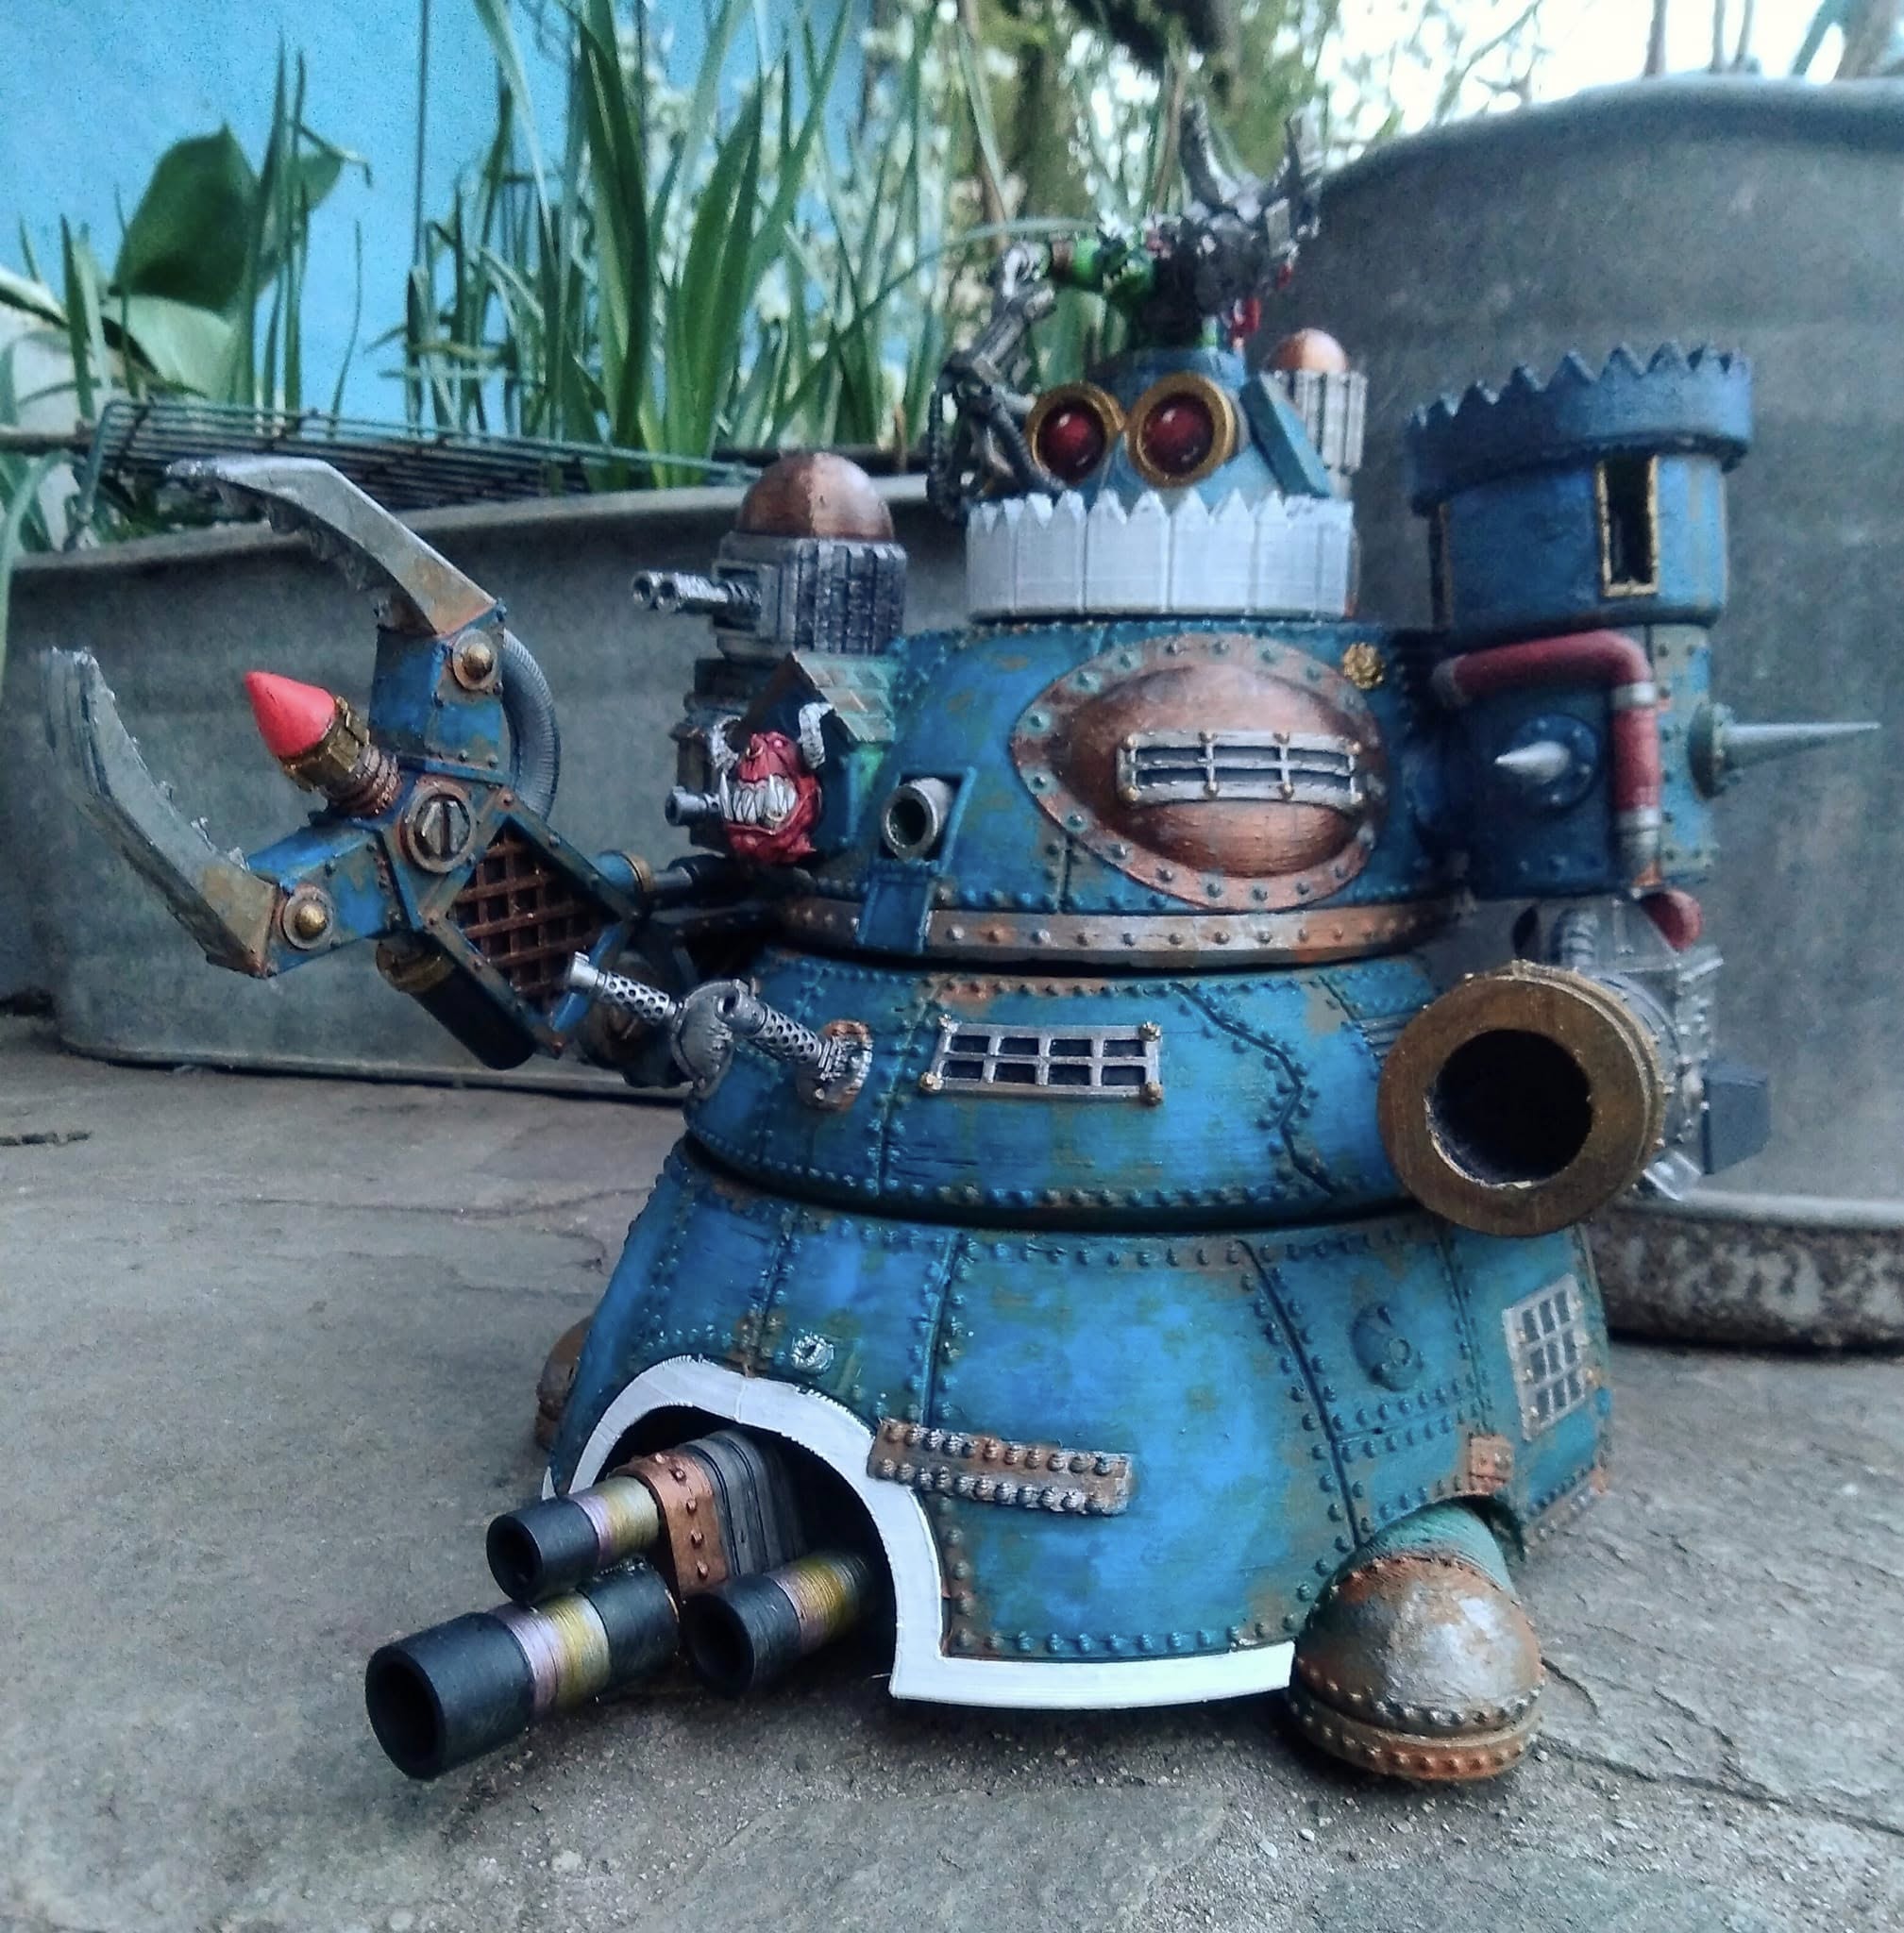
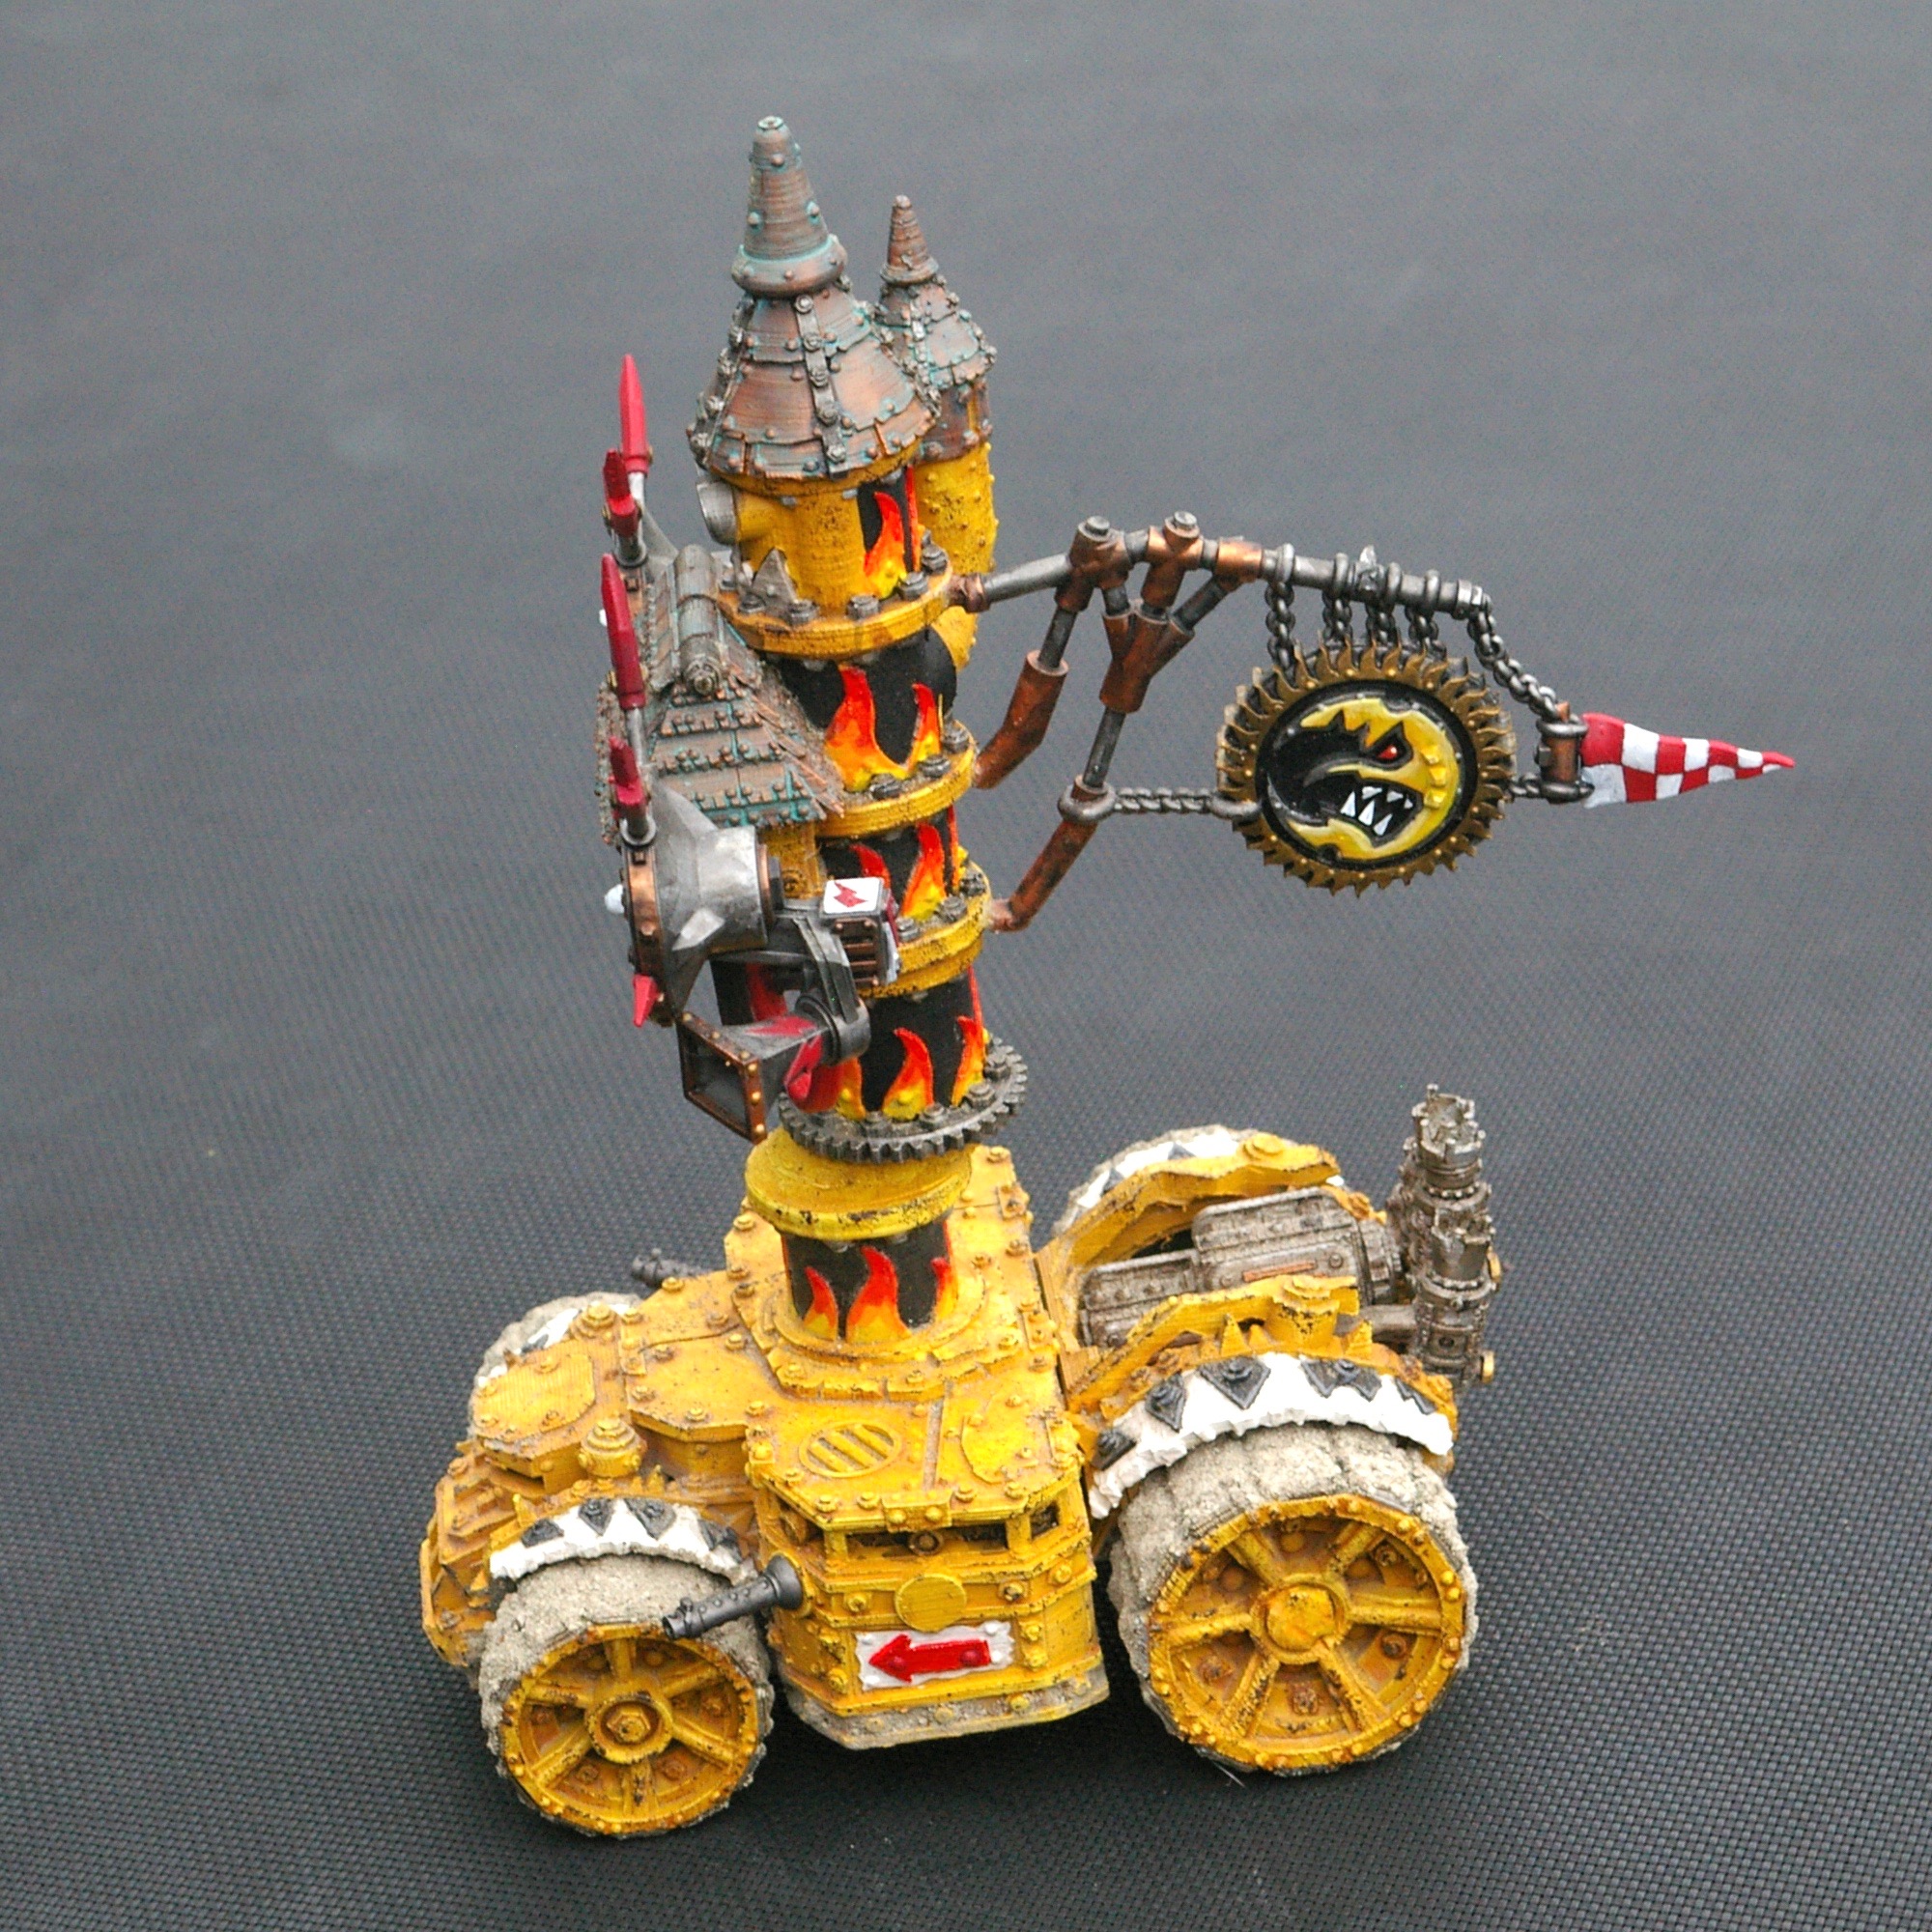
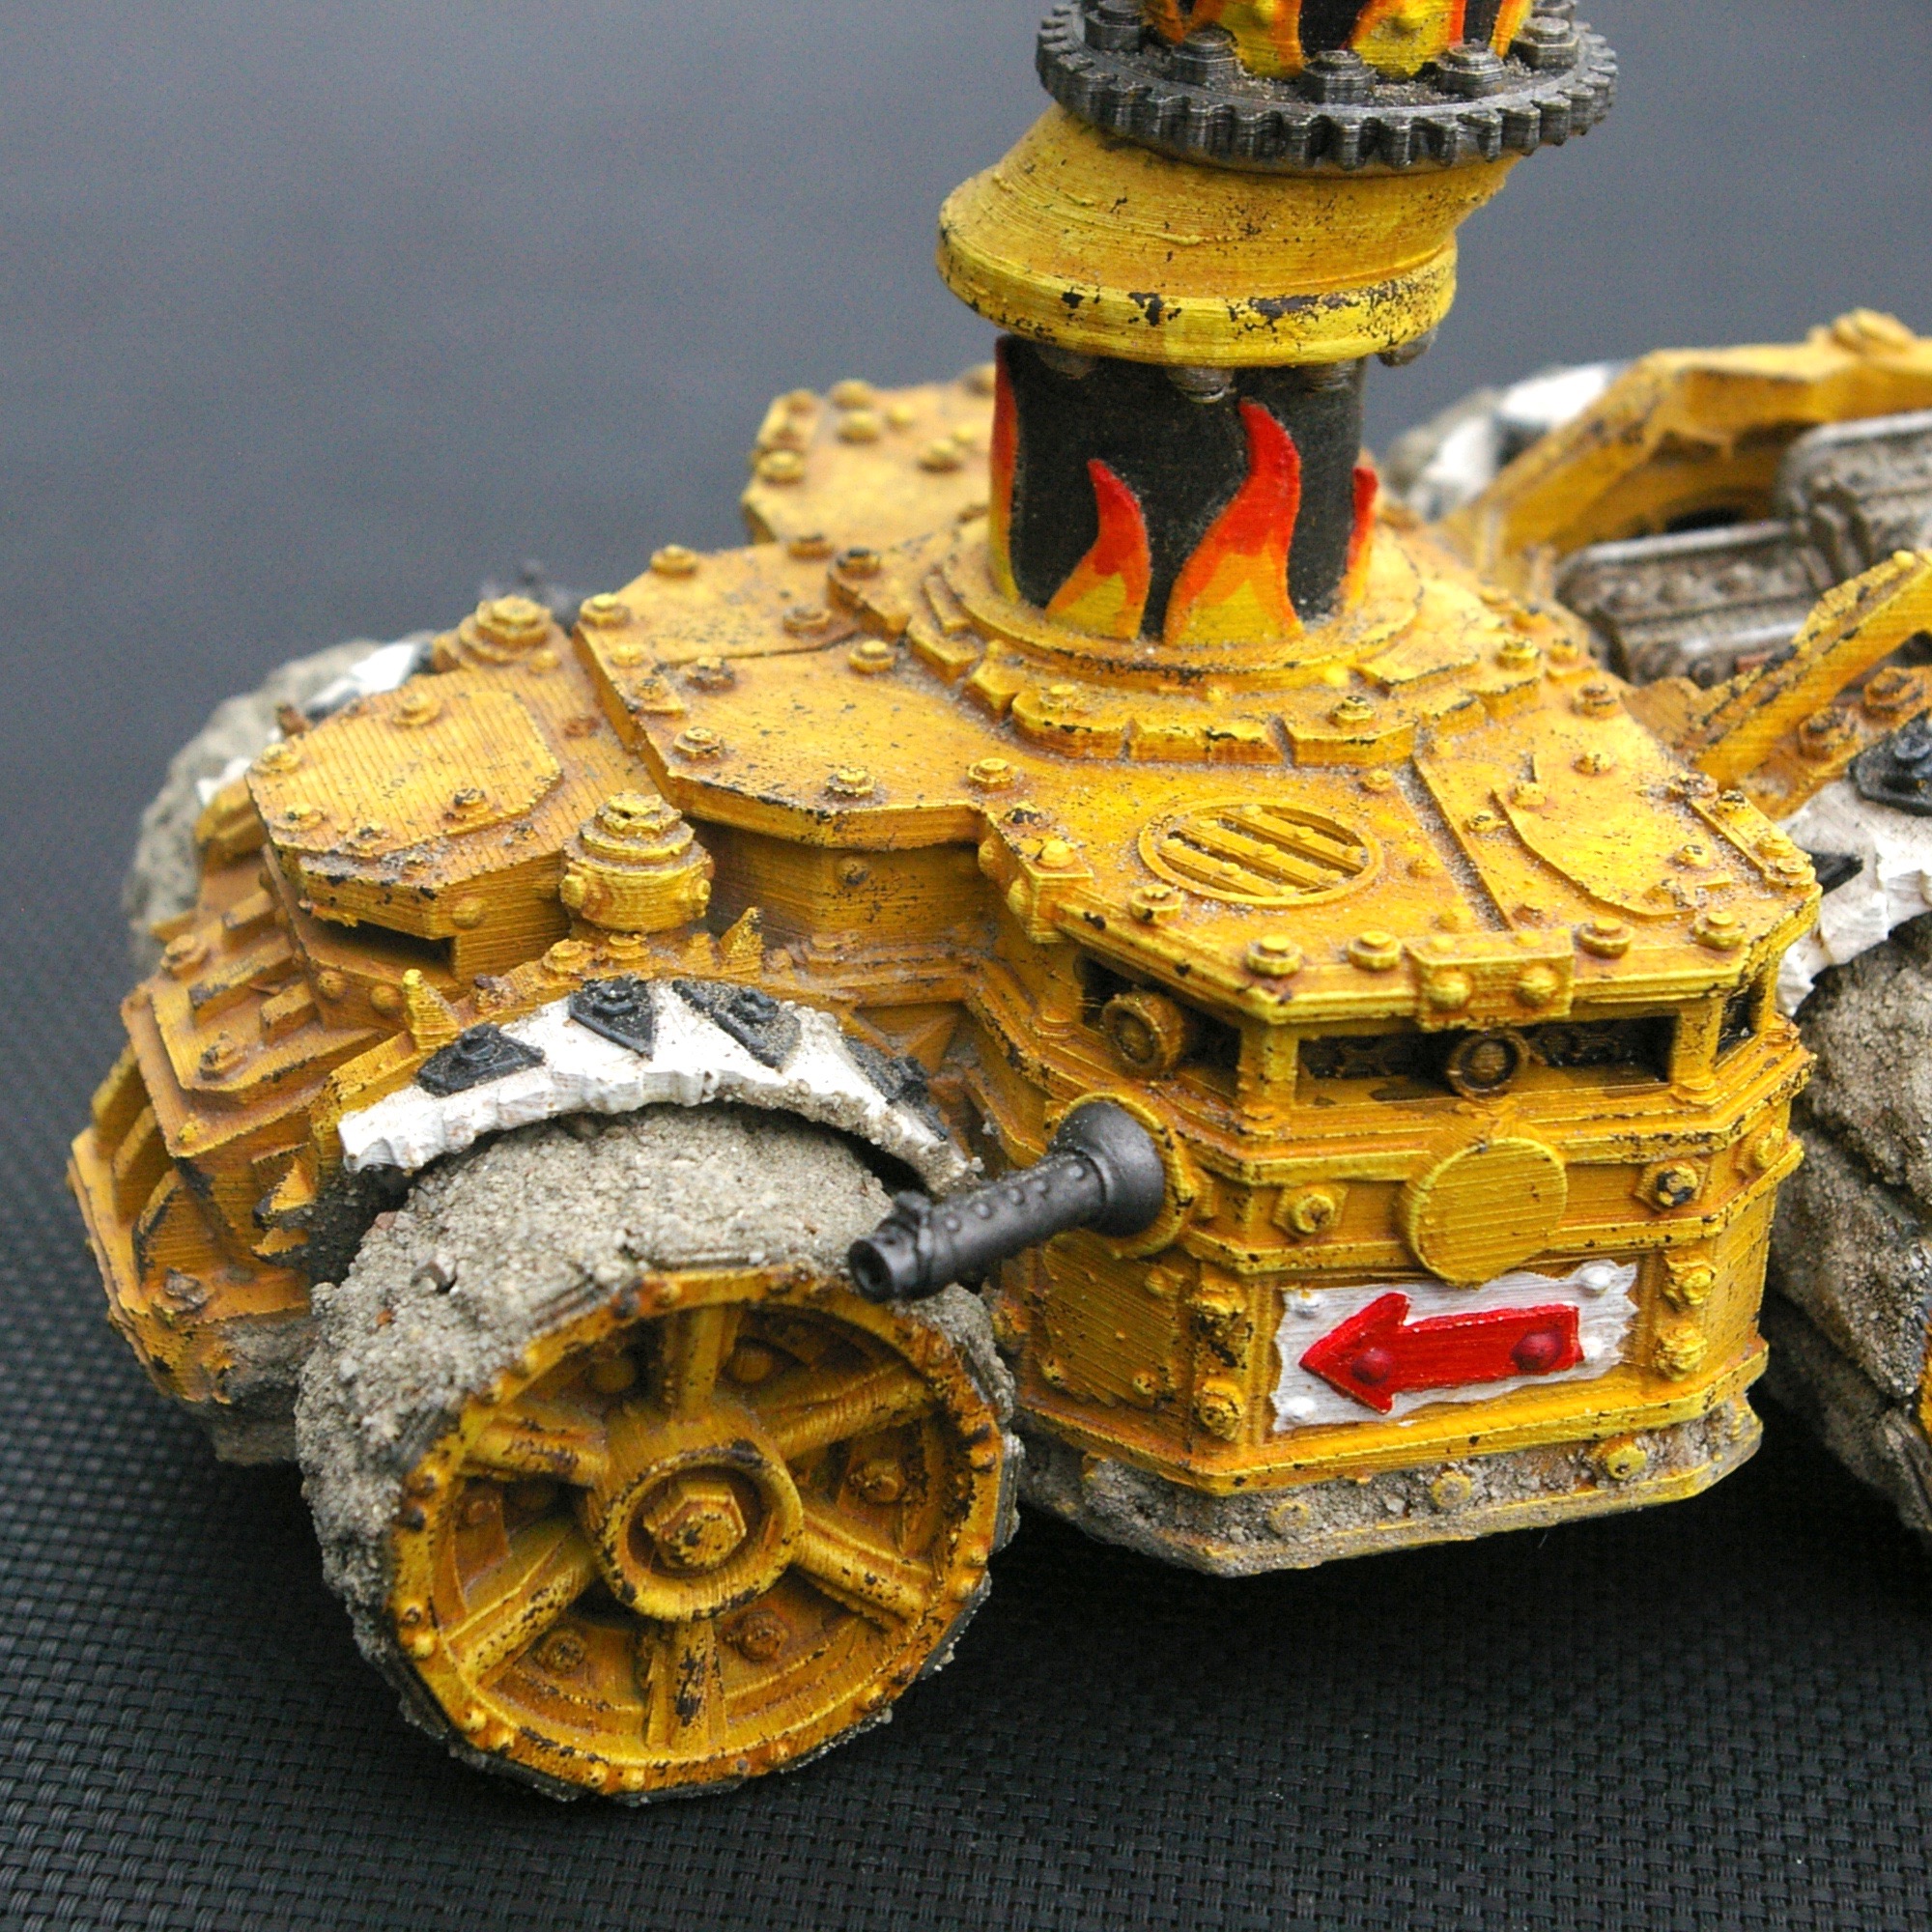
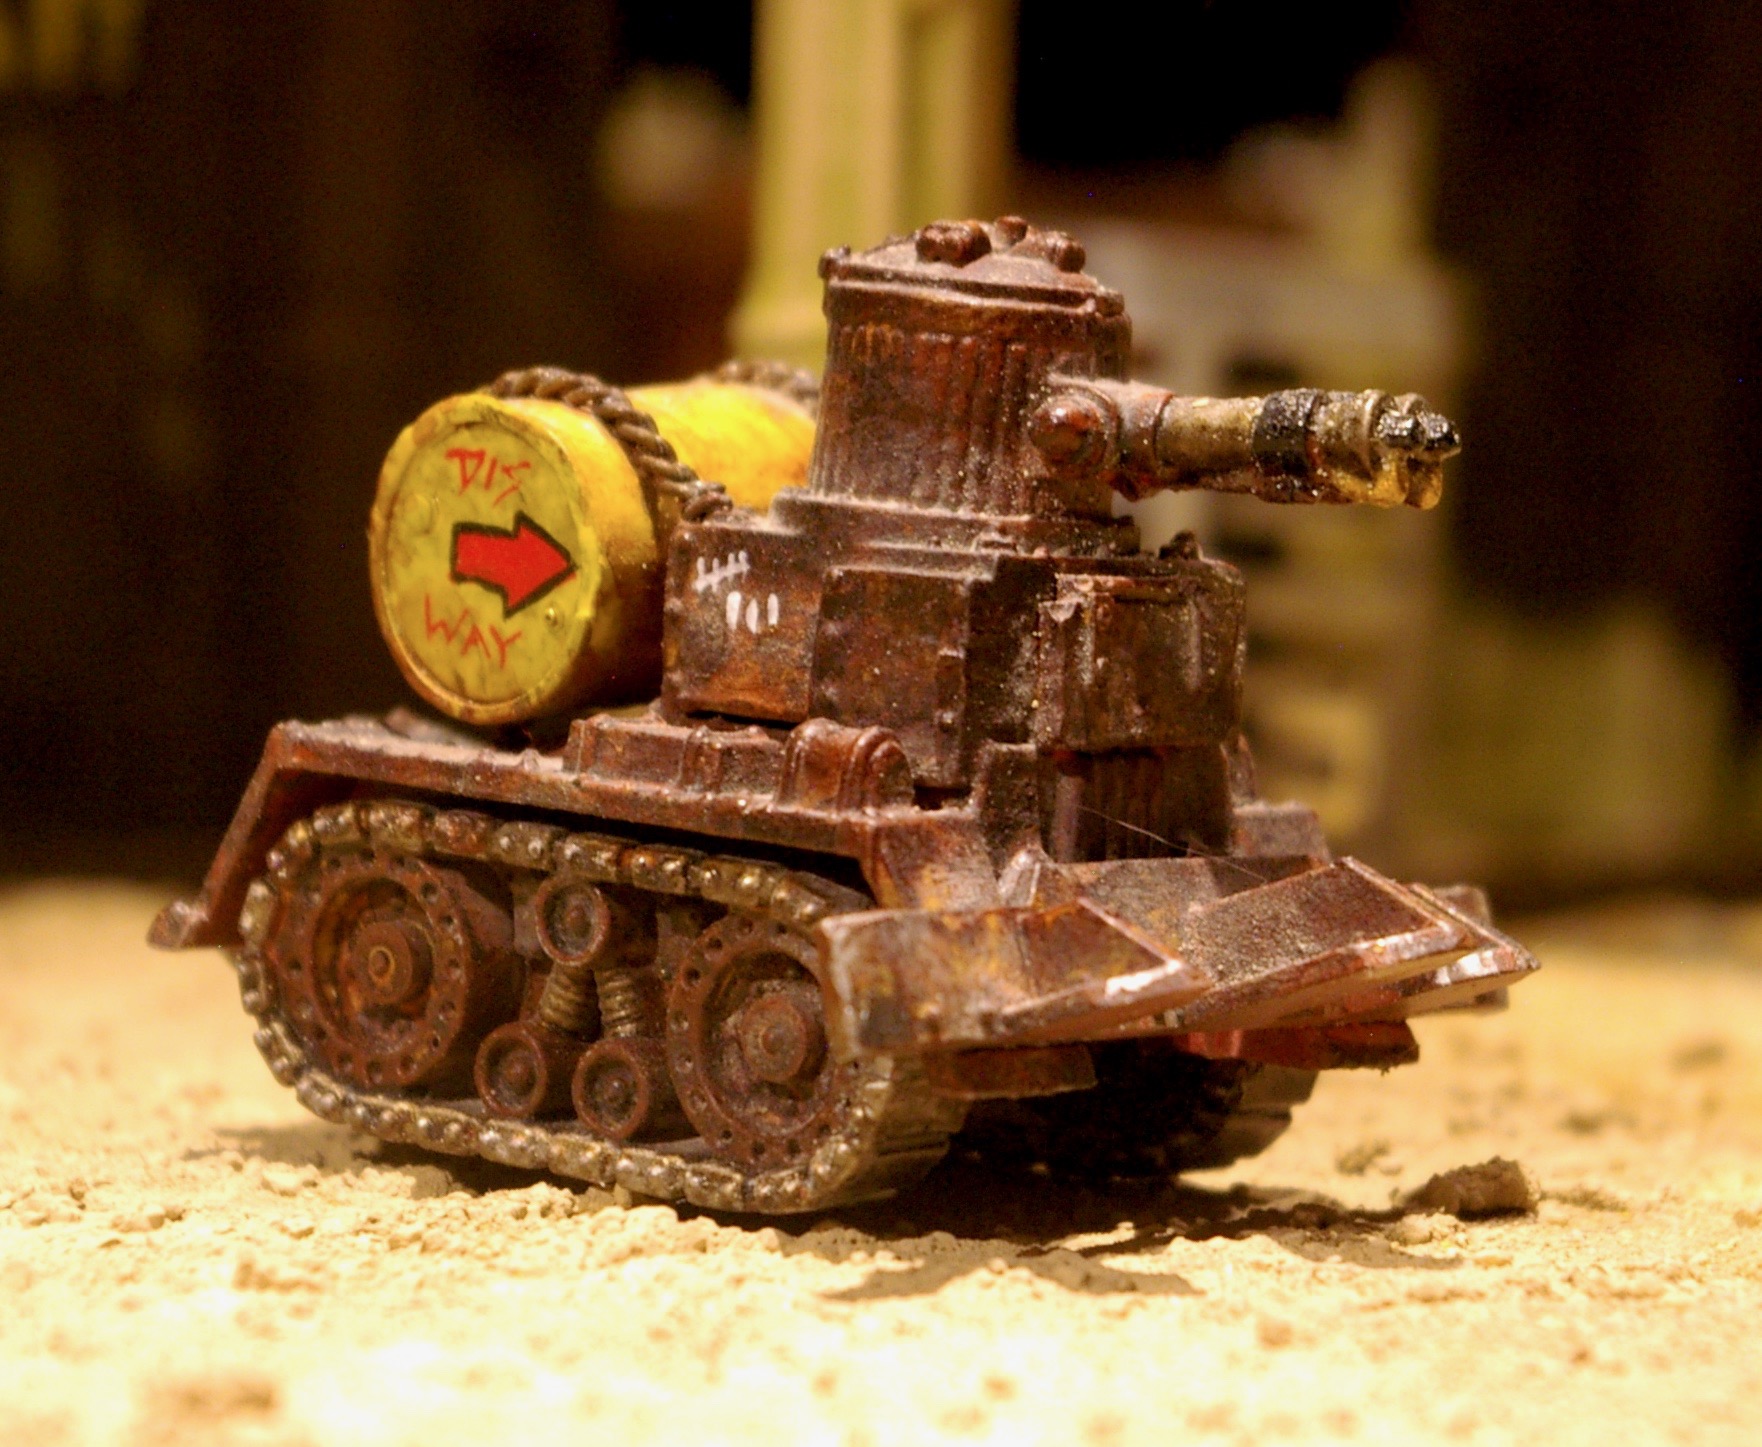
Looted Ork plane
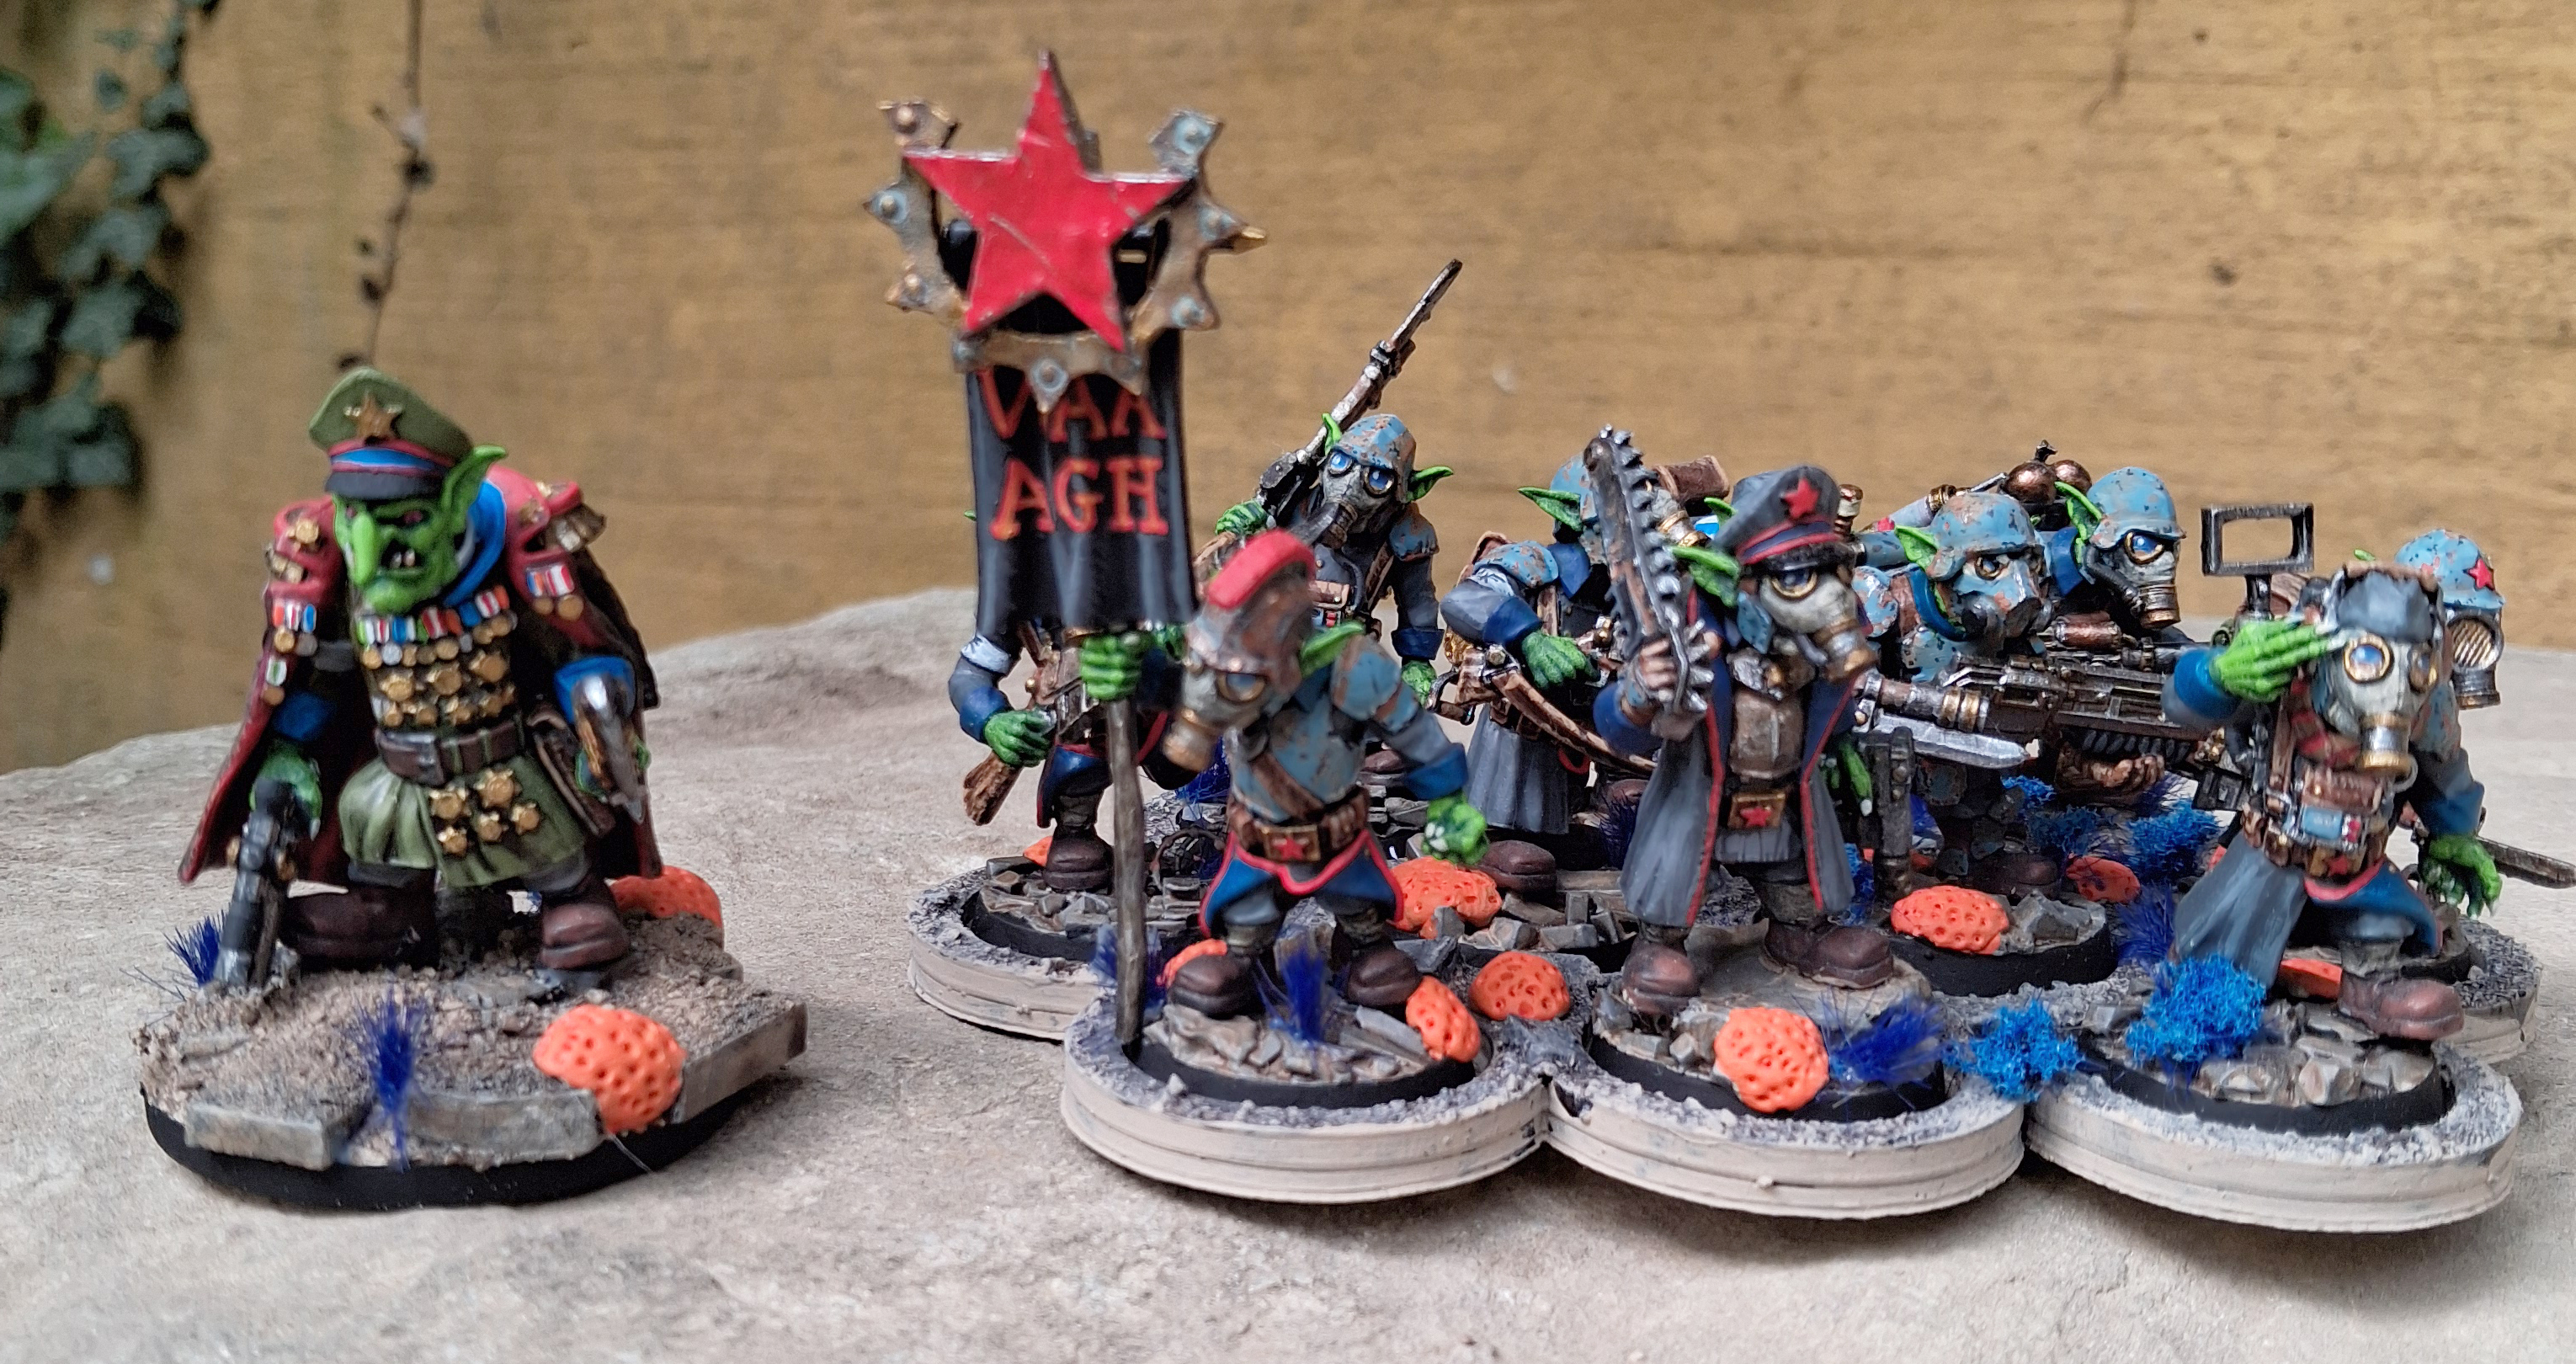

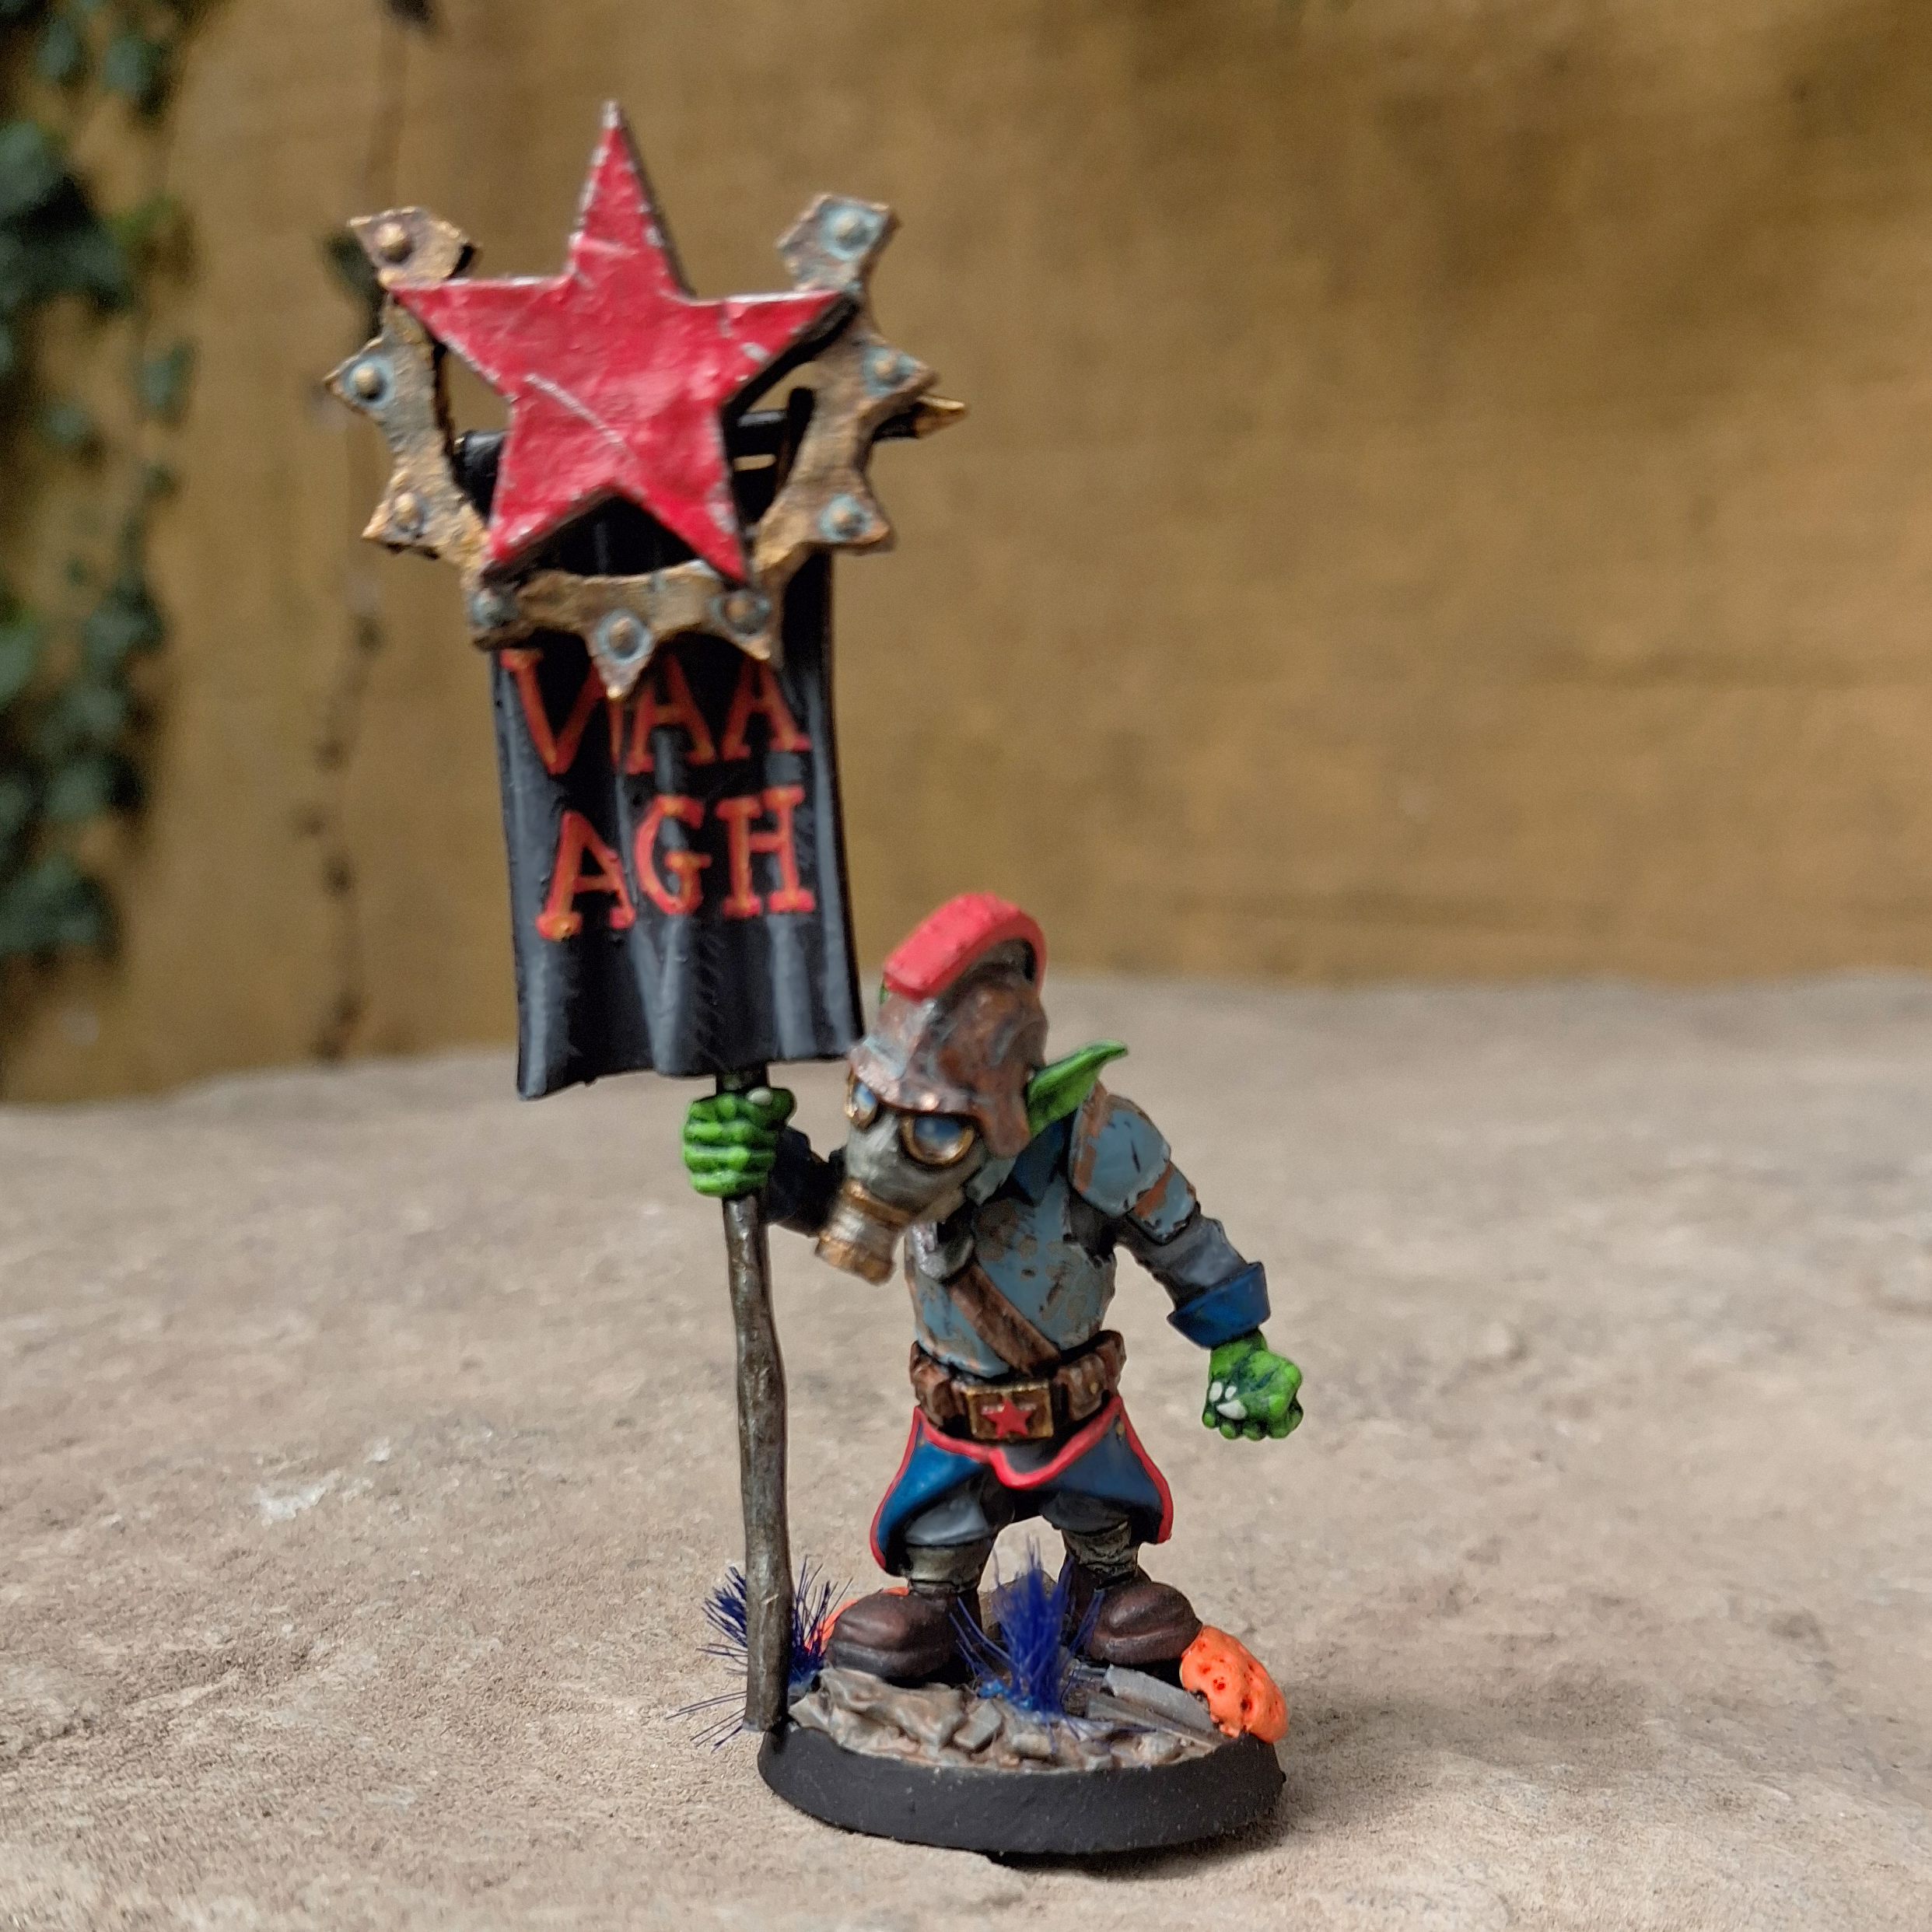
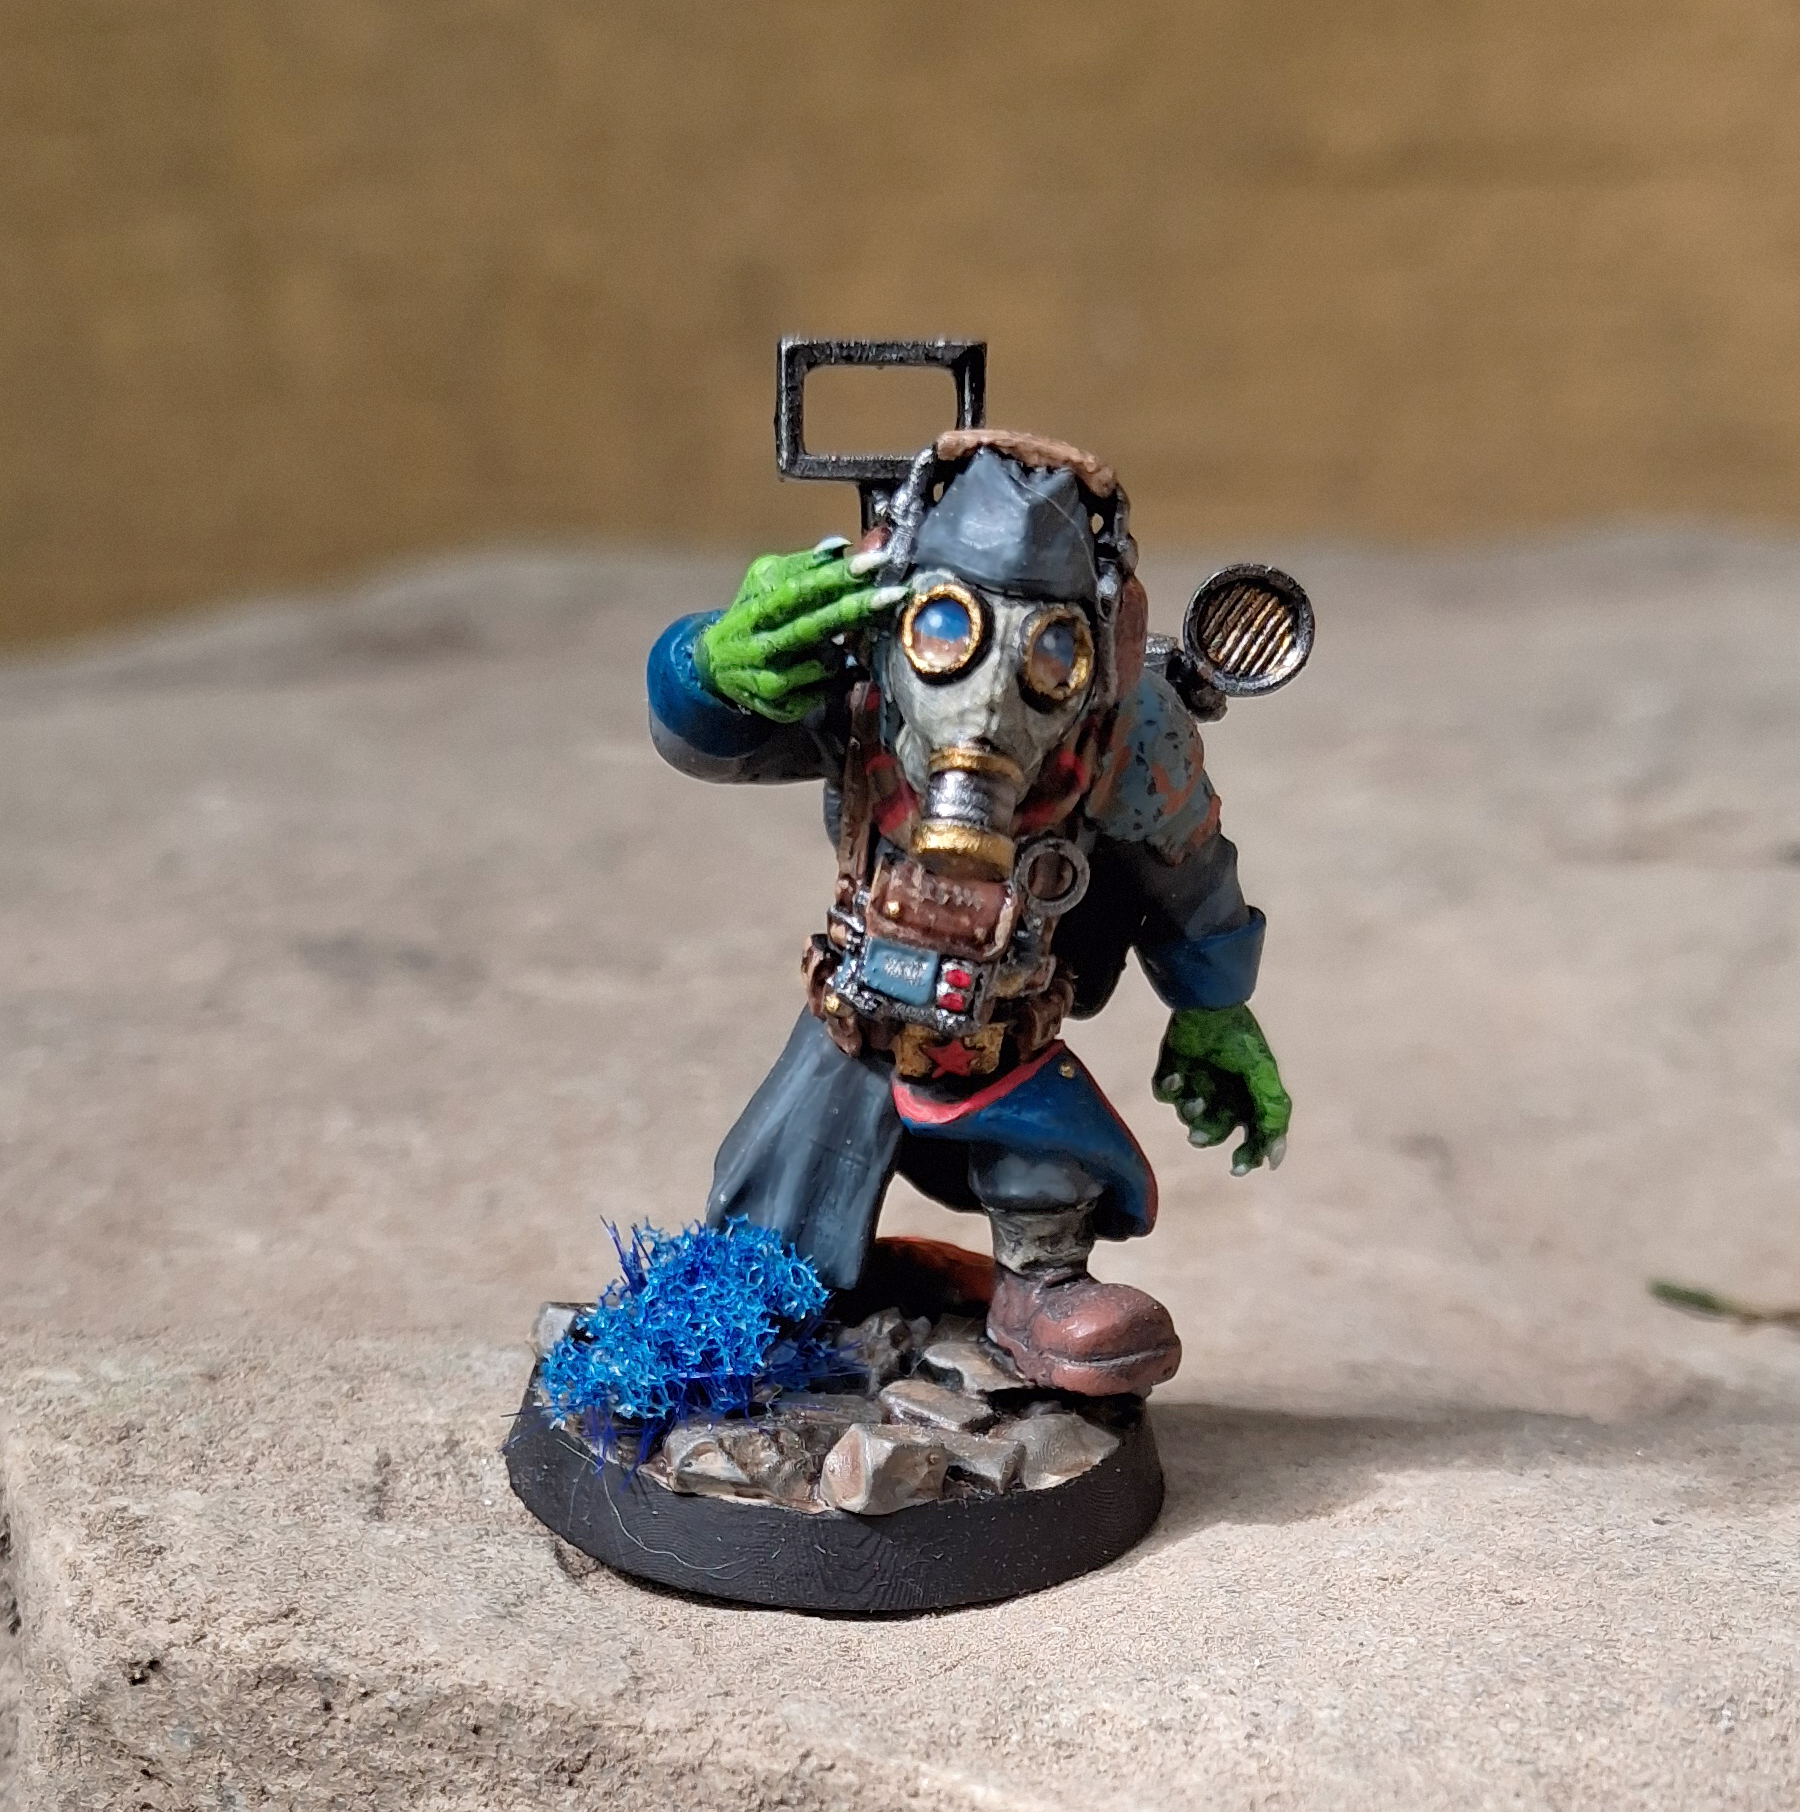
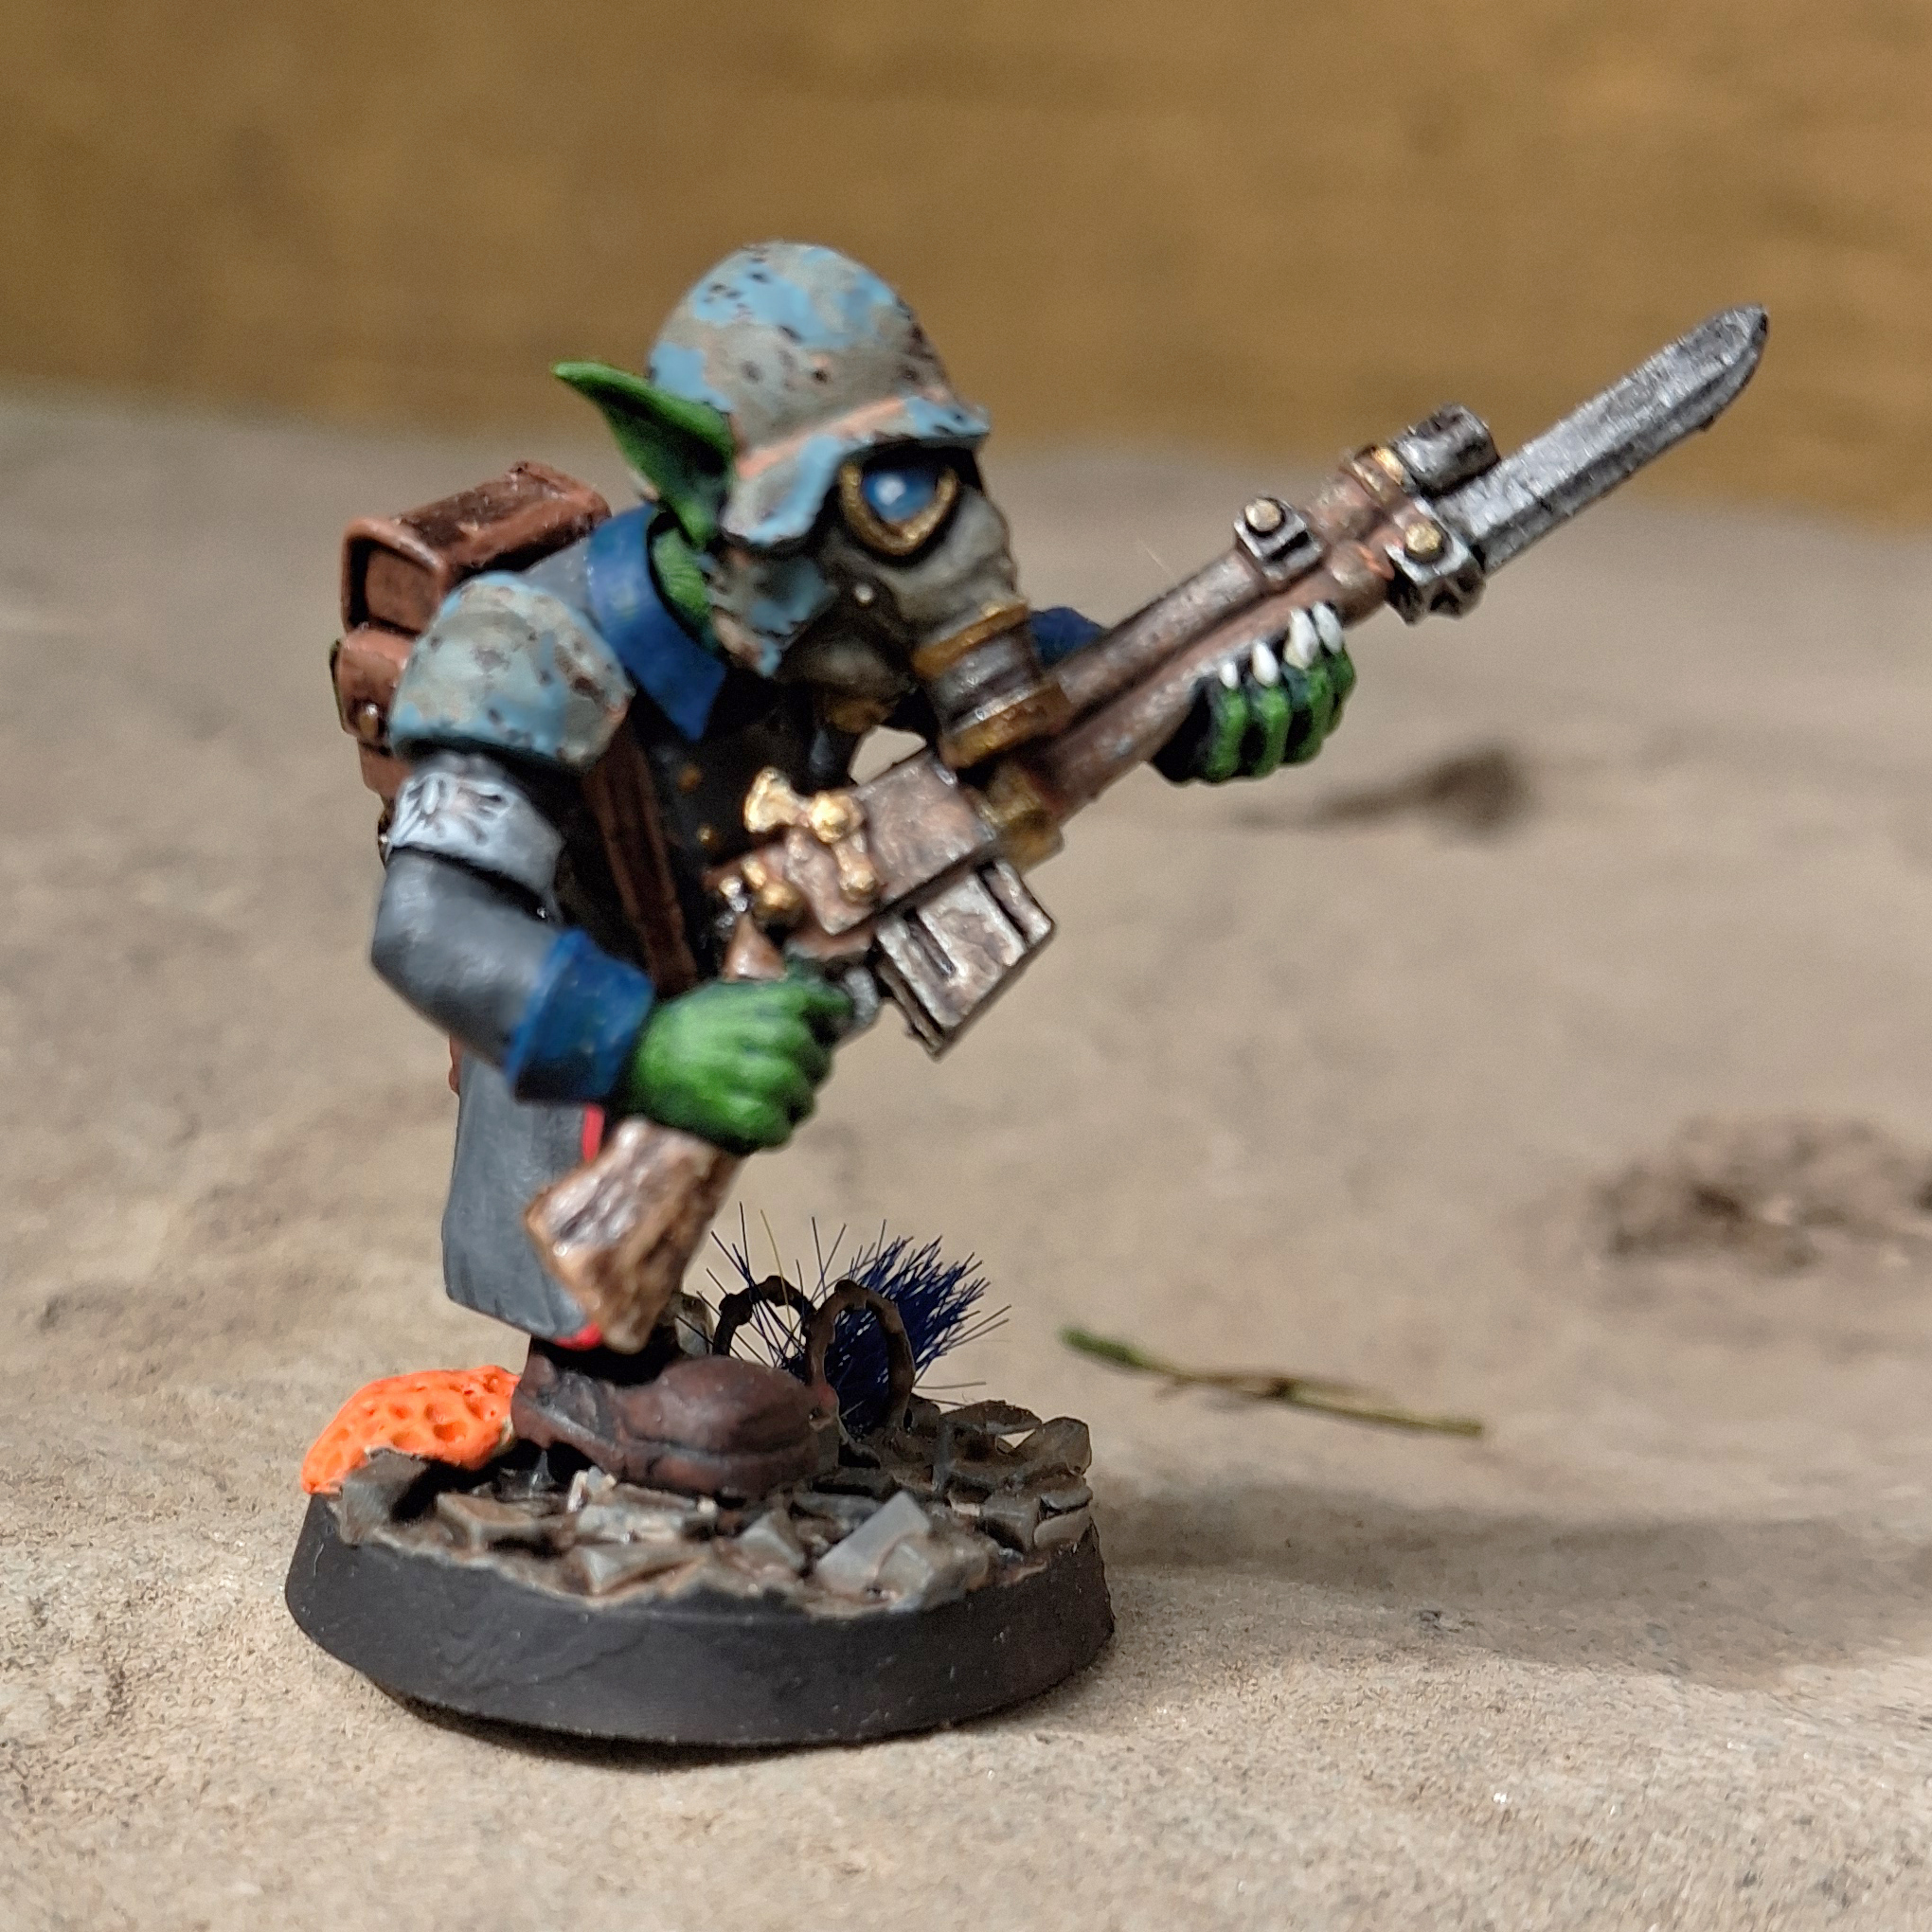
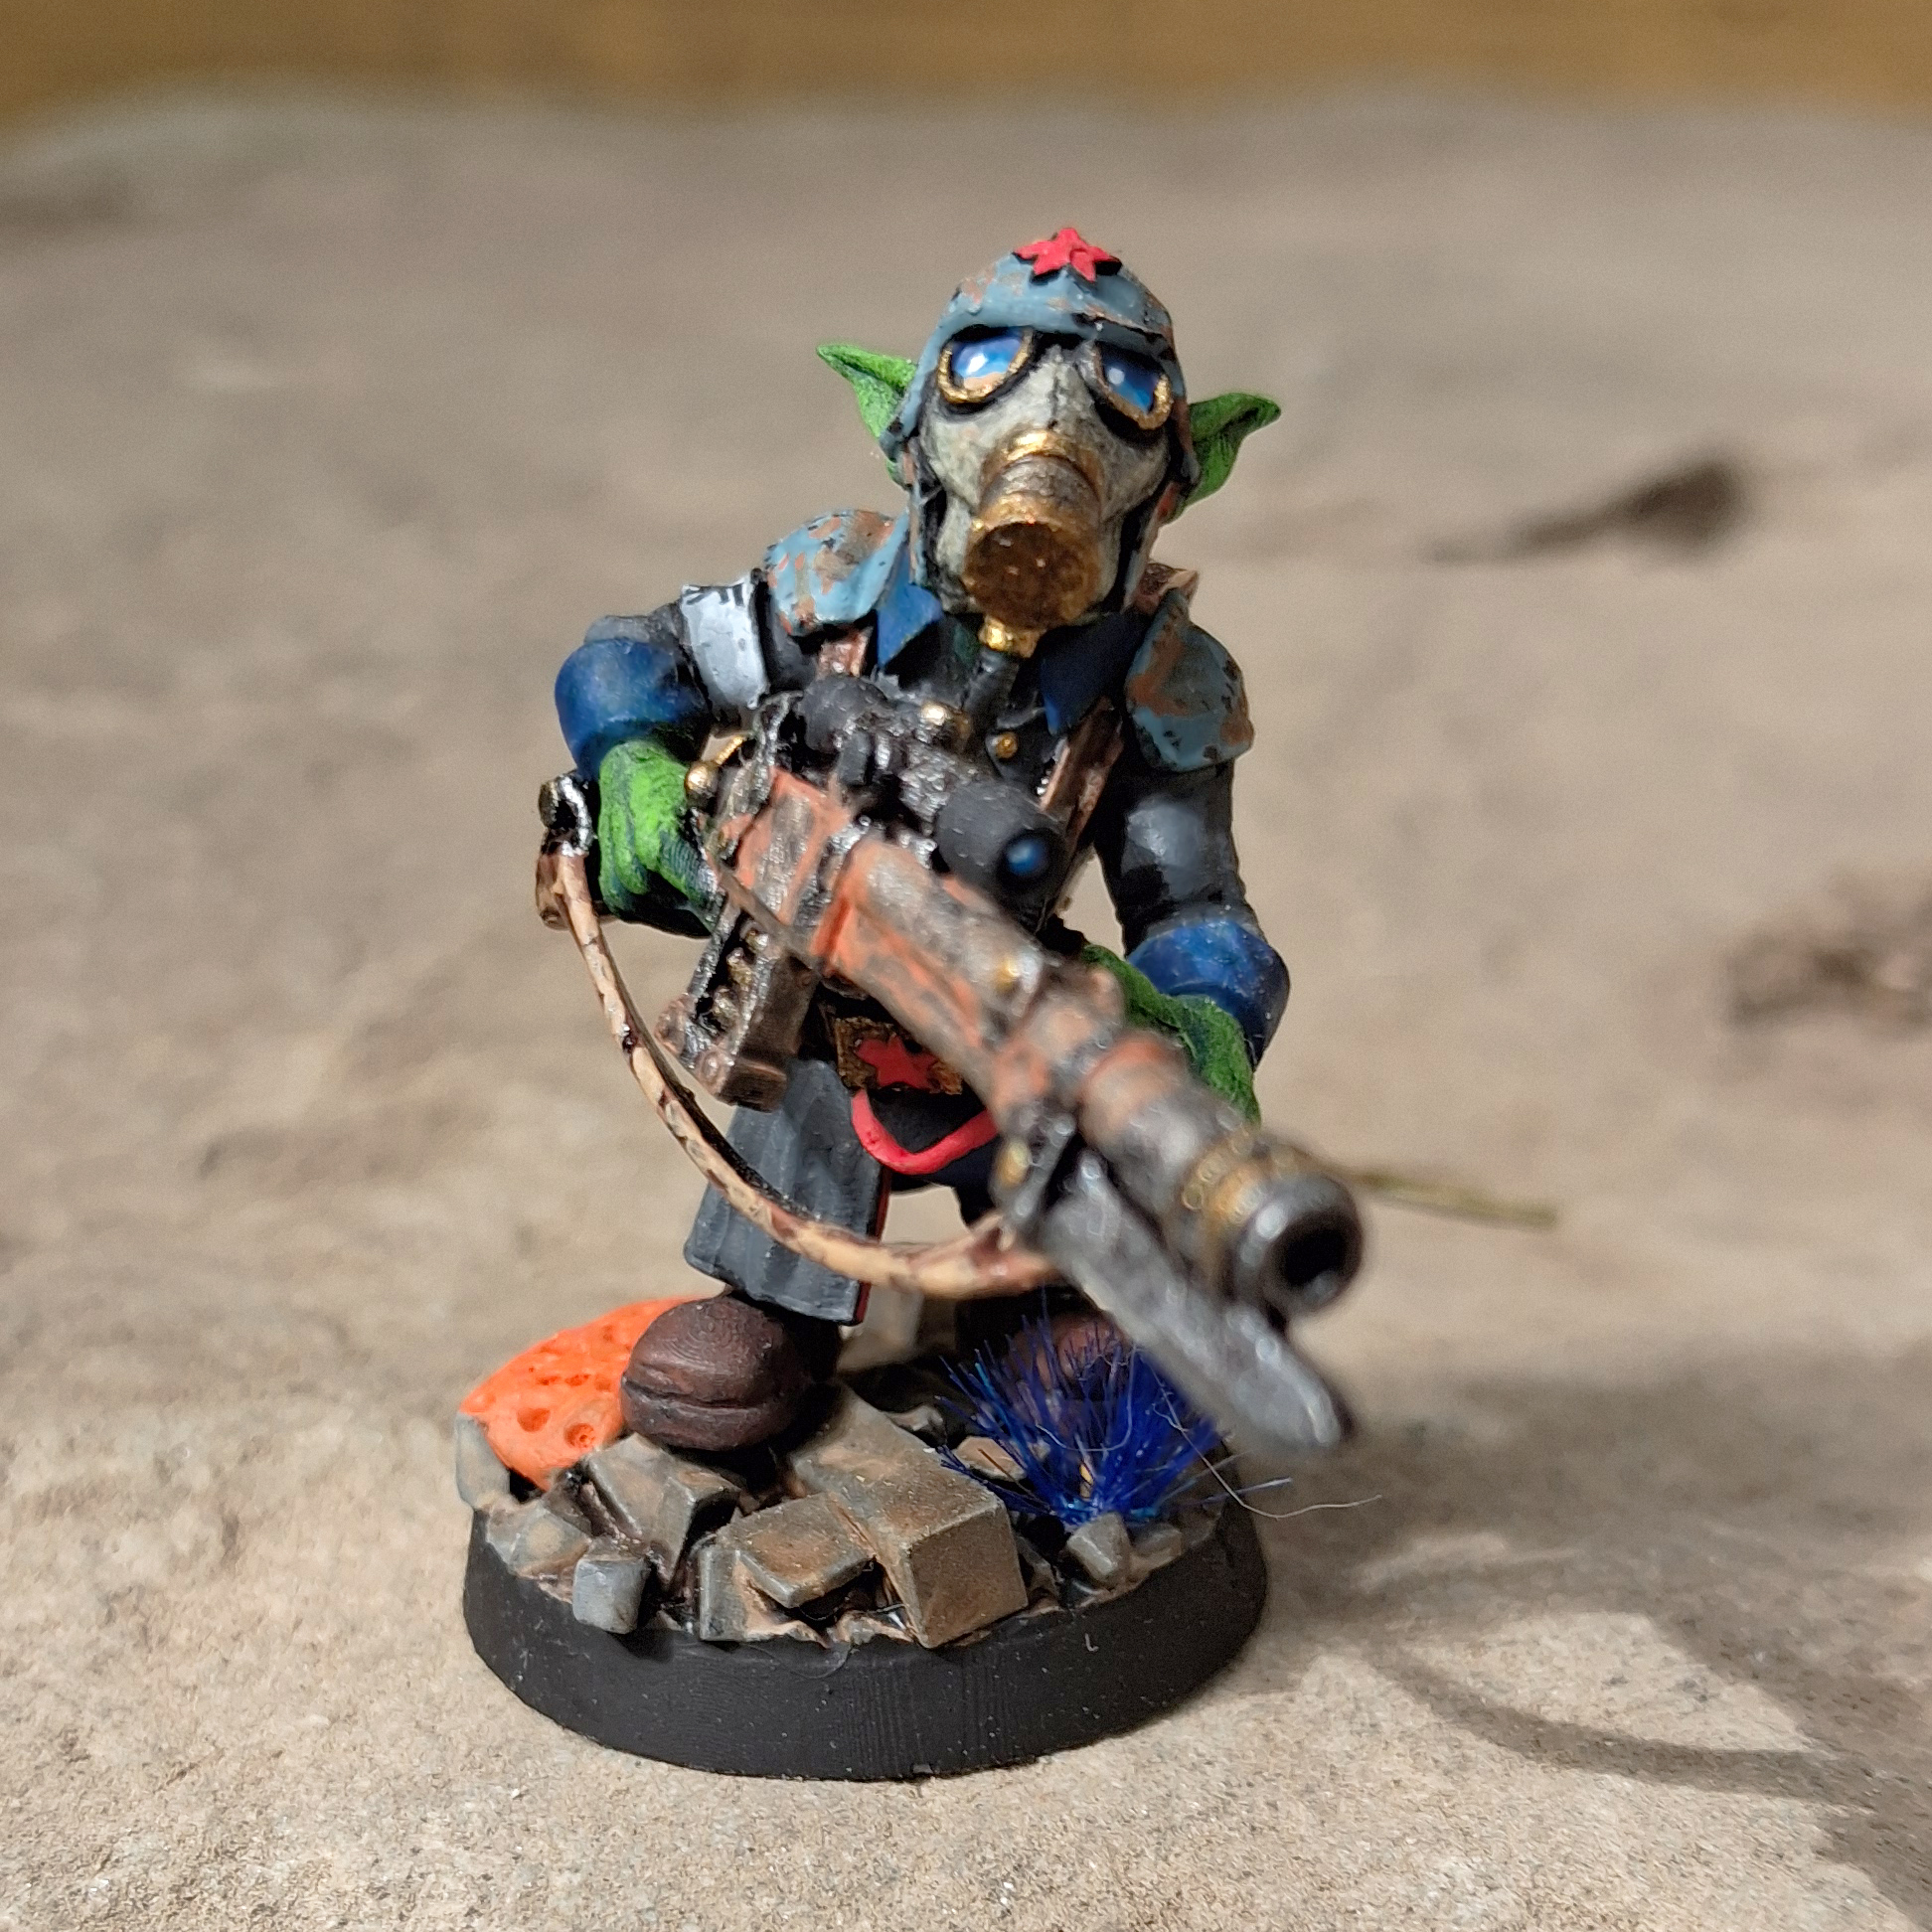
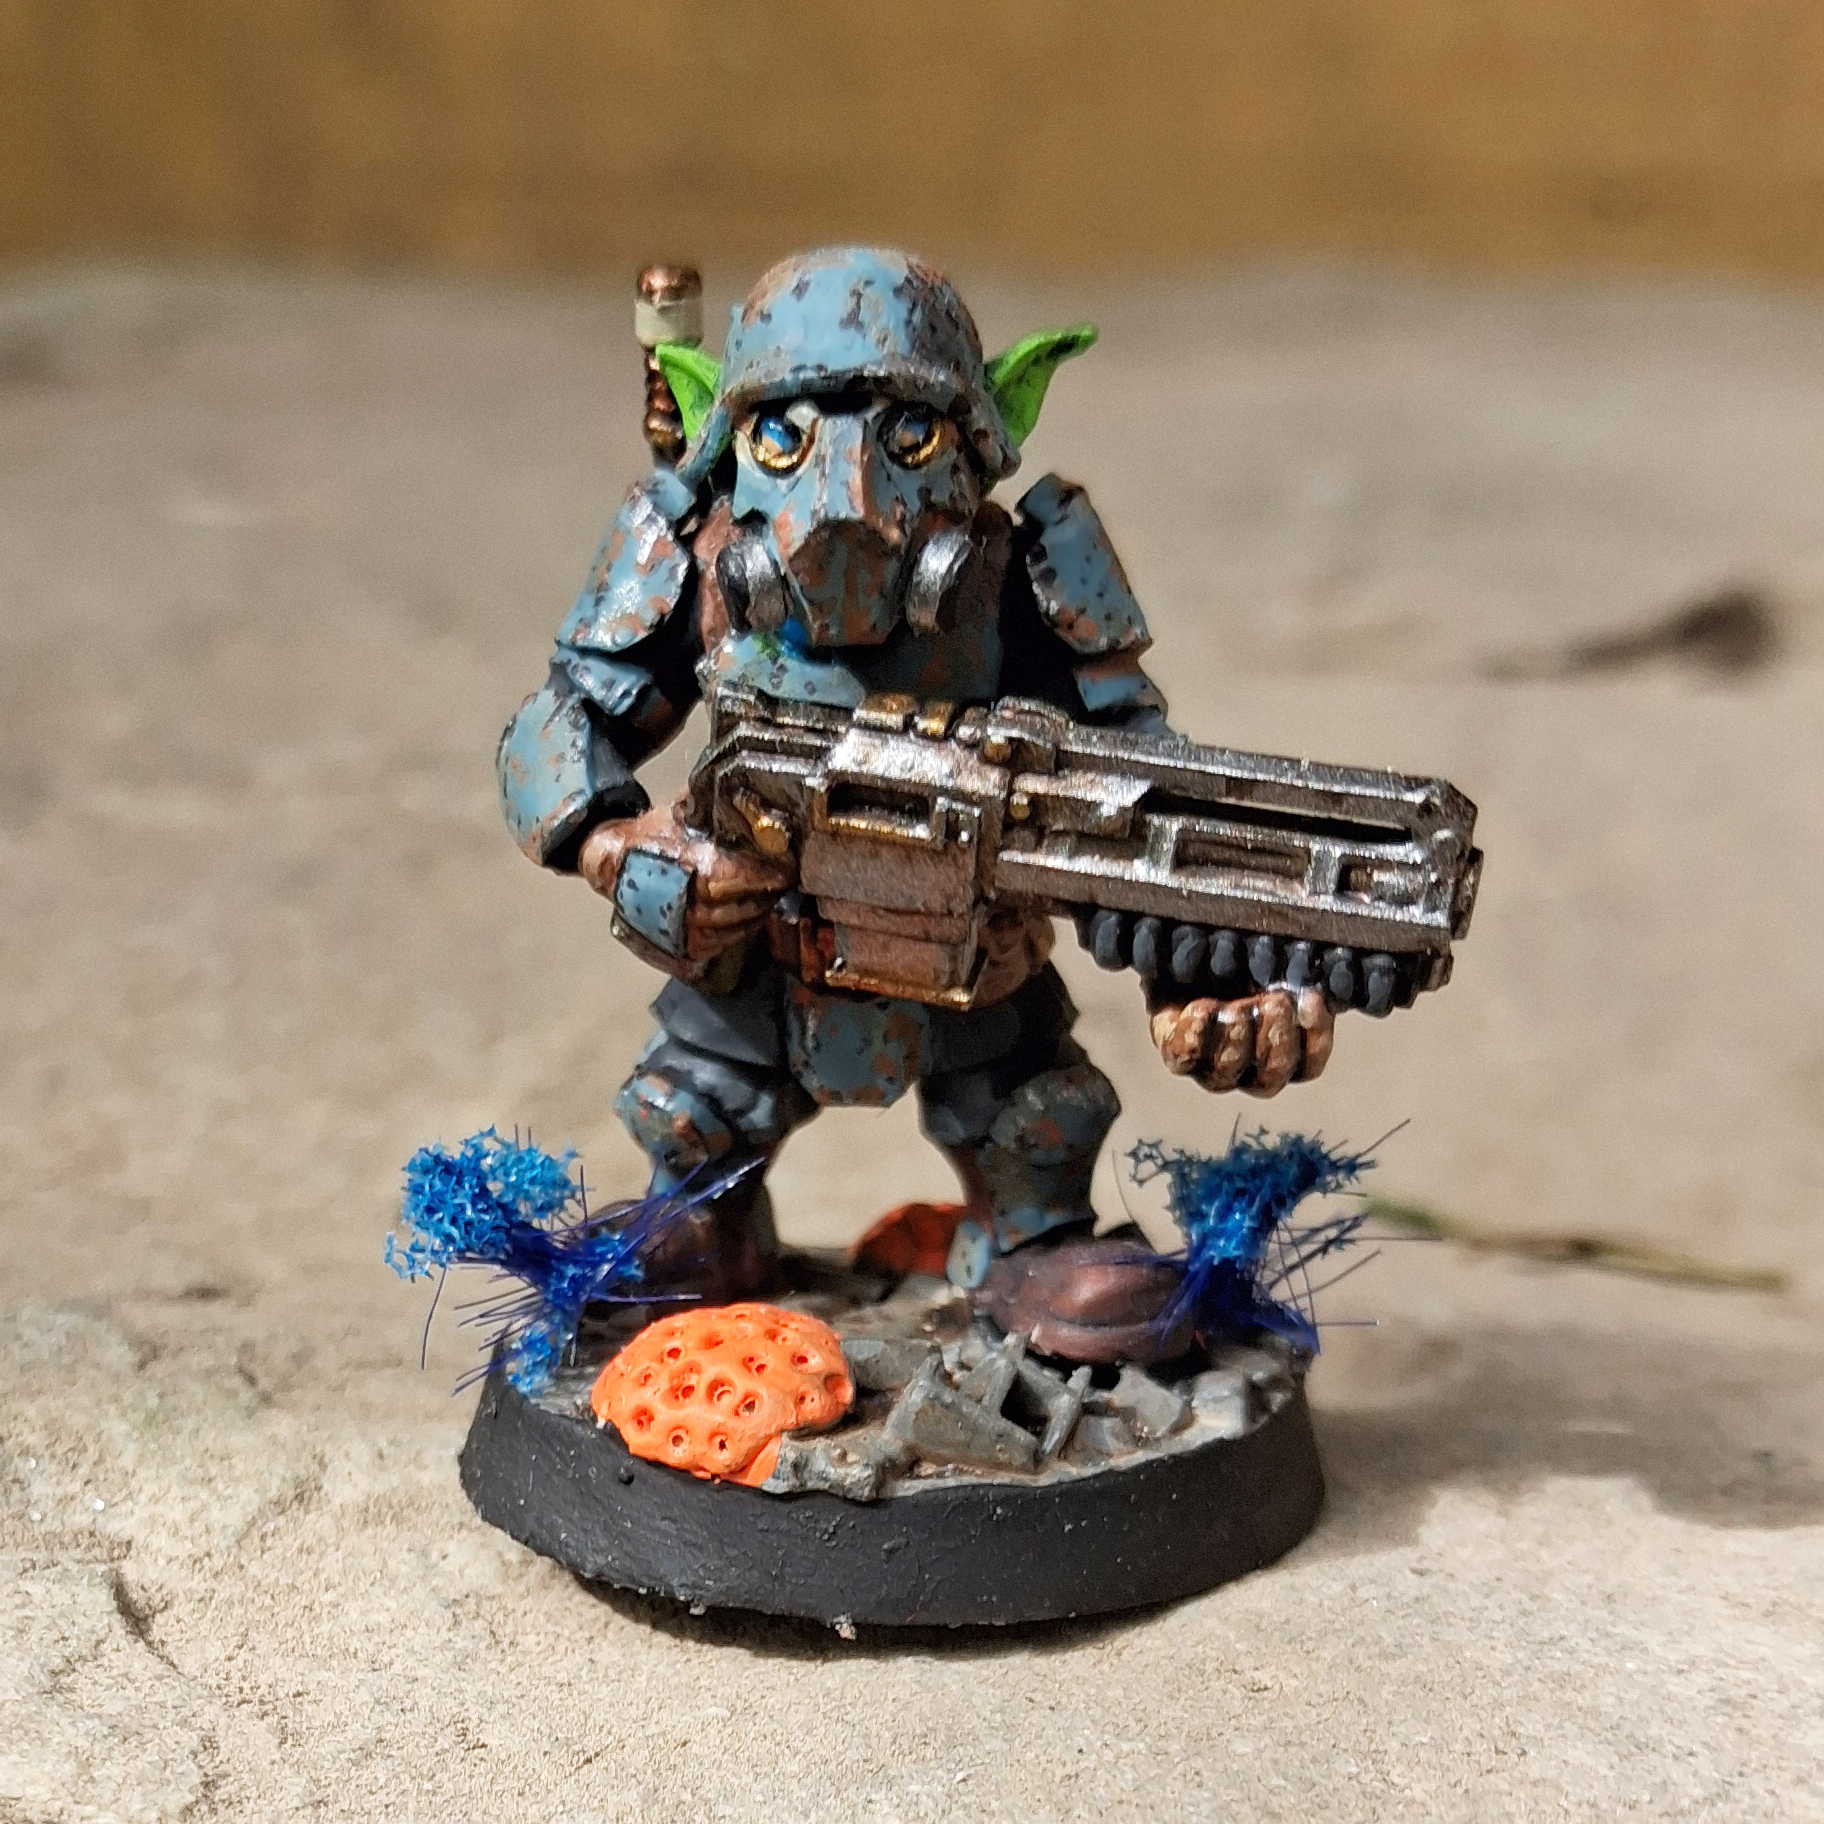
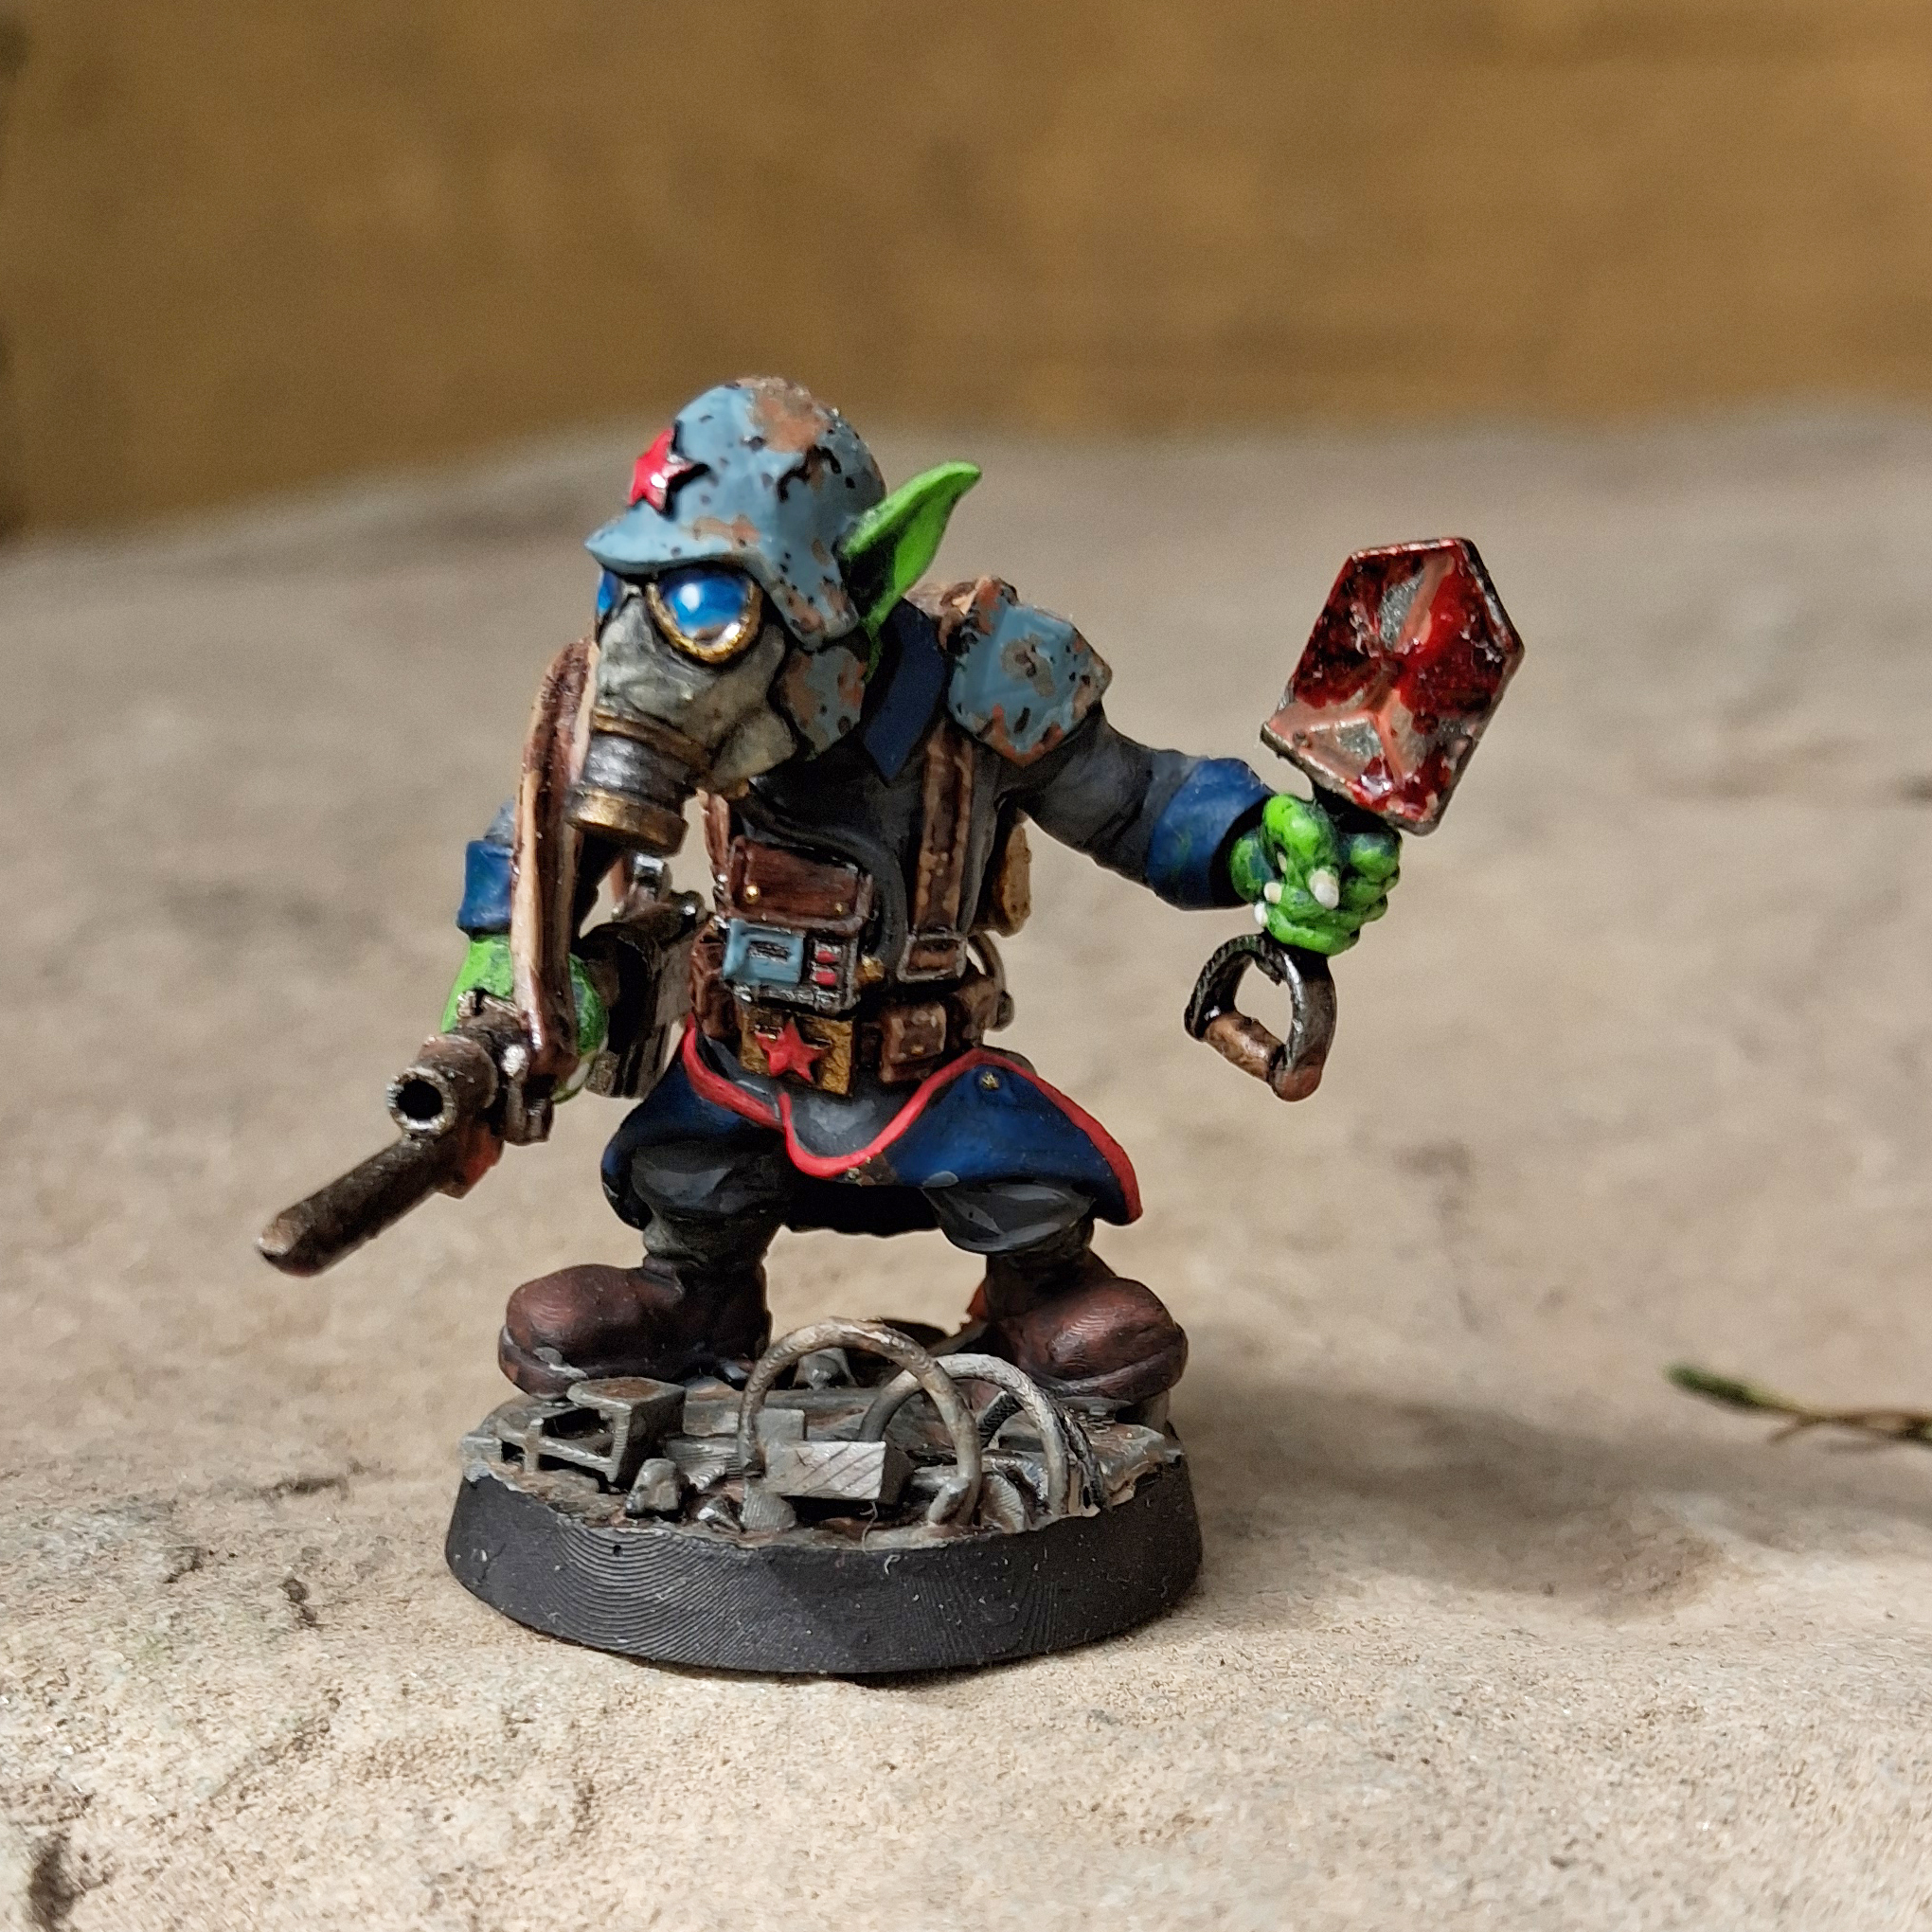
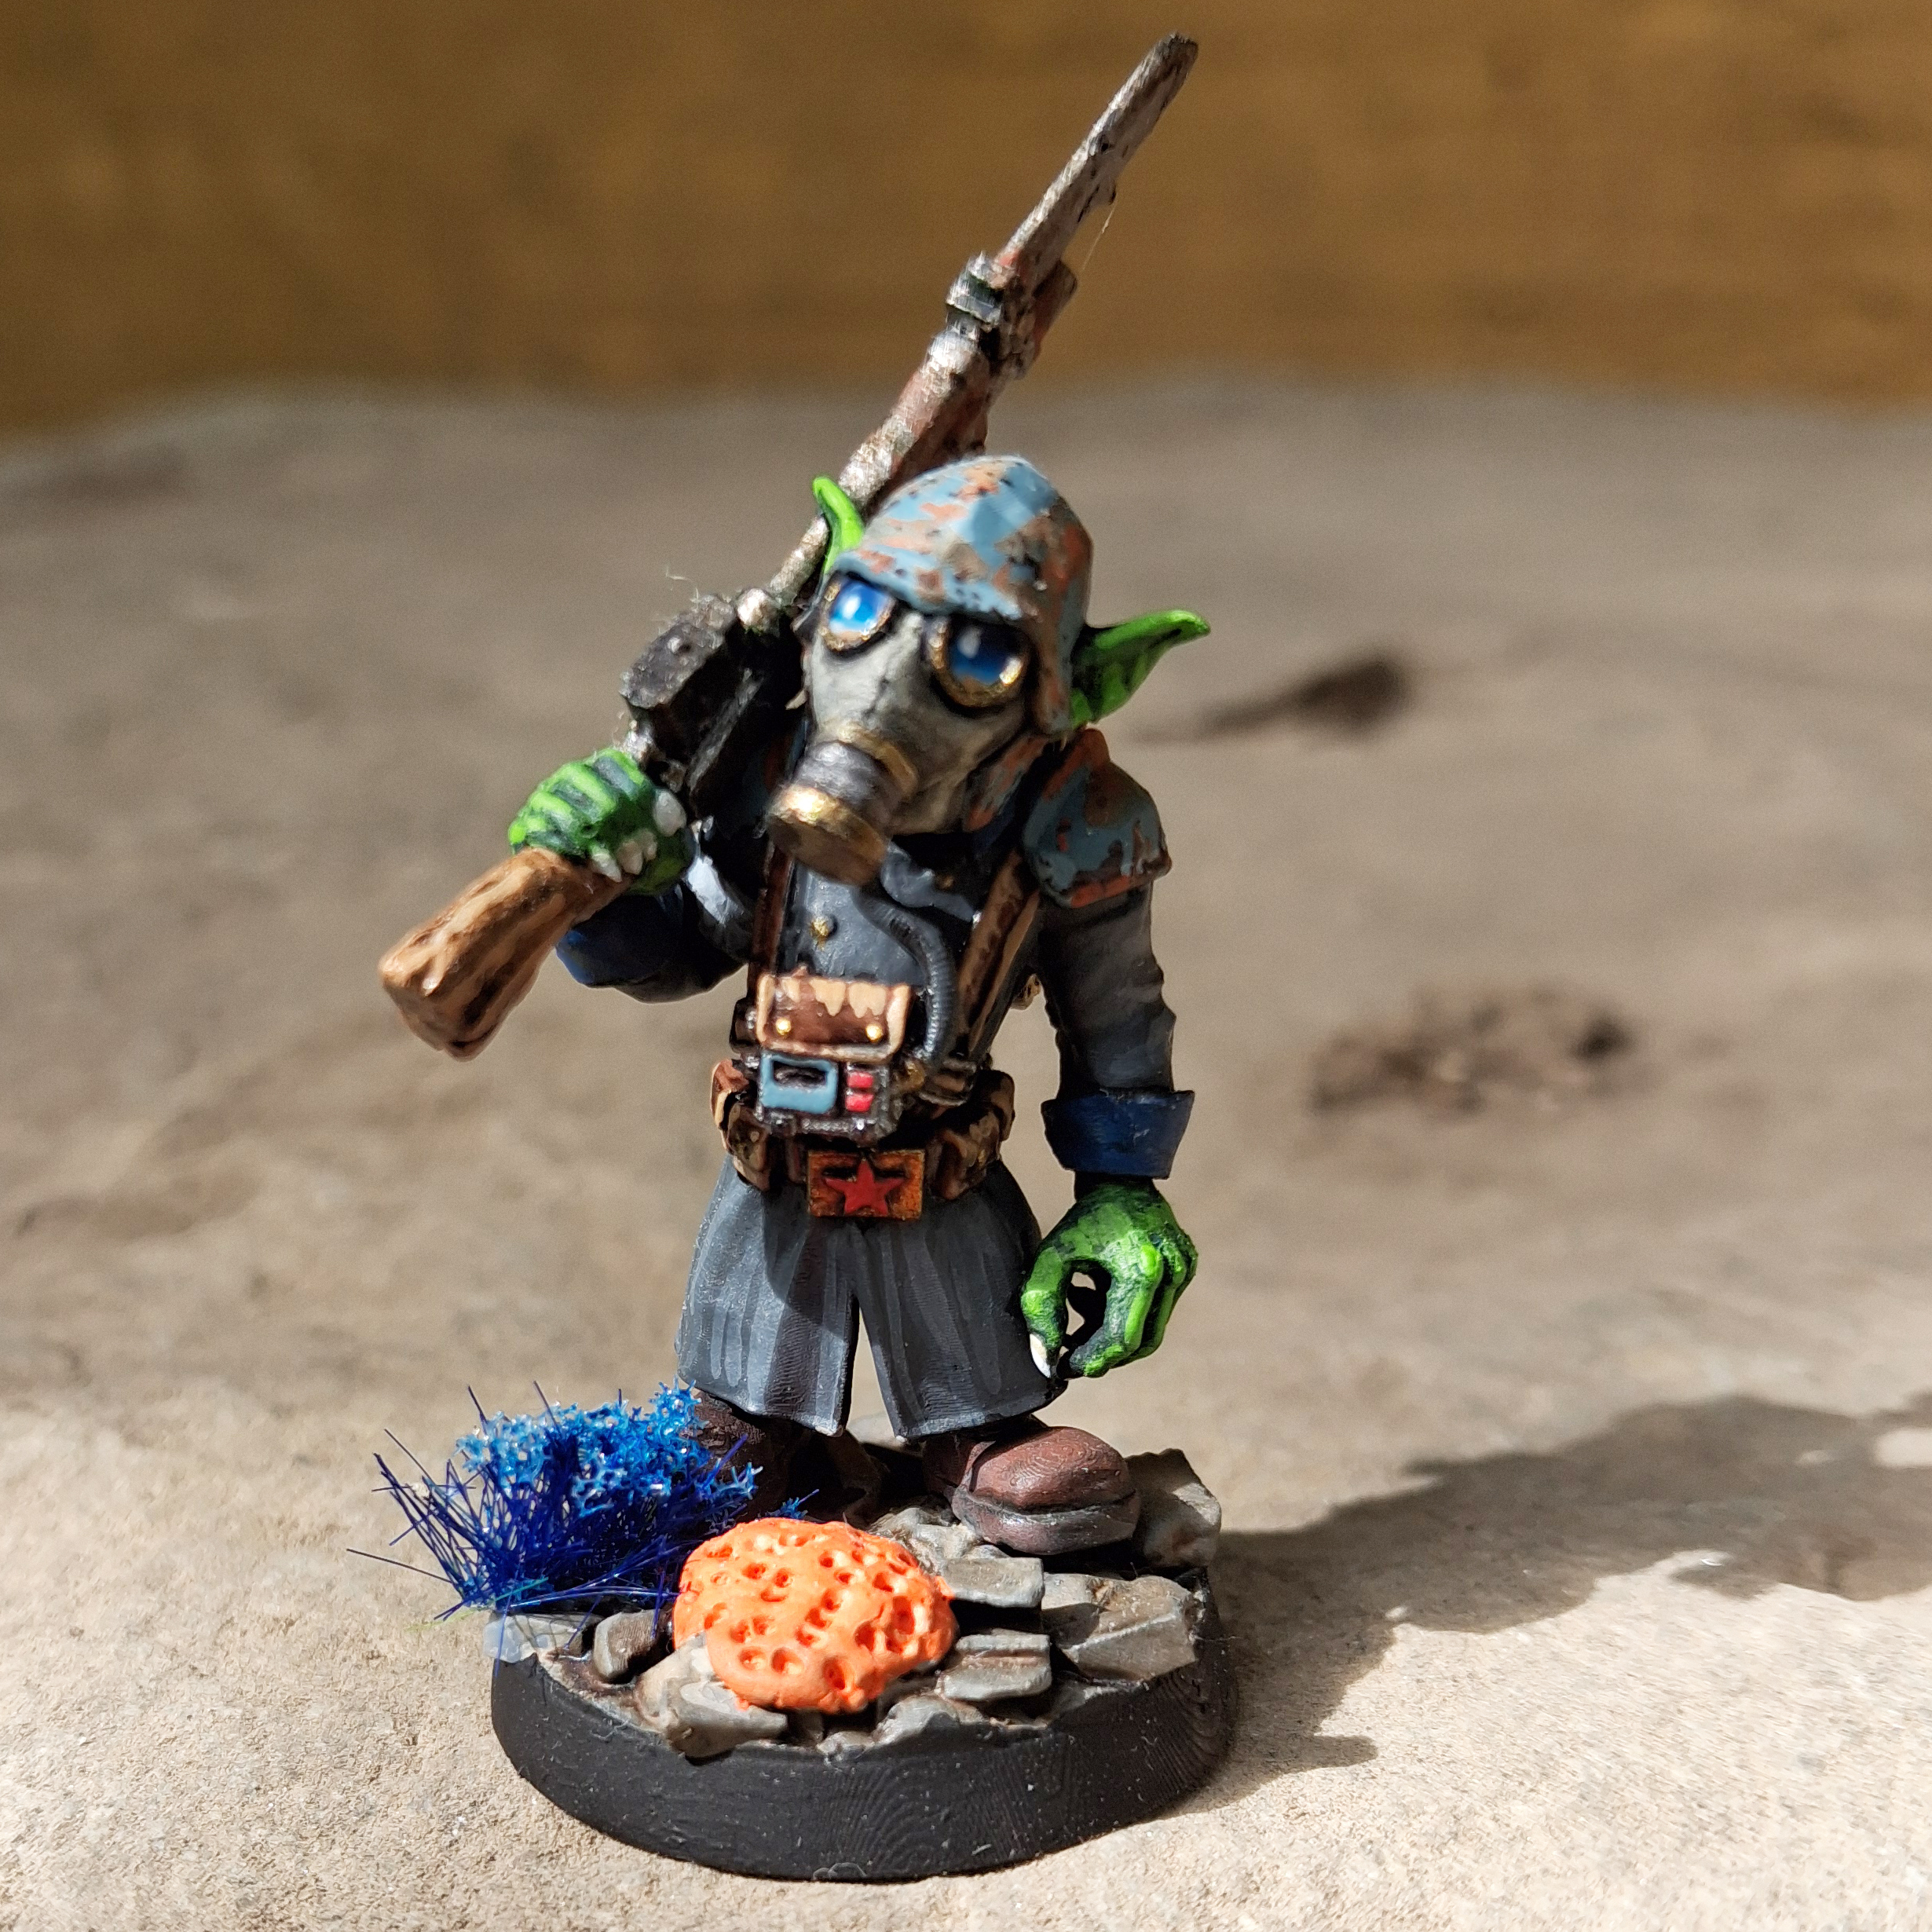
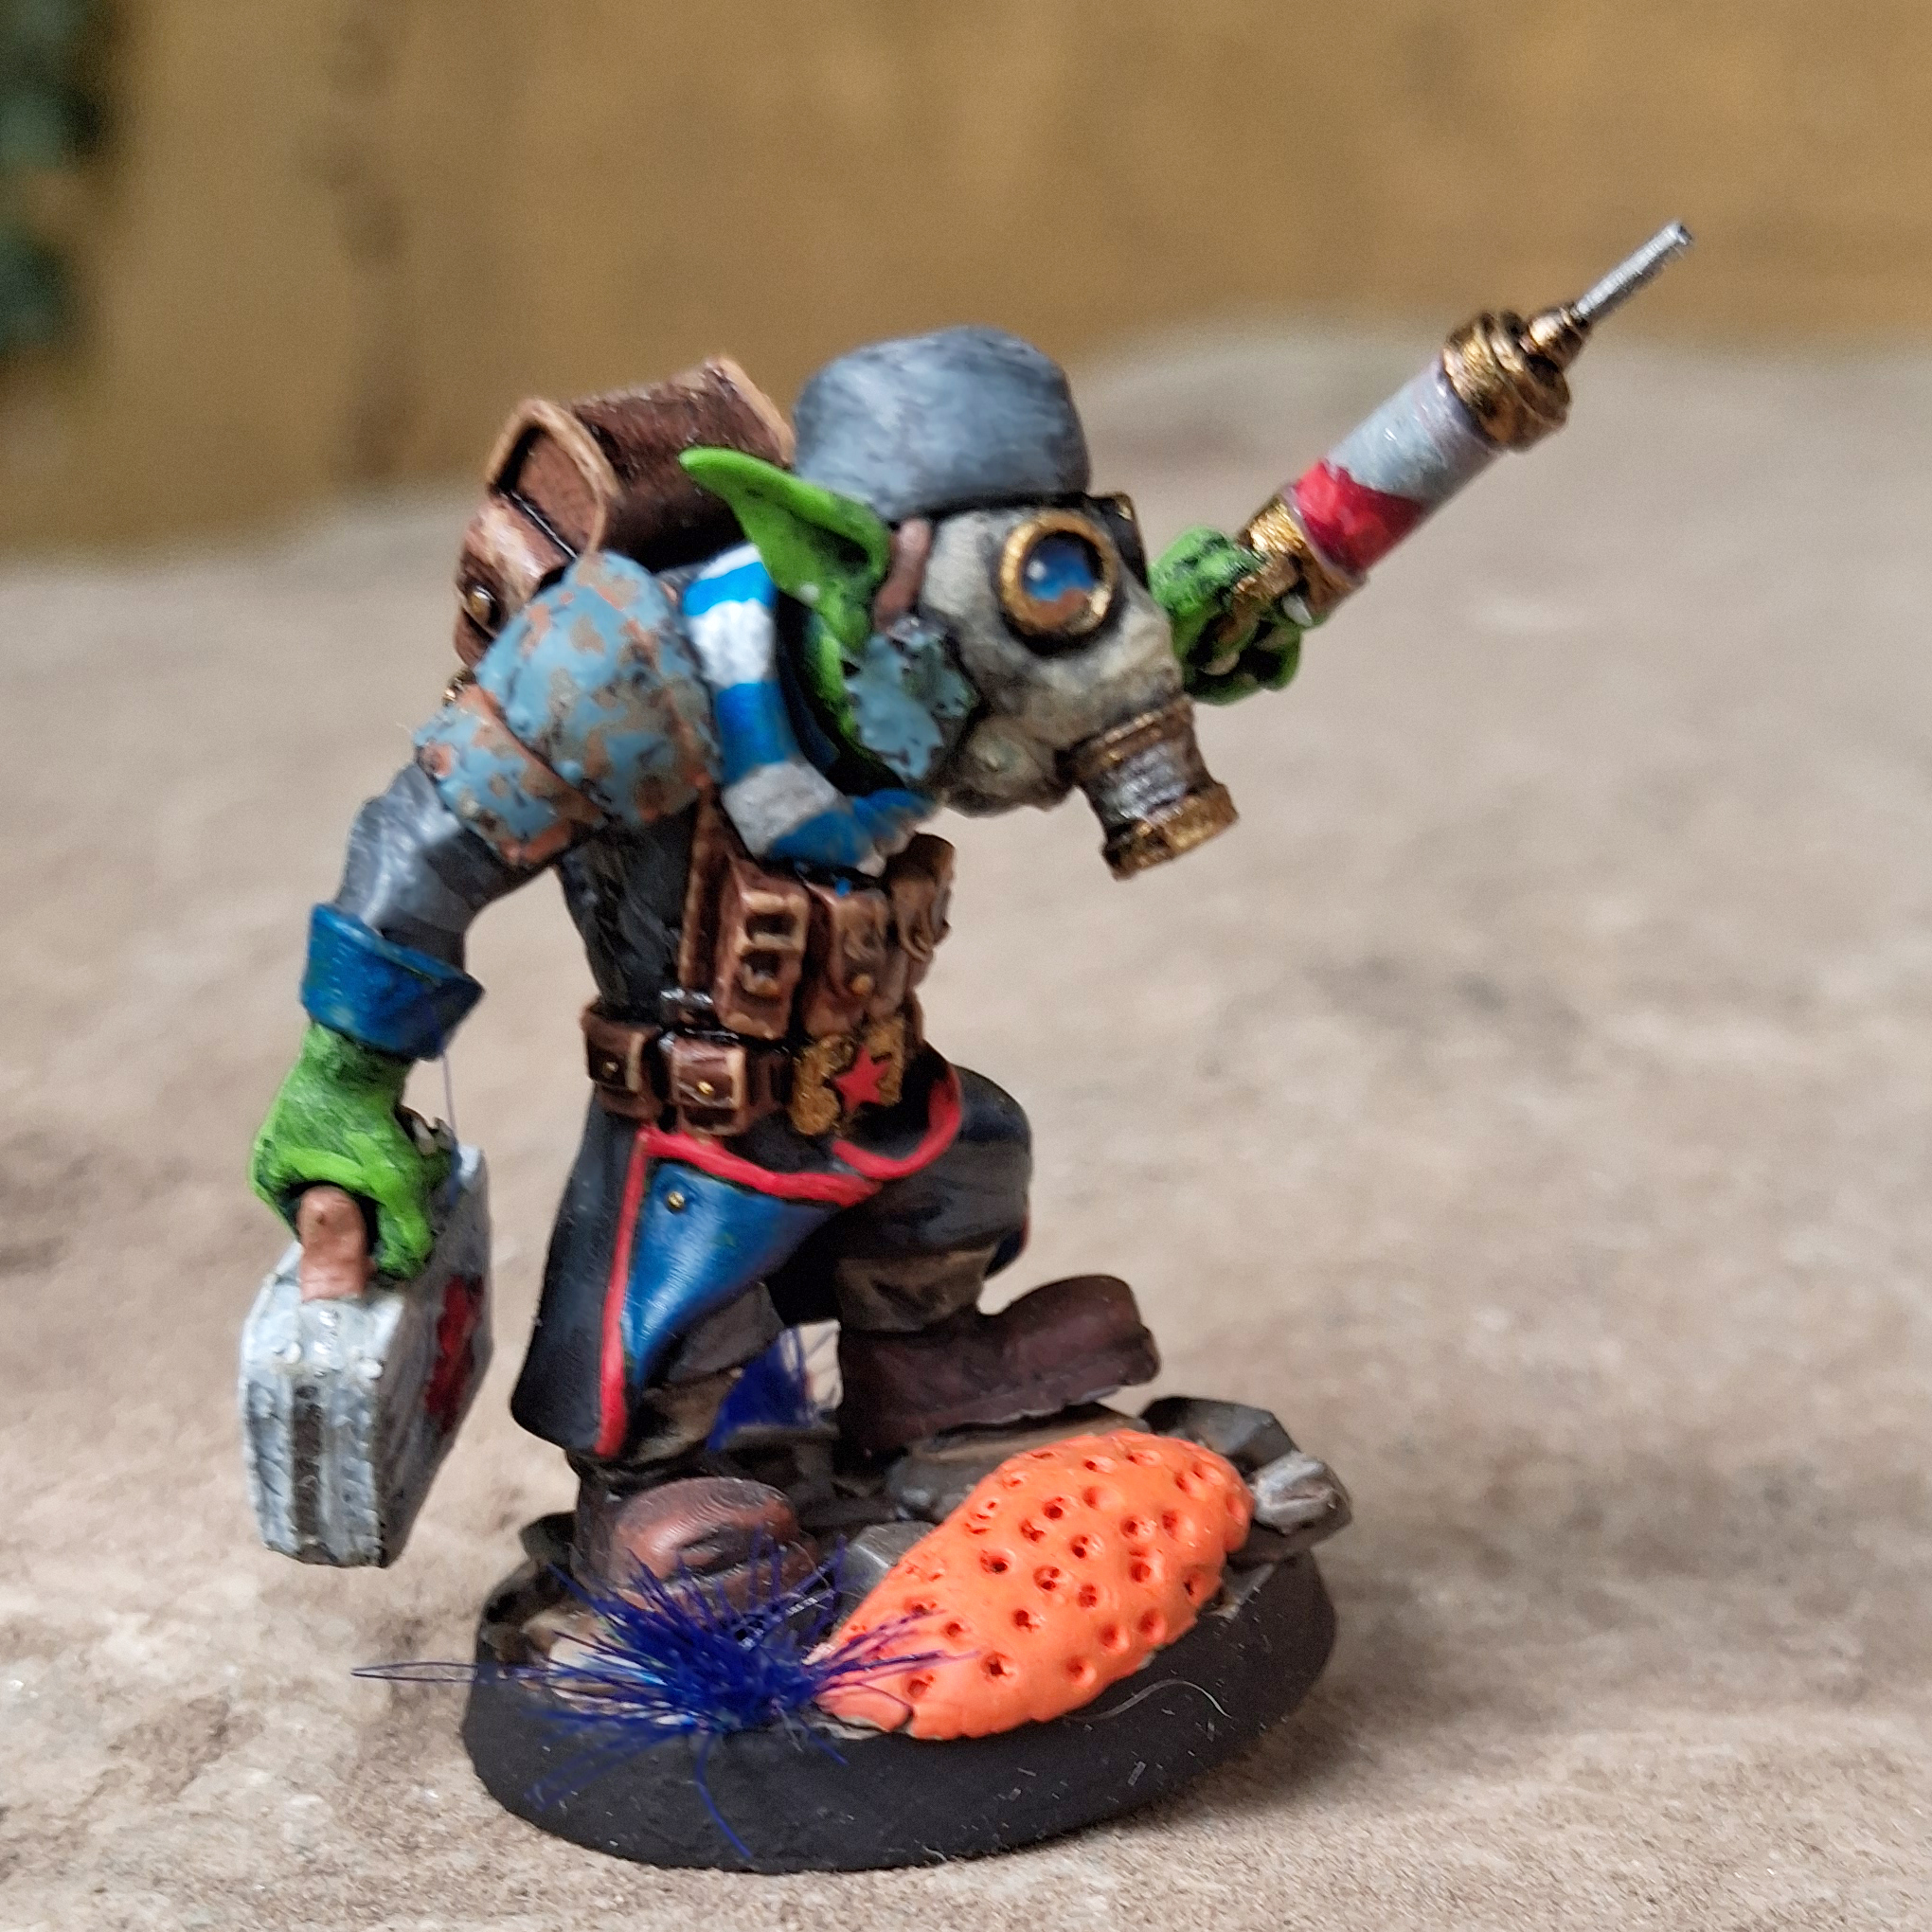
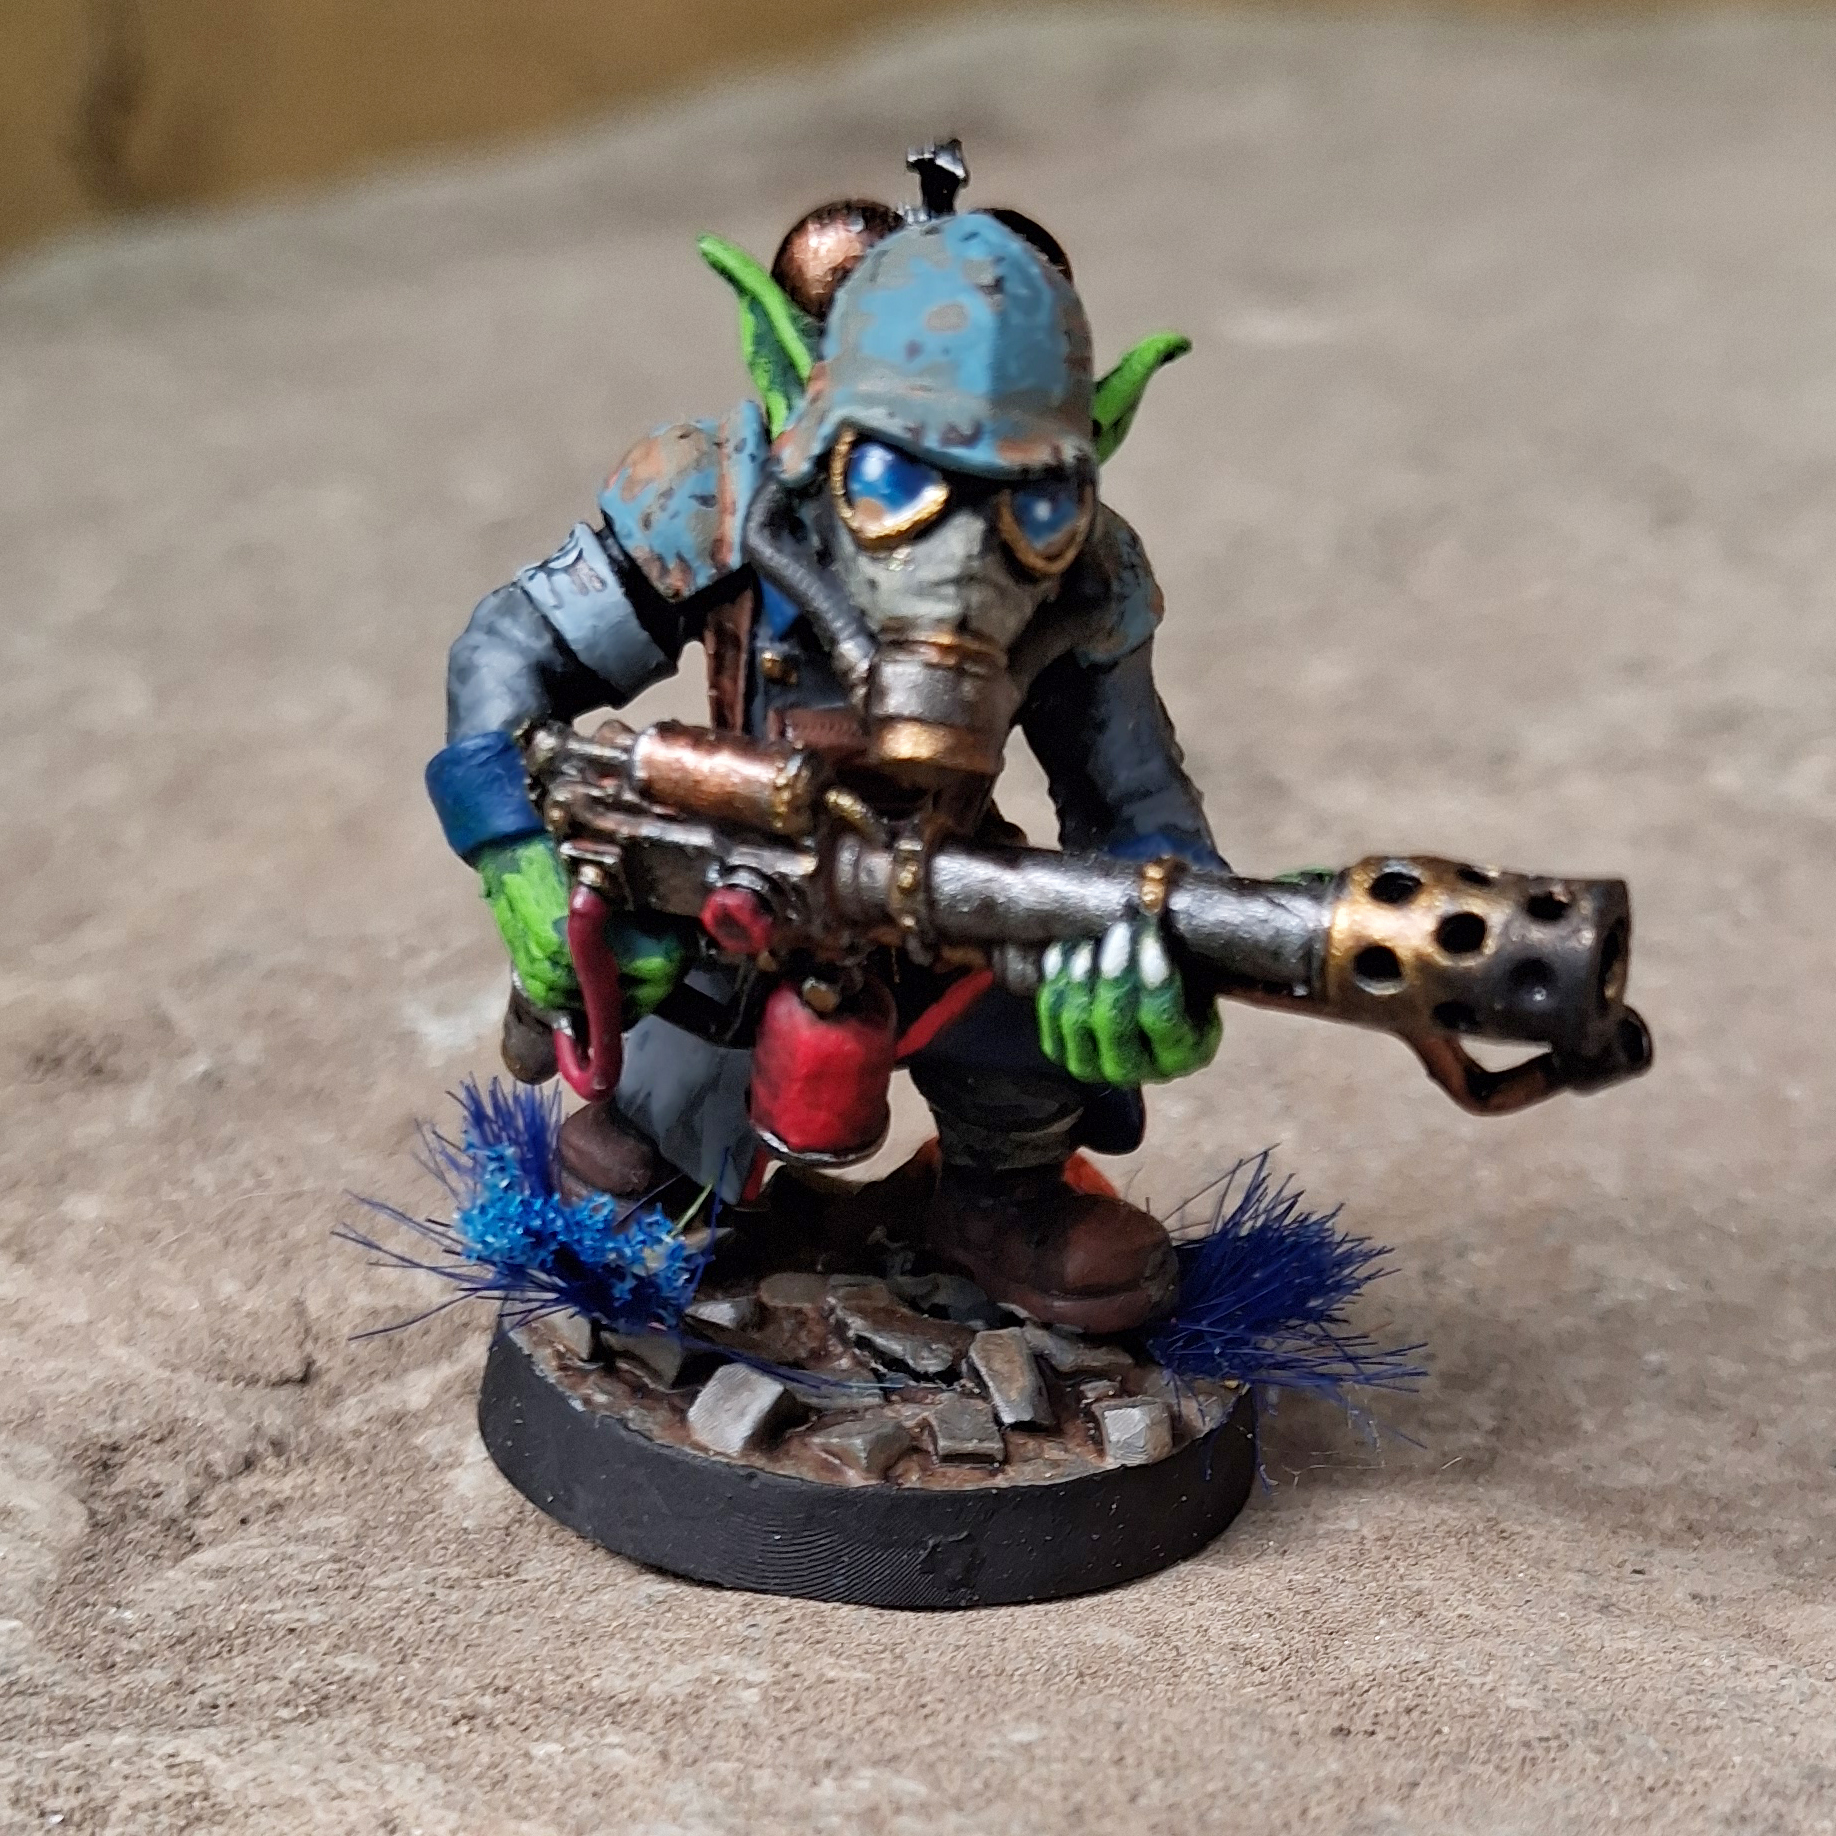
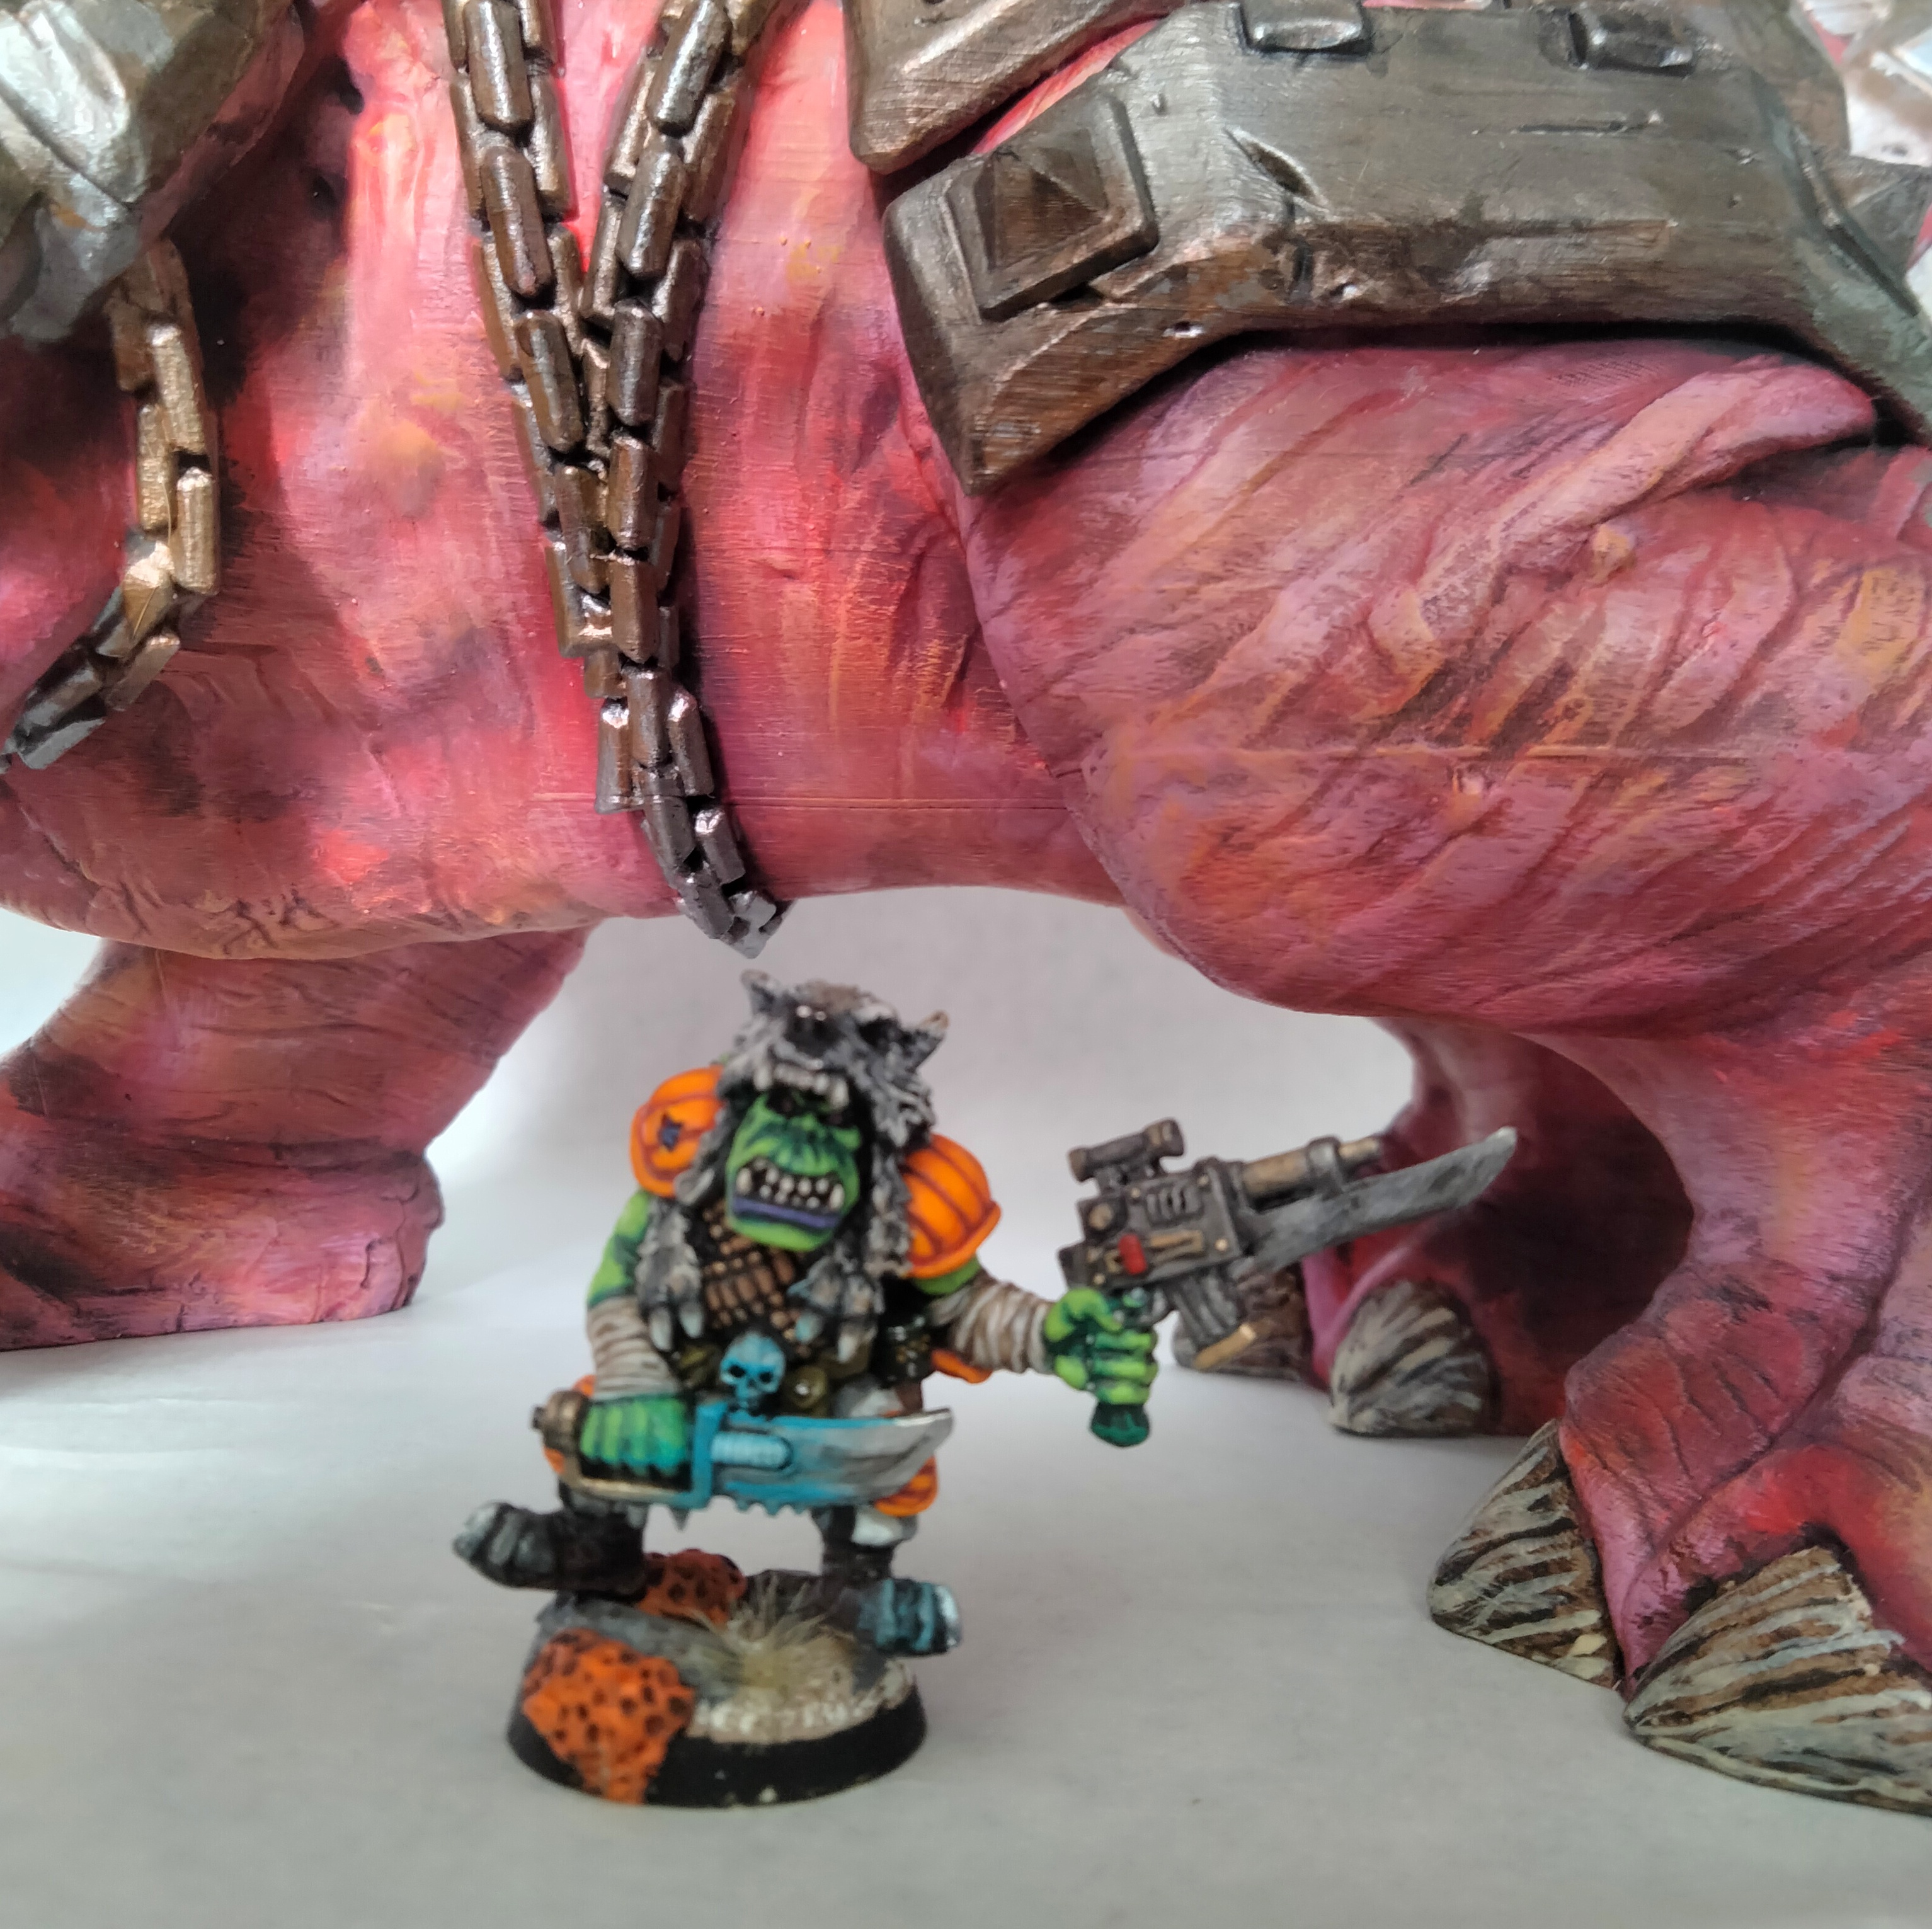
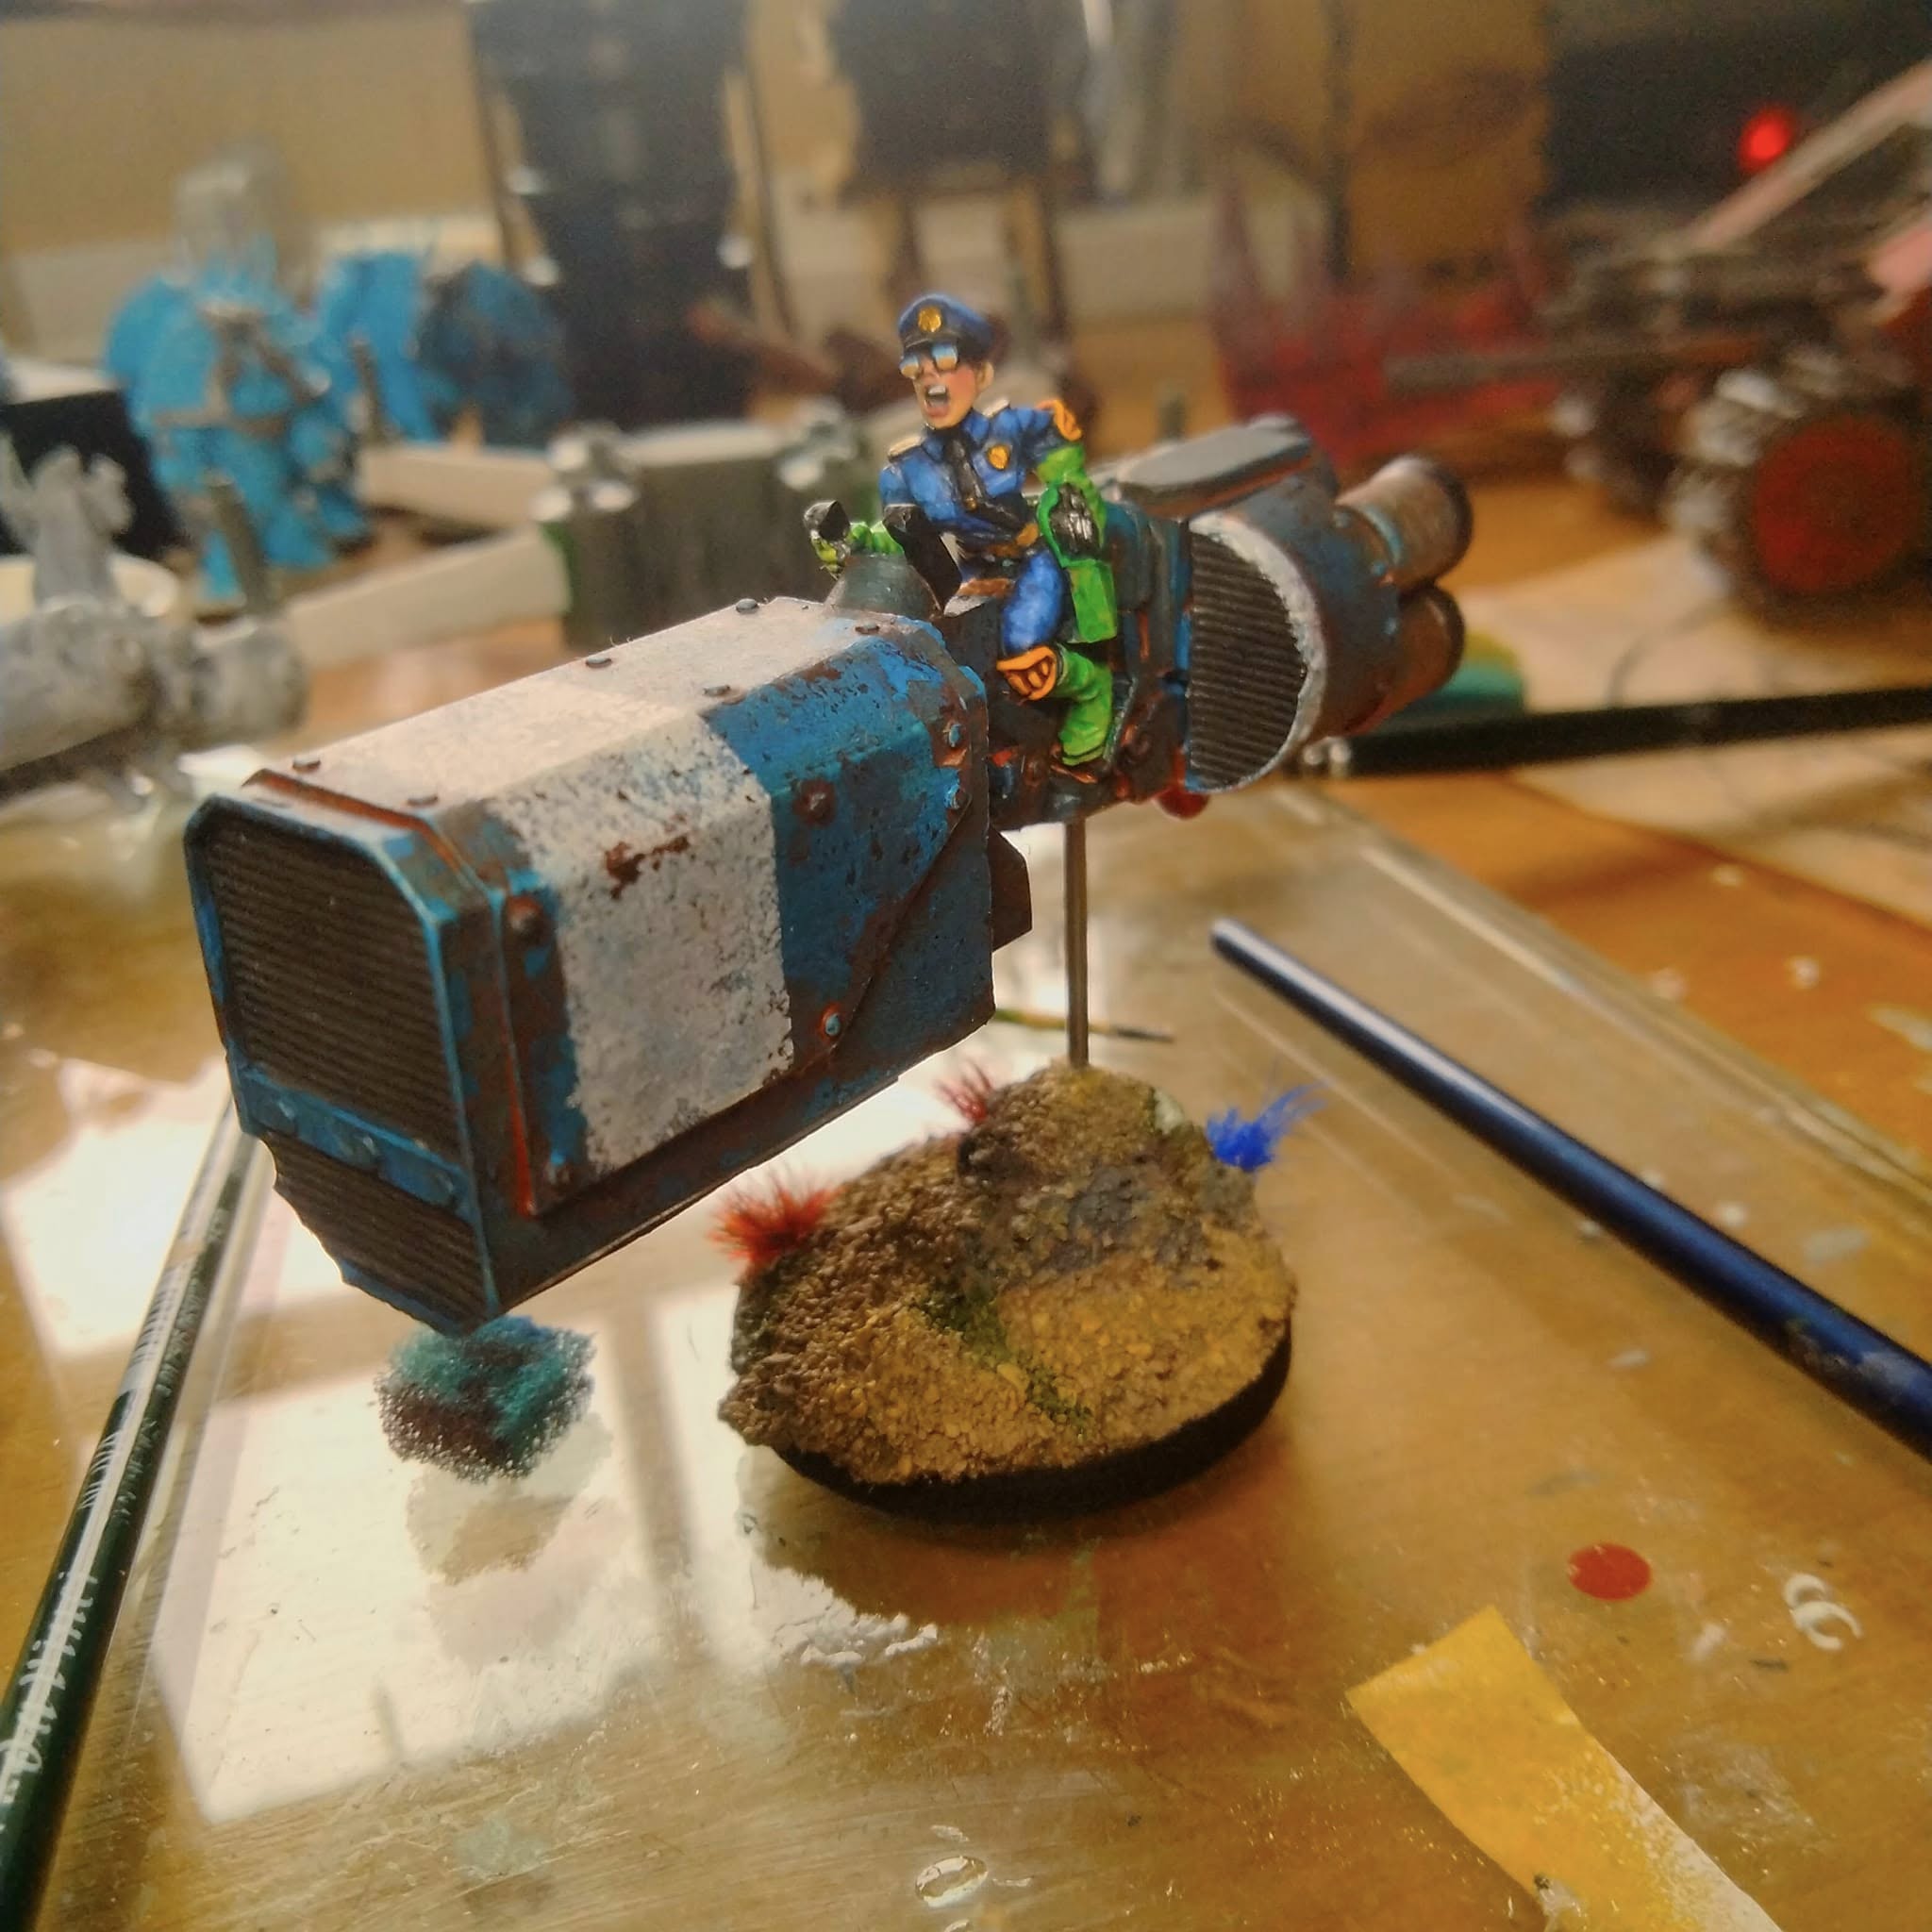
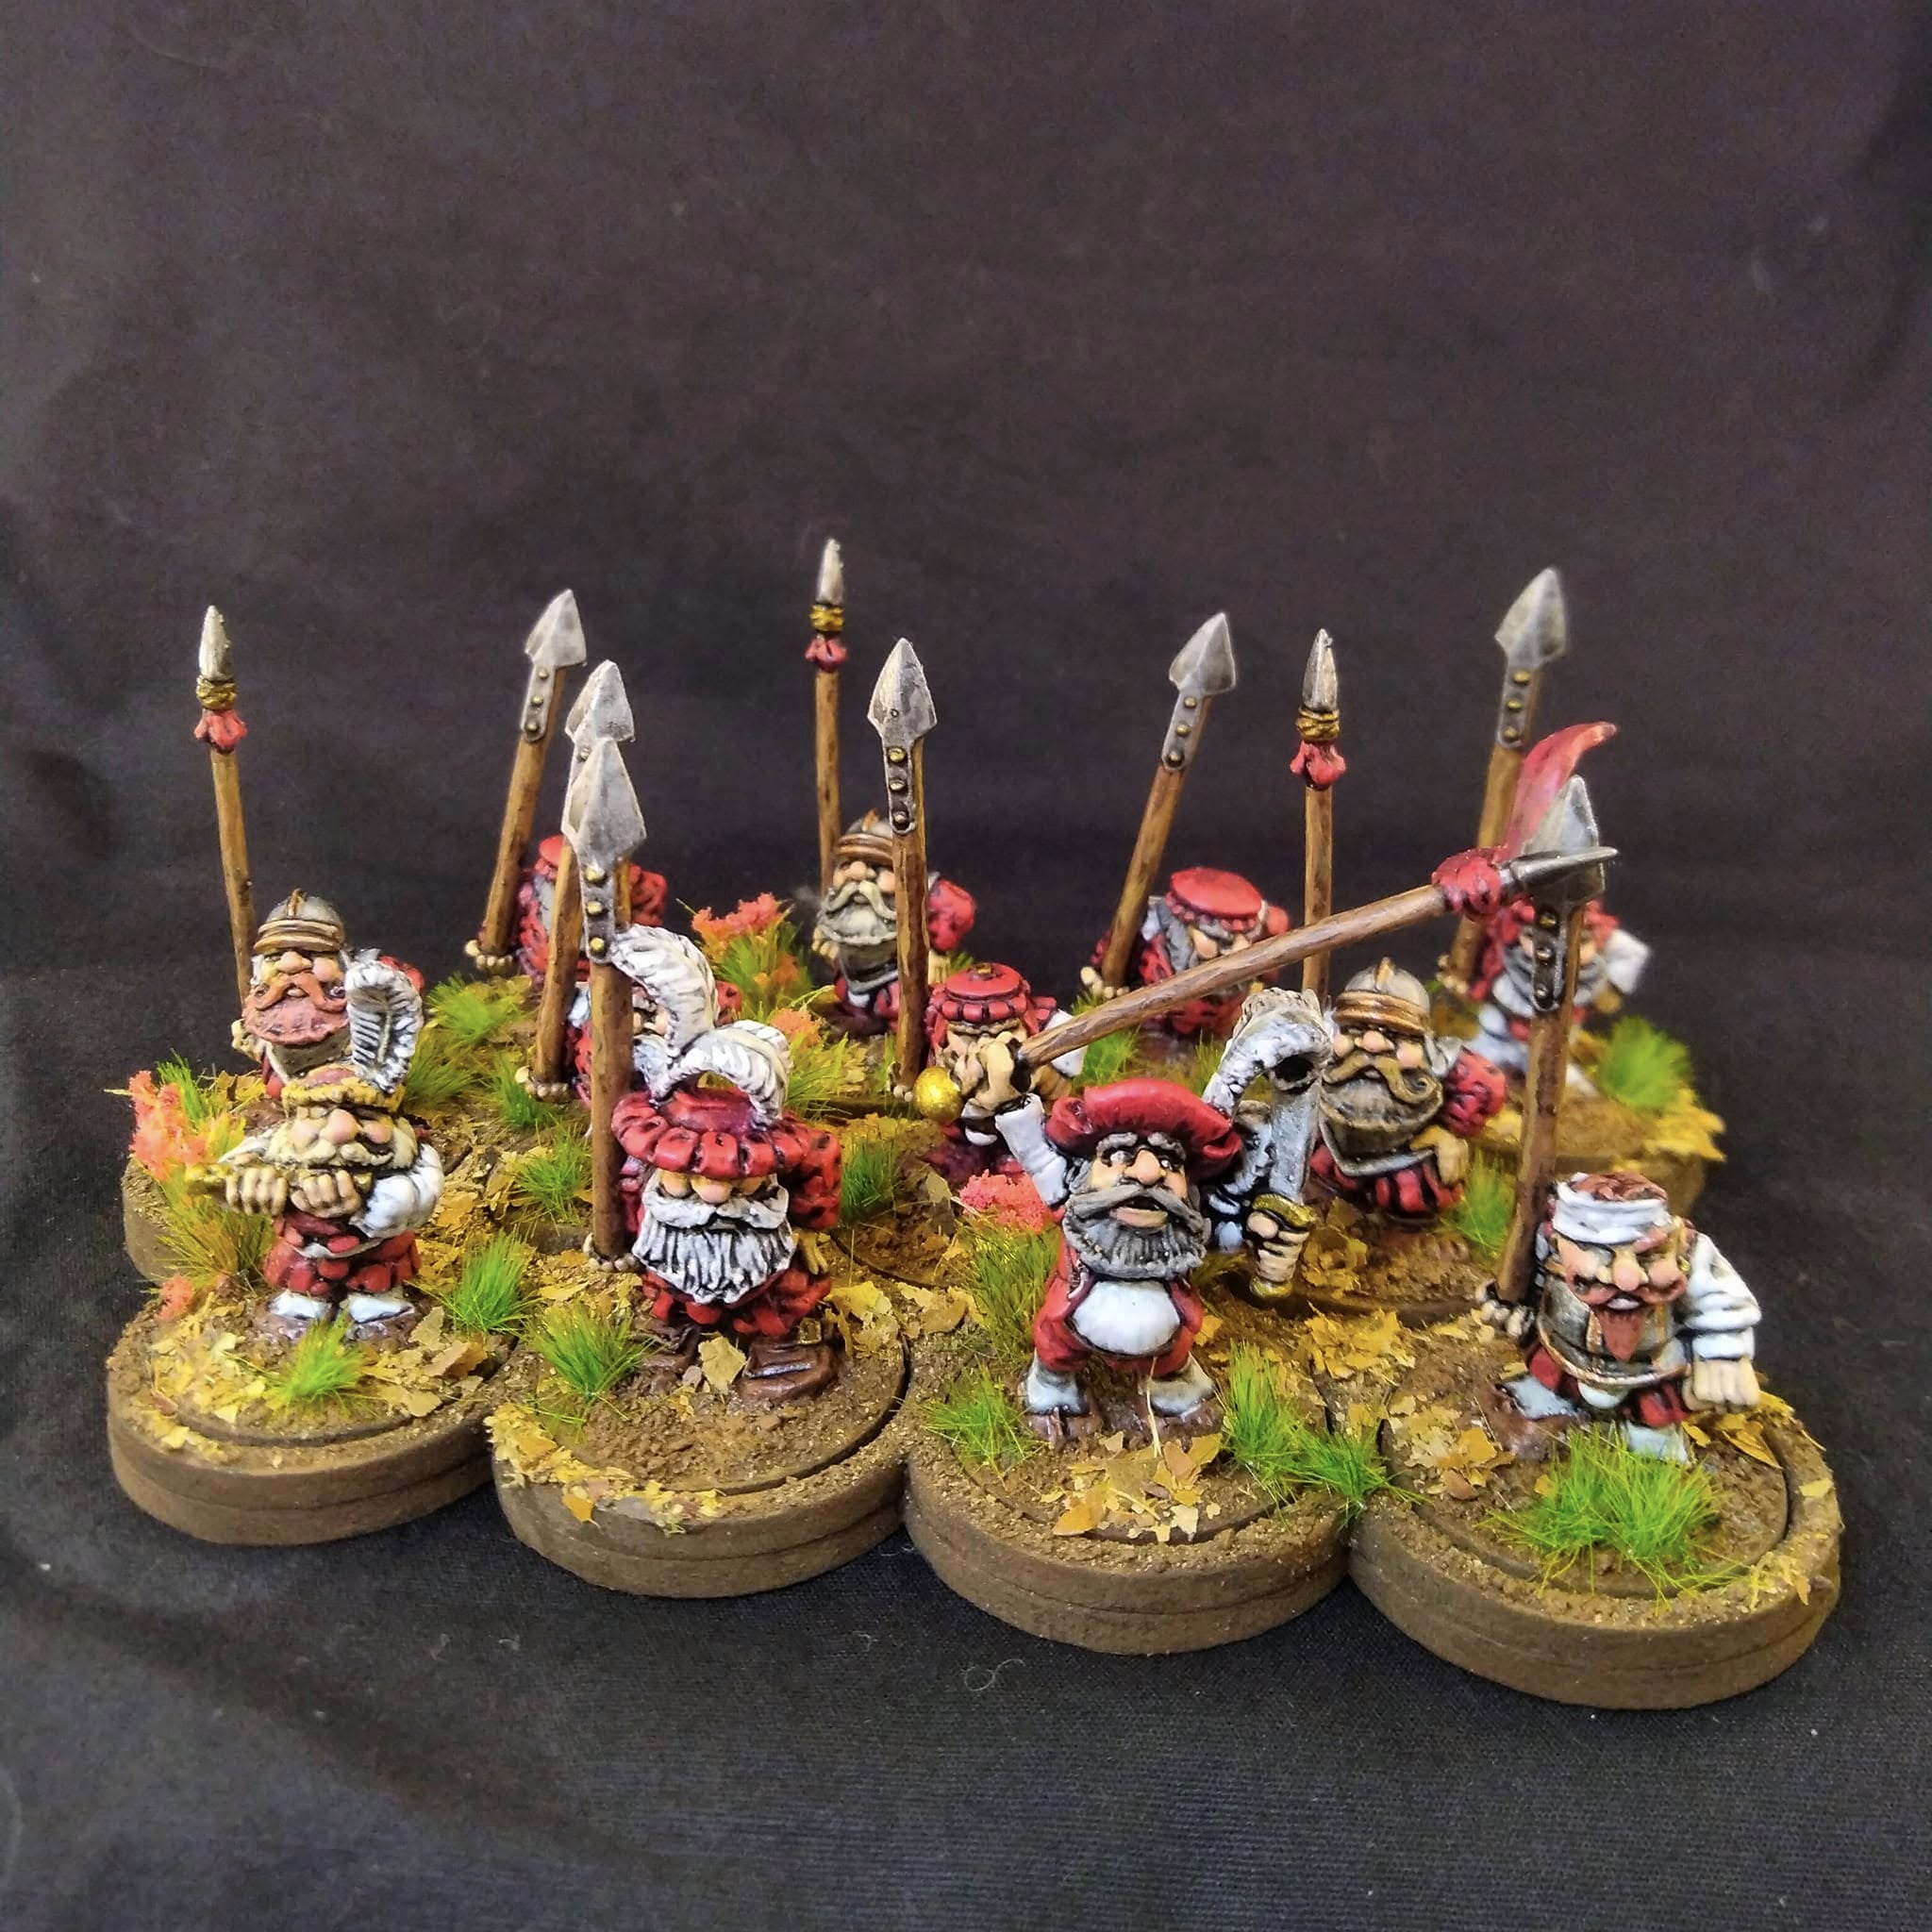
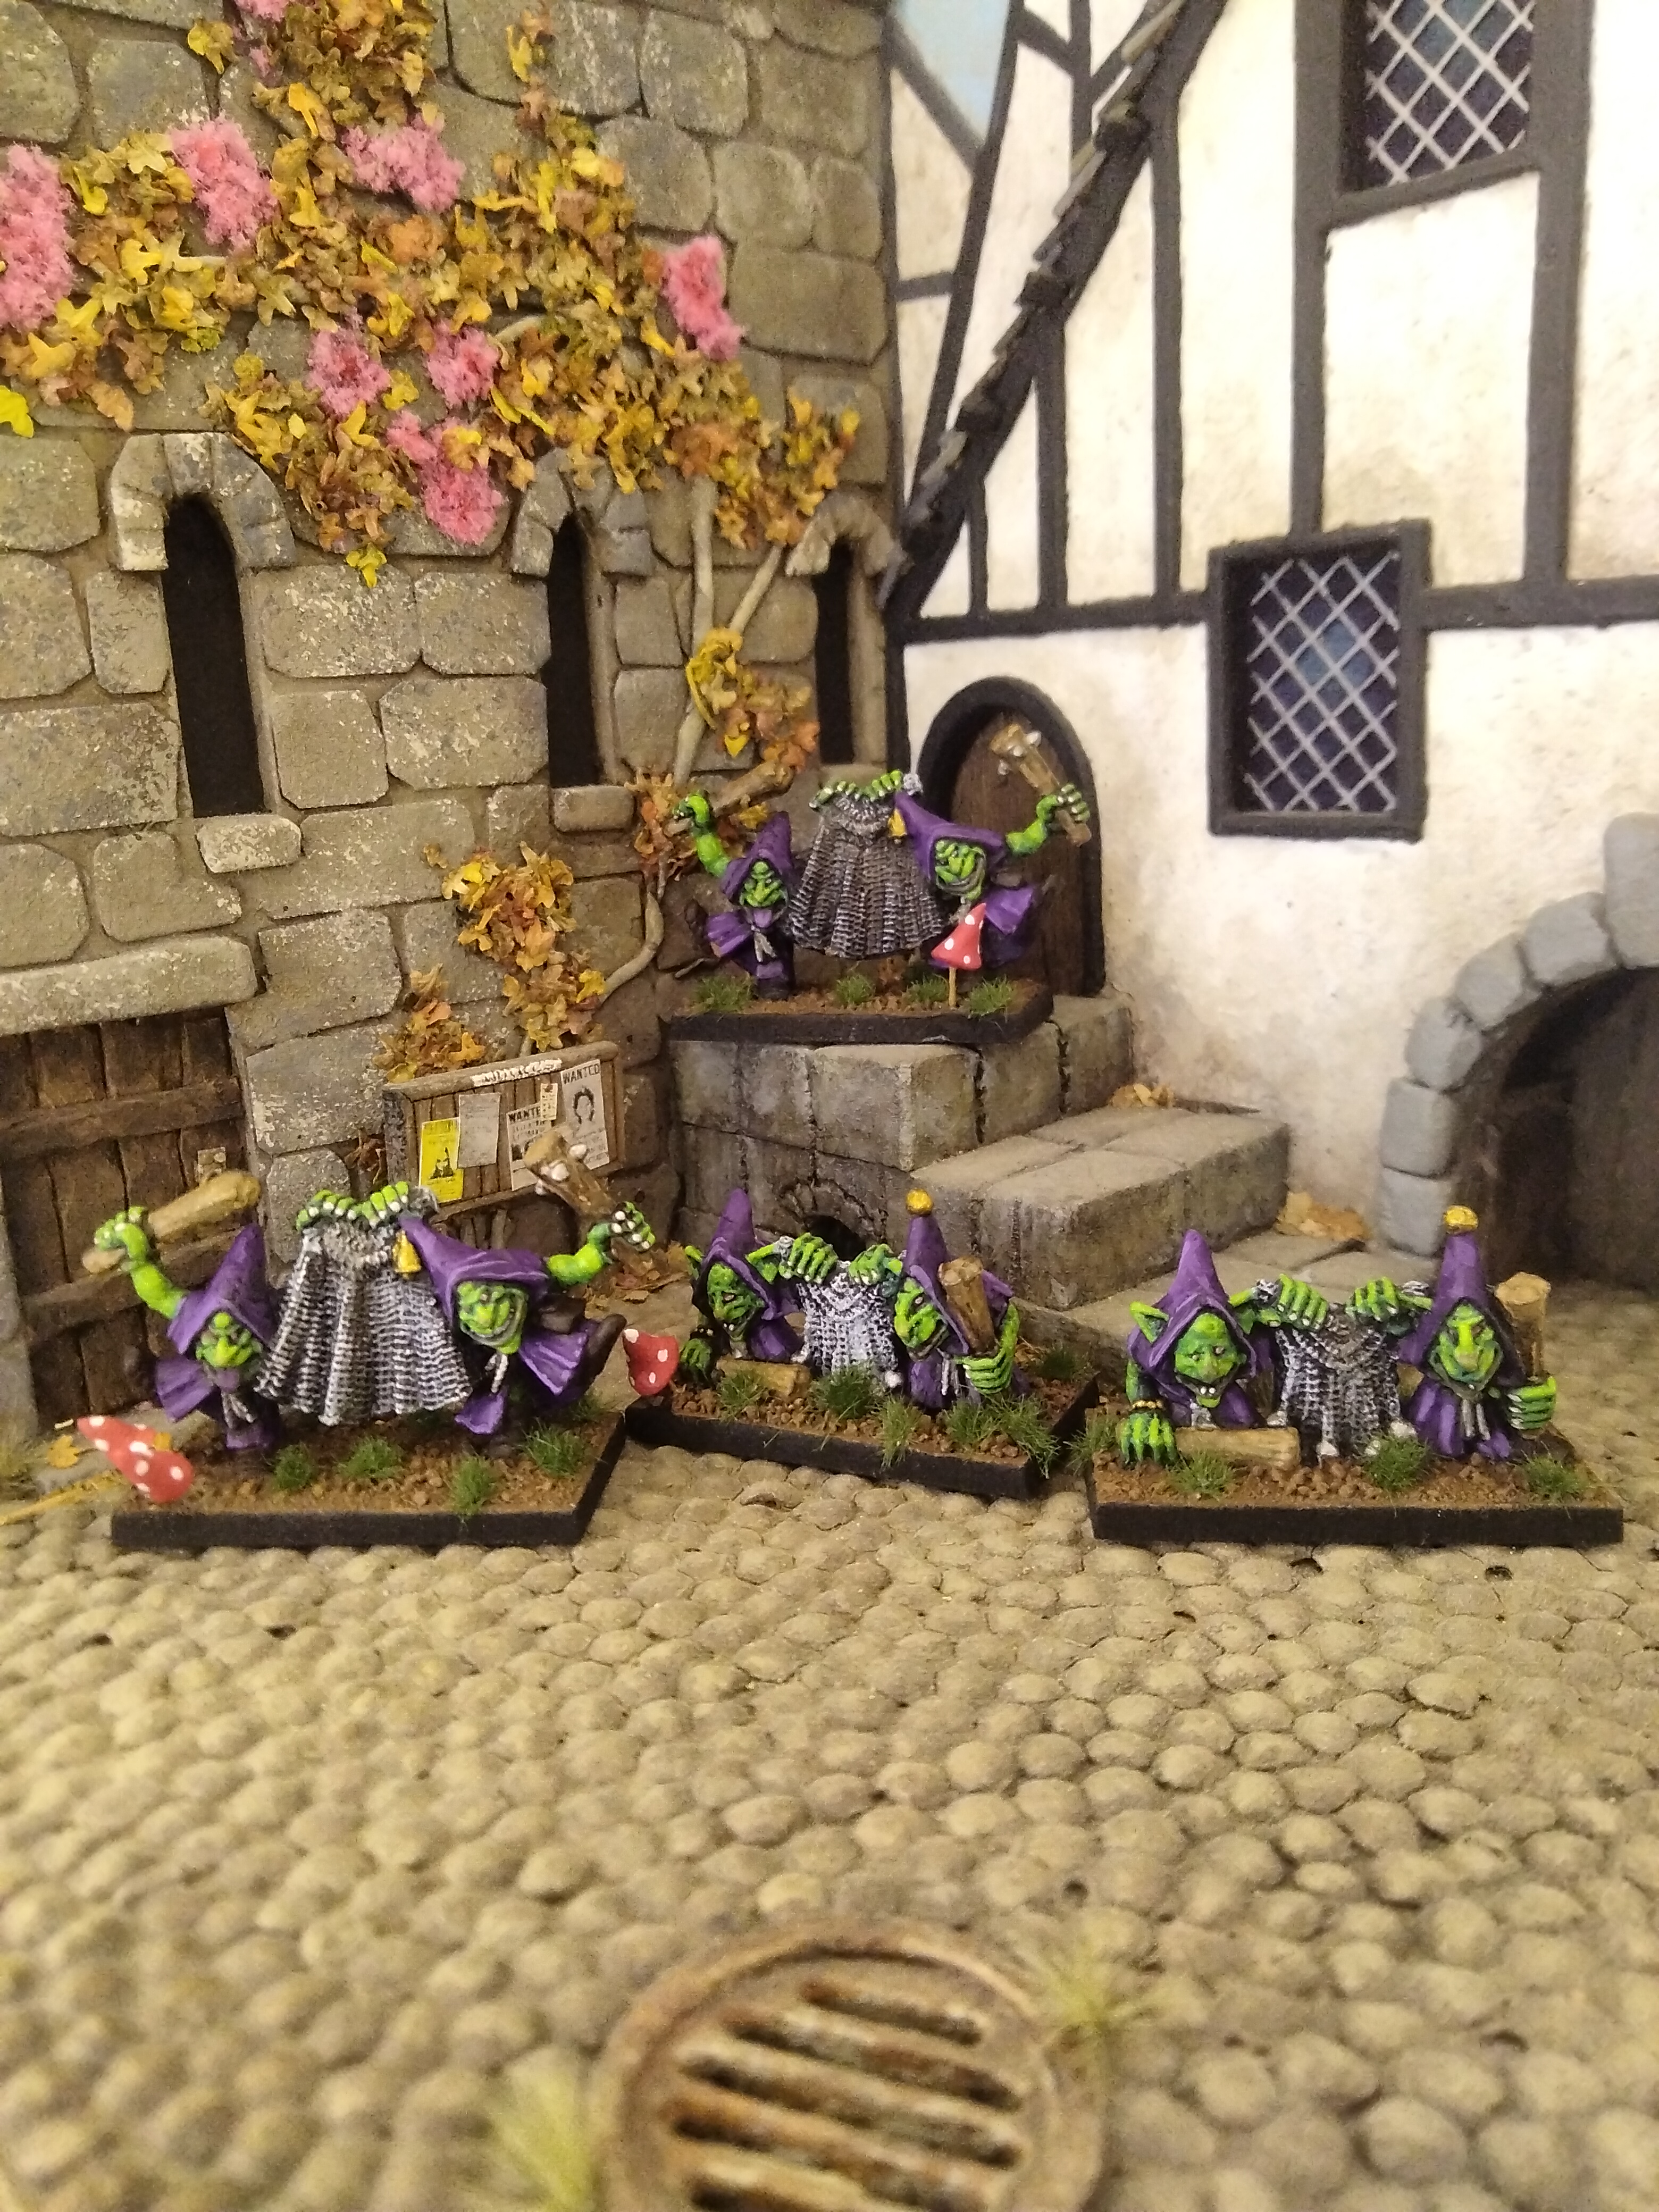
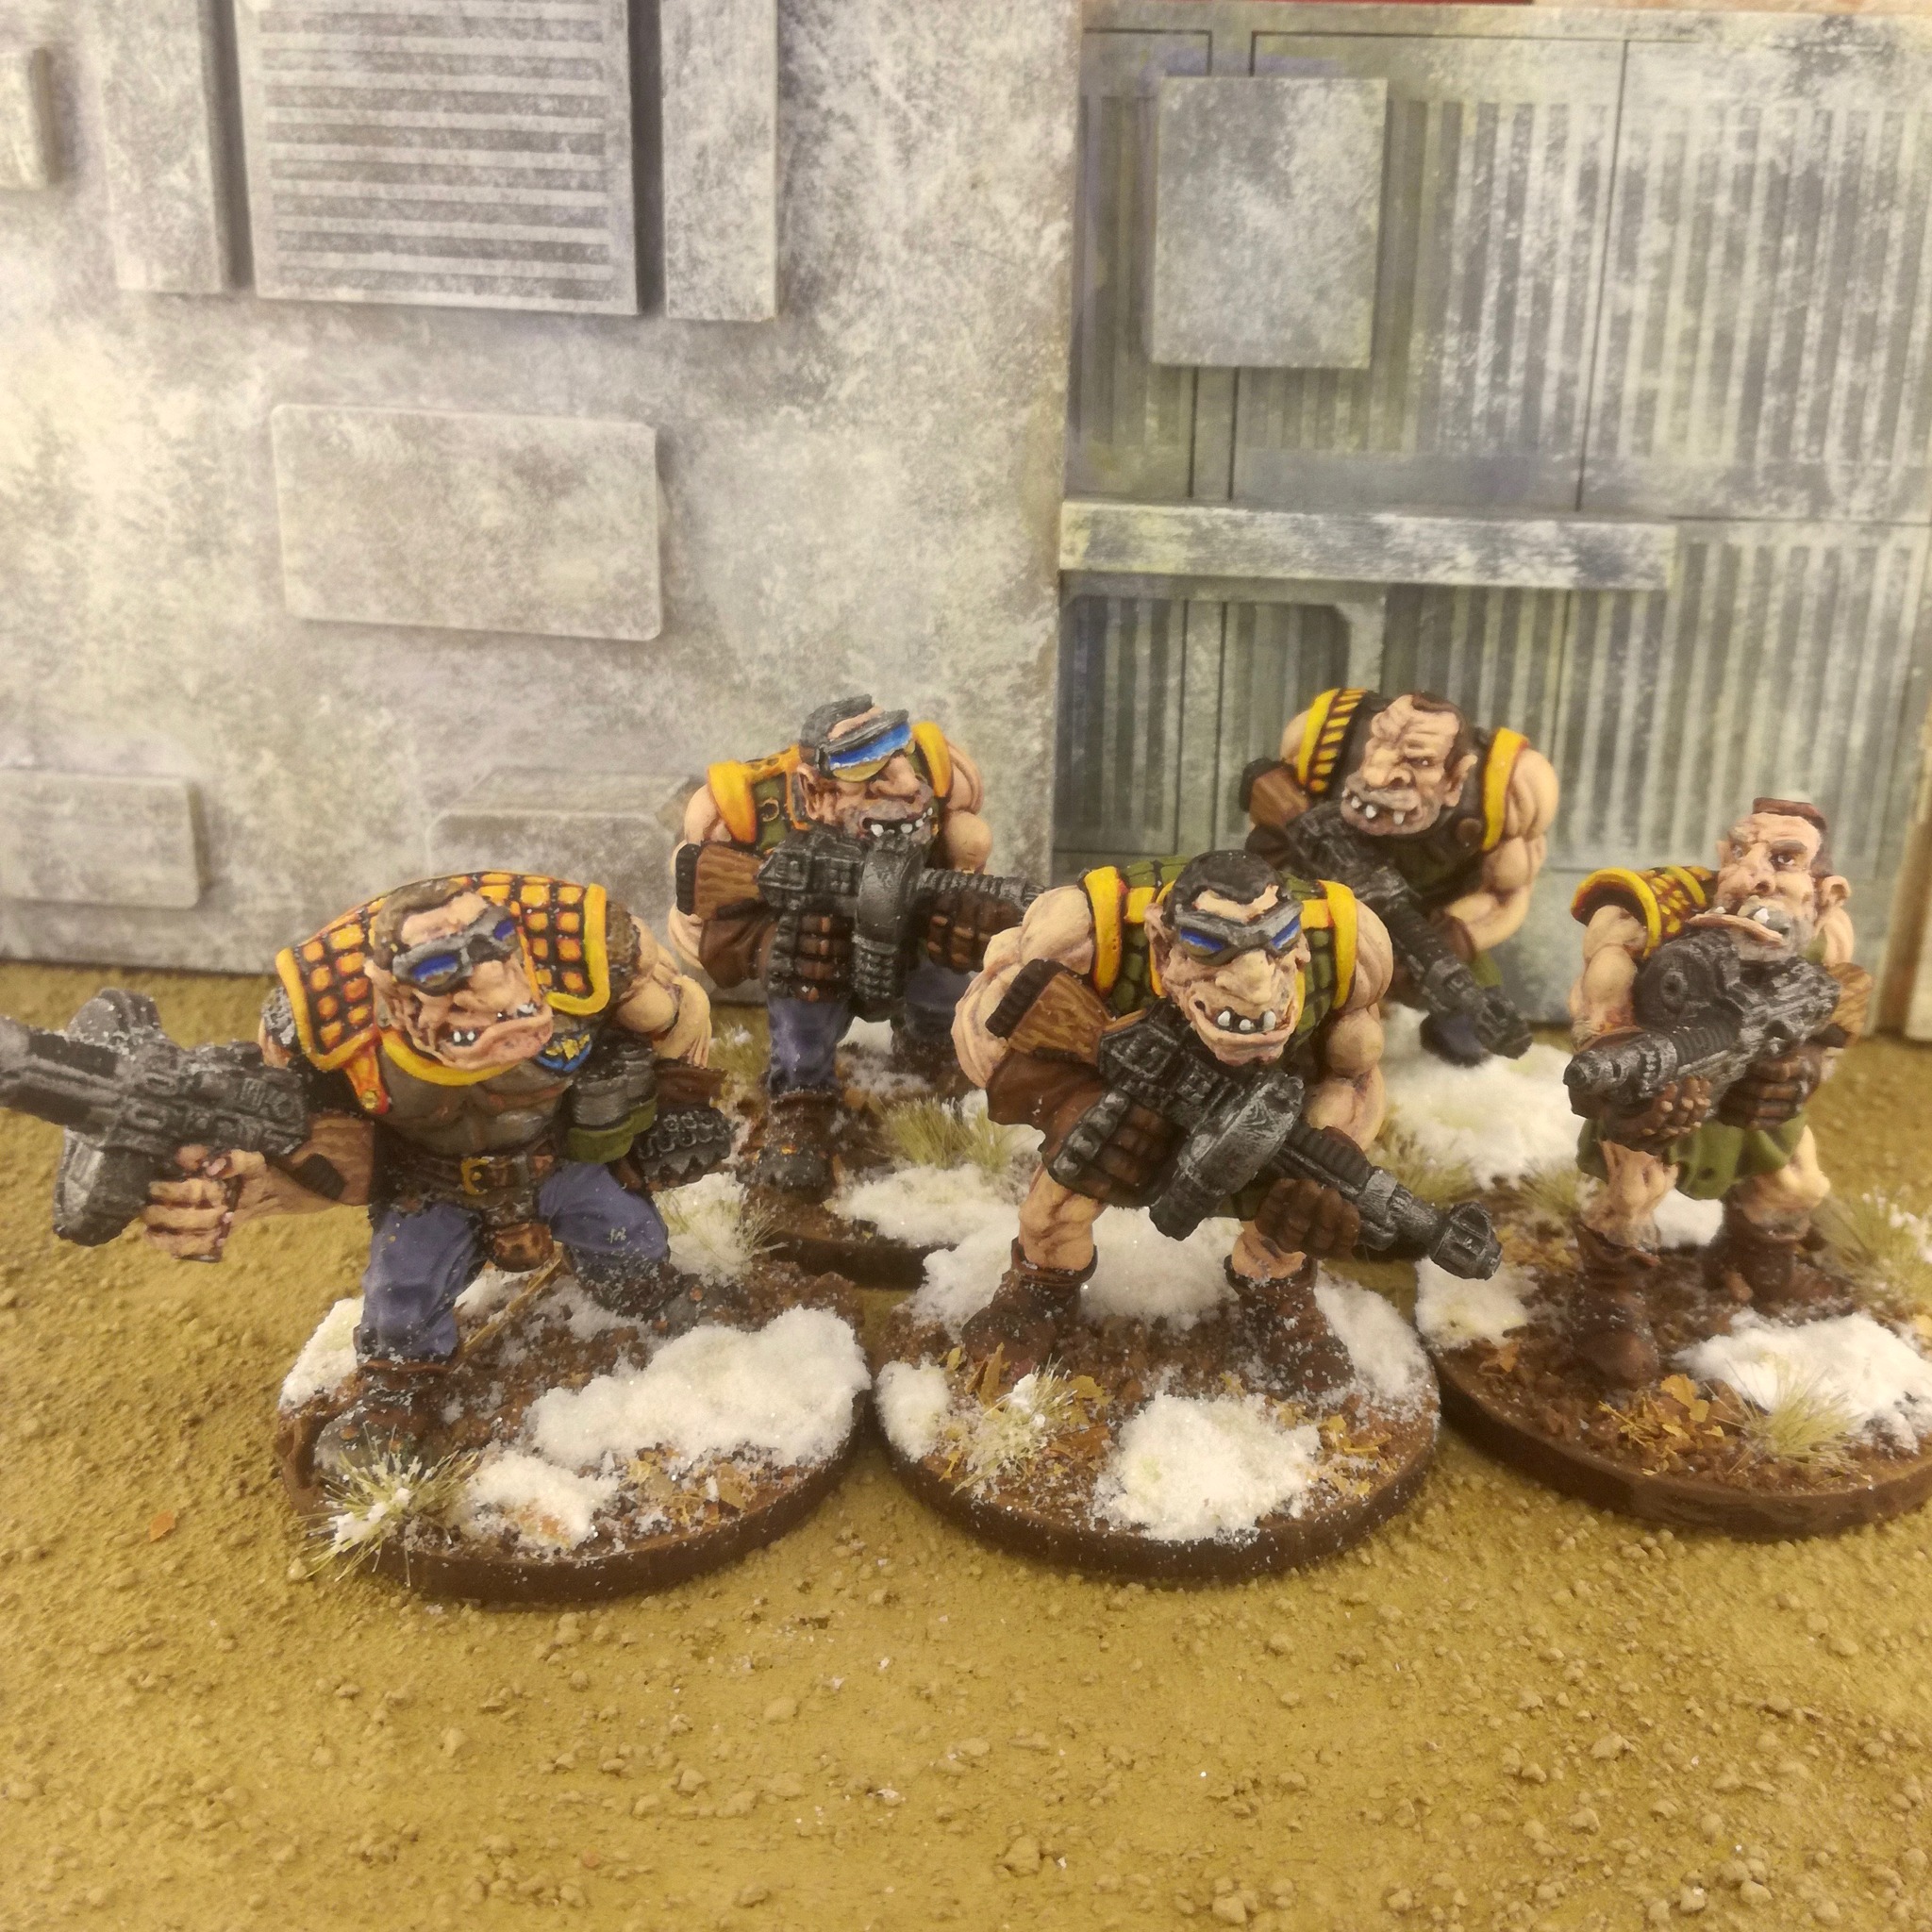
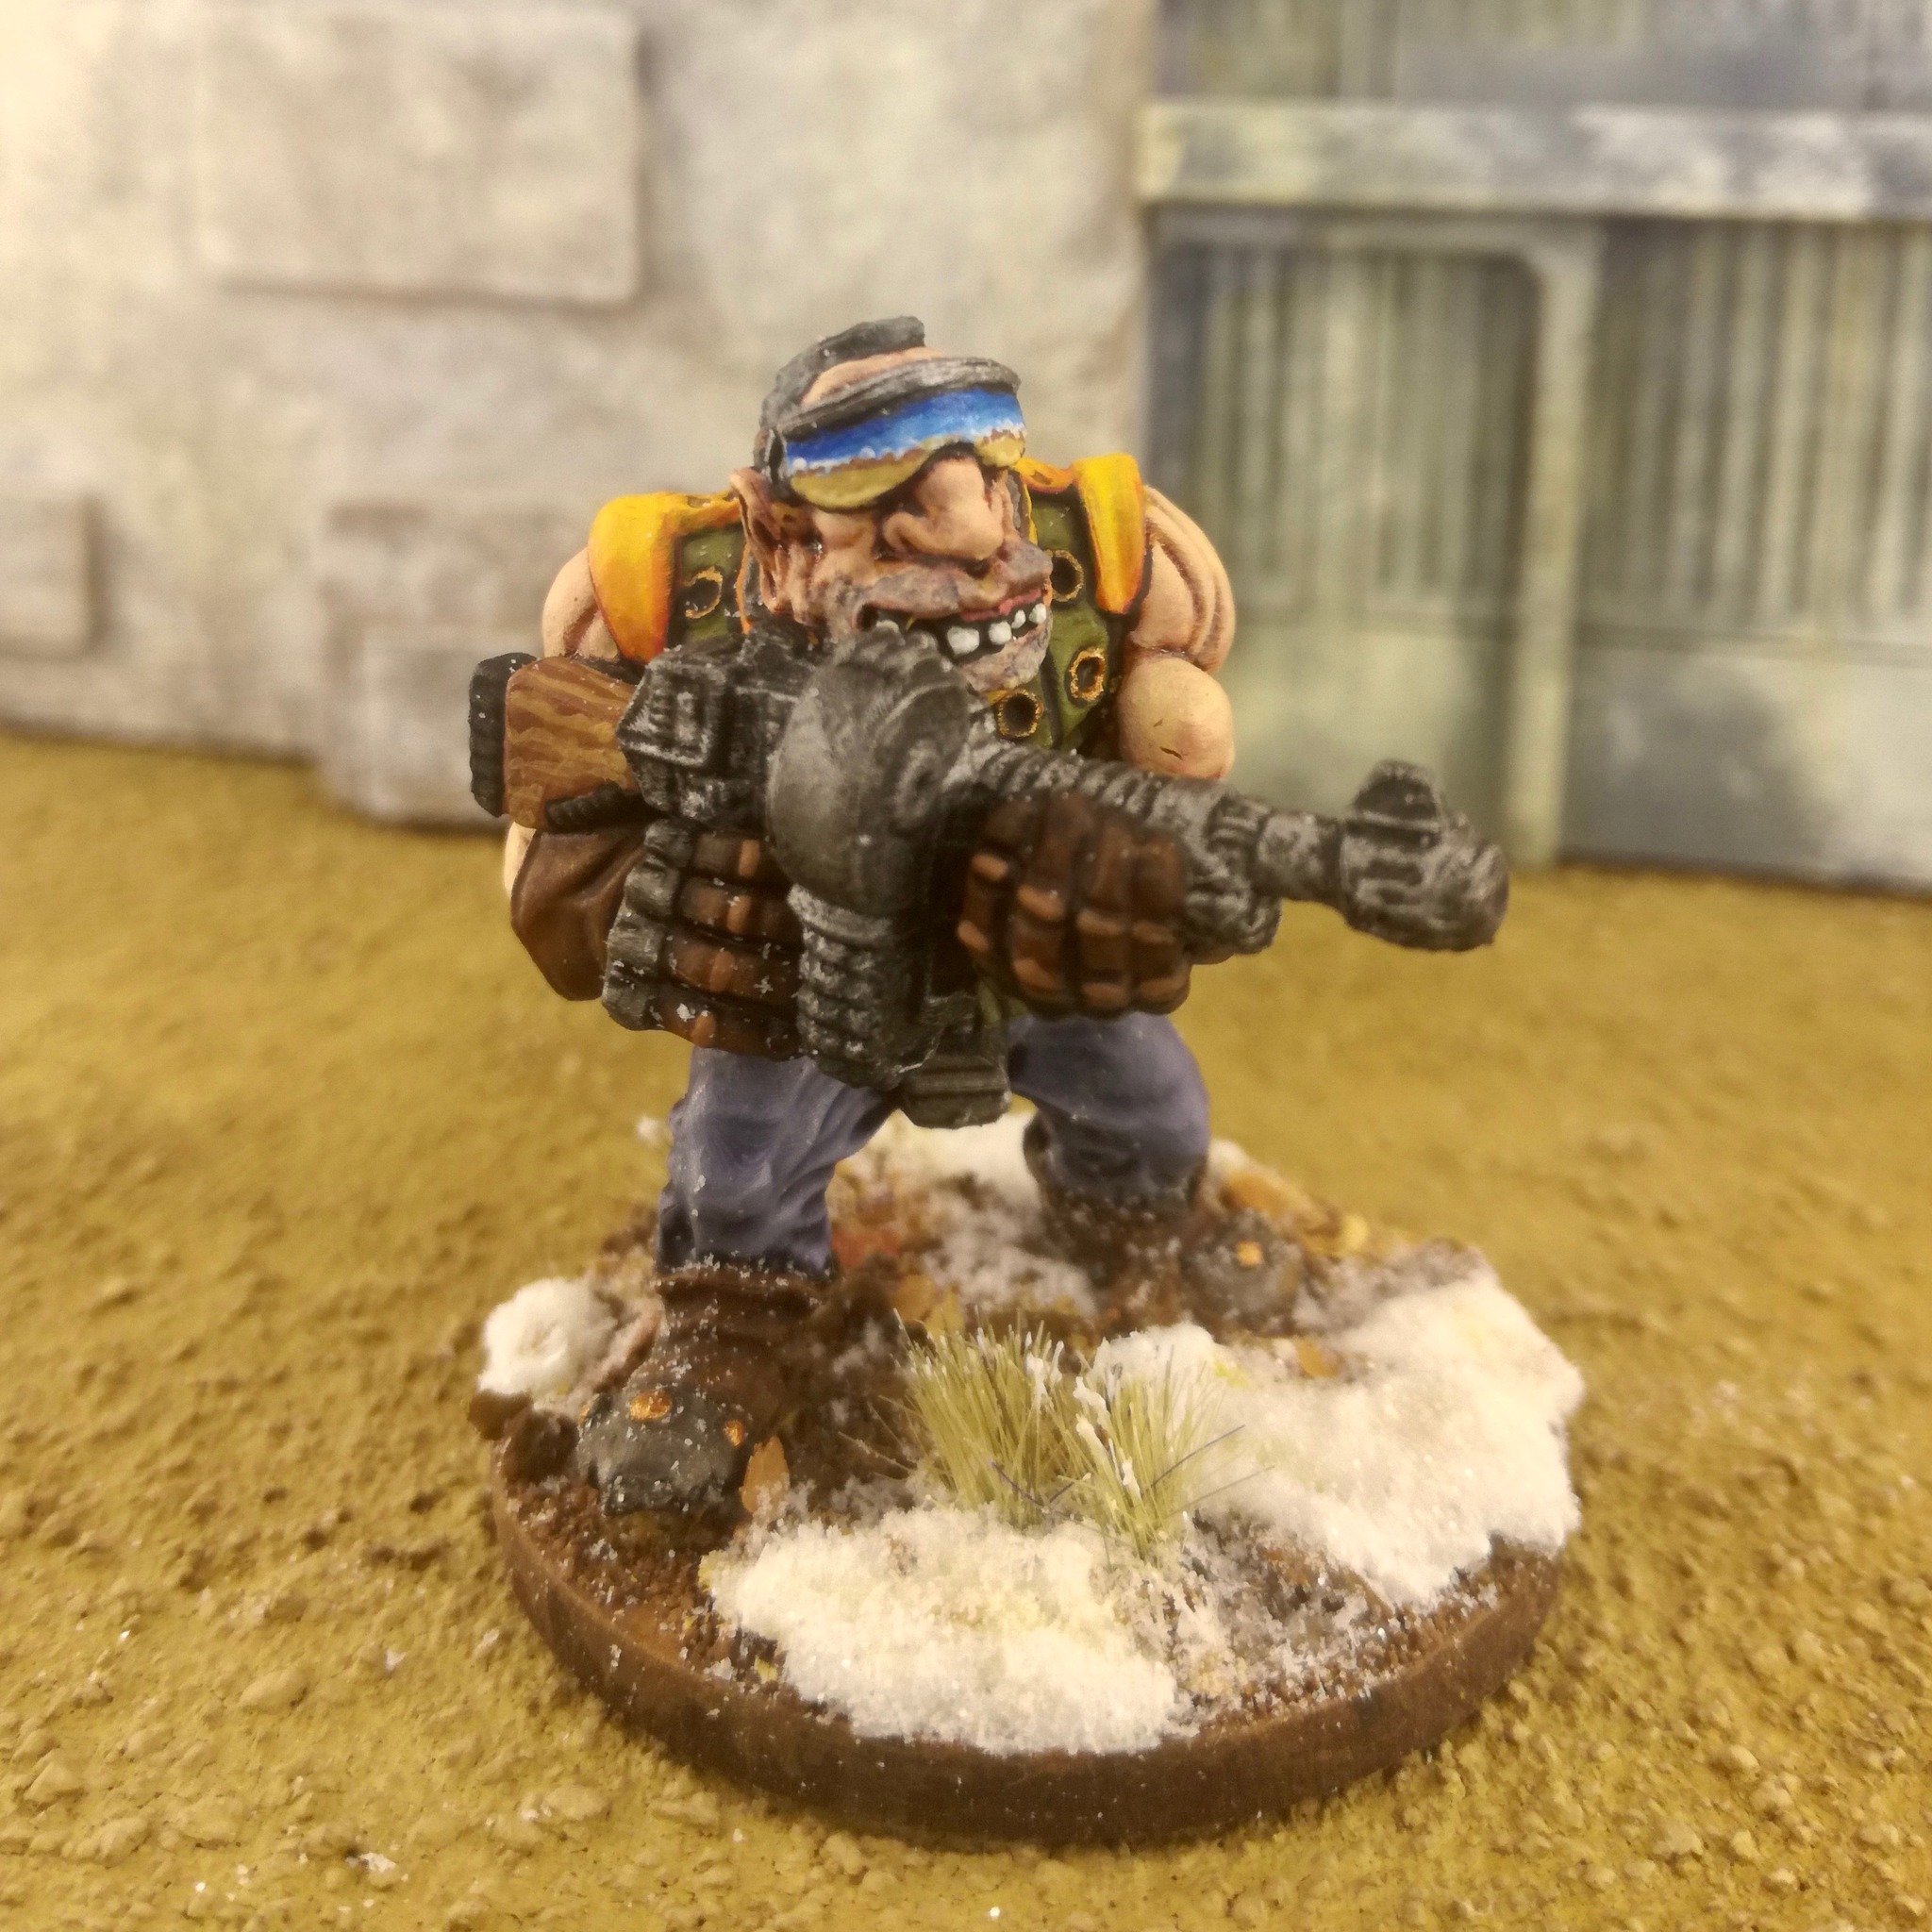
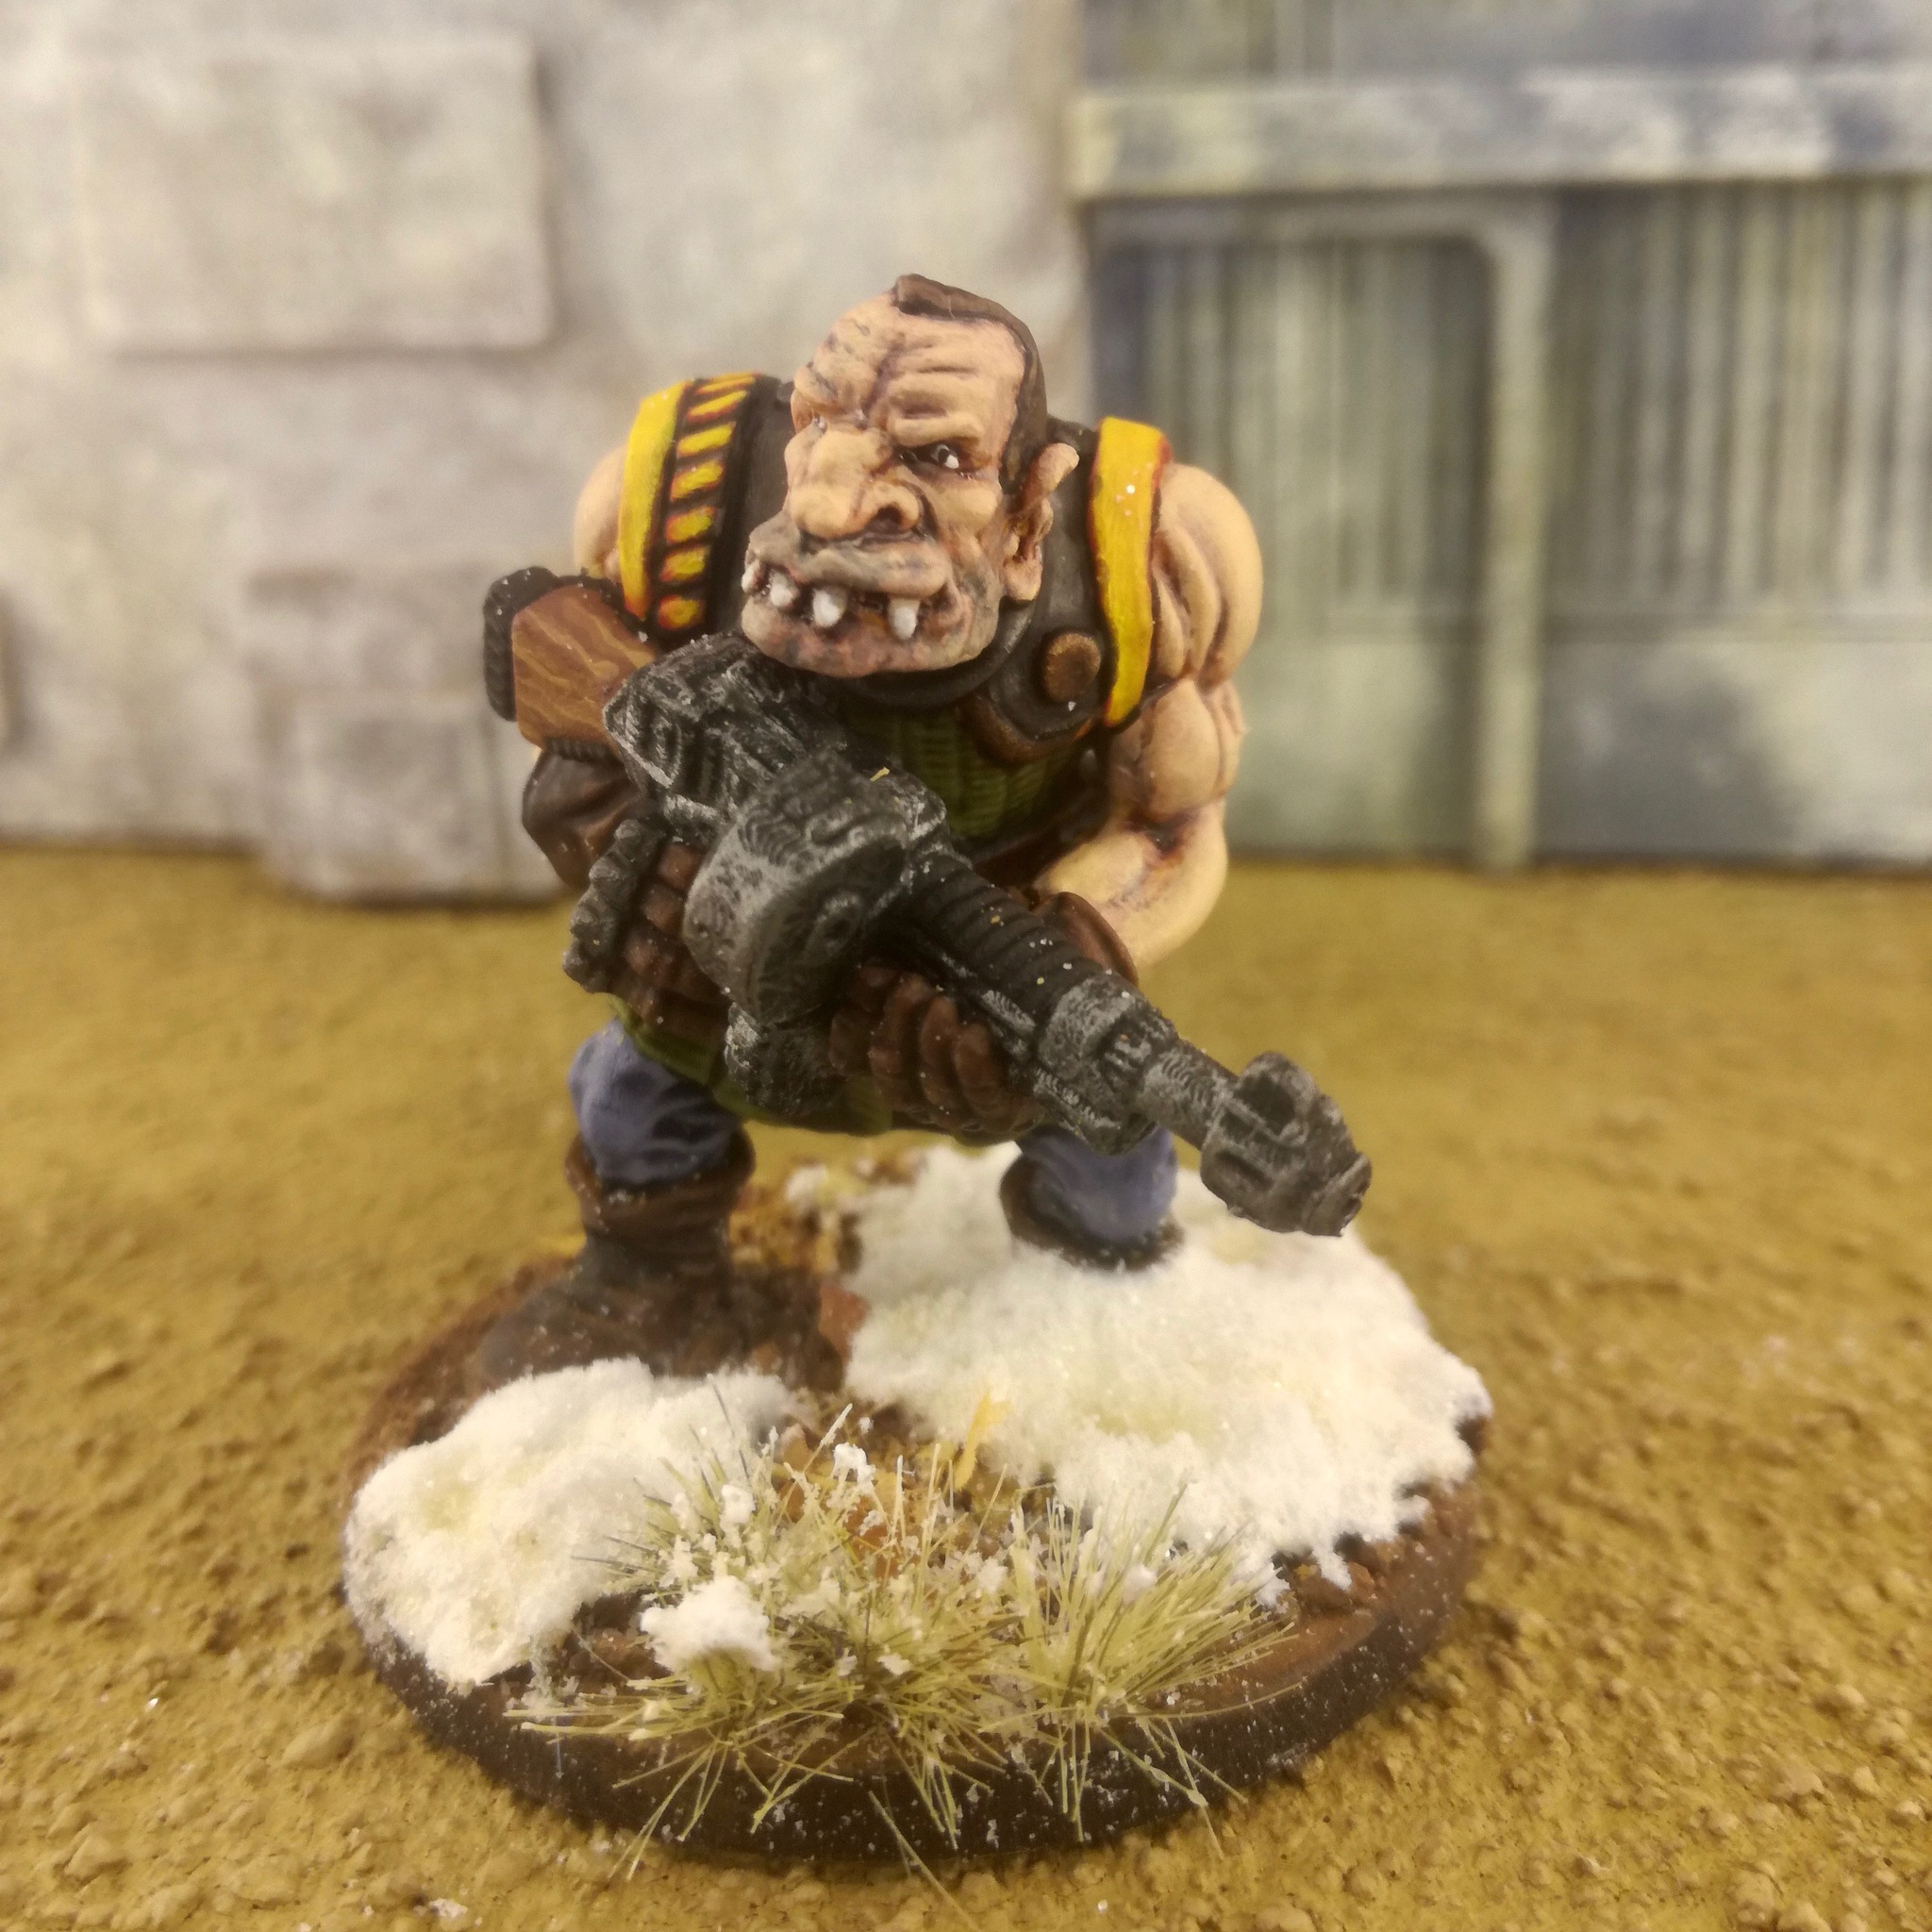
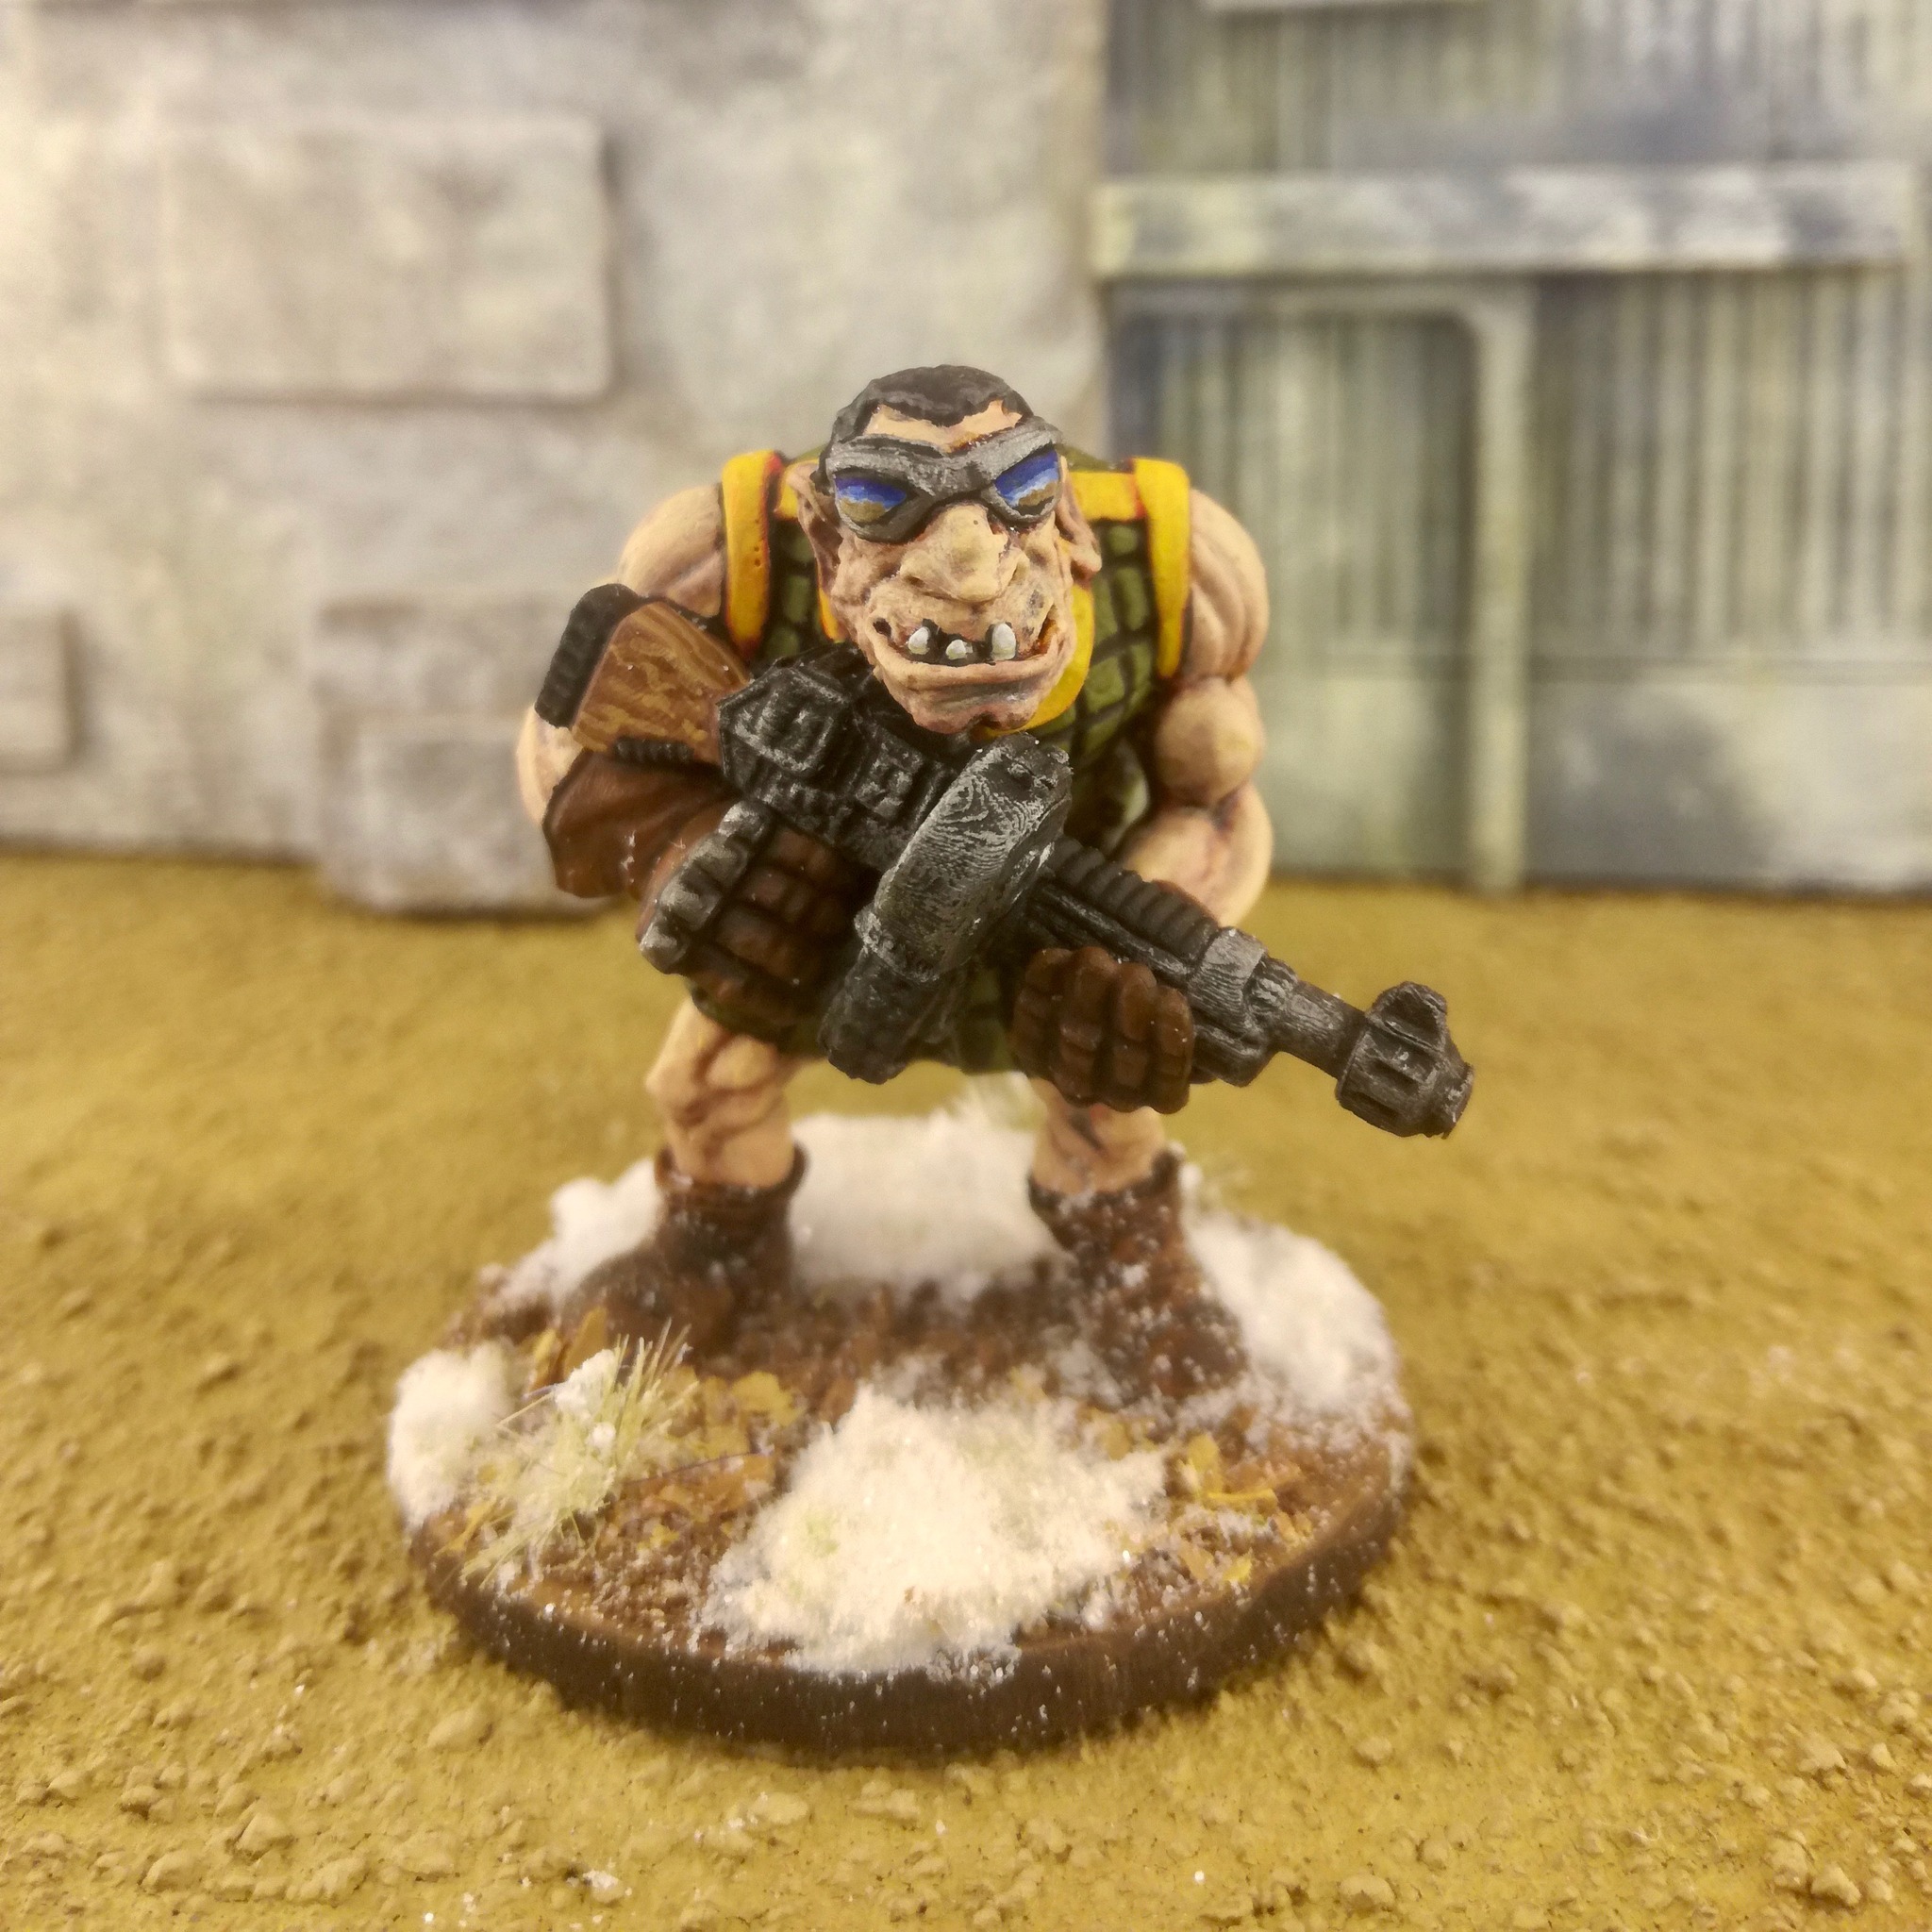
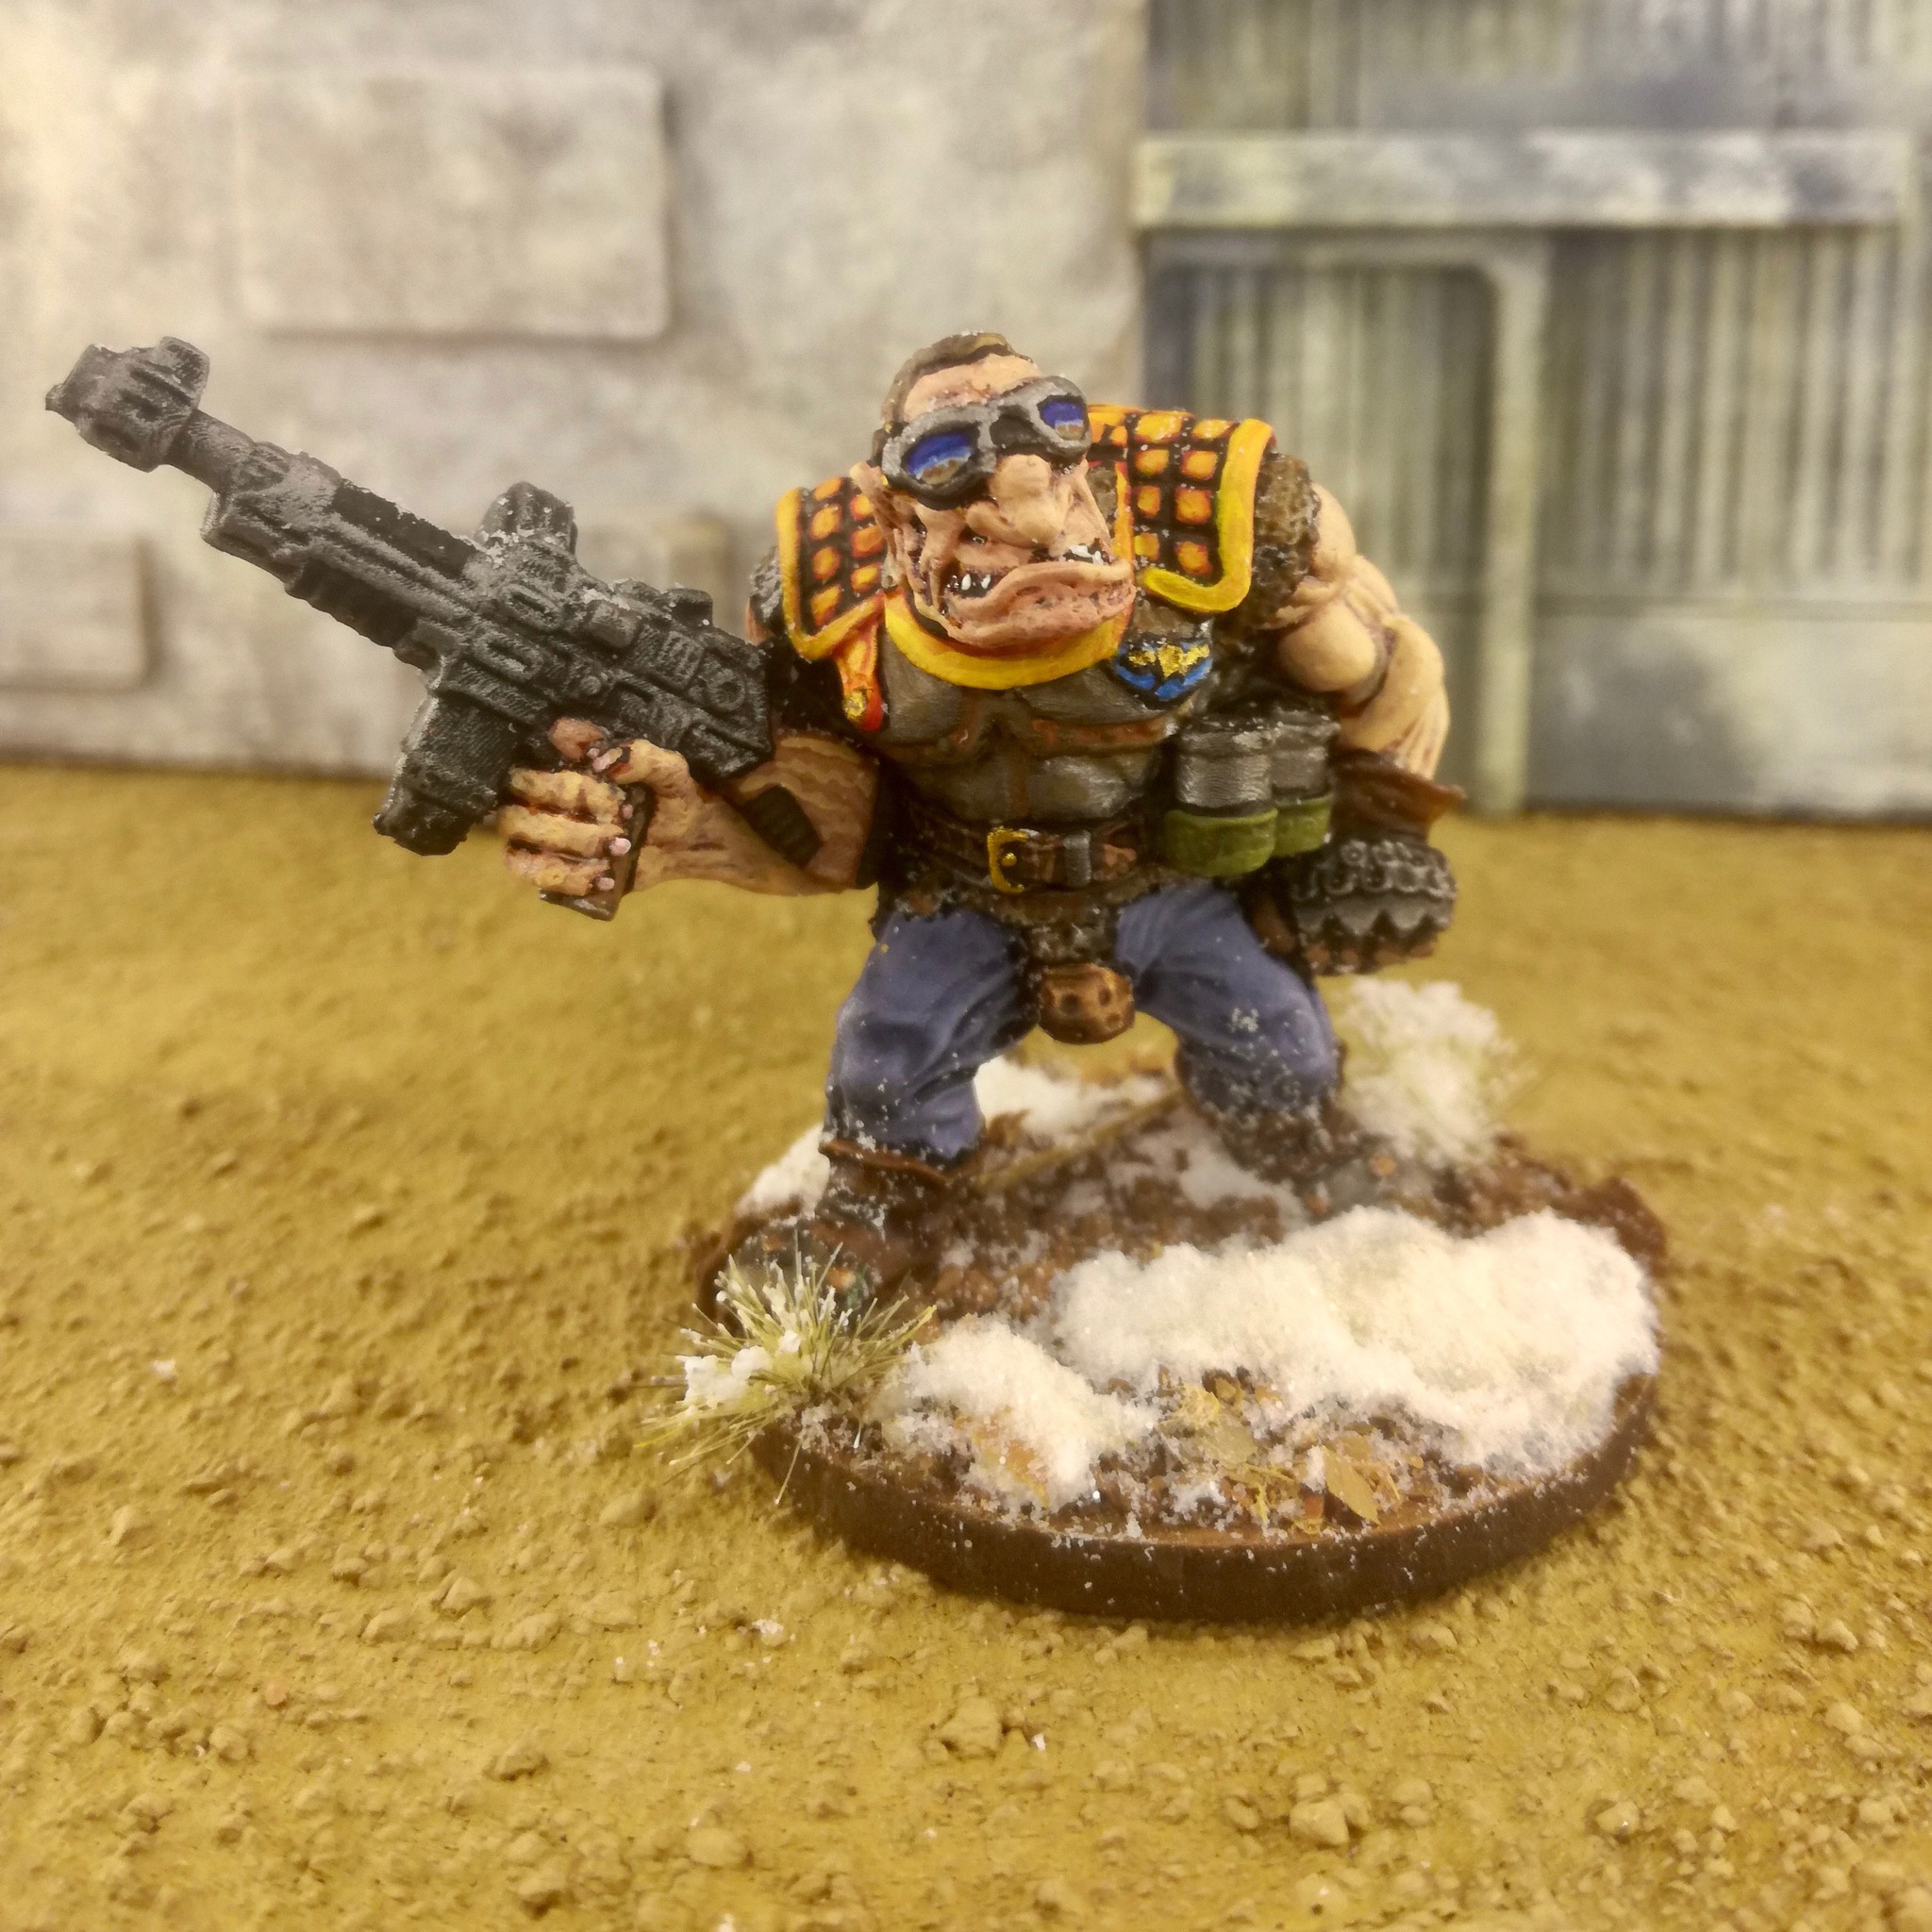
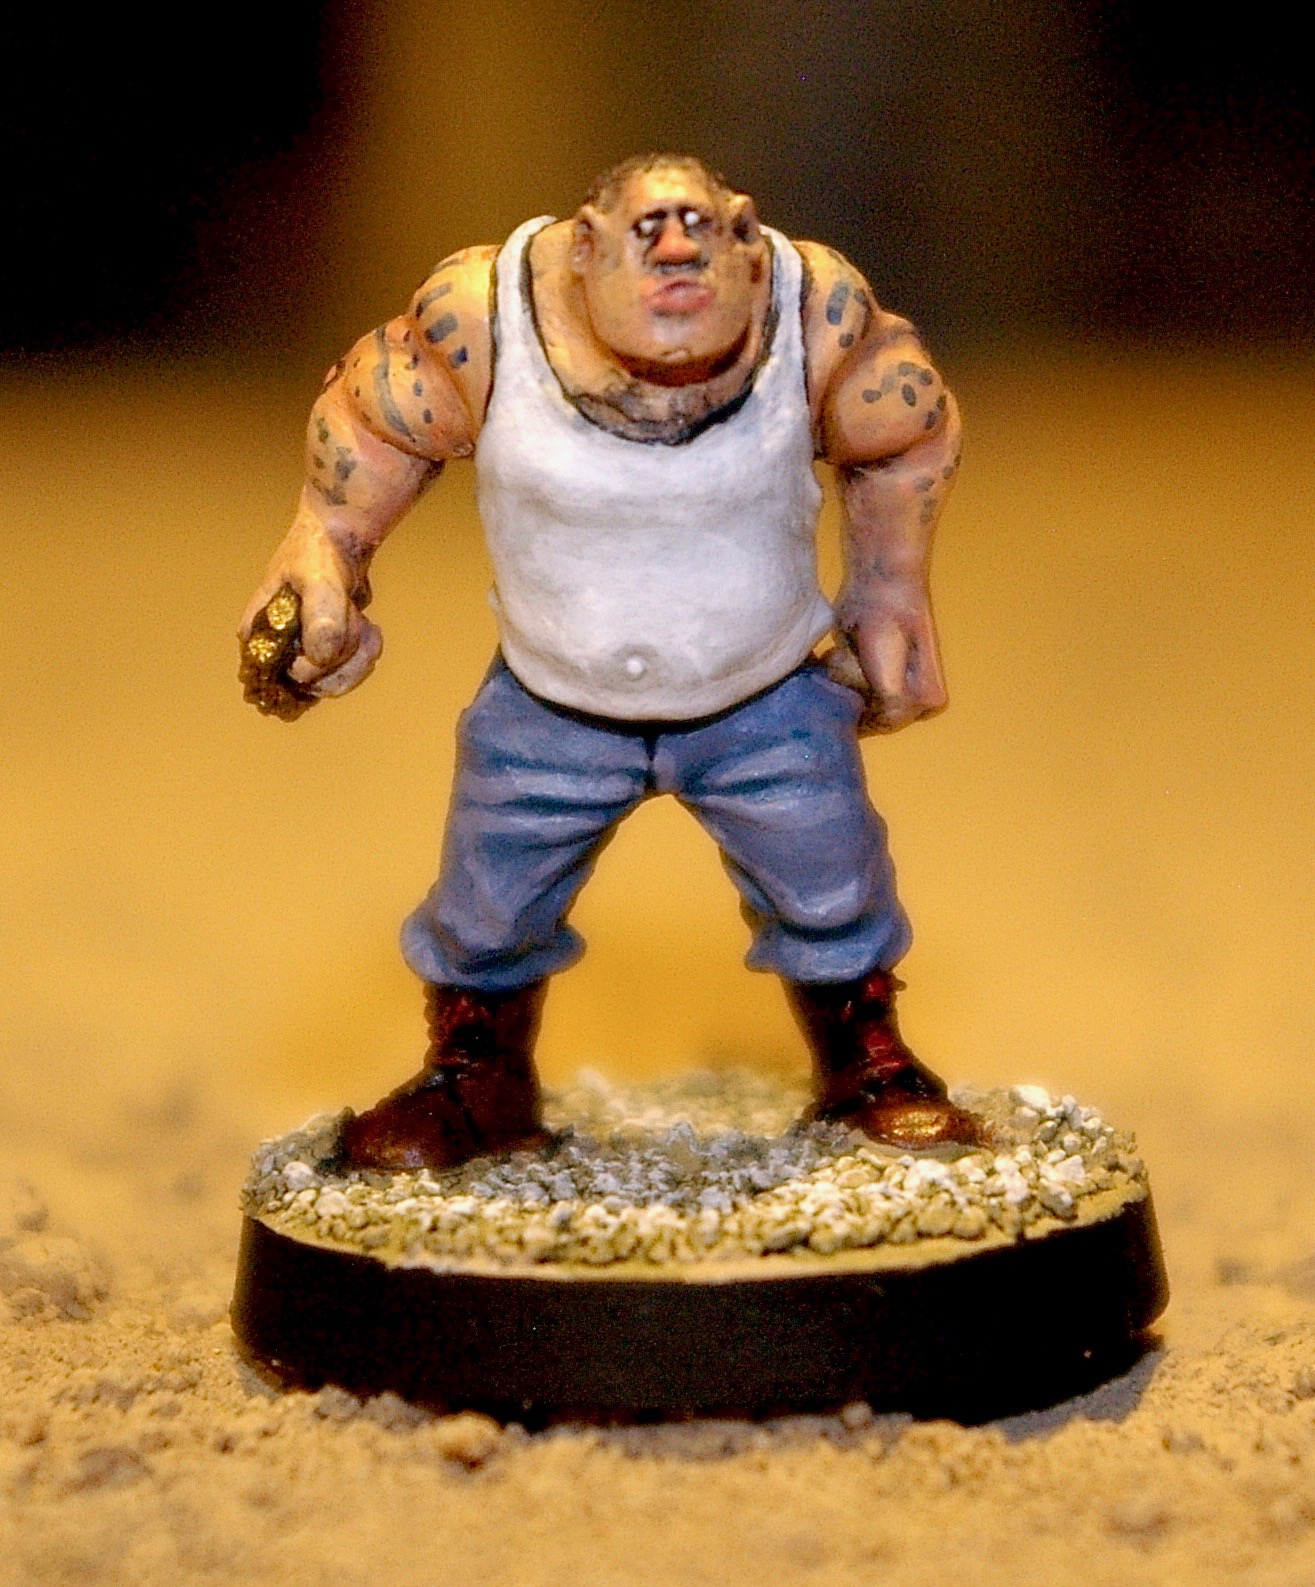
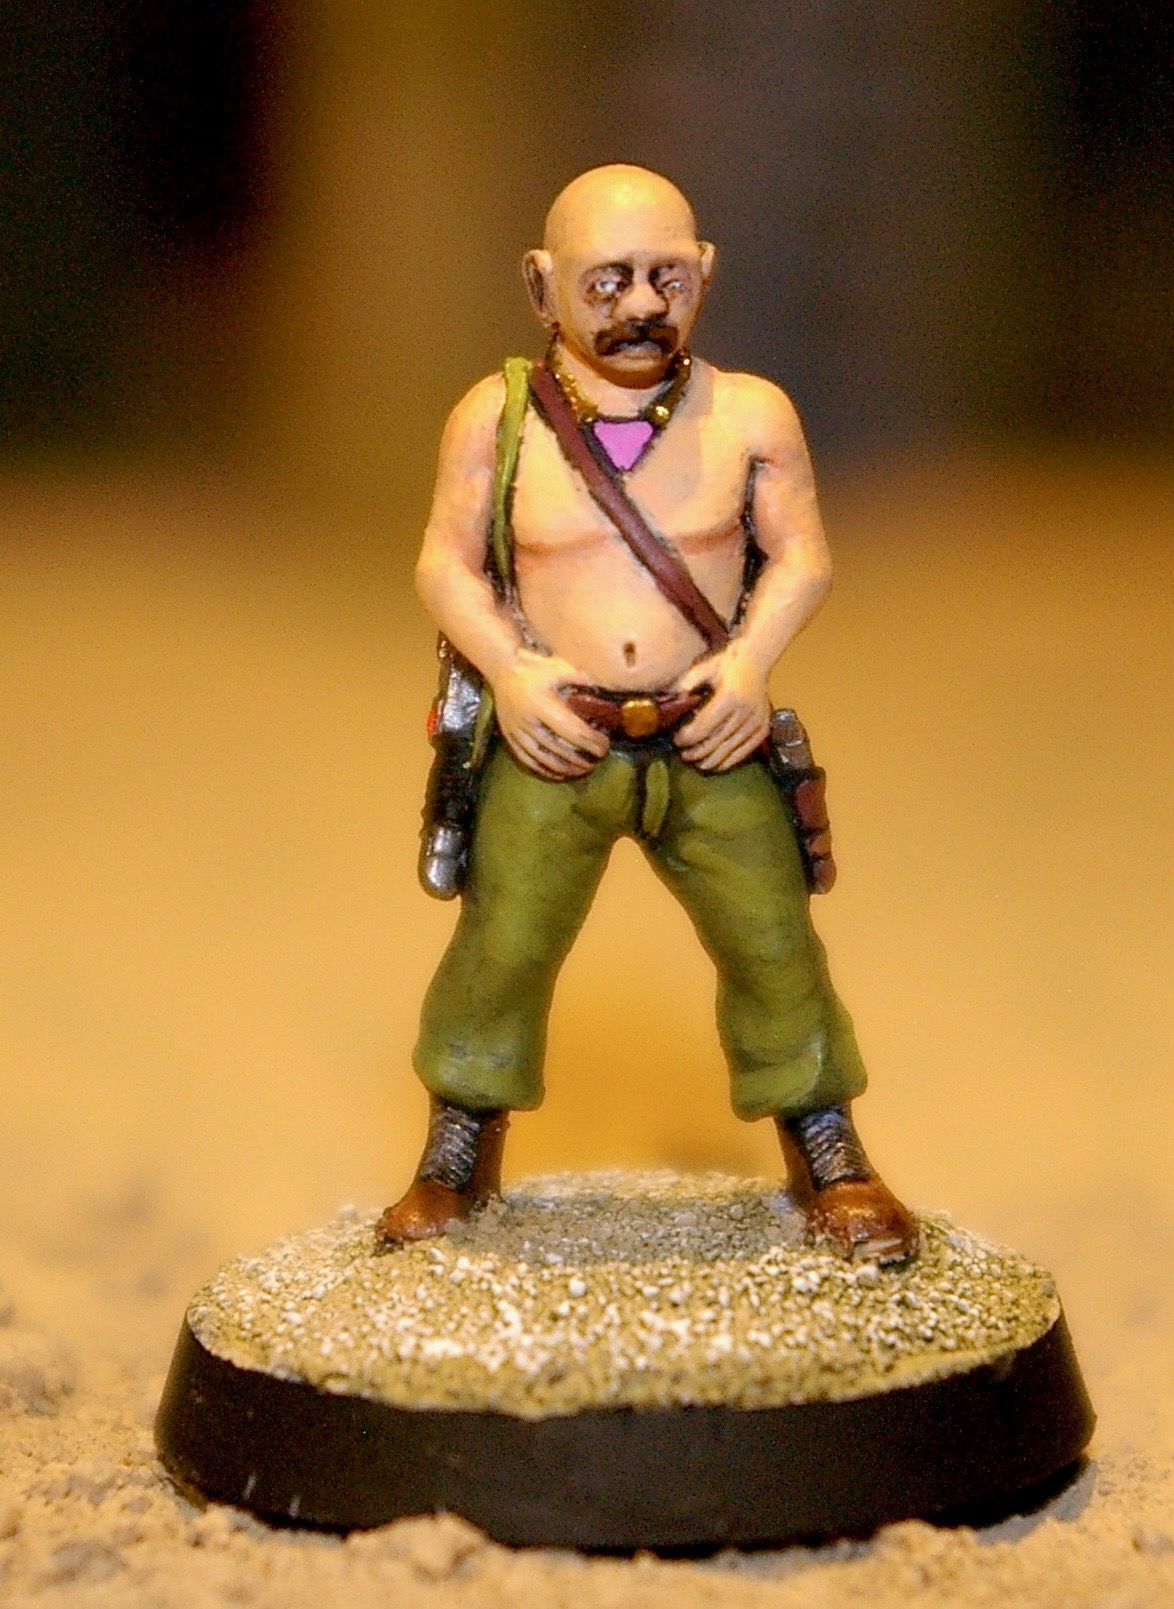
Imperial Guard Orks from Mr Modulork. These are supposed to be Grotz but by the time I had printed them I realised they were too big.
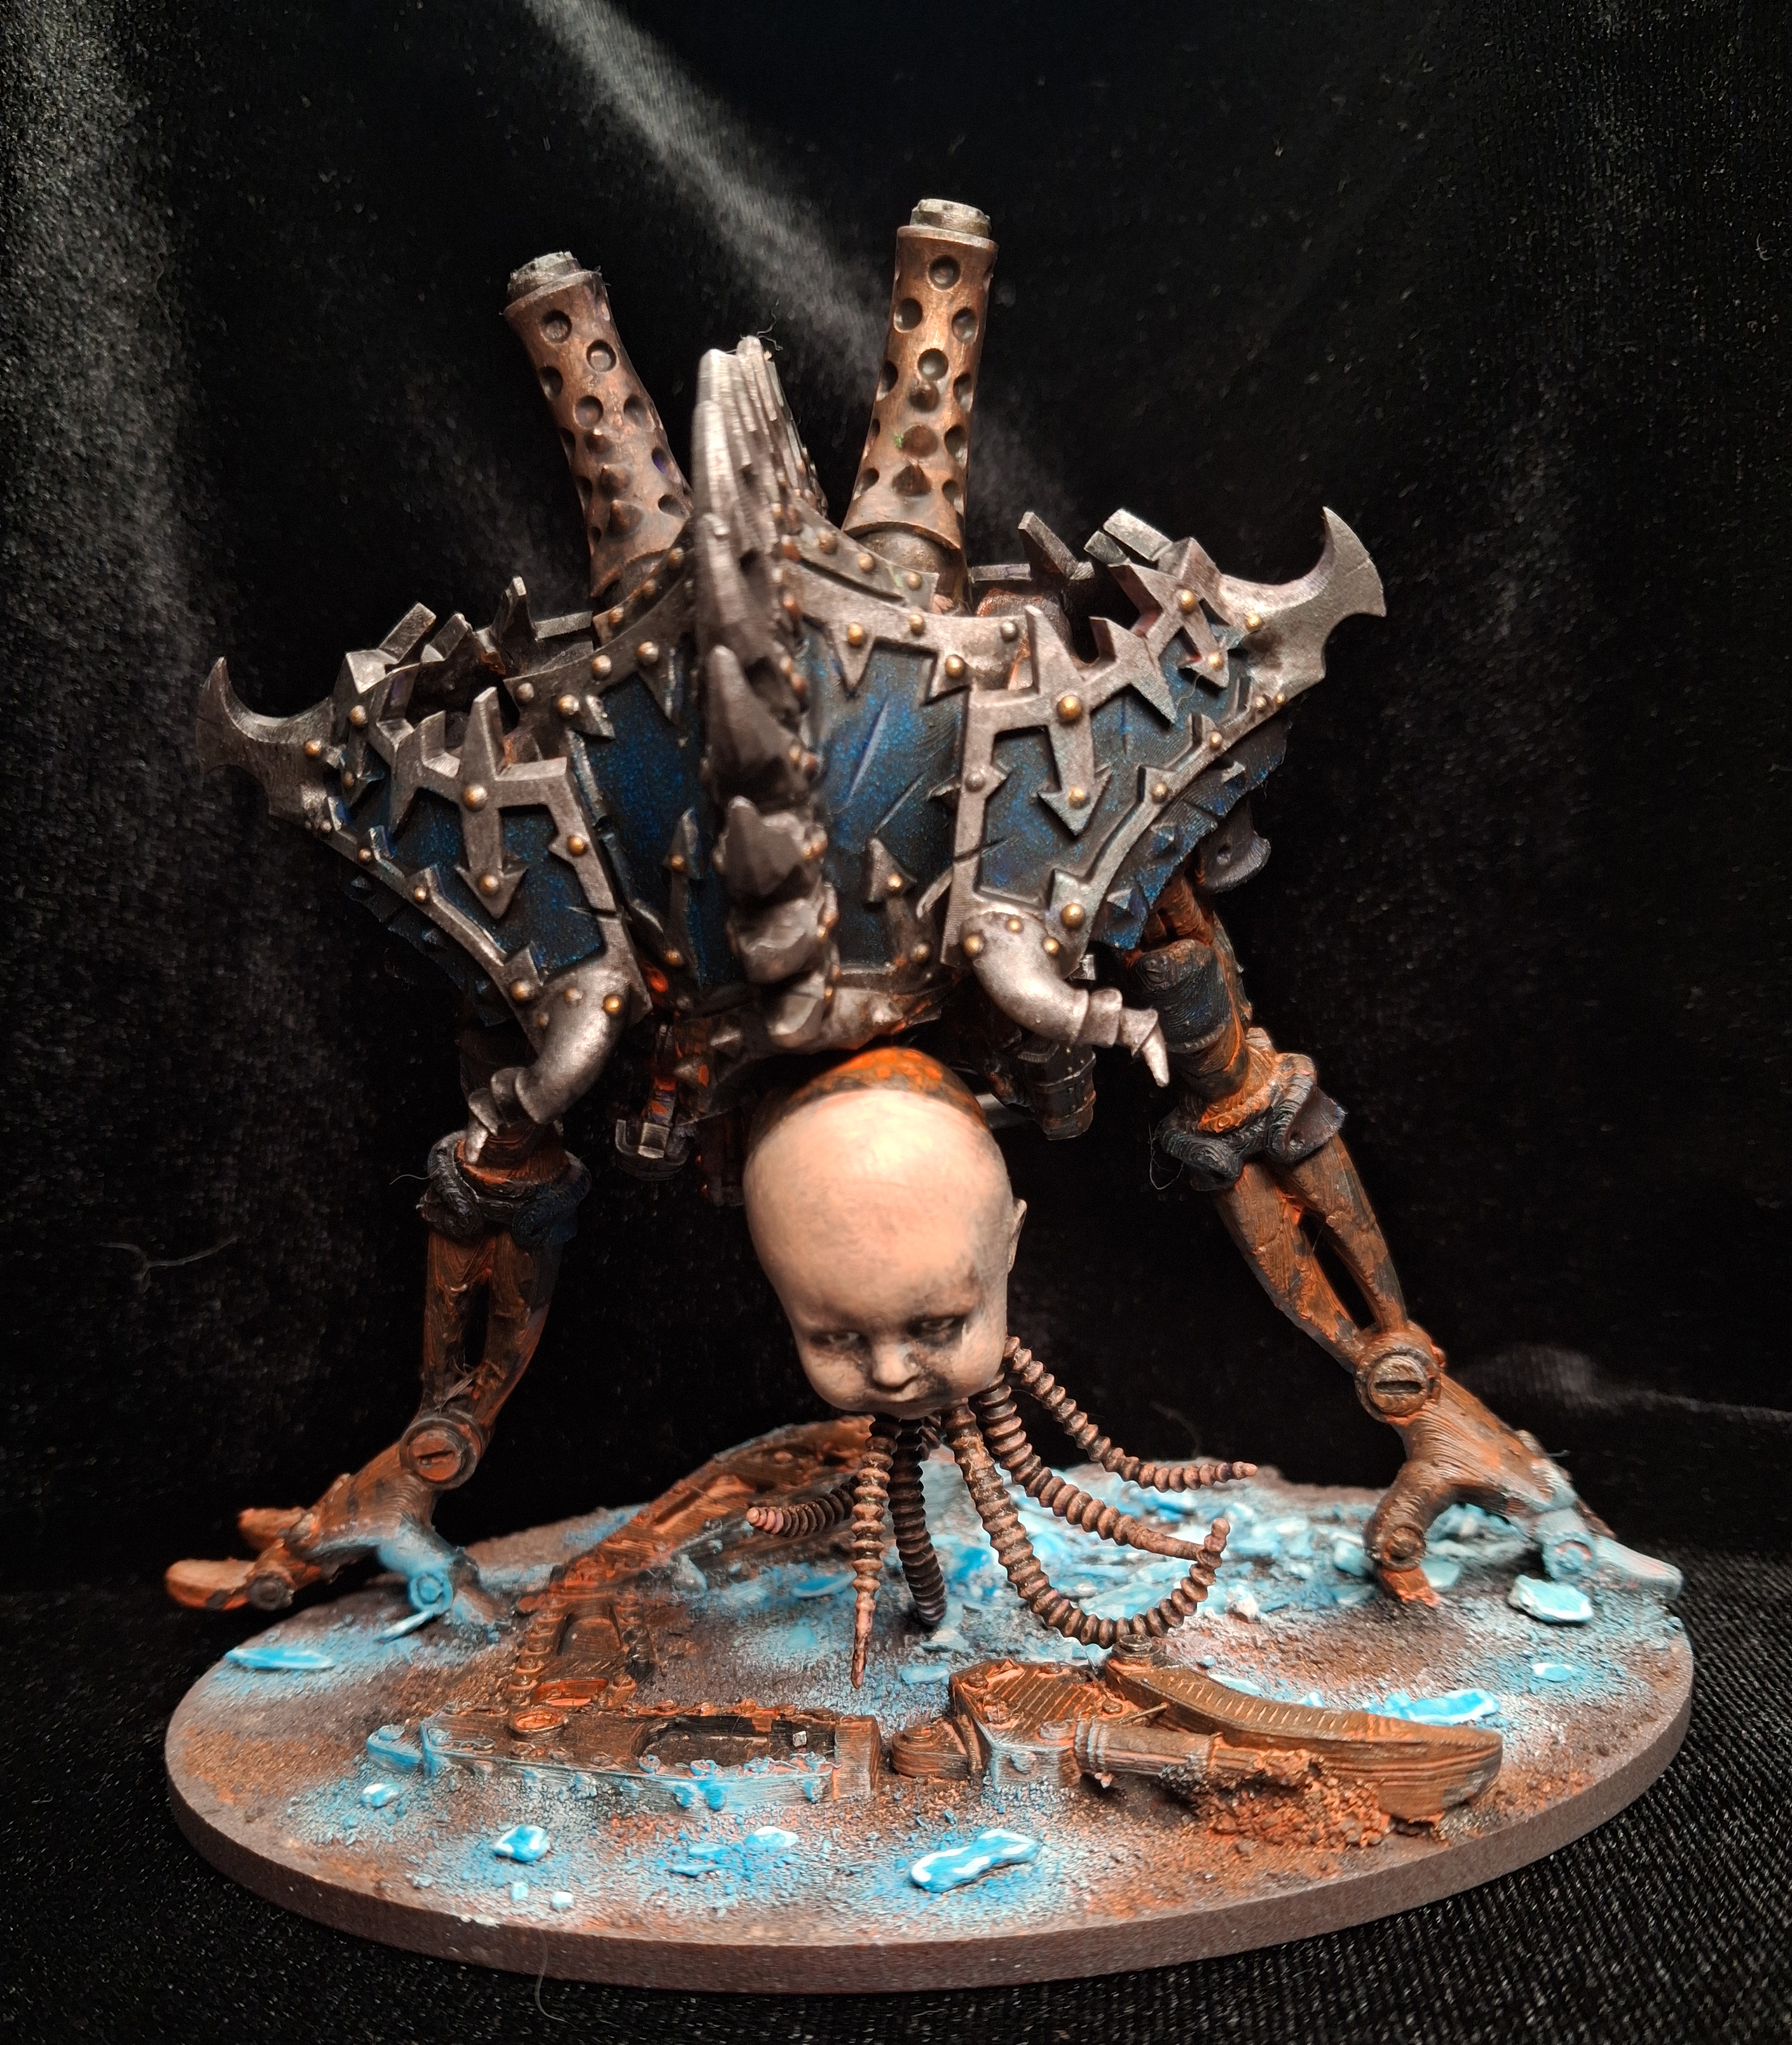
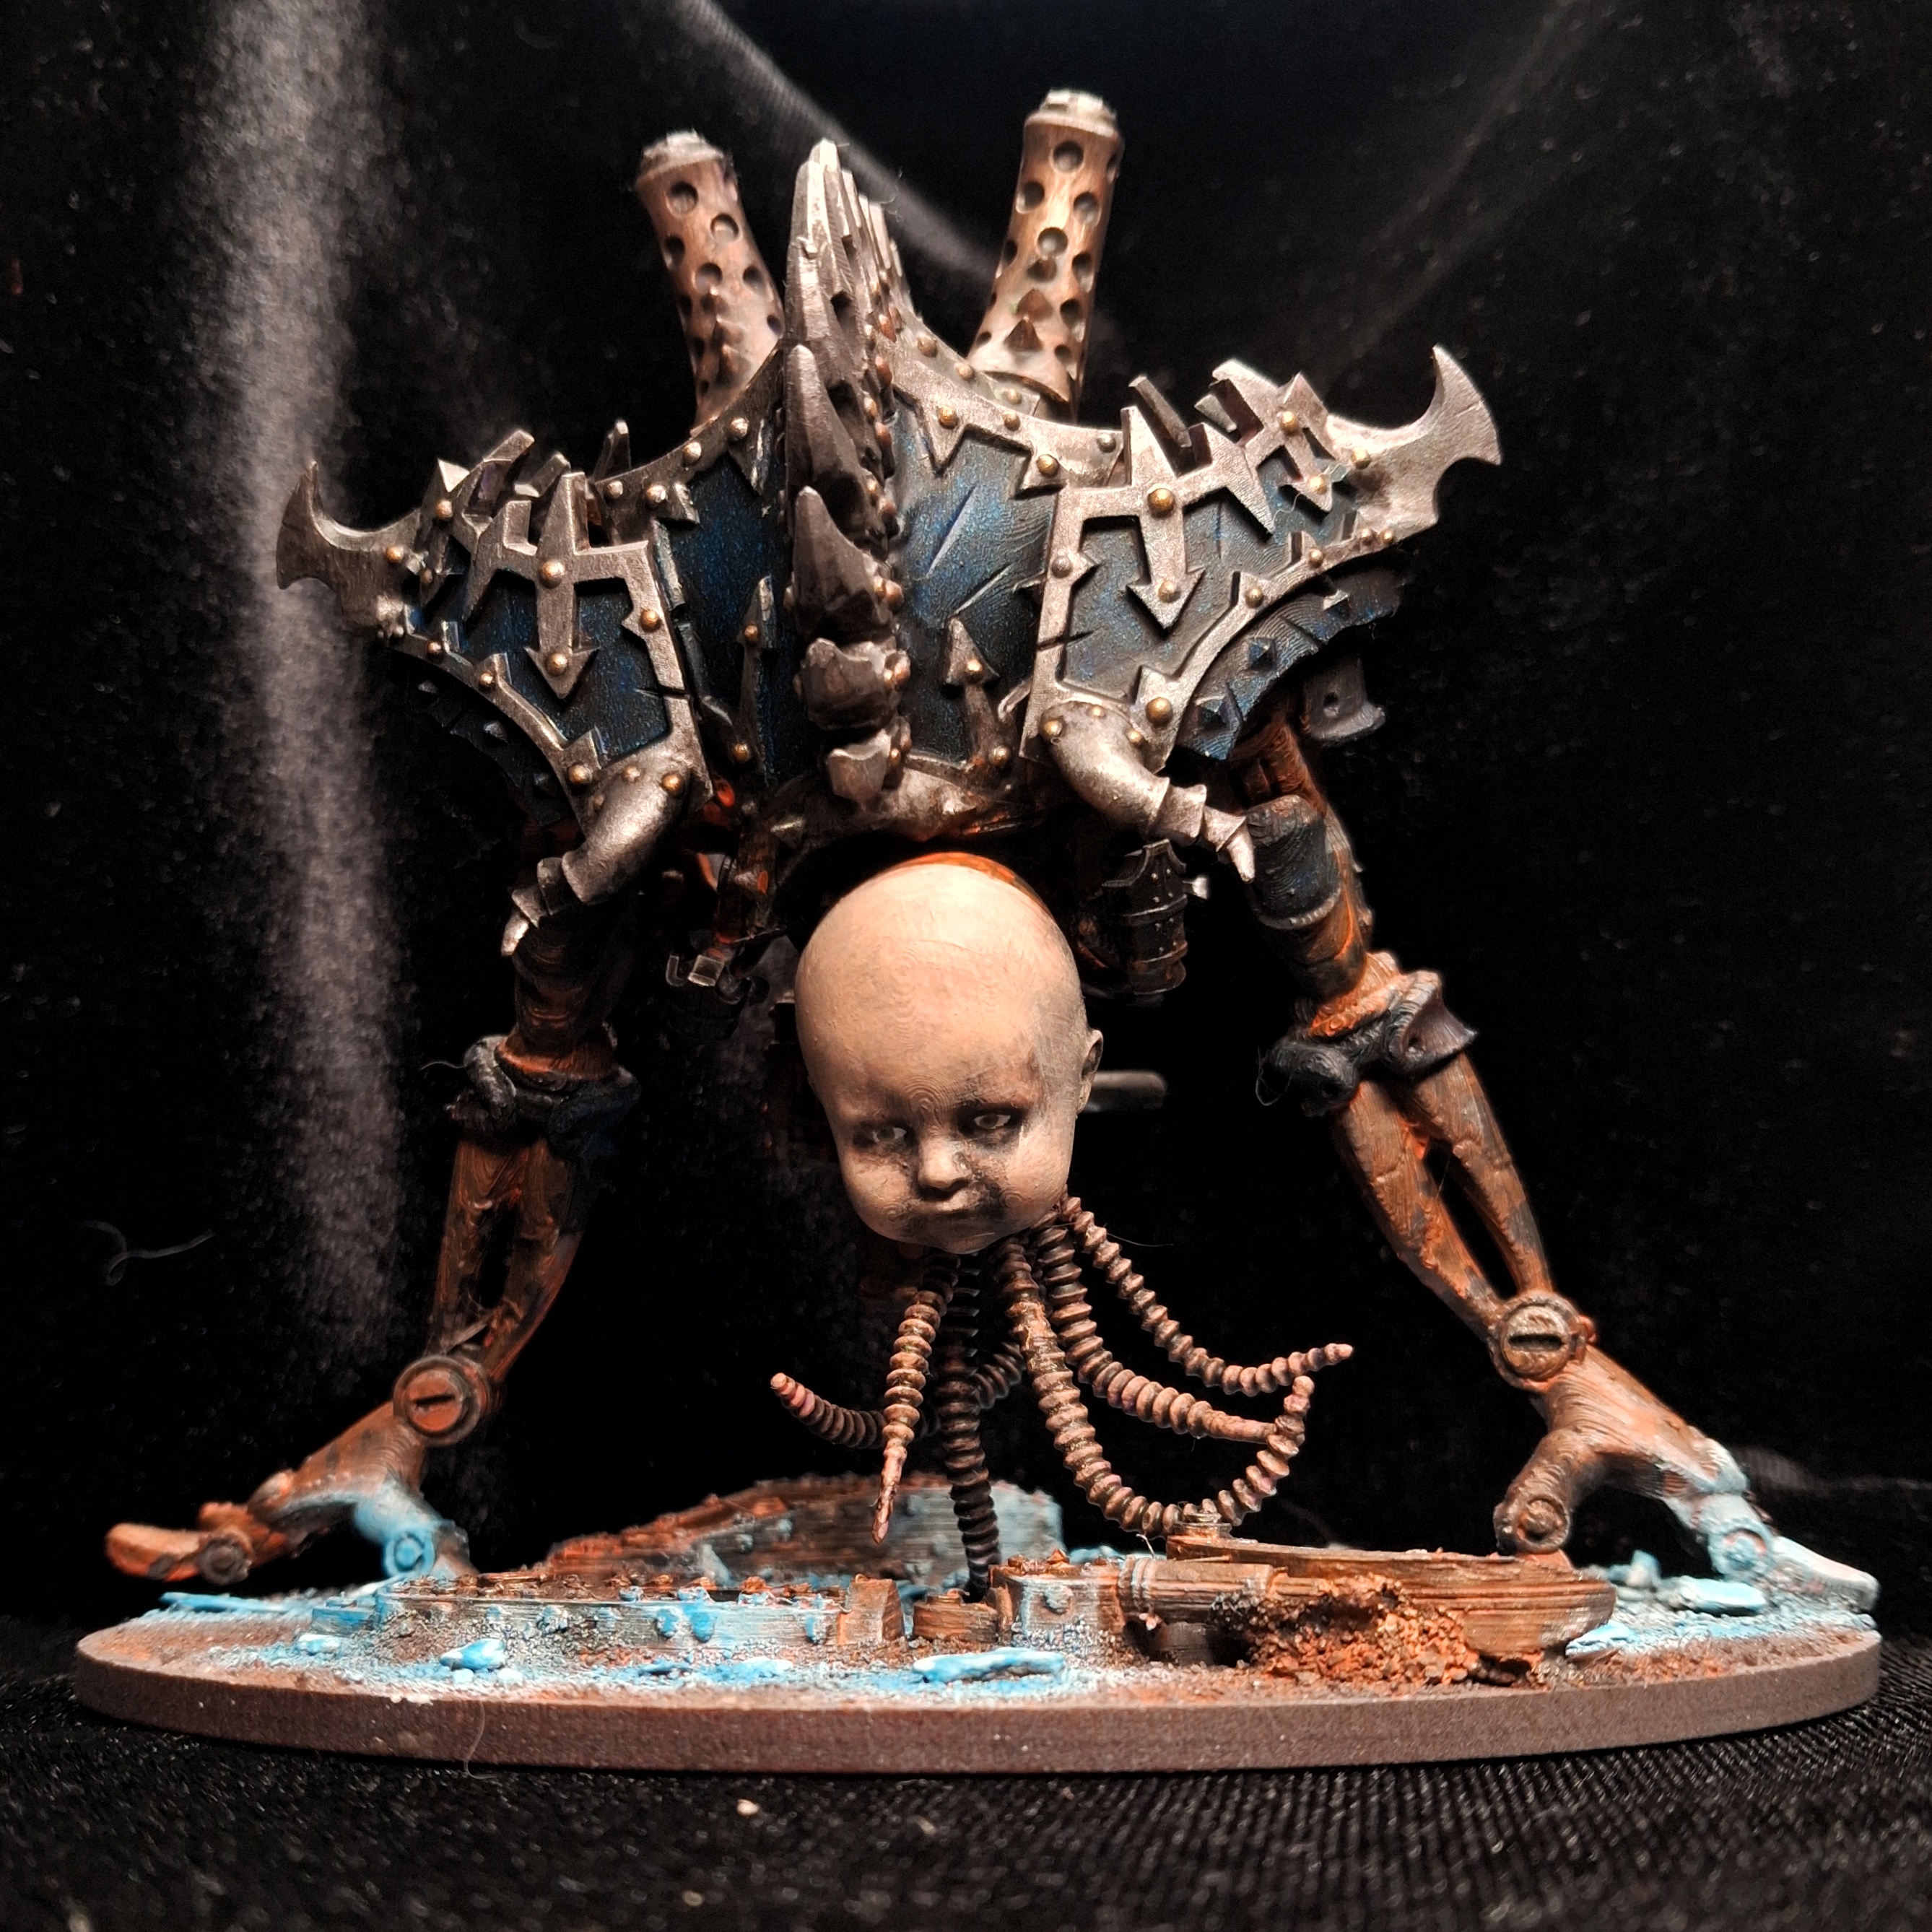
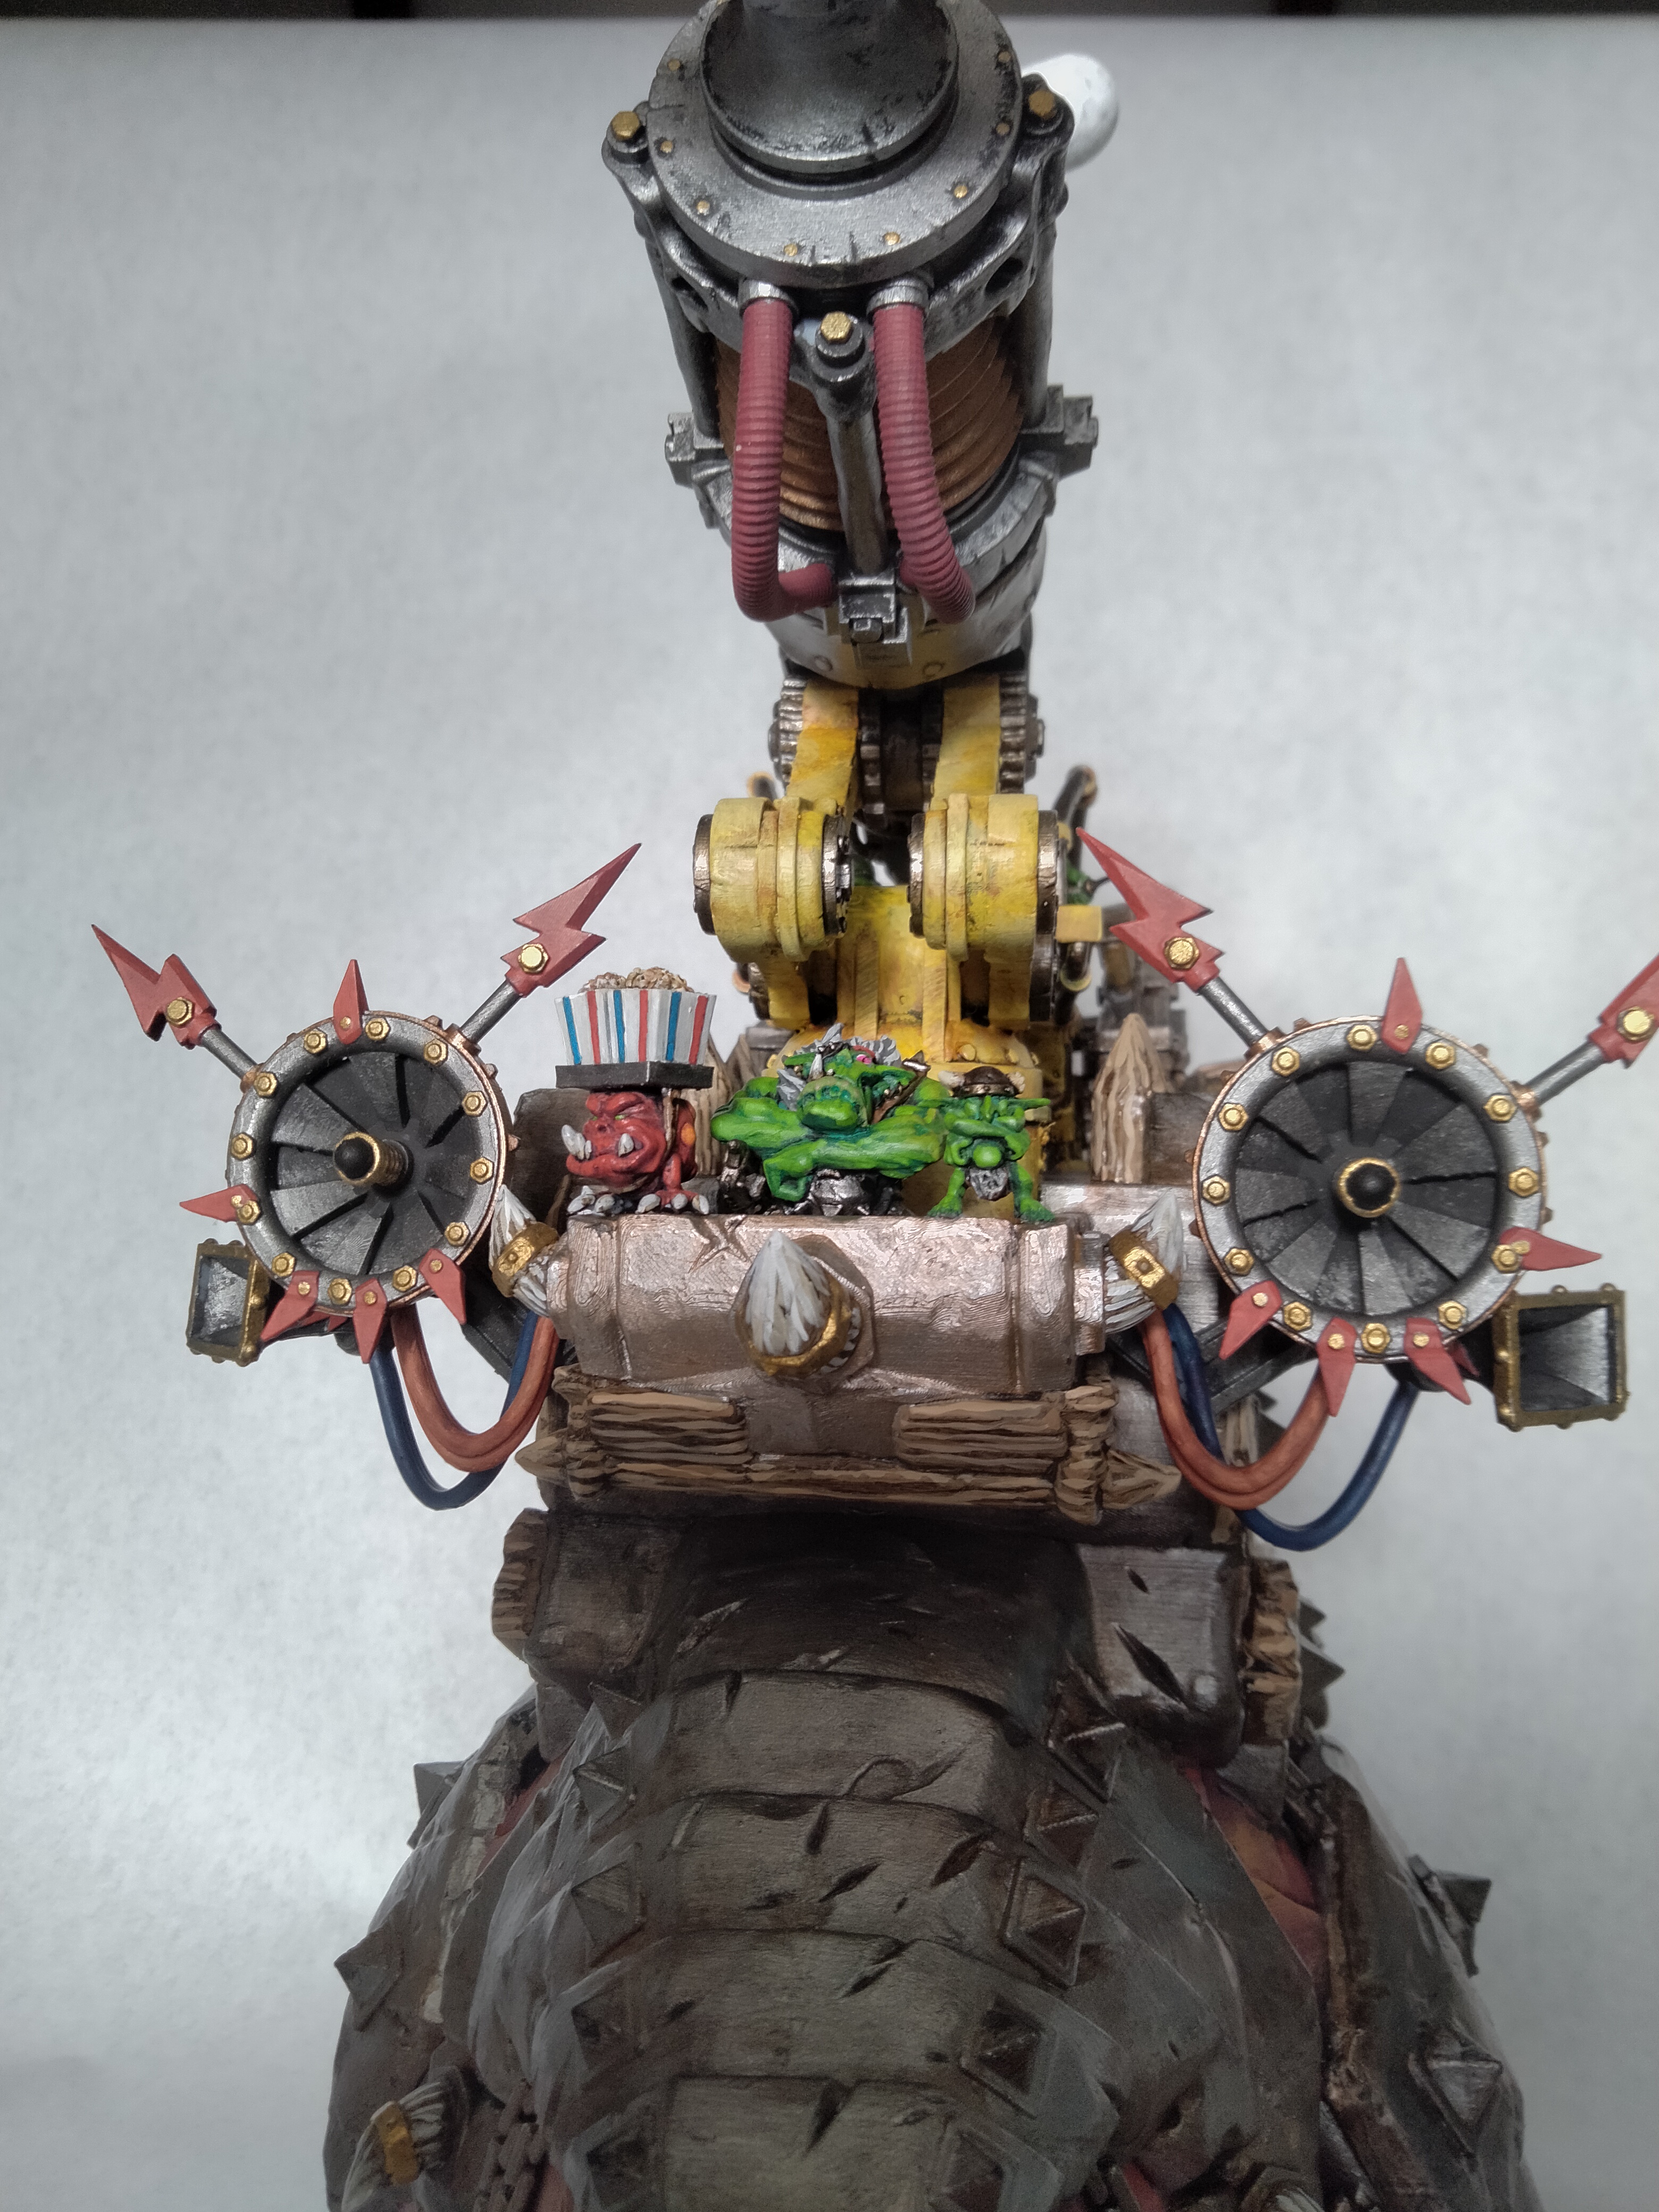
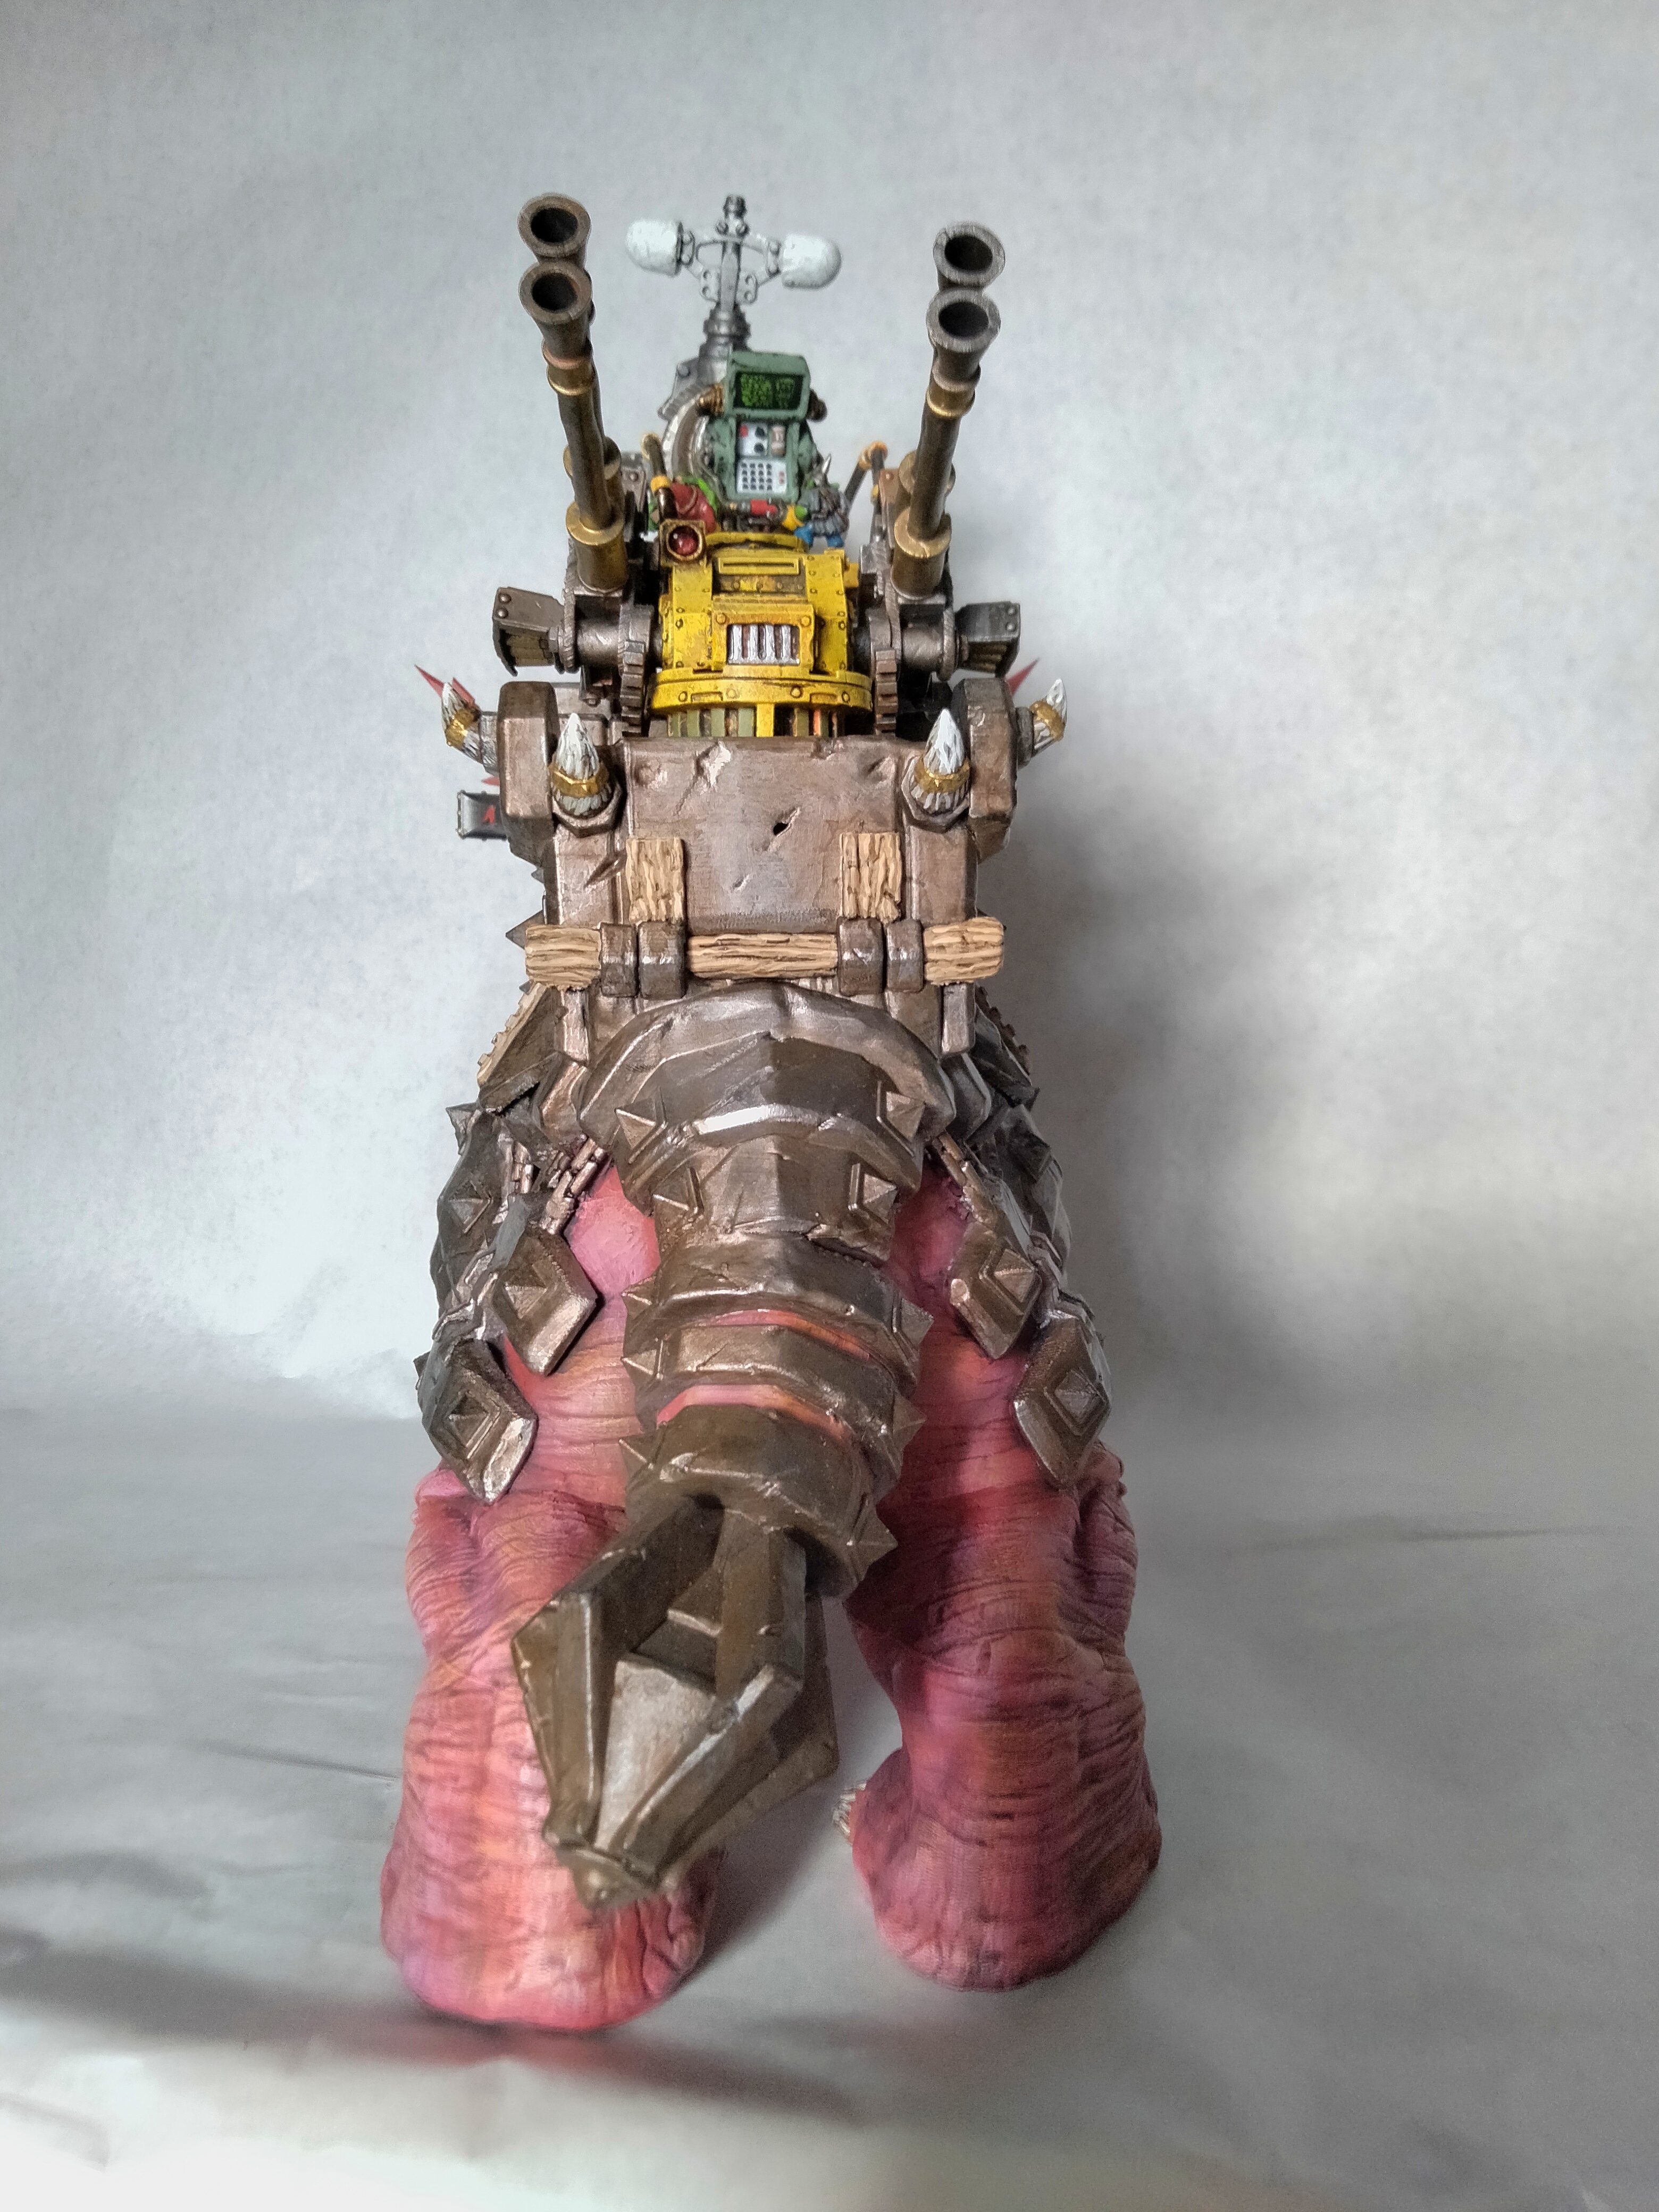
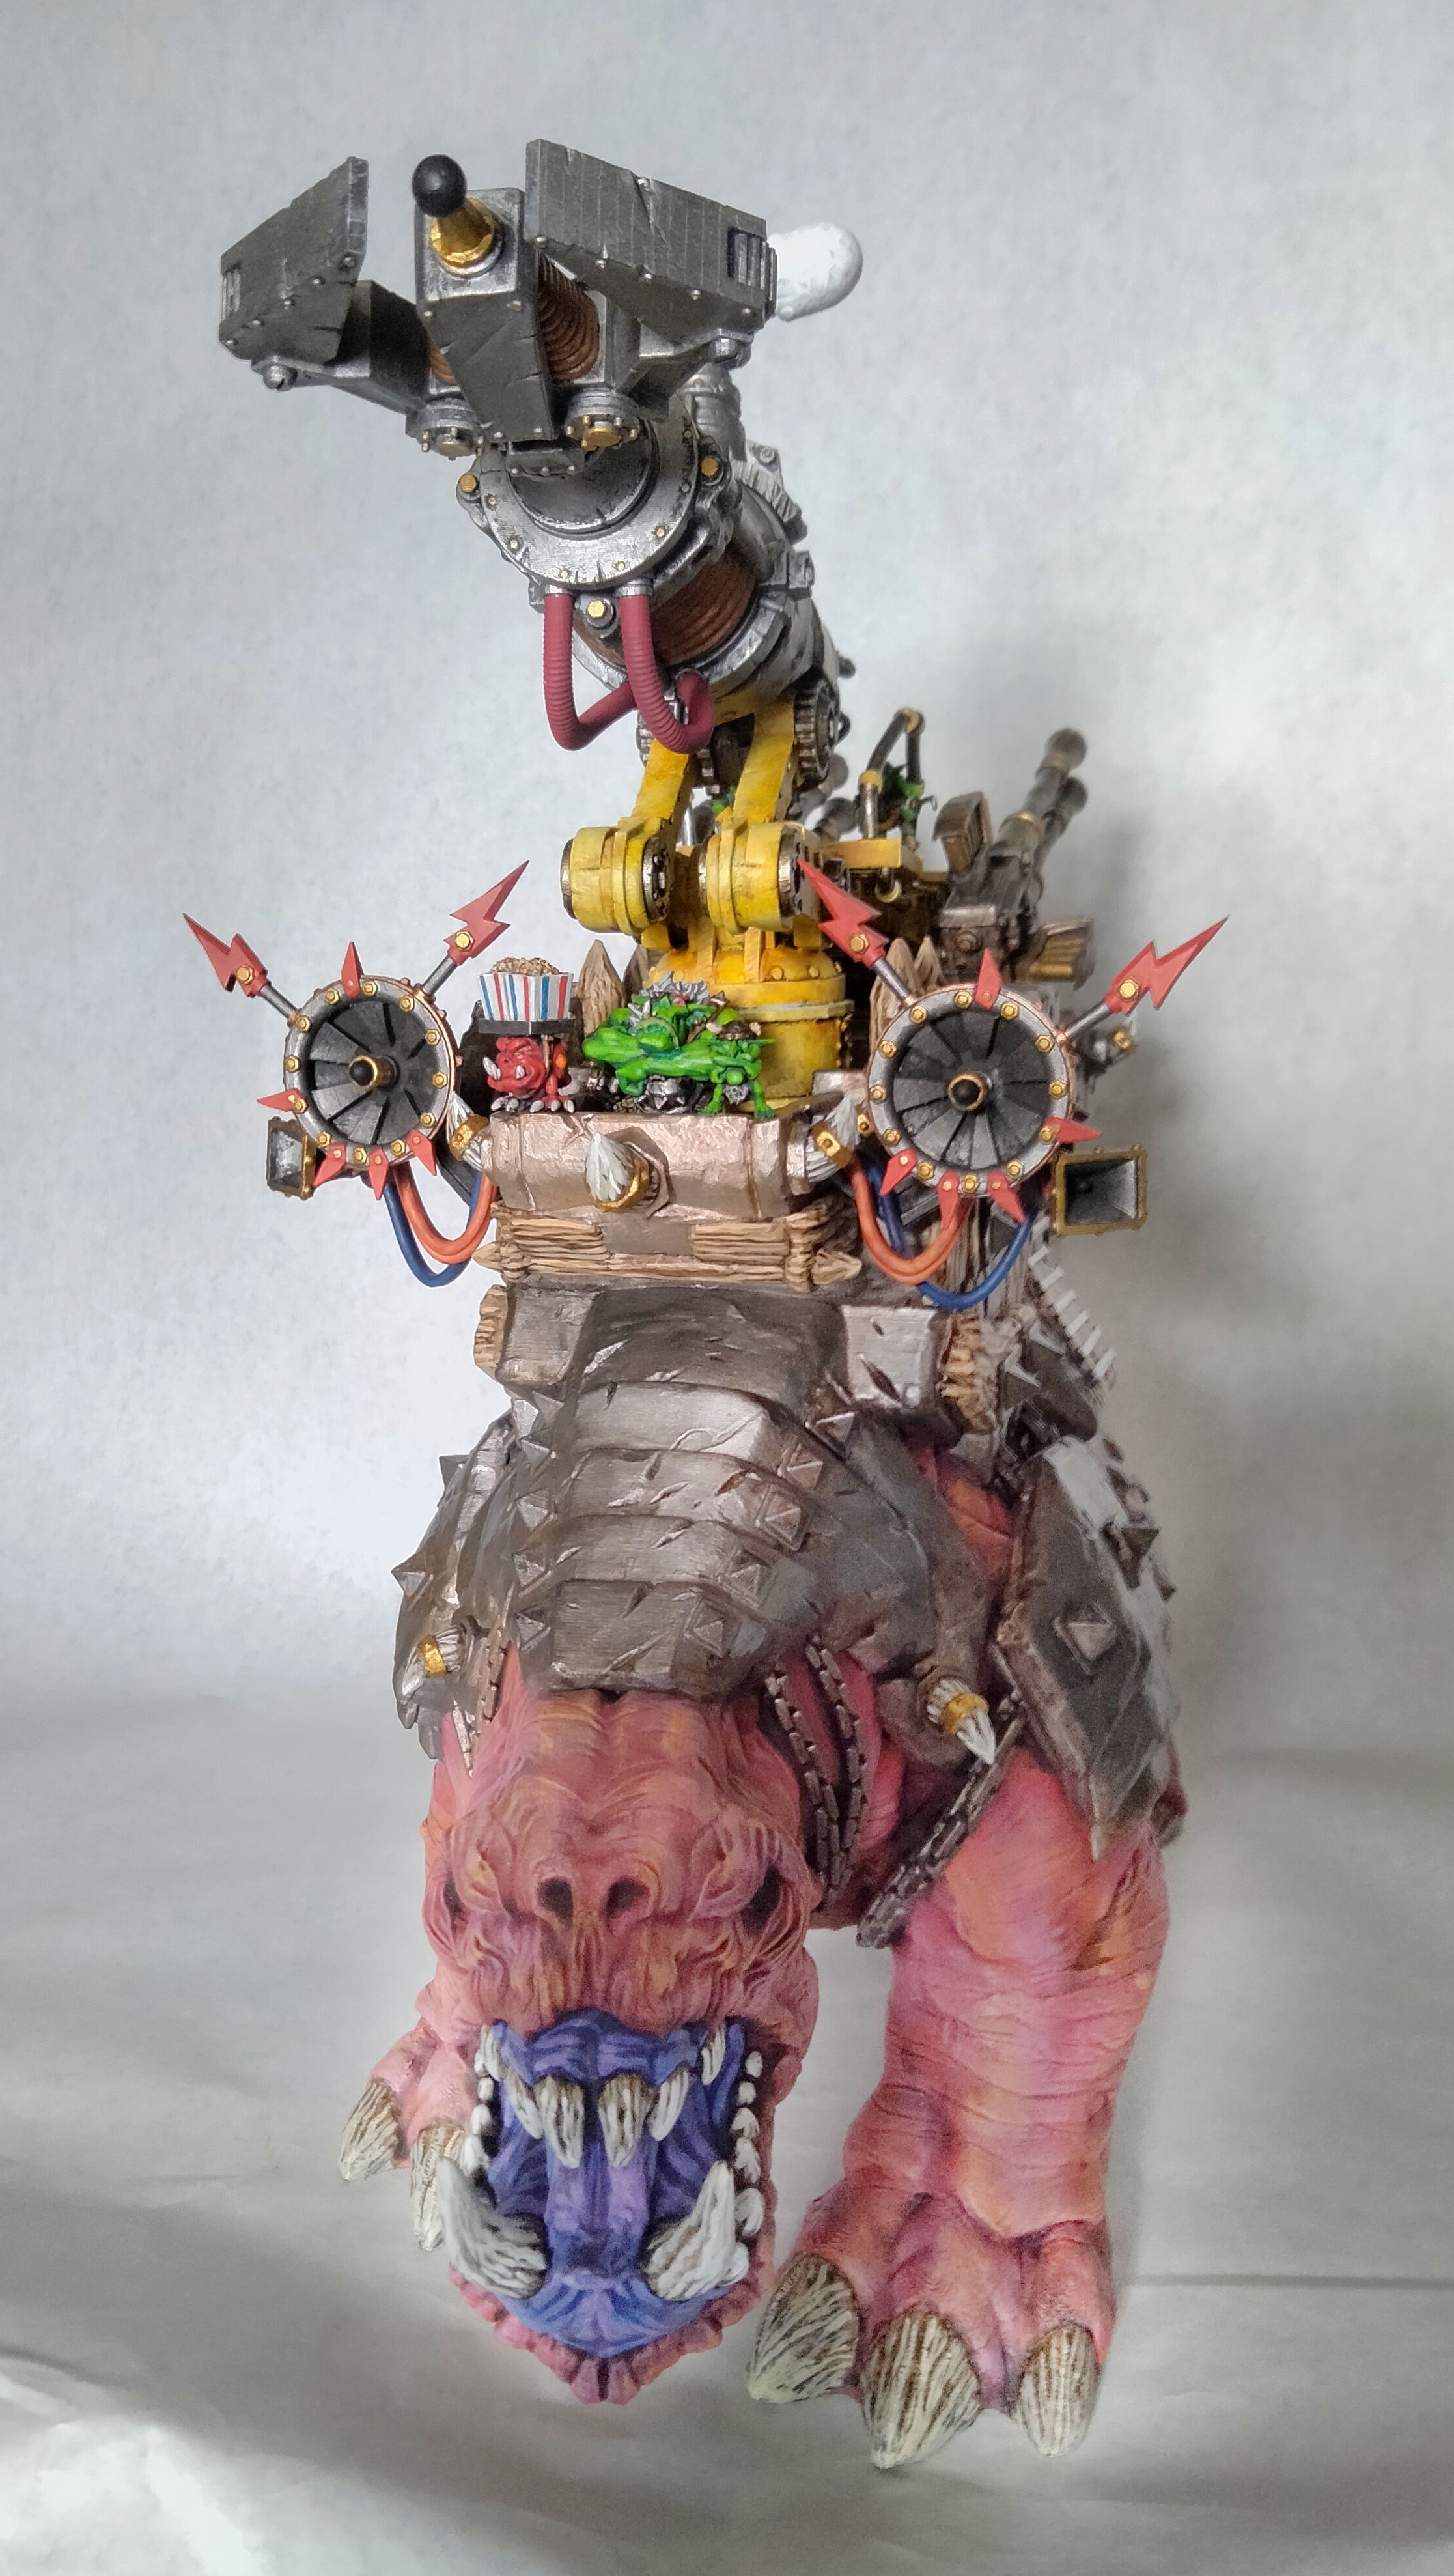
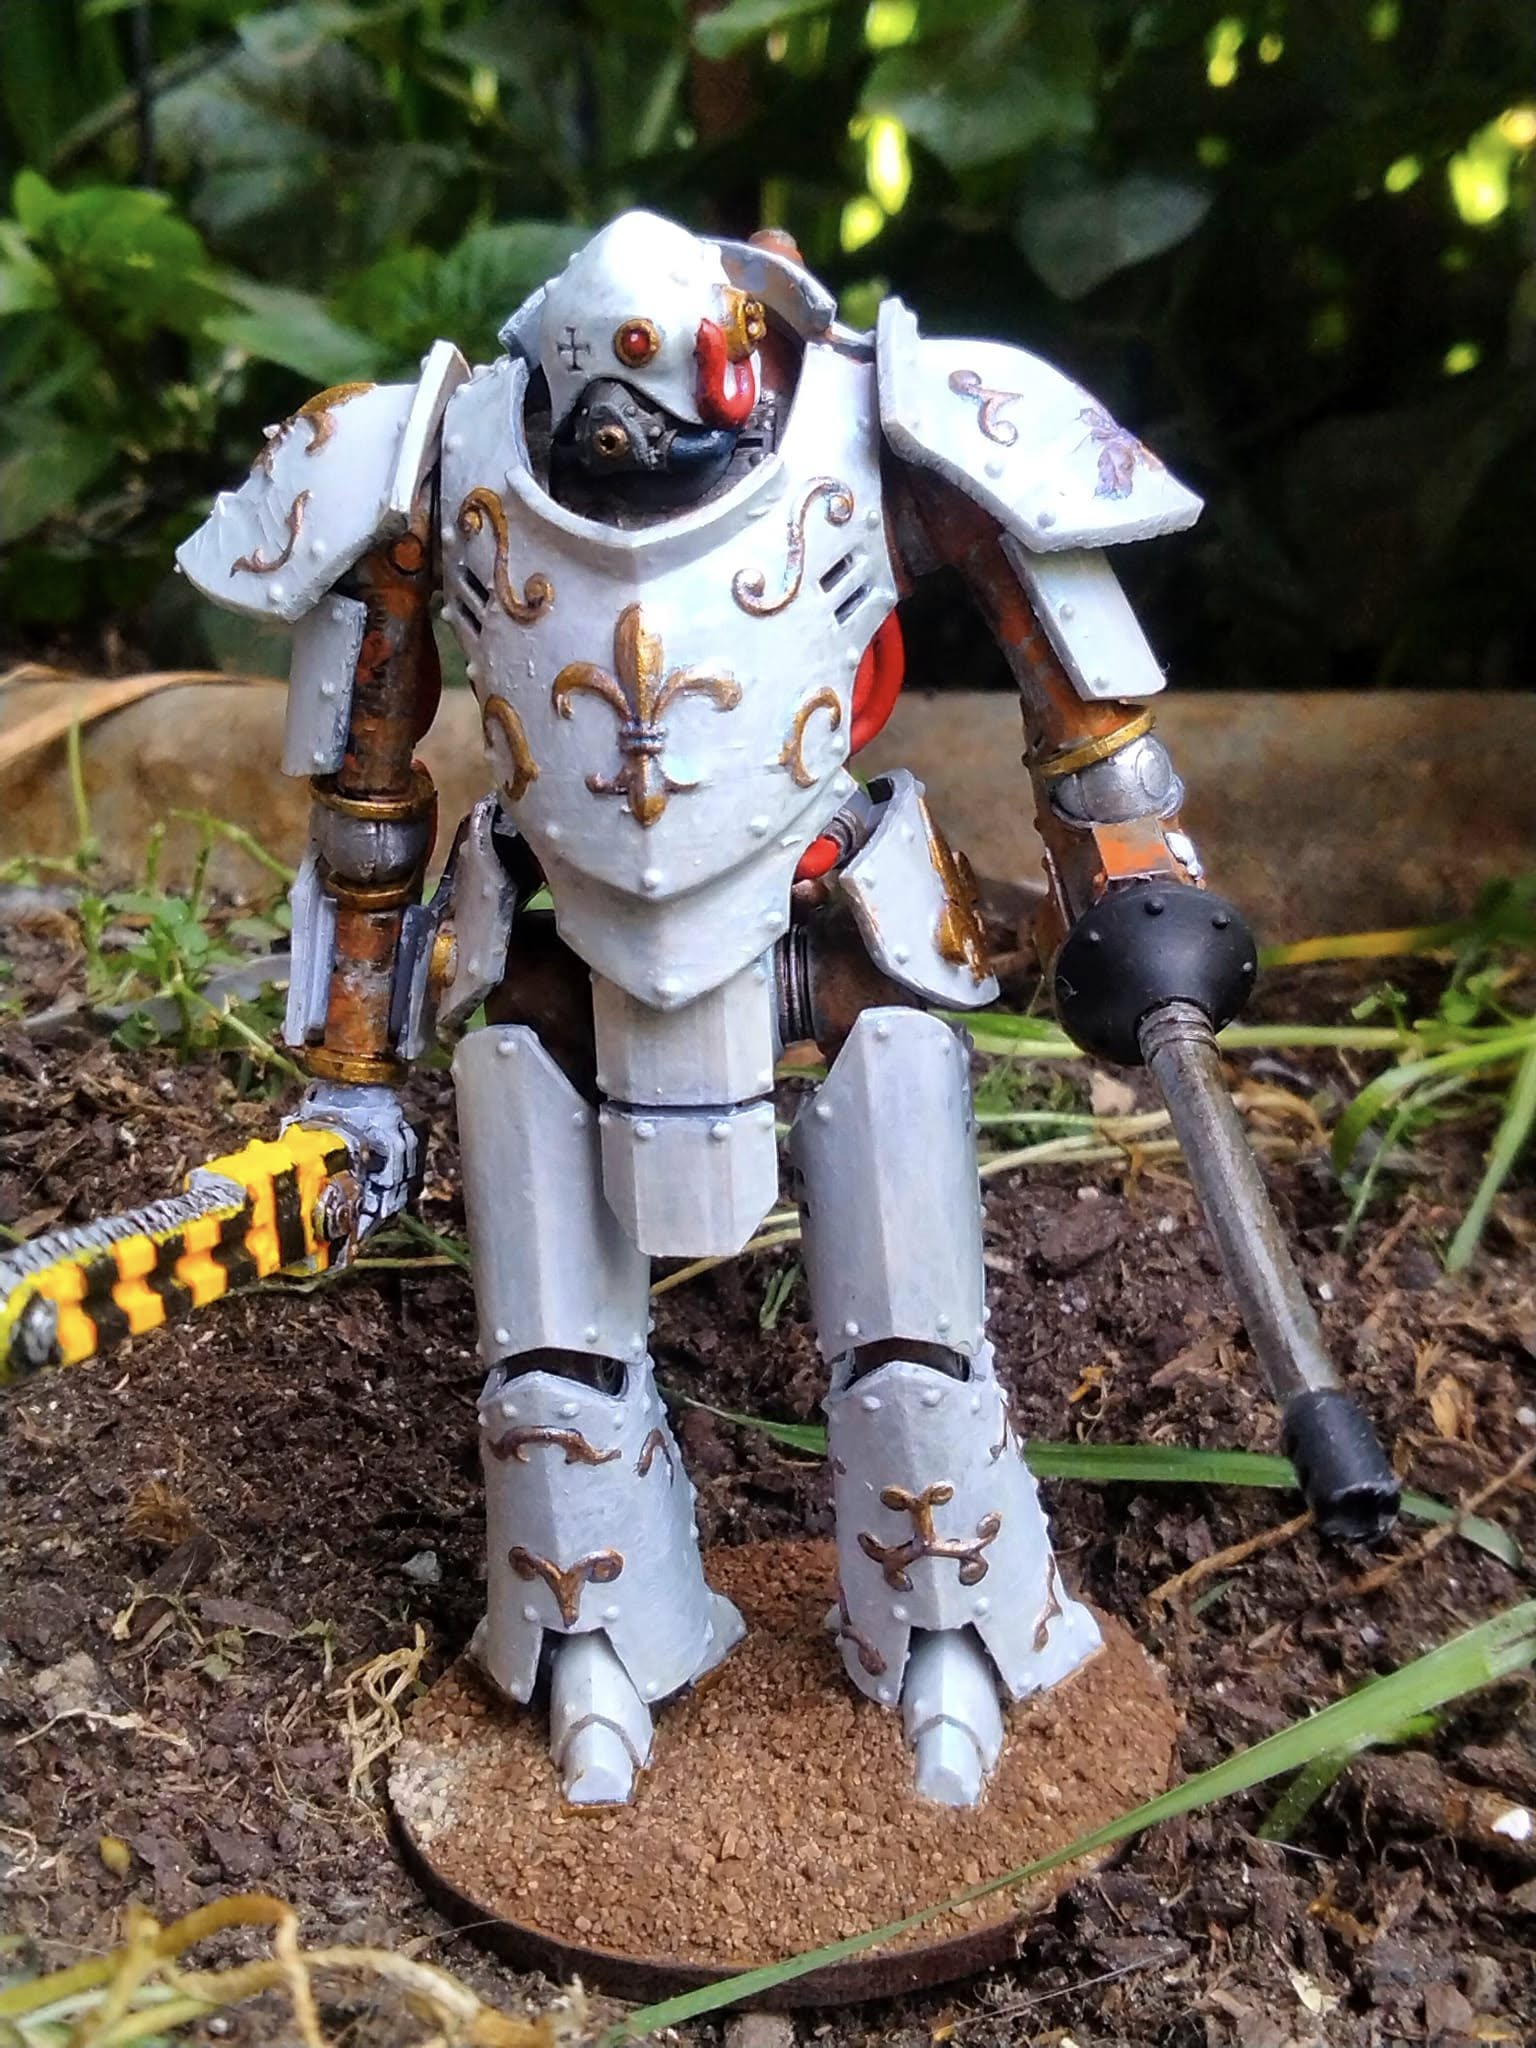
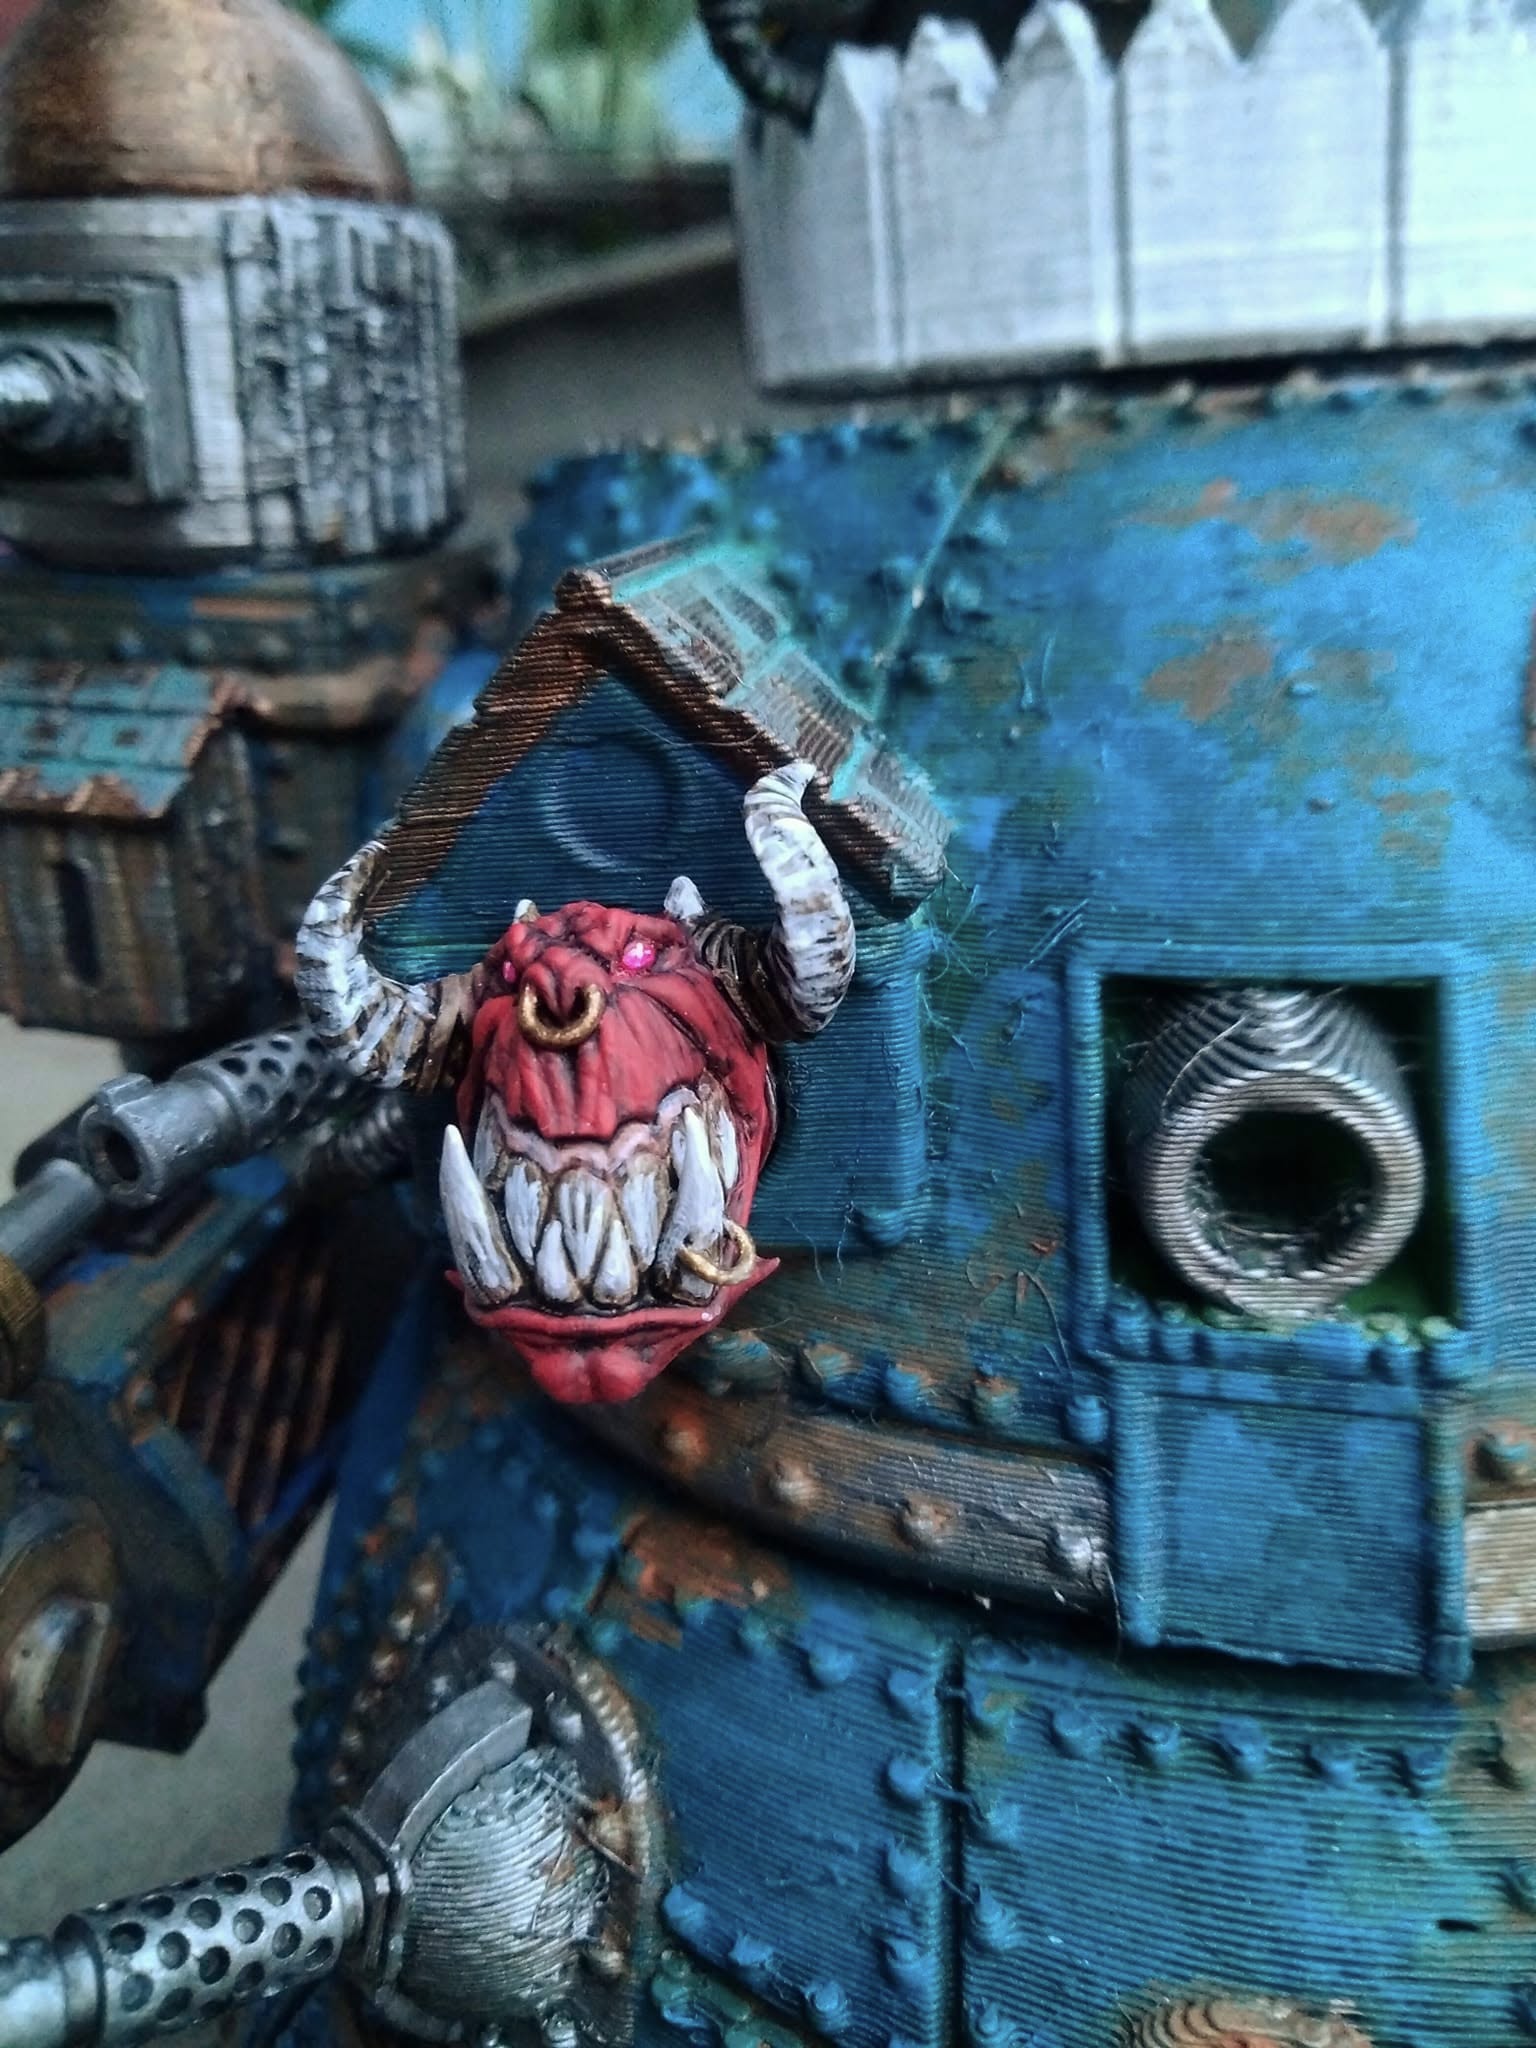
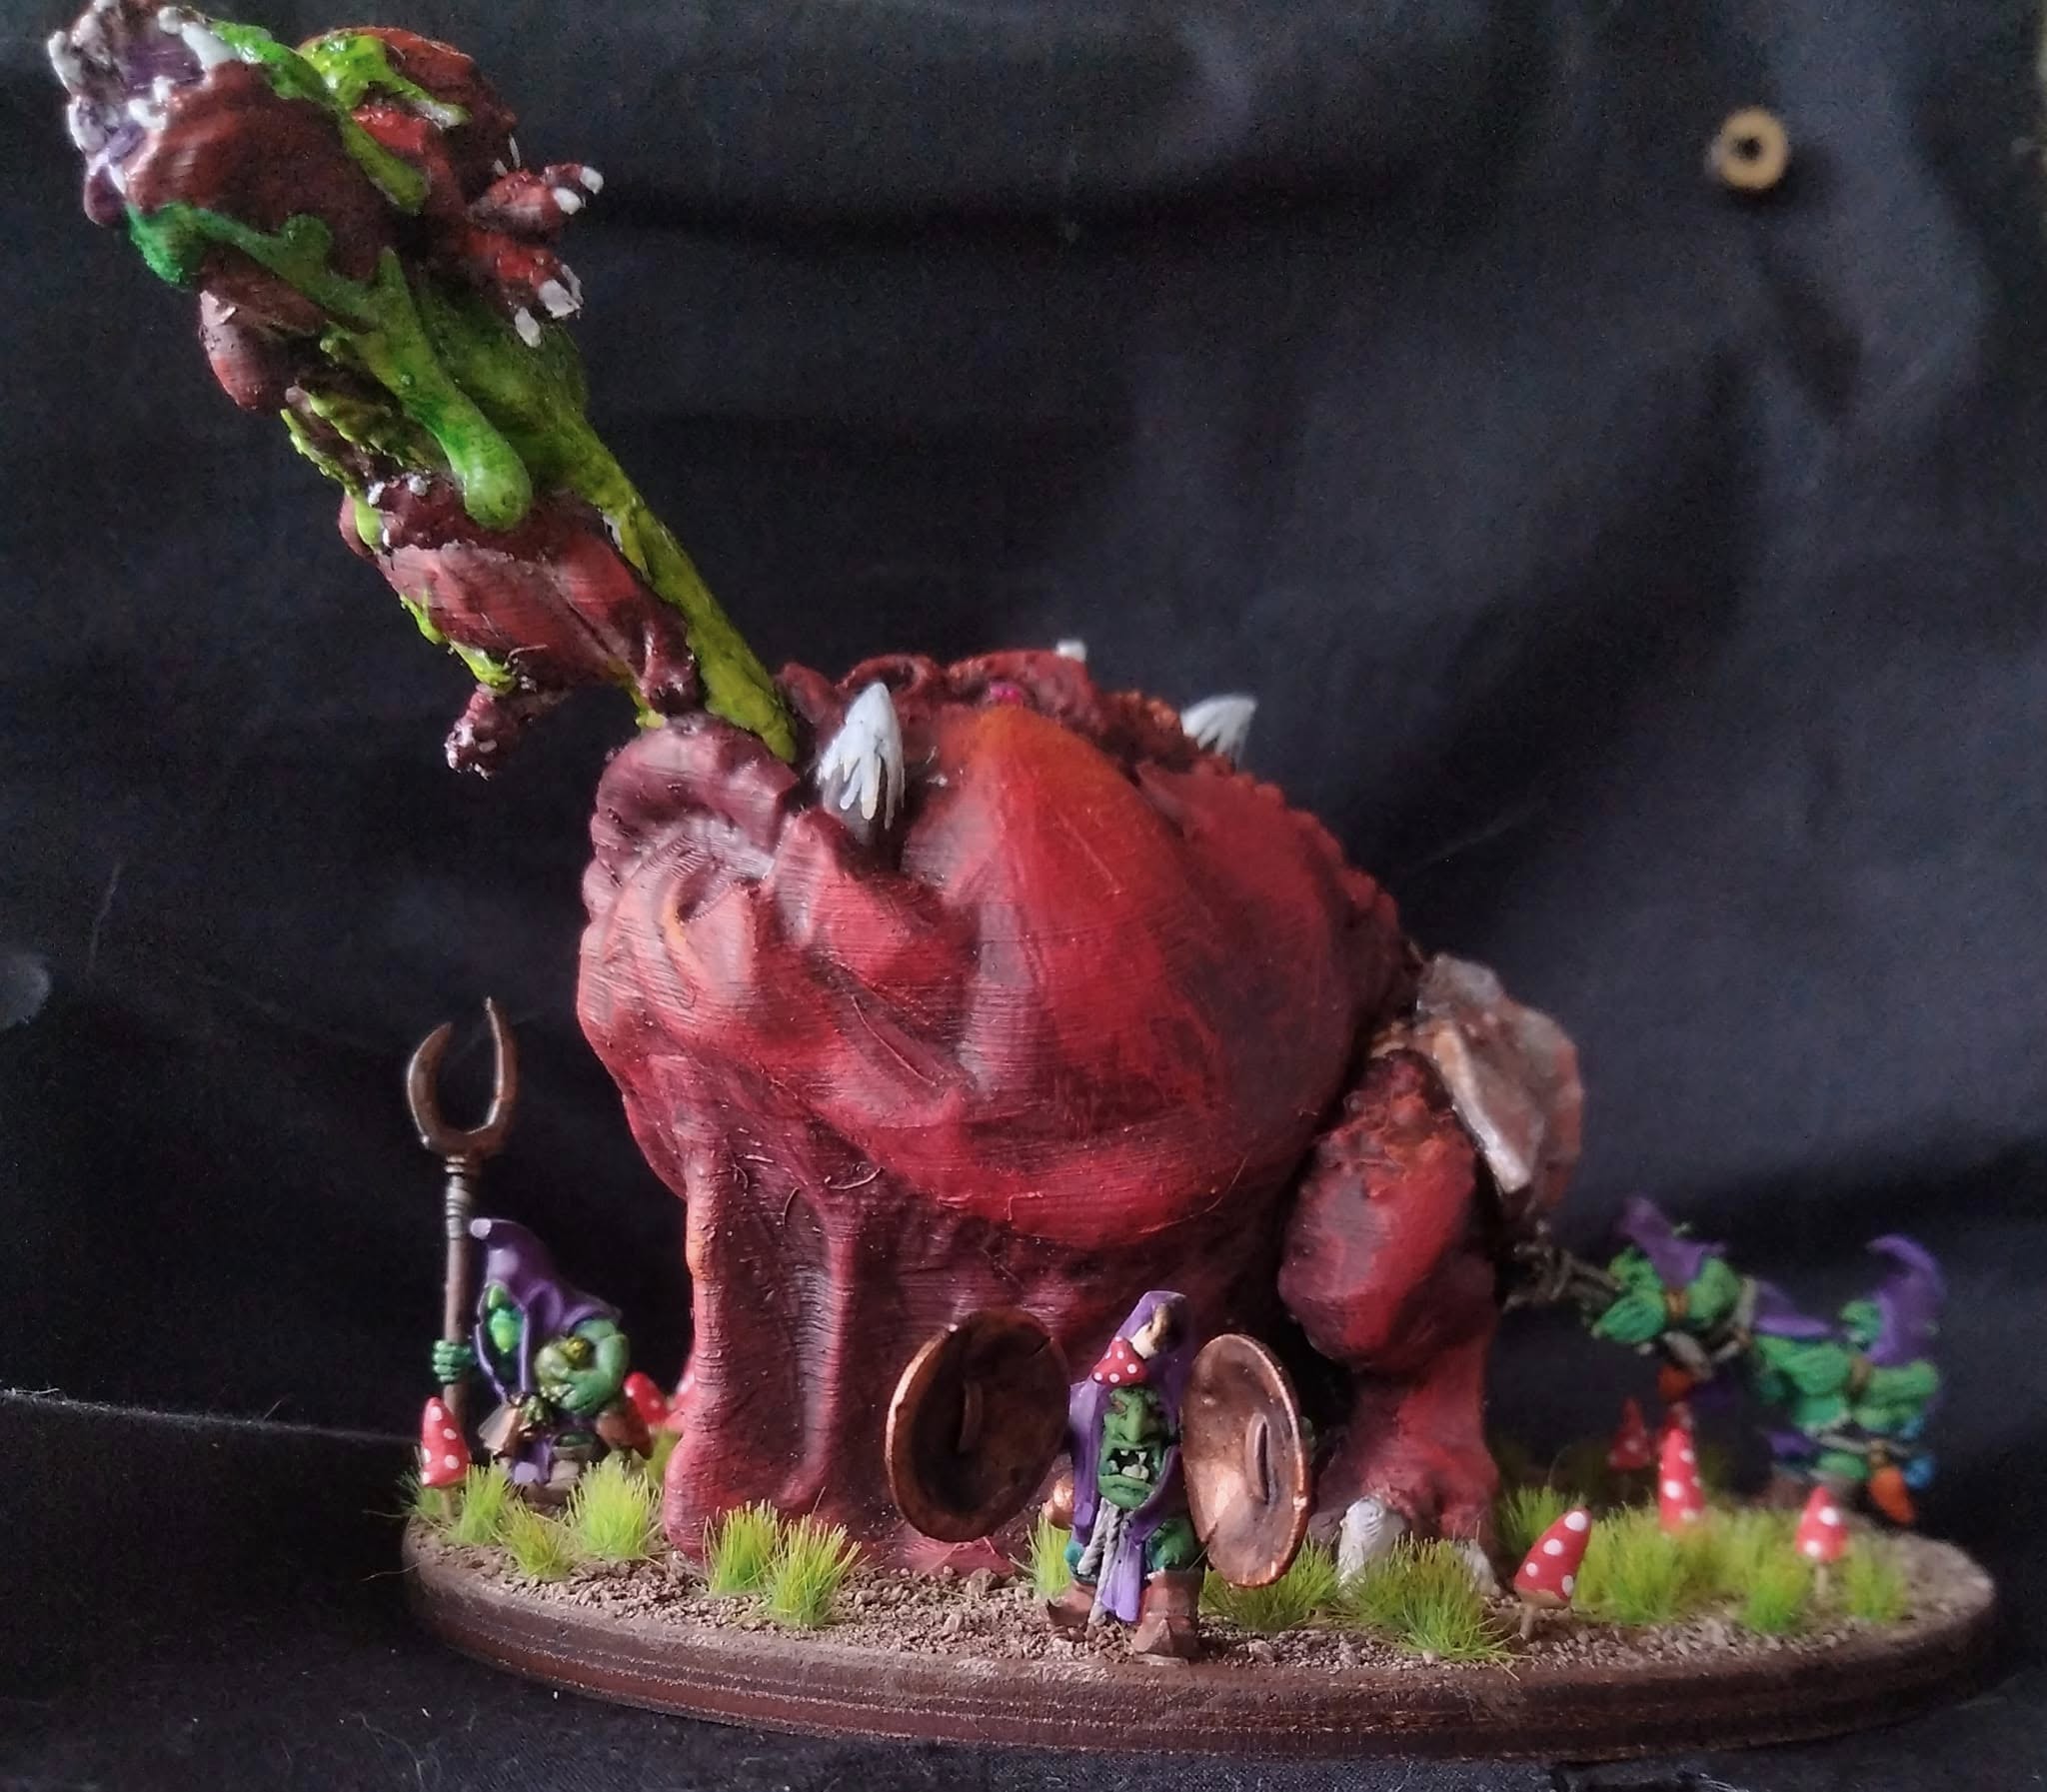
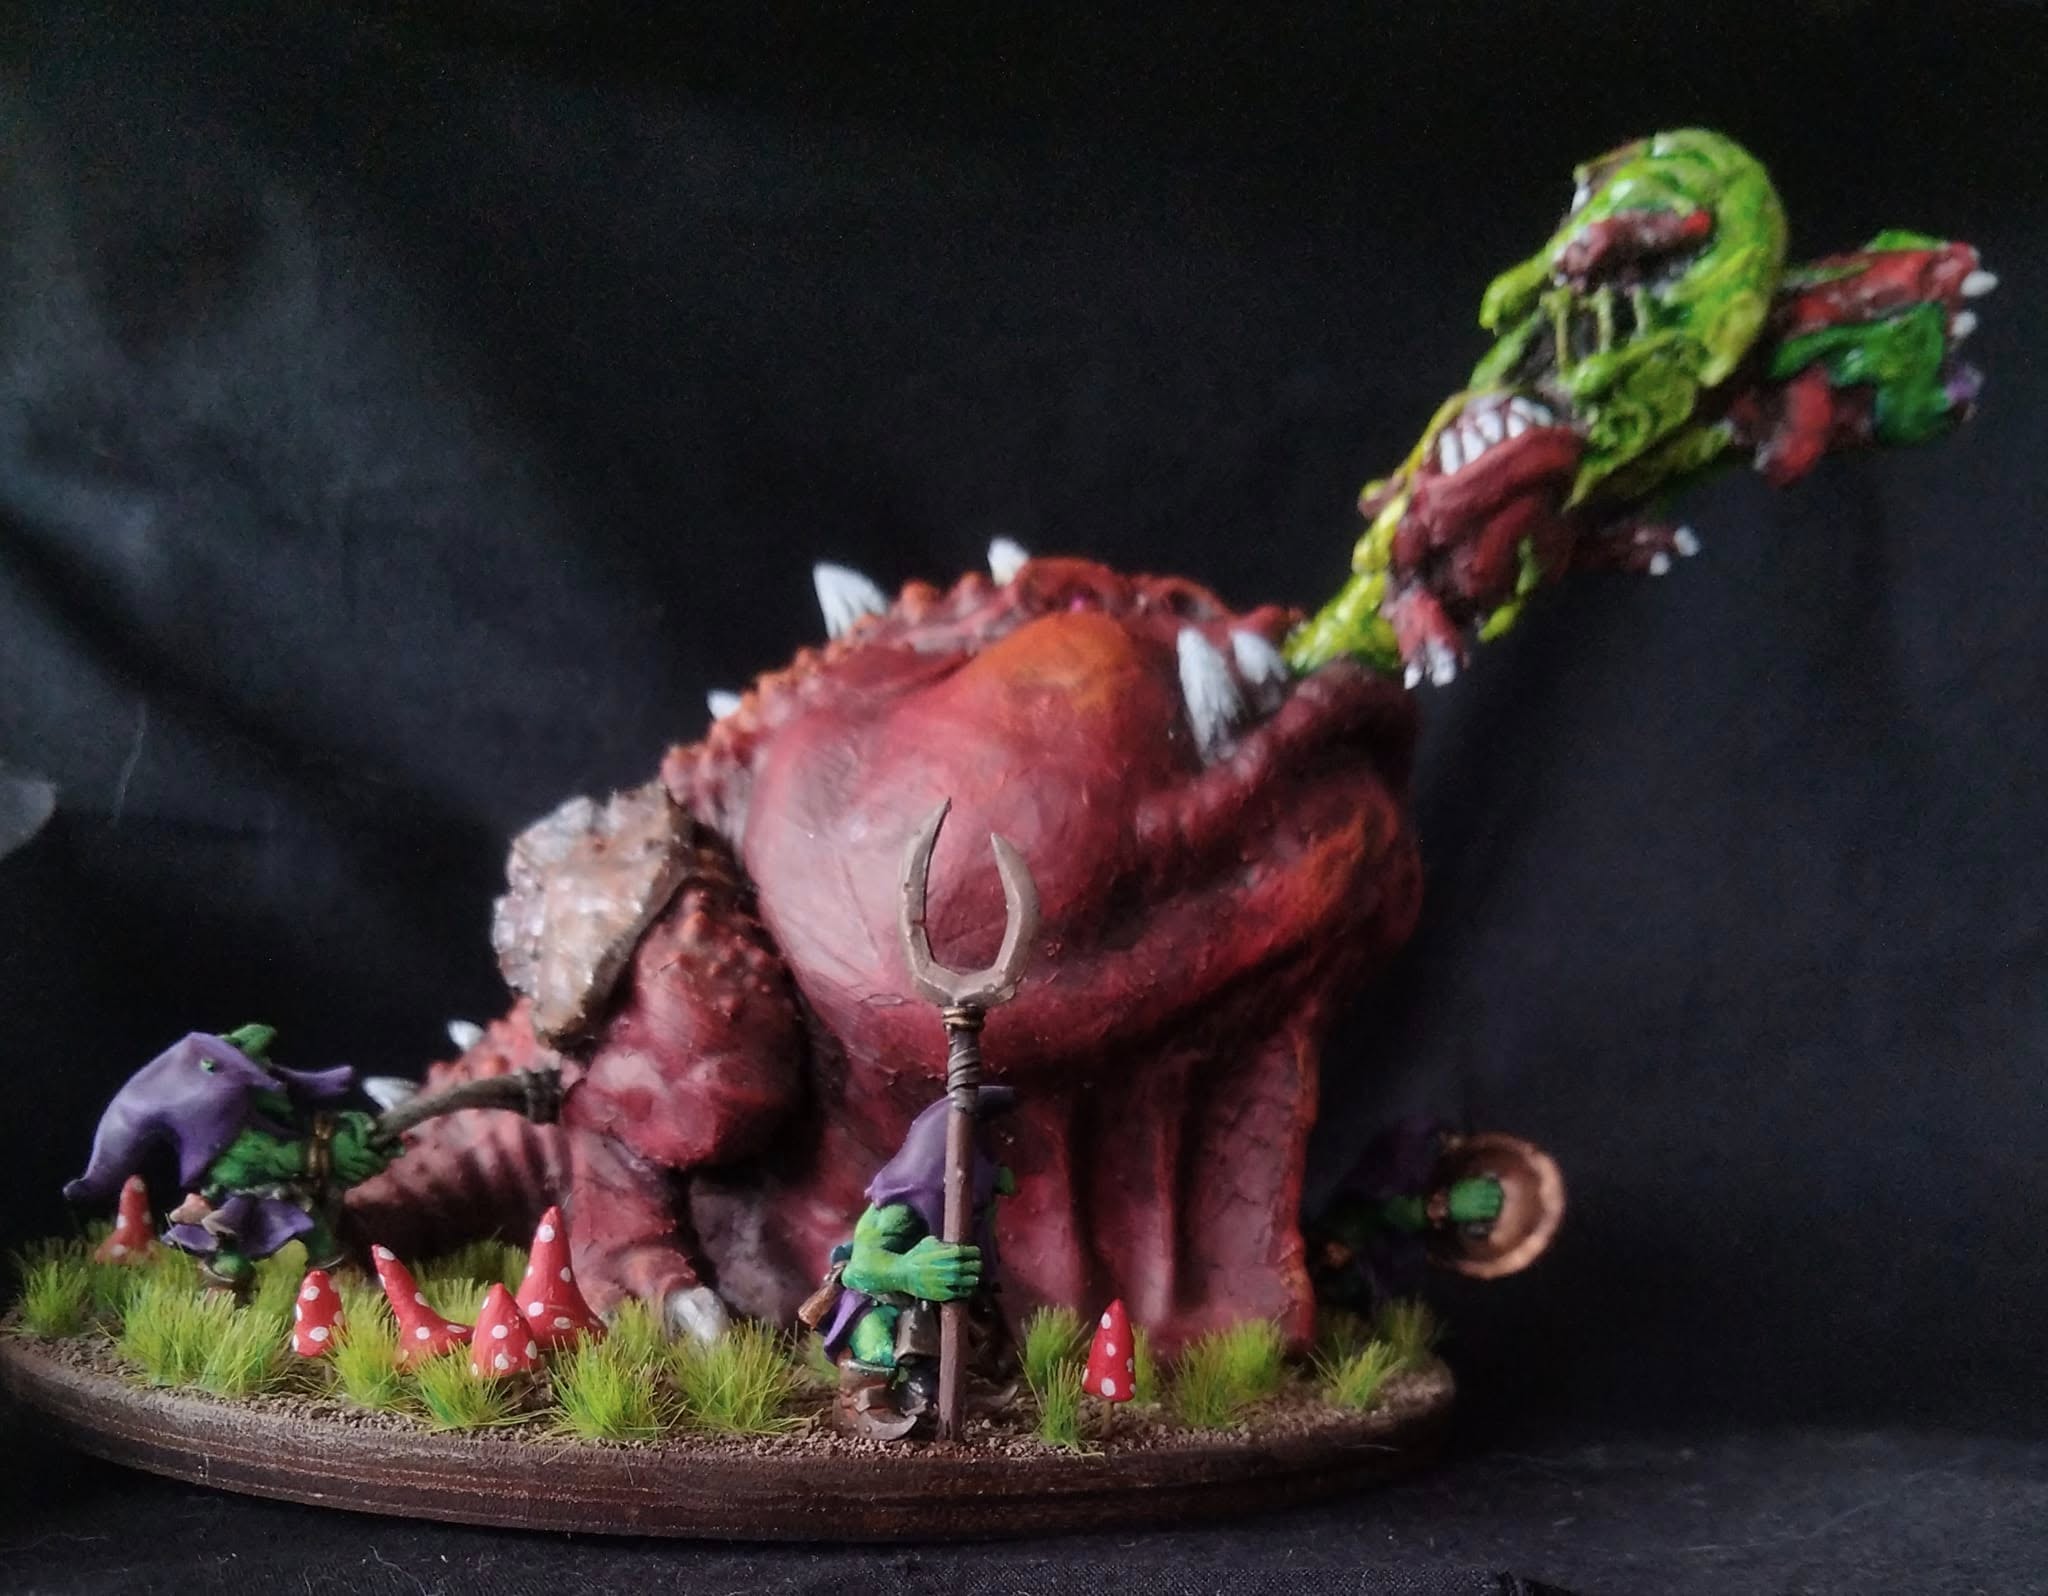
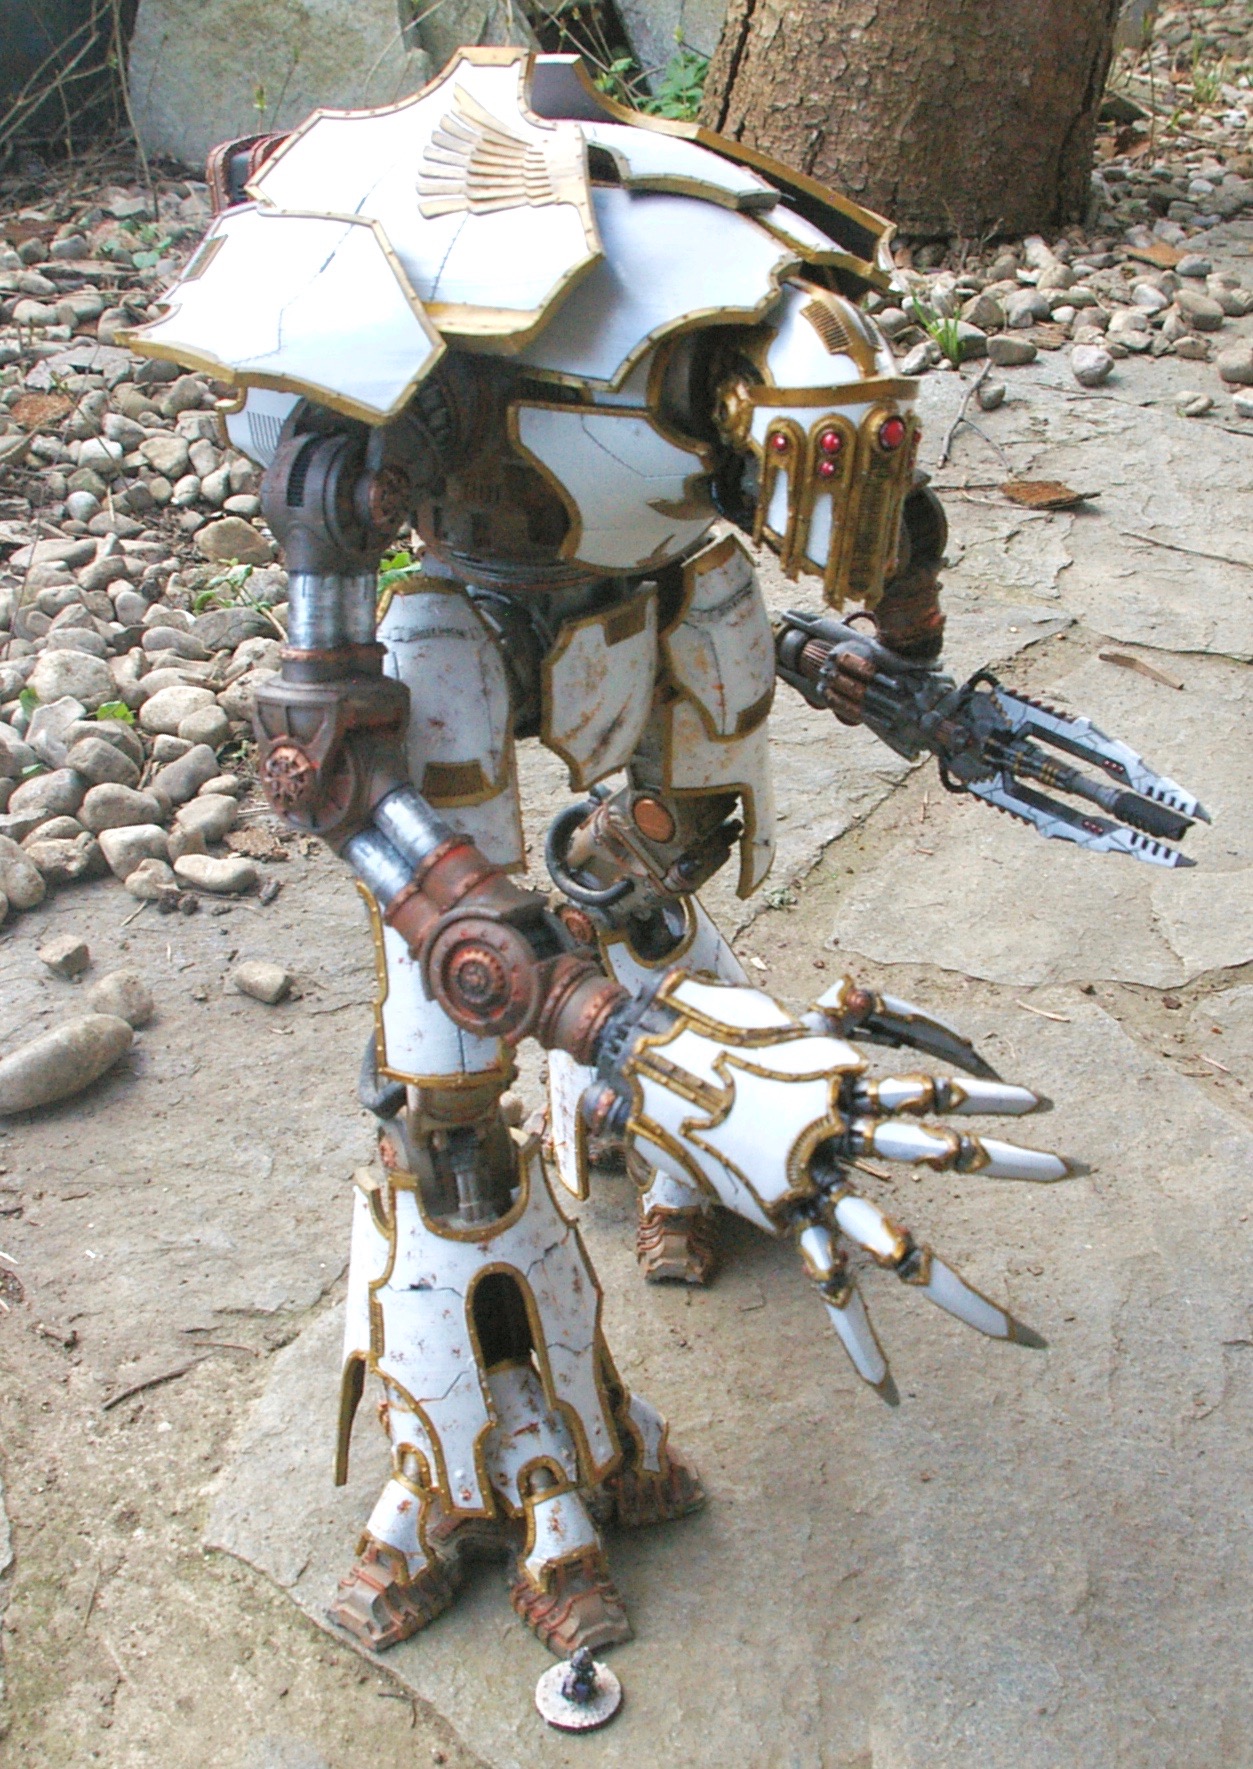
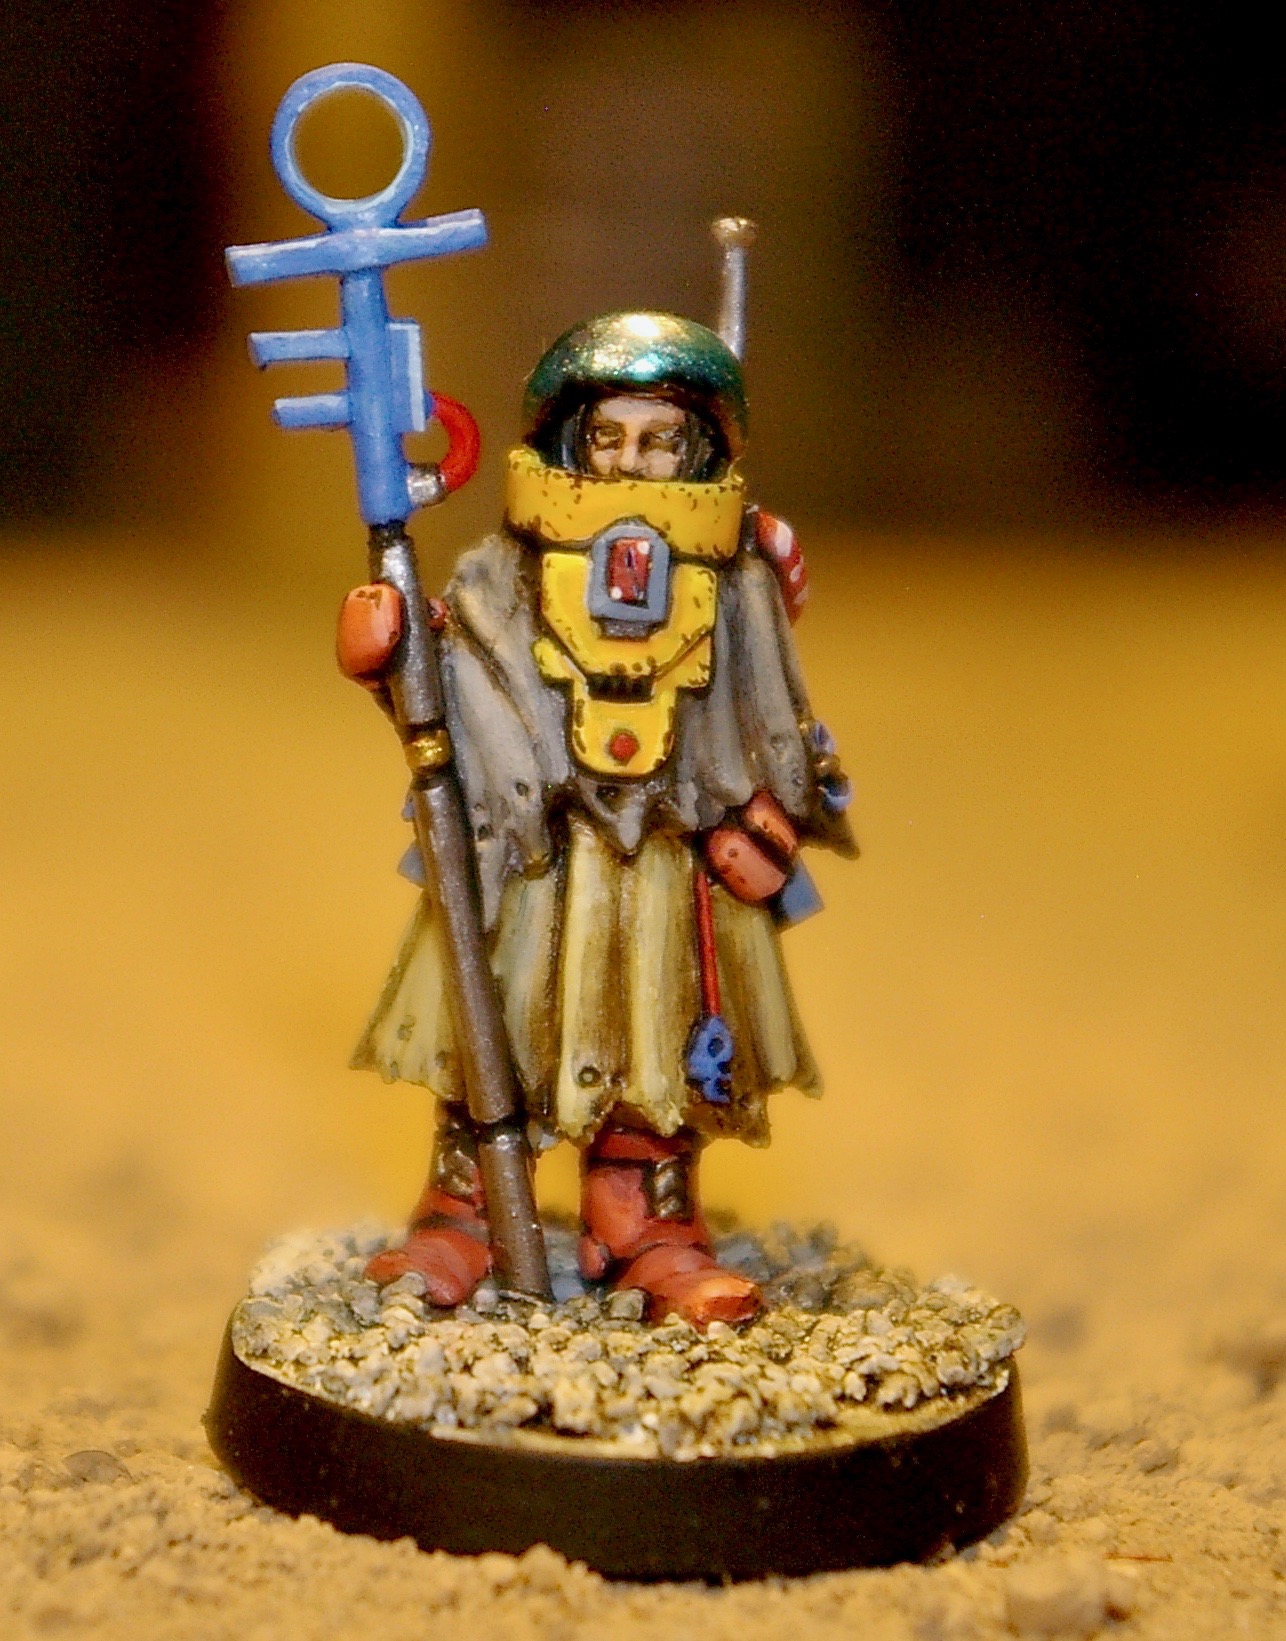
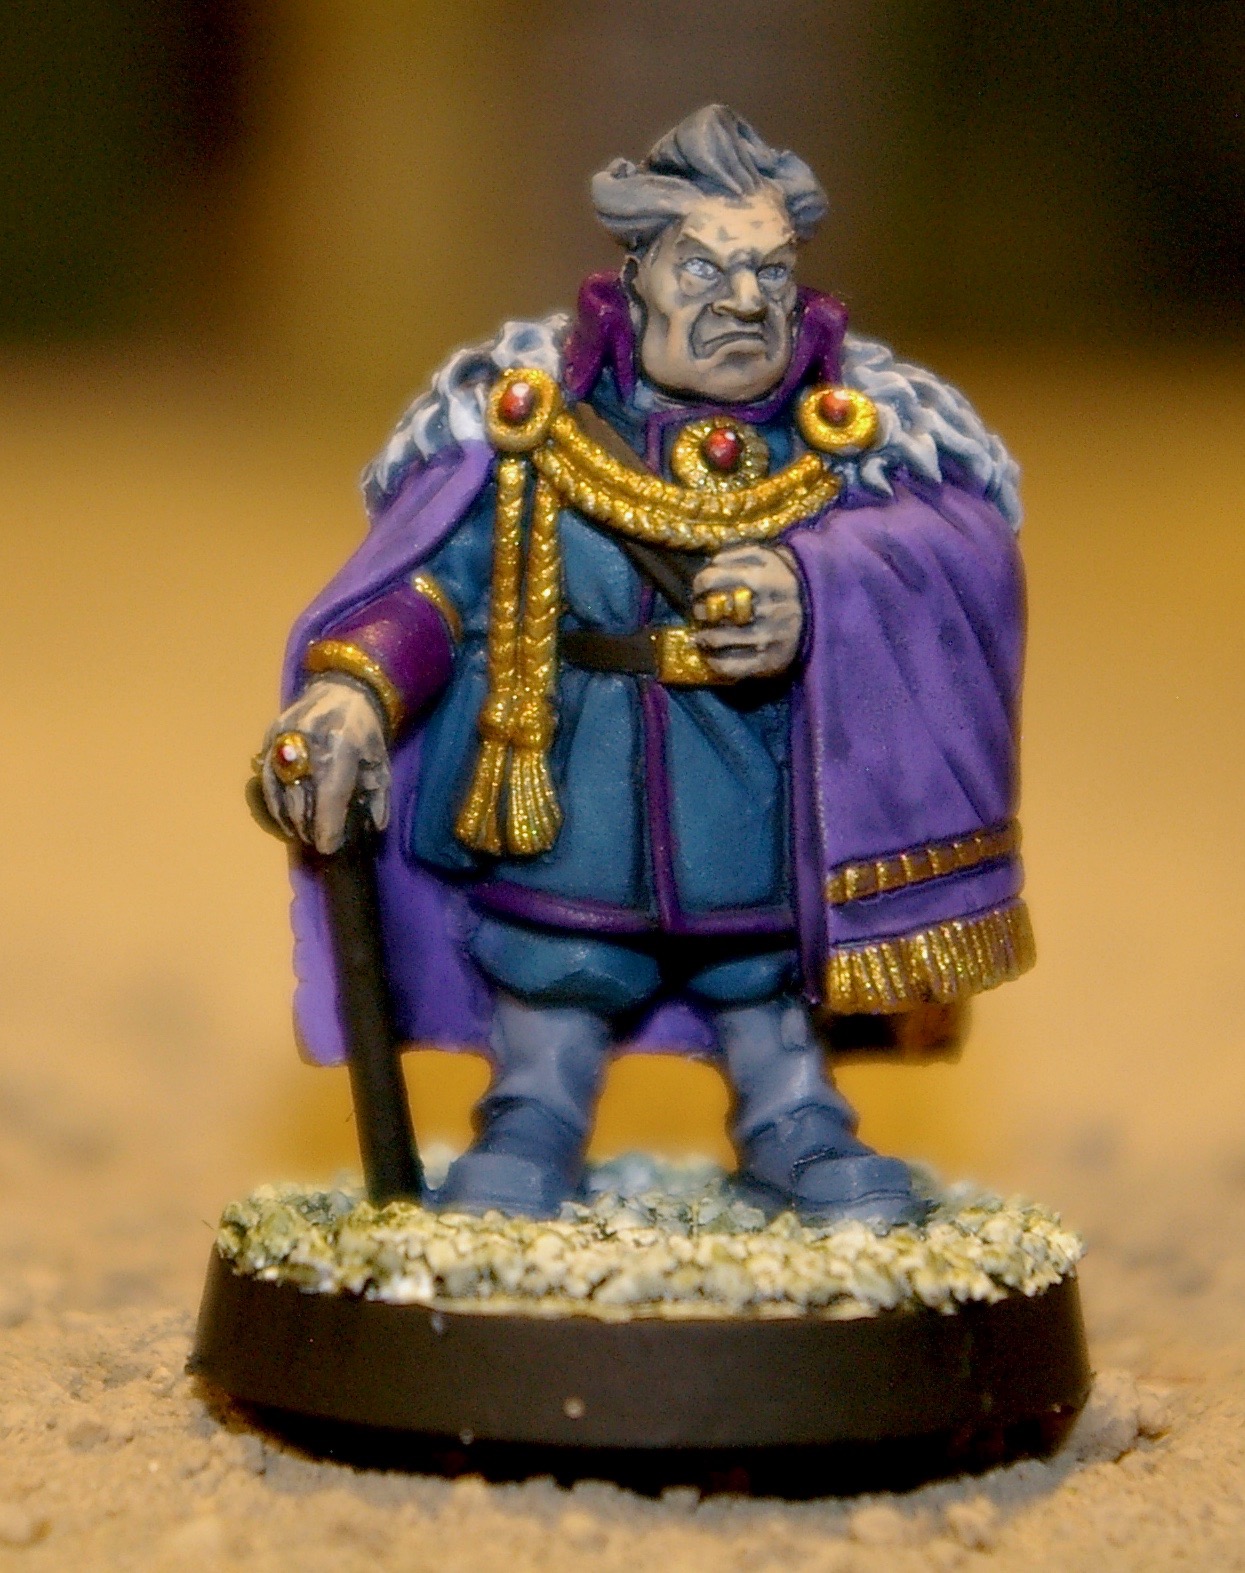
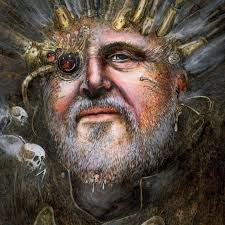
The Failed Prince. This had been cobbled together from 3D printed bits years ago, but not painted. When I heard the news about John Blanche I was inspired to paint it.
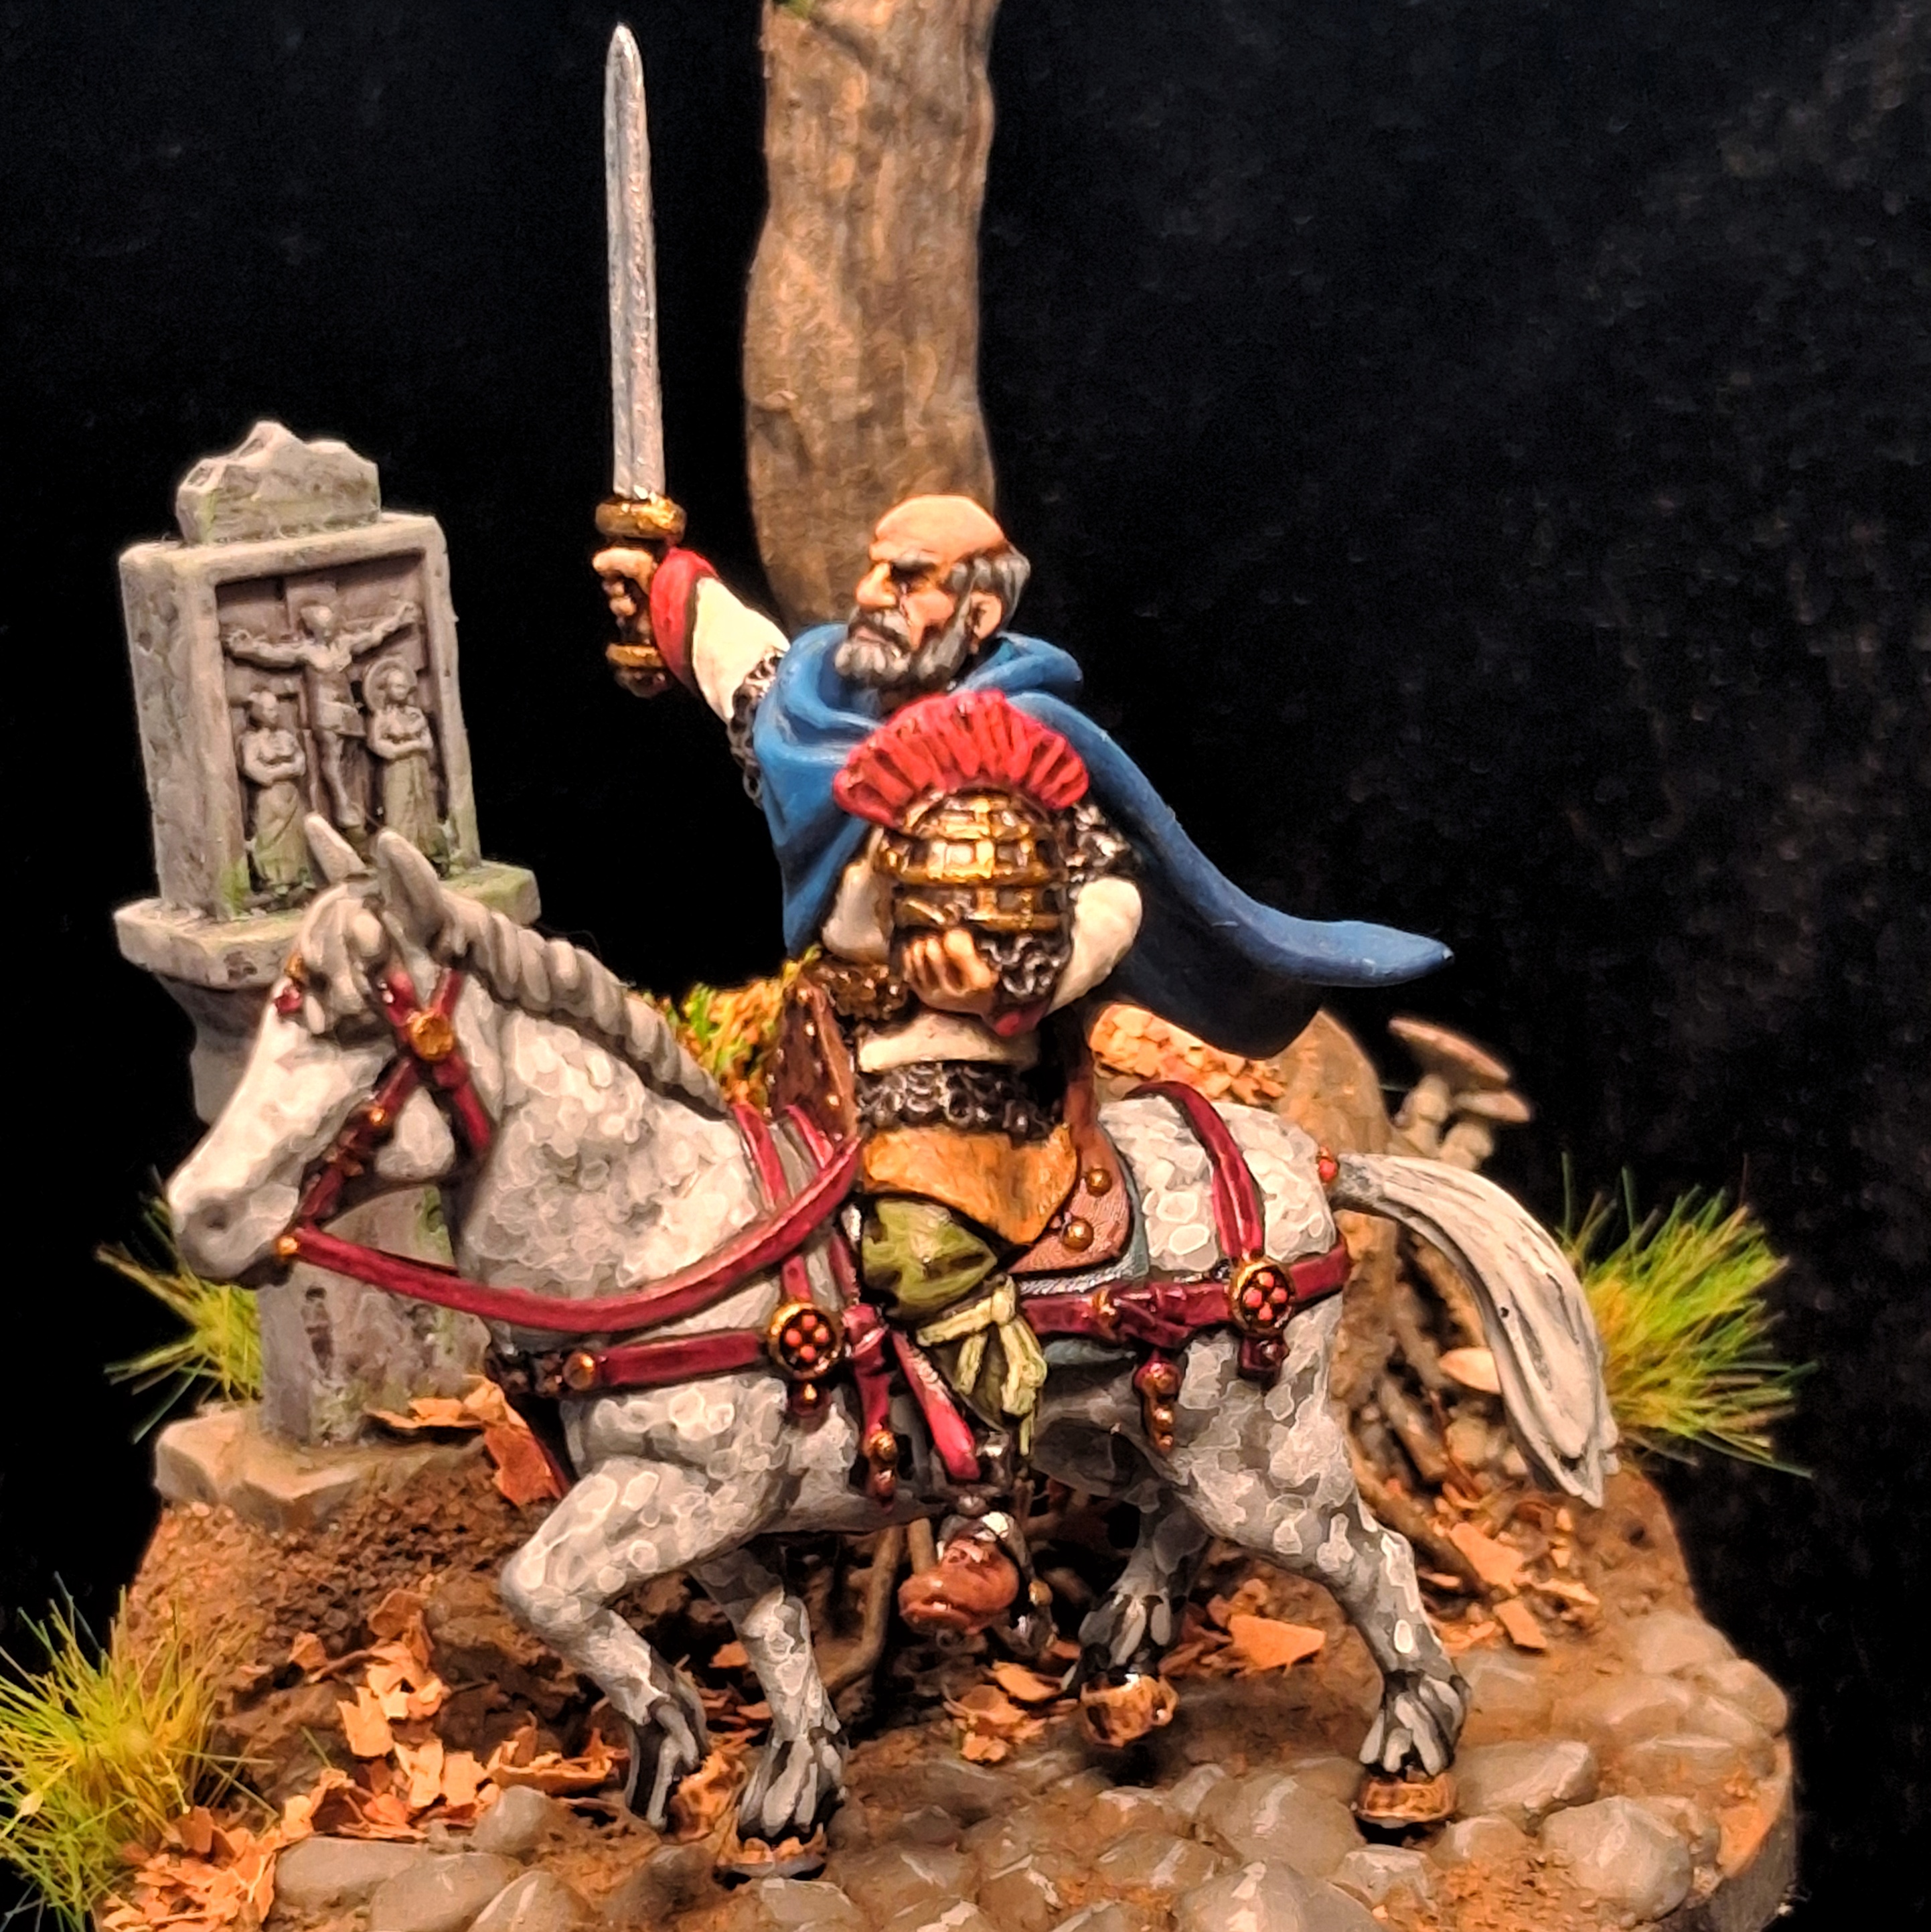
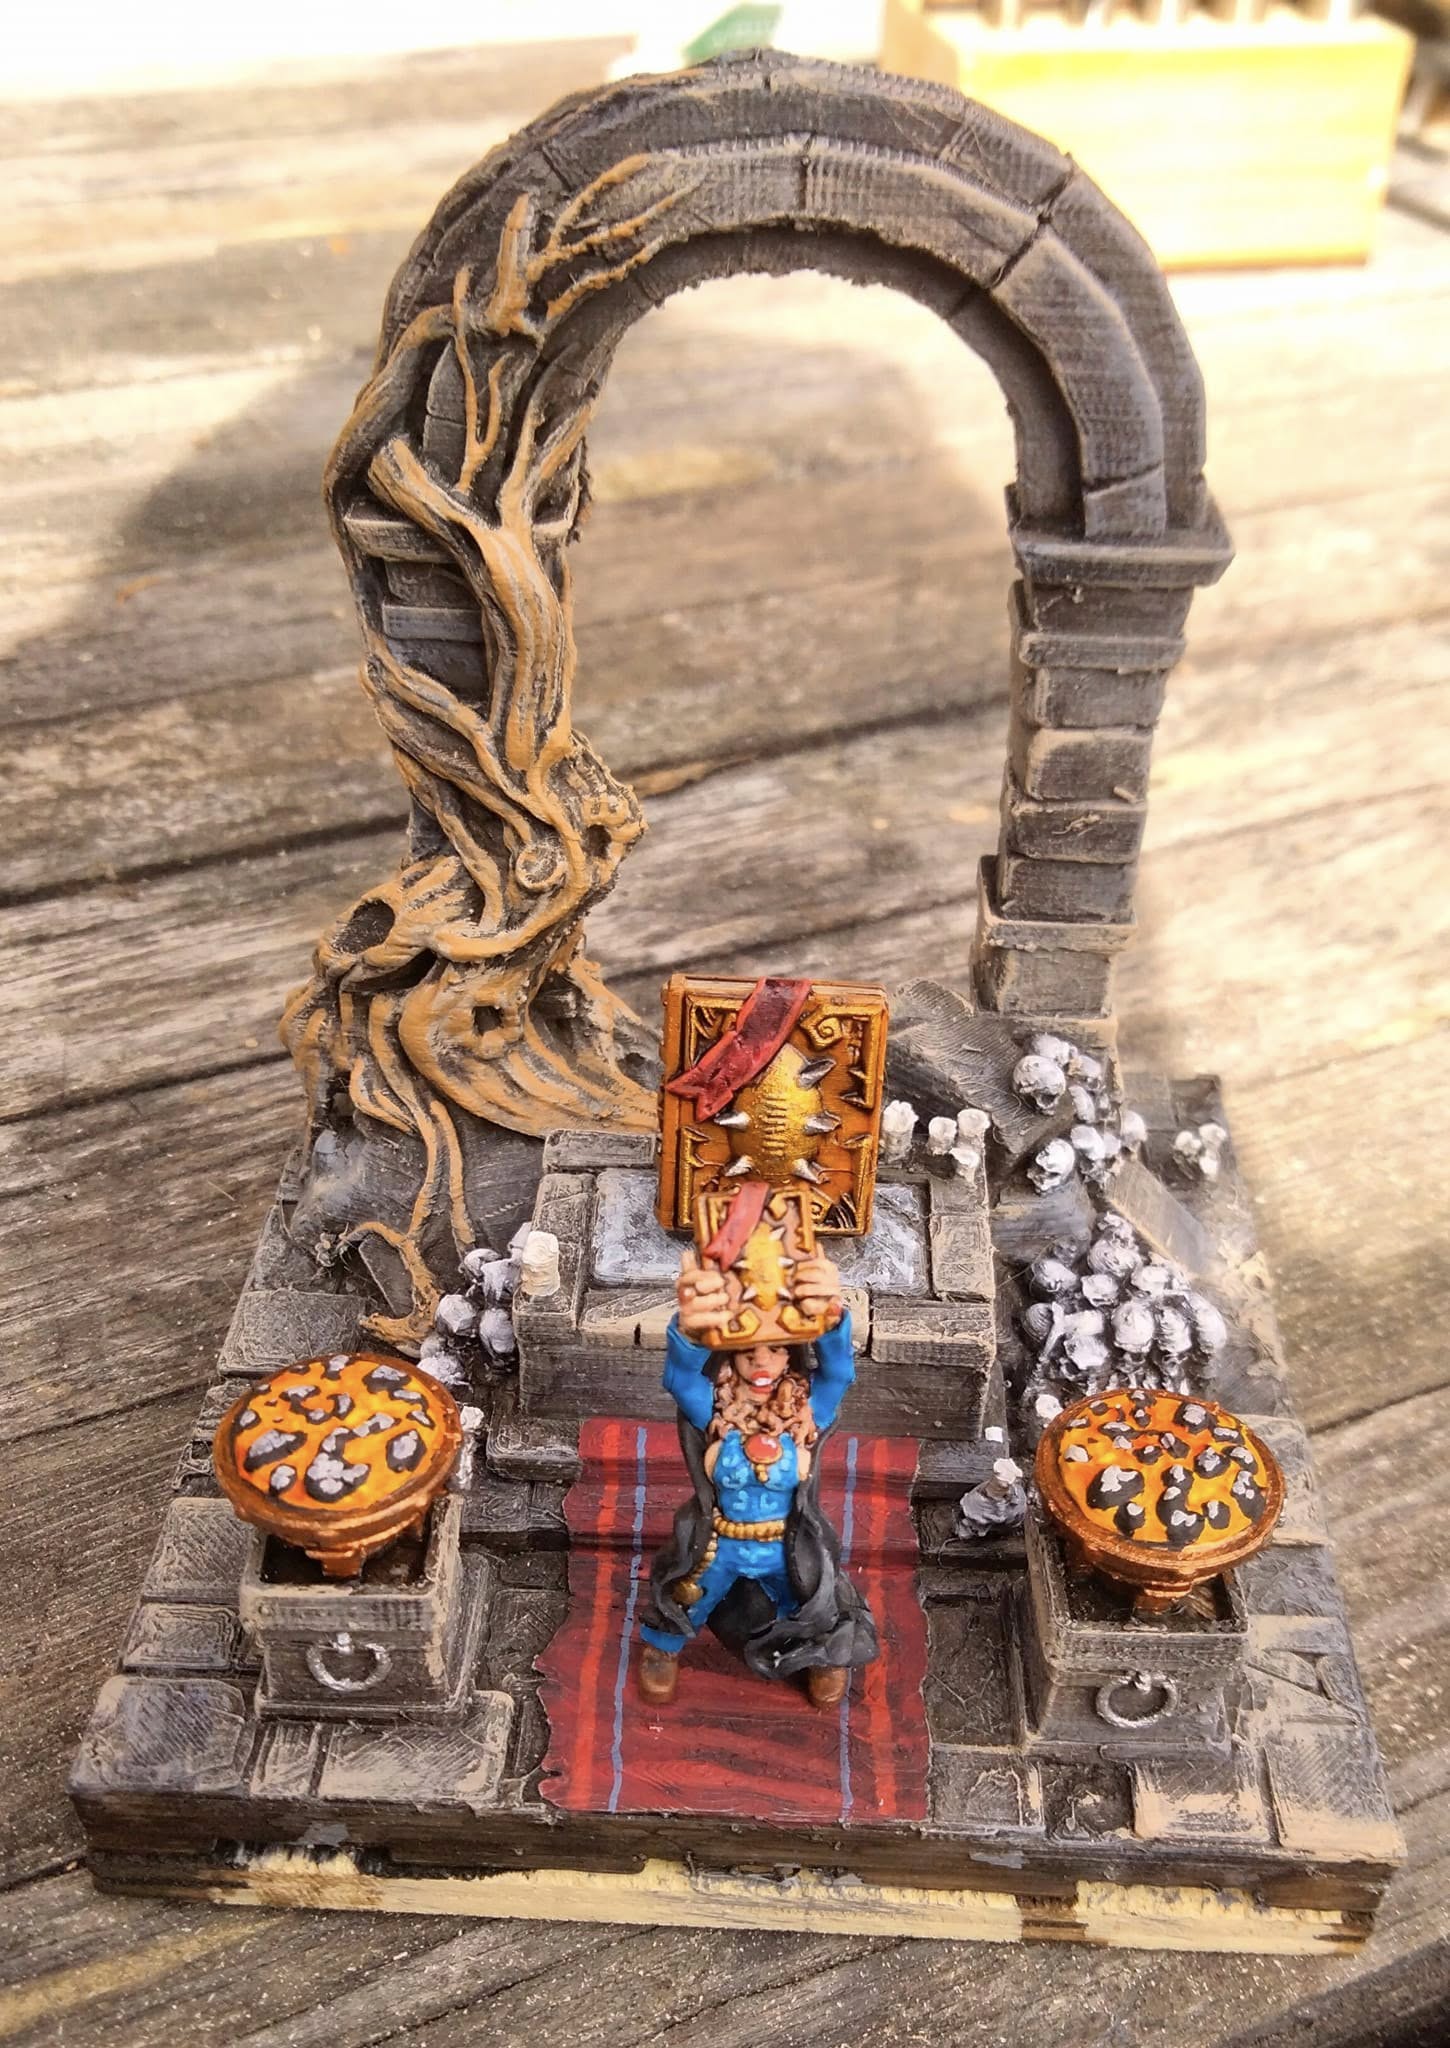
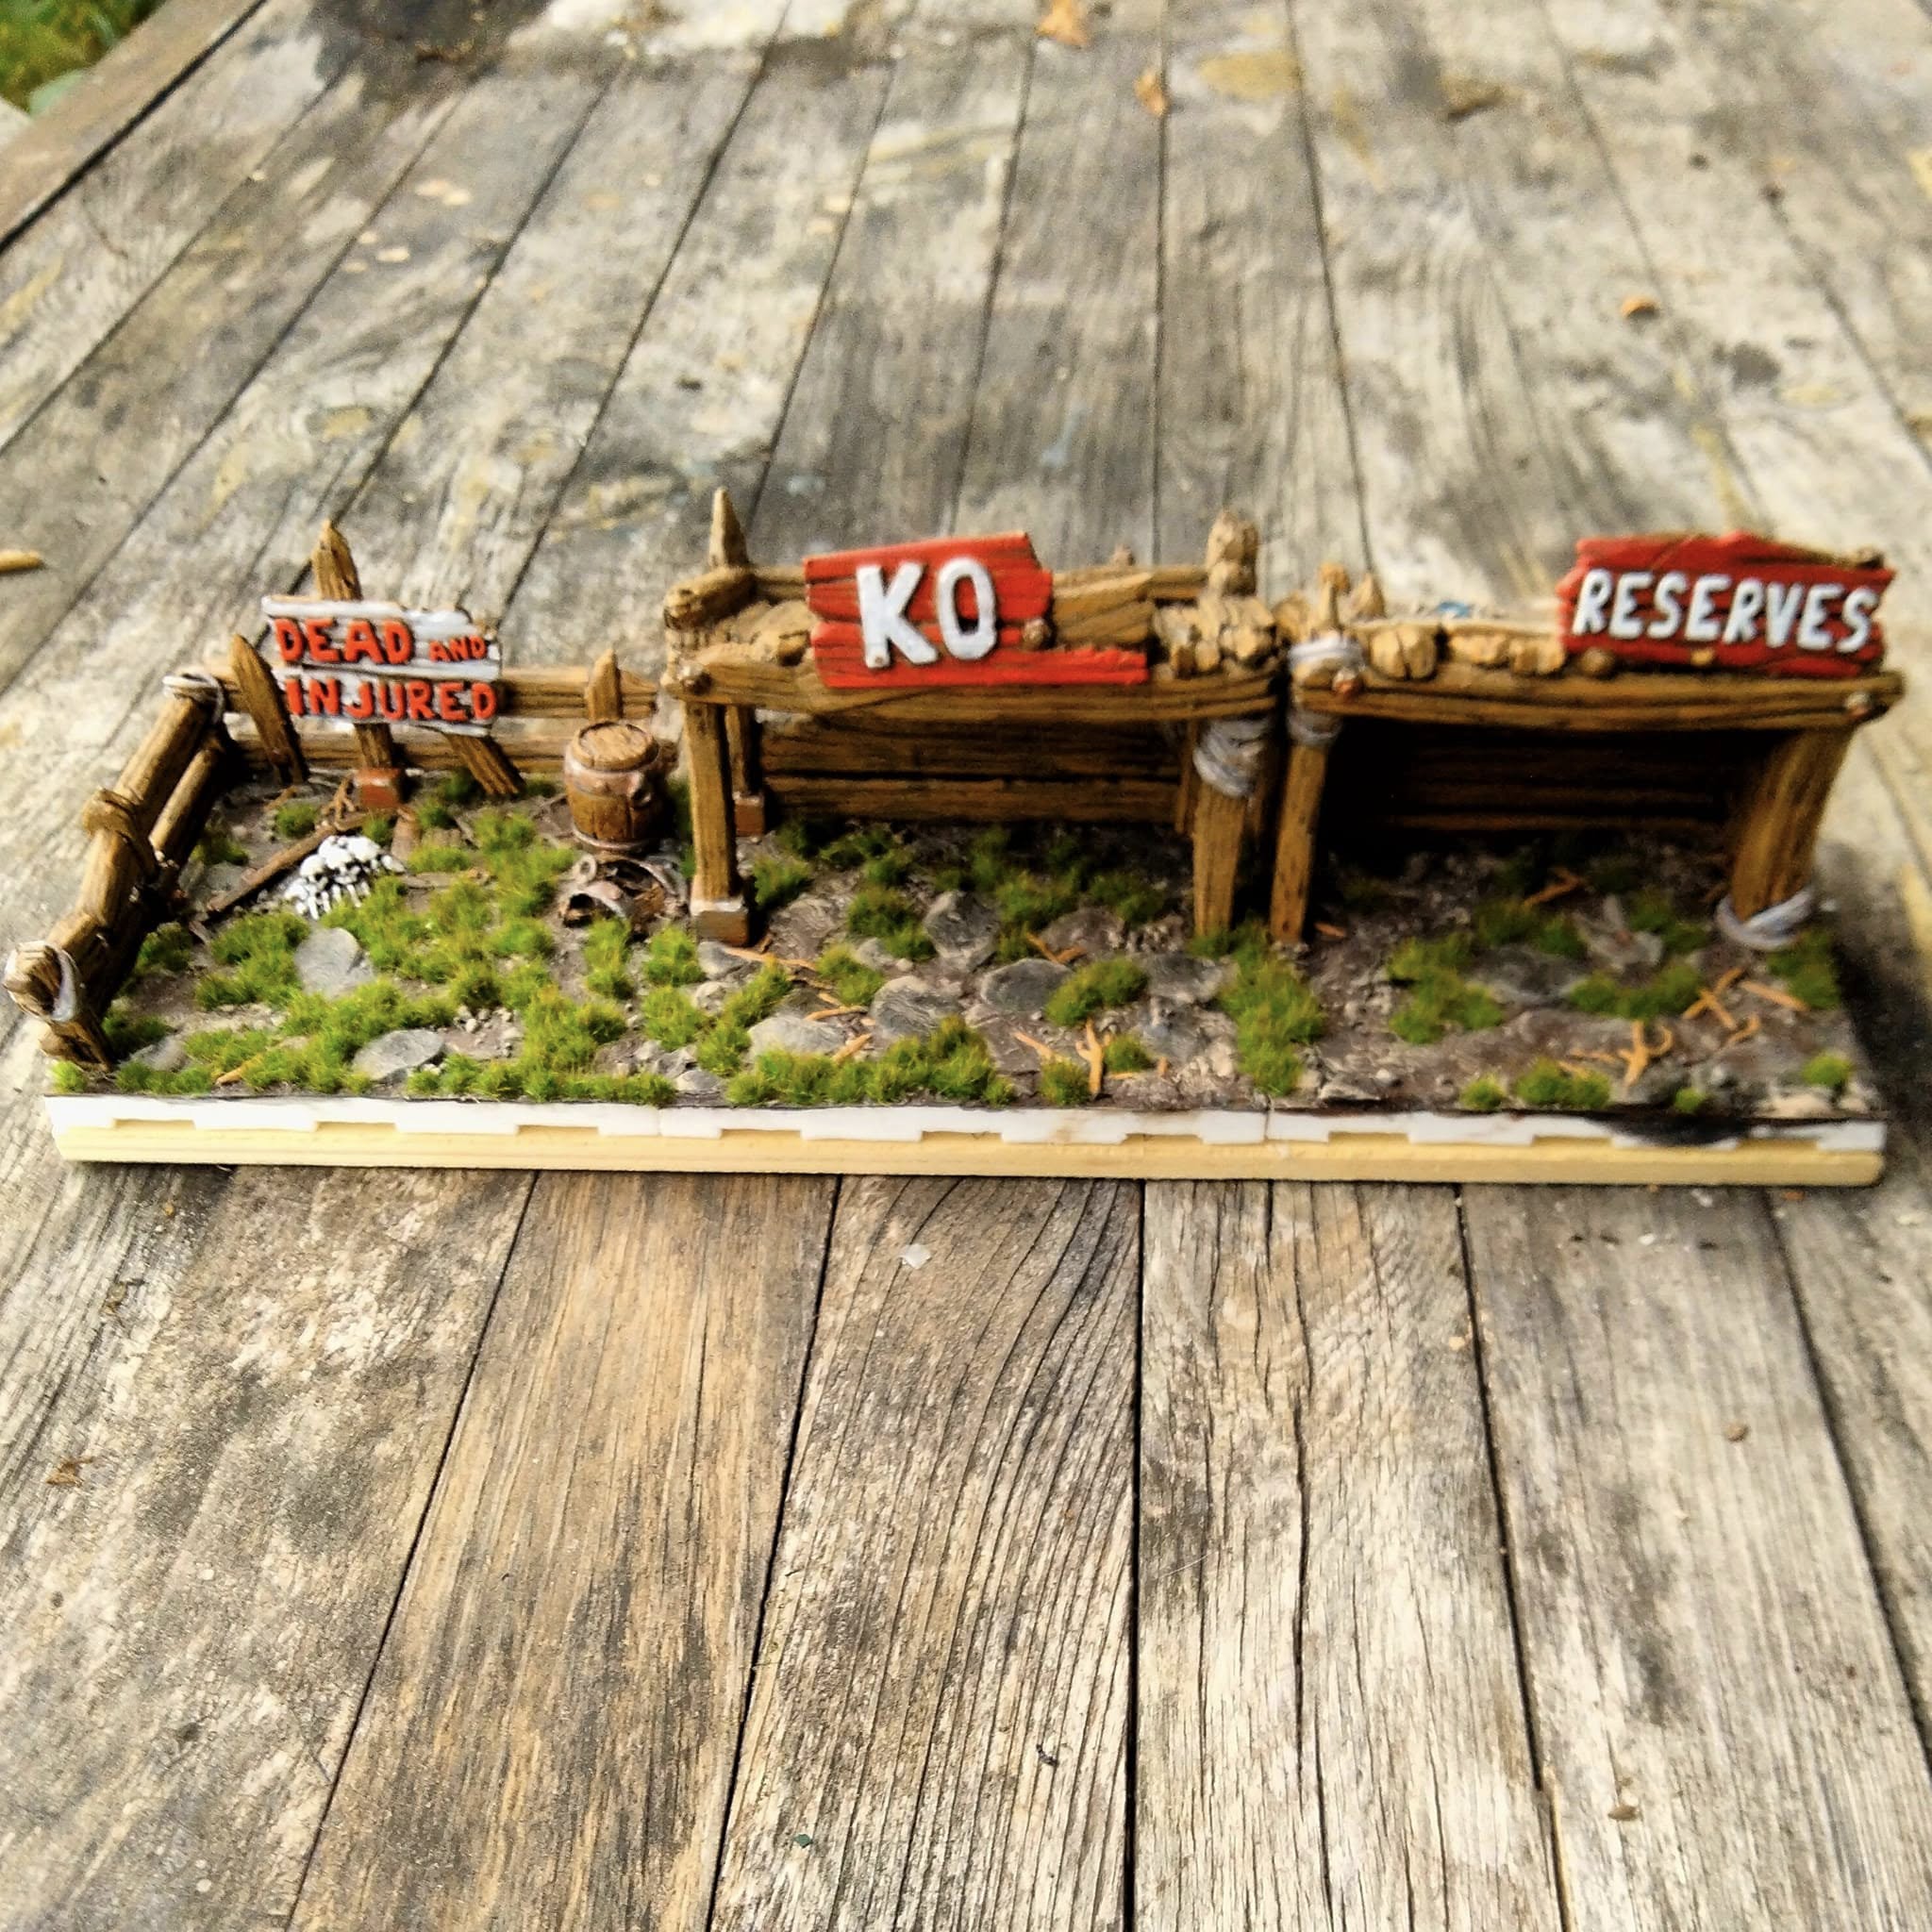
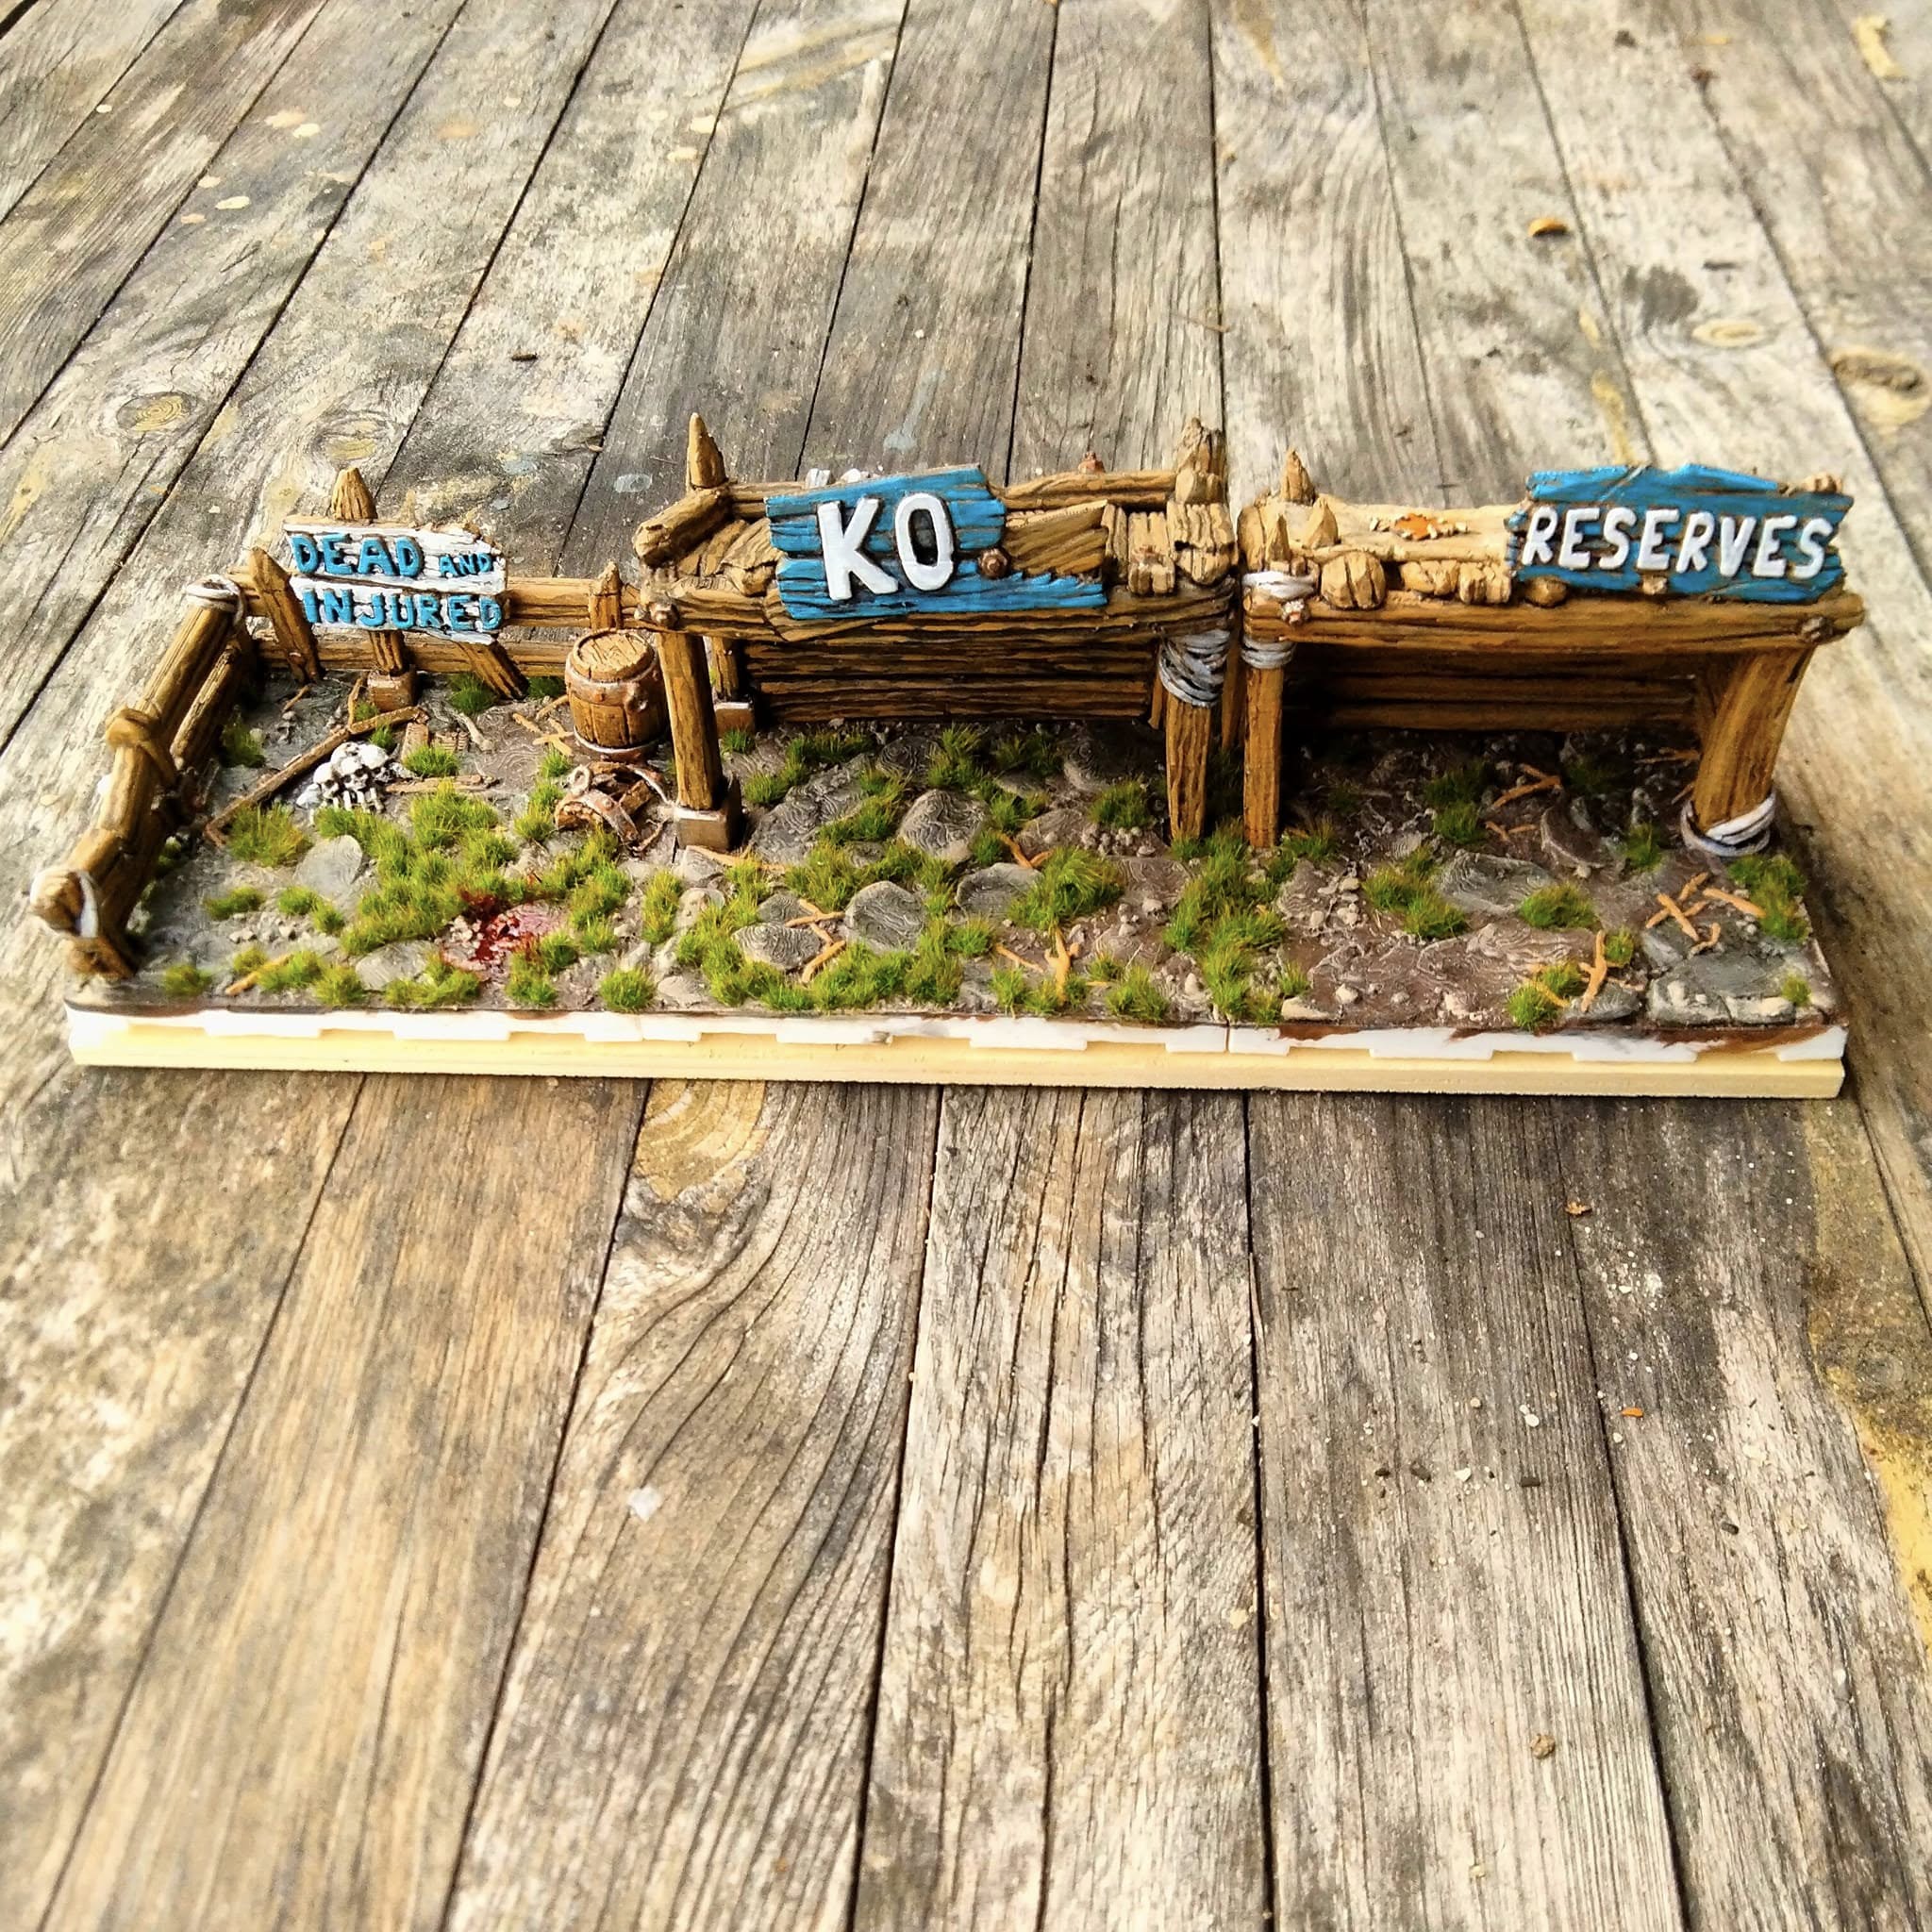
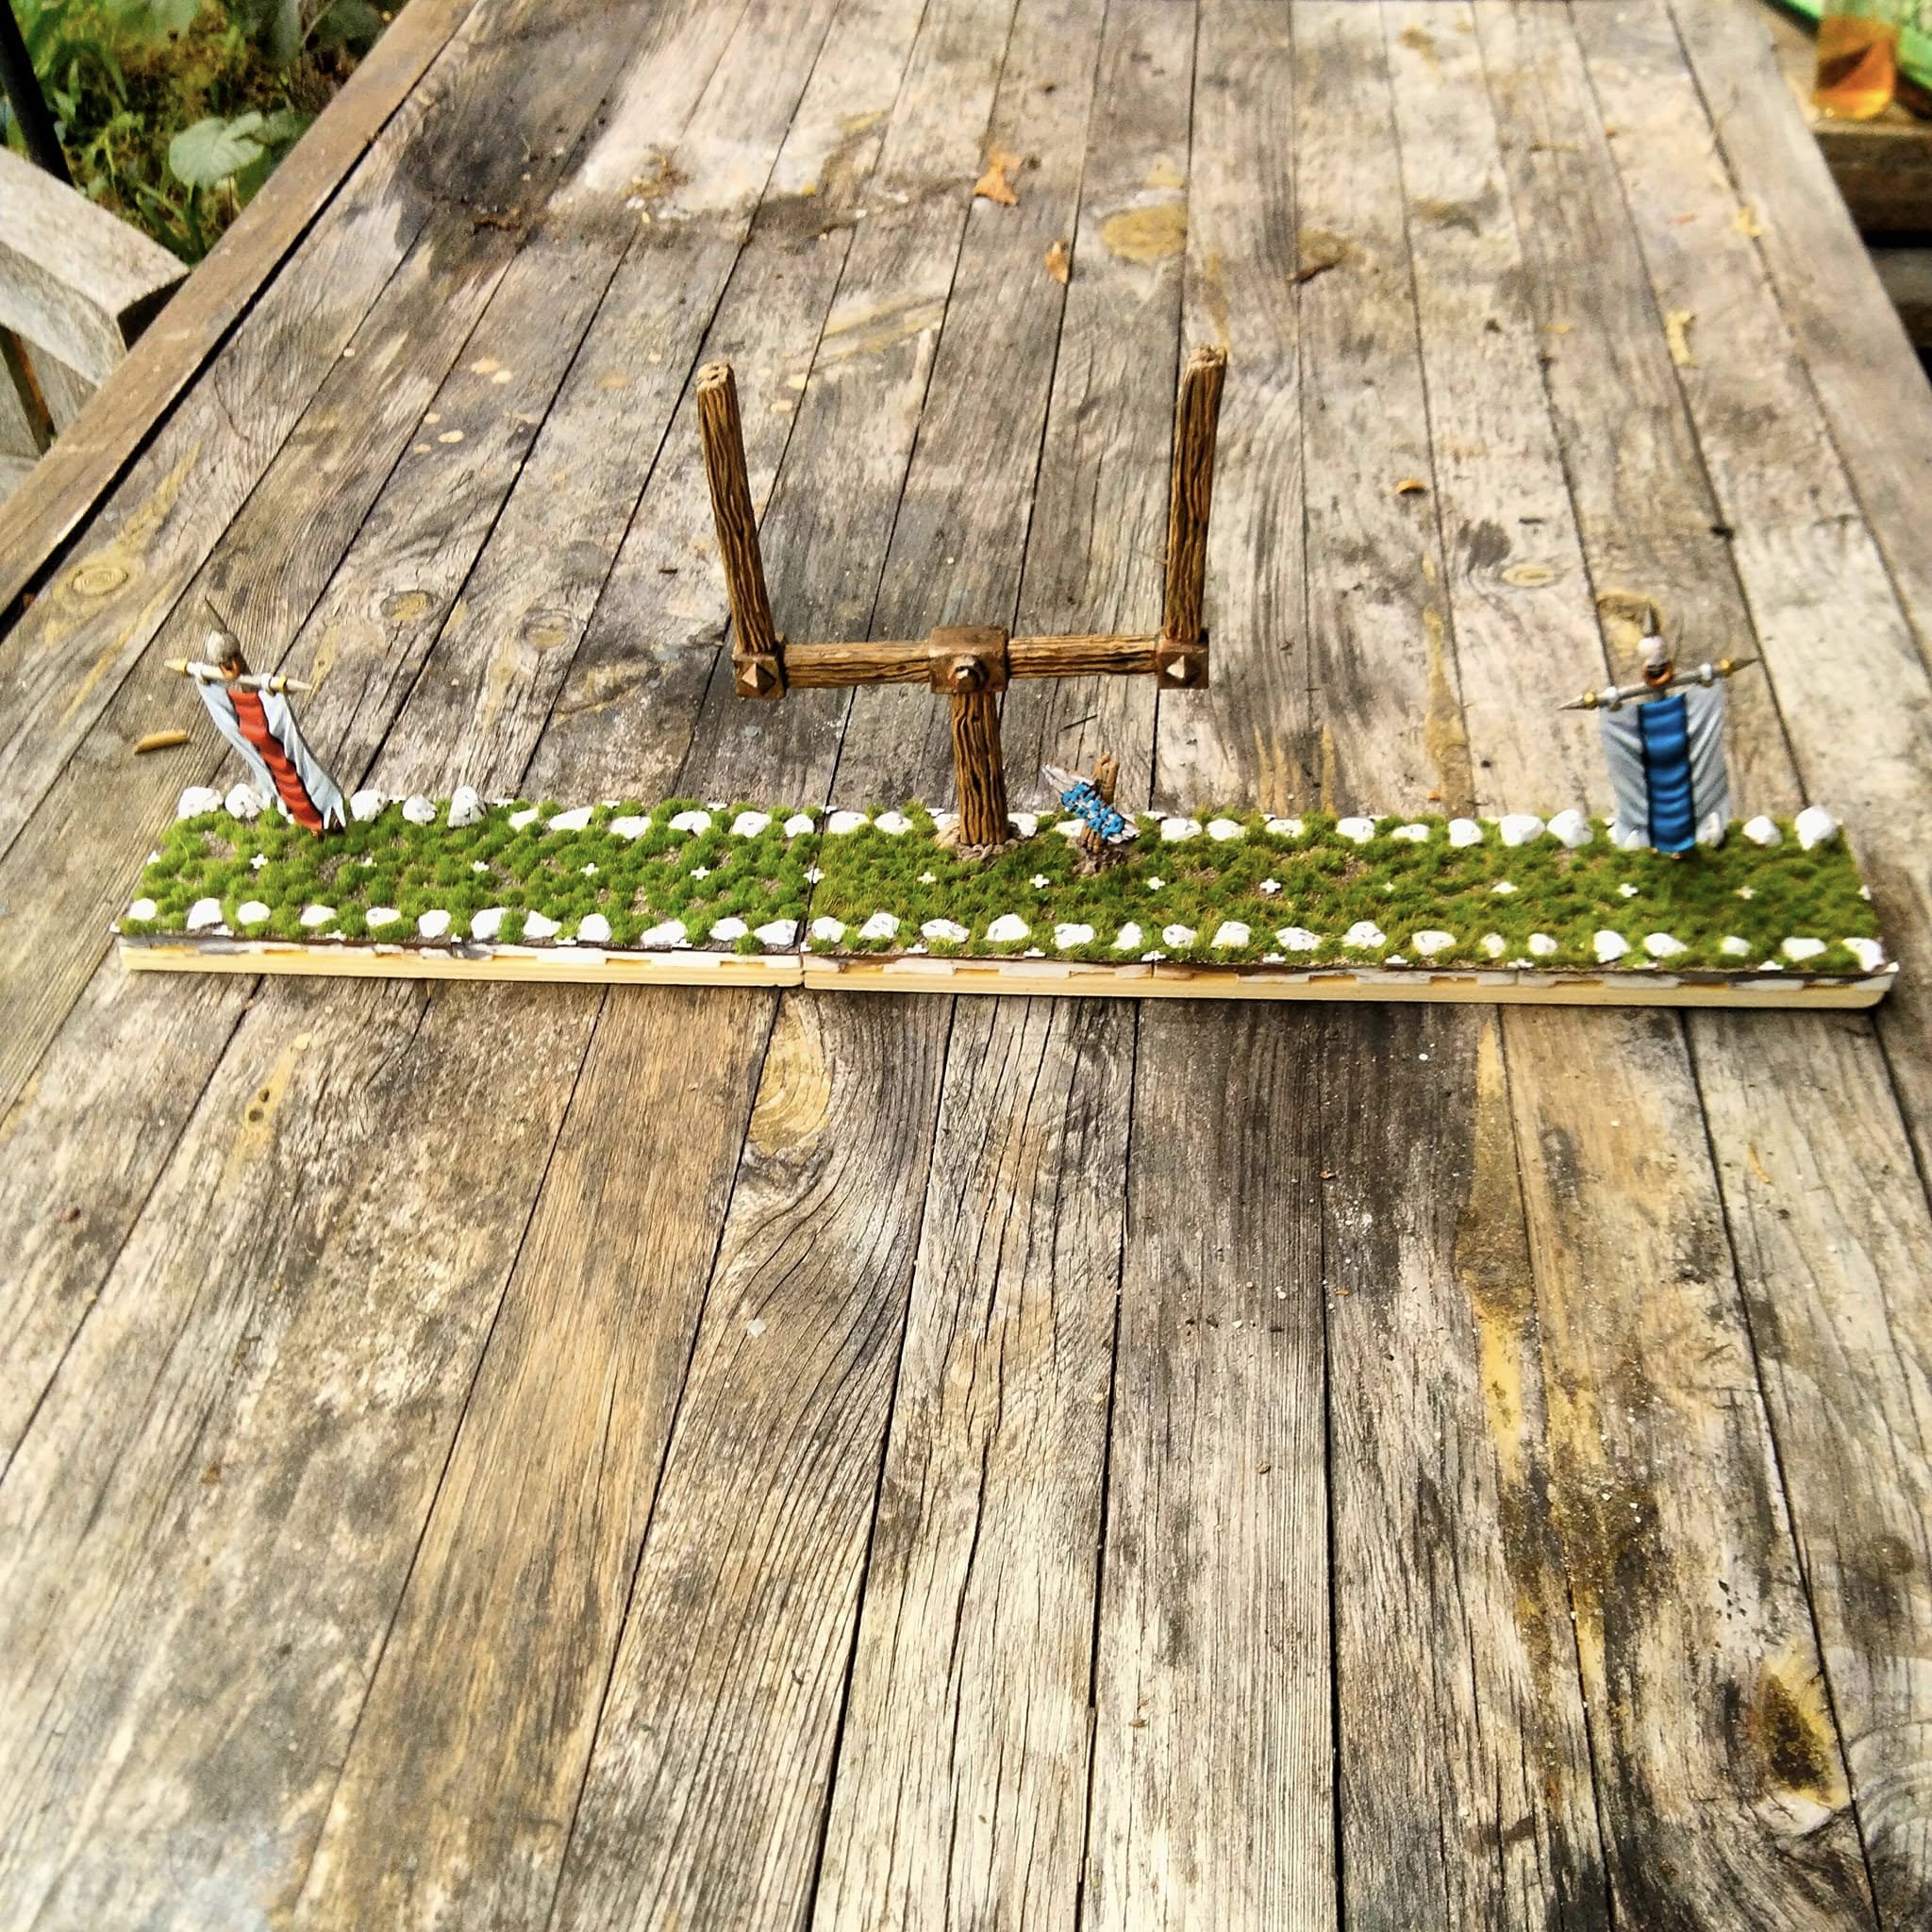
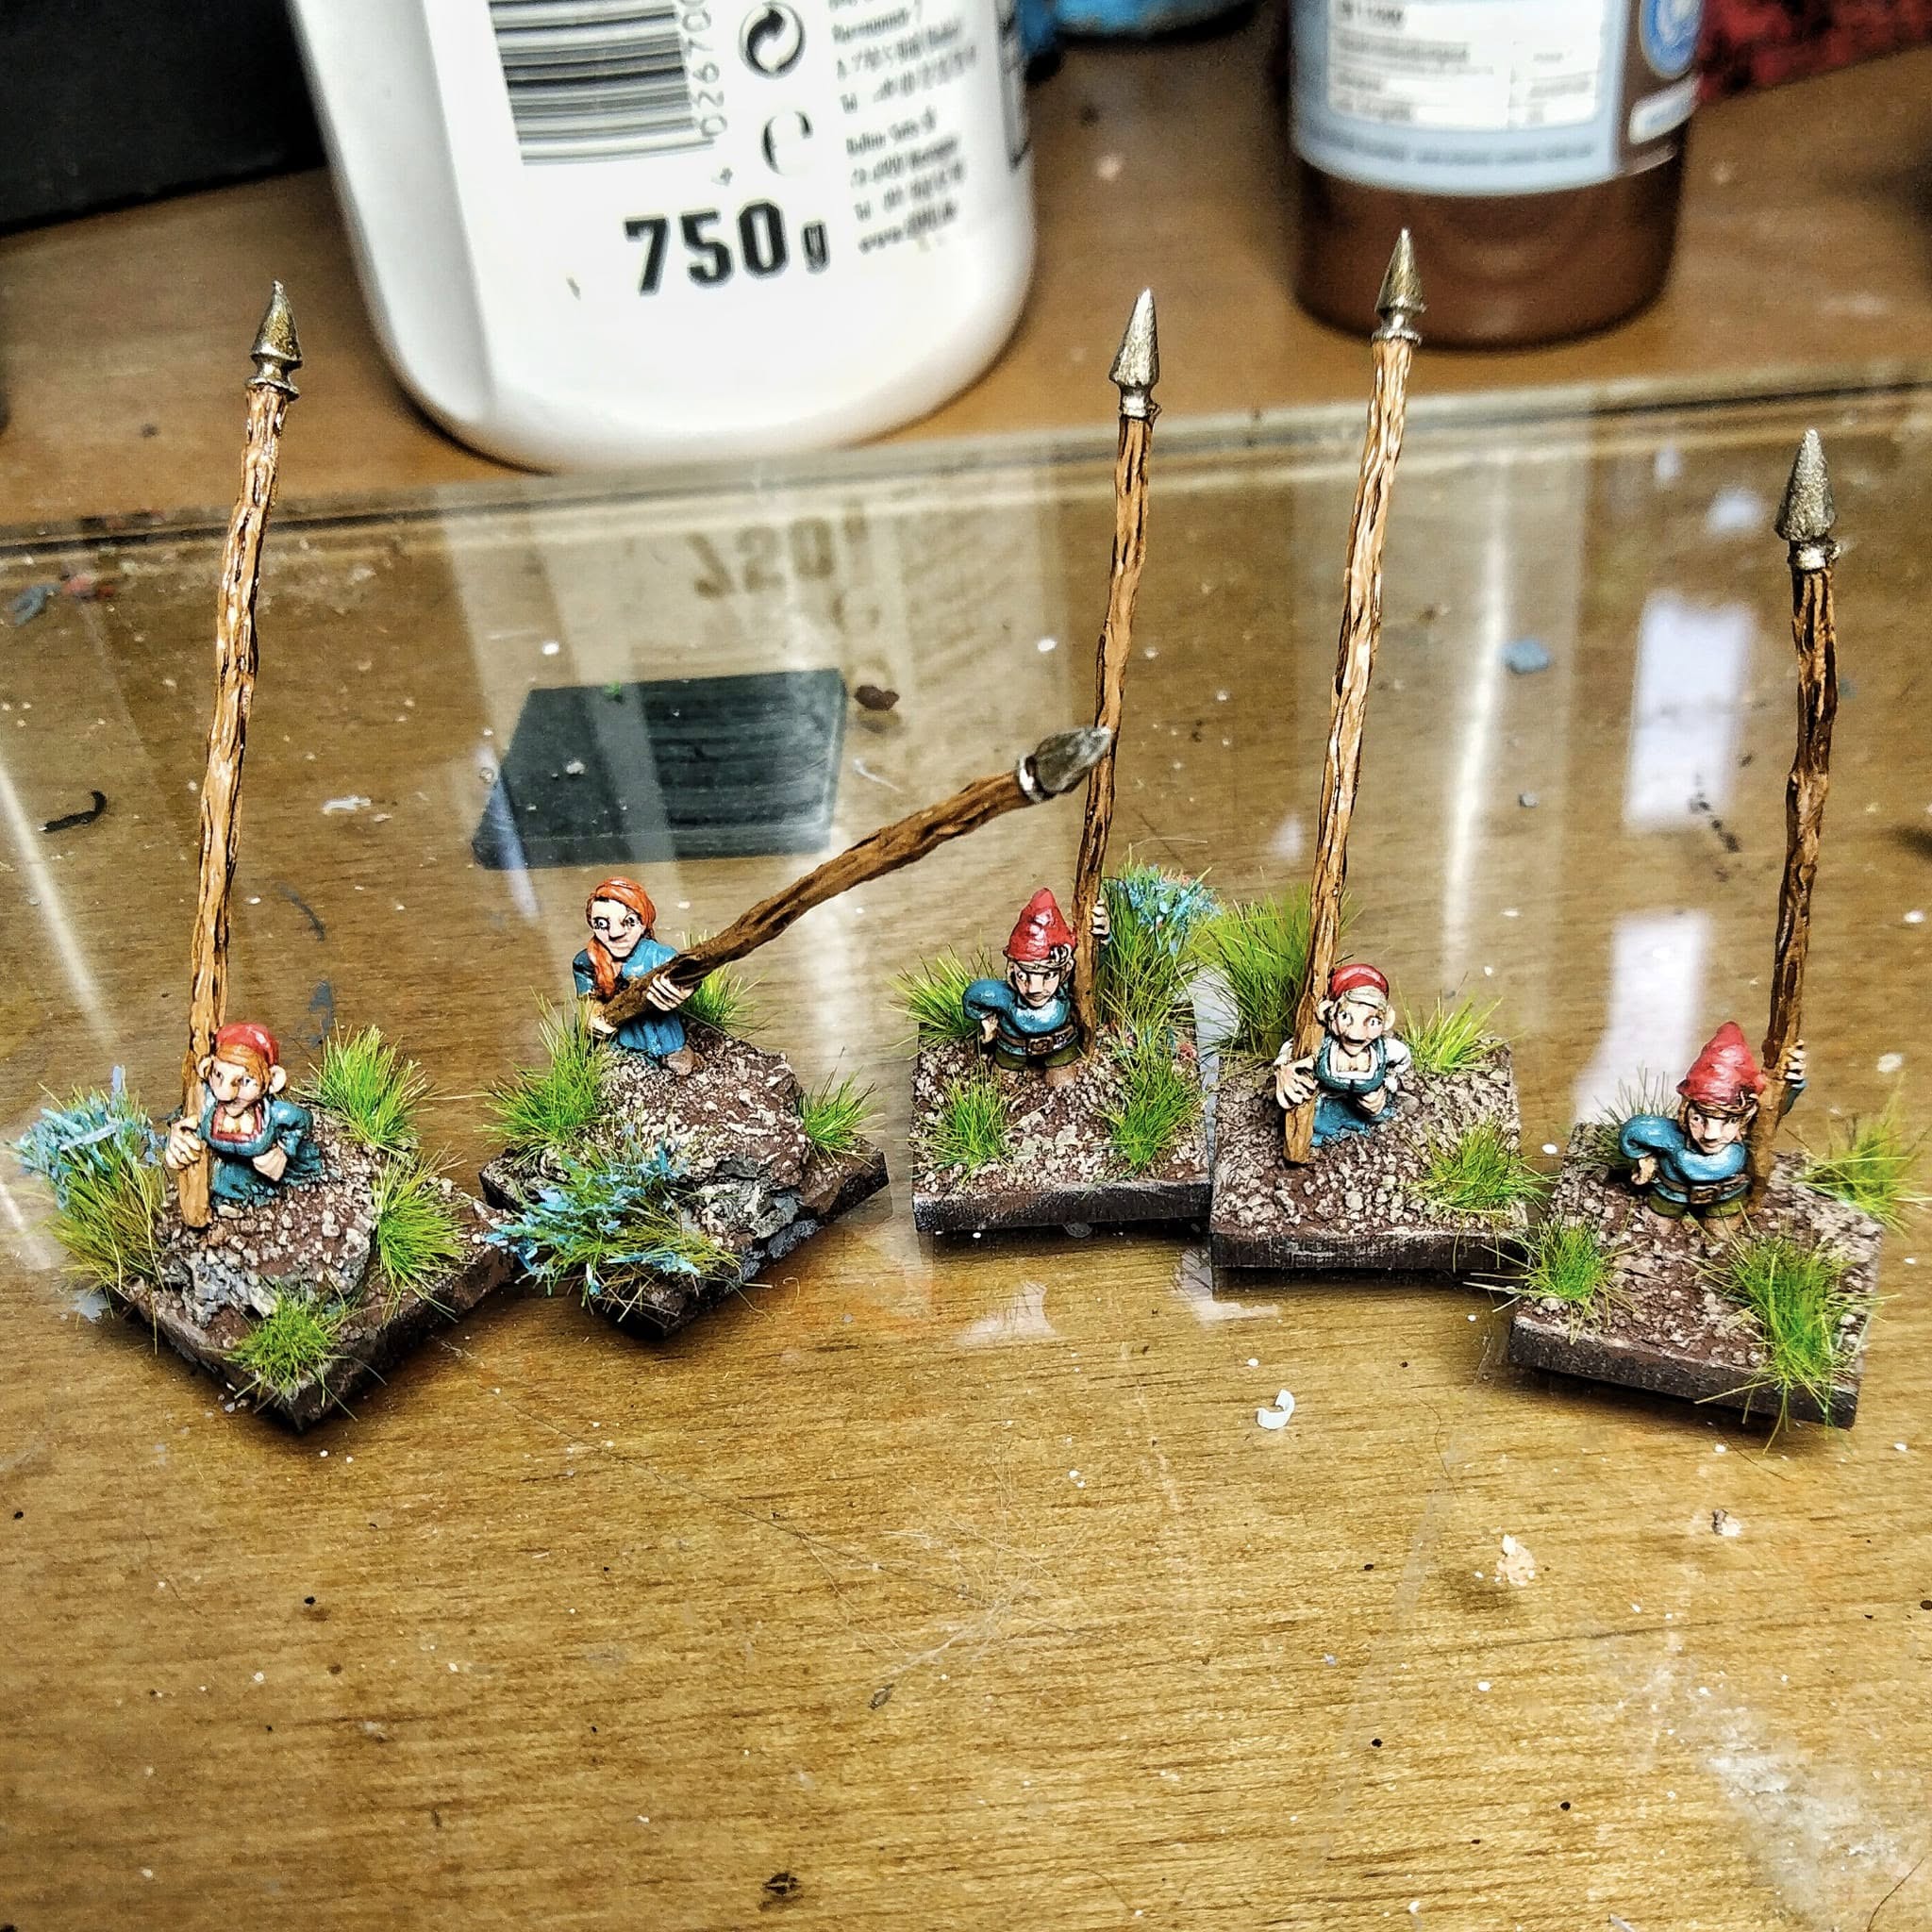
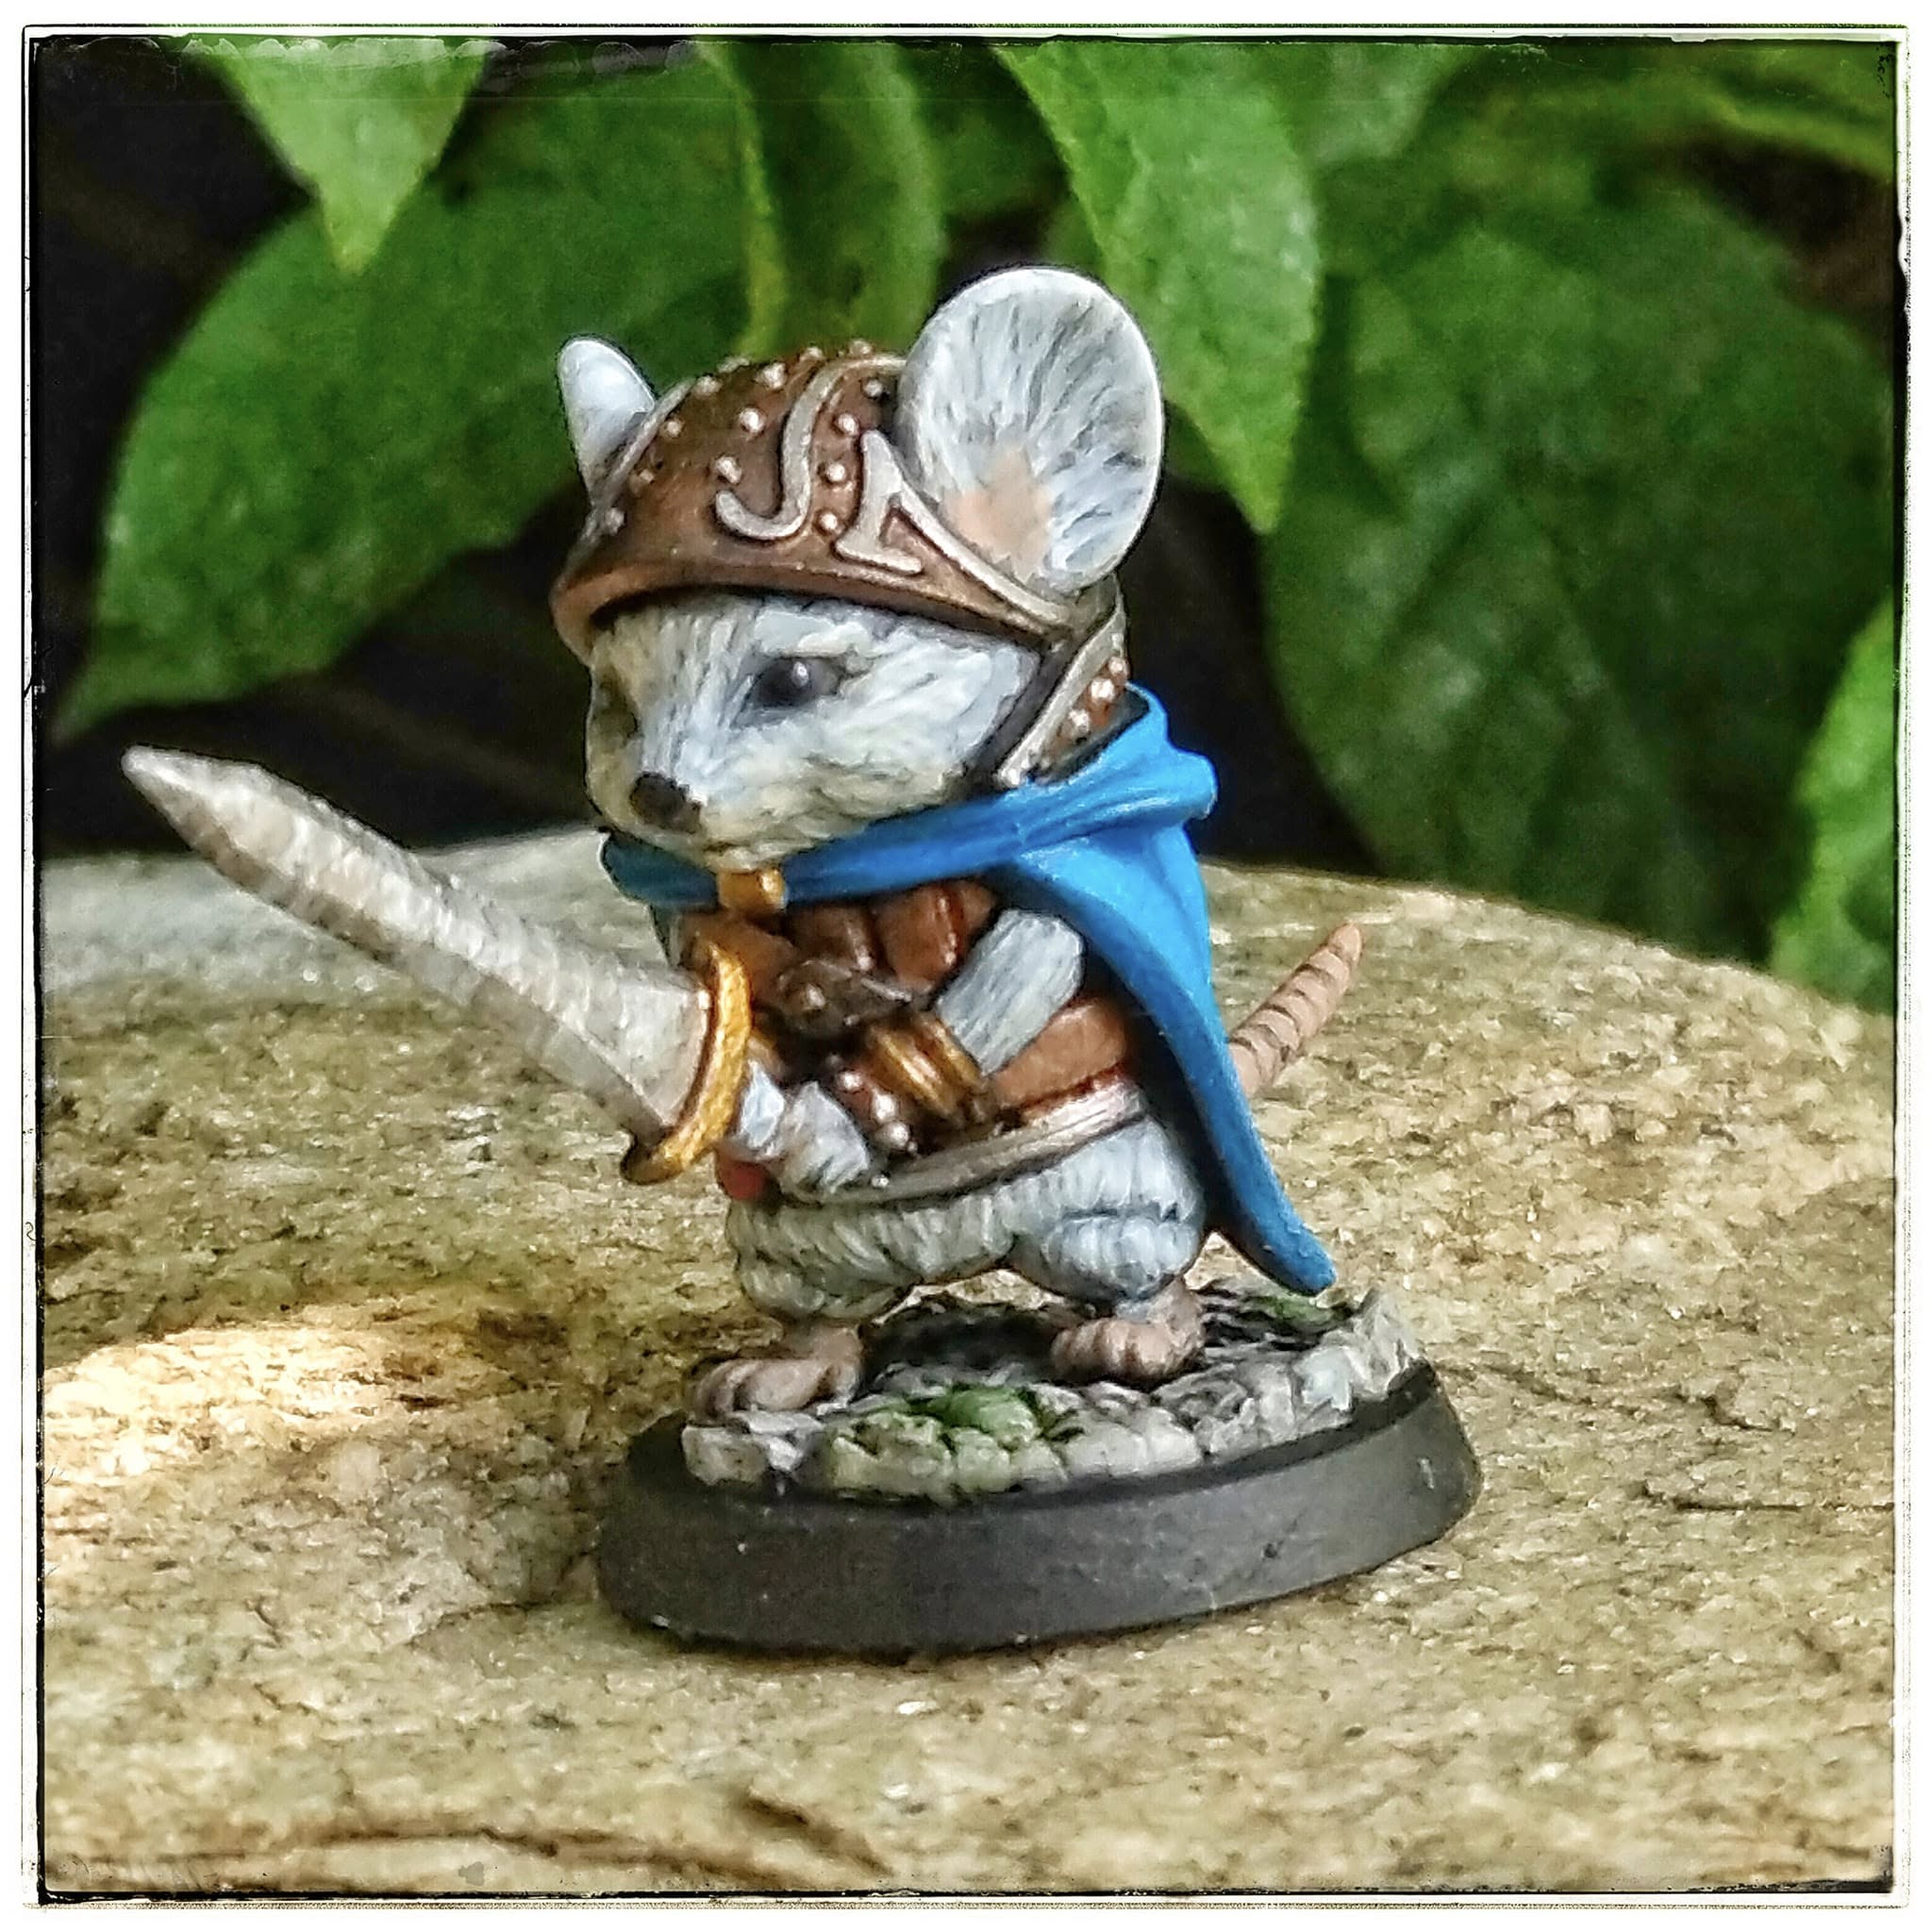
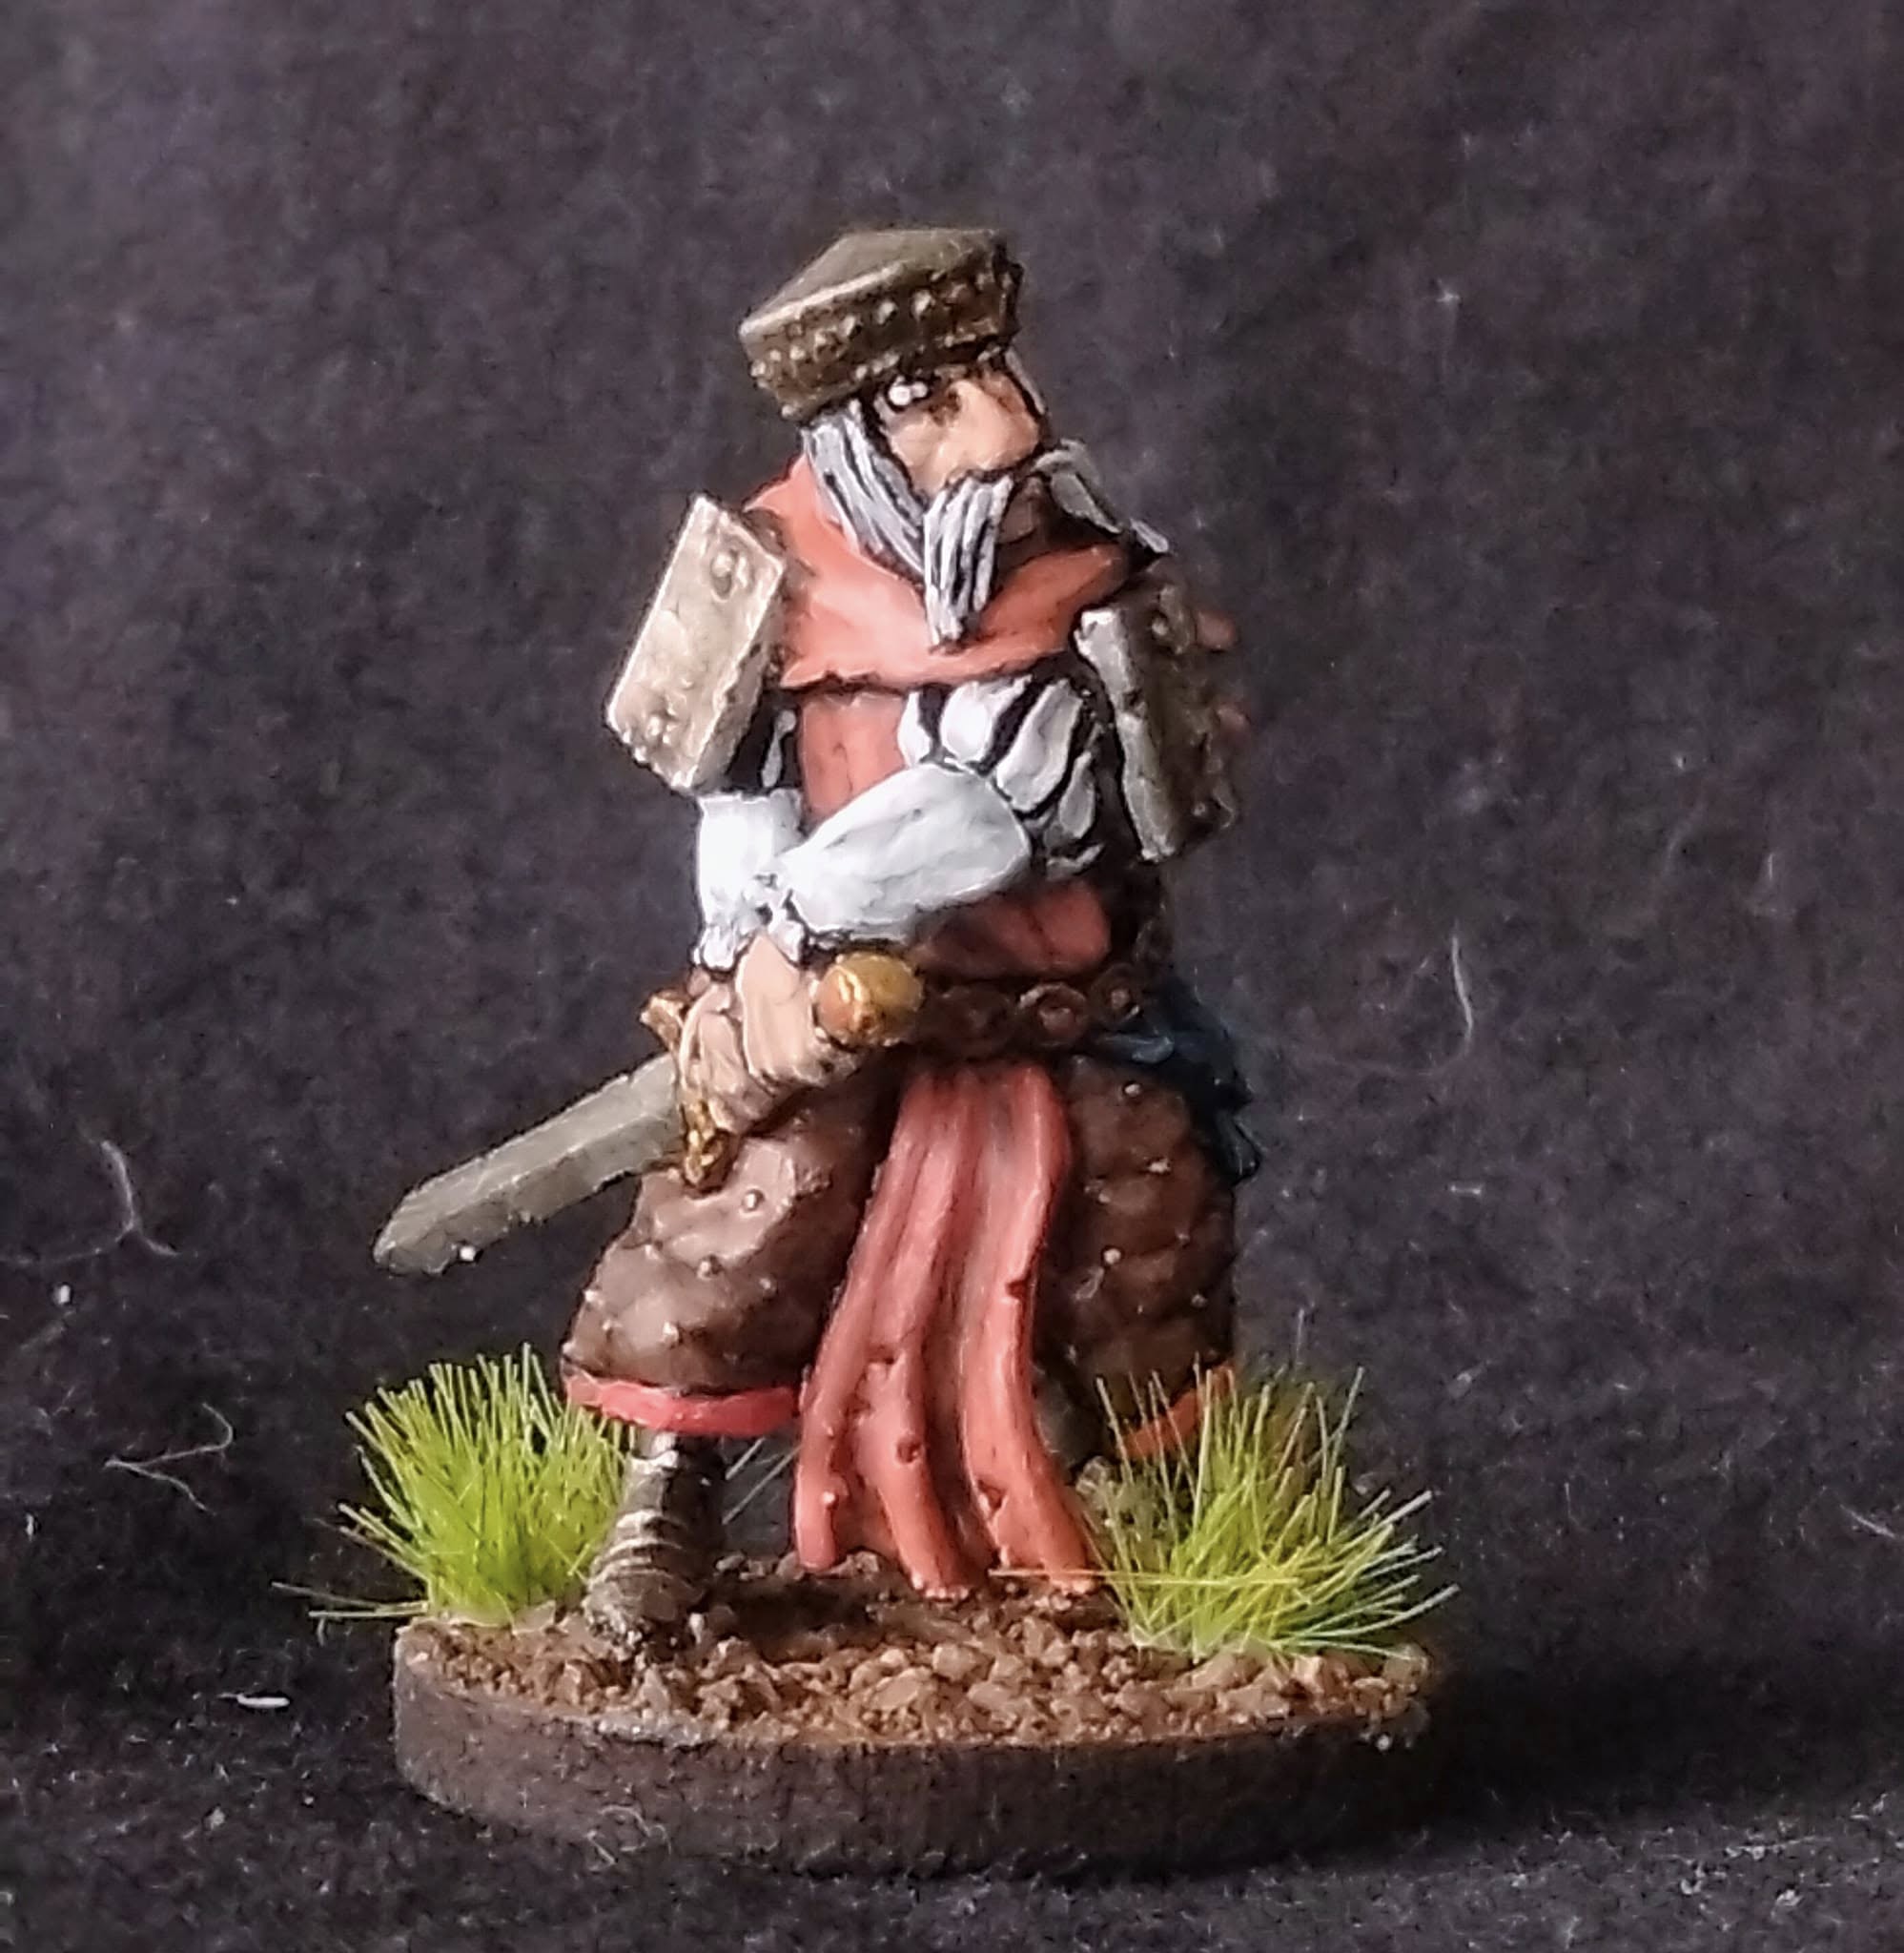
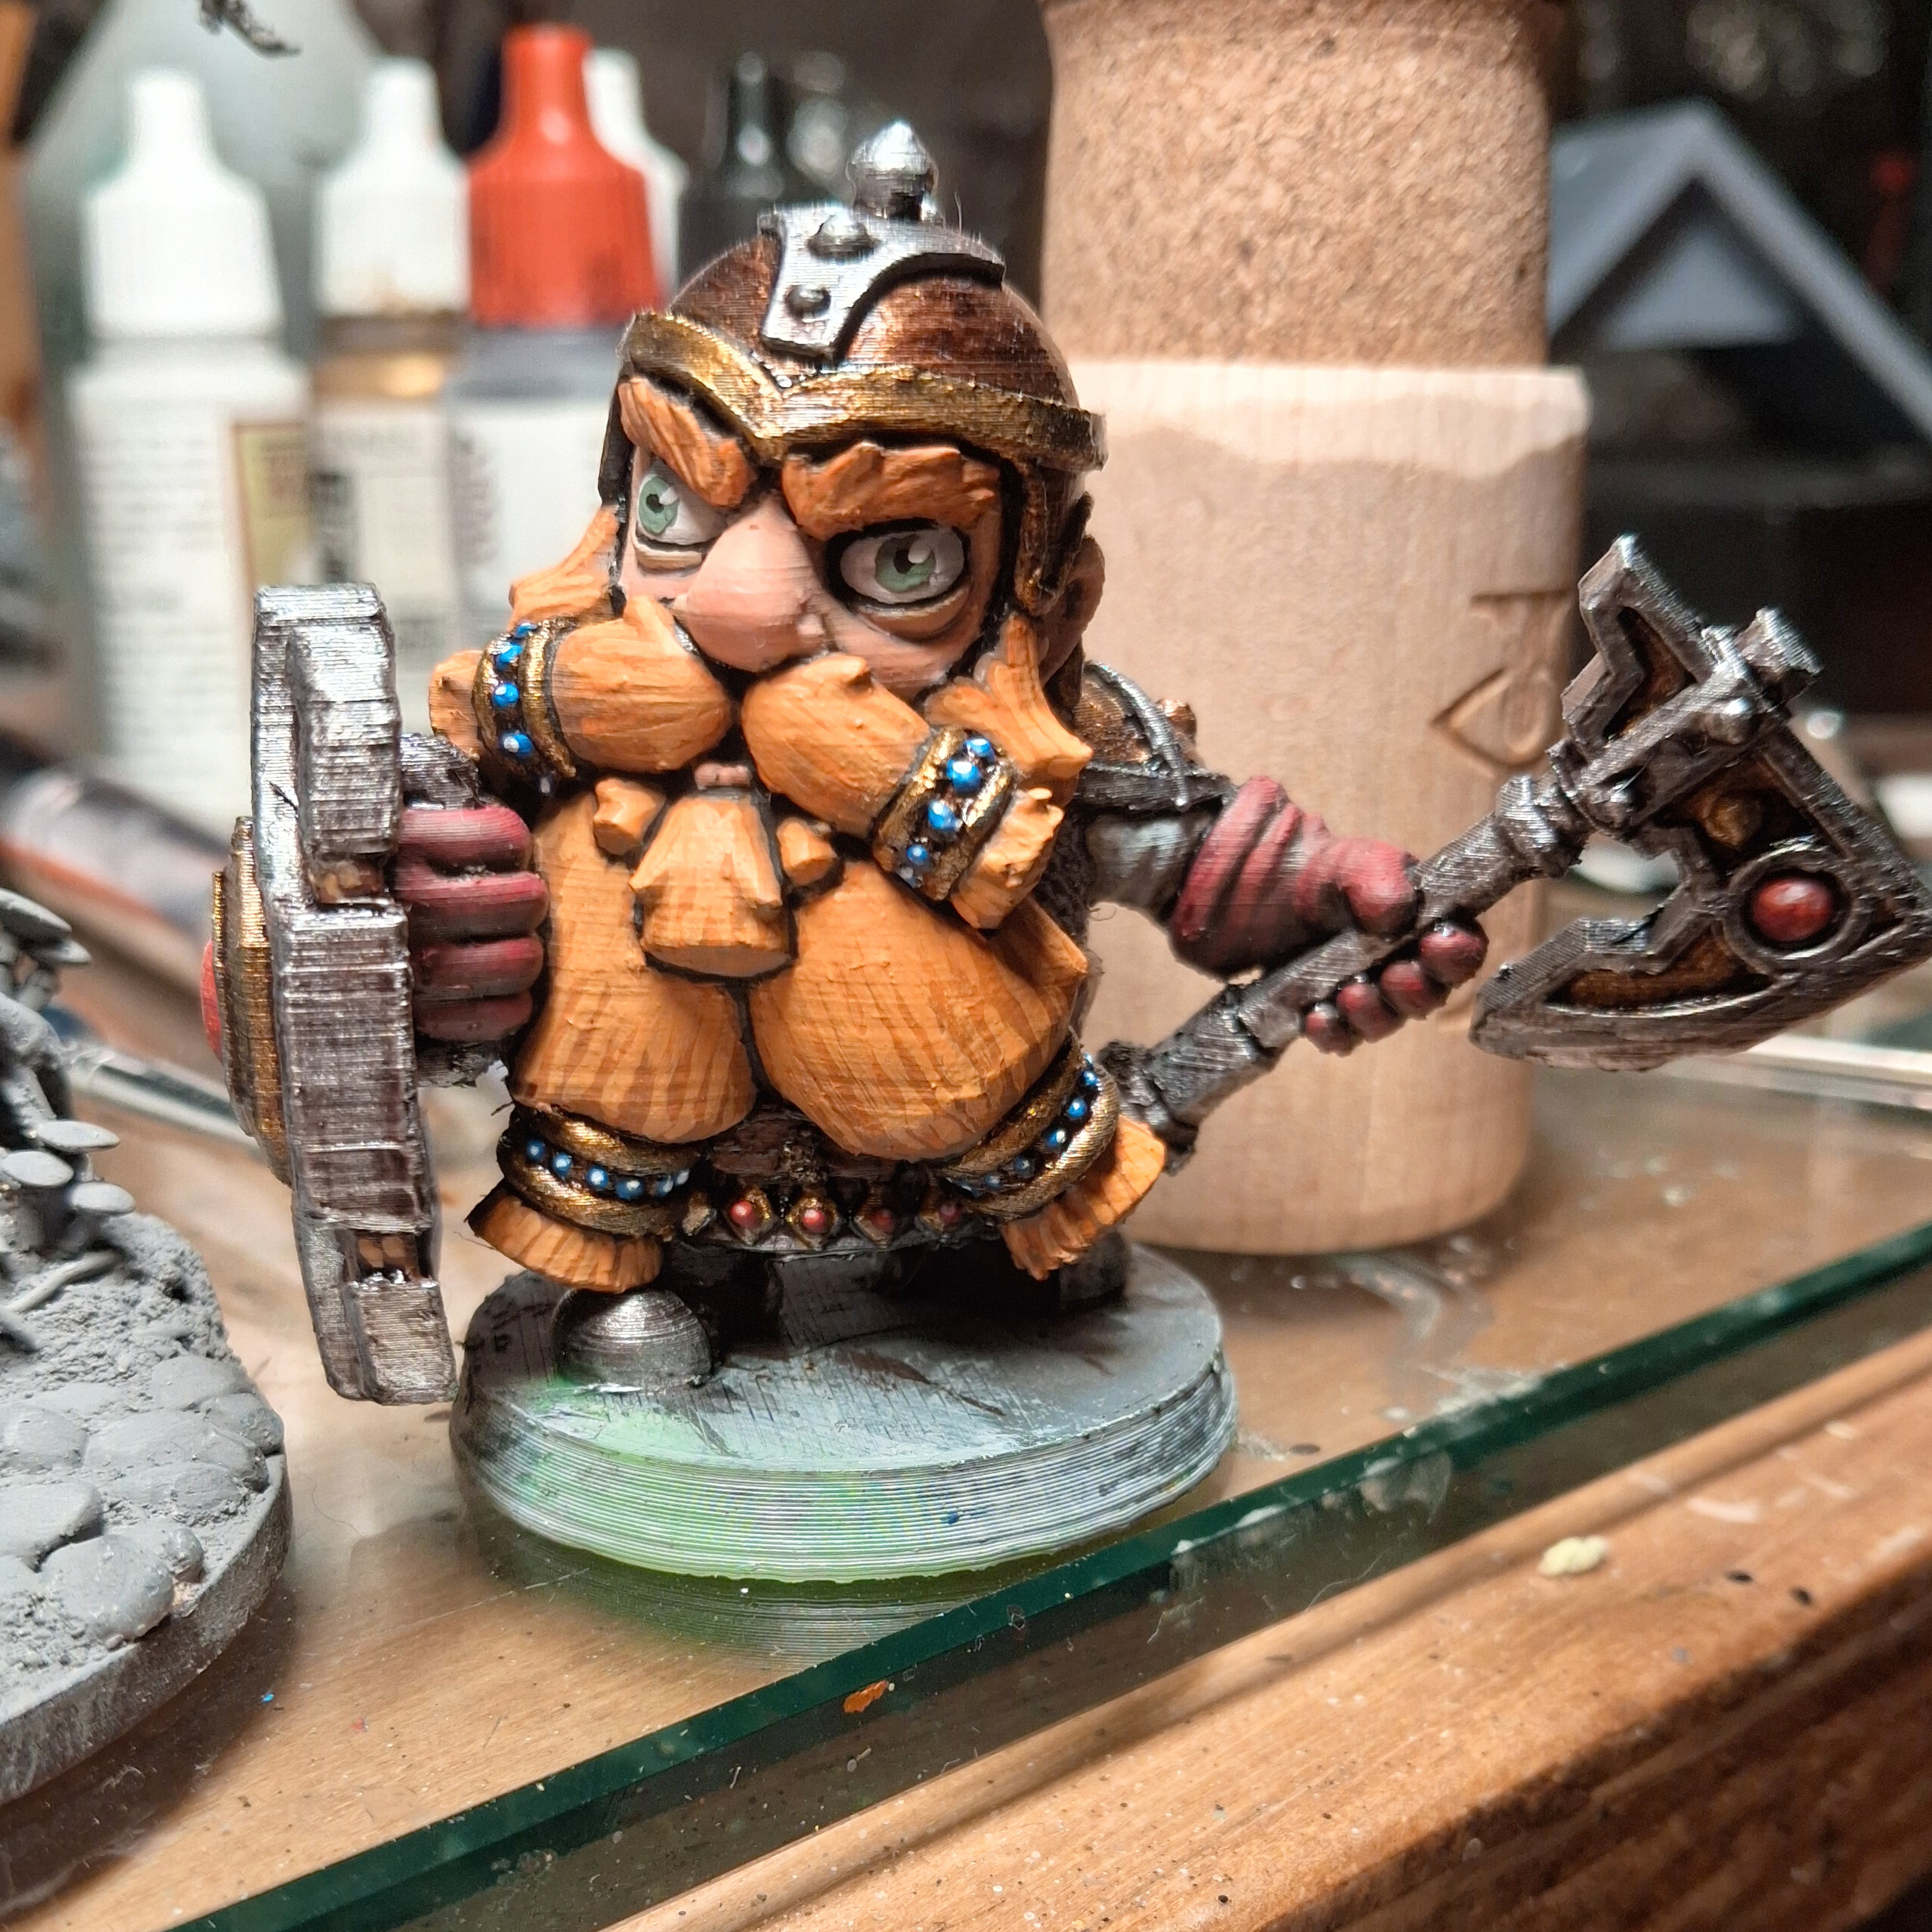
War Lord for Anglo Saxon Warband. 3D printed from Last Sword who produce some absolutely stunning models. This is another example of me getting distracted and then making a totally over the top base.
Most of this was painted to The Rivers of London audiobooks by Ben Aaronowich.
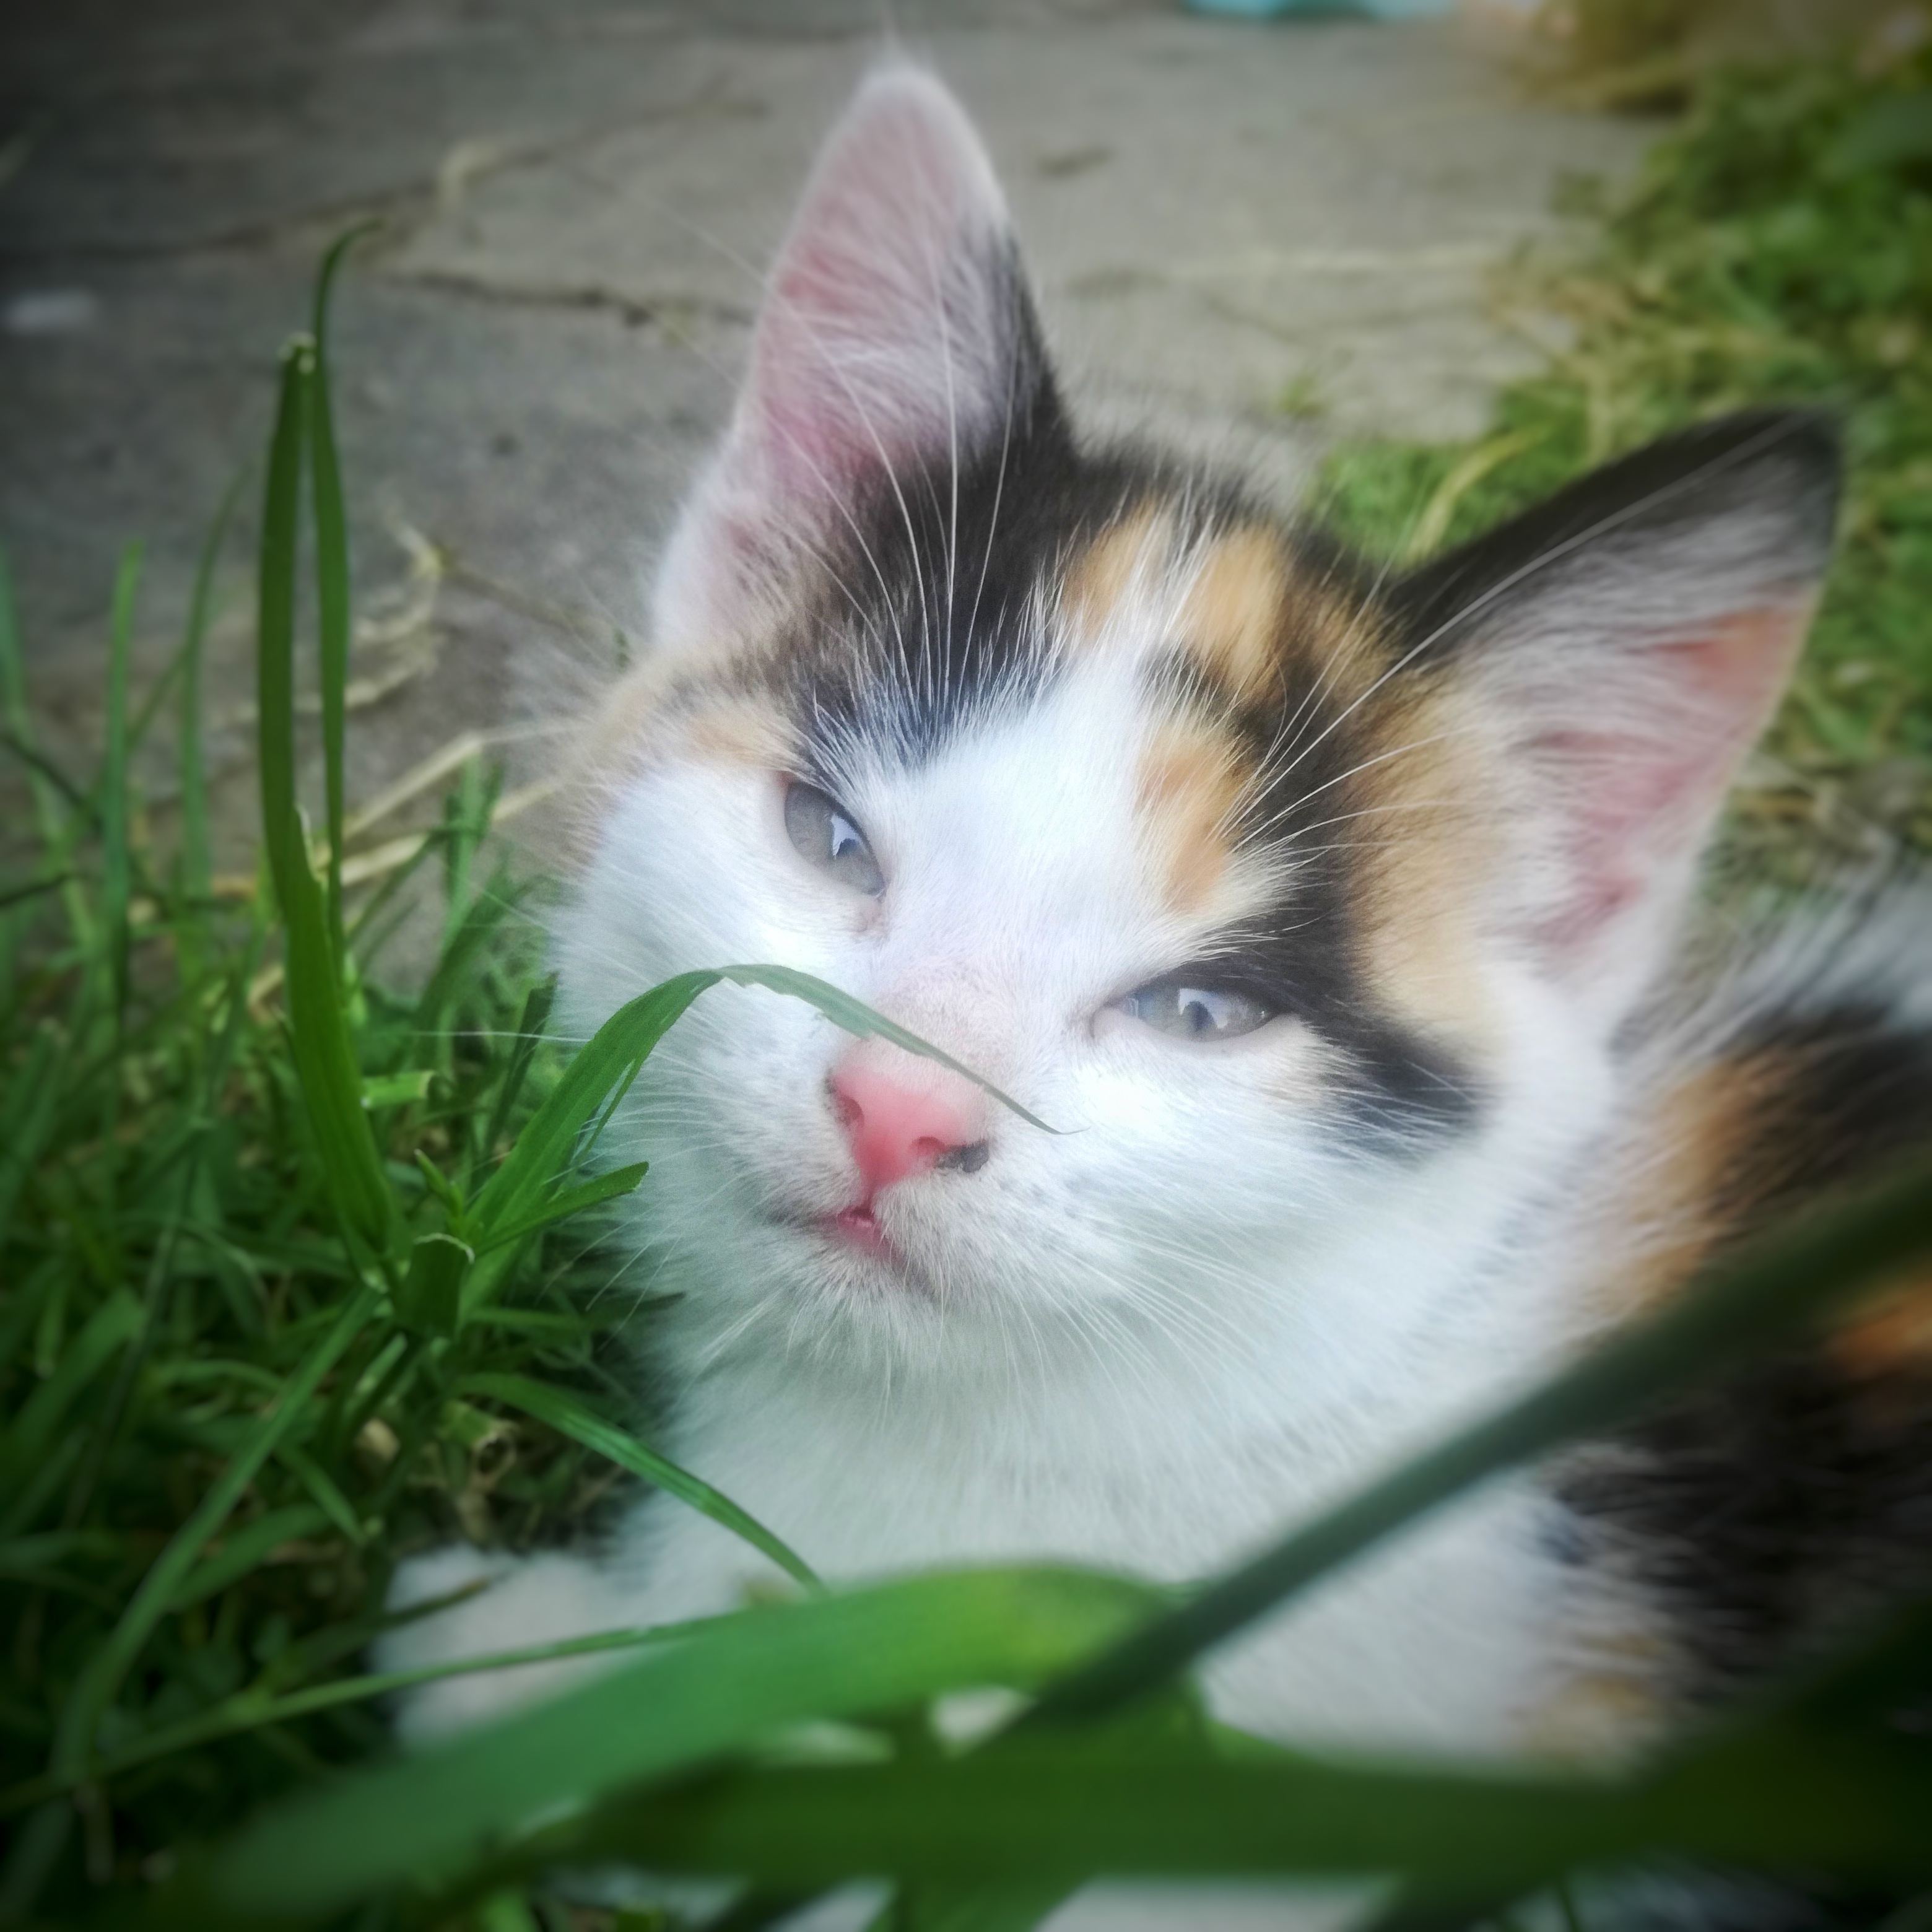
I am still continuing with my daily photographs on Instagram.