I have been painting, still not a joy, as yet. But plugging away and chipping away at the pile on my desk. I realised how much I had missed having a window to look out of. I moved my painting lights upstairs. Now printing off some paint racks to free up some desk space. Photos to follow when set up.
Now to a photo dump of work done.
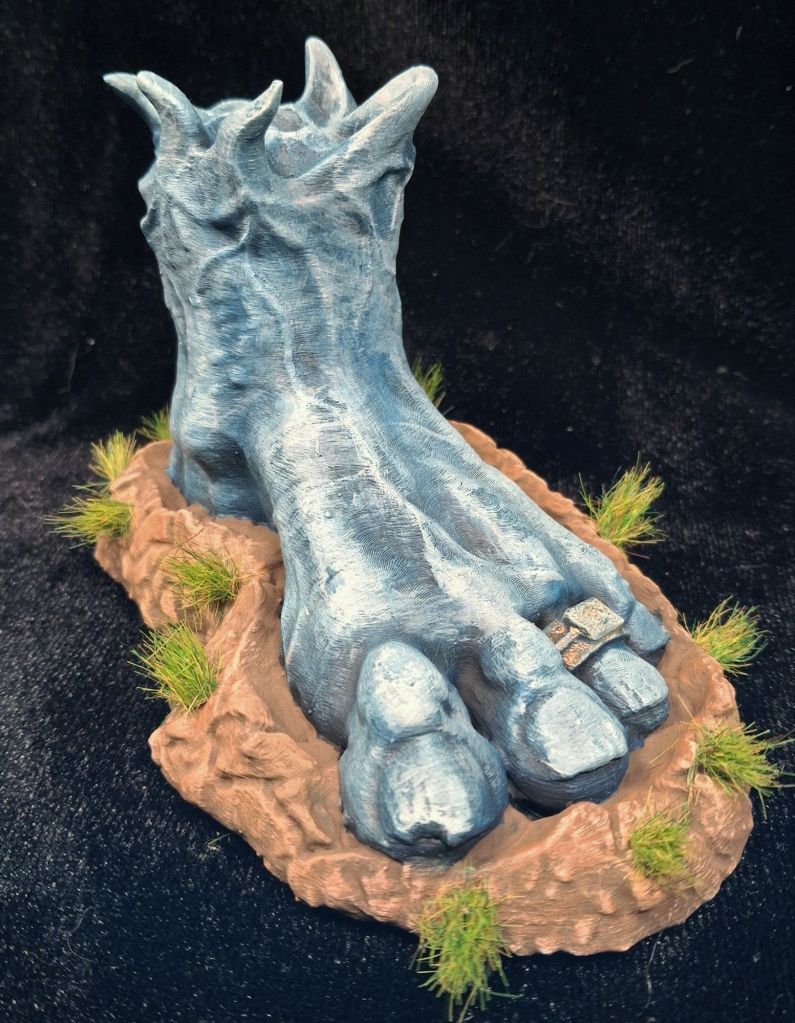
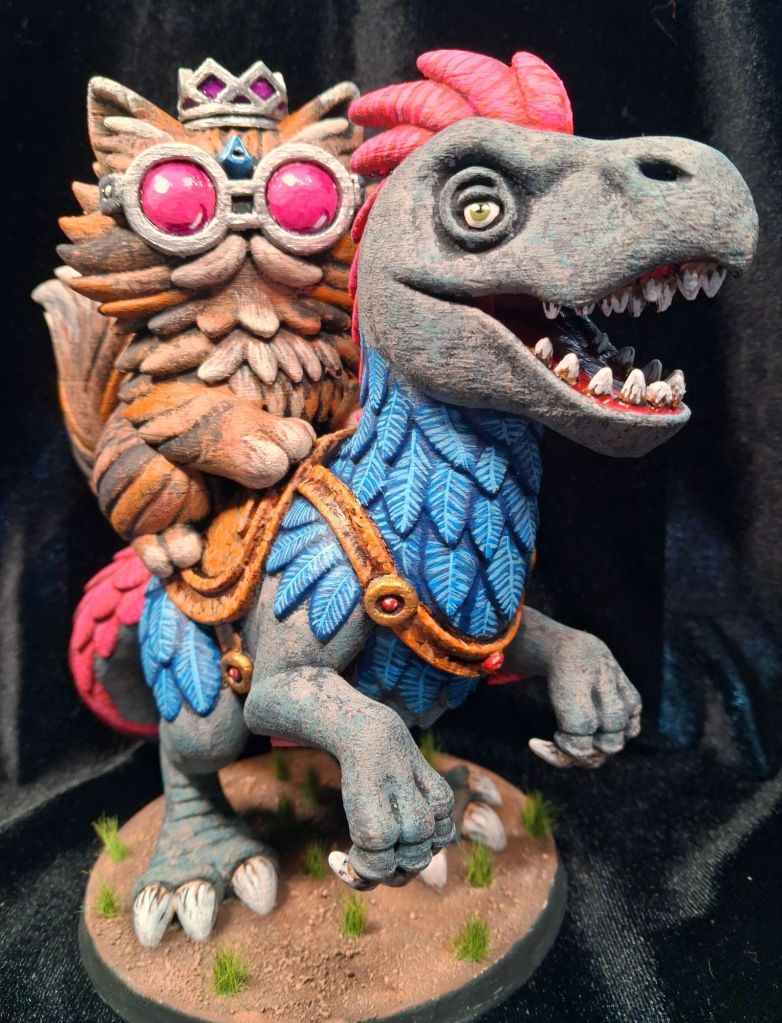
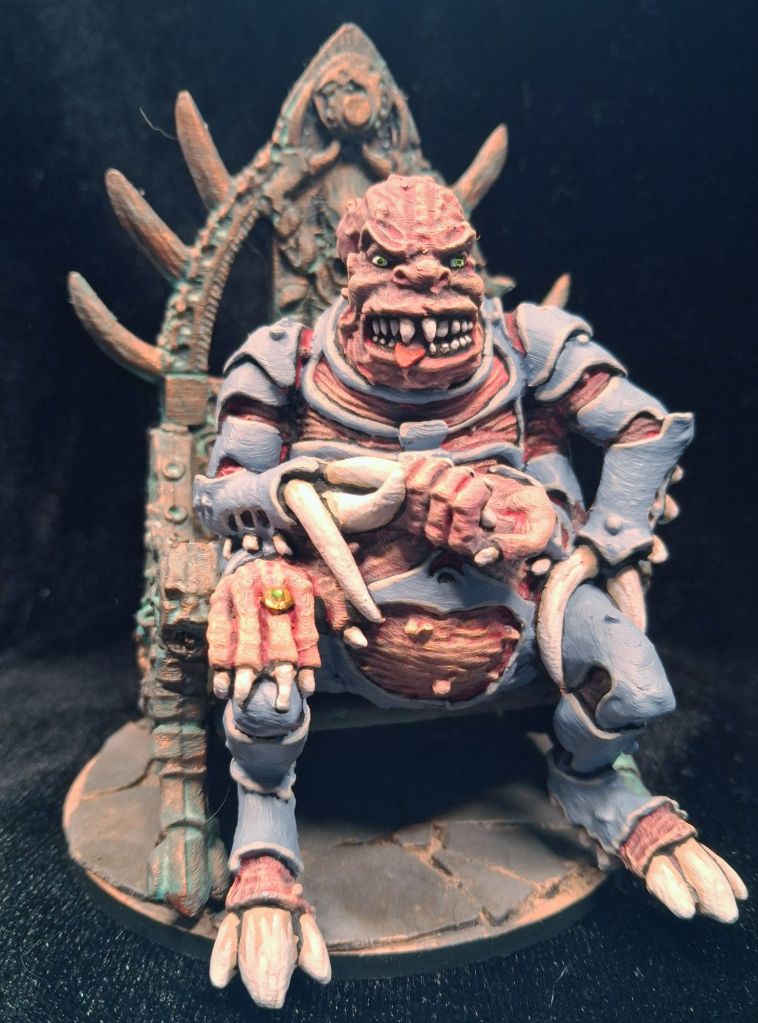
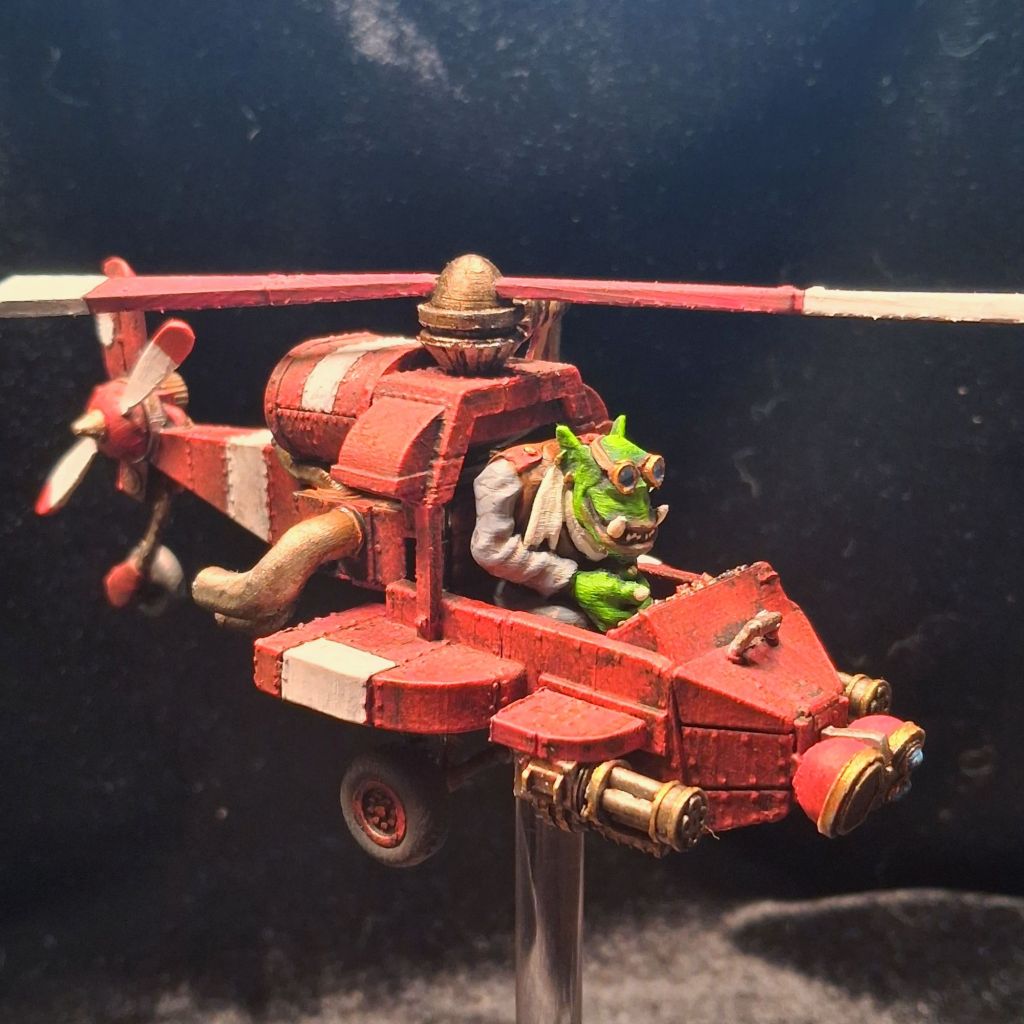
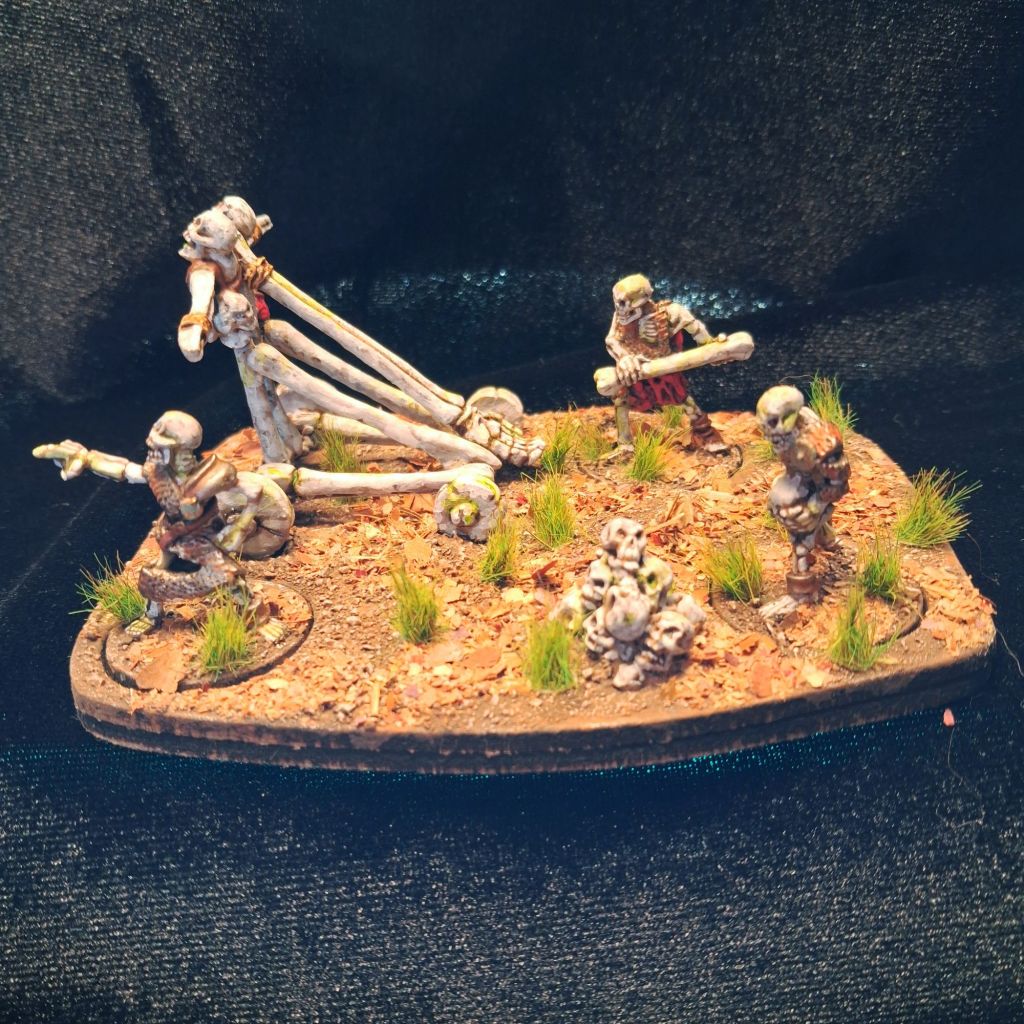
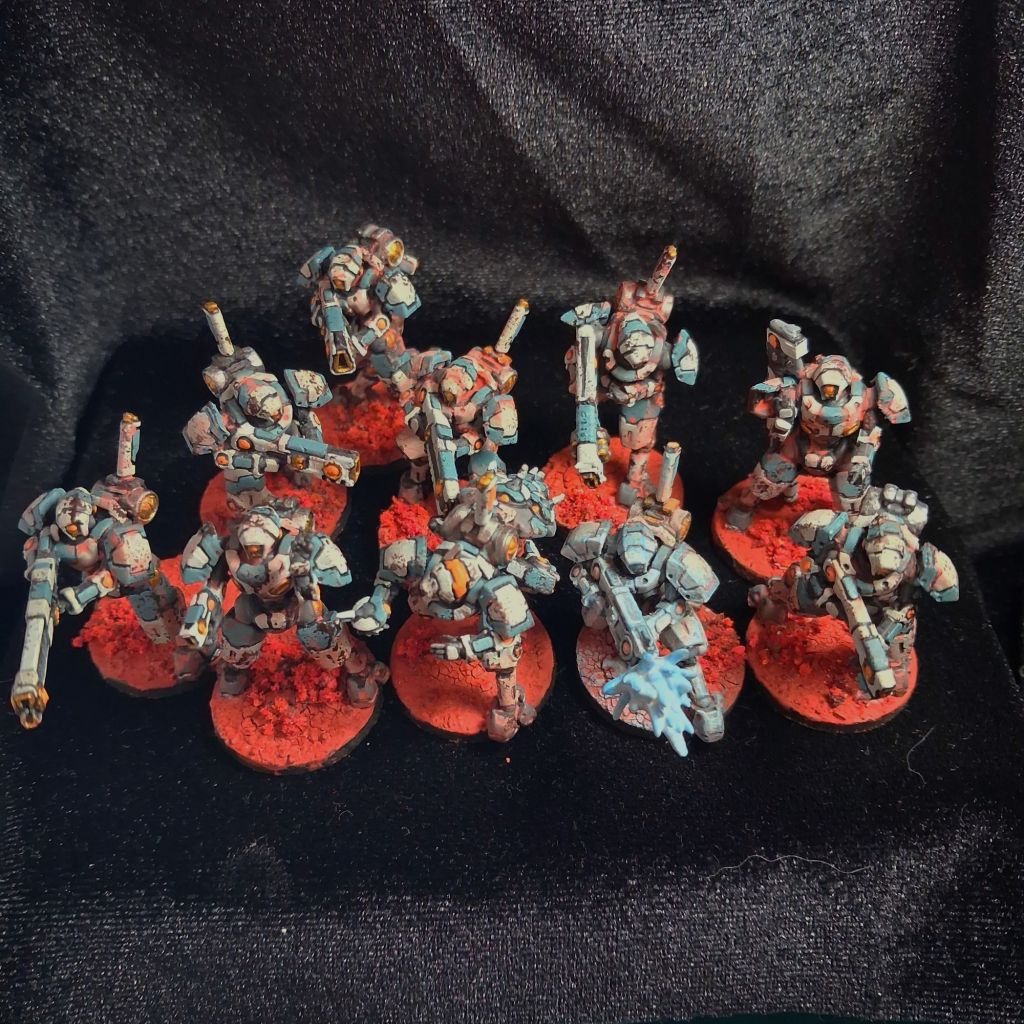
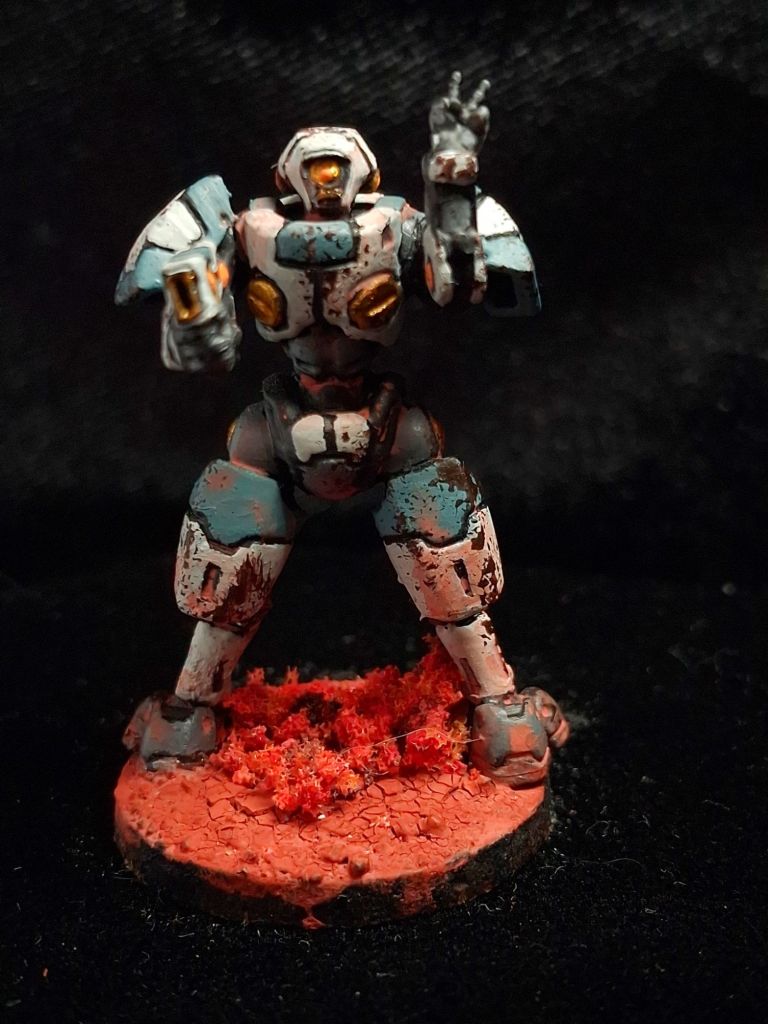
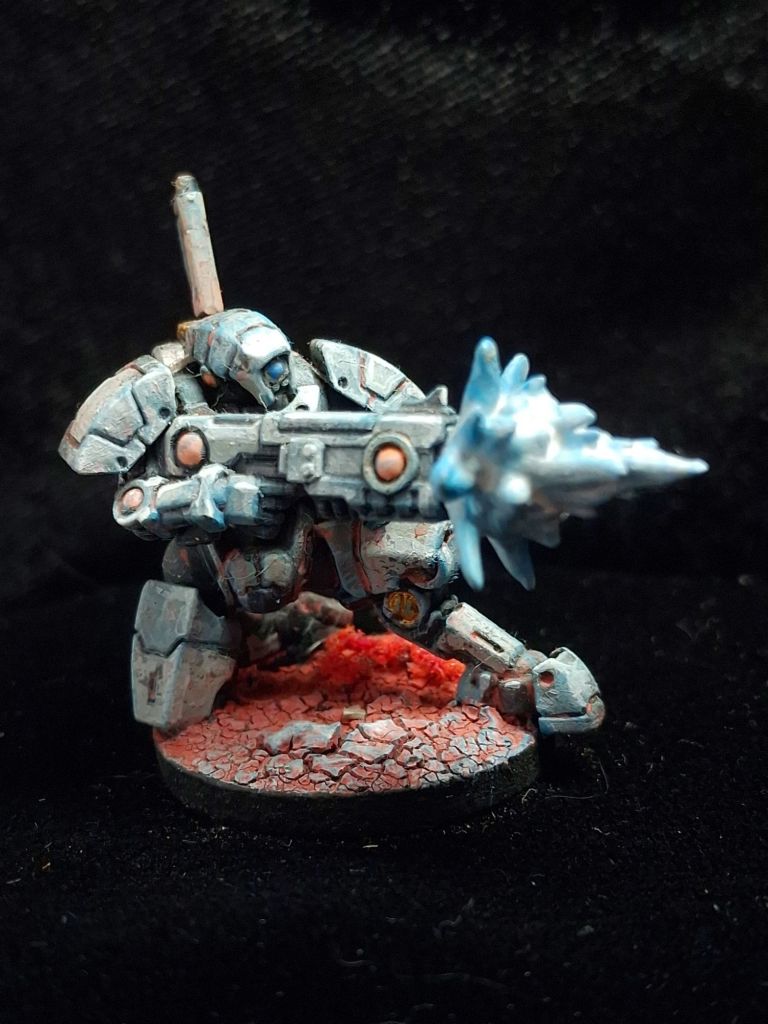
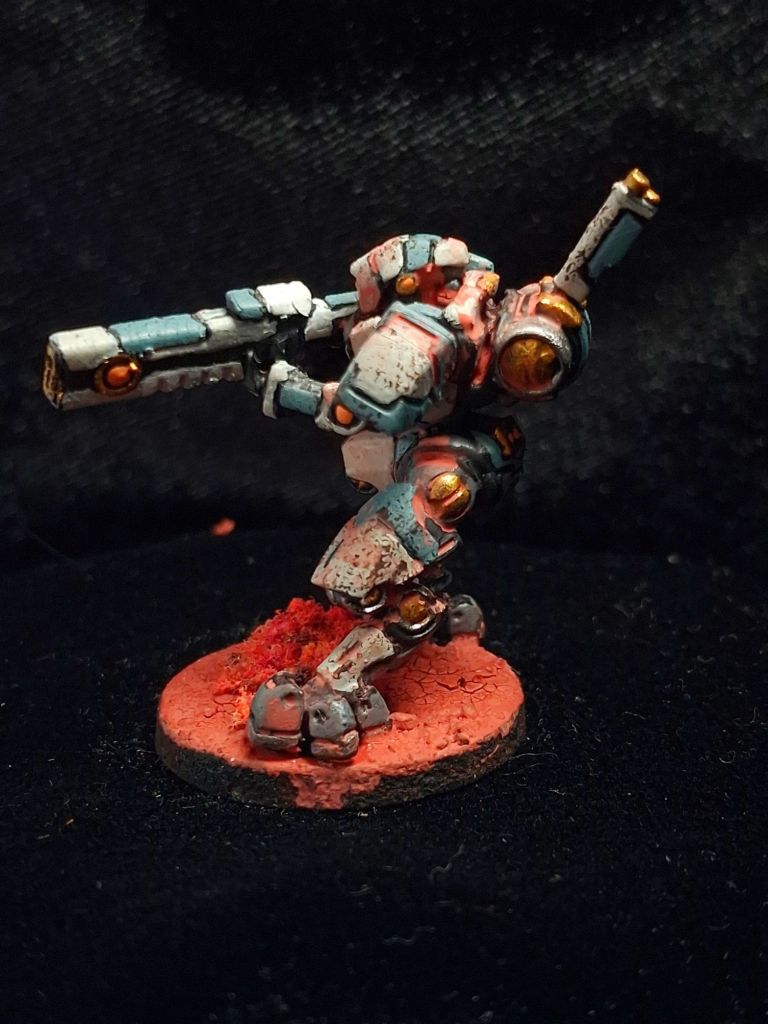
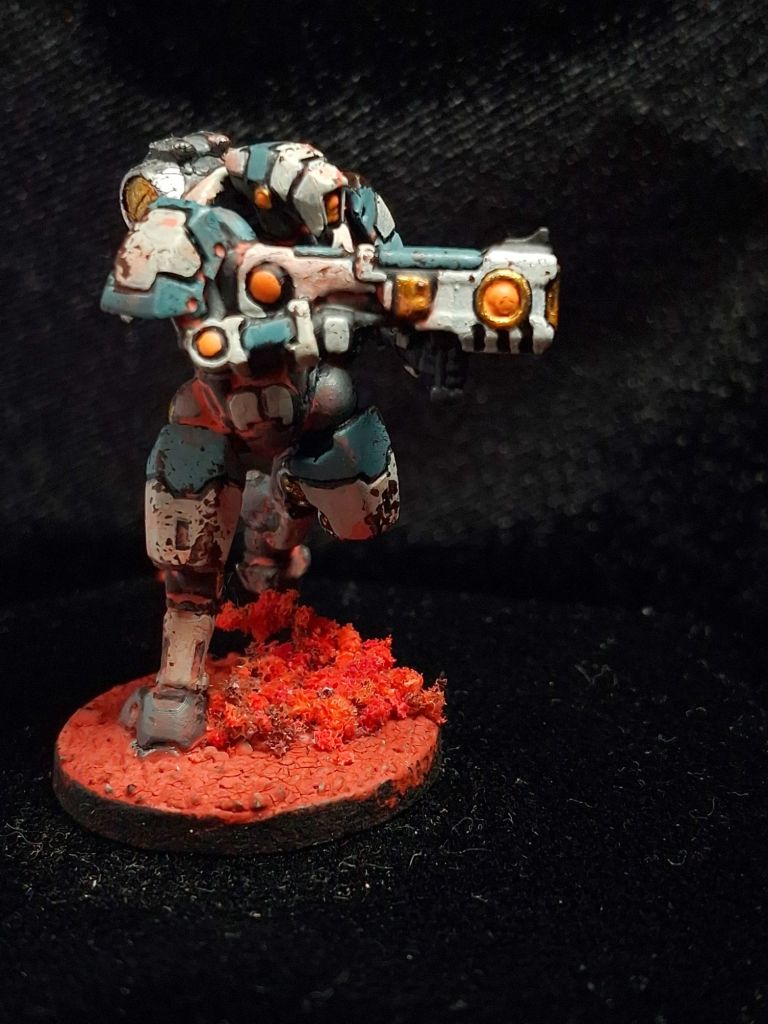
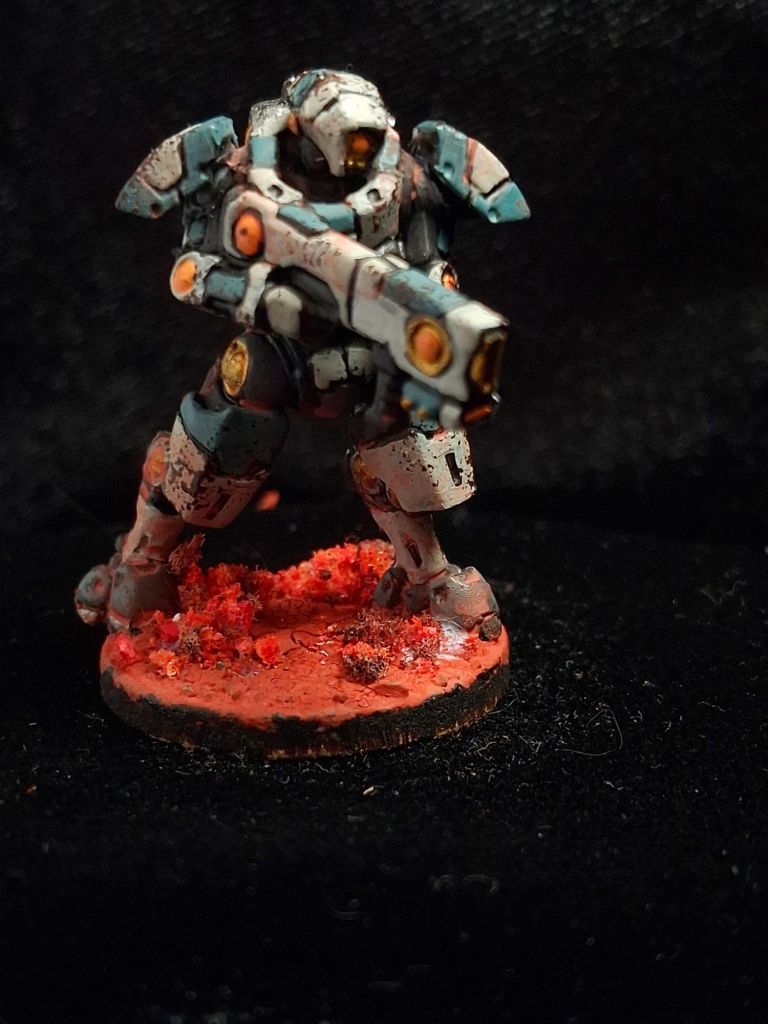
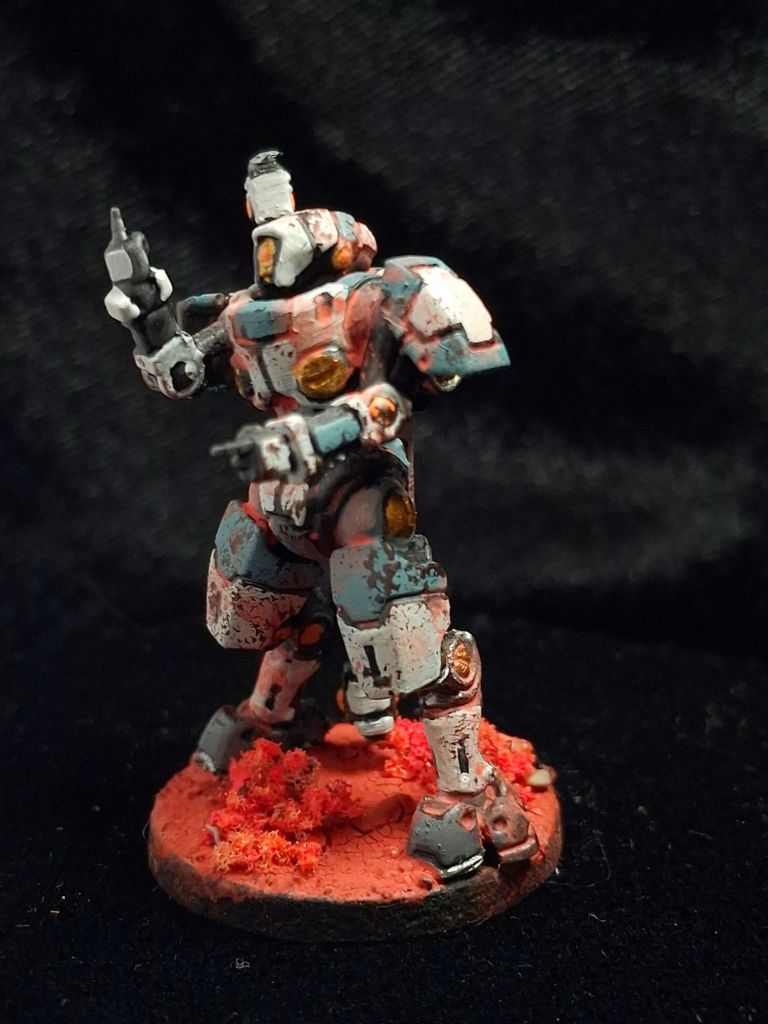
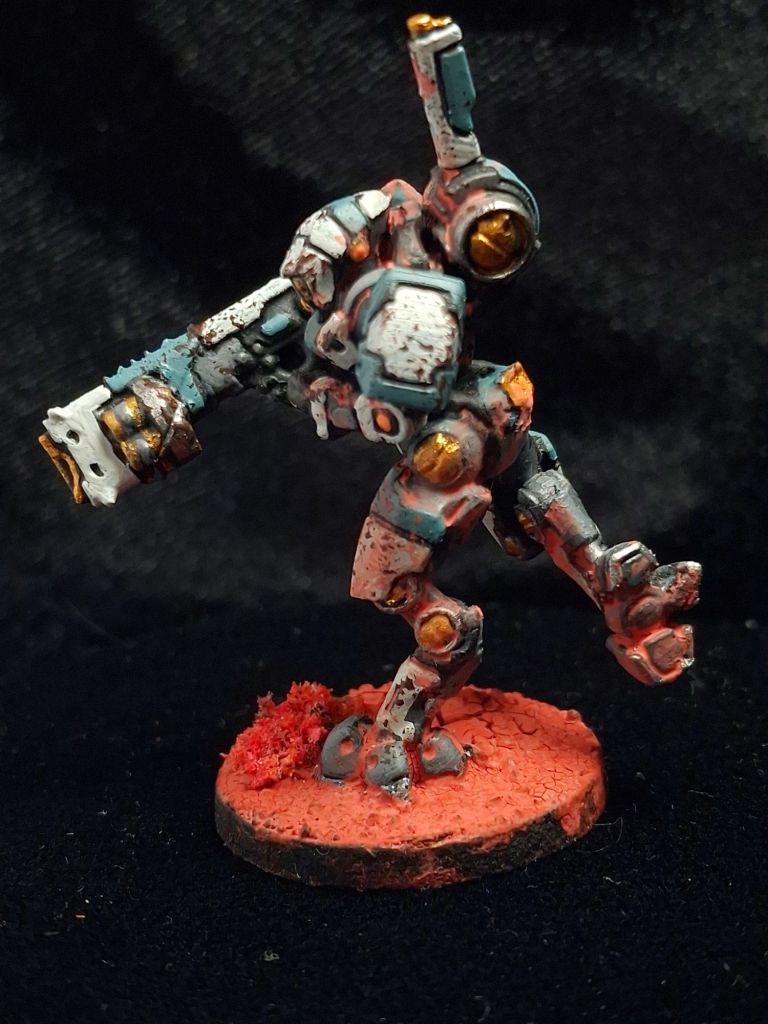
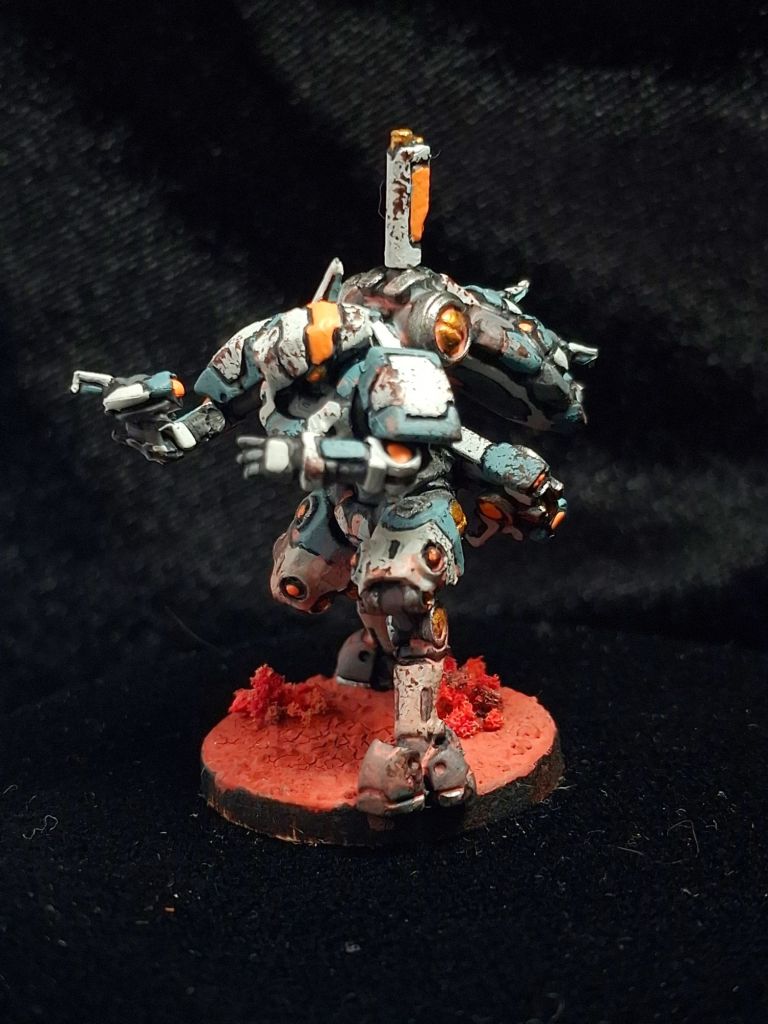
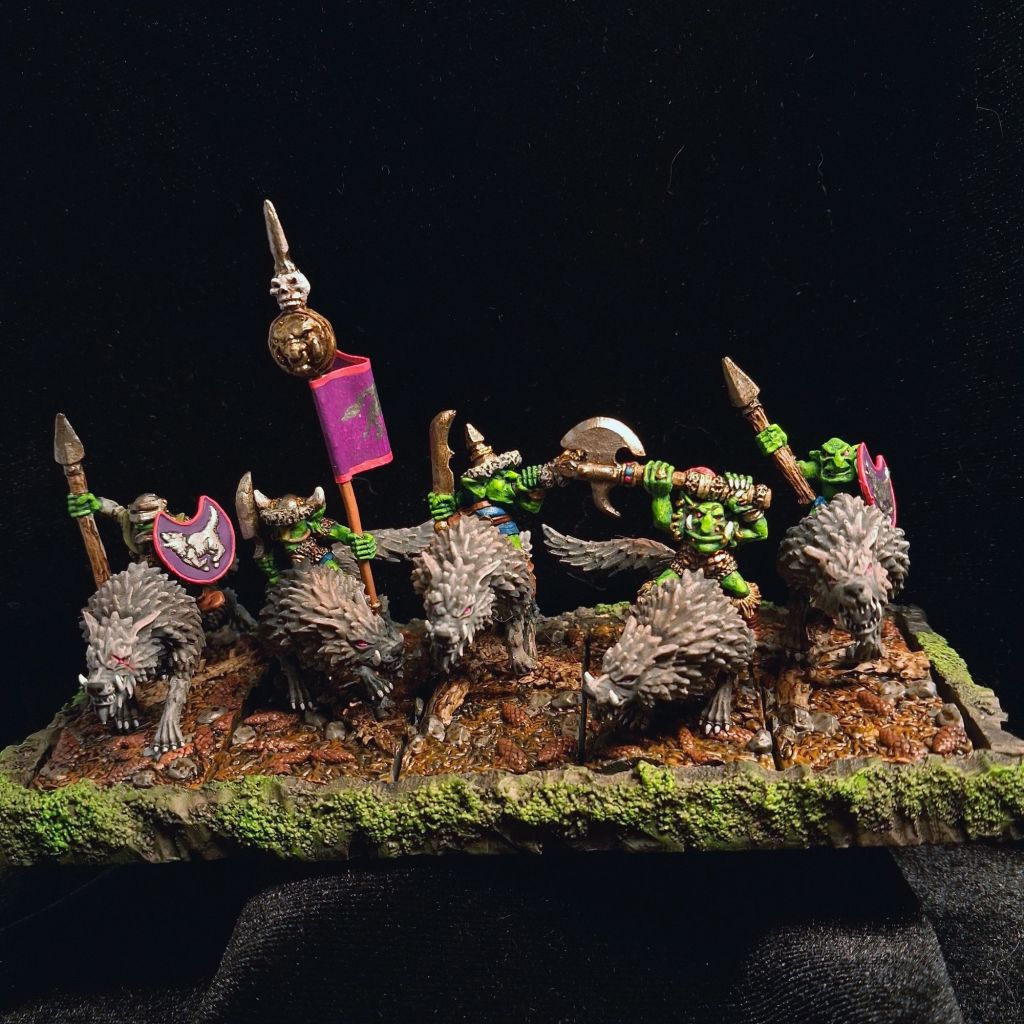
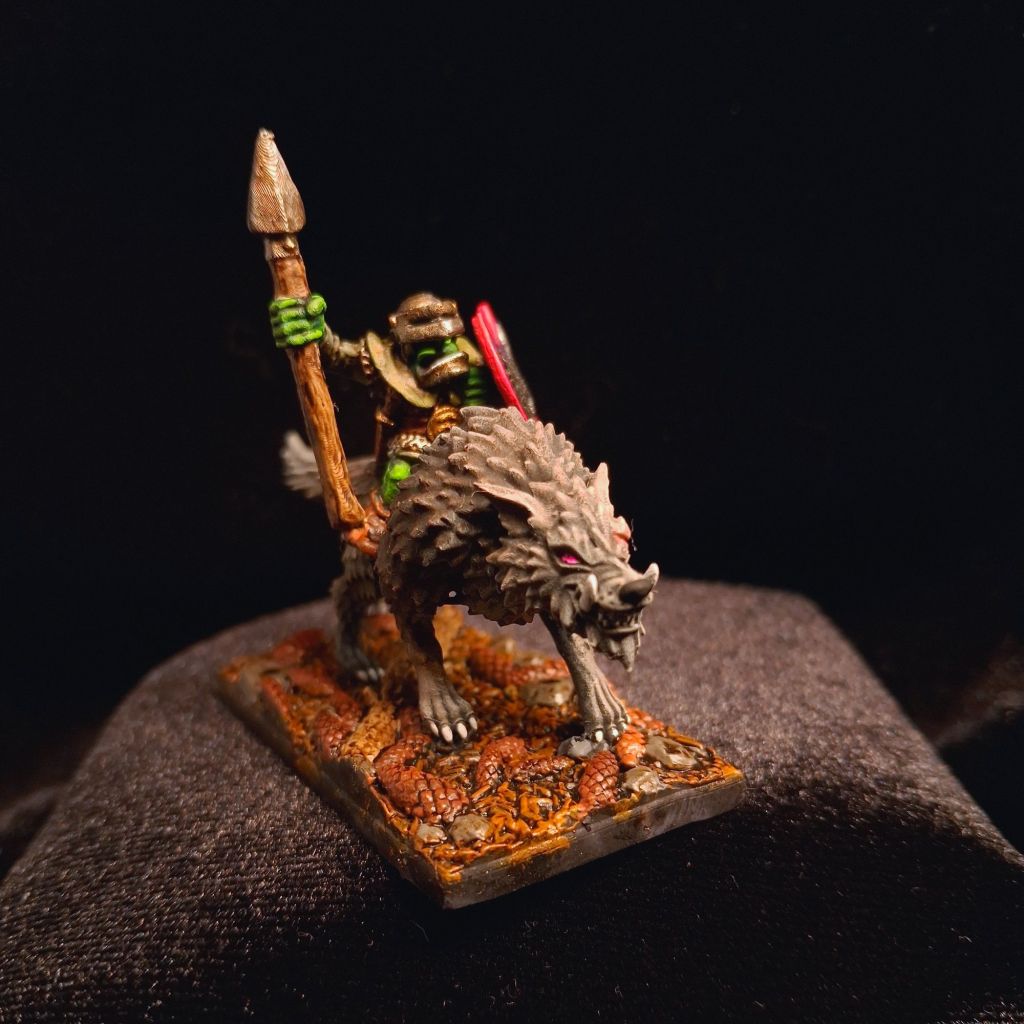
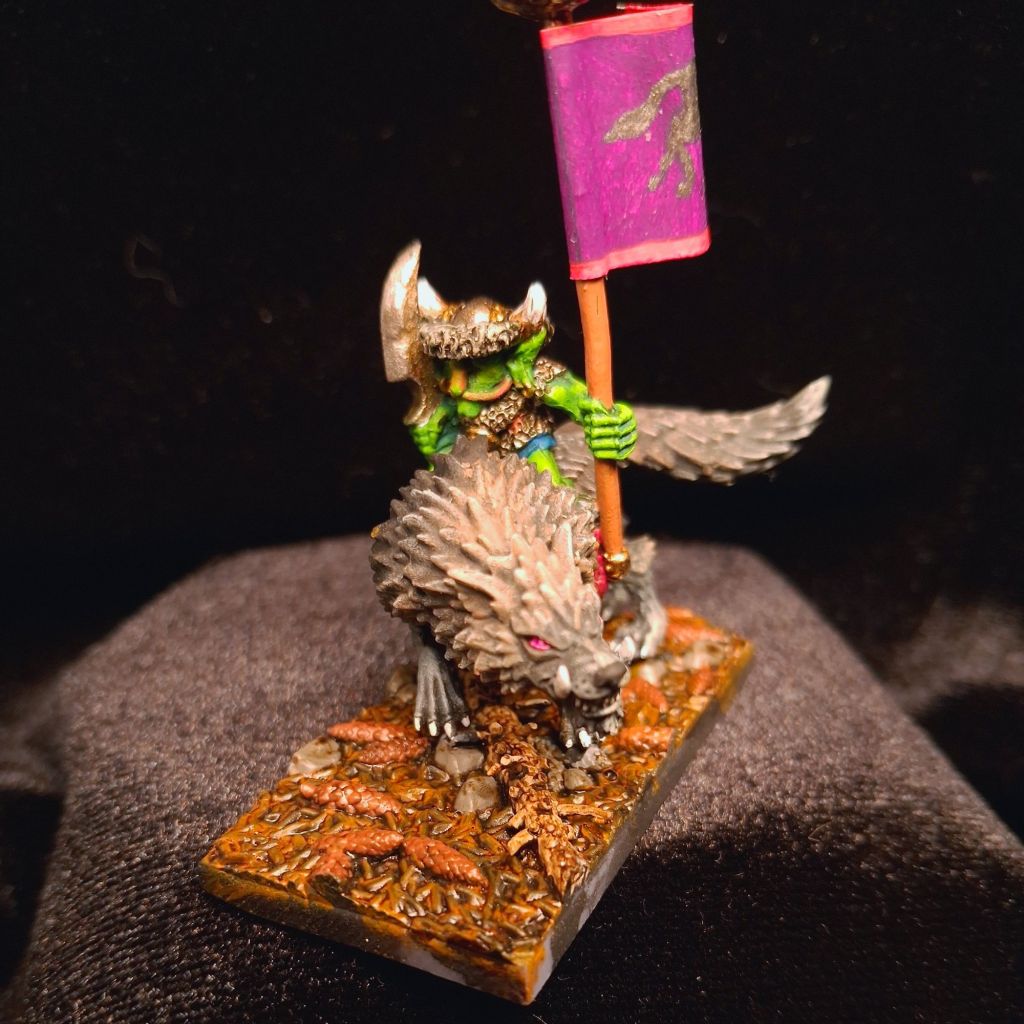
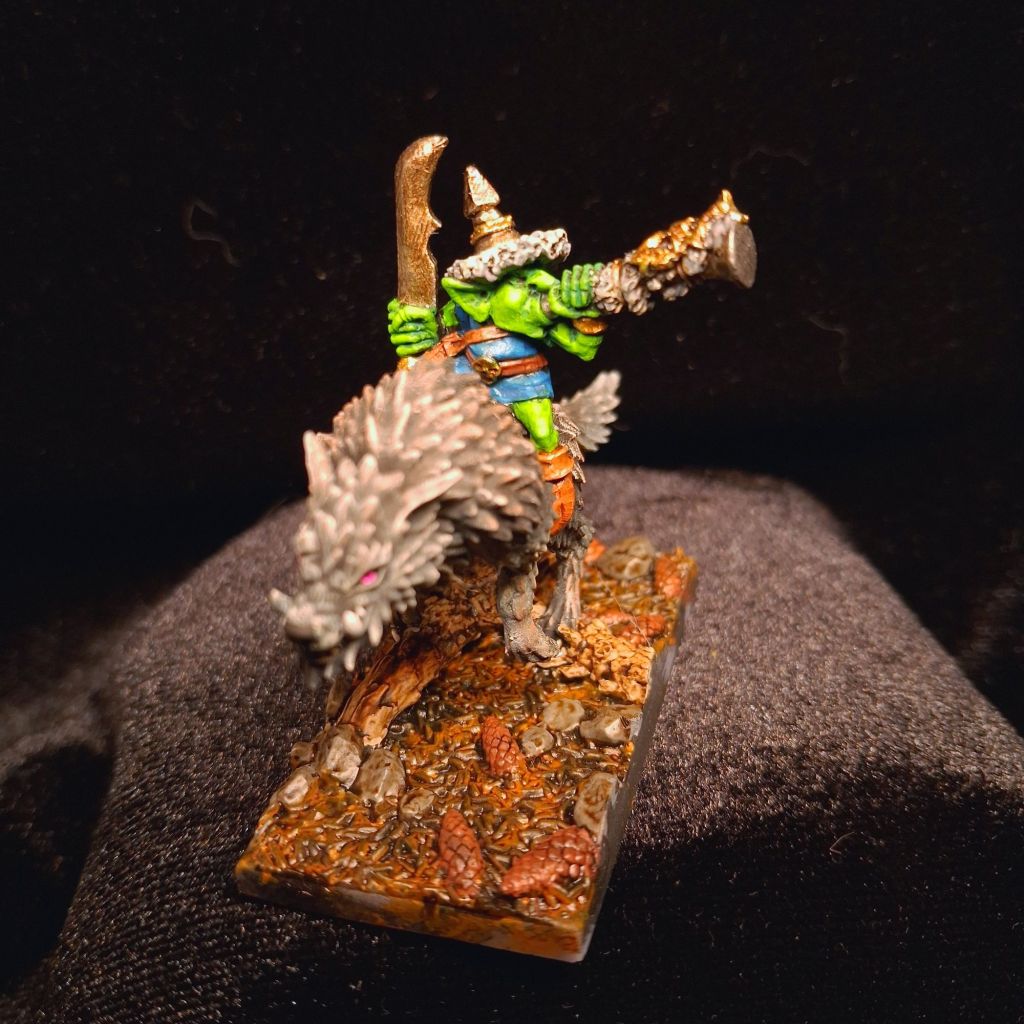
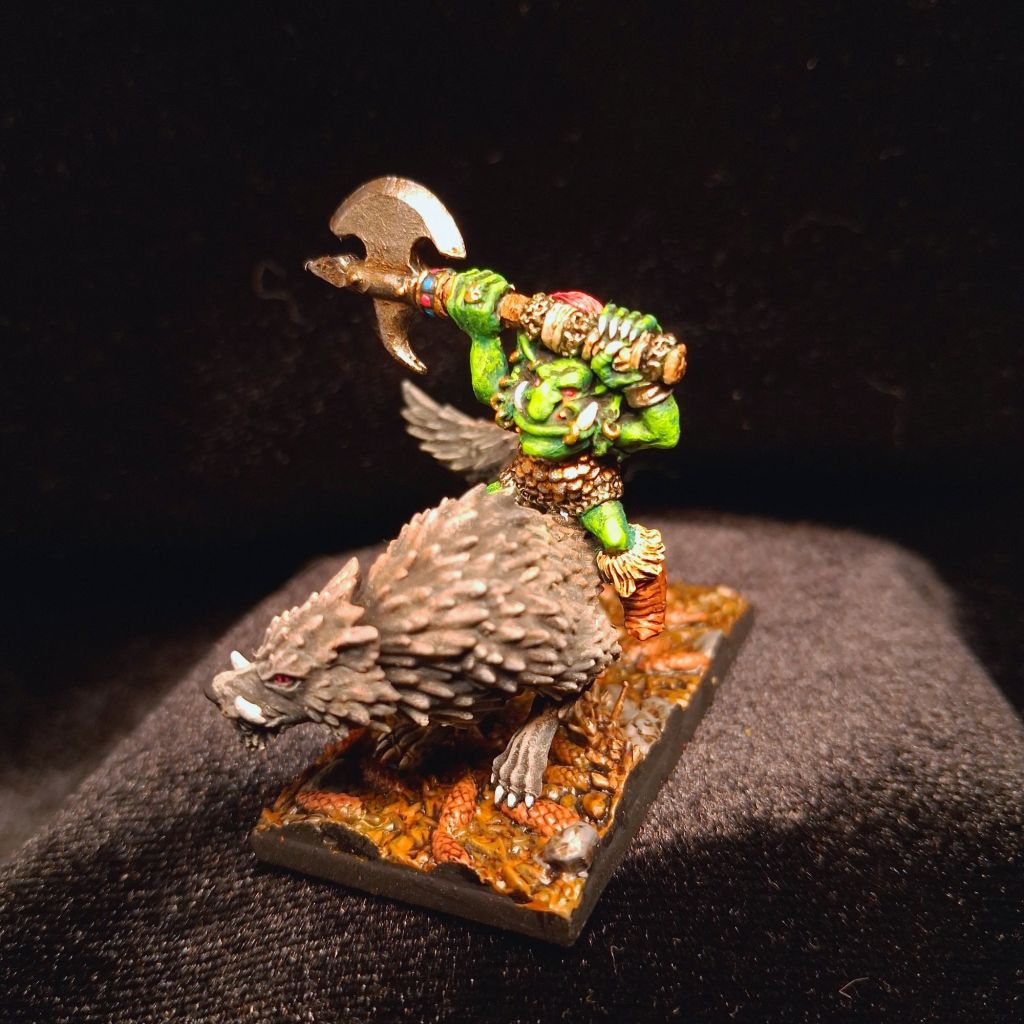
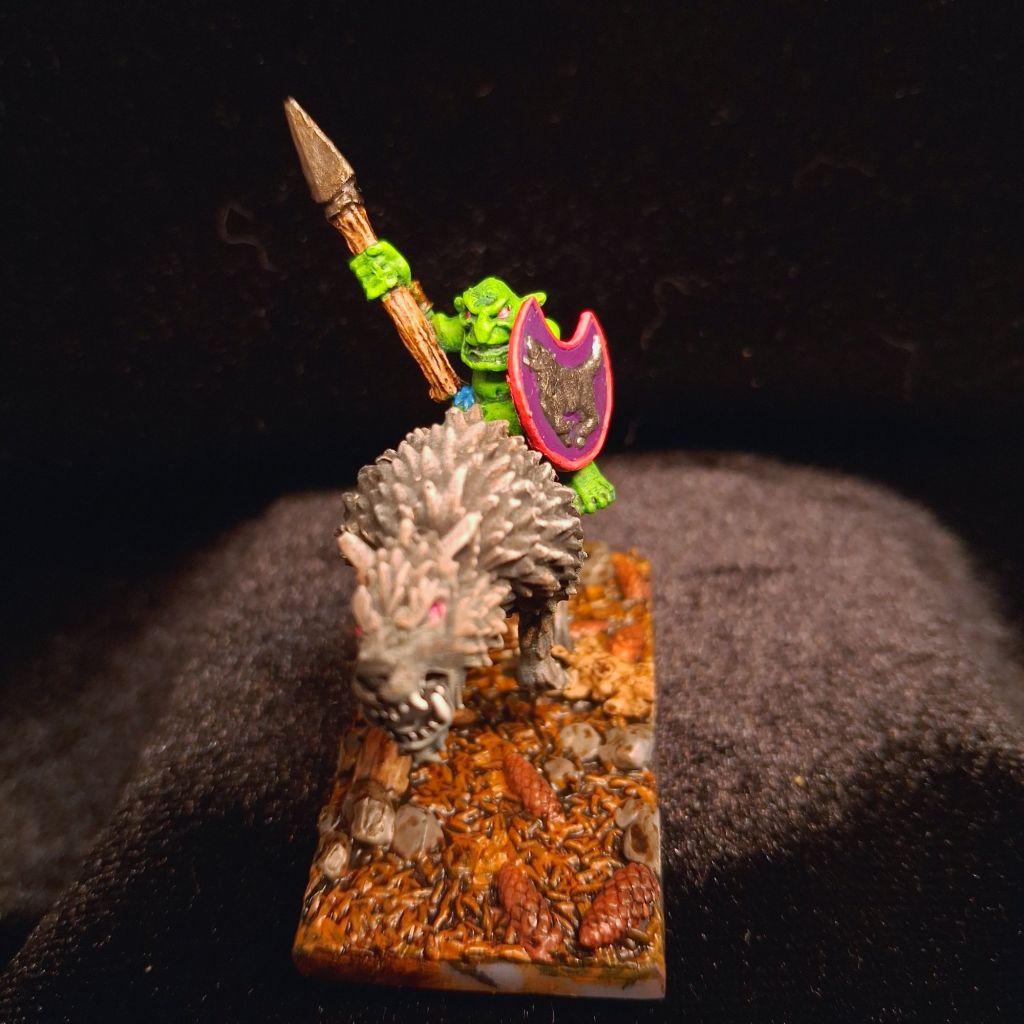
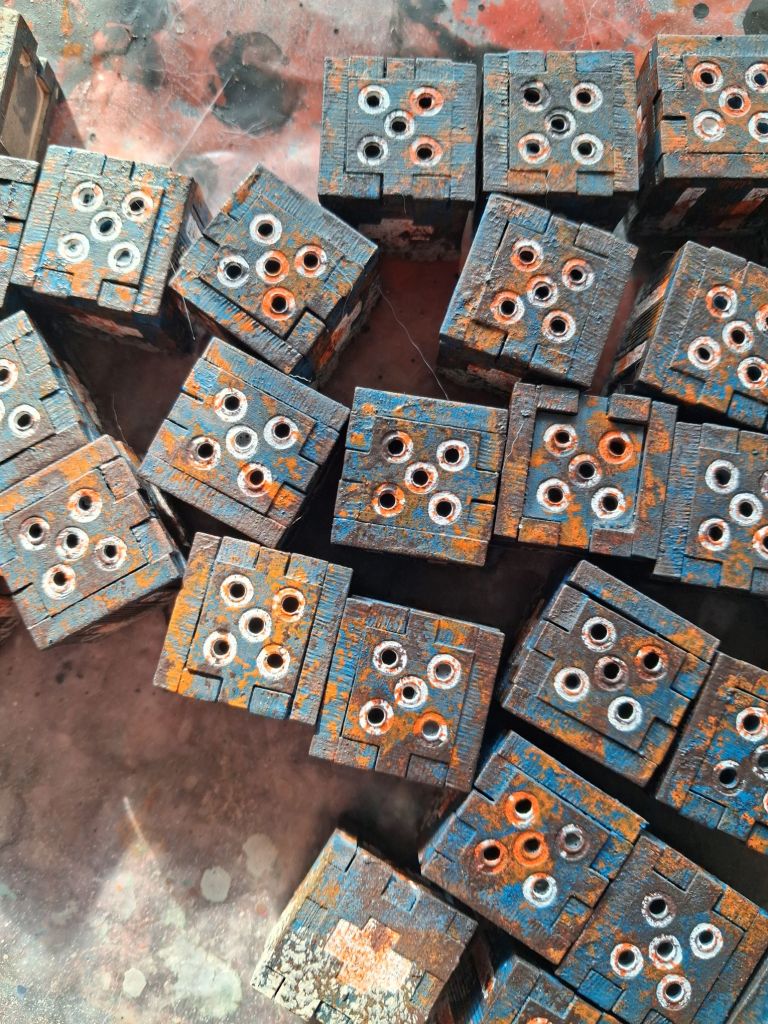
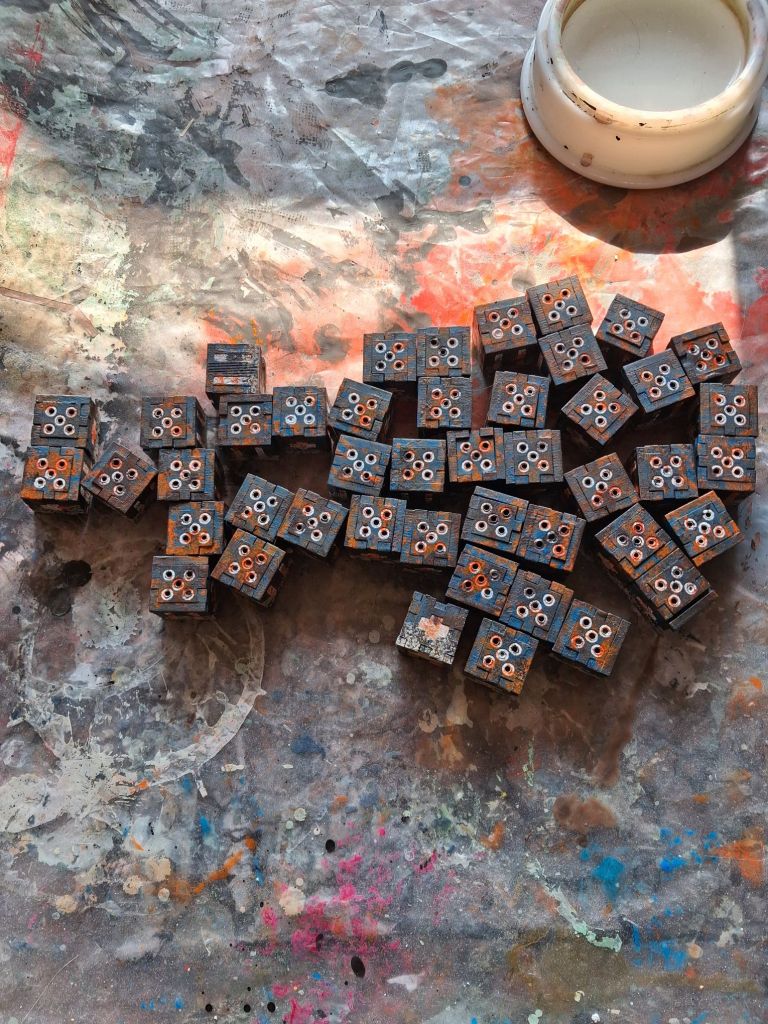
Foot of GorkPrincess Donut on Mongo I have been listening to Dungeon Crawler Carl.Genestealer PatriarchDeth KoptaSkull Chucker based for Dragon Rampant Tau proxy Pathfinders from #PipermakesFlowerpotWulfridersMdf containersSet dressing
That’s it for now.
The Sun has started making an appearance and it’s now warm enough to sit outside.
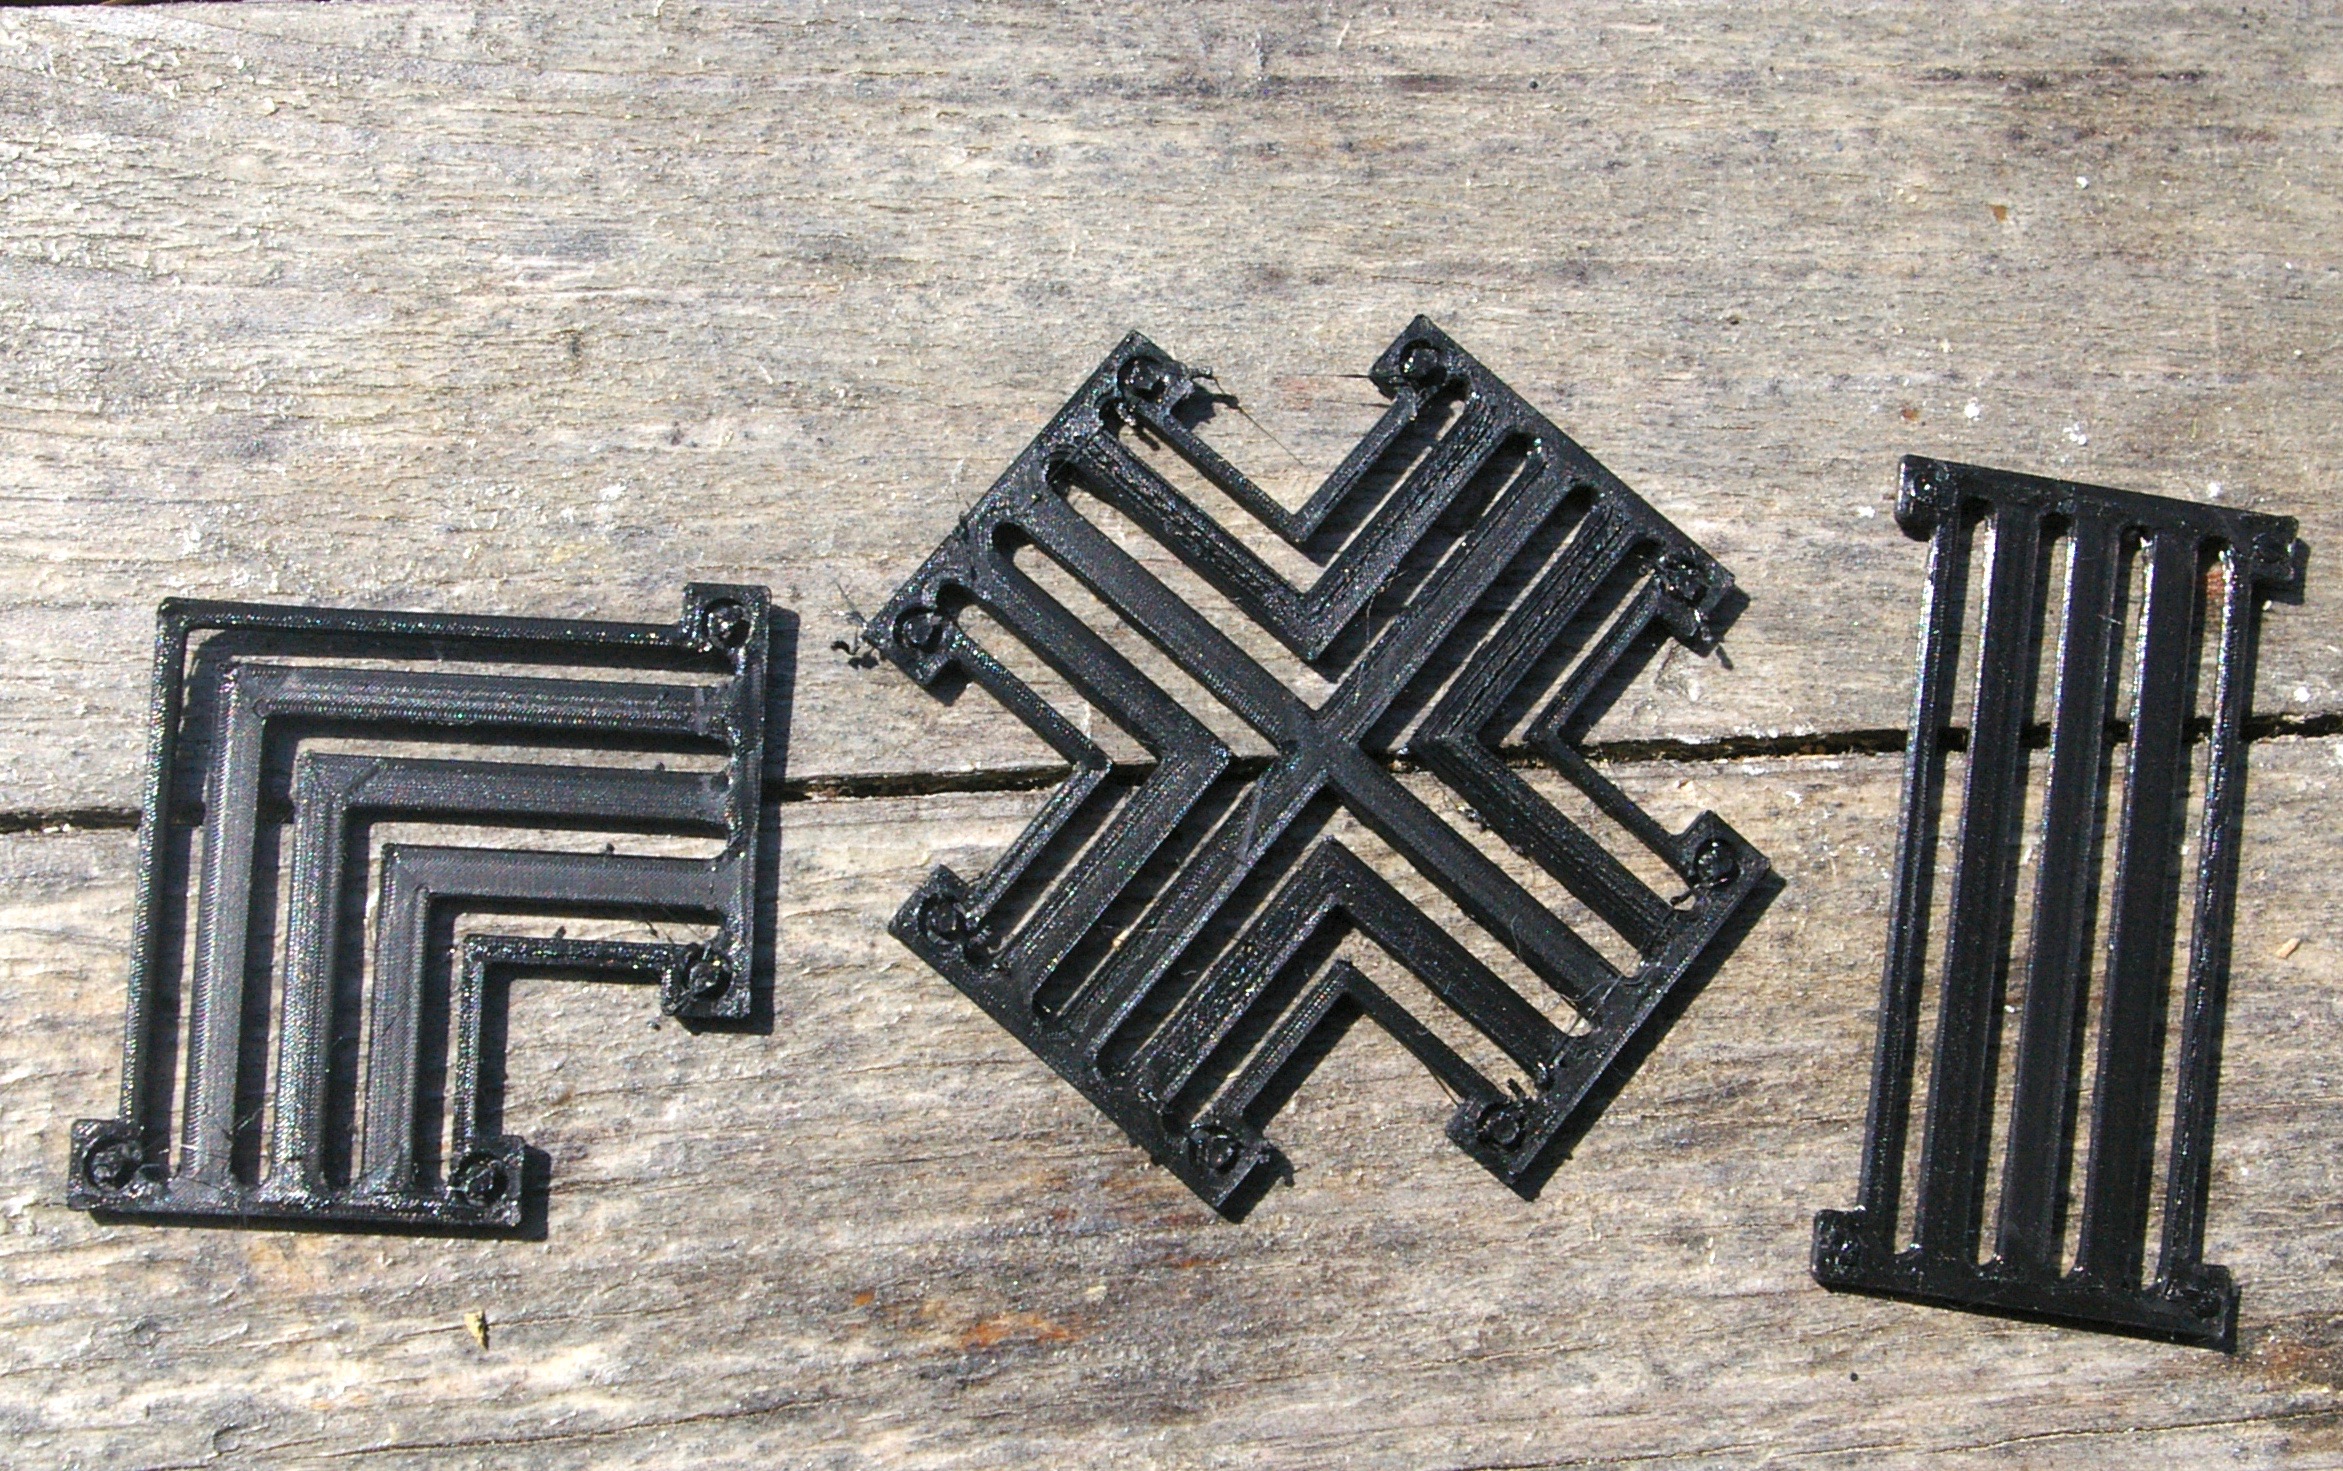
Work on Weasel Town has been plodding along slowly and now that the nice weather has started I can work outside. Originally the floor ducking (correct word?) was laser cut card but since I no longer have access to a good laser machine I have started 3D printing them. Work had stalled because of a lack of them. The home laser I have lack power because it is a cheap Chinese tube and it’s life has expired. My Blender skills and confidence have improved a tiny bit so I used it to created the ducking which I then printed out on my Ender 3.
One regret is that I didn’t look at my original card tiles as they are slightly more elegant. Mind you once they are coated in mud and grime and observed from three feet away I don’t thing anyone will be criticising the design aesthetic.
I had started designing modular tiles as way to to have a flexible tabletop. One lesson I have learnt, is to to be consistent. That way I could have integrated my ruined desert city tiles with the trench system. Possibly the way to go is to make a series of risers so the tile heights match up.
The reason I had started going modular was because of this Kickstarter.
However by the time I actually get the book I probably will have moved on to something else, rendering it redundant.
Anyway, grumbling aside, The author Michael Martin has a Youtube channel. TWS Tabletop Workshop. One of the videos was about making a diy crackle paste.
The ingredients were diatomaceous earth. This looked interesting as I want parched earth for my terrain tiles. Amazon had some but it was a touch out of my budget. Which let’s politely say is near zero.
Owning pets sometimes has an upside. We needed cat litter for our seventeen year old cat. She spends her days curled up on our bed and doesn’t venture out much. We had got a new brand which looked soil like. After she had used it, she is a prolific pisser, the litter started to crackle when dried. Interesting. Are you pondering what I’m pondering? I took some clean litter mixed a bit with PVA and stuck it on a piece of MDF. The result was really good. I then mixed up some more and applied it to one of my terrain tiles.
Rookie mistake! Make sure you put an under colour down first.
I have to experiment now and work out proportions so that consistency is maintained.
This is a link to the product and for eight litres I think that is a pretty good price. The only ingredient is Bentonite which is an absorbent swelling clay consisting mostly of montmorillonite (a type of smectite).
I’ve been hankering after making some modular trenches for a while. I started but when I laid them out earlier this week it seems that I do not have nearly enough. Plus I did not have any “kinks” (not sure of the correct terminology) to stop a gunner standing at one end of a trench and taking aim down the entire length.
One of the rule-sets I was reading, “The Last War” talks about a settlement in the wastelands. For some reason it caught my fancy. A tidying up job at the beginning of the year was sorting out my movement trays and I had a whole lot of crude plasticard ones that I had made about twenty years ago. This has left me with a big bag of plasticard. I also have some big sheets of pink insulation foam recovered from some building work nearby.
I wonder…….
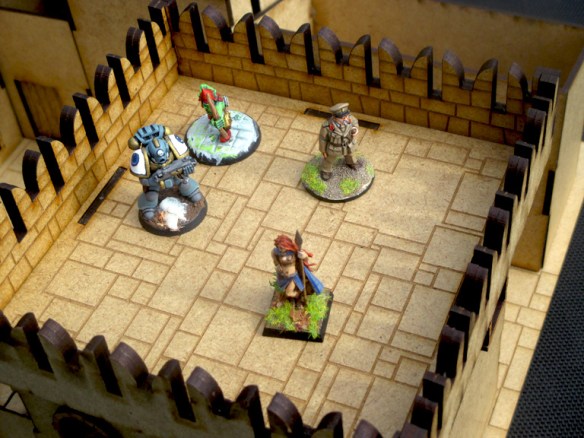
Weasel Town surrounded by trenches
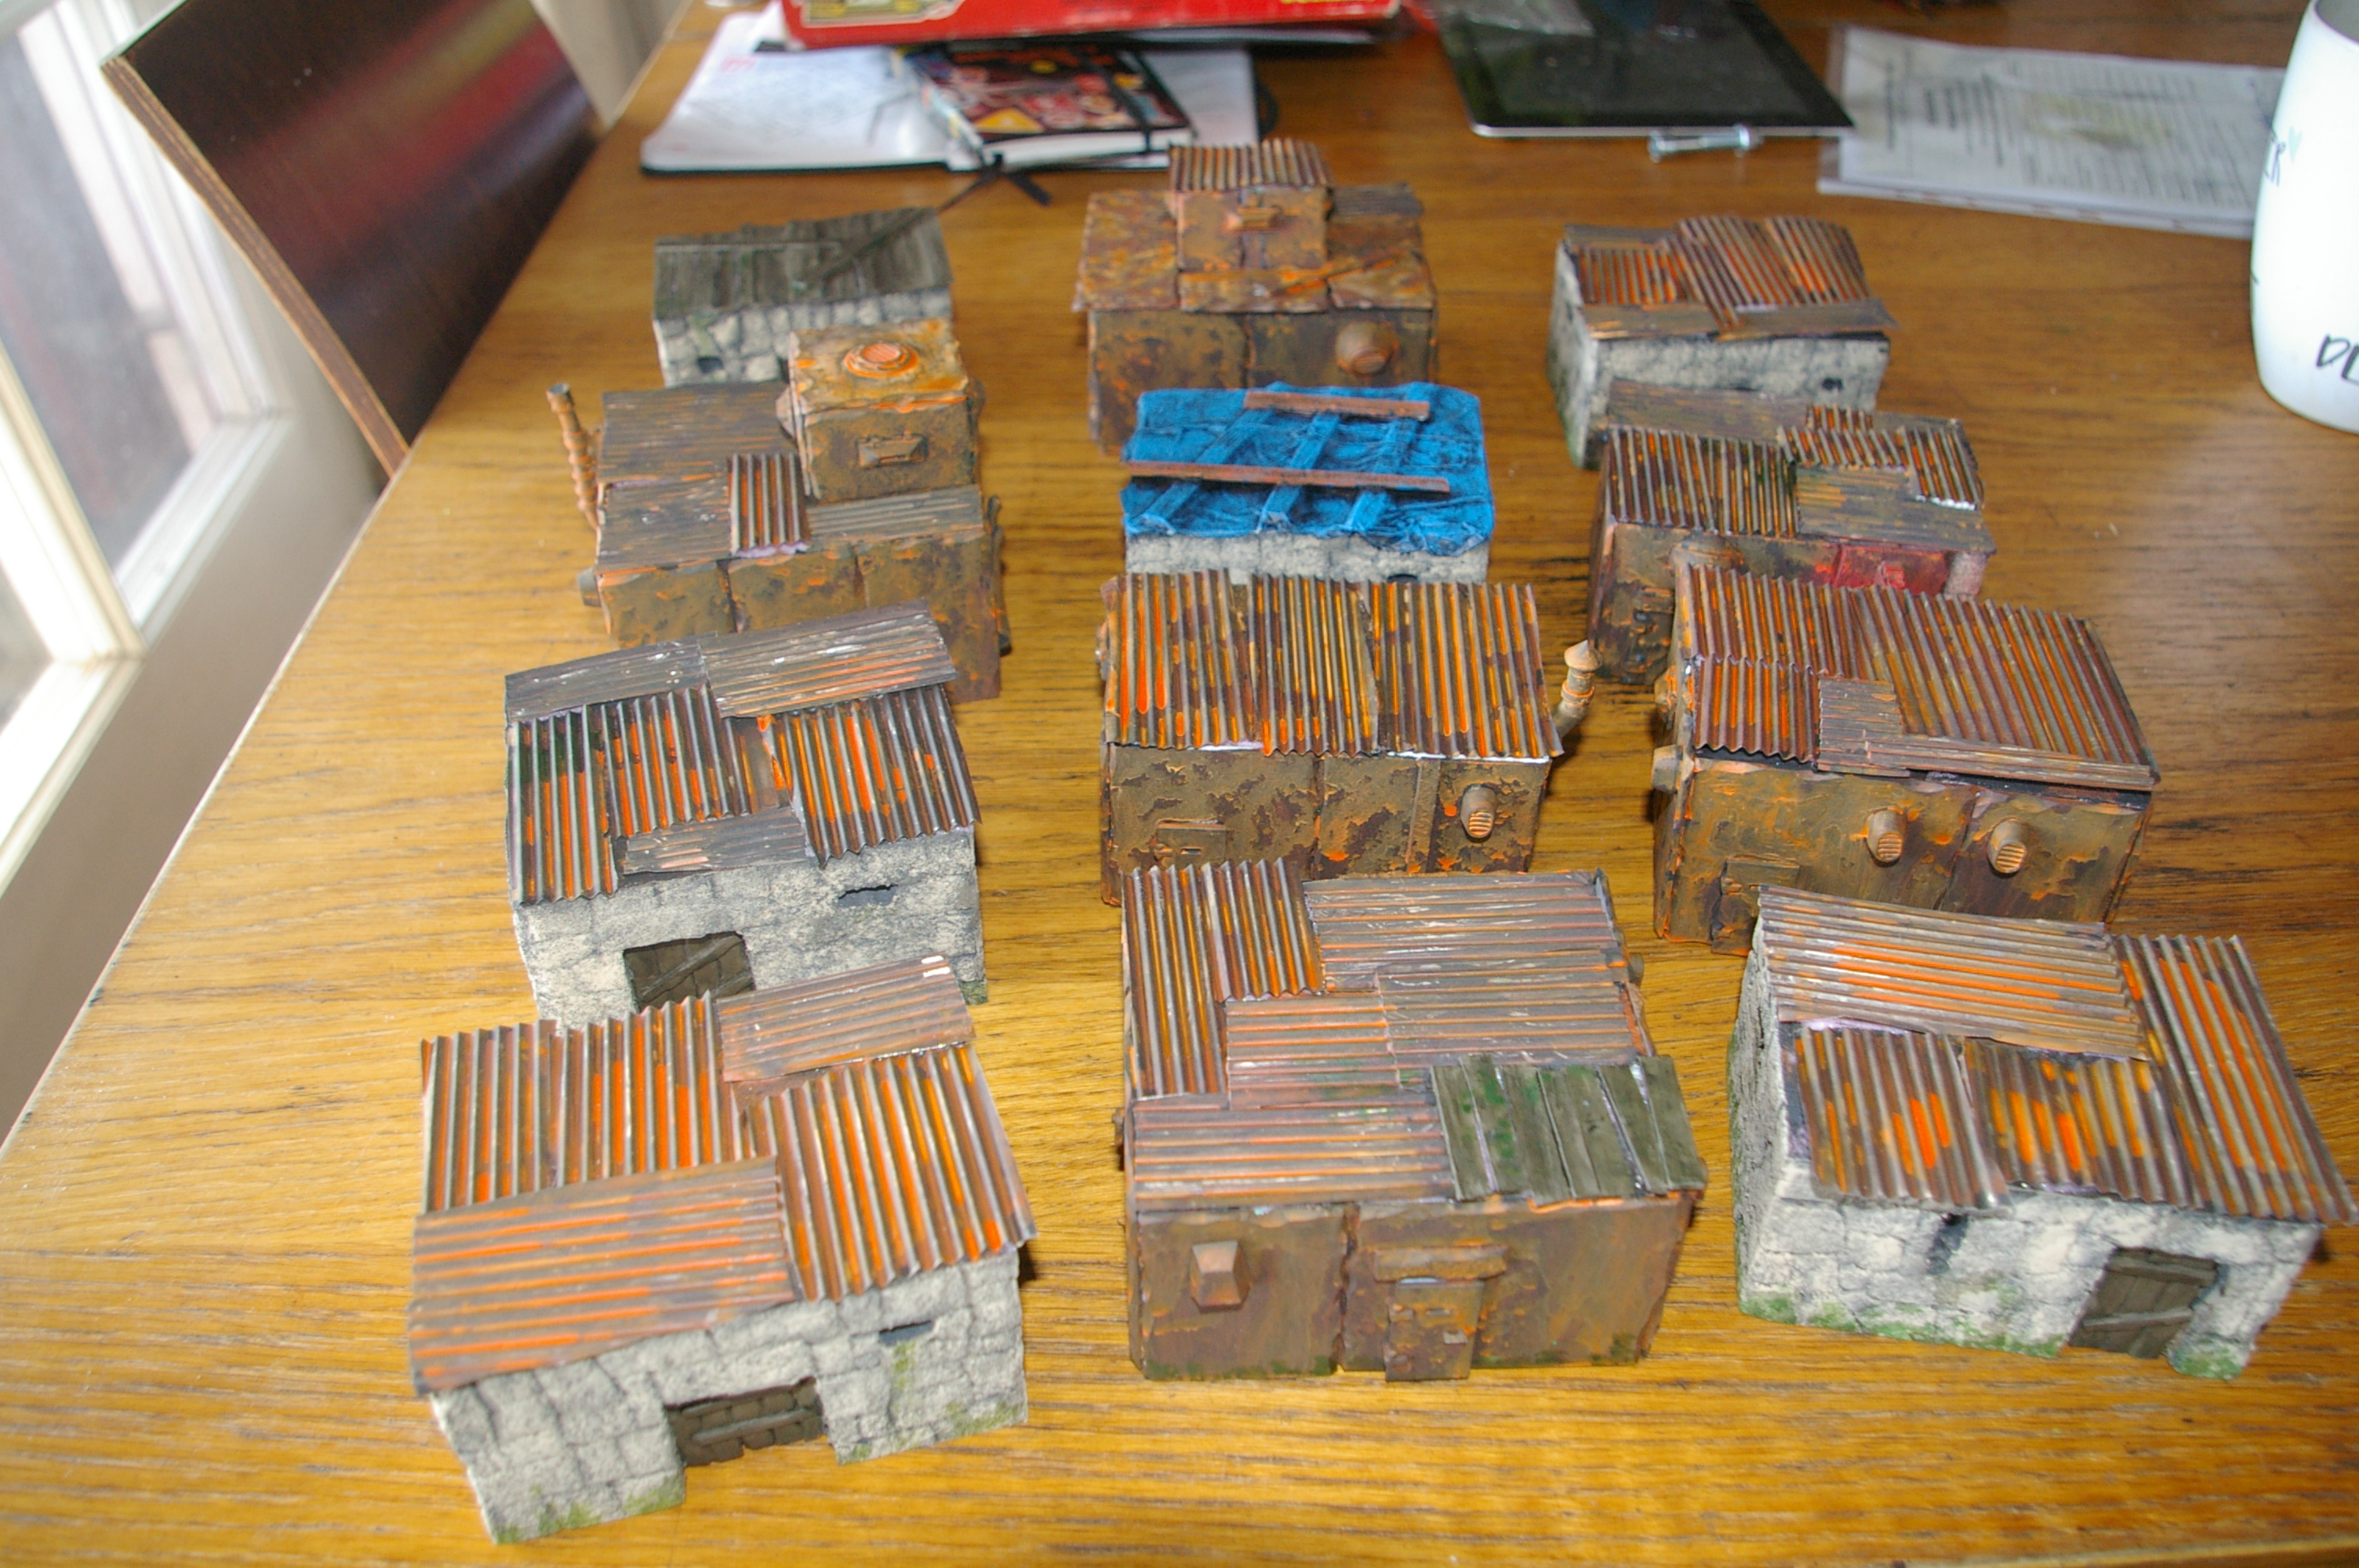
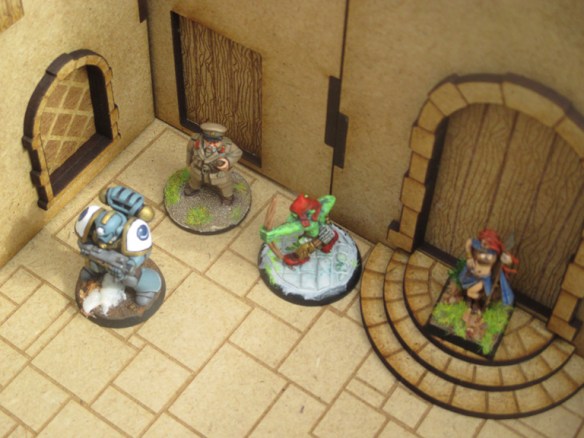
The finished group
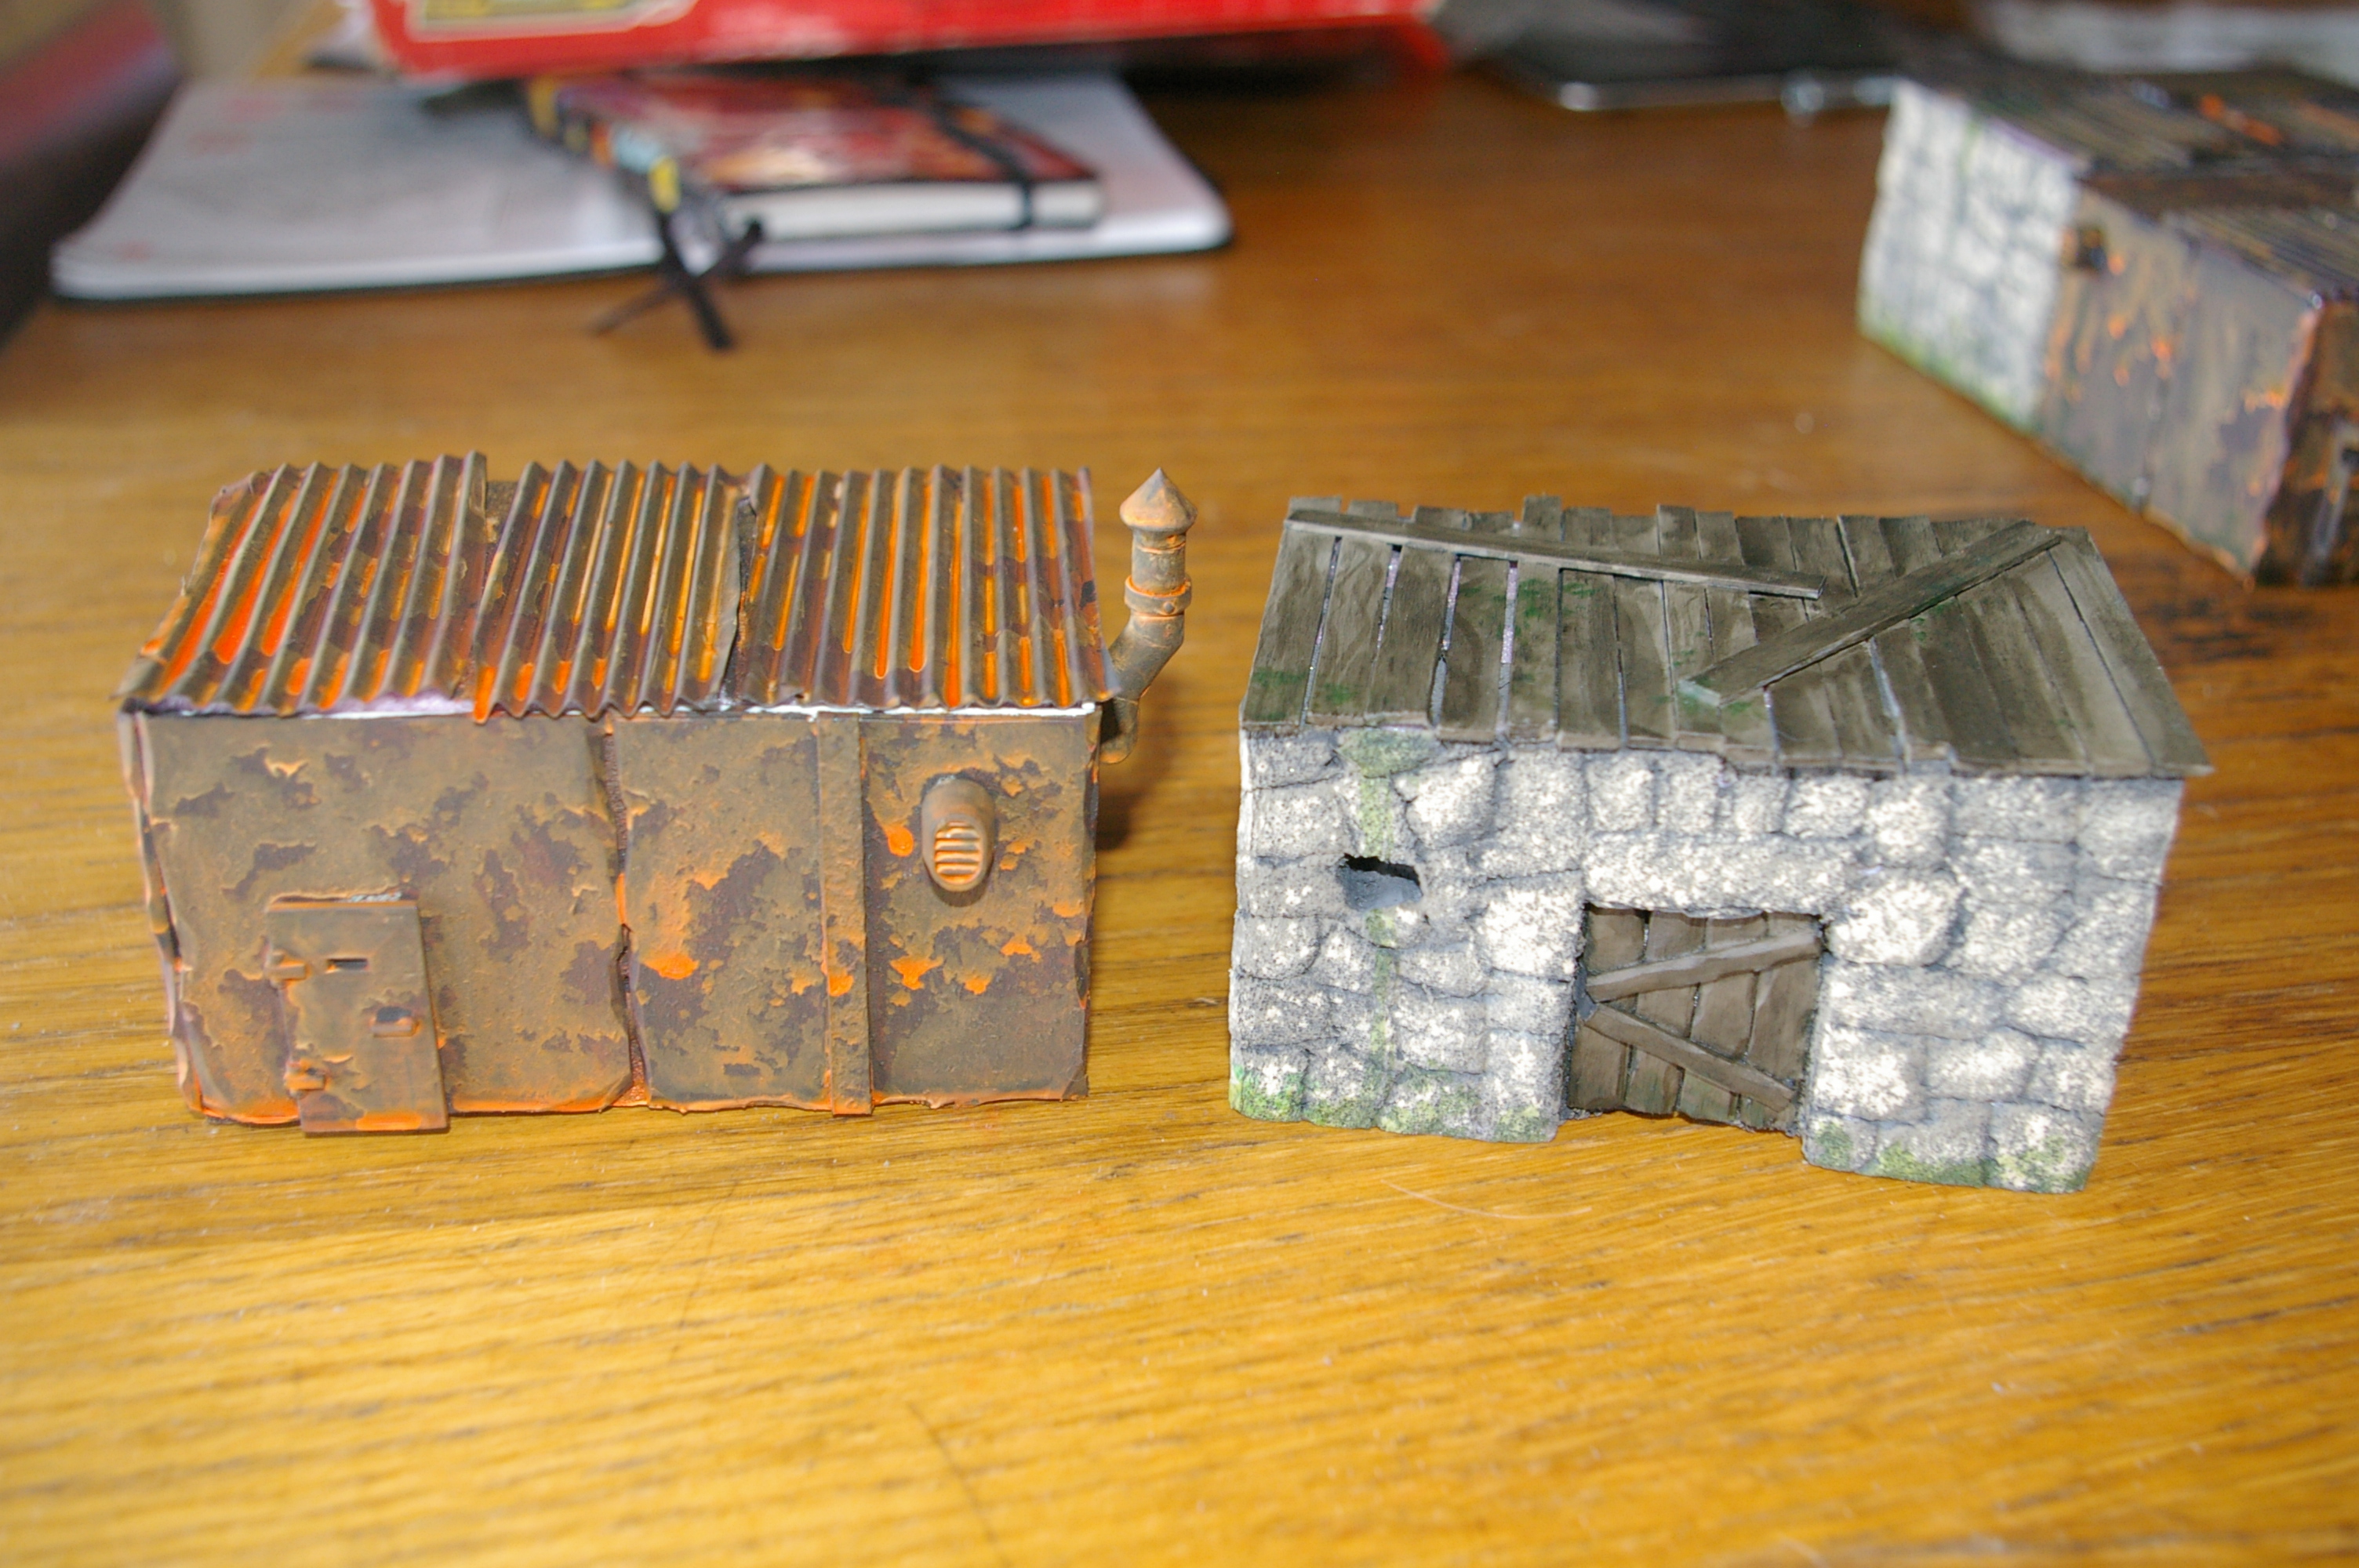
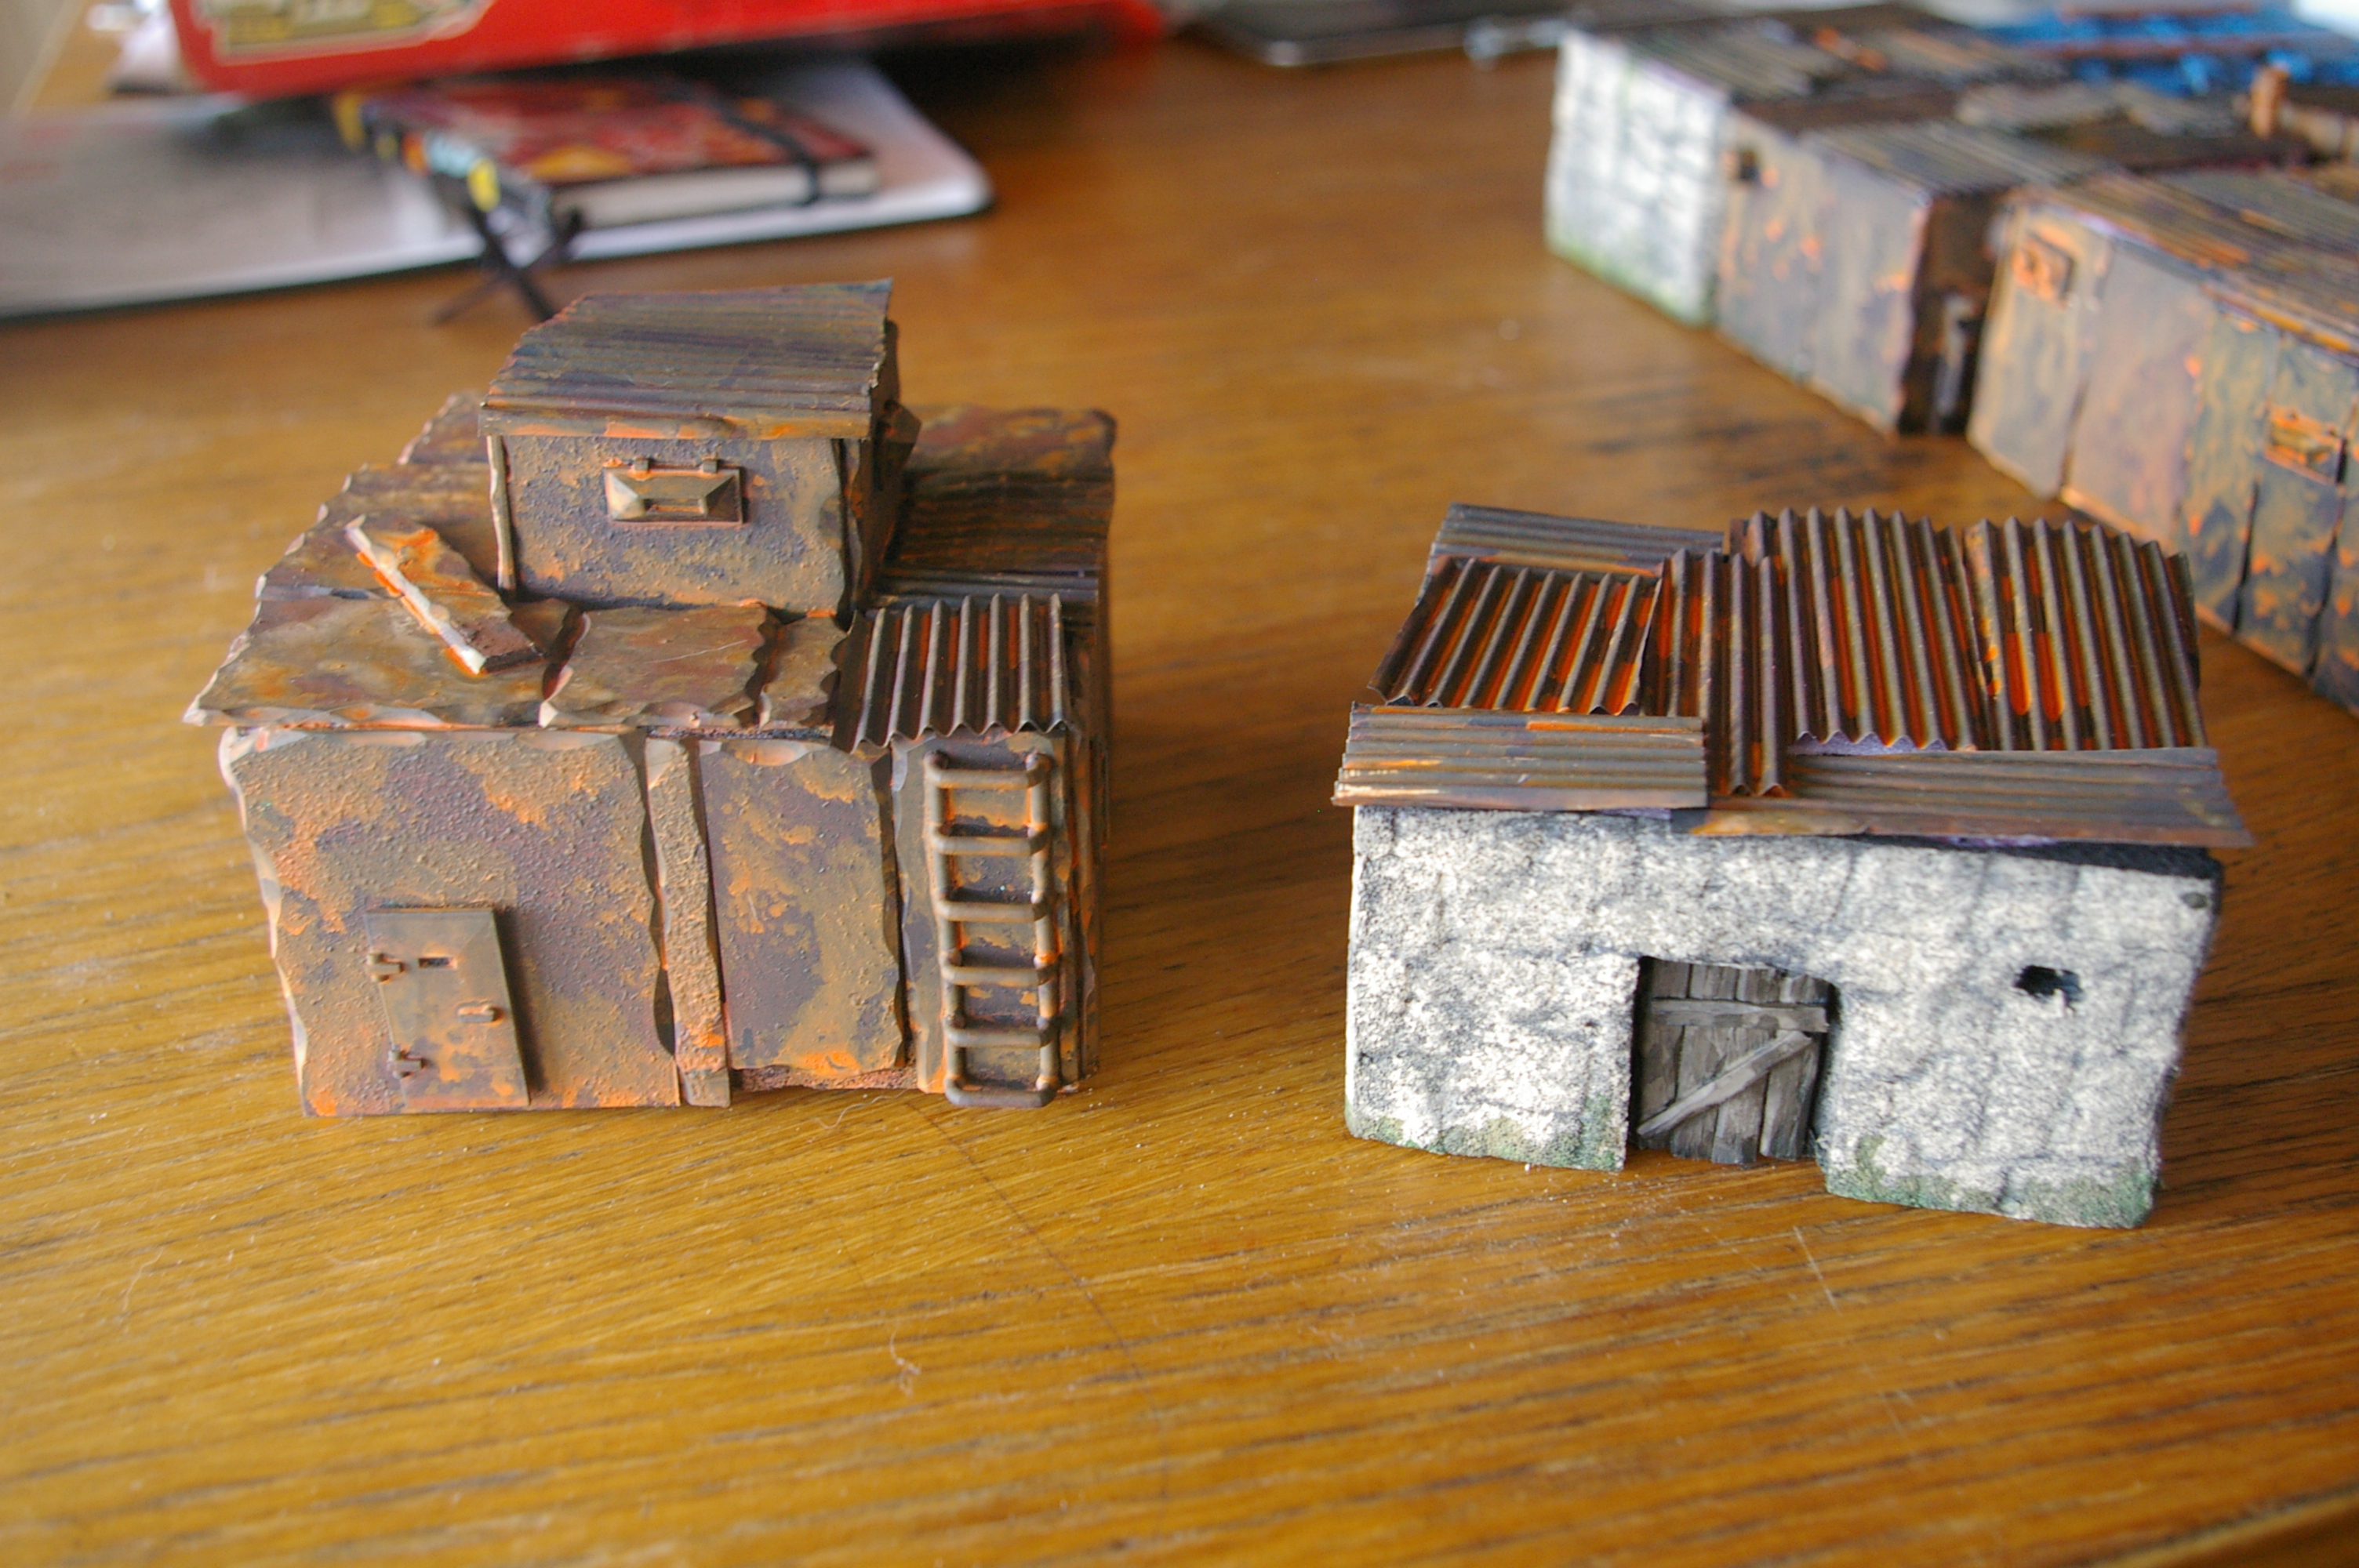
I added detailing with resin parts from Ramshackle Games and 3D printed parts from Knucklebones Miniatures. The tin roofs were made from Red Bull cans run through a corrugator from Green Stuff World. I found out later that this is just a toothpaste squeezer rebranded for twice the price. Painted with household emulsion paint. The rust was done with Green Stuff World Rust paint, which is frankly rubbish and I wanted to use it up.
I thought I had documented the making process, but when I stuck the memory card into the computer there was nothing to be seen.
One project I backed on Kickstarter last year was; Tabletop terrain from XPS foam: Buildings. This is a book detailing the construction of buildings from, yeah you guessed it, XPS foam. I’ve been looking at upping my game on terrain modelling and this book might just help. Laser cutting is good for some things, but you just can’t do curves and organic shapes. But a mixture of both should be the killer combination.
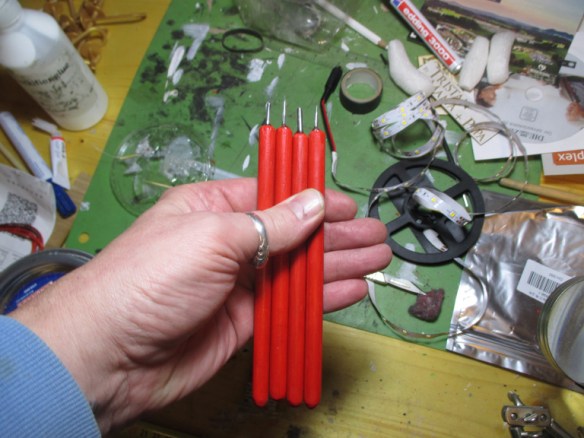
Looking at the images online pecils and pens have been used to form some of the detailing. Being the horder that I am I have loads of bits of metal lying around underemployed. A bit of cutting, a bit of cutting, some dowel rod, a bit of two part epoxy glue and a splash of paint I ended up with these.
Four different sized scribing tools. Slightly wonky (technical term) as I didn’t drill quite perpendicular to the dowel.
Here is a link to the book which will describe it far more eloquently than I could.
I really wanted to make something really nice for him to say thankyou for putting me up and for all the wonderful birthday presents he has given me. For some reason I am never organised enough to get a present to him in time for his birthday.
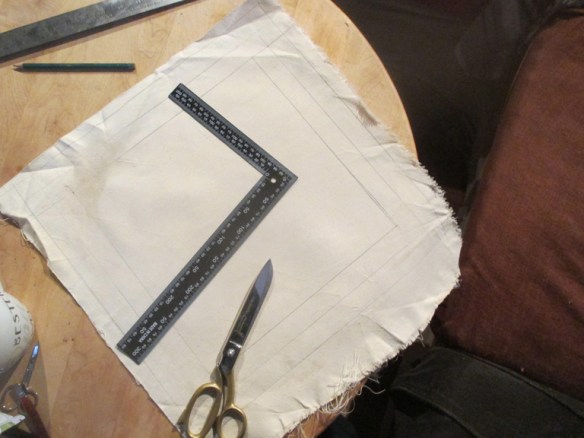
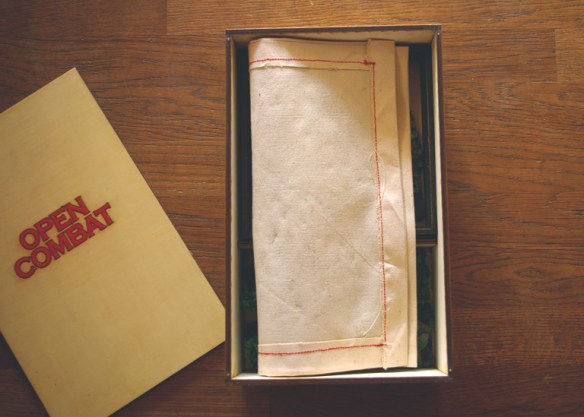
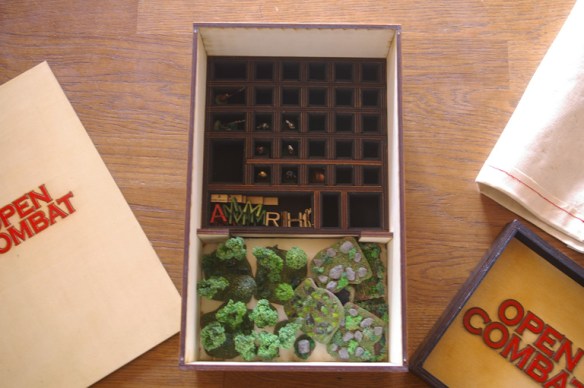
We had both backed the Kickstarter for Open Combat, a skirmish wargame. https://www.secondthunder.com/ But neither of us had played it. I know that for Seb space is at a premium so I decided to make him a portable version. The rules are written for 28mm but the author also suggests that it can be played in 15mm and convert the measurements from inches to centimeters. This means the suggested playing area would be 24 centimeters.
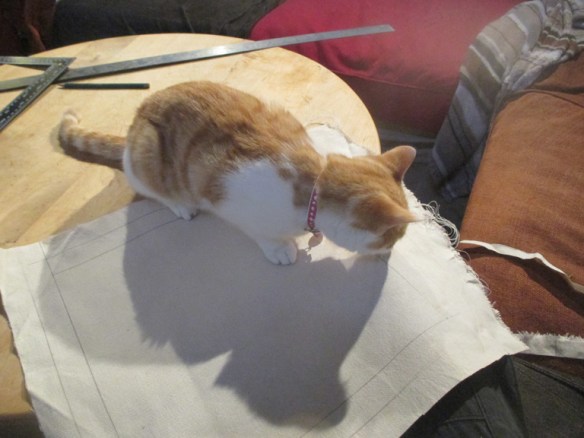
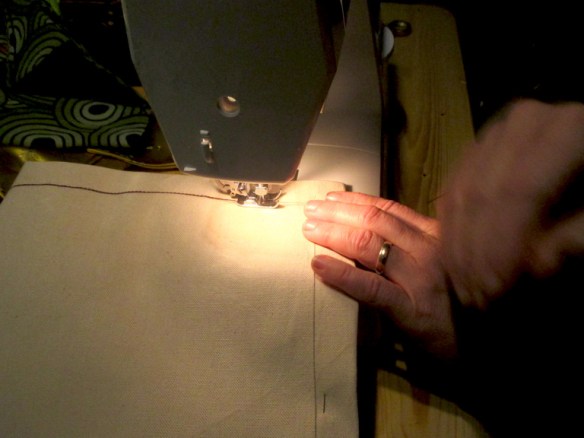
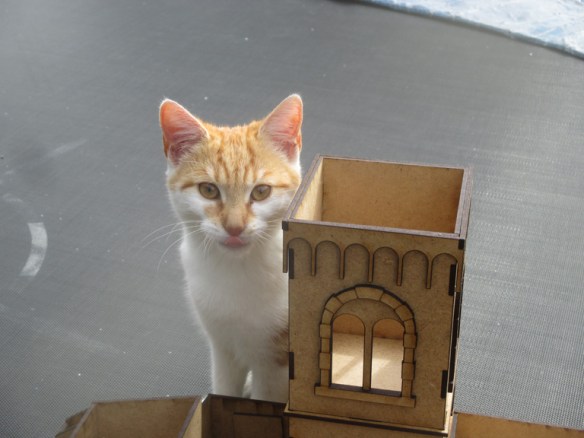
Here I am measuring some canvas to be used for the play area. Obligatory kitten for scale.Double checking size and trimming.Long suffering Wife hemming the edge for me.
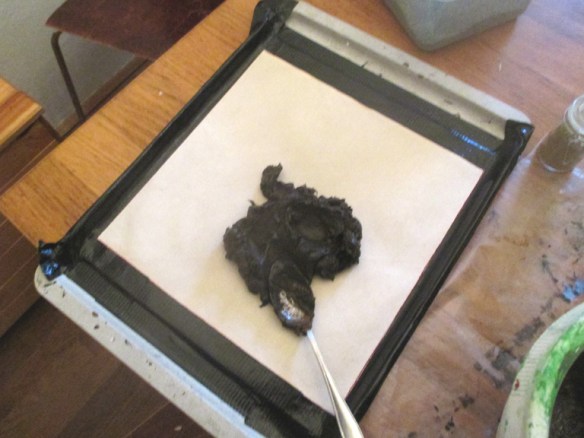
Spreading on a mixture of silicon and paint.Applying sand, for the path and flock.Excess removed and ready for play.
I had instructions about how to make the playmat from The Terrain Tutor’s Youtube channel.
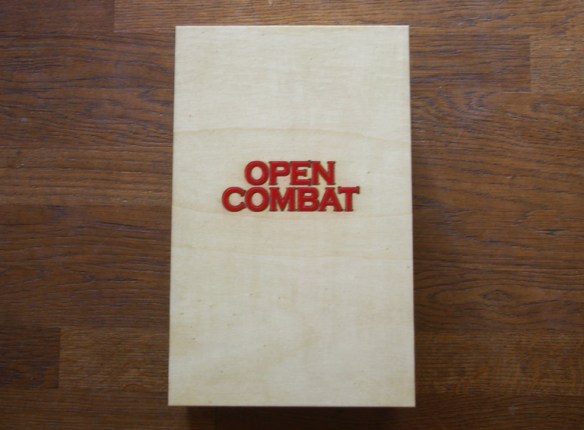
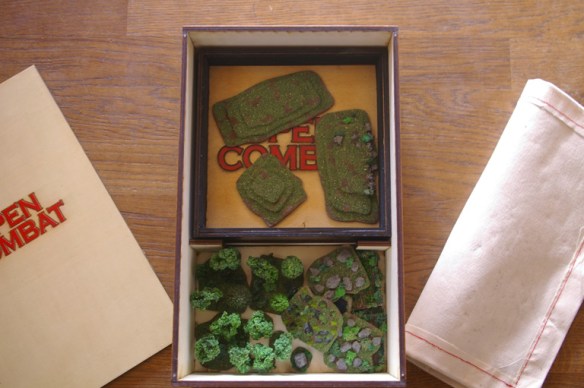
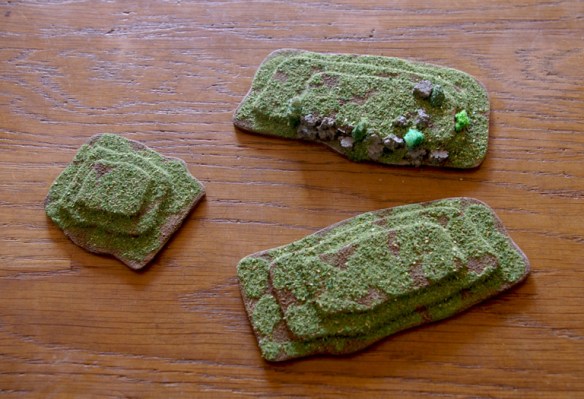
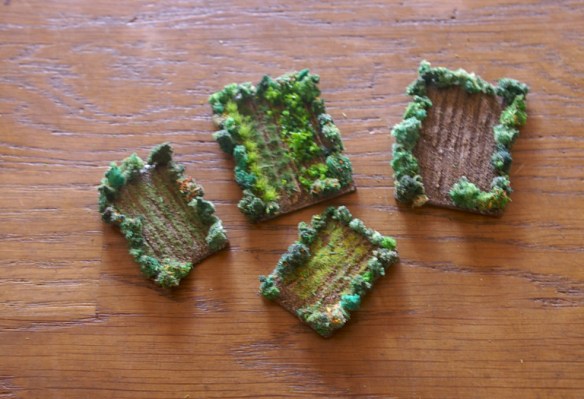
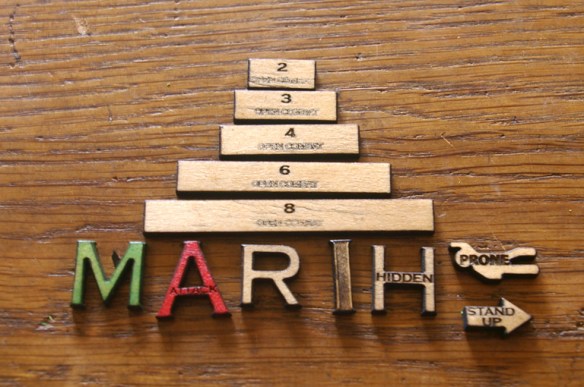
The finished box, roughly shoe box sized.Lid removed.Hills. I went with a stylistic approach which is easier to place figures.Difficult terrain.Fields.Individual trees and standing stone.The dice tray revealed.Dice tray removed to reveal figure storage.Action tokens and movement sticks.
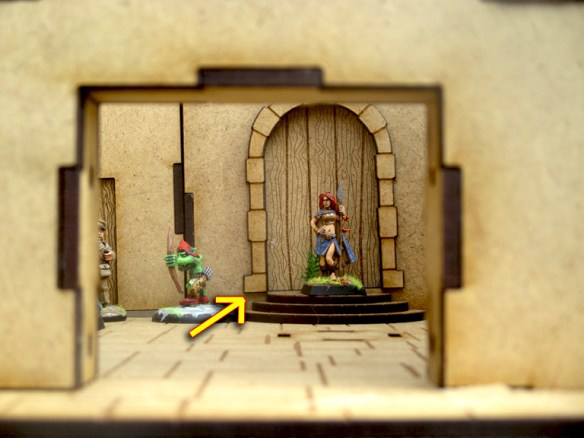
The figures came from Alternative Armies. There were some nice ones and a couple of ropey ones. That’s what comes of buying blind I suppose. https://www.alternative-armies.com/
I hope Seb is pleased with this and gets a chance to play.
I kept coming back to this article and mulling over it. I really don’t have time to get distracted by another project but it was sooo tempting. Late one night I pulled out a piece of paper and started doodling. The next day some graph paper was procured. Too late! Project started!
As Mr. Bickley had produced his model from individual parts I decided to follow along and make mine in modules starting with the front gate.
Upcock
Me being me, there have been a few upcocks in the design, but nothing that a hammer wouldn’t sort out.
Obligatory kitten for scale
The original suppliers who inspired this build are:
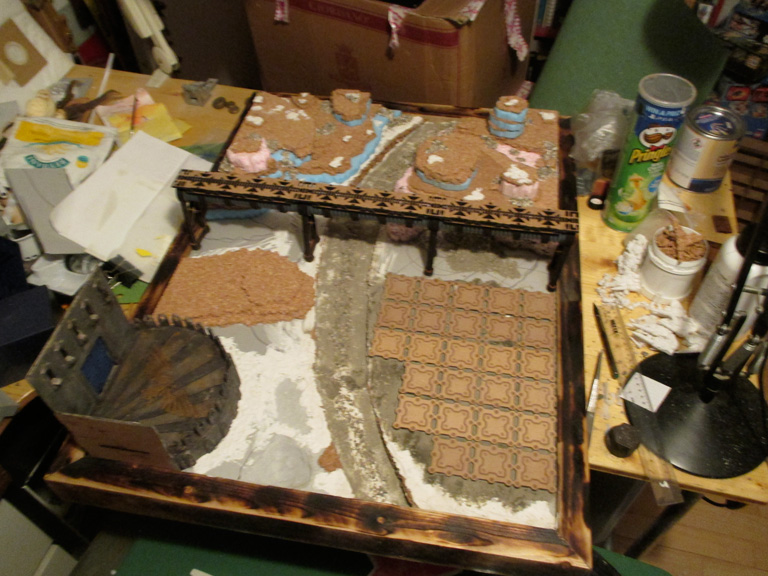
This is the first post of three regarding the Tabletop Knights show in Germany.
This will be about the first display board, Gone?
I saw this image, credit to whoever did this (if you let me know I will credit that person here) and thought, “I want this!” If you are interested I have a Pinterest page devoted to scenery. Look for Nik Green. I highly recommend Pinterest as a resource for keeping ideas from all over the interweb neat and tidy and in one place.
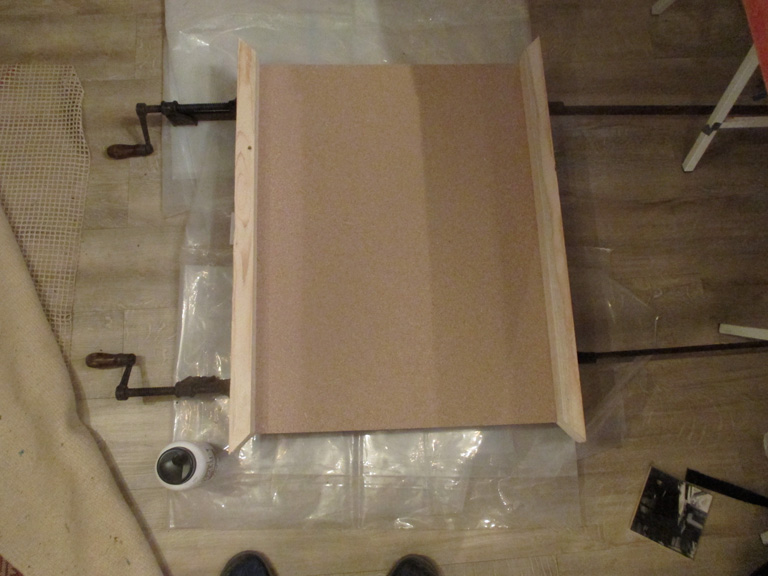
I got the dimensions of a Kill Team board, thirty by twenty two inches, and got two sheets of chipboard cut.
Clamping the sides
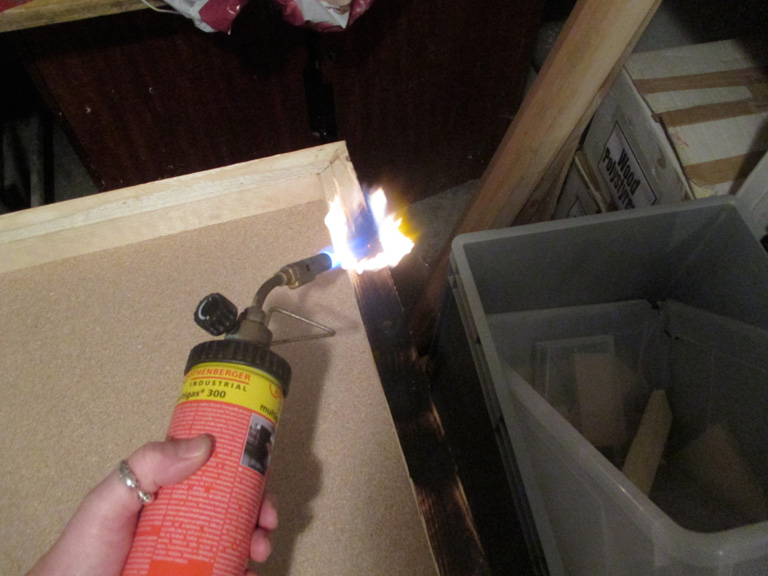
Burning the splinters off the cheap wood frame
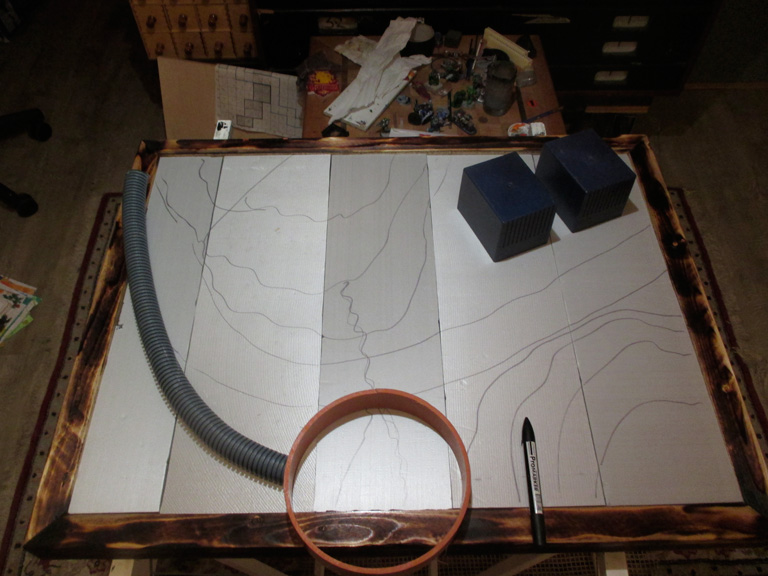
Trimming the foam for the inserts with my Proxxon
Foam inserts fitted
Playing around with ideas
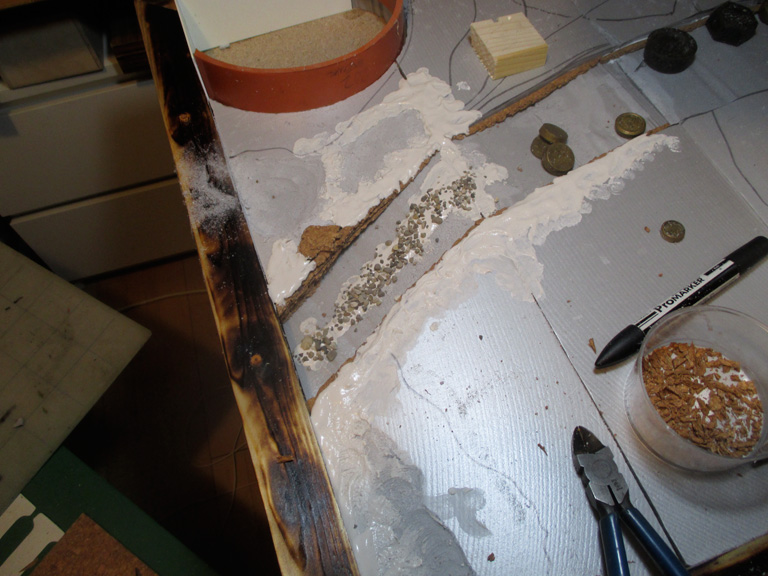
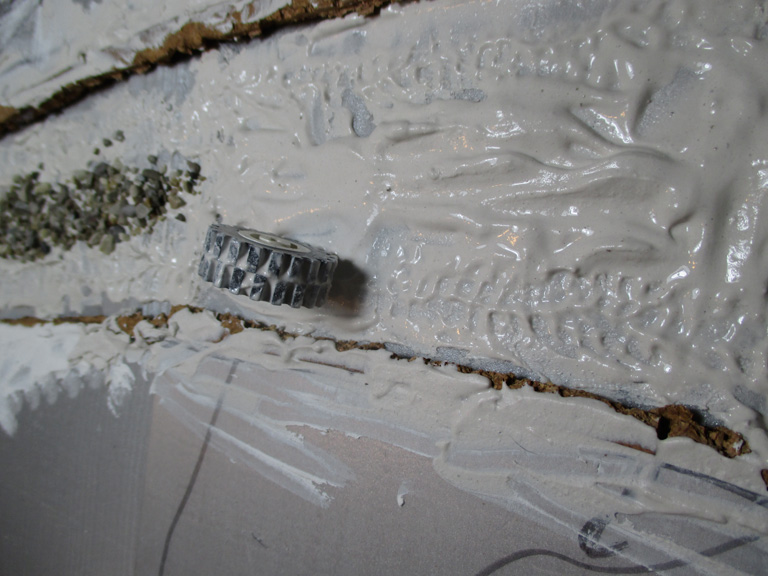
Track chopped out and starting to detail the edges with strips of cork tile
A Lego wheel being used for detailing
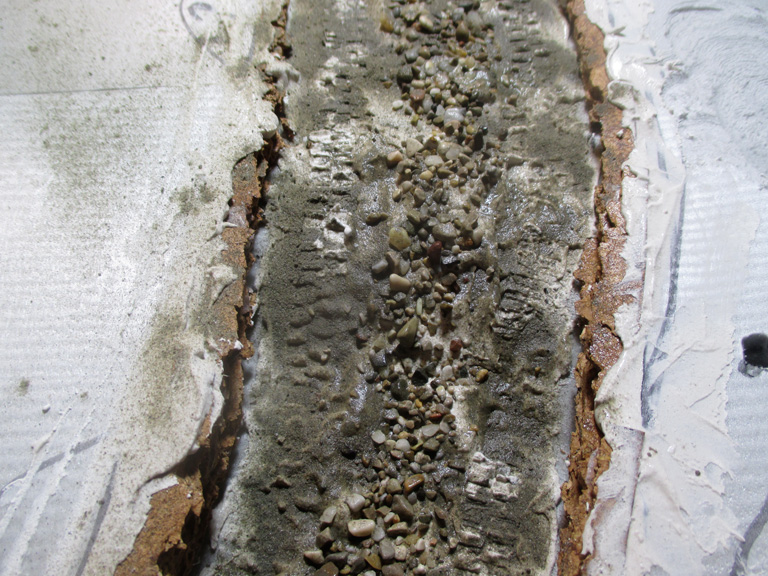
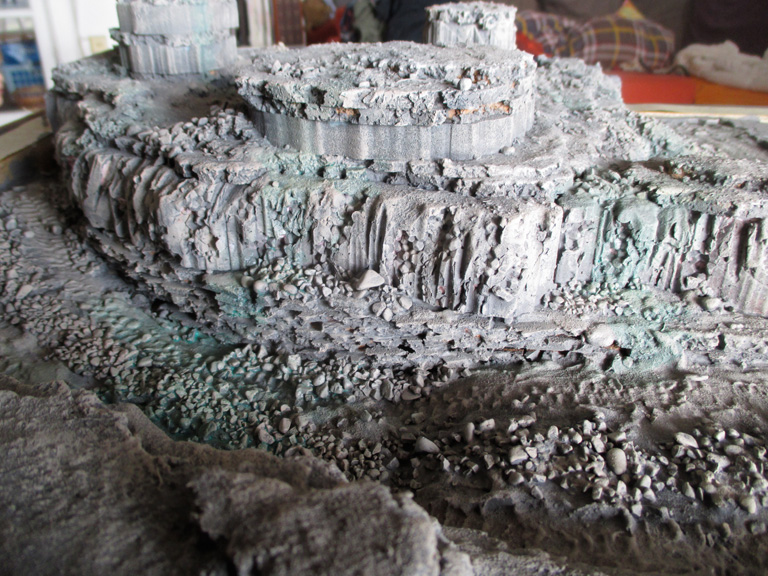
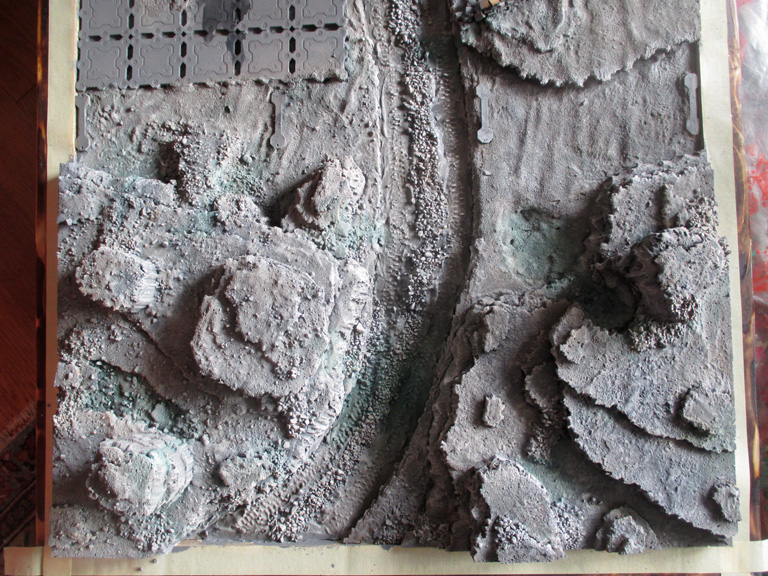
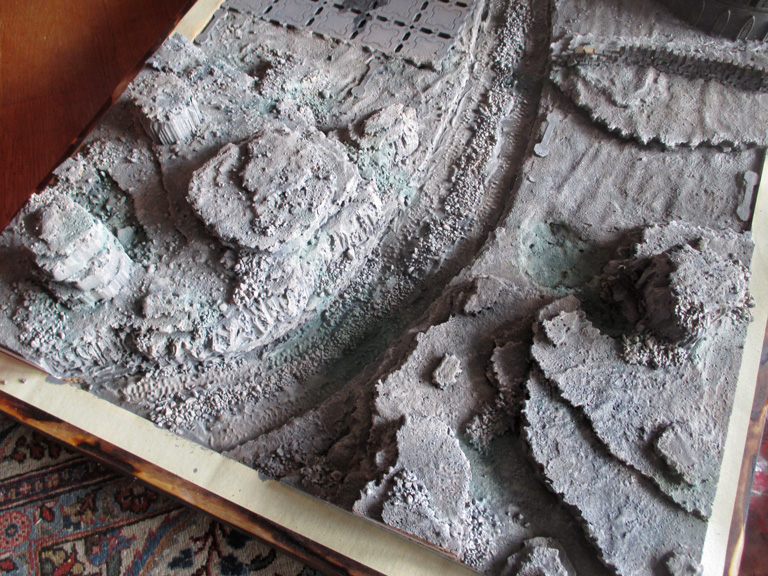
Gravel from Walersee and fine river silt used for detailing
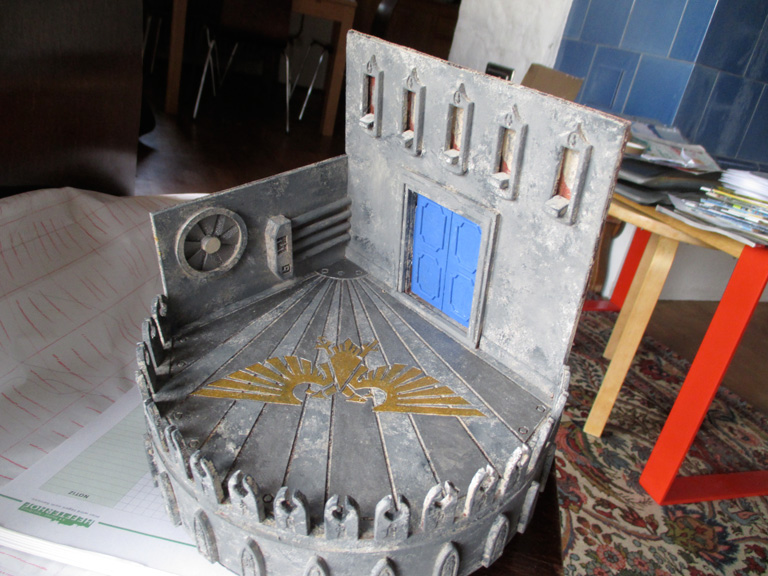
Building before and after painting
Starting to build up the layers
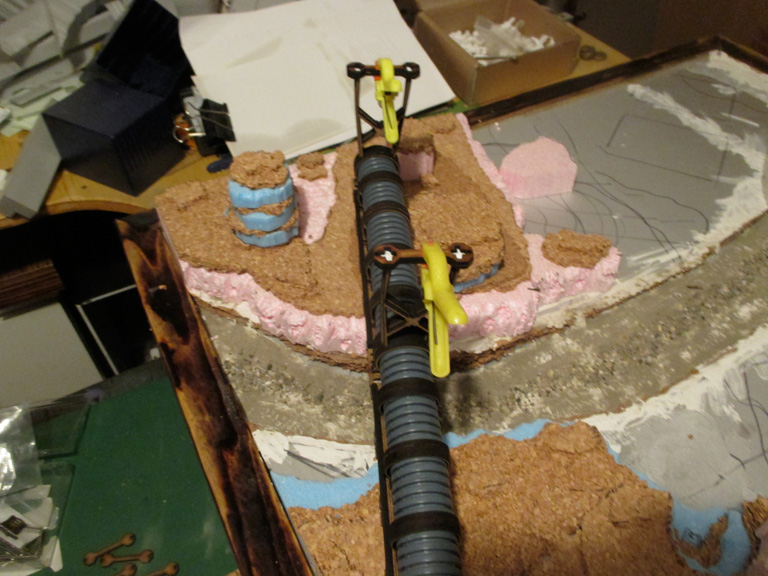
I made a pipeline out of some scrap pipe from a skip and some laser cut supports. I magnetised the feet so it could be removed for transportation.
Everything in situ
Silt! Silt everywhere!
Paint and weathering applied
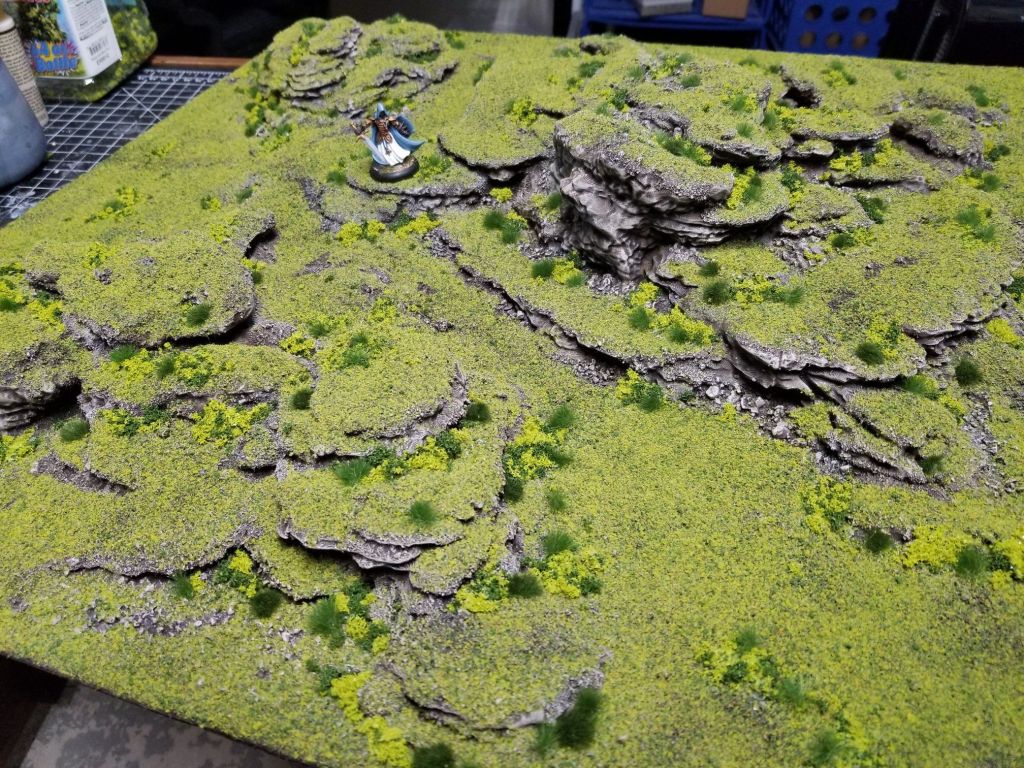
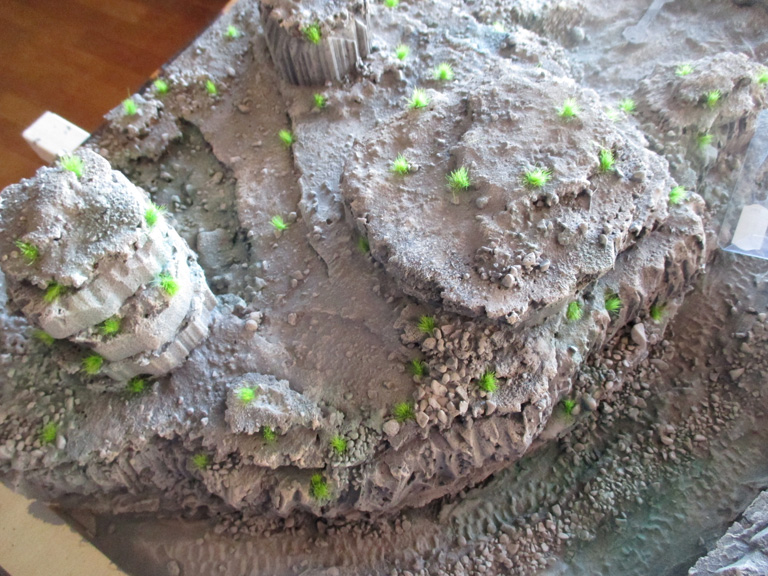
Tuft mania
And then scatter
I think the scatter needs to be more yellow to match the tufts. Added to this was some water effects. Overall I am very happy with this board. Some minor tweeks as noted are required.
One day I will learn how to take decent photos of my painting. Maybe if I stop gadding about from project to project? One thing that I have seen has been a little photographic scenic corner made by one of the Oldhammer Community. That would be useful and wouldn”t take up too much space. So I set out to make one. This is my work in progress and I’ll post when finished.
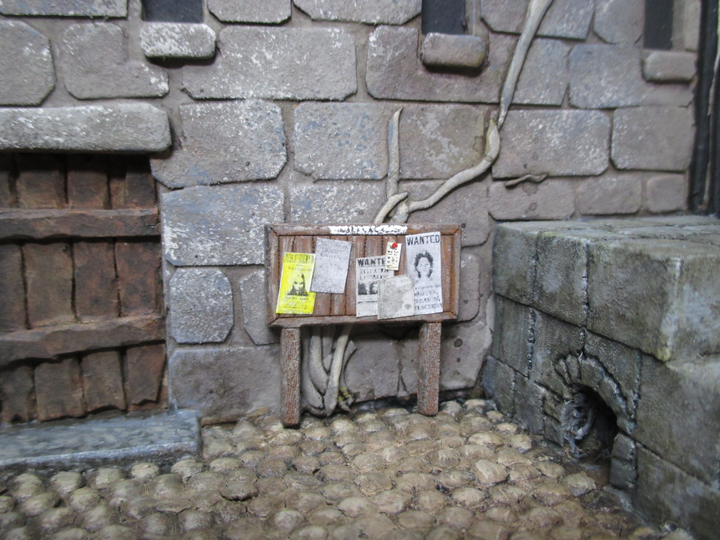
Basic shape cut from MDF and steps from foamDetailing of door using coffee stirrers from your favourite tax avoiderFoam detailing of archLentilsA lot more lentils and some foam silsArial view of lentils, foam blocks and roof tilesA coat of household emulsionWash to pick out a bit of detailMiliput vineBit of whitewashA wash on the stoneworkWindows and woodwork. When was this taken?Sponging of stoneworkStarting work on sky and rooftilesA notice board
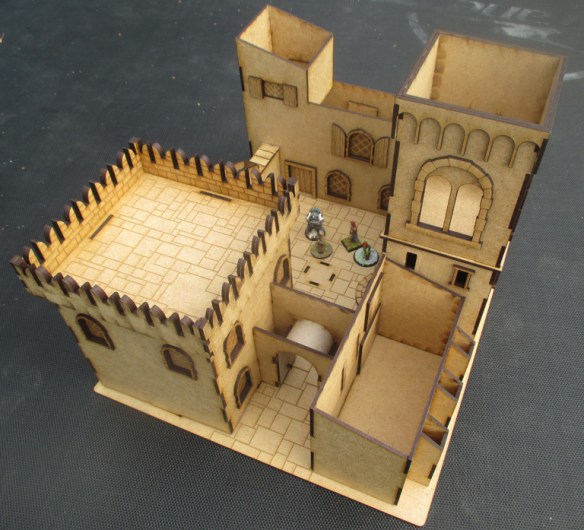
2018 is the year of extracting digit. My old gaming buddy, mugodice.wordpress.com, had wanted an inn for his games a couple of years ago and I had been putting it off.
The brief was that it had to occupy an eight inch square footprint.
So spoiling his birthday suprise here it is.
I learnt quite a few things actually and most, in hindsight, are pretty bleedin’ obvious. I’m not out of the woods yet, by a long way but I thought I might share these nuggets of wisdom with you.
* Do you have a clear idea of what you want to achieve?
* Make a plan
* Do you have an idea of the budget? Does the project realistically fit this budget?
* Screw the plan up, throw it in the bin and start again
* Tell your Wife/SO you love them
* Does your Wife/SO have any idea about what time, money, mess and swearing the project involves?
* Do you?
* Tell your Wife/SO you love them
* Do you have enough materials at hand to complete the project?
* Go and buy what you need
* NOW!
* Revisit plan
* Check plan
* Set yourself a reasonable timescale breaking down jobs into manageable chunks/milestones
* Start building
* Check plans
* Start swearing
* The razor saw/scalpel/hammer is your friend
* Tell your Wife/SO you love them
* Tidy as you go
* It is better to paint any fiddly or hard to reach parts BEFORE assembly
* Photograph as you go. Somebody may learn from your stupid mistakes.
* As you build you’ll get flashes of inspiration for your next project. Write them down. Do not, repeat, do not start this next amazing project until this one is done and dusted.
* Don’t be afraid to ask for people’s advice on dedicated forums.
It’s what the interweb is for.
Actually it’s for porn (Avenue Q)
Or pictures of kittens
* Speaking of which, if the kitten wants to play either put it out or play with it. You cannot work with kitten.
* When doing closeup touching-up don’t keep the paintbrush in your mouth
* Tell your Wife/SO you love them
* Take your time don’t rush. If that extra detail takes five minutes, take those five minutes. The end result is worth it
* Finished! Now collapse in a heap for five minutes
* Where the photon are you going to store it now?
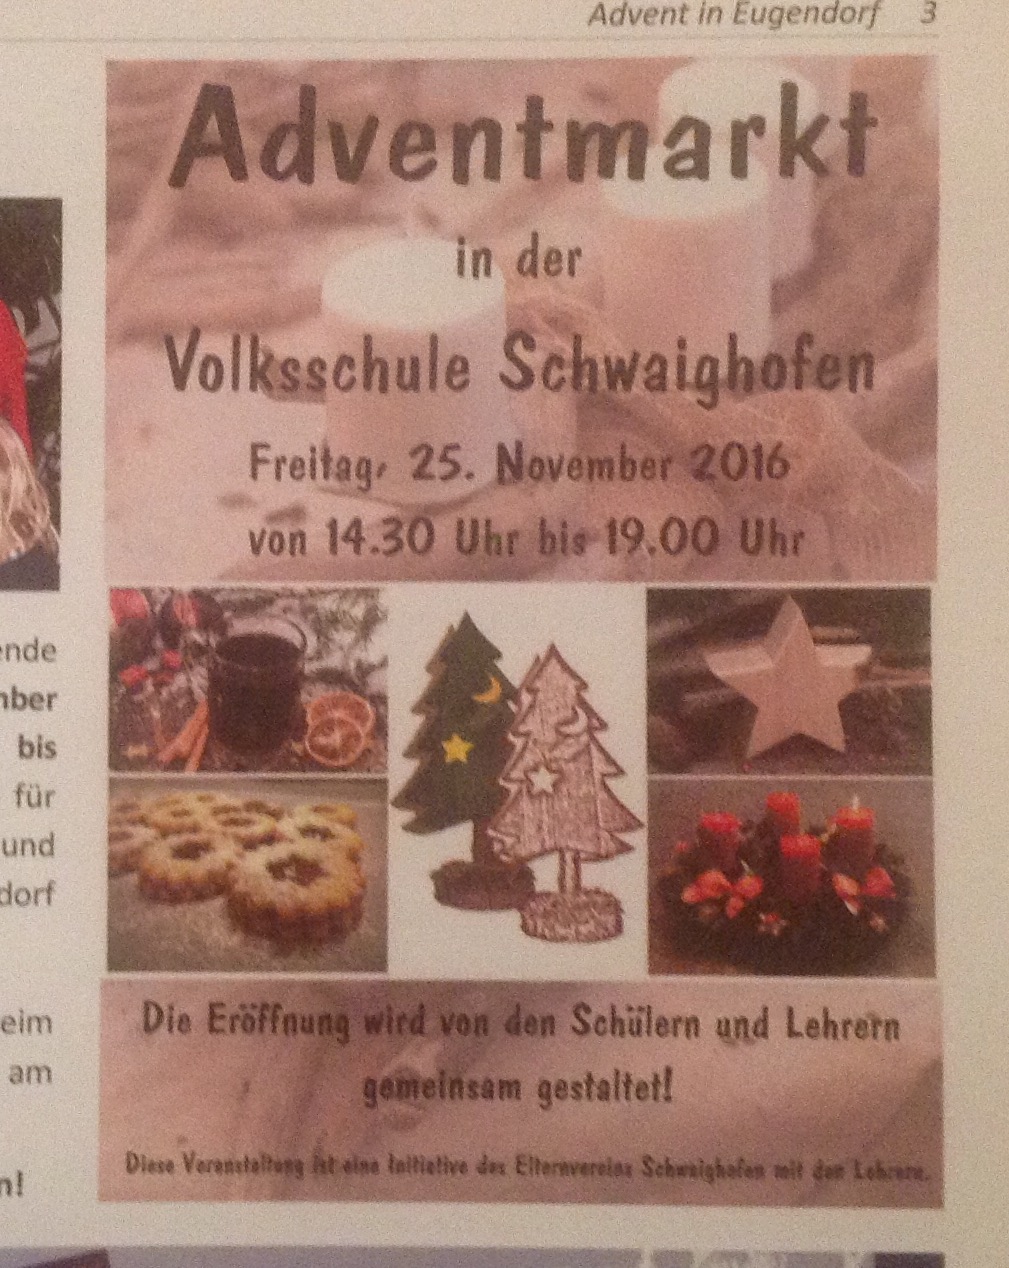
The last couple of weeks have seen me quite busy producing stuff for our local school’s Christmas market.
So I have been making snowflakes, and getting glitter everywhere. Tealight holders, tree decorations, advent countdowns etc.
Just to have a quick break from all this seasonal work I knocked up the artwork for these and cut them this morning.
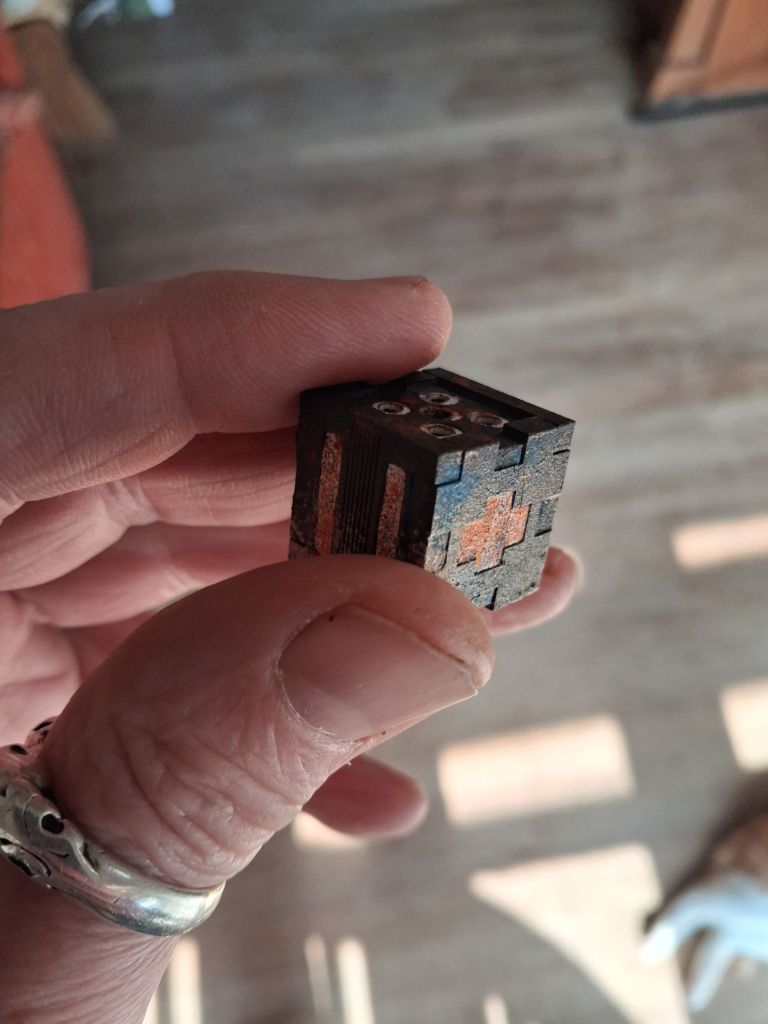
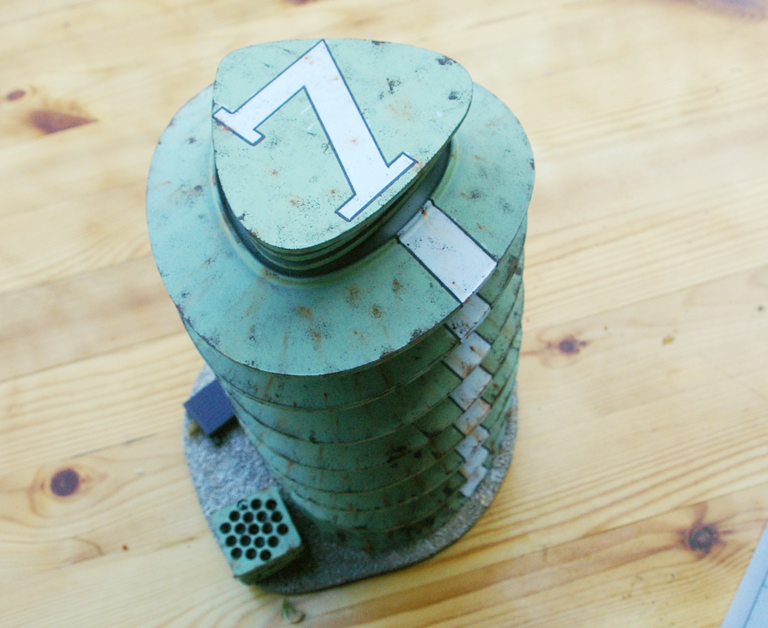
May I present the Corpse Containment Units. Useful for when dearly departed grandma has a little more life in her than expected.
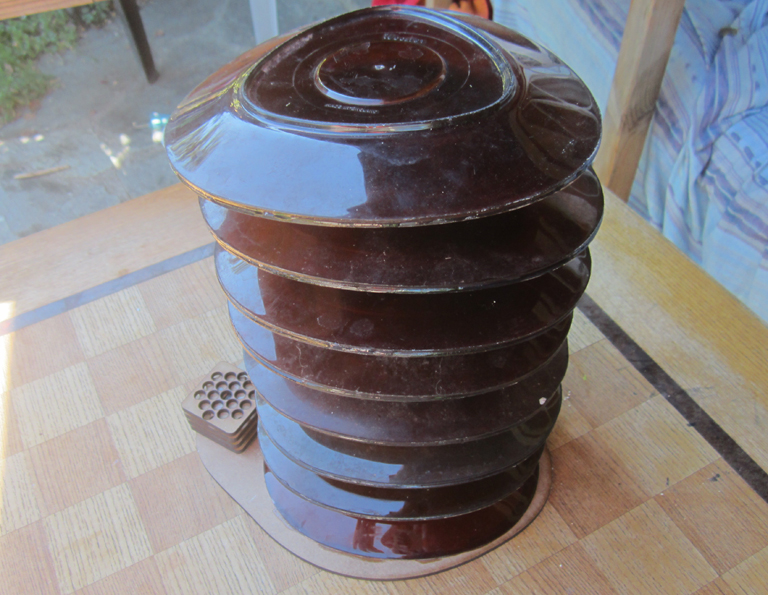
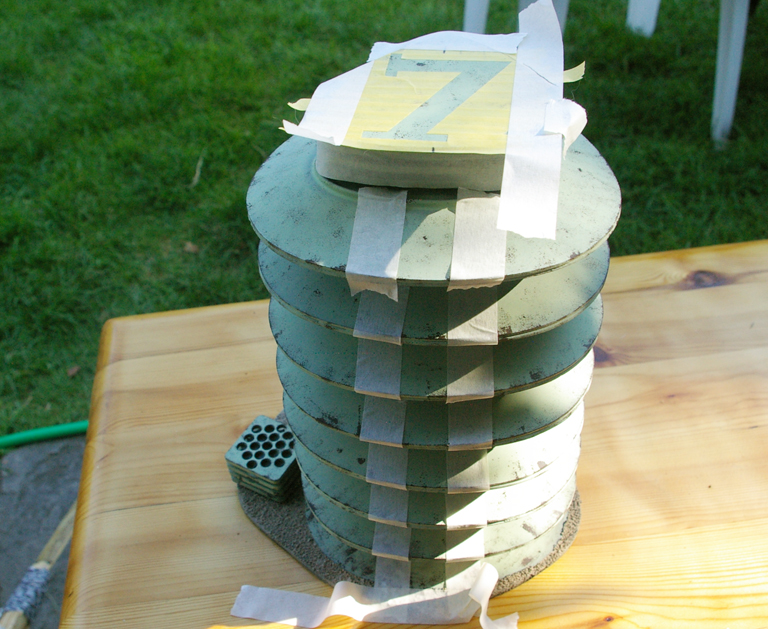
A few years back, when I was at CSM, the canteen was having a clear-out and I came across these plastic plates.
We used them in our greenhouse, back in London, to put plant pots on. But always in the back of my mind I thought they might be useful for something hobby related.
Over here now and getting settled. Time to start unpacking boxes and I came across them. Tick tick tick, hmmmm?
I laser-cut a base and some gubbins to make it a bit more interesting but I seem to have missed out photographing the base painting and the chipping.
Here we are masking the structure to add a white stripe.
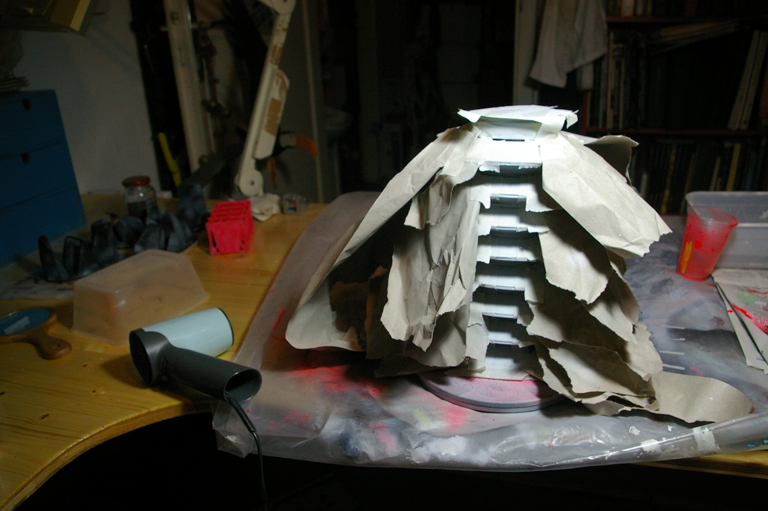
Masking the whole structure to avoid overspray.
As you can see my airbrushing was not very successful. Instead of gently building up the layers I blasted away with the end result being this where the paint went under the masking.
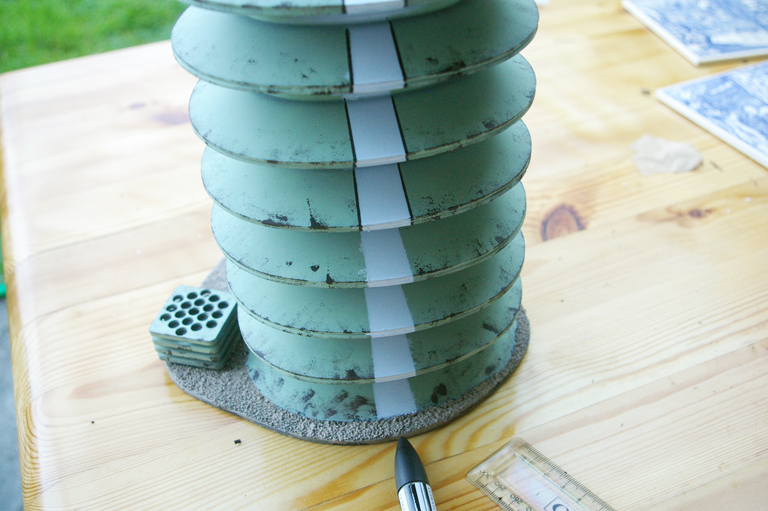
This was remedied by adding a line of marker pen.
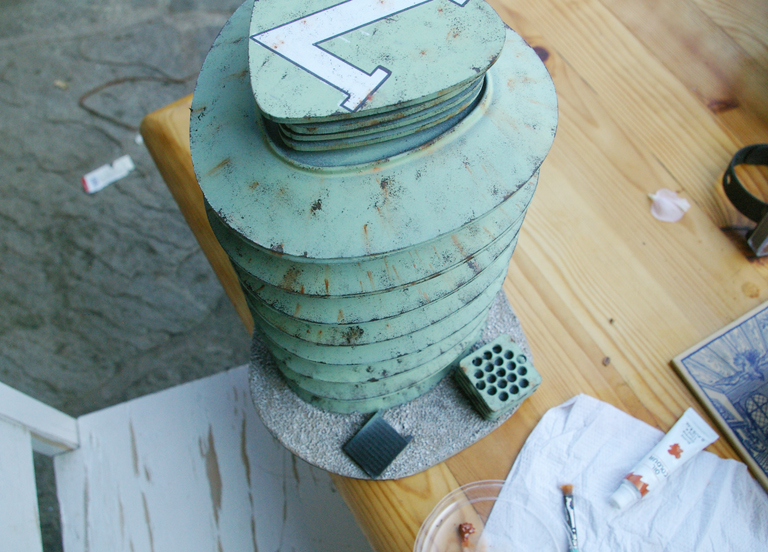
Adding rust streaks with oil paint.
The finished product. I wanted to provide a quick photo as I’m certain it is going to feature in more photos in the future.
If I can point you in the direction of this blog http://port-imperiale.blogspot.co.at/
It’s Blogs like this that keep me on my toes.
Now that reminds me…. I’ve got some small flowerpots I picked up at Ikea because they had some plastic grass in them.