Nessus

This is the second board that I made for the Tabletop Knights gaming day. My kind Daughter gave me a copy of Destiny 2 when she gifted me her old PS4. One of the worlds you visit is Nessus.

This is not my image and it is used without permission

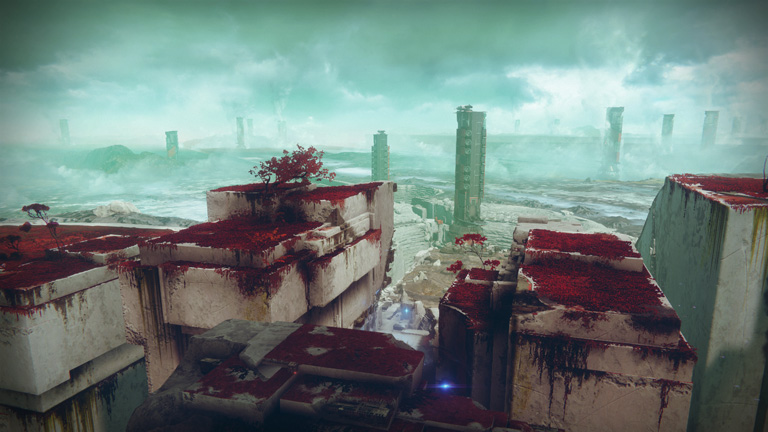
I fell in love with the visuals and wanted to recreate them. In the small space of a Kill Team board I wouldn’t be able to do it justice, but maybe I could give a taste.

First up was to make flocking, My local DIY store gave me a small piece of pure white foam and the poundshop provided cheap paint to colour it.

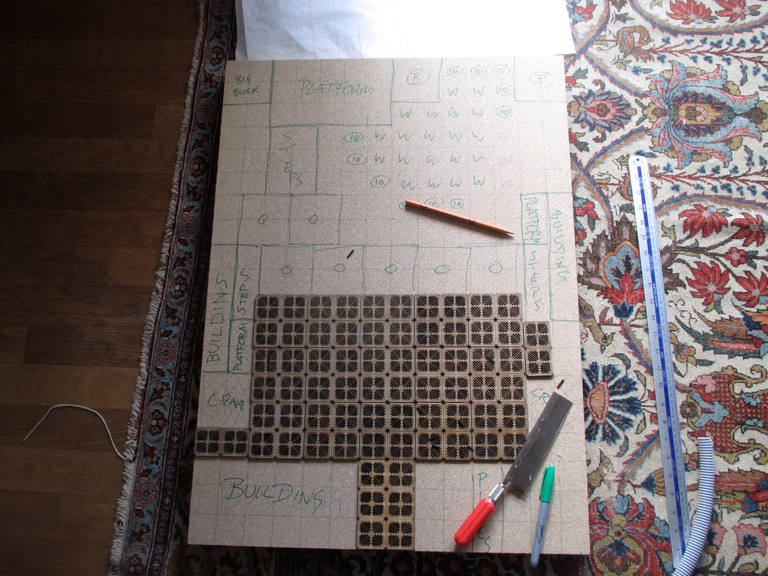
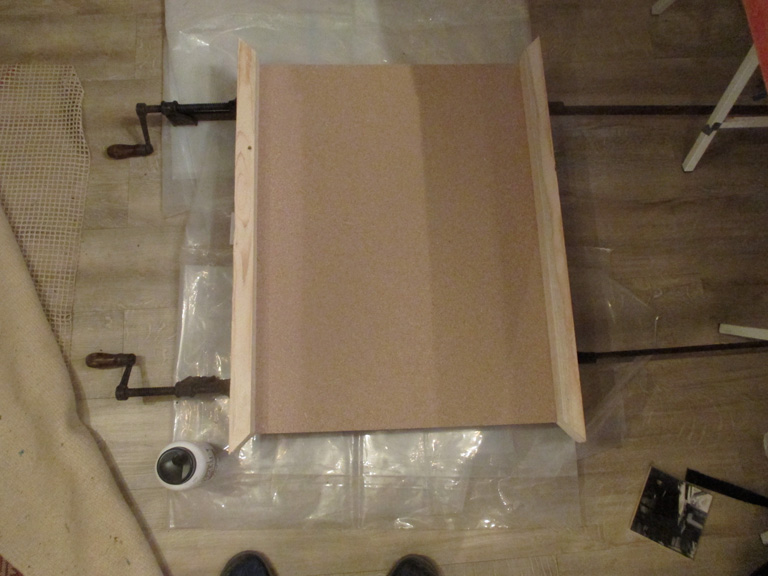
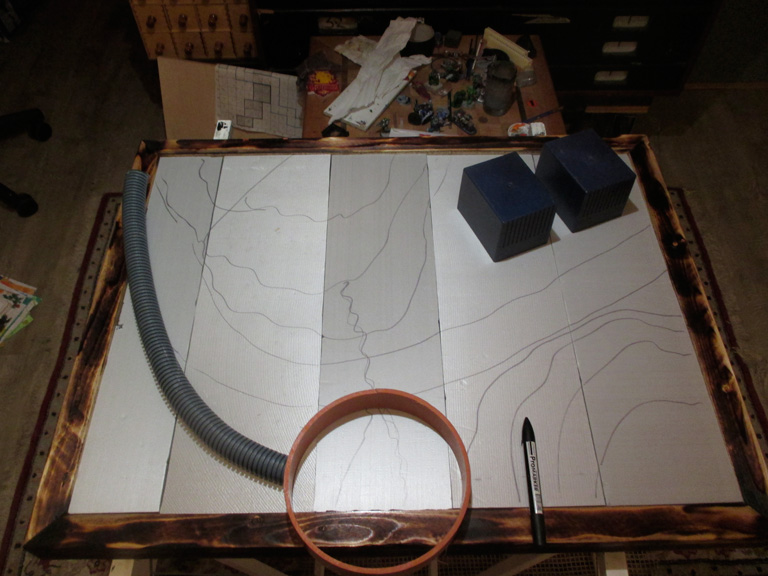
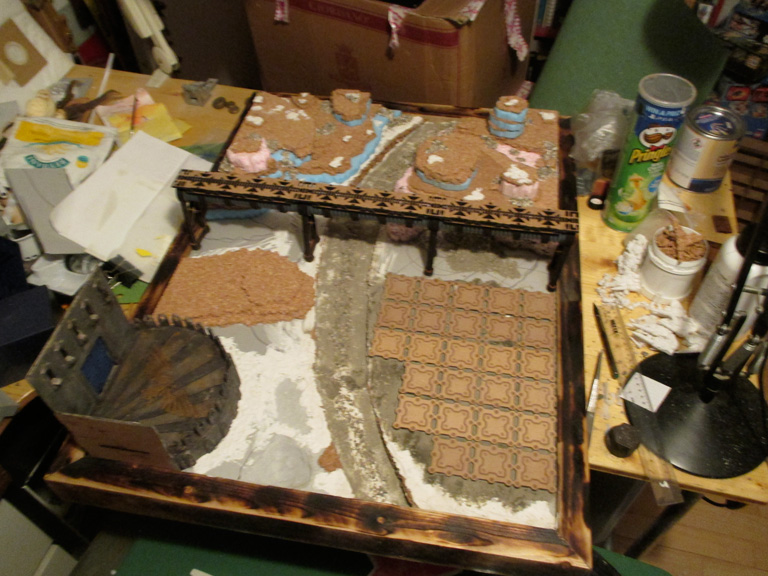
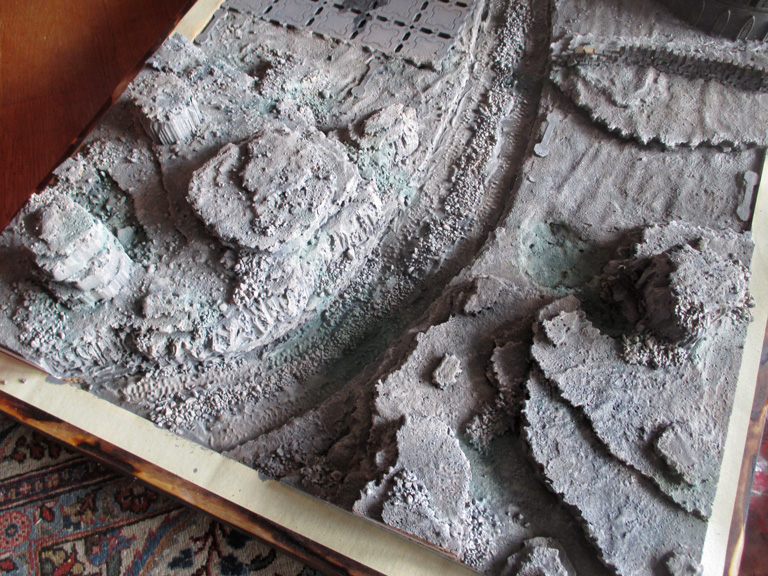
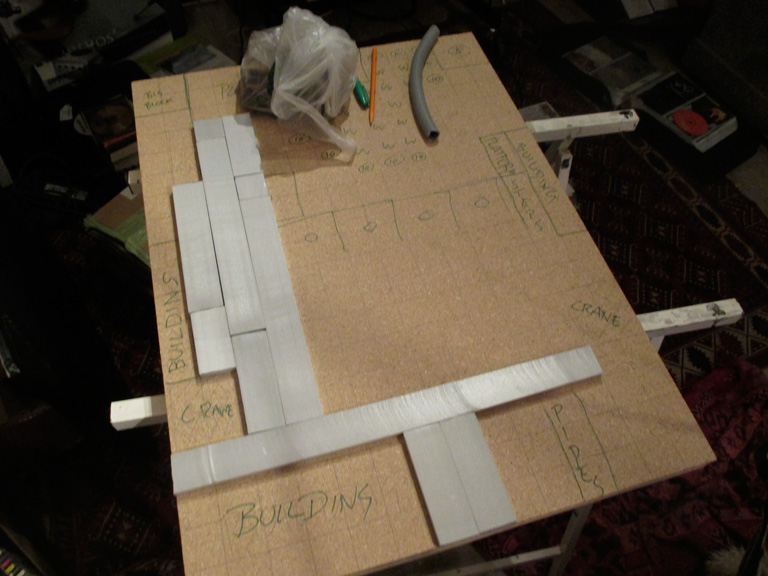
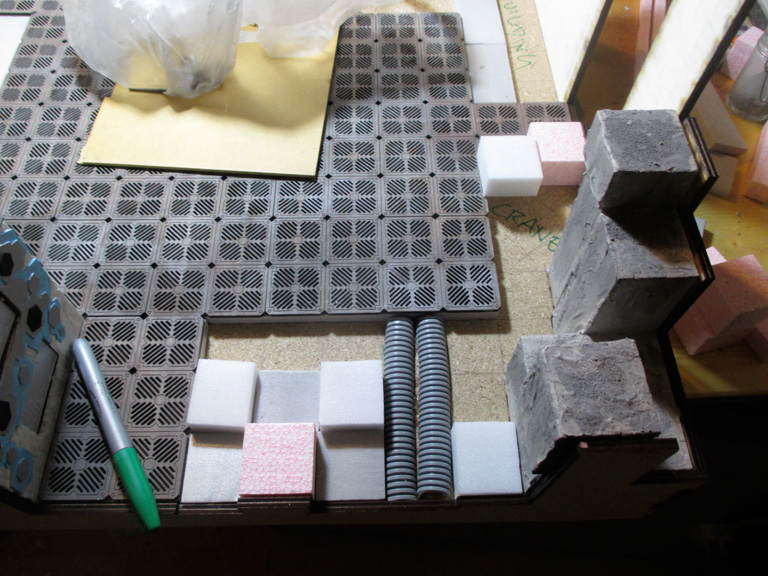
Planning out the board

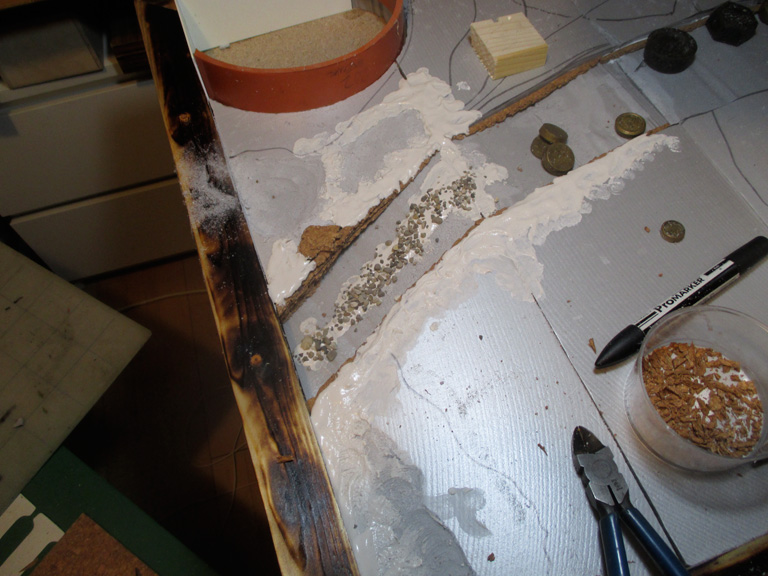
Laying down 10mm of foam under the “metal” floor plates. I wanted them raised so there was some variations in the floor level.
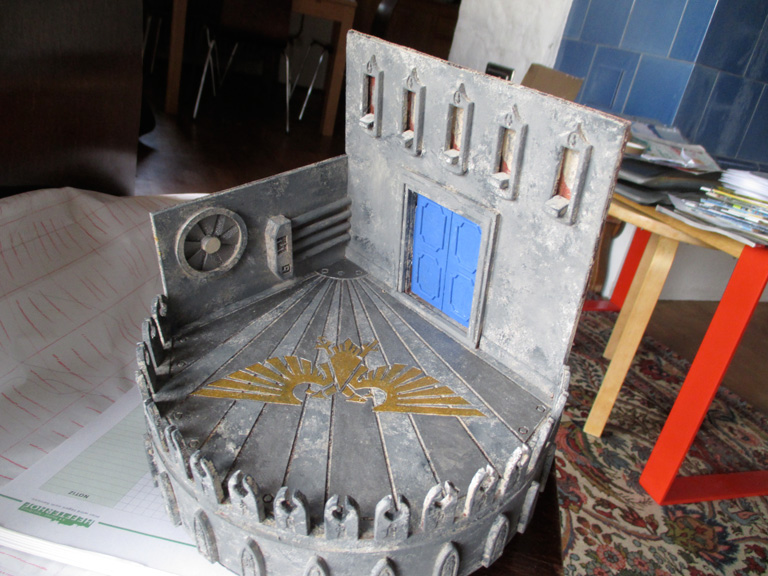
The buildings

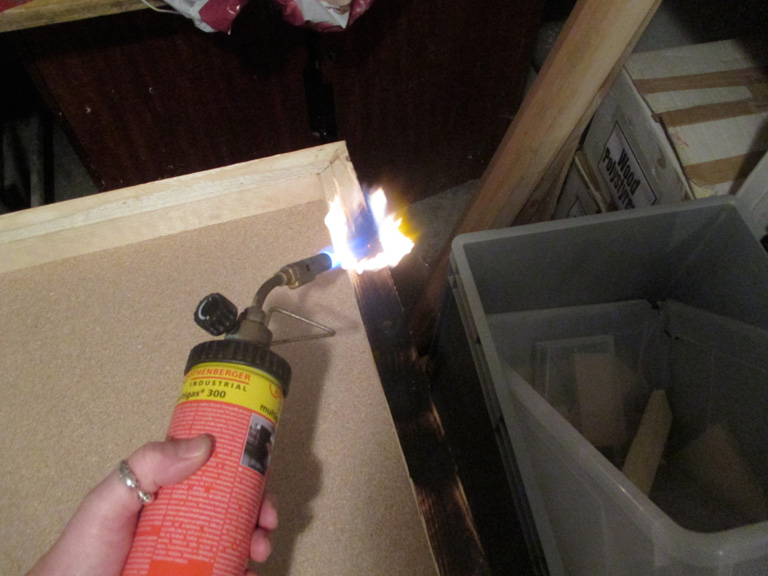
Adding the sides for extra strength.

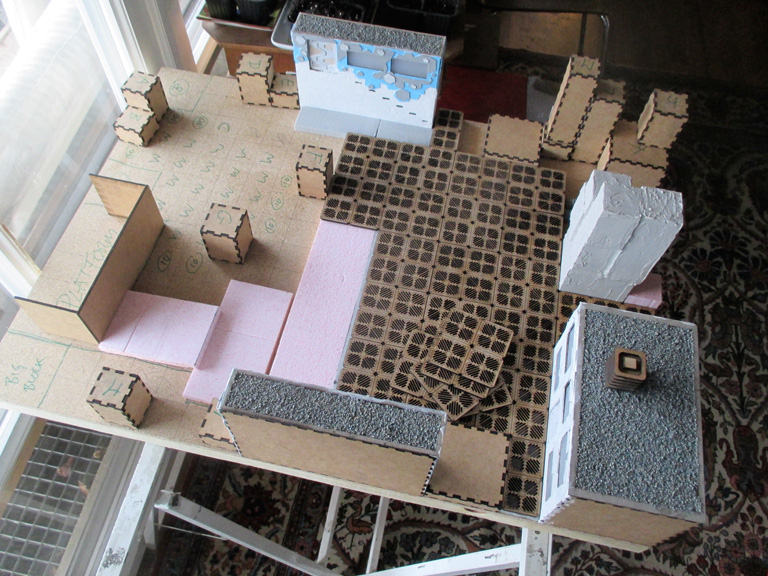
Glueing parts into position
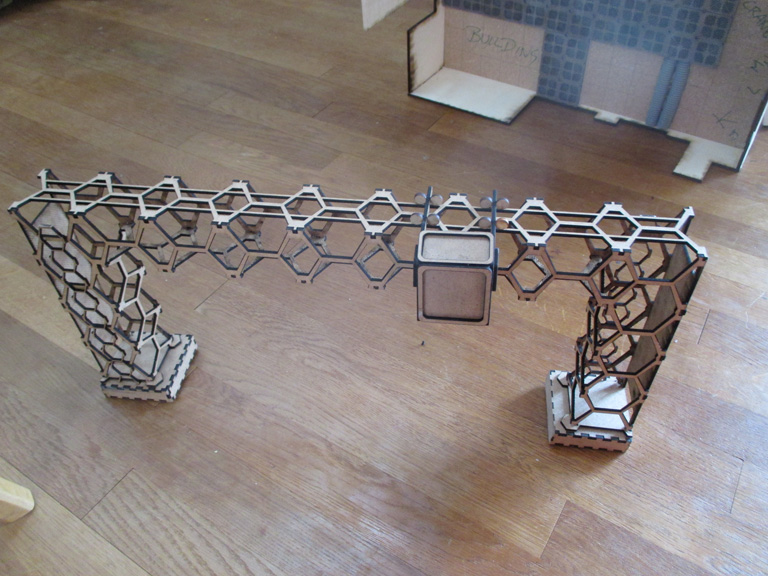
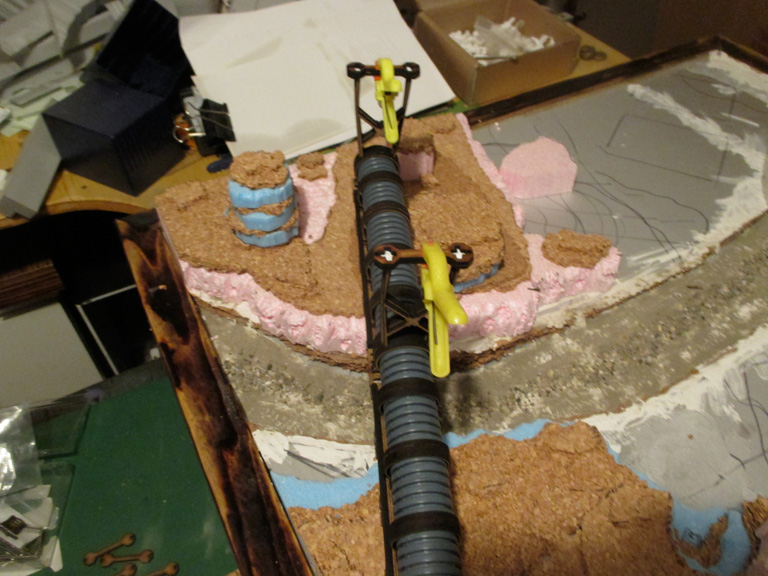
The crane

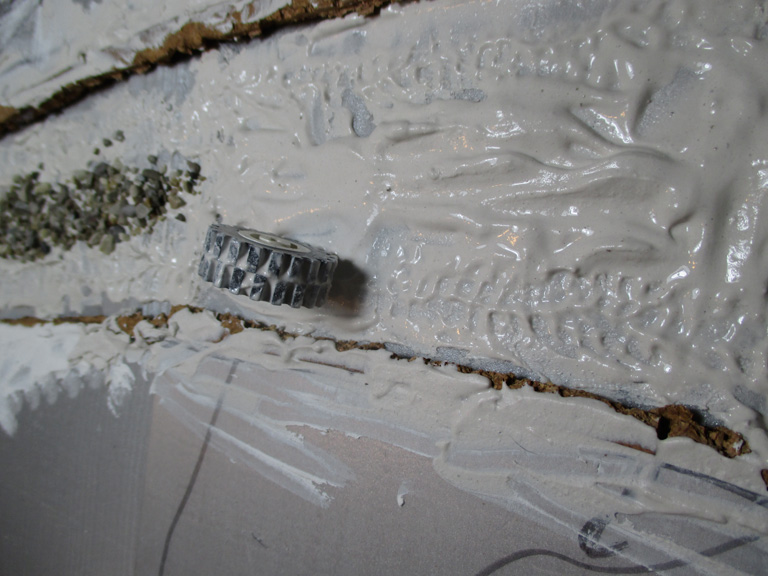
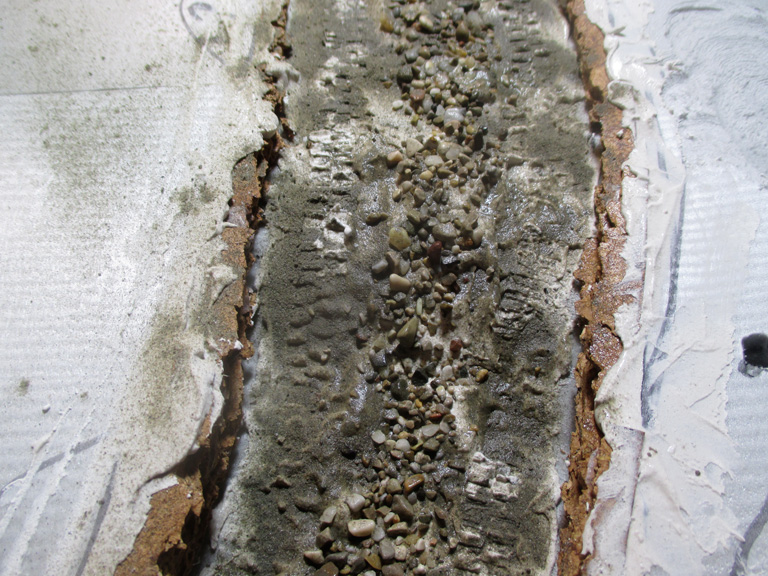
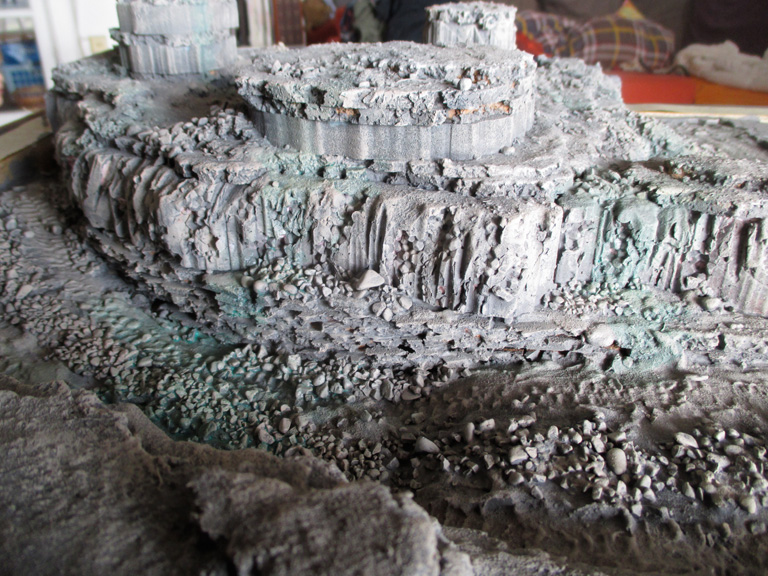
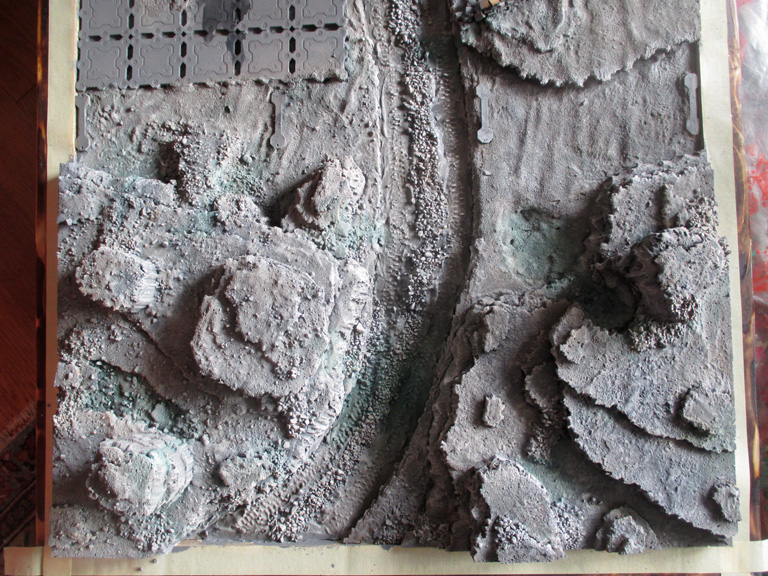
Adding colour and weathering.

More details.

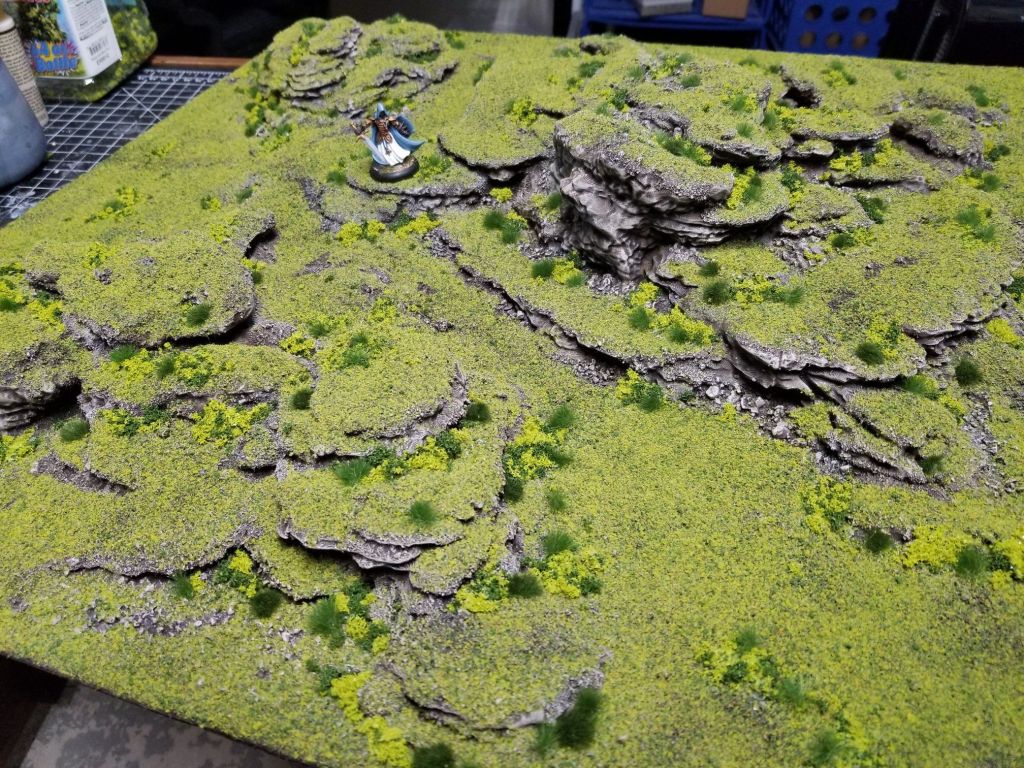
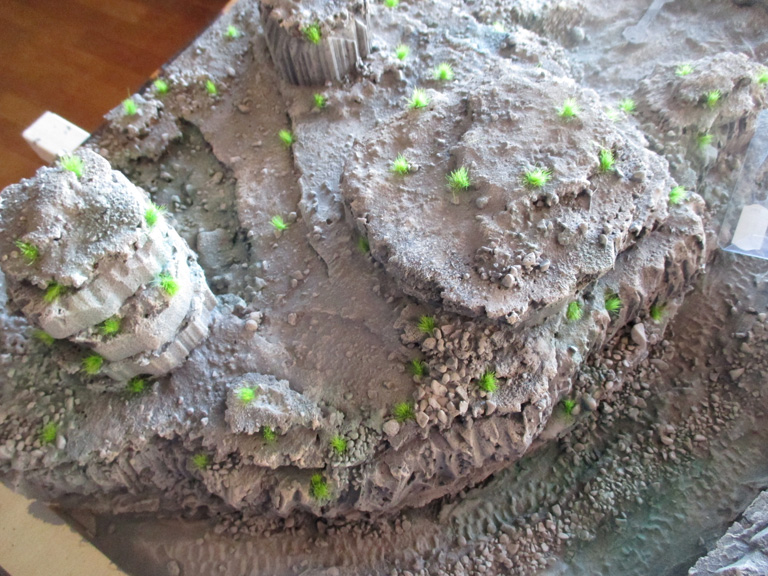
Some of the columns in place with vegetation.
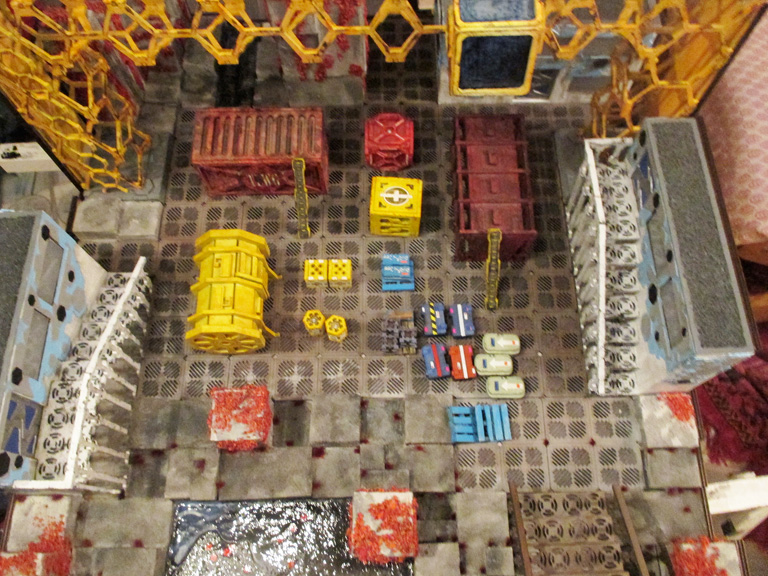
Set dressing.

Over all I wasn’t so happy with this board. There were a few tiny mistakes. I didn’t like the colour scheme on the buildings. I would have approached it differently next time. I have no idea where I am going to store it now. I did offer it up for sale at the event, but no interest.

Gone?

This is the first post of three regarding the Tabletop Knights show in Germany.

This will be about the first display board, Gone?

I saw this image, credit to whoever did this (if you let me know I will credit that person here) and thought, “I want this!” If you are interested I have a Pinterest page devoted to scenery. Look for Nik Green. I highly recommend Pinterest as a resource for keeping ideas from all over the interweb neat and tidy and in one place.

I got the dimensions of a Kill Team board, thirty by twenty two inches, and got two sheets of chipboard cut.

Clamping the sides

Burning the splinters off the cheap wood frame

Trimming the foam for the inserts with my Proxxon

Foam inserts fitted

Playing around with ideas

Track chopped out and starting to detail the edges with strips of cork tile

A Lego wheel being used for detailing

Gravel from Walersee and fine river silt used for detailing

Building before and after painting

Starting to build up the layers

I made a pipeline out of some scrap pipe from a skip and some laser cut supports. I magnetised the feet so it could be removed for transportation.

Everything in situ

Silt! Silt everywhere!

Paint and weathering applied

Tuft mania

And then scatter

I think the scatter needs to be more yellow to match the tufts. Added to this was some water effects. Overall I am very happy with this board. Some minor tweeks as noted are required.