I have been painting, still not a joy, as yet. But plugging away and chipping away at the pile on my desk. I realised how much I had missed having a window to look out of. I moved my painting lights upstairs. Now printing off some paint racks to free up some desk space. Photos to follow when set up.
Now to a photo dump of work done.
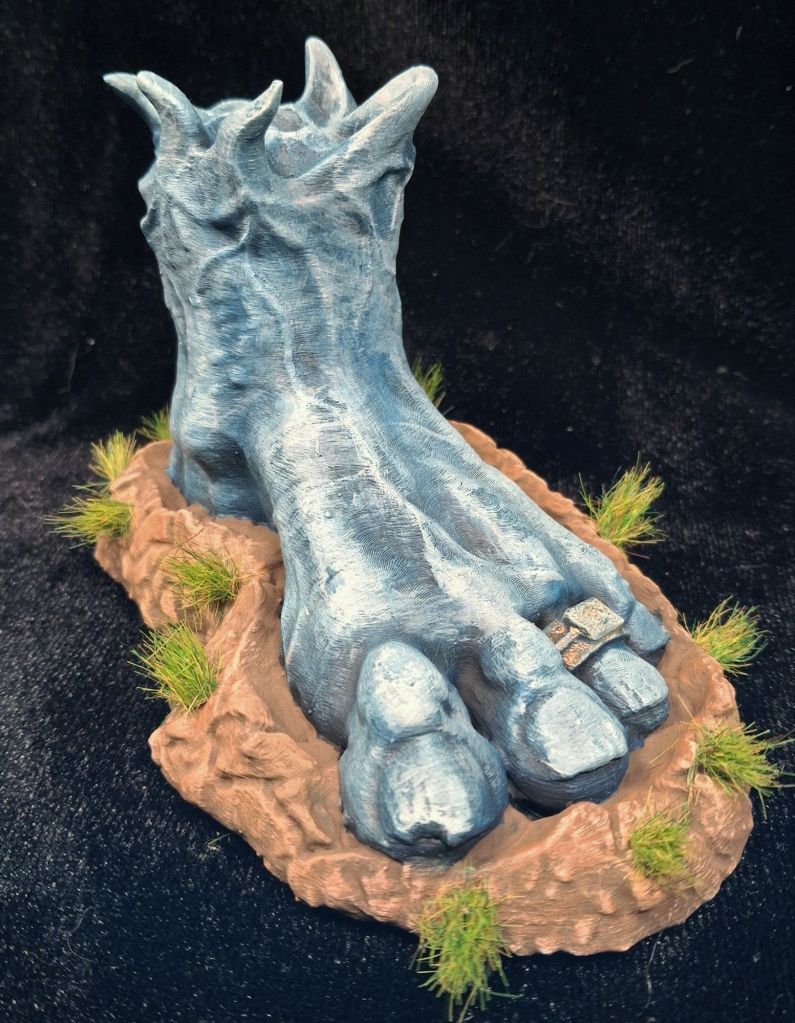
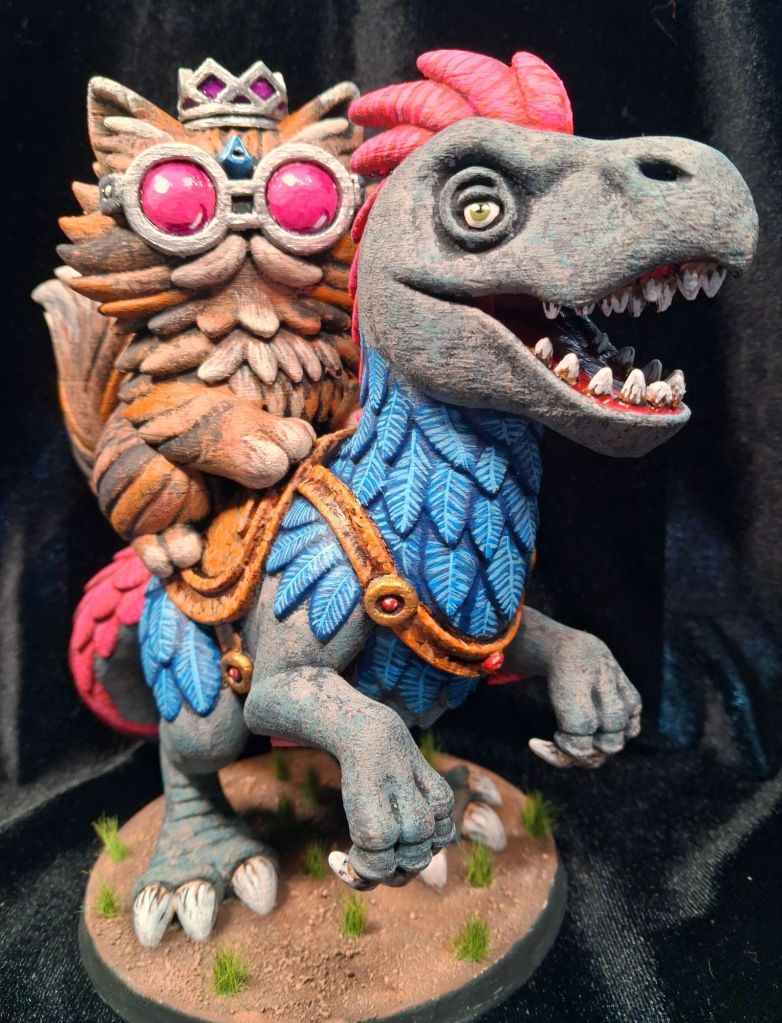
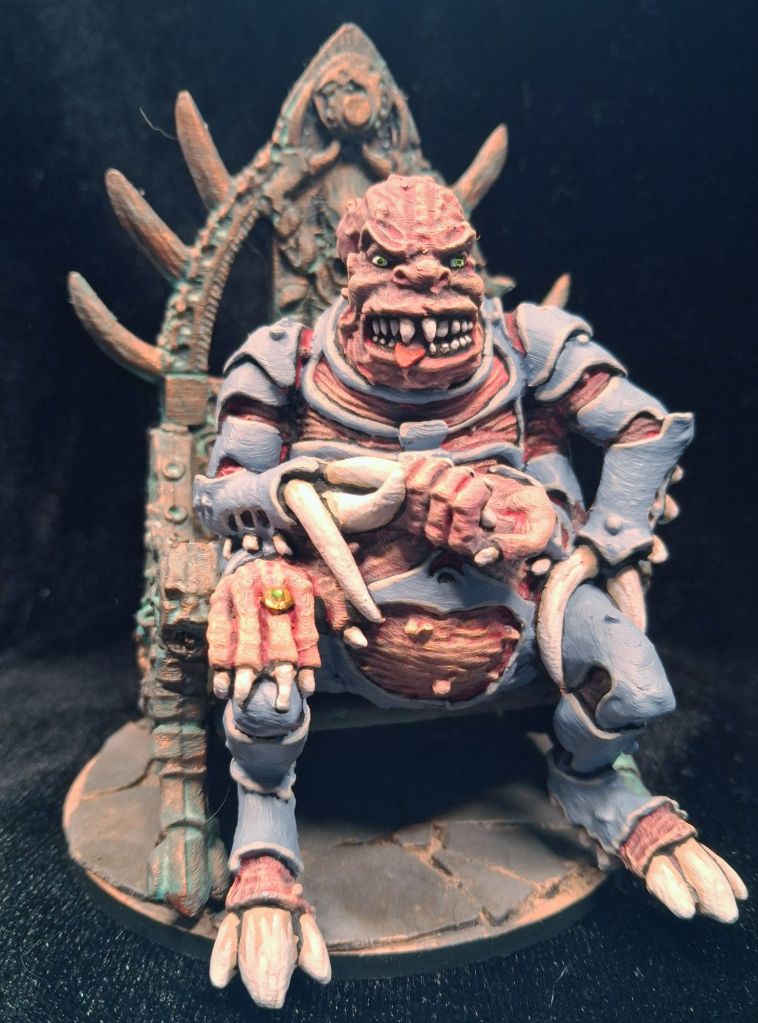
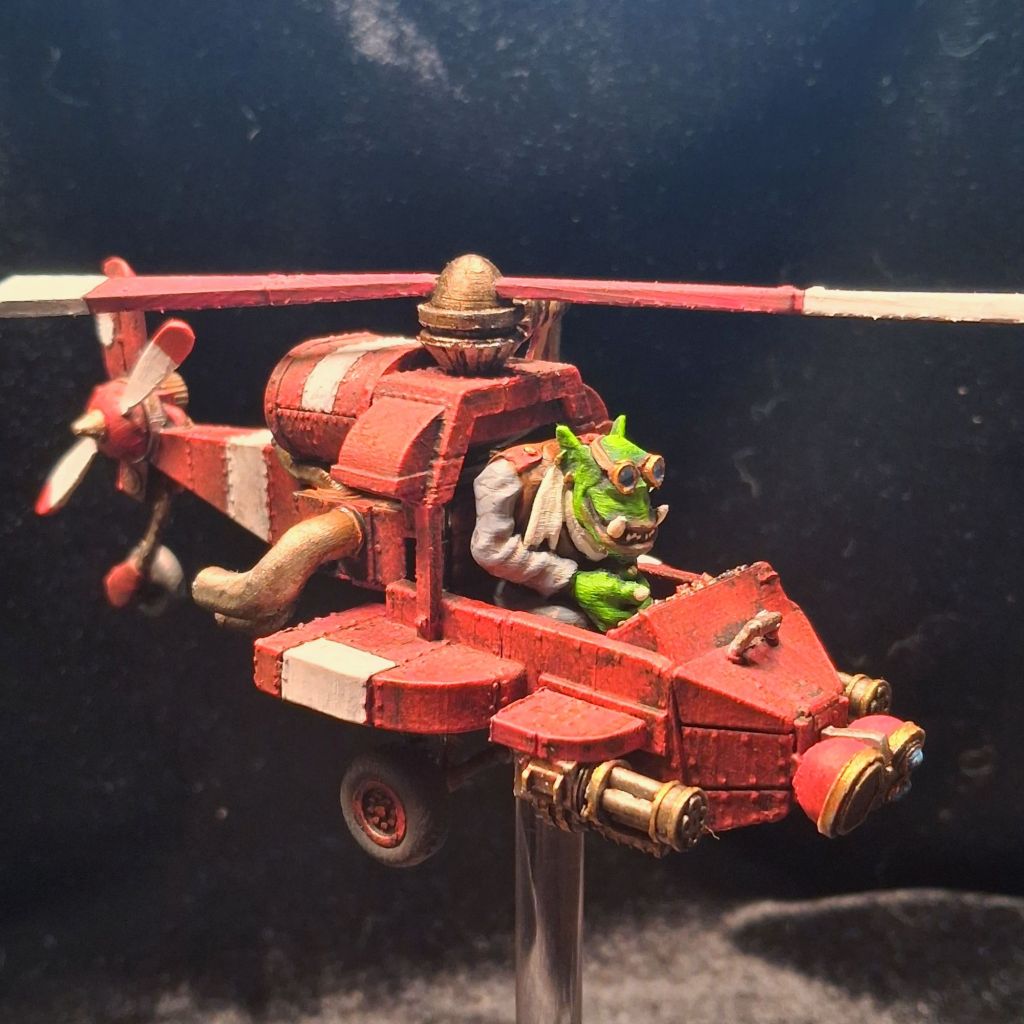
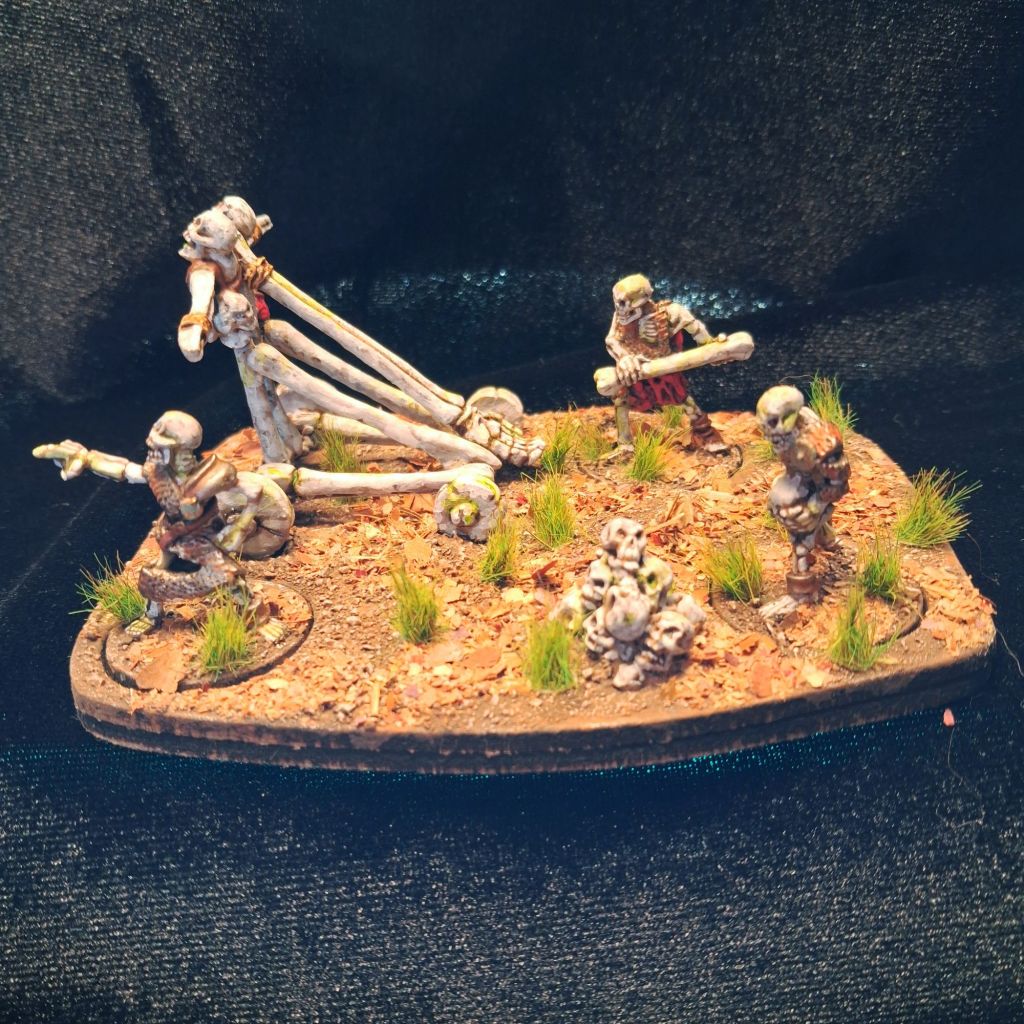
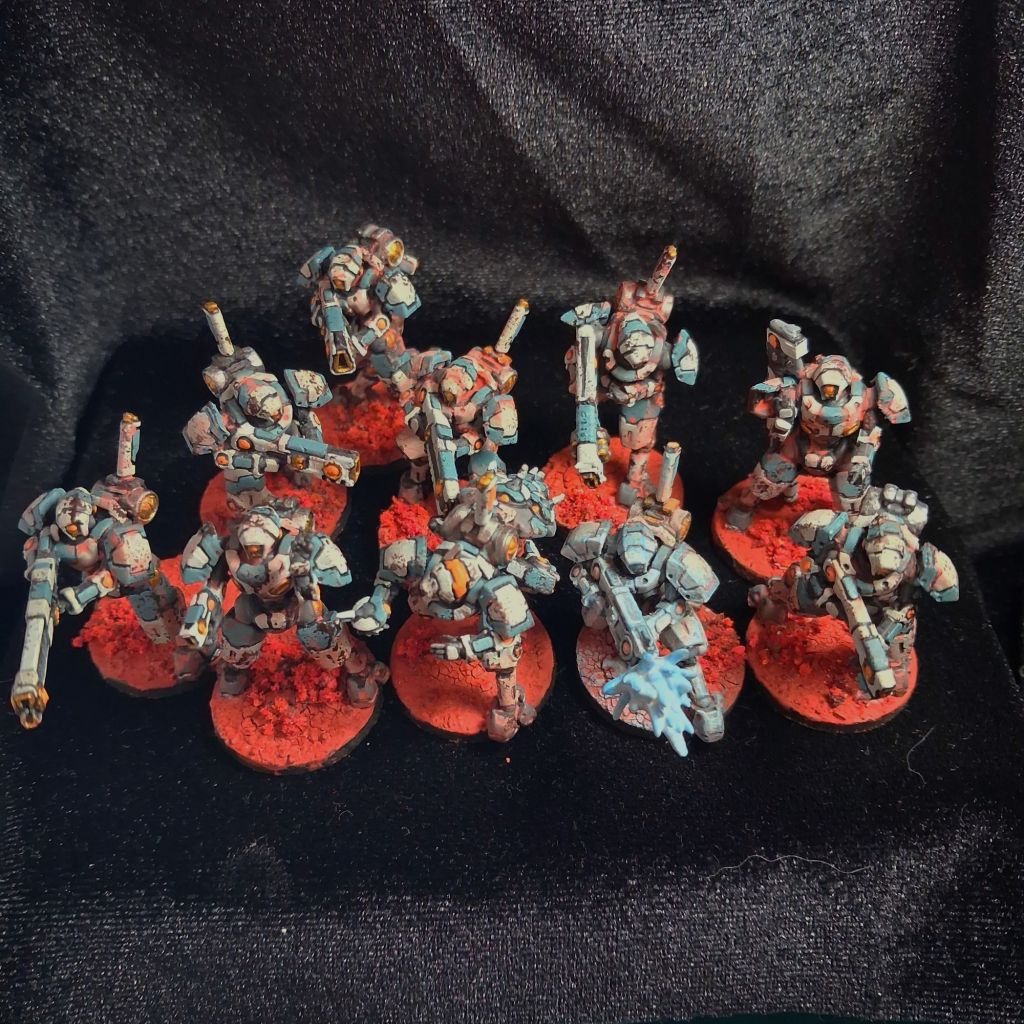
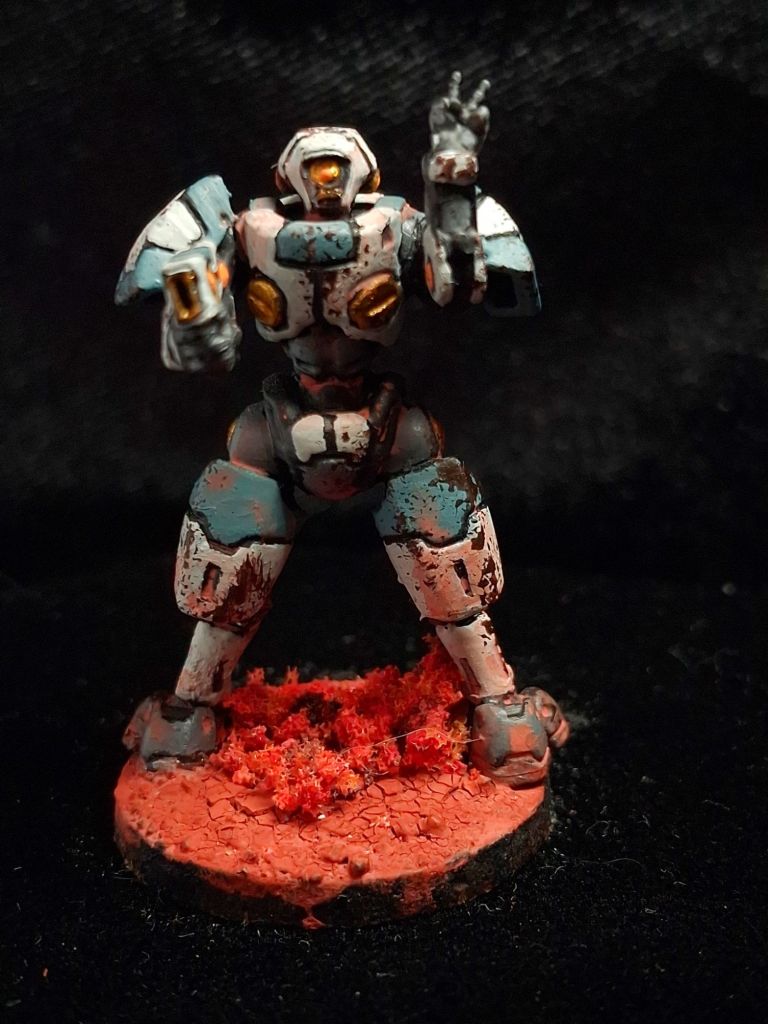
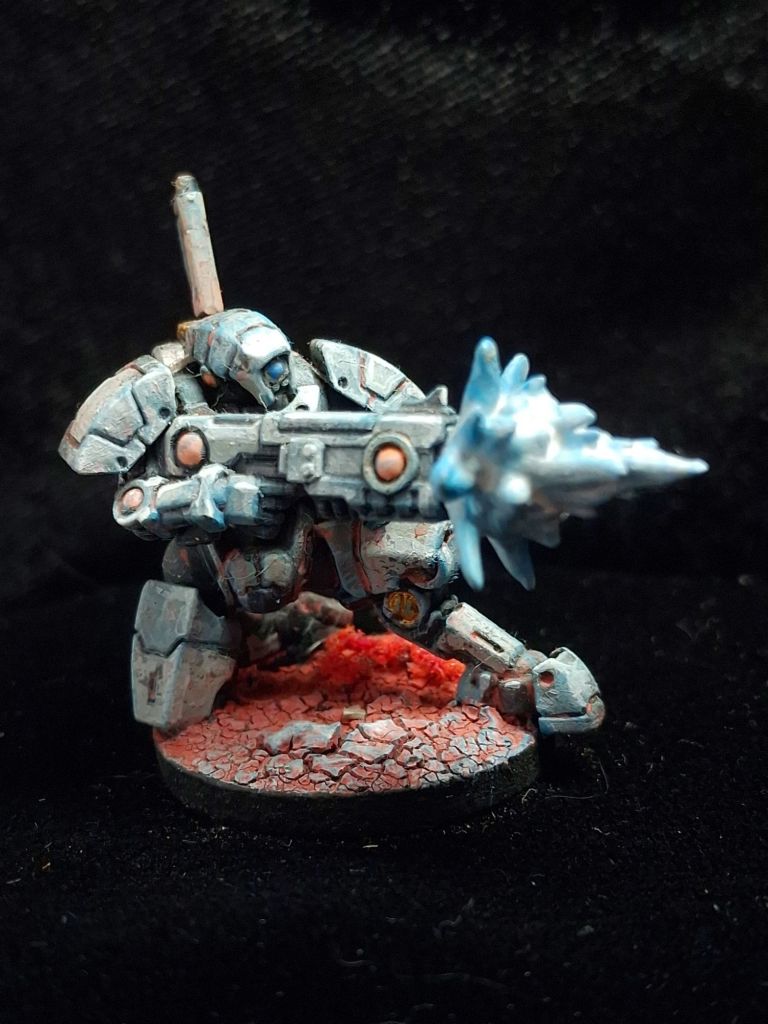
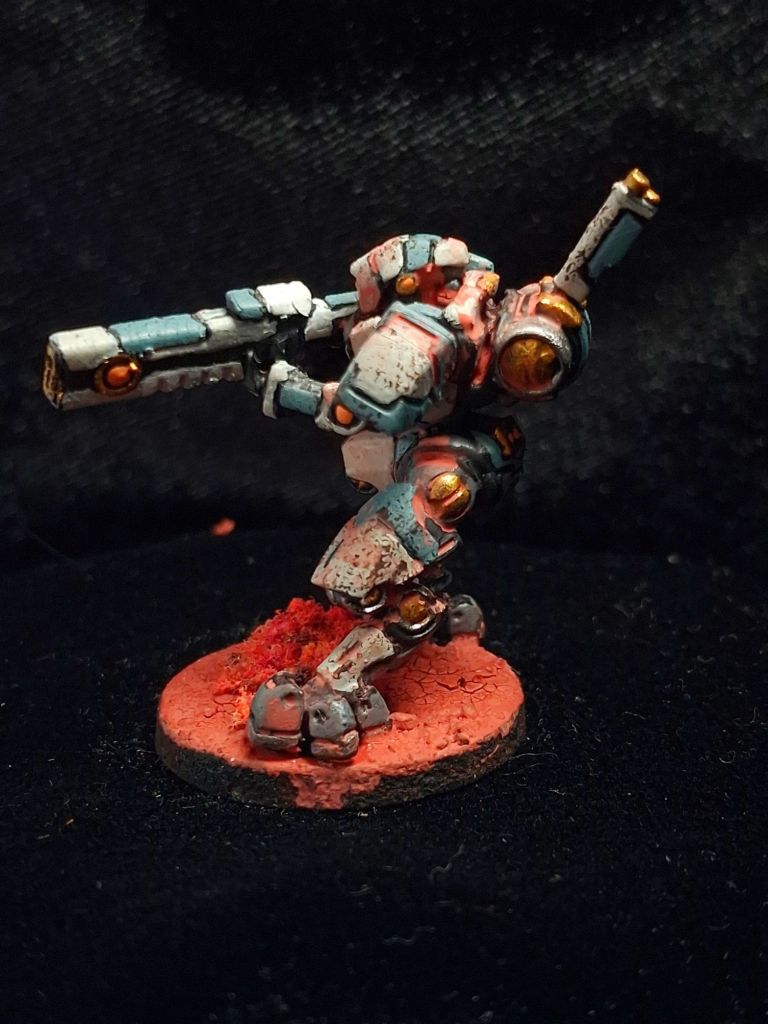
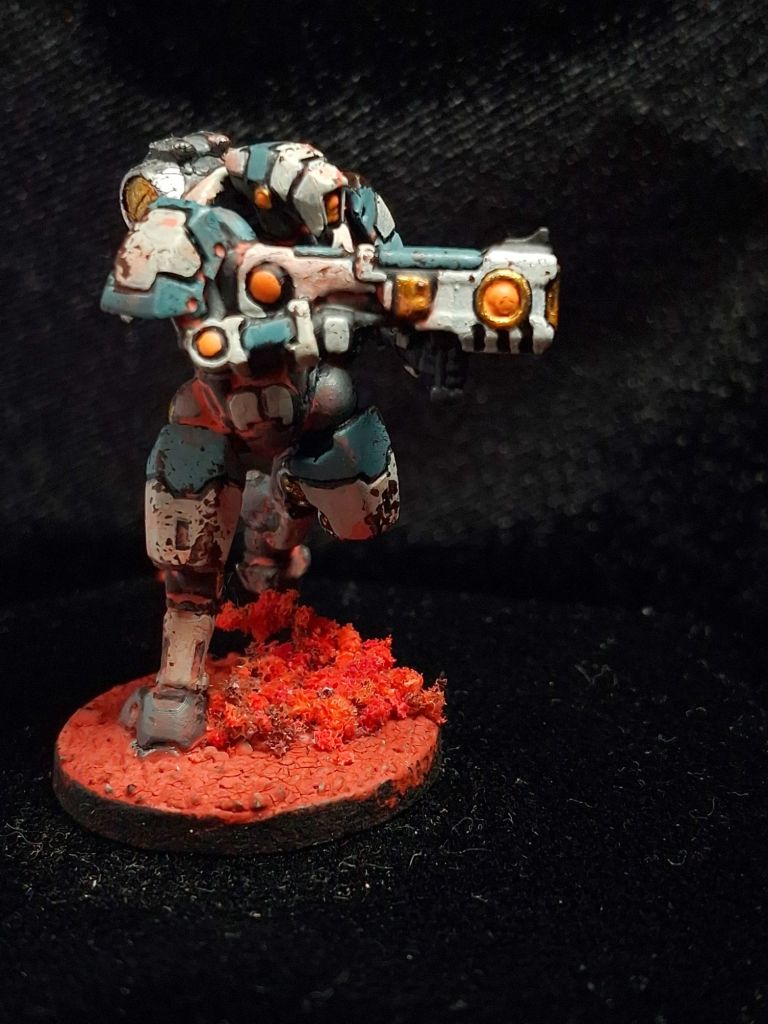
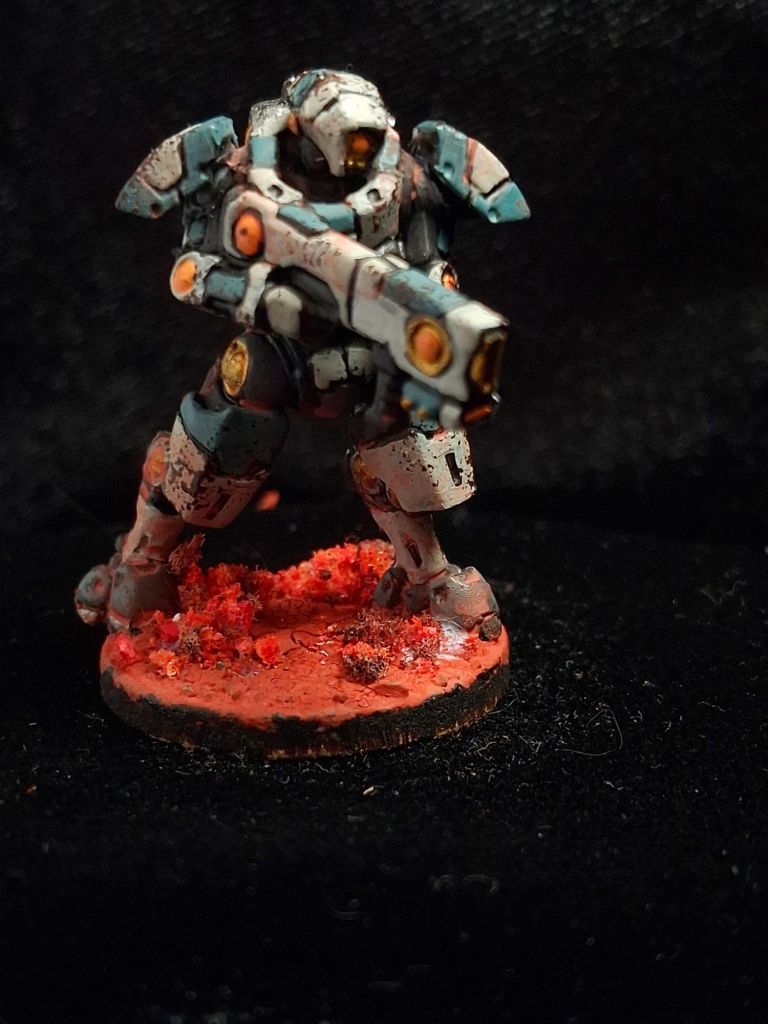
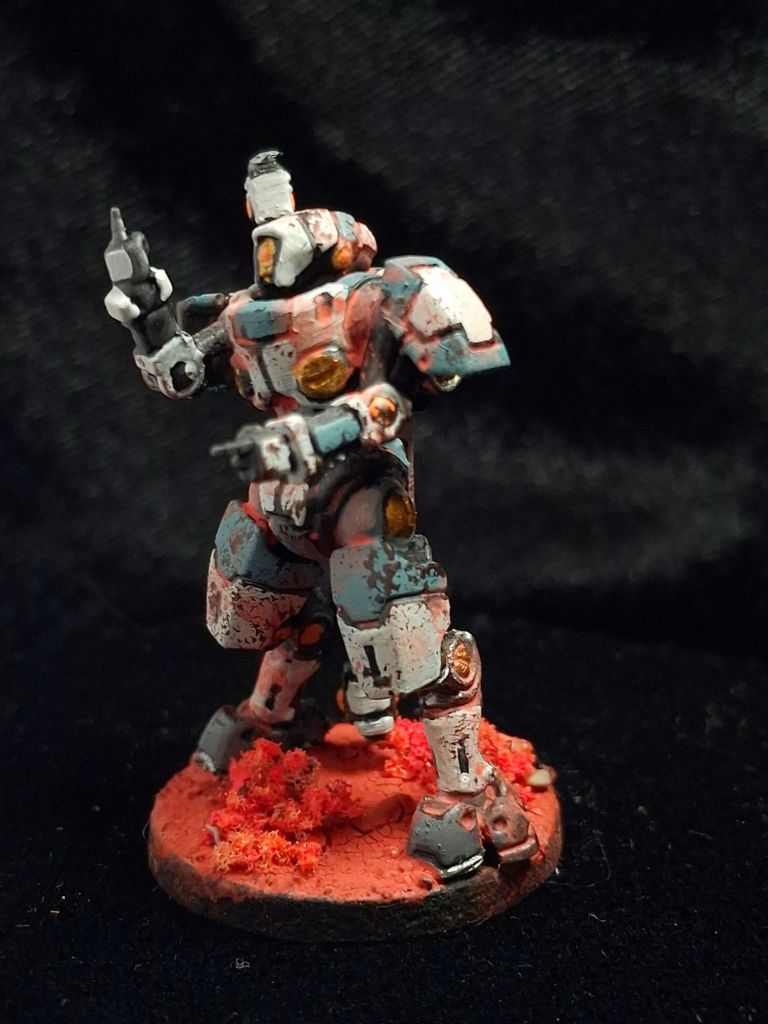
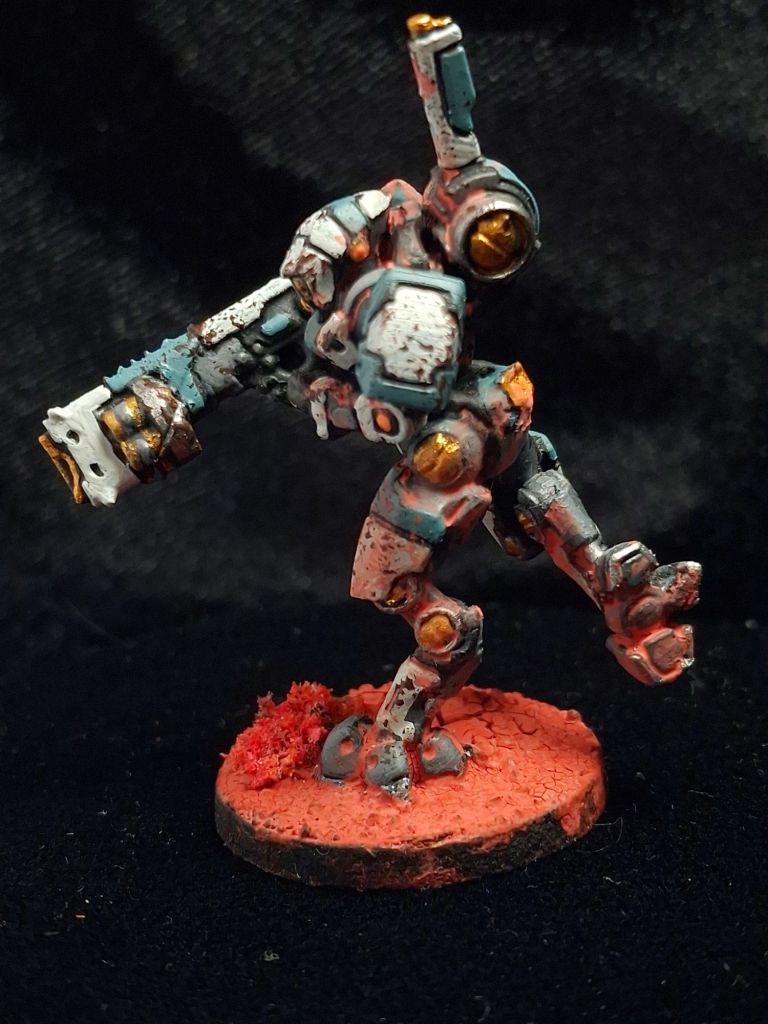
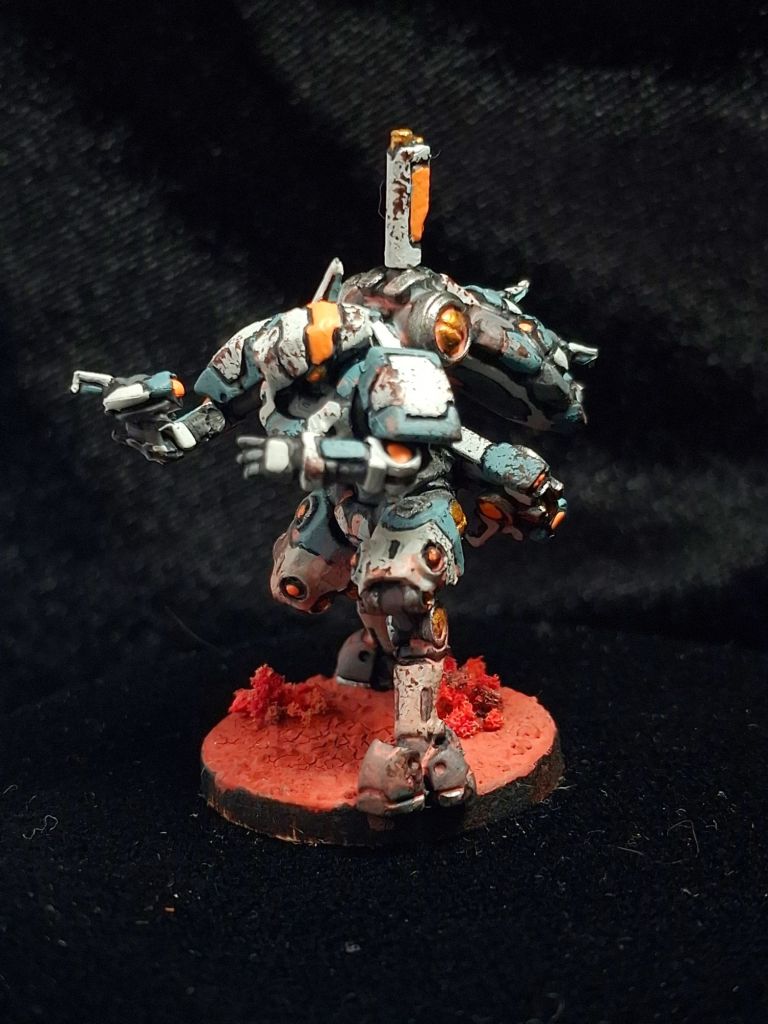
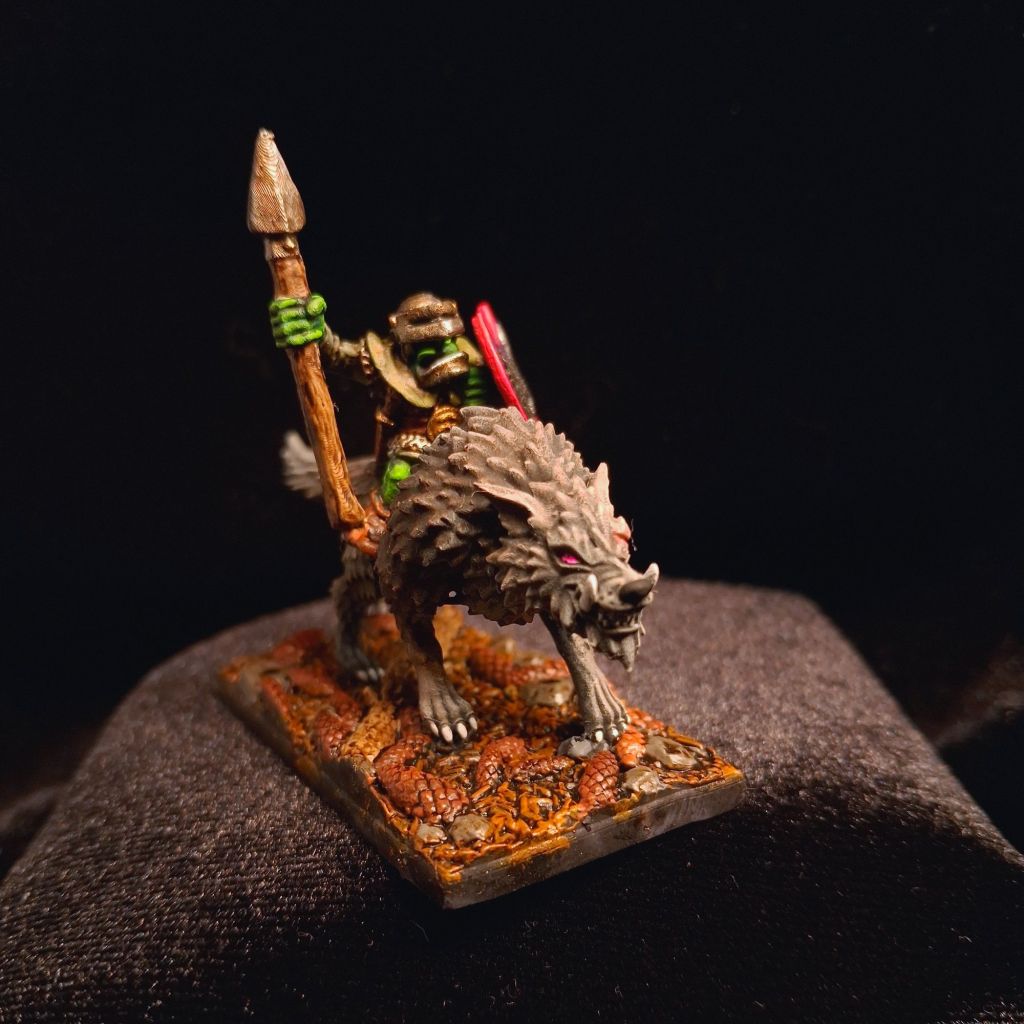
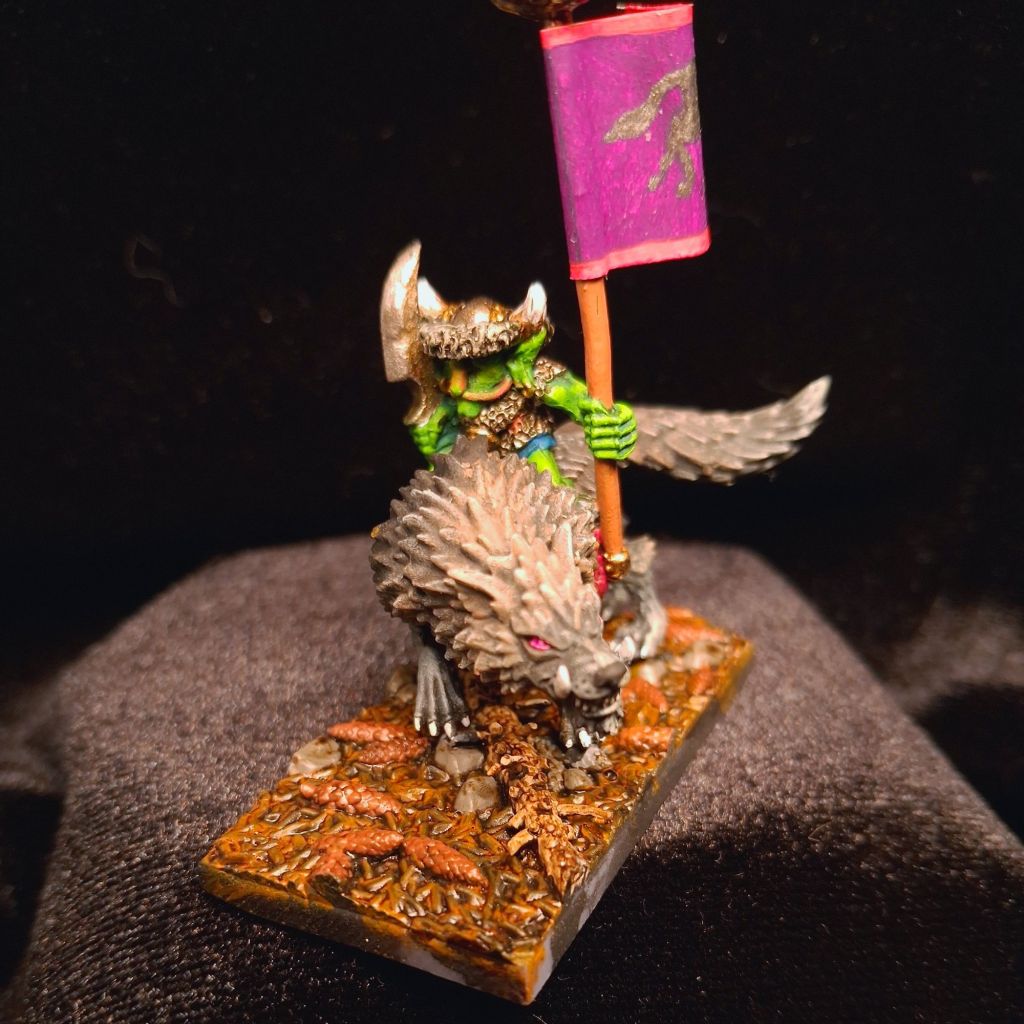
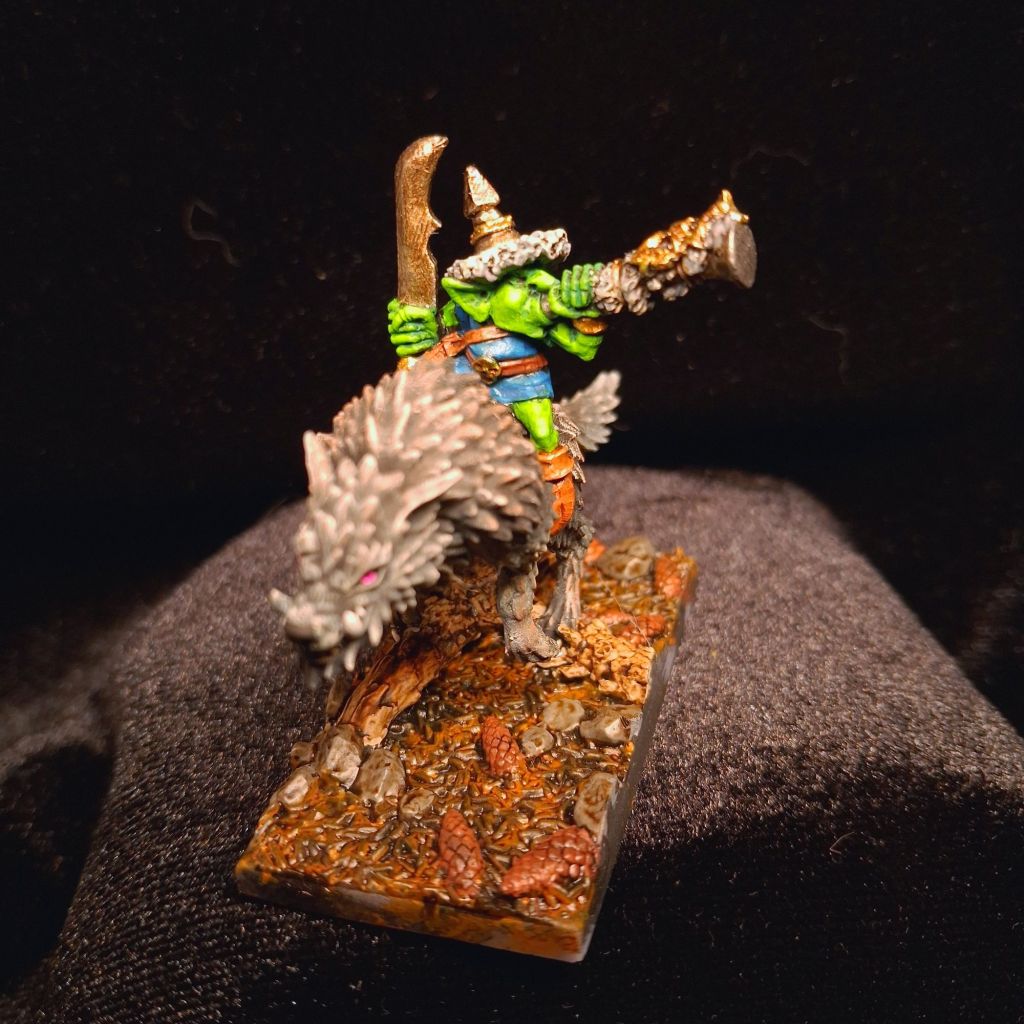
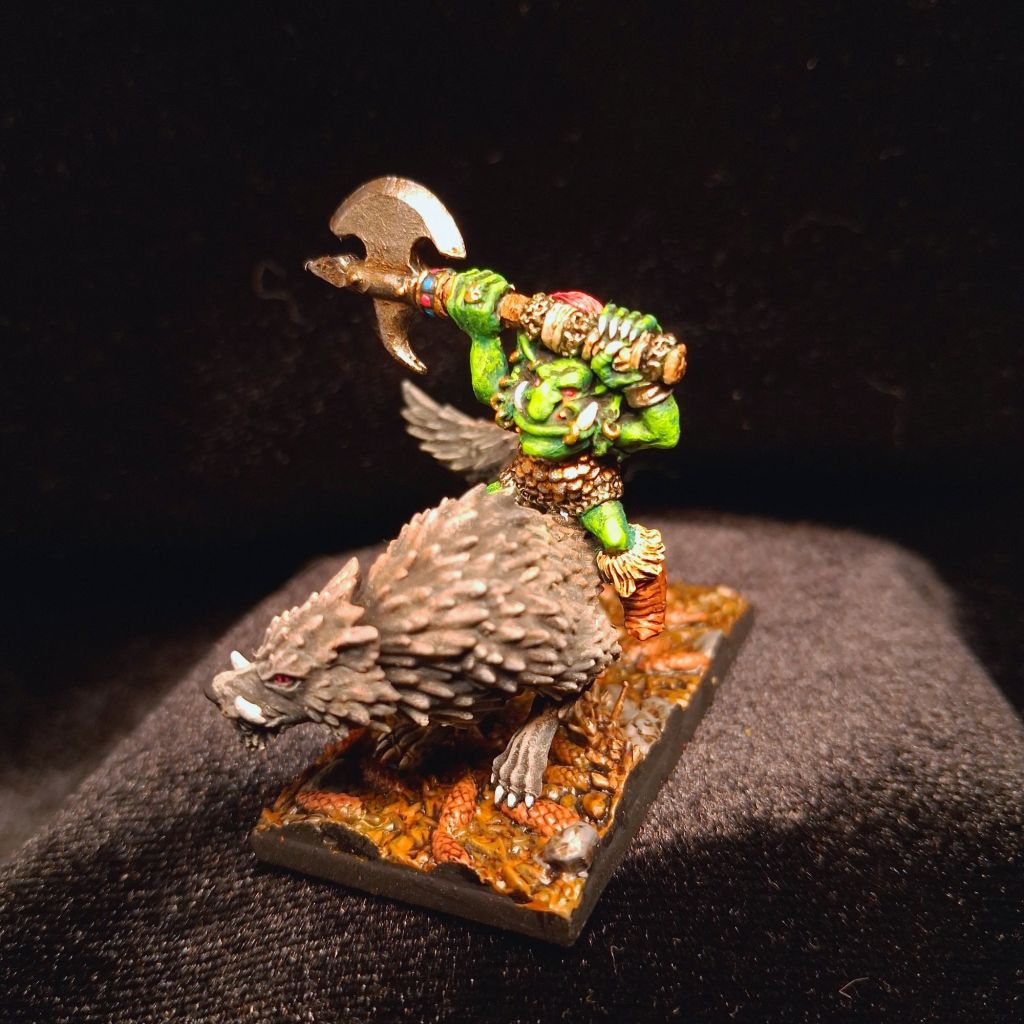
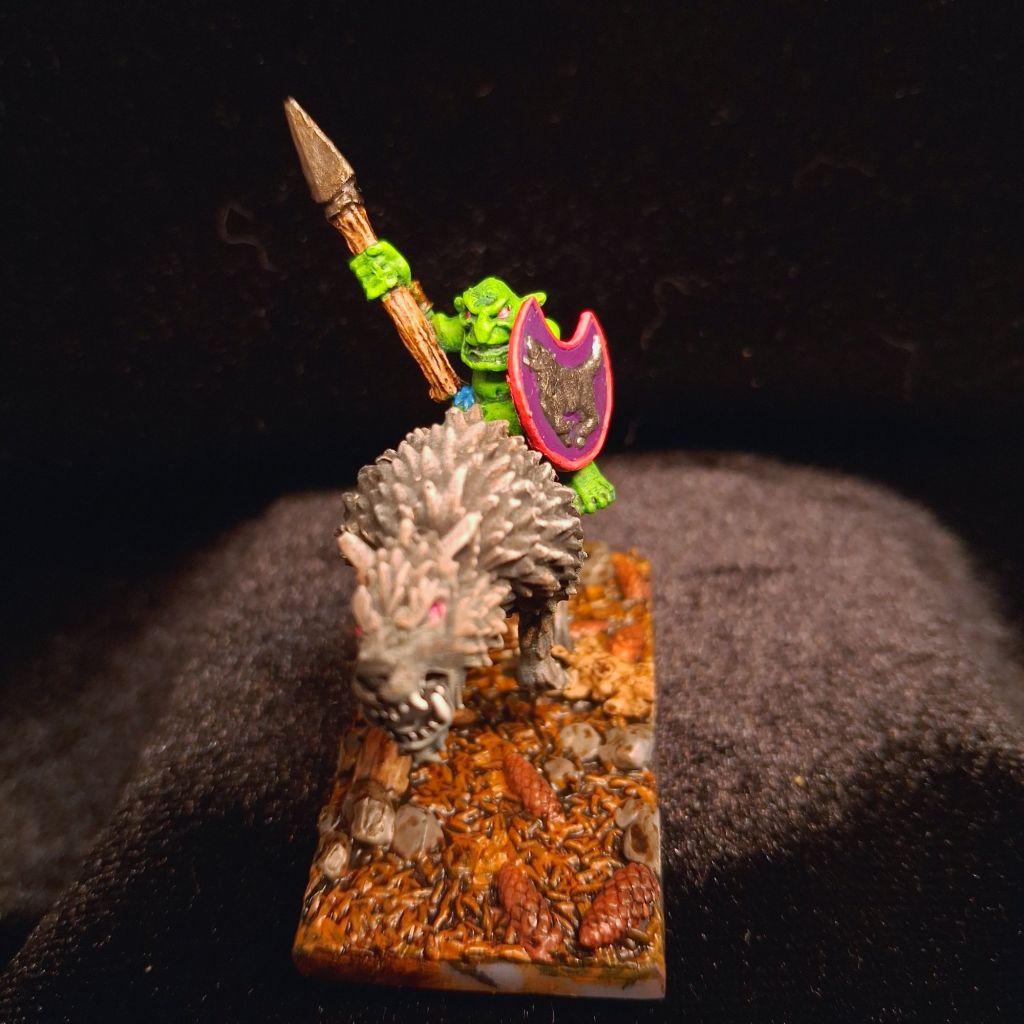
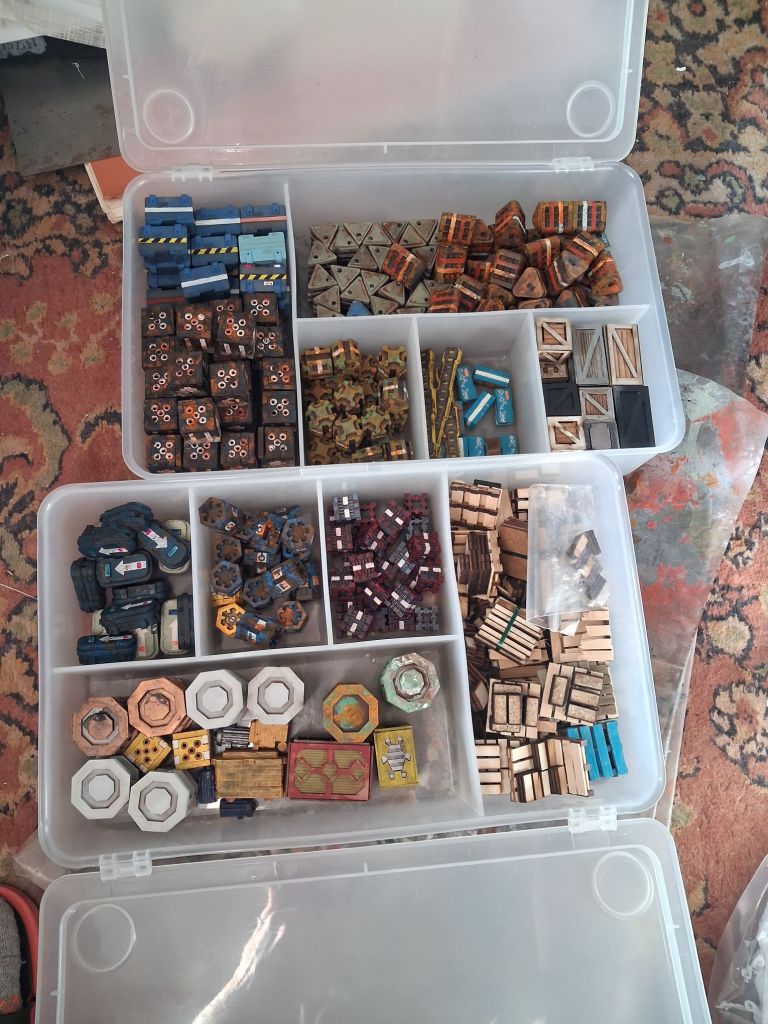
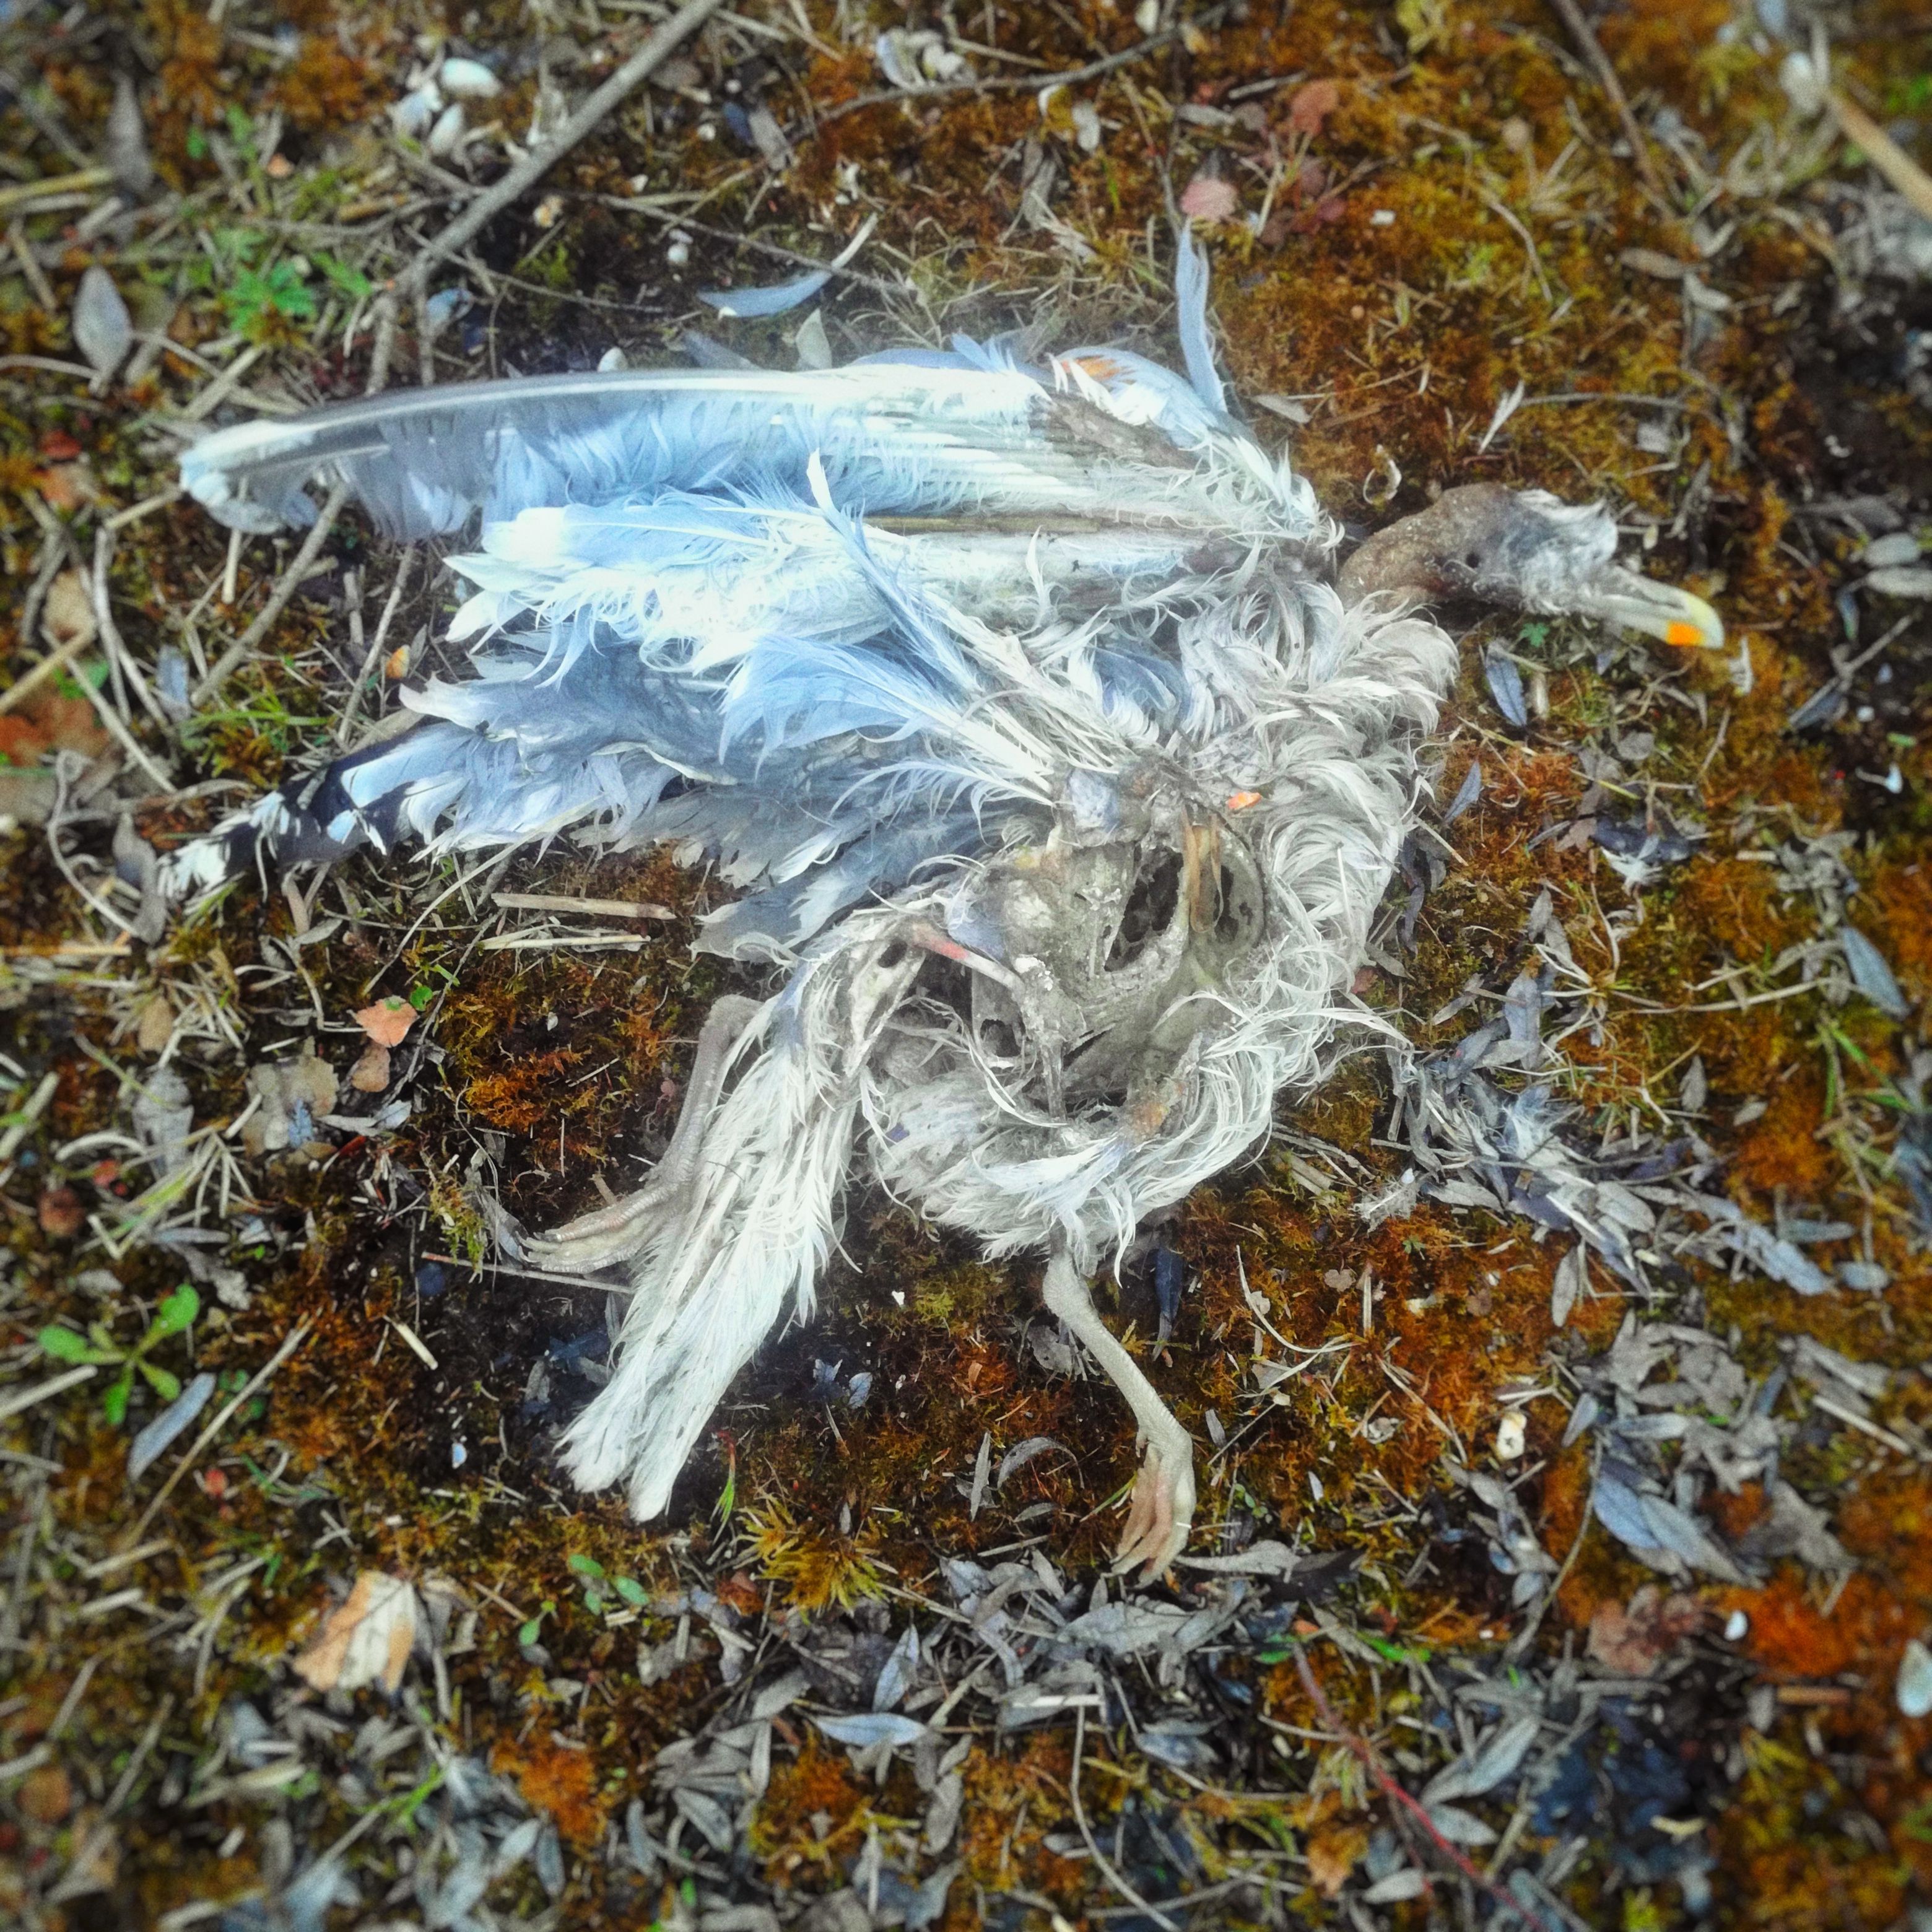
Foot of GorkPrincess Donut on Mongo I have been listening to Dungeon Crawler Carl.Genestealer PatriarchDeth KoptaSkull Chucker based for Dragon Rampant Tau proxy Pathfinders from #PipermakesFlowerpotWulfridersMdf containersSet dressing
That’s it for now.
The Sun has started making an appearance and it’s now warm enough to sit outside.
These last few weeks have been a bit of a struggle. Covid has left me suffering with fatigue, lack of focus, demotivation and shortness of breath. I have been doing small stabs at hobby, but I haven’t had the enthusiasm to really get stuck in with the painting.
I have been making progress with Blender, 3d modelling software. And I am attempting to rig, basically putting a skeleton inside the figure, my model which will make posing a lot easier.
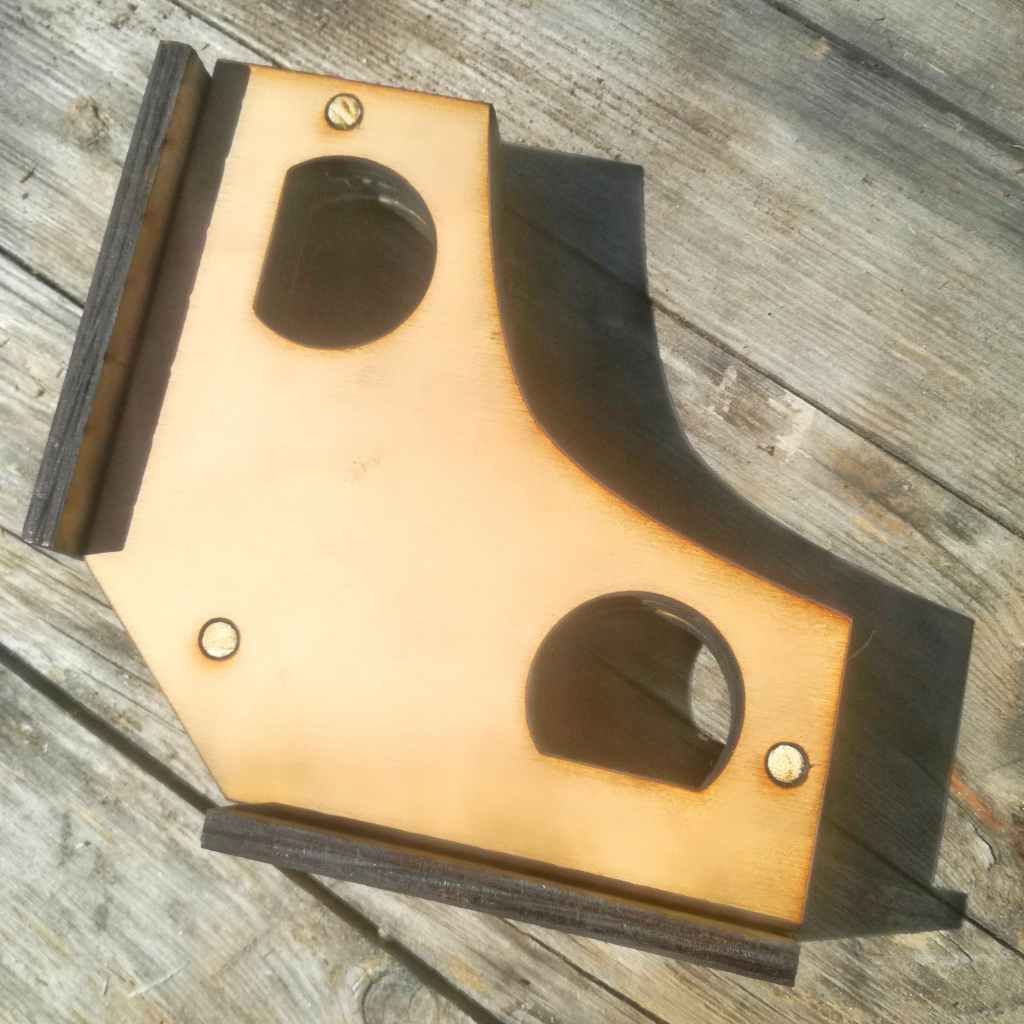
I have been making some tools for my workshop. I always need clamps for glueing and I have been eyeing up some right angle aids on that fabulous far eastern trader. My aim was to avoid plastic and as I had a lot of spare wood scavenged from the Happylab bins I thought I would attempt to make my own.
I am now working on a bigger version of this now.
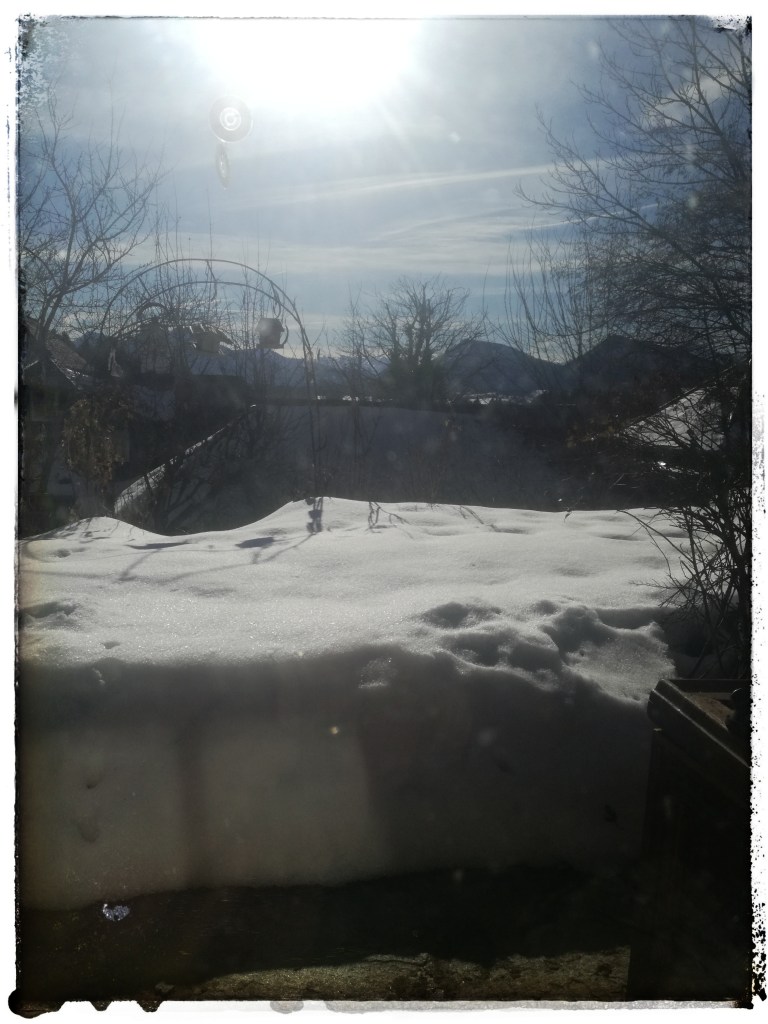
The weather has been going from snow to sunshine and back again in a day.
I have had some nice walks when the weather has been clement. My mood improves after being out.
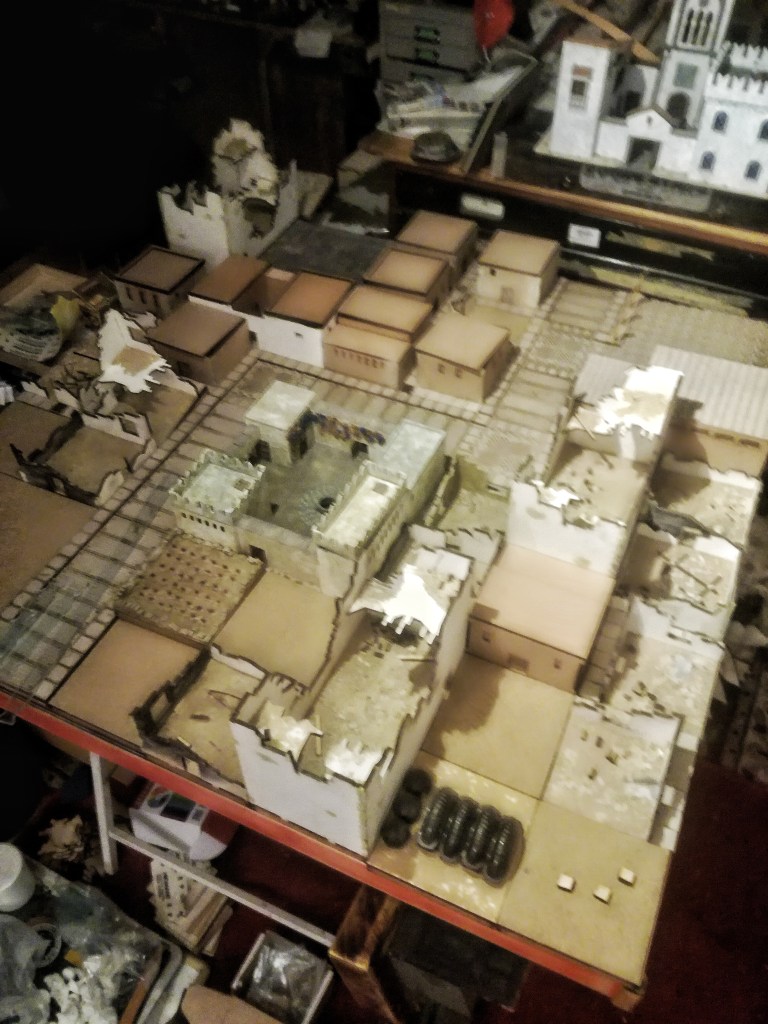
I have finished building the modular tiles for my 4 x 4 modular ruined city table. Now to slap some paint on them.
My neighbour, who is a bit of a perfectionist, took ten hours to deconstruct my Ender3 3D printer and rebuild it totally square. The difference is amazing and I will be posting some pictures soon.
There you have it. A brief catch up on what has been happening.
I have been under the weather for a couple of weeks now but have been testing negative. Earlier this week Number One Son tested positive and I was still negative. Upto this point I had been the only family member to be free from the Rona.
Thursday night I had a bad night with breathing difficulties and a savage sore throat. Not to mention sweats and chills. Friday morning I tested again.
Arse
Got booked that afternoon for a drive thru which has confirmed that I am a positive person. Just waiting on the variant.
About two weeks ago, before this all kicked off, one of the Patreons I sub to posted this picture.
Image copyright Knucklebones Miniatures.
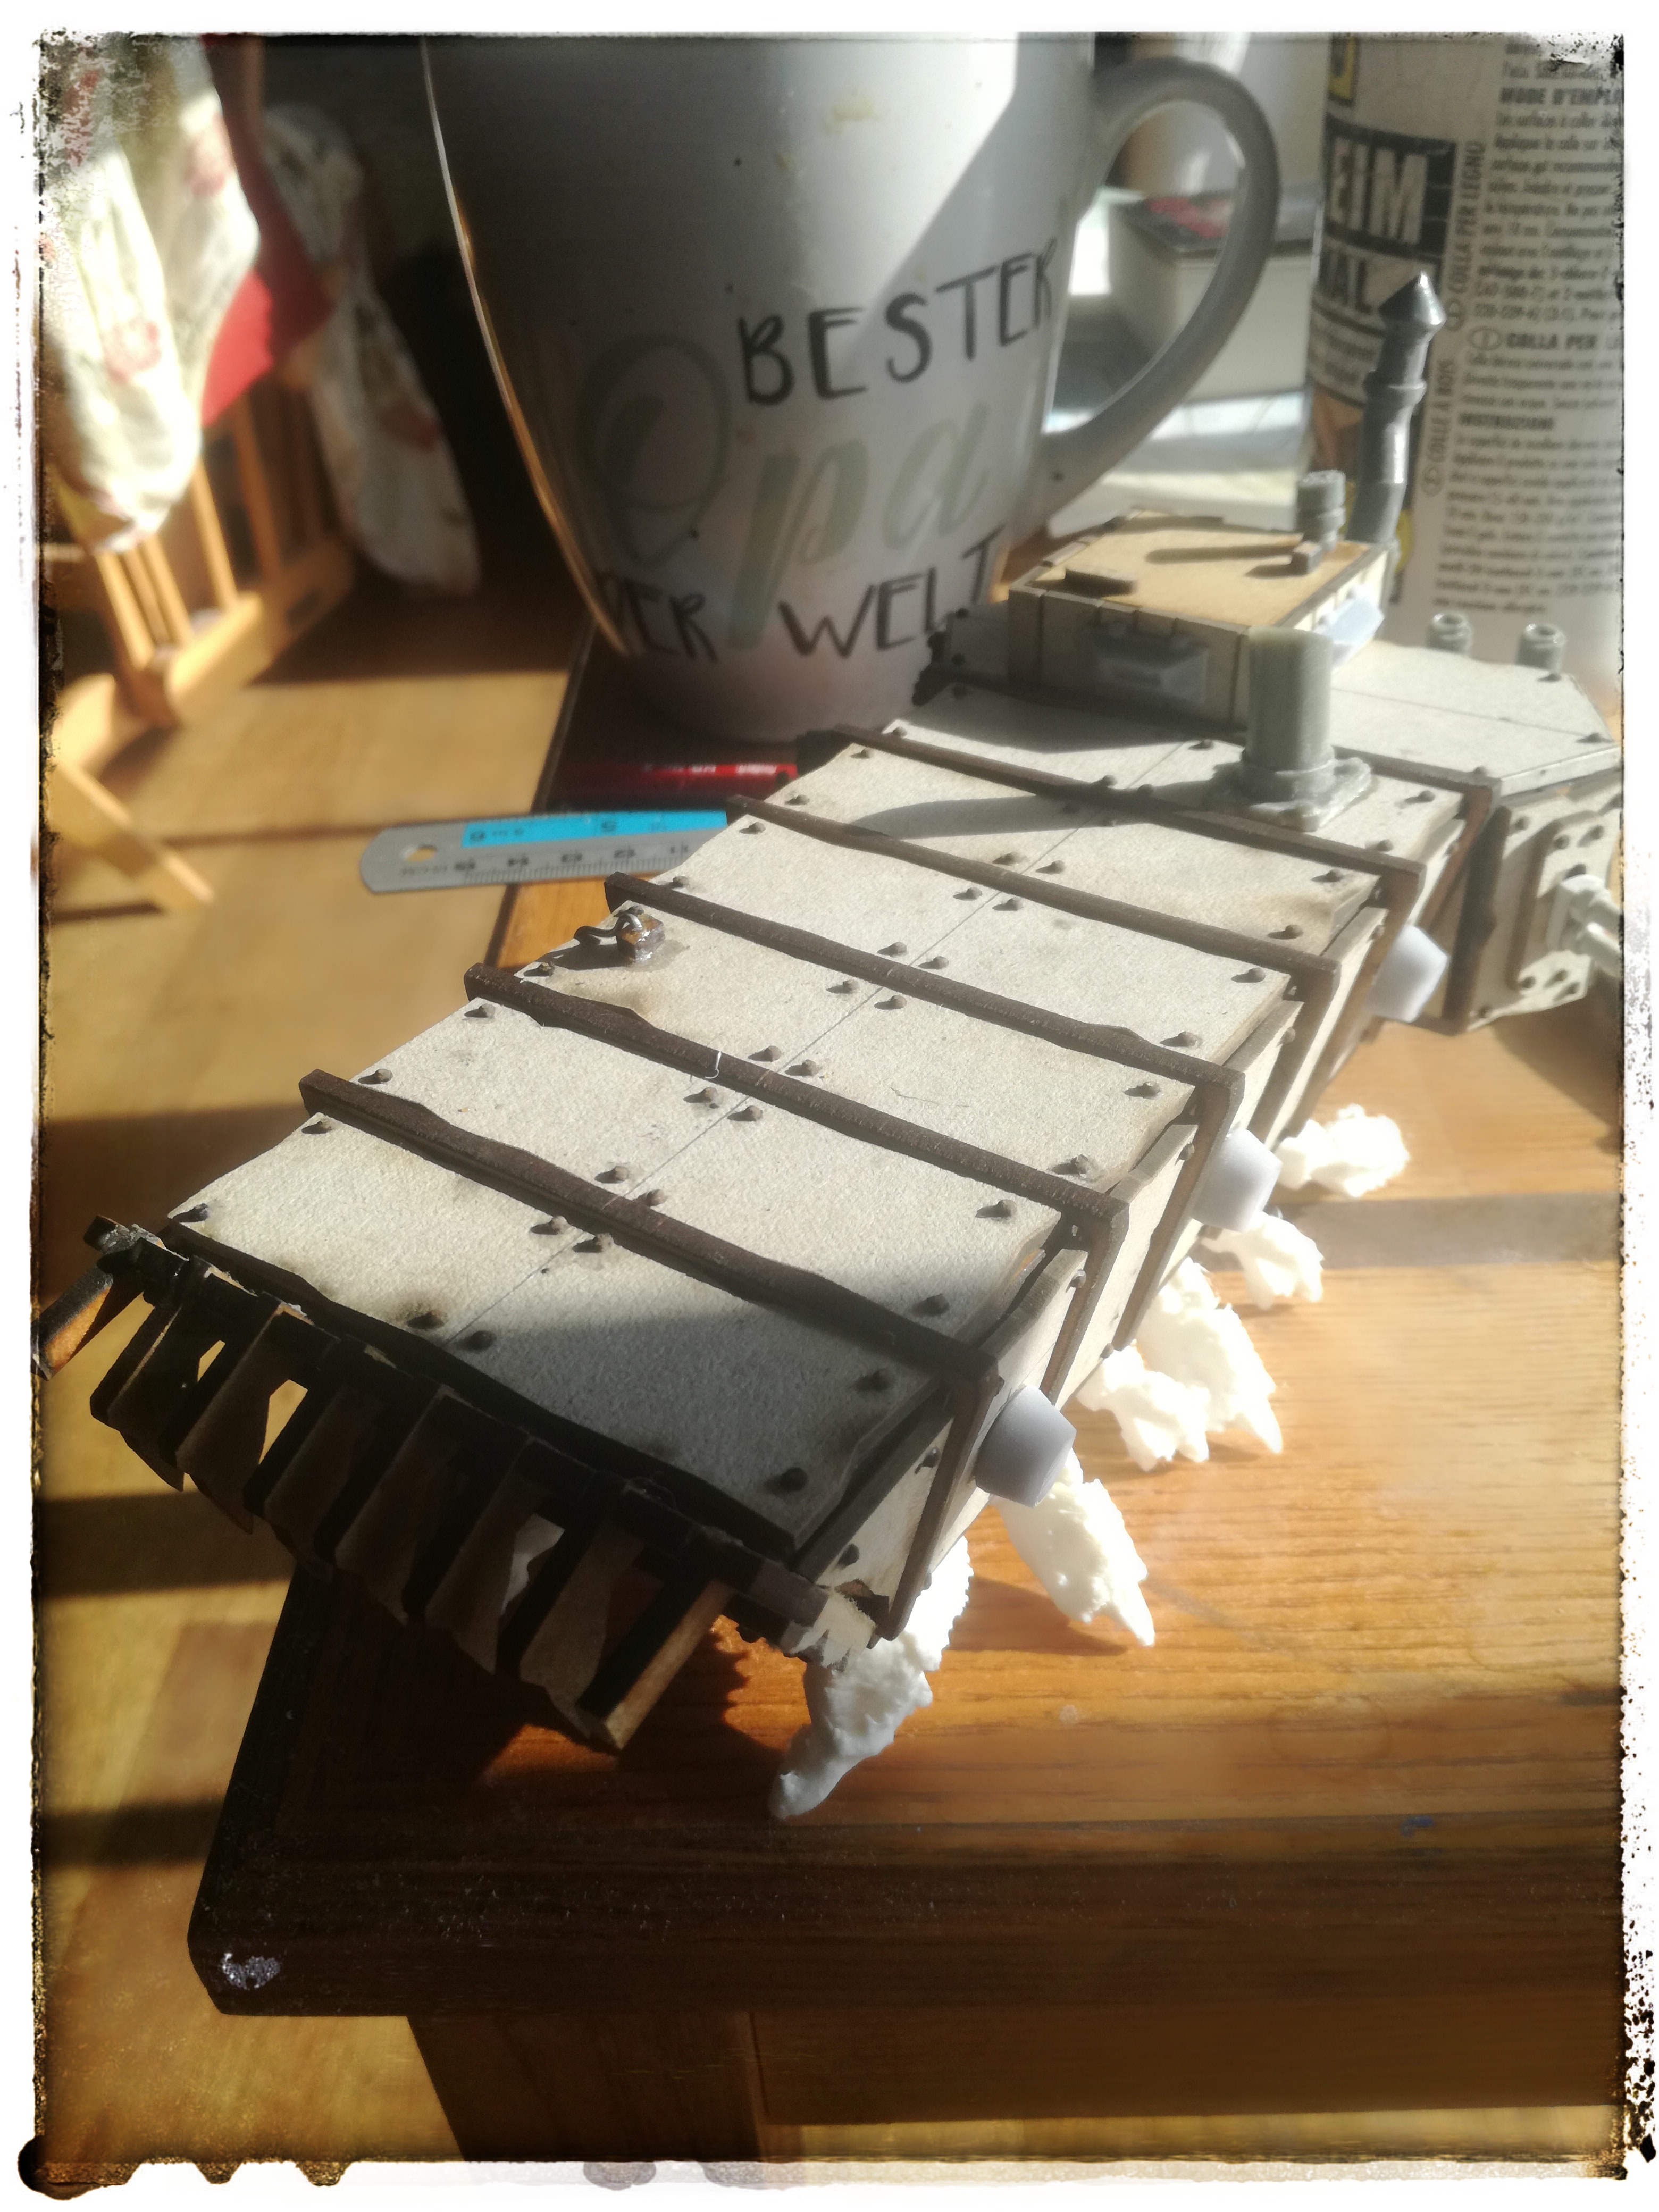
I saw this and had to have a variant of it. Knucklebones had made some scuttling bug-like legs for a previous model. I chopped them up in Meshmixer and cut’n’pasted the bits to extend them. With this I lasercut some bits to make two open troop carriers. I’ll show them in a later post.
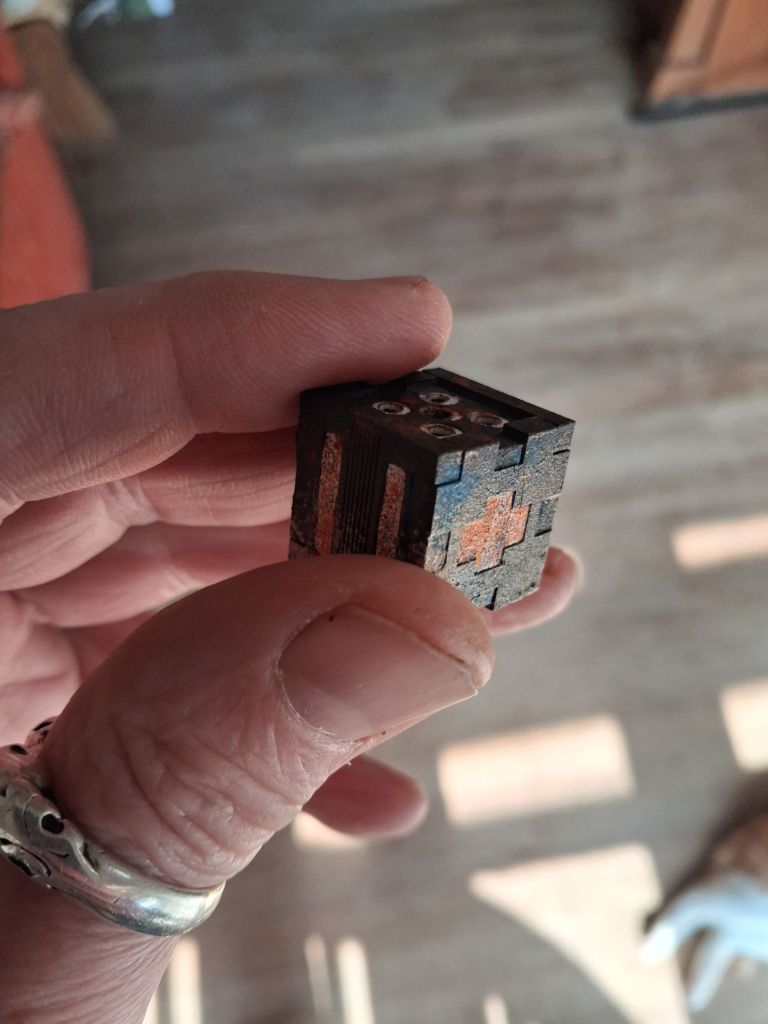
That idea lead on to me thinking about about an armoured variant. More parts were lasercut then Papa Nurgle visited. Not really having the strength or motivation I pottered a bit each day making it.
My little spot in the sunMy view
This is the result
The main body is lasercut mdf and card. Bolts are lasercut card. There are resin greebles from Ramshackle Games and 3d printed ones from Knucklebones. The legs are 3d printed and are derived from Knucklebones.
Like most of us, I imagine, I make little stories about the project I am painting and I try and picture the piece in an imaginary world, how it would look and why it was there.
Somehow I stumbled across this model railway enthusiast and the way he writes is so eloquently beautiful.
The way he talks about when he came across articles in magazines that were light years out of his league as a beginner but we’re so inspirational. This reminds me of looking at figures and dioramas in White Dwarf as a yoof.
I had a few requests from relatives after I made a coffee mat for my Brother-in-Law. so you can see a couple at the bottom. The top six are rather puzzling, I hope I can solve it.
Not painting as much as I should be. I’m managing upto an hour a day rather than my ideal three hours. Here is the Rough Rider progress. At the moment I’m not so happy with them, but then I had a similar situation with my Ratling Snipers earlier this year. Suddenly after another colour or two they’ll start to “pop” and I’ll be happy. Patience is the lesson I need to learn.
Most of my spare time in the last few months has been taken up with making artwork for laser cutting.
Even then I get distracted into little side projects. I had been pondering what to use as treasure tokens when browsing on Goggle Images I came across some pictures of old coins. It was a matter of moments to copy them into Photoshop, up the contrast and turn into black and white. Then into Illustrator and draw a cut line. Export as EPS and then to the laser cutter. And bingo! I’m rich! About two hours worth of cutting and I should have a decent trove.
As I said previously, painting has more or less ground to a halt. Not that I haven’t been productive in other areas. My main push was to get stuff ready to sell at the Austrian Salute in March.
That was quite tiring and on the day itself I suffered with fatigue and a nasty gum infection, so I didn’t really see the day in a positive way. I made the grand sum of three Euro but the guy next to me, from Templates and Widgets, also selling some laser-cut accessories told me that at his first show he didn’t sell anything.
A far better report of the show, with pictures, has been written by Sigur of Battlebrush Studios http://taleofpainters.blogspot.co.at/2015/03/show-report-austrian-salute-2015.html
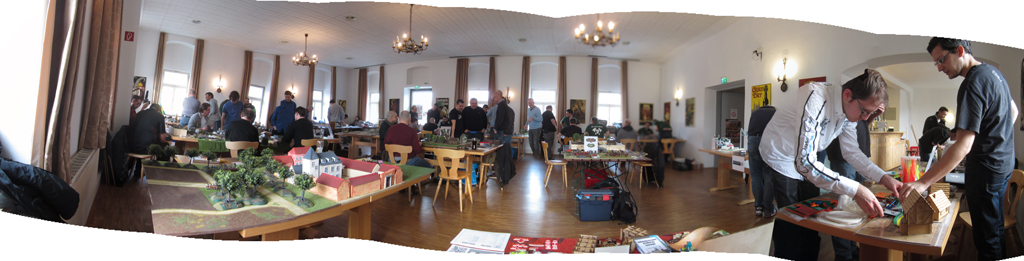
A 180 degree view of the show.
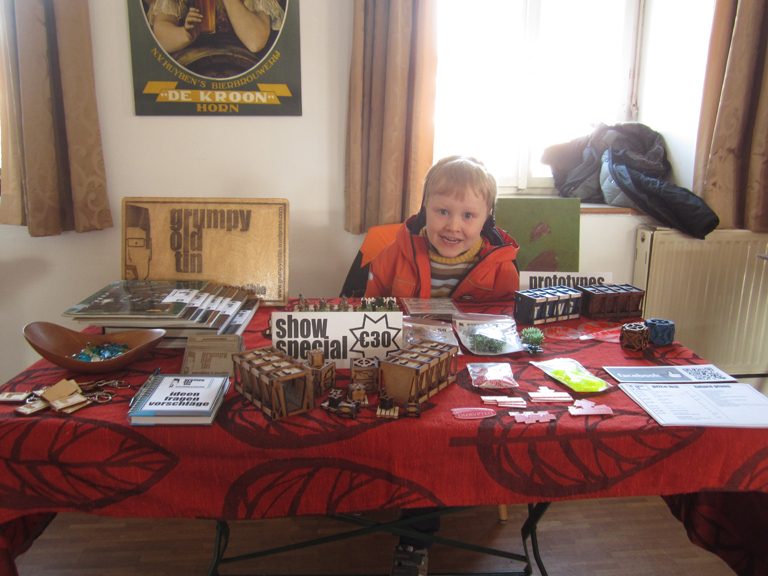
Number One Son looking after business
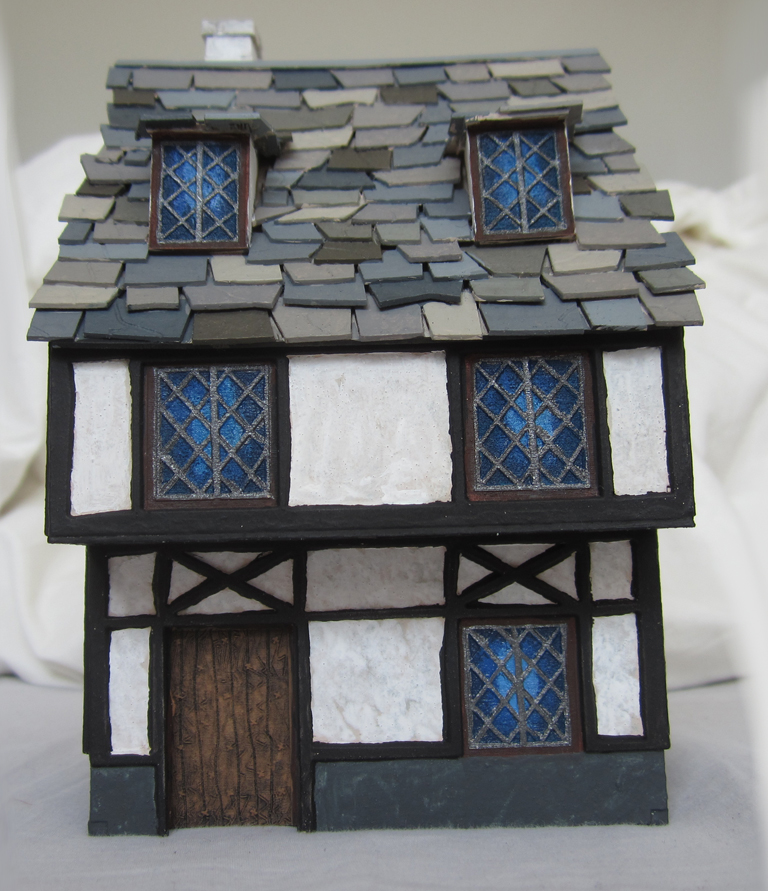
The project I have been getting on with is this.
A laser-cut model from the old Warhammer Cities book. The only problem is that I can’t sell it as it is based on a design by GW. I have now started searching the interweb for pictures of medieval timber framed buildings for the next one. If I find the right design I can tap into the historical market as well.
Have you noticed that when you spray modelling foam with an aerosol it dissolves. You can use this to your advantage.
I’ll tell you how I used this technique to make scenery.
I cut some blocks of blue modelling foam into house shapes. The roofs were made either with cardboard “slate” or teddy bear fur for thatch. Then I stuck on some resin doors and windows from an inexpensive Fleabay seller, Foundations of War. The final part of construction was to paint on a timber frame pattern with PVA glue.
Let this dry overnight and then give the building a liberal spray of black undercoat.
Hey presto! Before your very eyes you see the timber frame standing proud of the walls which have been eaten away. Once dry all that remains is to lightly sand the walls to smooth them. Finish the roofs as you see fit.
With this technique you can make a whole village over a week without too much impact on painting time or your wallet..
This technique can be used to replicate stone, with a bit more time and patience.