This is a topic I’ve been having some problems with. Now things are starting to settle down a little with the house I thought it was time to get a little consistency with my model pictures.
There are a couple of blogs that I occasionally look at where their models are photographed with a scenic base and background and I quite liked it.
So here is my take on it.

The base was a square of polystyrene with some blue foam details. This was then coated in PVA glue and coarse sand added for texture. This was painted with some dark brown household emulsion paint.

Then it was drybrushed with two more colours of emulsion.

Then flocked.
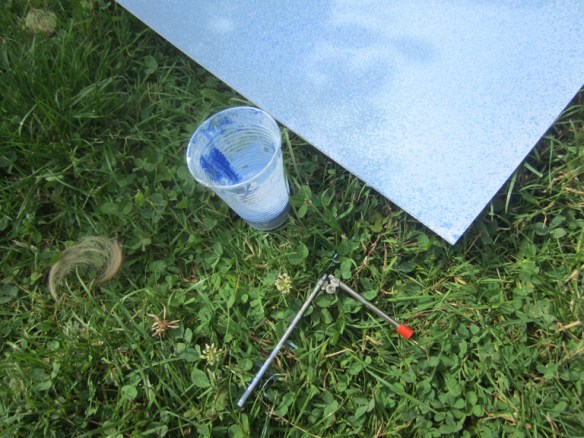
I went a little low-tech with the sky backdrop. I used a diffuser tube, a kind of crude airbrush, figuring that the coarse splatter wouldn’t be seen.
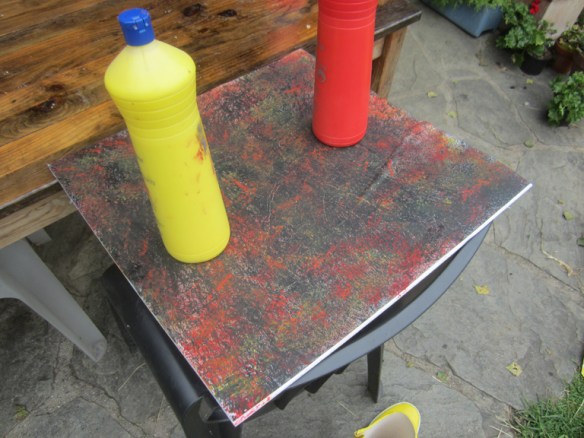
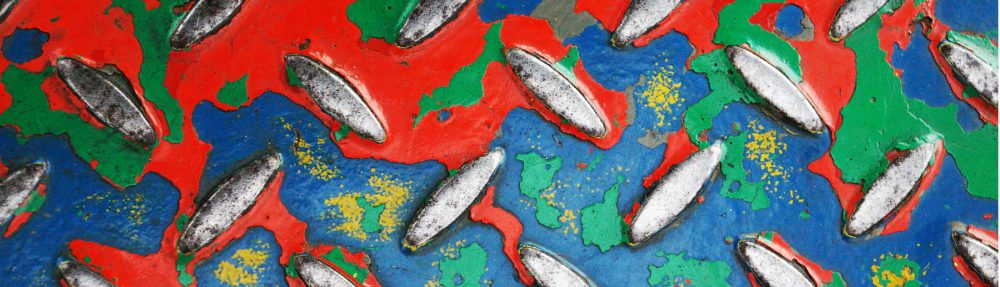
On the reverse side of the sky backdrop I made a chaotic mix of colours. My main problem was that the card was not dimensionally stable and warped like mad. So I had to dry it like this.

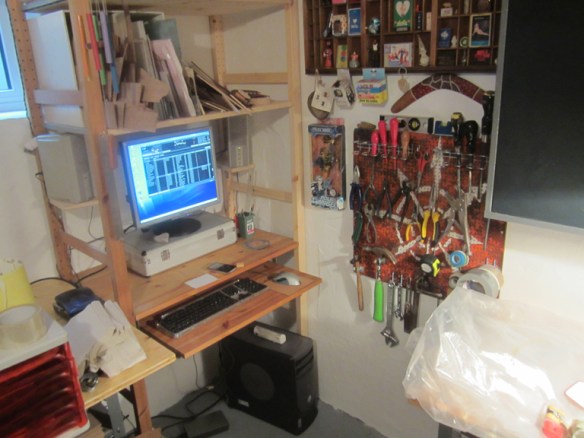
Here is my set up. My camera is a Pentax istD. I went down the Pentax route as I have a large number of Pentax lenses from my time as a photographer in the Eighties. The soft-box and lights are from an eBenk WSB-342 studio kit that I bought for this purpose. The one thing I have done is to change the bulbs to LEDs as they don’t run as hot and don’t use as much electricity.

Here is the first attempt. The lights give a yellow cast, I haven’t as yet managed to source daylight bulbs, the white balance in camera is set to “Tungsten” and but a bit of tinkering in Photoshop (minimal, one slide of the colour balance) solves this.

Some trees in the background.
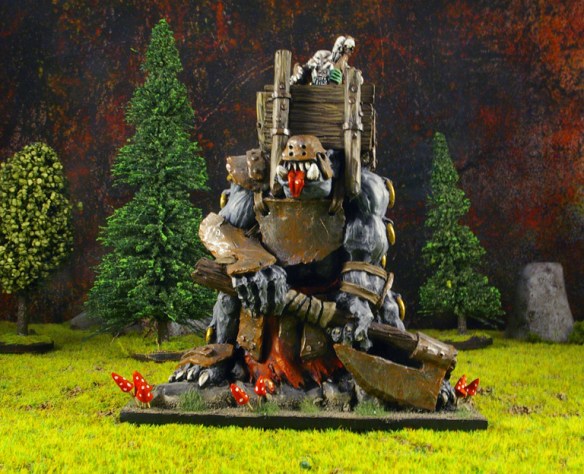
Now the chaotic sky.
So far the problem with this is the depth of field. There is far too much of it.

So I dropped the aperture right down and this is the result. There are some very minor adjustments to be made, but I think I’m pretty close.
Now to write down what I have done so I can continue to be consistent.
The model used for photography is from Ramshackle Games.
http://shop.ramshacklegames.co.uk/index.php?main_page=product_info&cPath=20&products_id=255
Getting the picture
2
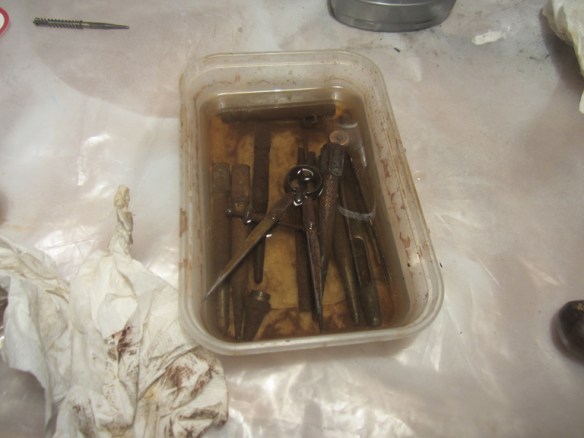 So they got an overnight soak in vinegar and then this morning a scrub with a wire brush and some wire-wool. I remembered that I had my Dremel set up in the hobby room, where I do my painting, so used that with a wire brush attachment to get into all the little cracks and crevices.
 Here they are all cleaned and with a light coating of turtle-wax.
 This is the pin-vice. I’ve added a wooden ball on top and I think I’ll make this my number 1 tool and shuffle the other pin-vice to back-up status.