Tool making

One project I backed on Kickstarter last year was; Tabletop terrain from XPS foam: Buildings. This is a book detailing the construction of buildings from, yeah you guessed it, XPS foam. I’ve been looking at upping my game on terrain modelling and this book might just help. Laser cutting is good for some things, but you just can’t do curves and organic shapes. But a mixture of both should be the killer combination.

Looking at the images online pecils and pens have been used to form some of the detailing. Being the horder that I am I have loads of bits of metal lying around underemployed. A bit of cutting, a bit of cutting, some dowel rod, a bit of two part epoxy glue and a splash of paint I ended up with these.

Four different sized scribing tools. Slightly wonky (technical term) as I didn’t drill quite perpendicular to the dowel.

Here is a link to the book which will describe it far more eloquently than I could.

Tabletop terrain from XPS foam: Buildings

If this tempts you there still is the option to be a late backer.

Gifts

On my trip to London I was planning to stay with my old gaming buddy Seb. https://mugodice.wordpress.com/

Us two

I really wanted to make something really nice for him to say thankyou for putting me up and for all the wonderful birthday presents he has given me. For some reason I am never organised enough to get a present to him in time for his birthday.

We had both backed the Kickstarter for Open Combat, a skirmish wargame. https://www.secondthunder.com/ But neither of us had played it. I know that for Seb space is at a premium so I decided to make him a portable version. The rules are written for 28mm but the author also suggests that it can be played in 15mm and convert the measurements from inches to centimeters. This means the suggested playing area would be 24 centimeters.

Here I am measuring some canvas to be used for the play area. Obligatory kitten for scale.
Double checking size and trimming.
Long suffering Wife hemming the edge for me.
Spreading on a mixture of silicon and paint.
Applying sand, for the path and flock.
Excess removed and ready for play.

I had instructions about how to make the playmat from The Terrain Tutor’s Youtube channel.

https://www.youtube.com/channel/UCx_aro8CTHw7ZD5H661hC6Q

The flock instructions came from Luke’s APS Youtube channel.

https://www.youtube.com/channel/UCsmD5774MOQhjYBkXqu3Jdw

The finished box, roughly shoe box sized.
Lid removed.
Hills. I went with a stylistic approach which is easier to place figures.
Difficult terrain.
Fields.
Individual trees and standing stone.
The dice tray revealed.
Dice tray removed to reveal figure storage.
Action tokens and movement sticks.

The figures came from Alternative Armies. There were some nice ones and a couple of ropey ones. That’s what comes of buying blind I suppose. https://www.alternative-armies.com/

I hope Seb is pleased with this and gets a chance to play.

What I did in my holidays

Every summer my Wife and the Boys drive down to Croatia for a holiday. Well somebody has to stay and tend to the chickens and cats. My chance to have a bit of time to myself and spread out and finish any projects that have been on hold for a while. I was a bit ill with a virus that made me very tired and demotivated so I didn’t do as much as I wanted.

Way back in 2011 I was approaching my redundancy at St. Martins and I used the time wisely. I made a whole load of these.

A plastic base, wire looped and glued into position, sand and PVA applied and primed in black. I didn’t do anything with them until now. This was the base build for some hedges. Following Mel’s videos on his YouTube channel I made a load of foam clump foliage. https://www.youtube.com/watch?v=ZN16RxVNrvc Then following Luke’s videos on his YouTube channel I hade some flock. https://www.youtube.com/channel/UCsmD5774MOQhjYBkXqu3Jdw Using Luke’s videos I purchased some Tacky Glue, I must find somewhere here in Austria that stocks it because the postage was a killer. At my local DIY store I purchased some spray adhesive.

Stage One: paint base brown. Stage Two: drybrush base. Stage Three: apply Tacky Glue to wire and press on clump foliage. Stage Four: spray on adhesive and sprinkle with flock. I didn’t bother photographing these stages as you will get a better idea from the videos.

What I managed to do. There are some still to do but I had run out of clump foliage and the blender used for making it was awaiting a part from the UK.

Figure for scale, available from Heresy Miniatures

I must mention that Mel has been hard at work and recently had a Kickstarter to promote a book all about making wargaming terrain. If you missed it, or like me don’t have a form of money that Kickstarter recognises…. you can get on board here
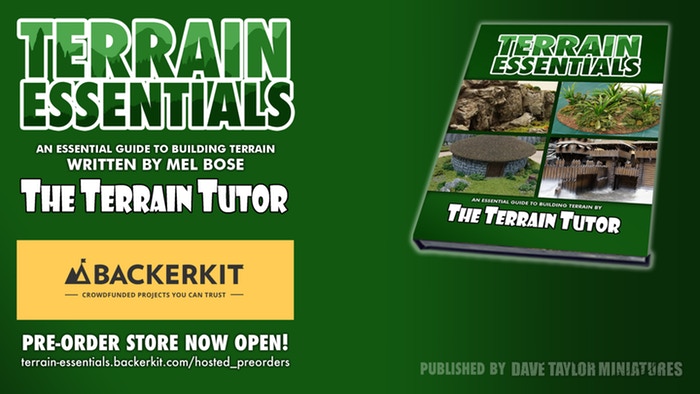
https://terrain-essentials.backerkit.com/hosted_preorders

Save