May’s workbench

Image

image

My Field of Glory Imperial Roman Army.
I need to add highlights to the armour, finish Scorpions and Auxilliaries.
The carry case, in the background, is handmade out of canvas and an old yoga mat. The ties are leather and the buttons made of briar wood.
The trays are laser cut with steel base.
Troops are based on laser cut bases engraved with my initials (just to sure as one lot of Romans looks much like another).
At the bottom are my playing aids.

FOG play aids

FOG play aids

April’s Work

Image

Warploque Albionican Empire Ogre


Warploque Albionican Empire Engineer and Captain

Warploque Albionican Empire


Warploque Albionican Empire

Reaper Necromancer Babe

Reaper Necromancer Babespacer

whfba3 whfba4 whfba5 whfba2

Stealing toys from my Boys

Image

Stealing toys from my Boys

I’m guilty as charged m’lud. Recently I’ve started using a little bit of black-lining on my models. It’s made up of Vallejo Black, Johnson’s Klear and a touch of water. I store it in an old Vallejo bottle and use the lid to dip my brush in. Problem is the bottle top is not the most stable and I’ve been propping it up in the corner of my tray. I had thought of getting some wood from my Father in Laws and drilling a hole in it. Tidying up my Boy’s room this afternoon, “Lightbulb!” There were some wooden blocks that I had to put away and in amongst them was a little red cube. It was a matter of moments to get the drill and make a small hole with a slightly chamfered edge. Just the right size and not too space consuming on the tray.

What’s on April’s workbench?

Image

What's on April's workbench?

What’s on April’s workbench?
There is a small squad of Albionican Empire troops from Warploque Miniatures. This is for my “Not-Empire” army.
Some heroes for my Albion Army, miniatures from Studio McVey, Hasslefree, Celtos and Privateer. These just need a little touching up and basing to match the Halflings.
Finally, if time allows, a necromancer babe from Reaper.
This month is a relaxing one as I found the unit of 95th Rifles a bit of a slog.

Something new

Image

Something new

I am grateful to Sigur from Battlebrush Studios
http://www.battlebrushstudios.com
for giving me the tip about Vallejo Metal Medium. This gives a beautiful metallic sheen, just what my Romans needed to make them stand out more.
Originally they were painted in base colours and then dipped in Army Painter Strong Tone Dip. The end result was OK, but nothing special. The metal was rather dull and lifeless. Now with this I can put my army on the table without too much embarrasment.
I just need to learn how to win.

Inception inspired camo

Image

Inception inspired camo

I’m looking for a camoflage design for my “Not DKK” army vehicles. This was inspired by Inception.

Knocked it up in Illustrator on my desktop machine and then emailed it to myself so I could tinker with it a bit in Snapseed on my iPad.

Does anyone have any experience making spray masks? The larger ones are easily done masking tape, but I’d really like the darker ones to be very exact and regular.

Next on the workbench

Image

Next on the workbench

This is the next job on the workbench, or rather the kitchen table. A unit of the 95th Rifles for my Black Powder British Peninsular Napoleonic Army. Most are by Foundry (thanks CSM) and there are a couple of Perry plastics in the mix as well.
Everytime I finish something now I put away the paints, clean brushes, new paper towels, basically a clean slate.
I’ll post a picture of the command group that has just been finished later this month.

Time rich, money poor

Image

Time rich, money poor

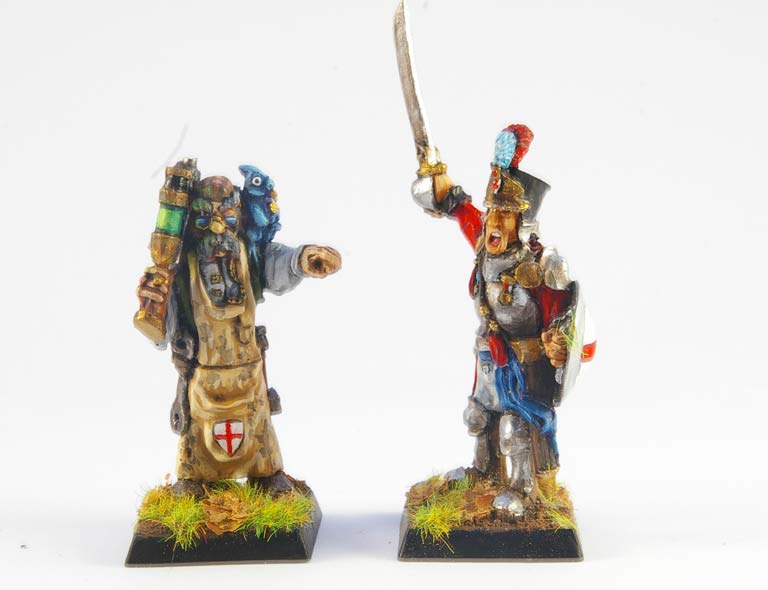
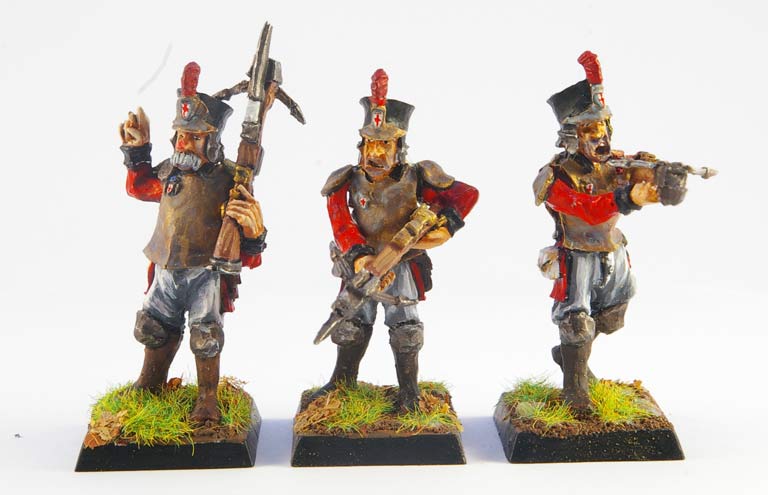
My plan is to have every unit in my collection kitted out with a movement tray. This has been easy for Warhammer Fantasy Battle, Black Powder and Field of glory. I spent the last few months at my last job, when I knew I was being made redundant, making stuff in the workshops. Three aluminium/brass carry cases and more movement trays than you can shake a stick at. They’re easy: a rectangle of plastic cut to the right size, a border strip made of six mil plastic and a thin sheet of mild steel cut to the unit’s size. Glue together, Dremmel sides, superglue some sand on and undercoat. Job done, ready to be painted up when the unit is ready so that the bases match the movement tray.
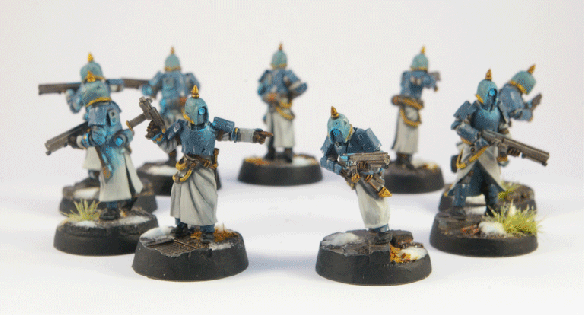
Now with 40K and Bolt Action there are round bases. Not so easy. 40K uses, for the main, twenty five mil circular bases. Bolt Action uses two pence coins. Foreign readers may question why so many English wargamers use money to base there figures on. Are we extravagant? No, the answer is that the two pence piece is more enough worthless. Plastic bases cost more to buy. Plus, if you get the older coins, they are attracted to magnets. Another love of mine is magnetised units, I have seen plenty of instances where an opponent has placed a unit on a hill only to see them slide away. Not me, I’ve magnetised more or less everything.
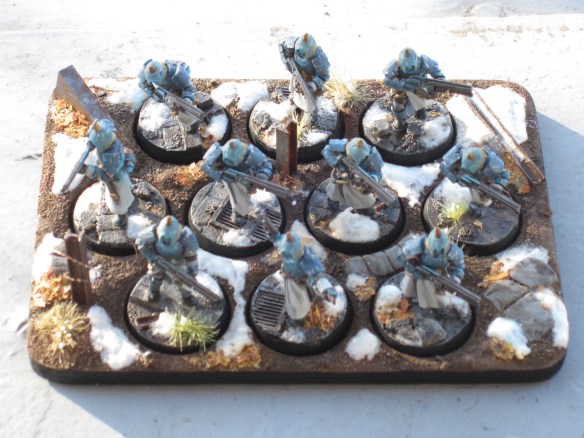
Anyway back to the circular based movement trays. 40K has twenty five mil bases and Bolt Action has twenty six mil bases. So what is one millimetre between friends? I don’t think anyone will notice a slight gap on my 40K units between base and movement tray.
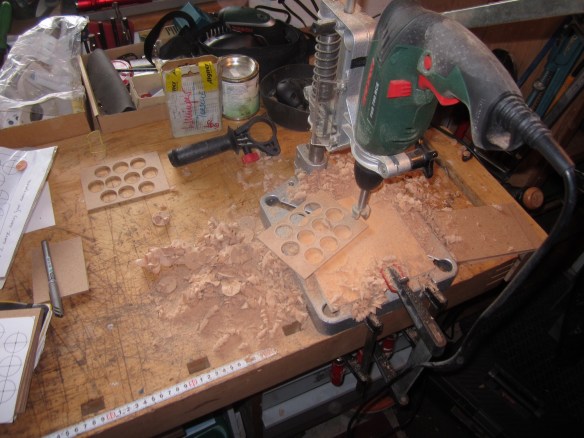
OK. Time rich money poor. That’s me, plus I’m a tight bastard. I have seen some laser cut trays on Fleabay for between two and three pounds each, plus postage. I’ll probably need thirty odd. So the money mounts up. So what does one of these fancy laser cut movement trays consist of? Two sheets of MDF. The bottom one is plain and the top one has holes cut in it.
What am I not capable of doing?
I drew up some templates in Indesign, just to work out the size of the base. A ten man movement tray worked out to be ninety five mil by one hundred and thirty mil. Wouldn’t mind some five man movement trays and some twenties. Bauhaus has one square metre of three mil not-quite-MDF for four Euro something. From this I can get thirty nine movement trays. Went to Bauhaus on Monday morning armed with cake to bribe the wood cutter. Got the wood cut and purchased a twenty six mil hole cutting attachment for my drill. In all it came to twenty one euros on the nose.
All that is left is to drill the holes for the bases, stick them together and finish as appropriate for the unit.
The biggest chunk of that was the drill bit at Fourteen something Euro. But I have that now, so any time I want more movement trays it’s just the cost of the wood, which is minimal.
Result!

Black Powder Command Group

Image

Black Powder Command Group

Next project on the workbench. A command group for my British Peninsular Napoleonic army. I have been prevaricating about starting this project as Napoleonic wargamers have a reputation of being very picky about accuracy.
If I can do my Napoleonics well and get some praise for them I reckon that I can consider myself an OK painter.