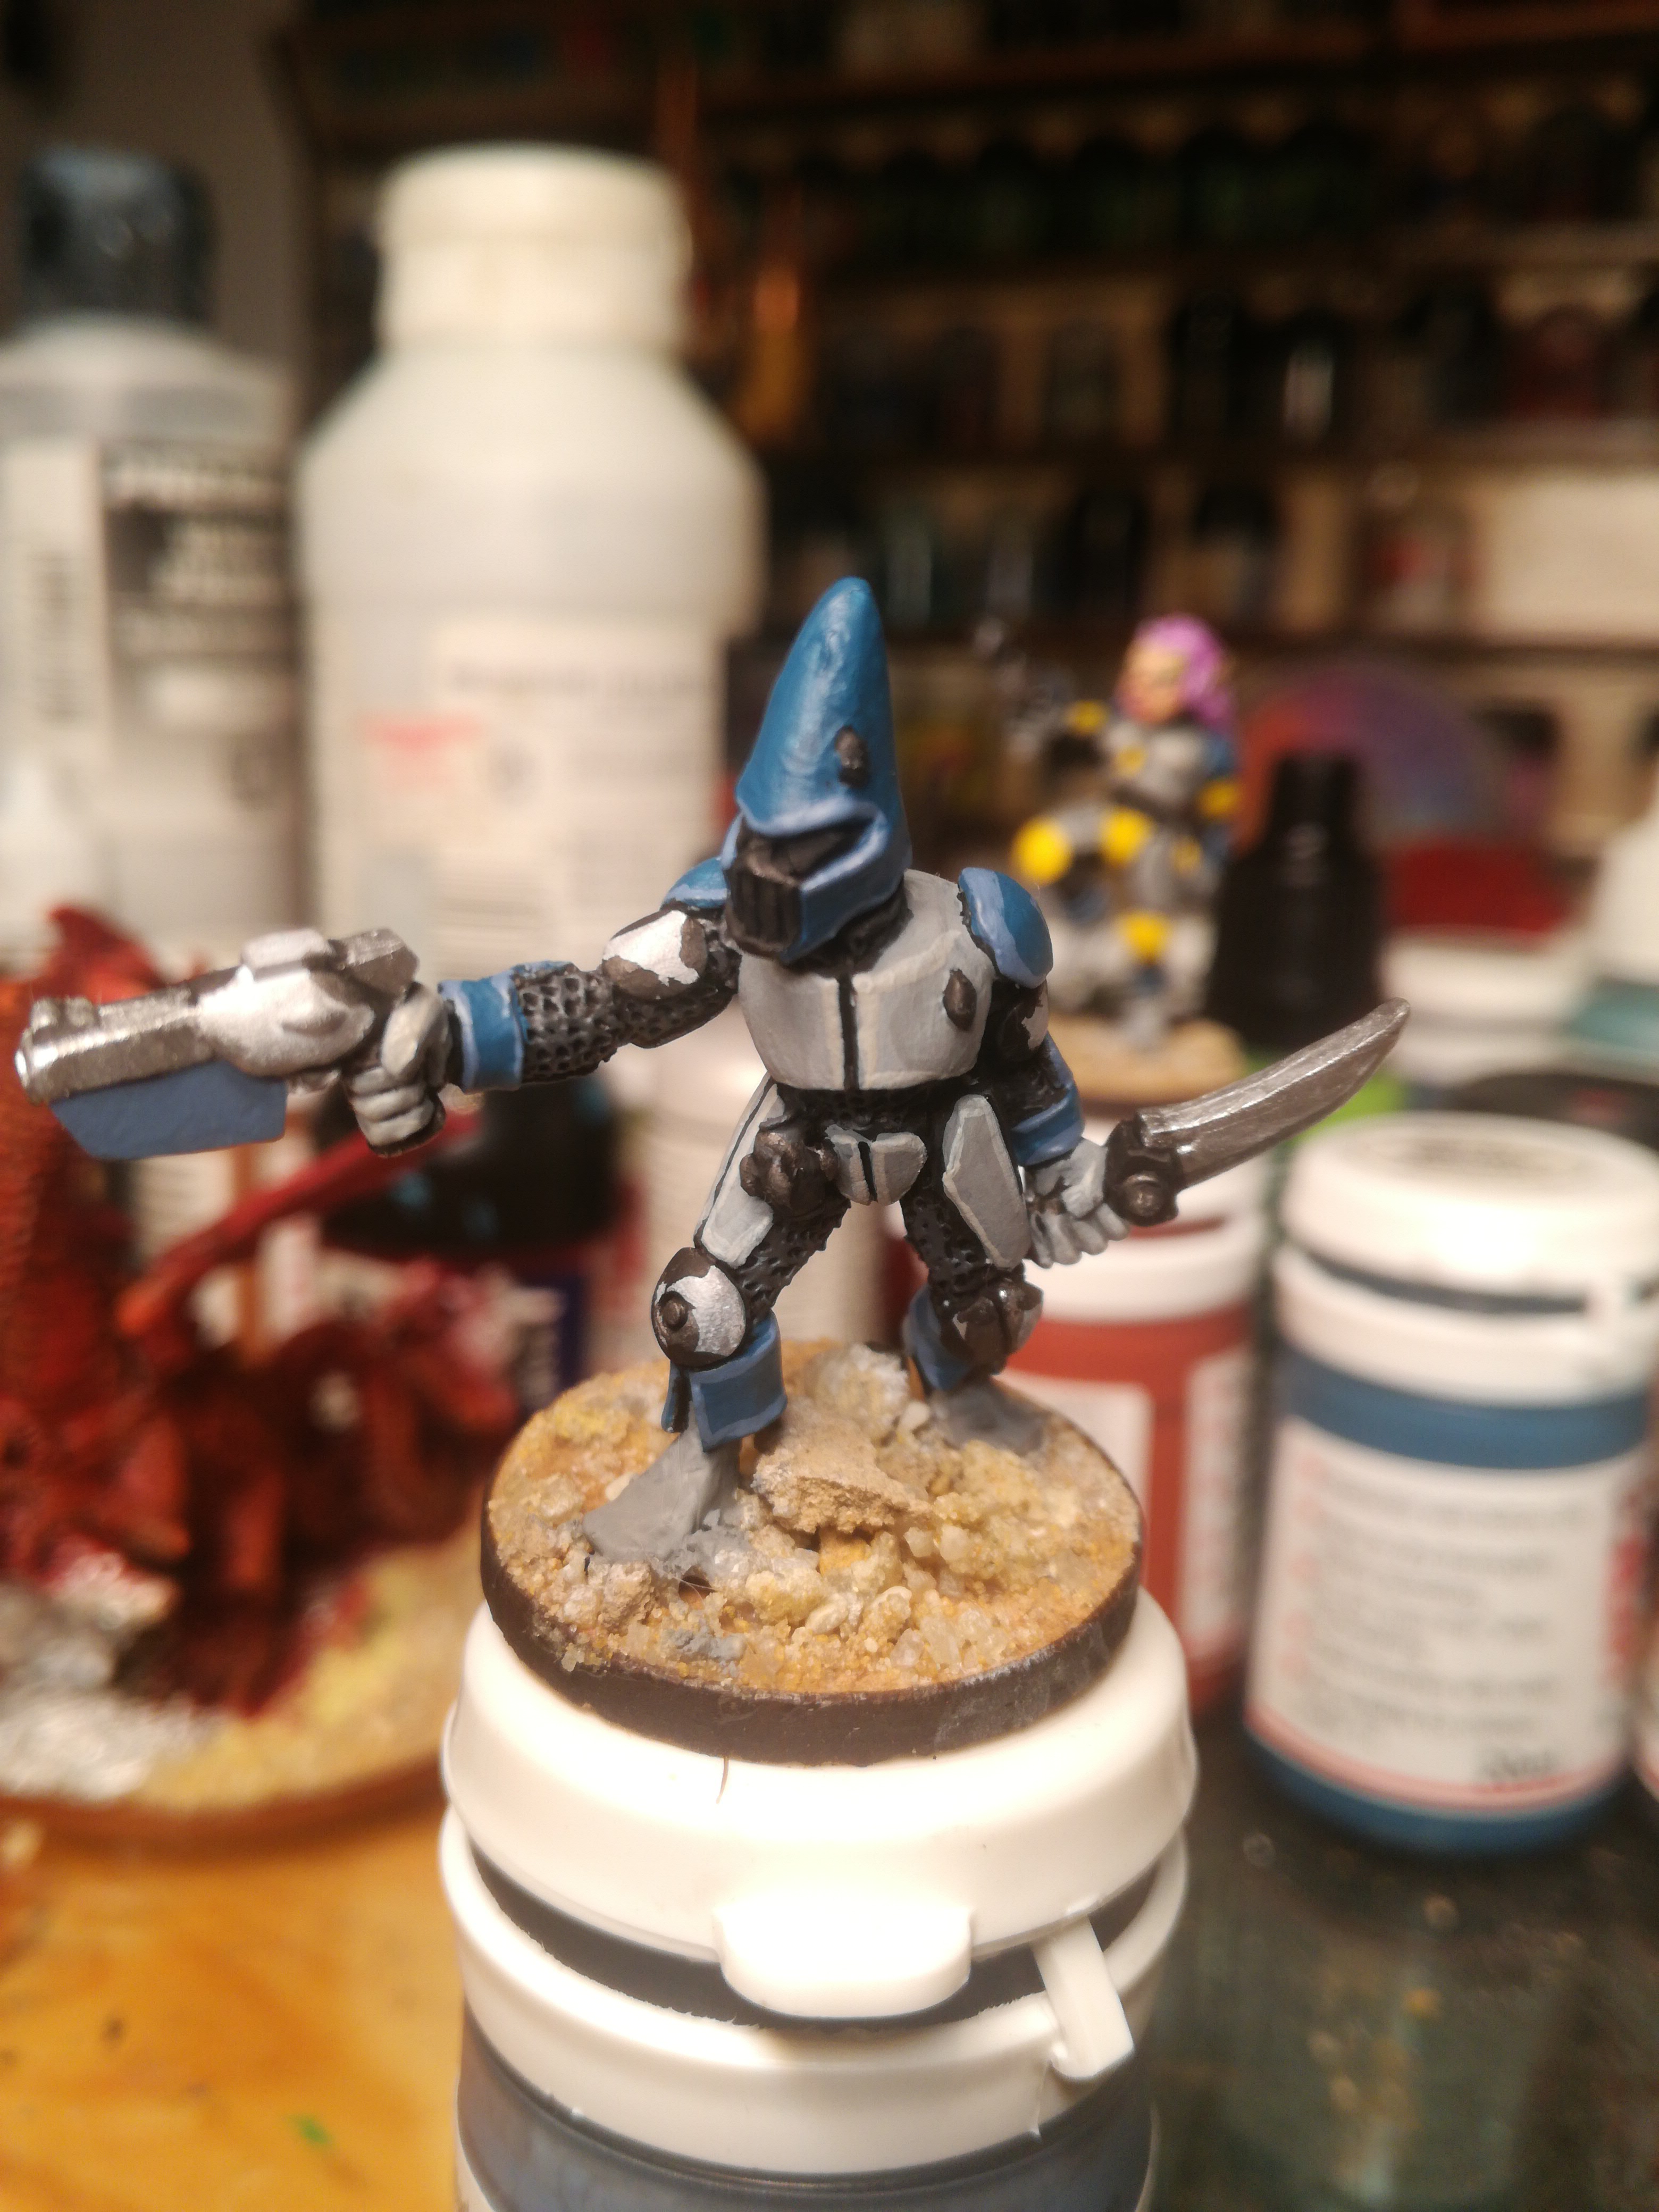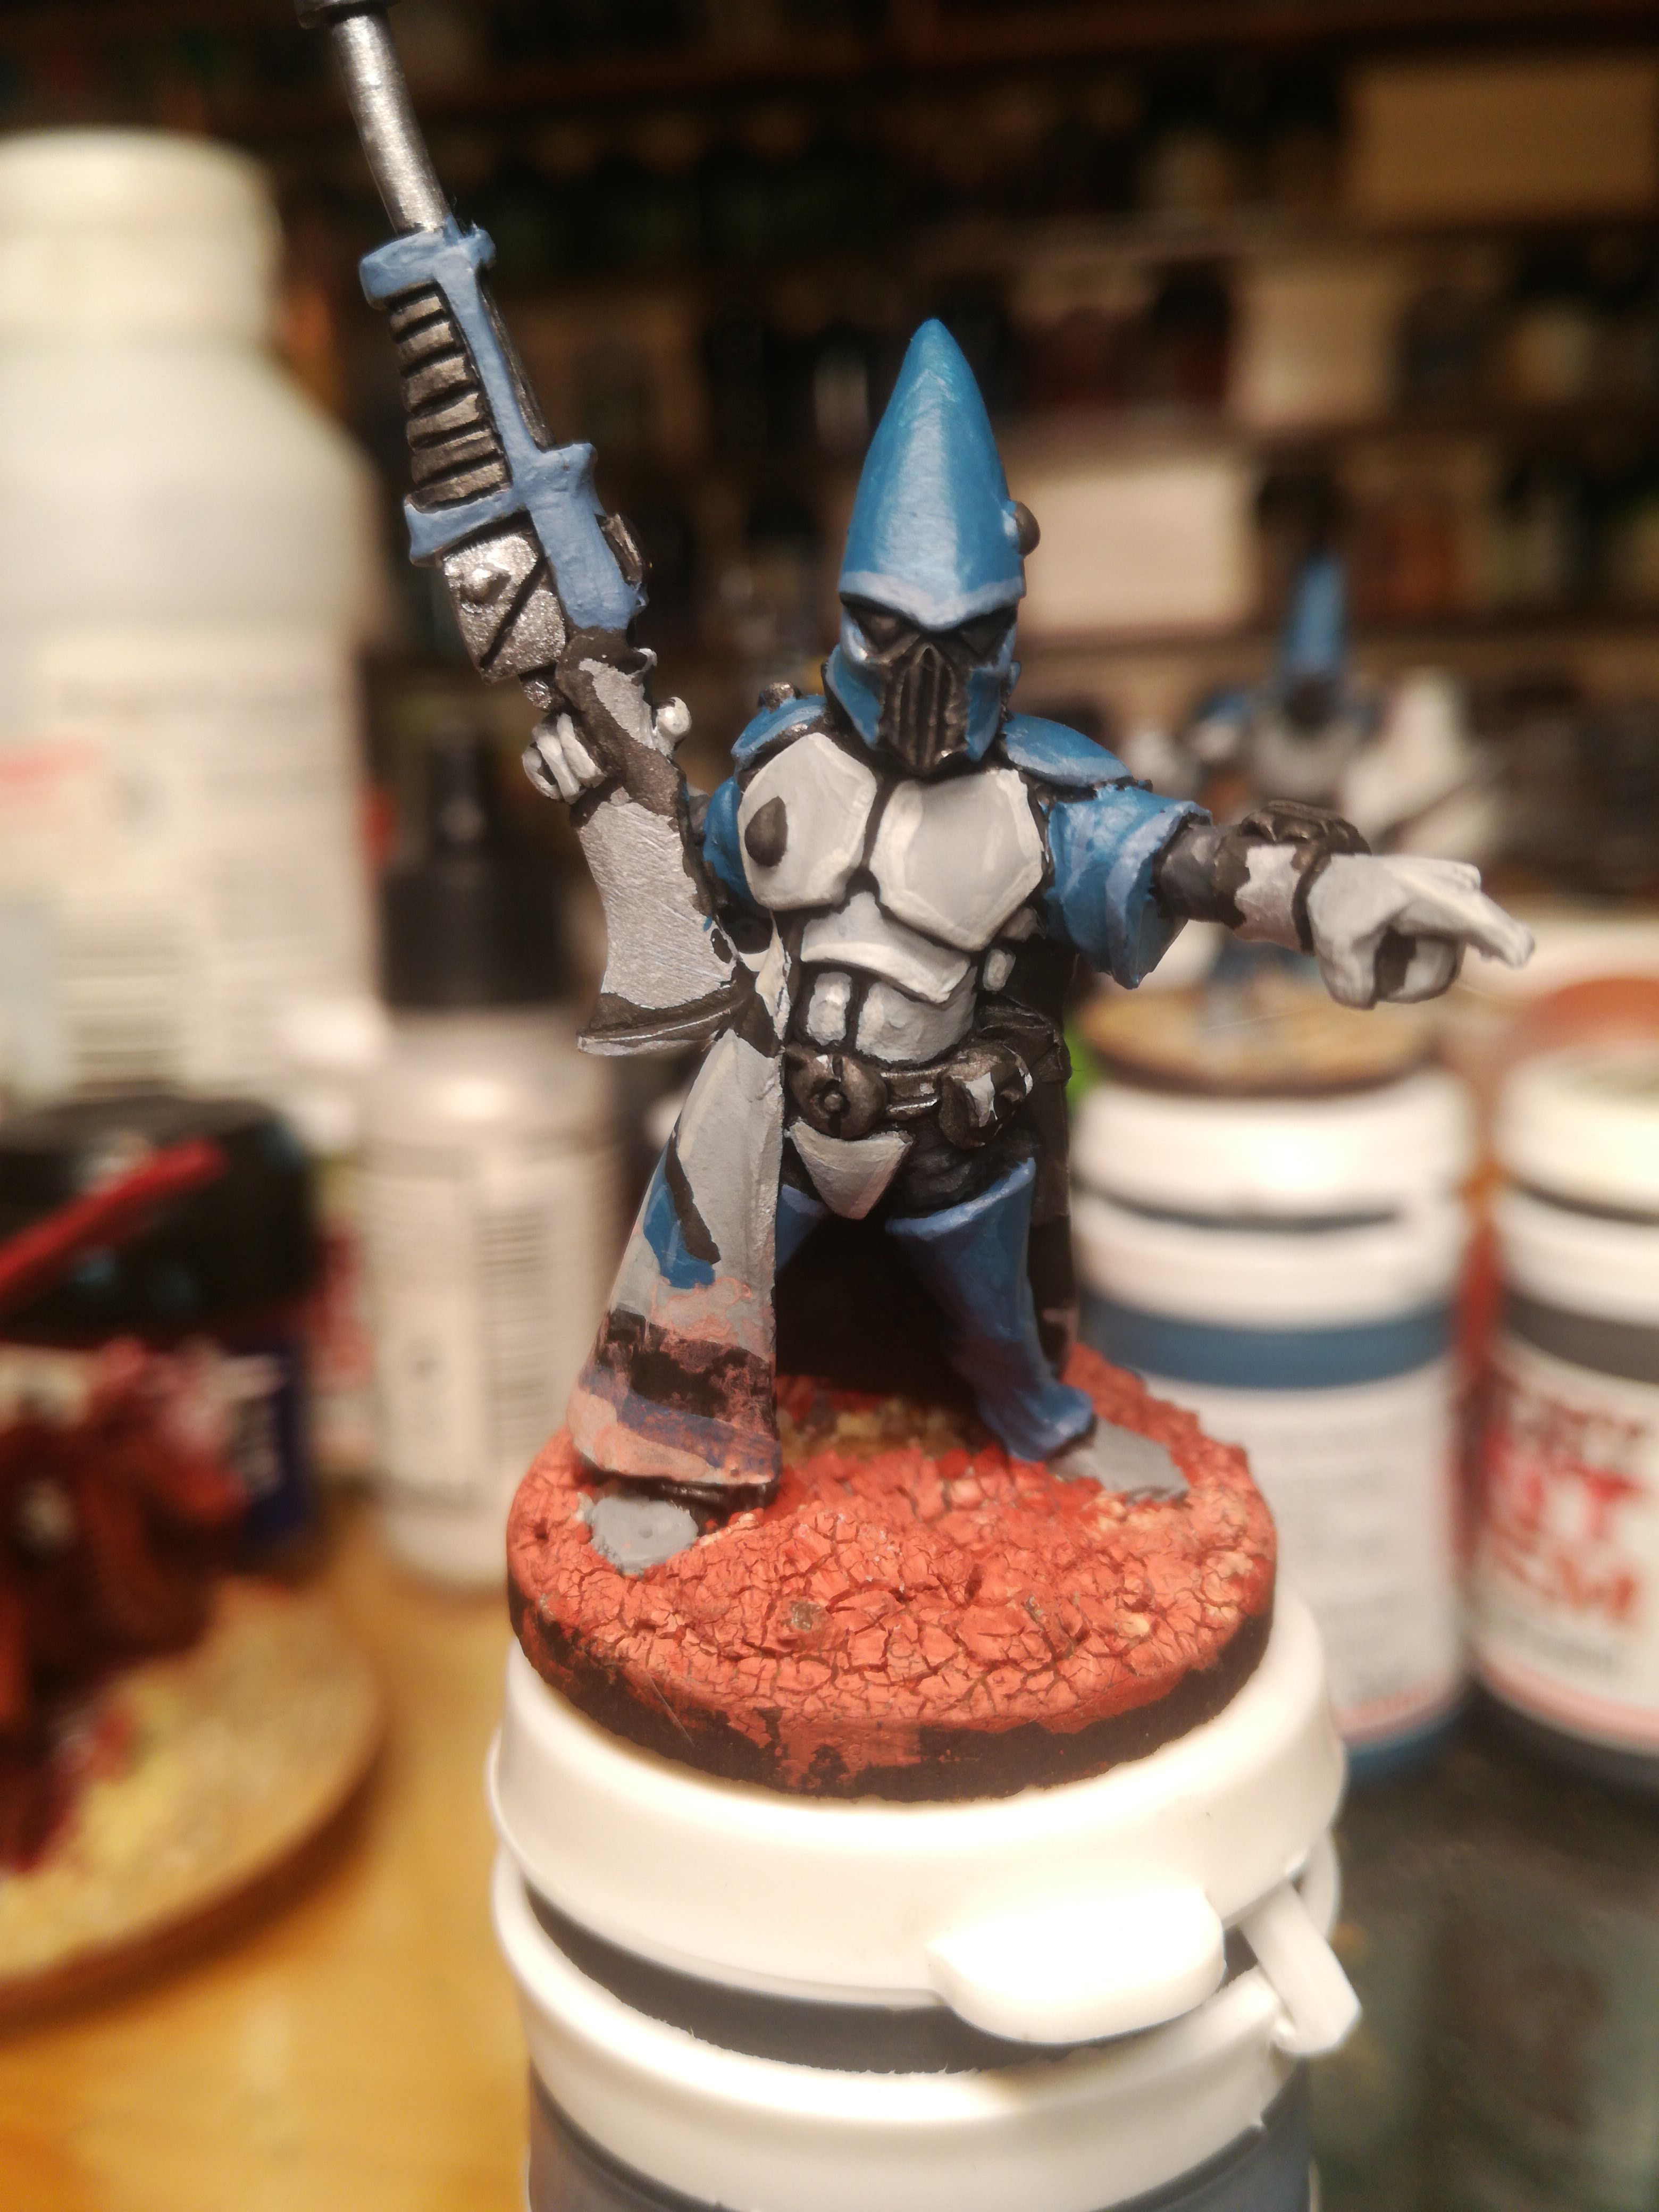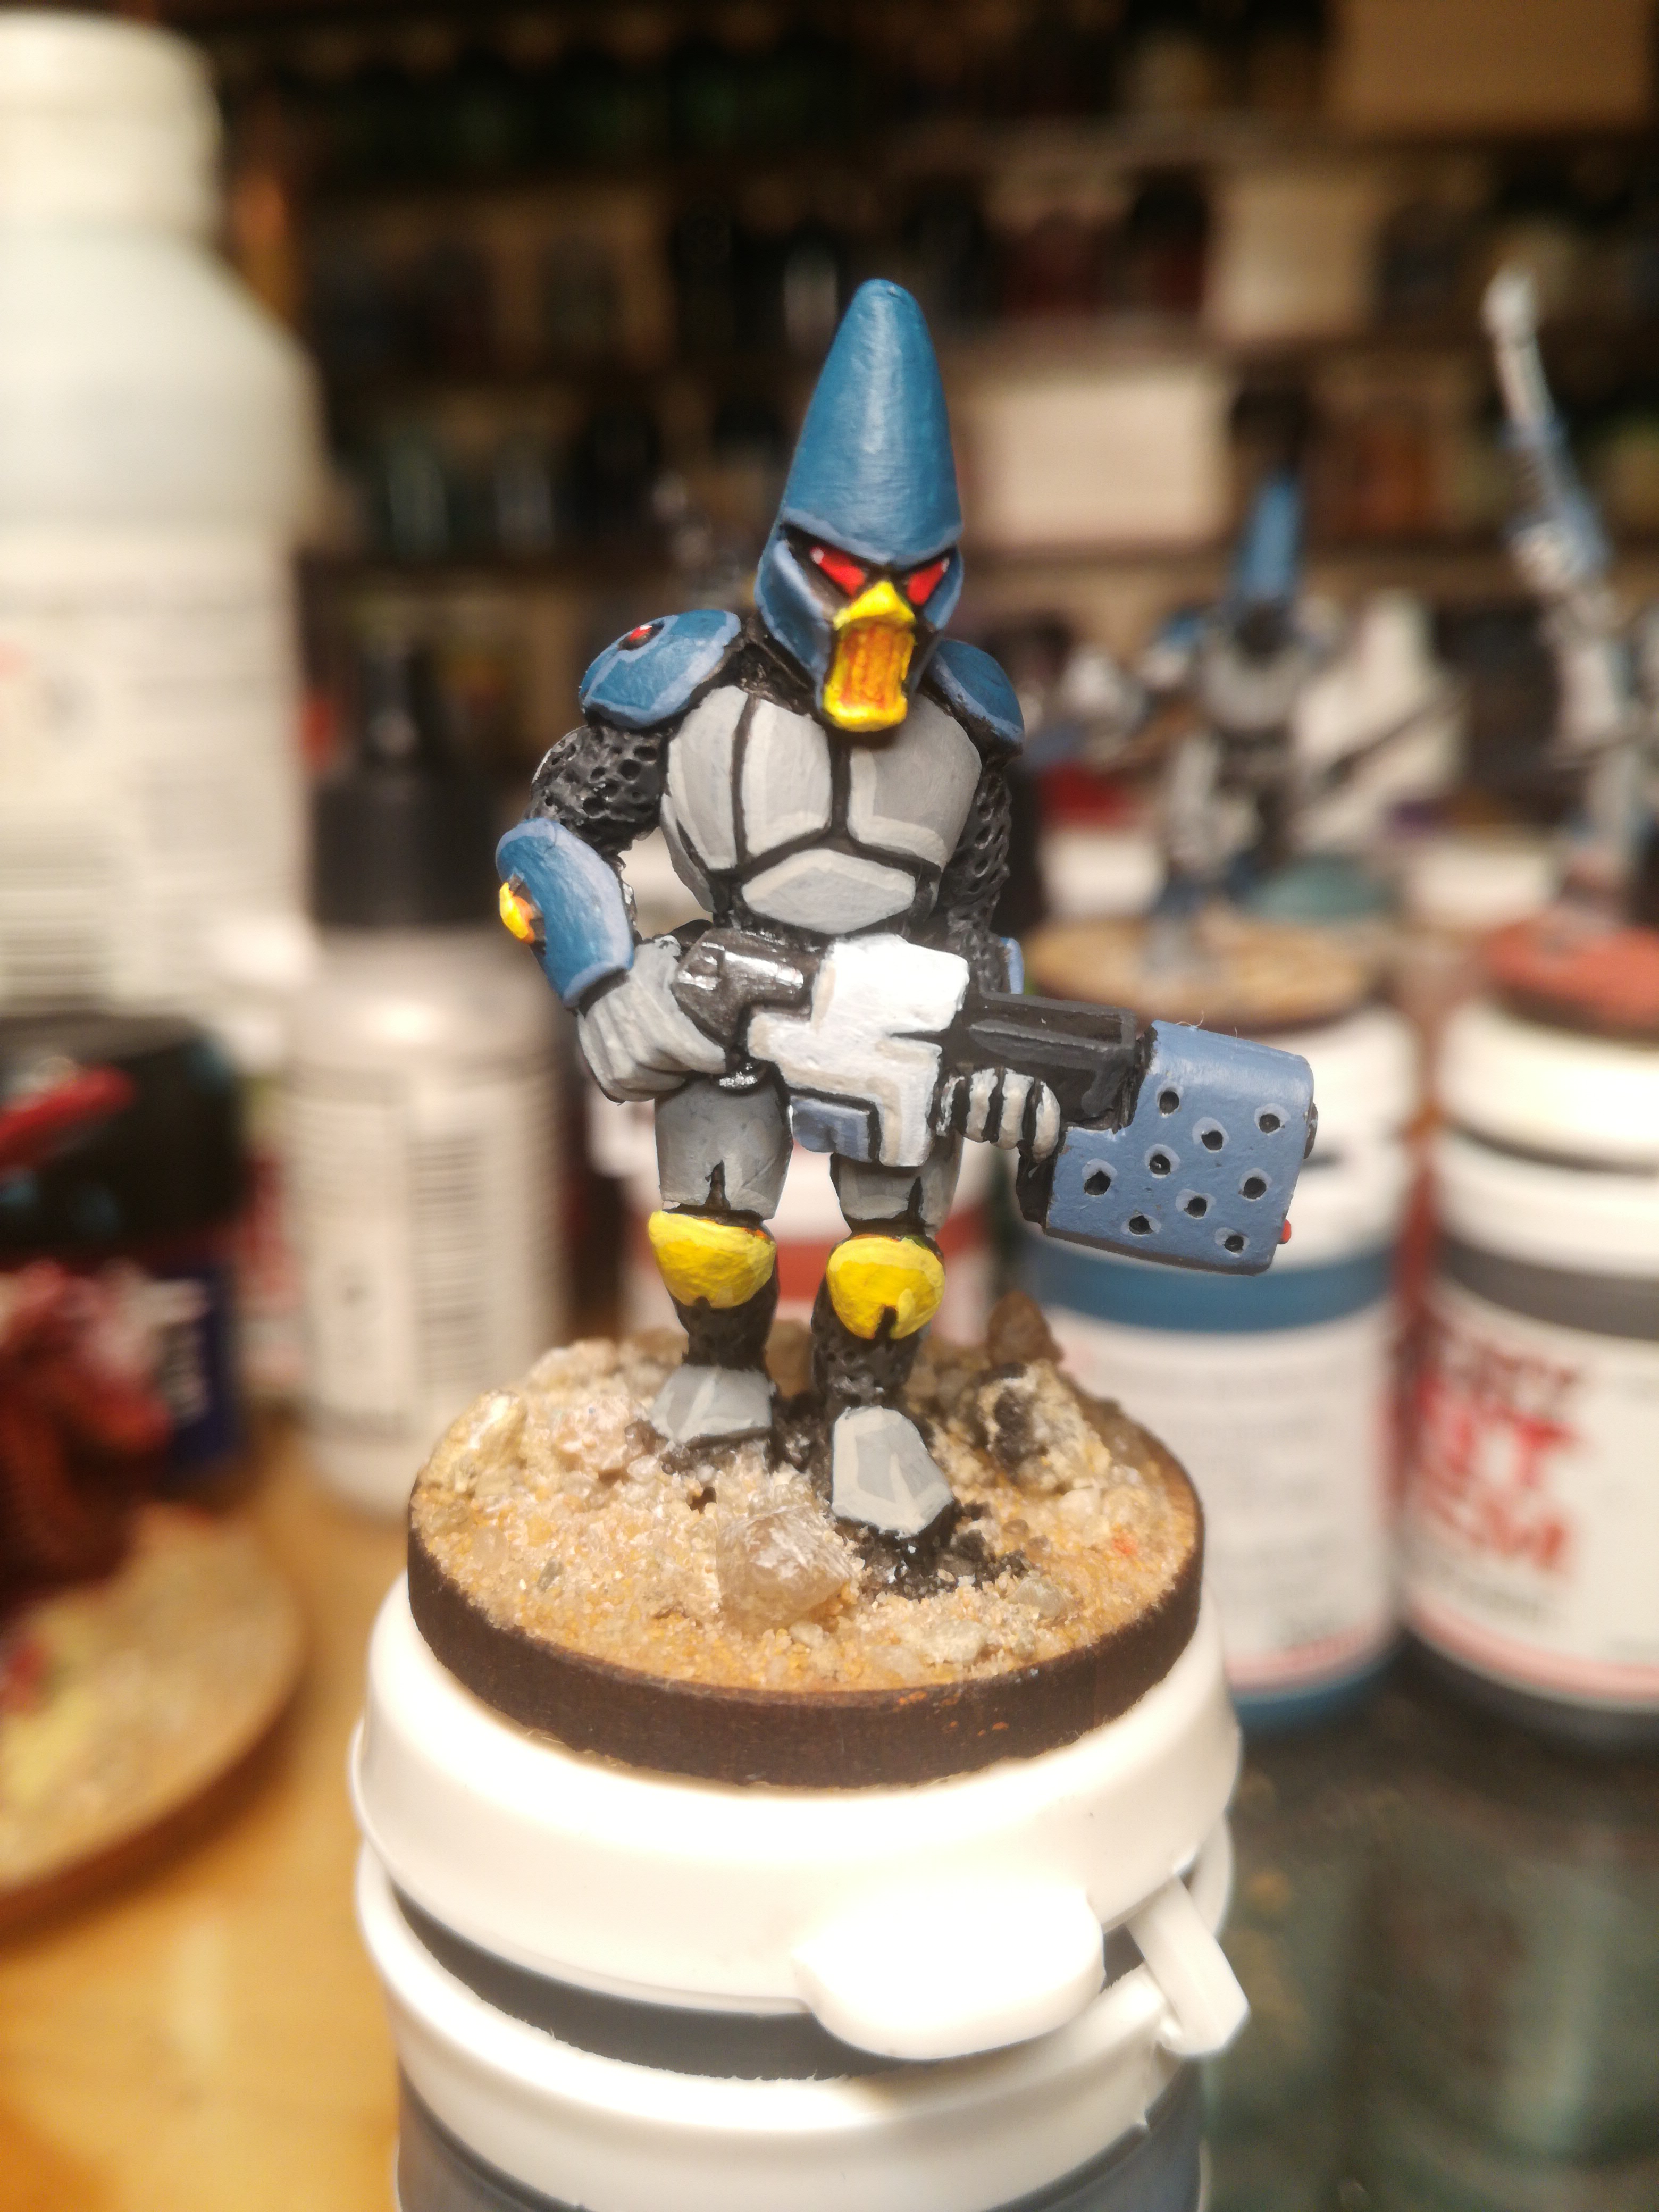
I am a fraid to say that this year’s resolutions are a repeat of last year’s. Of which I barely achieved any. The big plan to print and paint a 2000 pt proxy Tau army stalled. The reason? I hate batch painting and the unit I started last Summer is still on my bench. I will try a new approach, paint one figure at a time. Maybe this approach will work?
I still have this malaise and it is really hard to get motivated. I use my journal to chivvy me up and it is satisfying to tick off little tasks at the end of the day. It’s not helped by my taking blood pressure medication making me really fatigued. Apparently this will change as my body becomes acclimatised. Adding to this is the fact that I have nothing to look forwards to. Each day is a repeat of the last. I do remind myself that, unlike a lot of people at the moment, I am warm, fed and have a roof over my head. Also not helping are my biopsy results coming back positive.
Youth is wasted on the young.
BUT I did start, and finish, a few projects which had been started and then shelved years ago (in some cases). And I aim to keep on going with this. It is quite satifying taking boxes of bits and putting them together and freeing up some space.
I have been a little more diciplined regarding painting what I print before I start a new project. But there are several boxes of half started projects and I plan to tackle them this year.
My PC is under utilised, mostly being used as a home cinema setup and for gaming. Despite me saying, “No gaming here!”. The biggest time sink at the moment is Star Wars Outlaws.
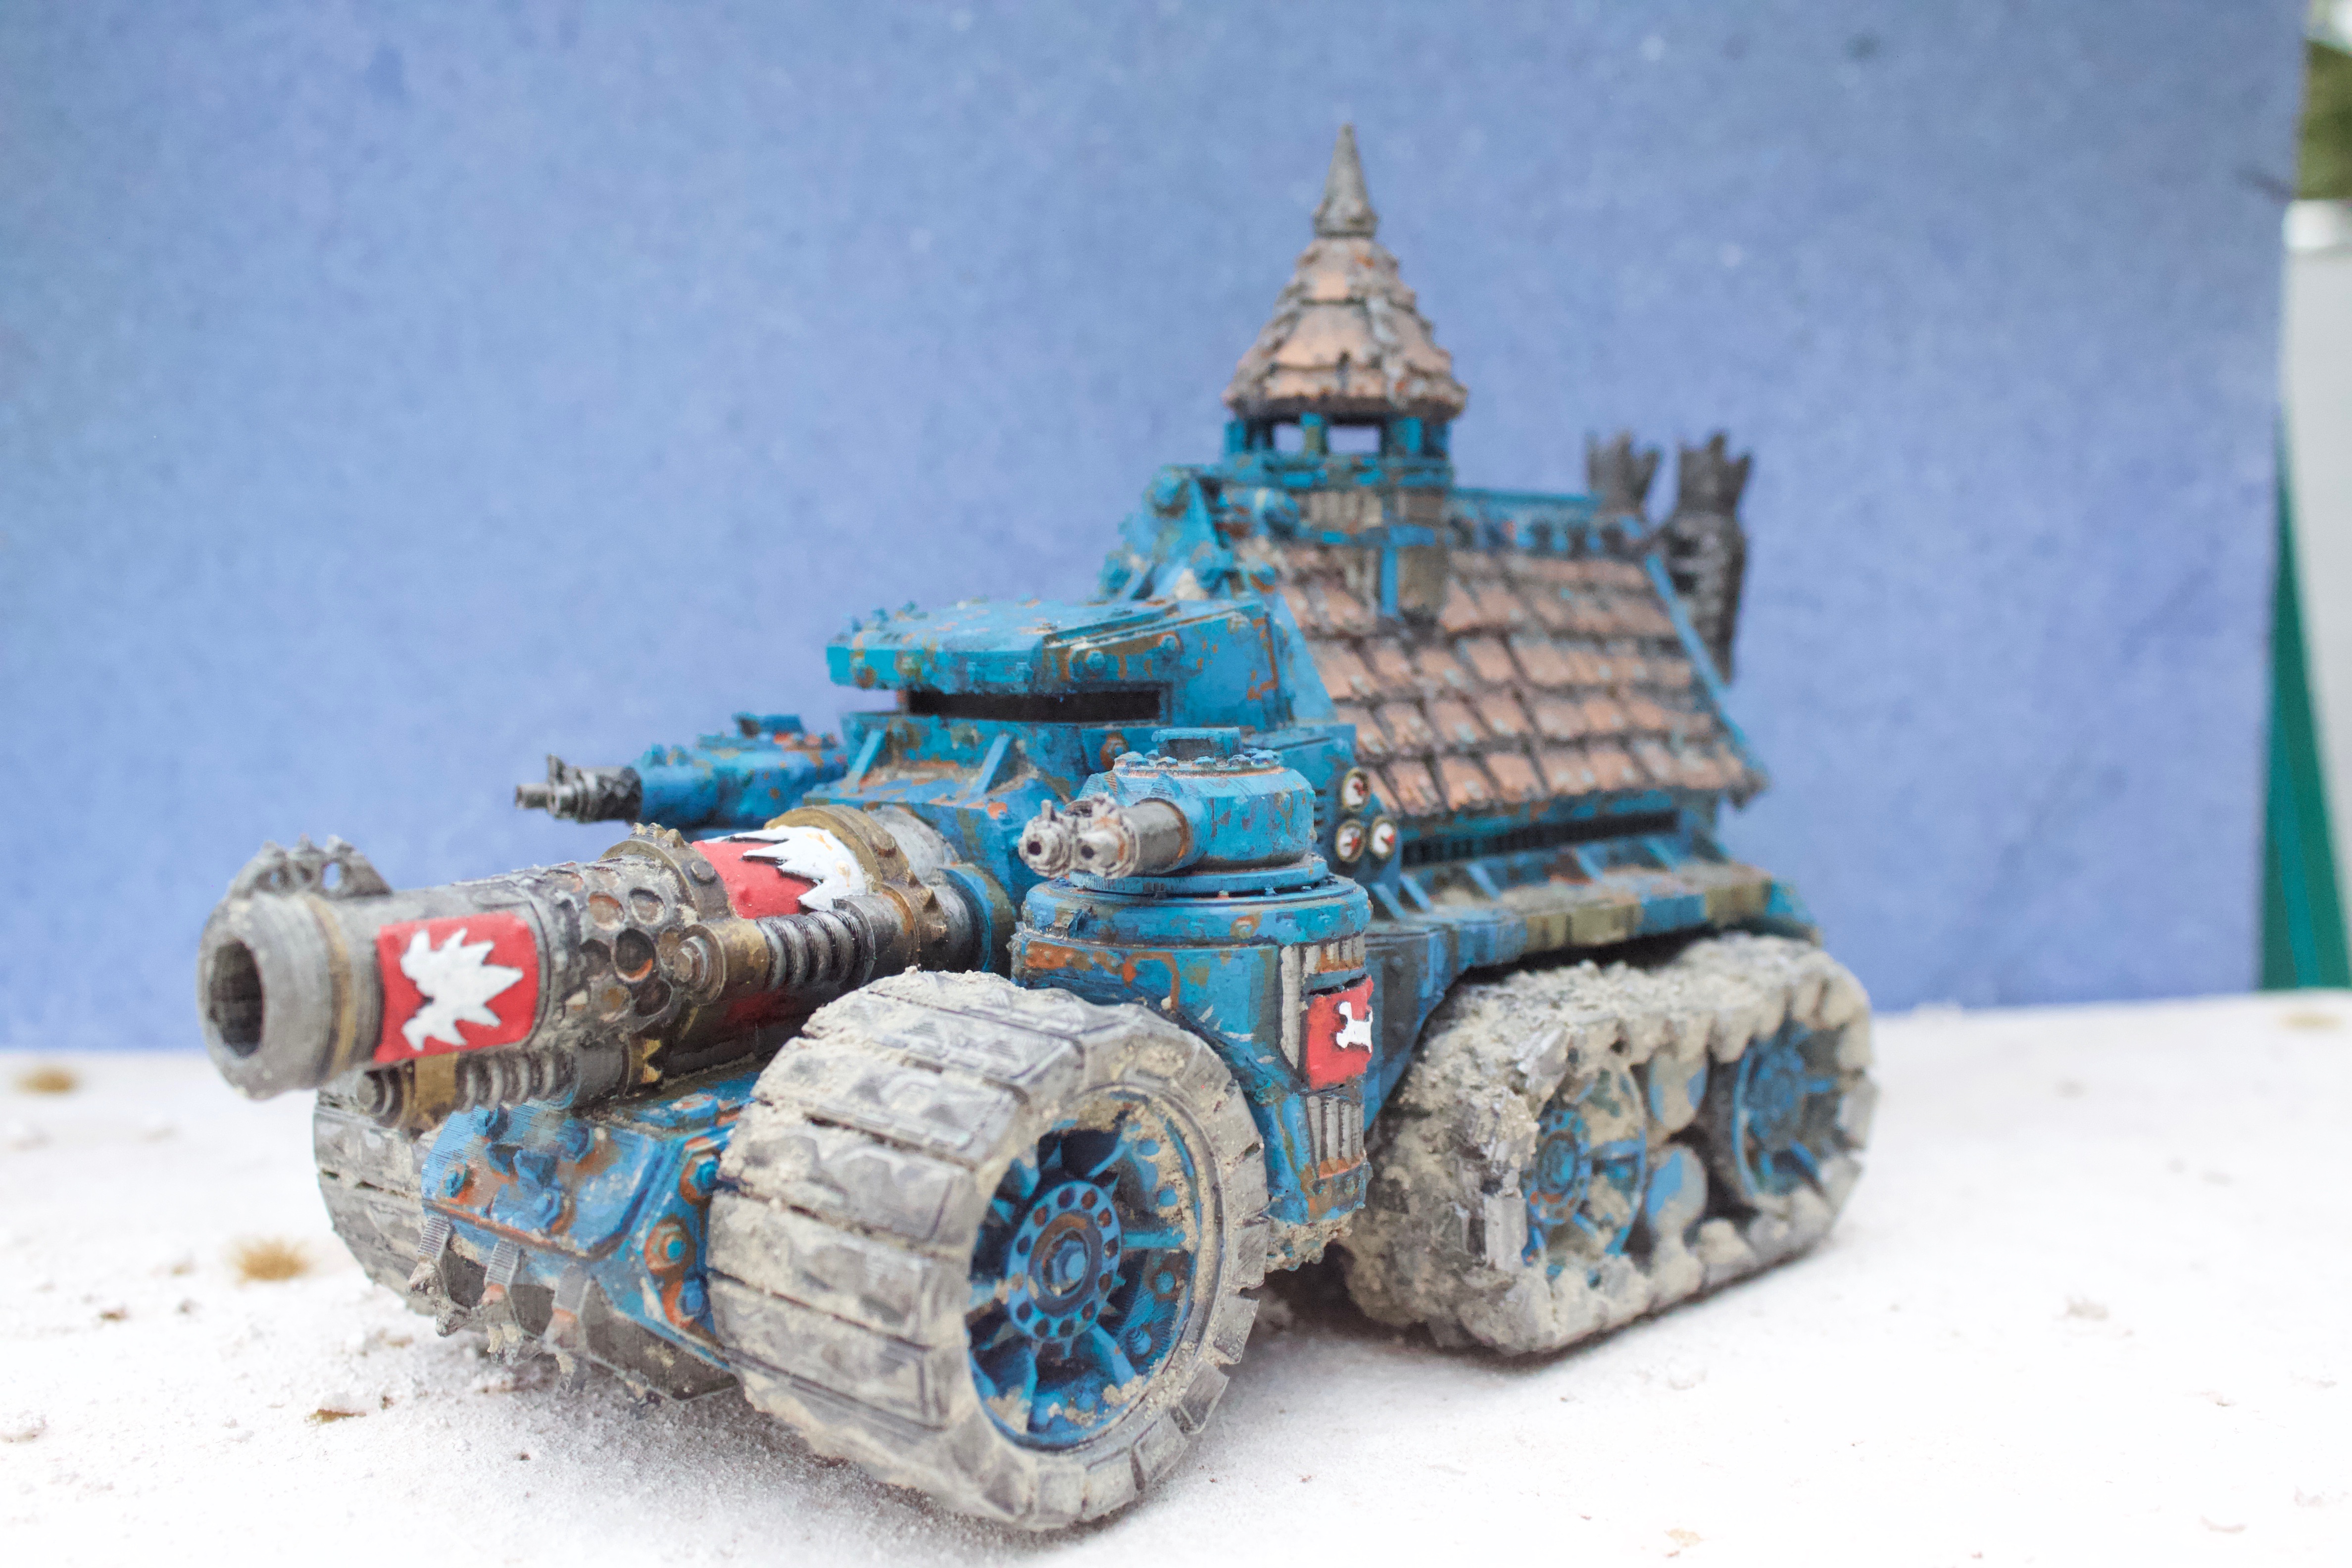
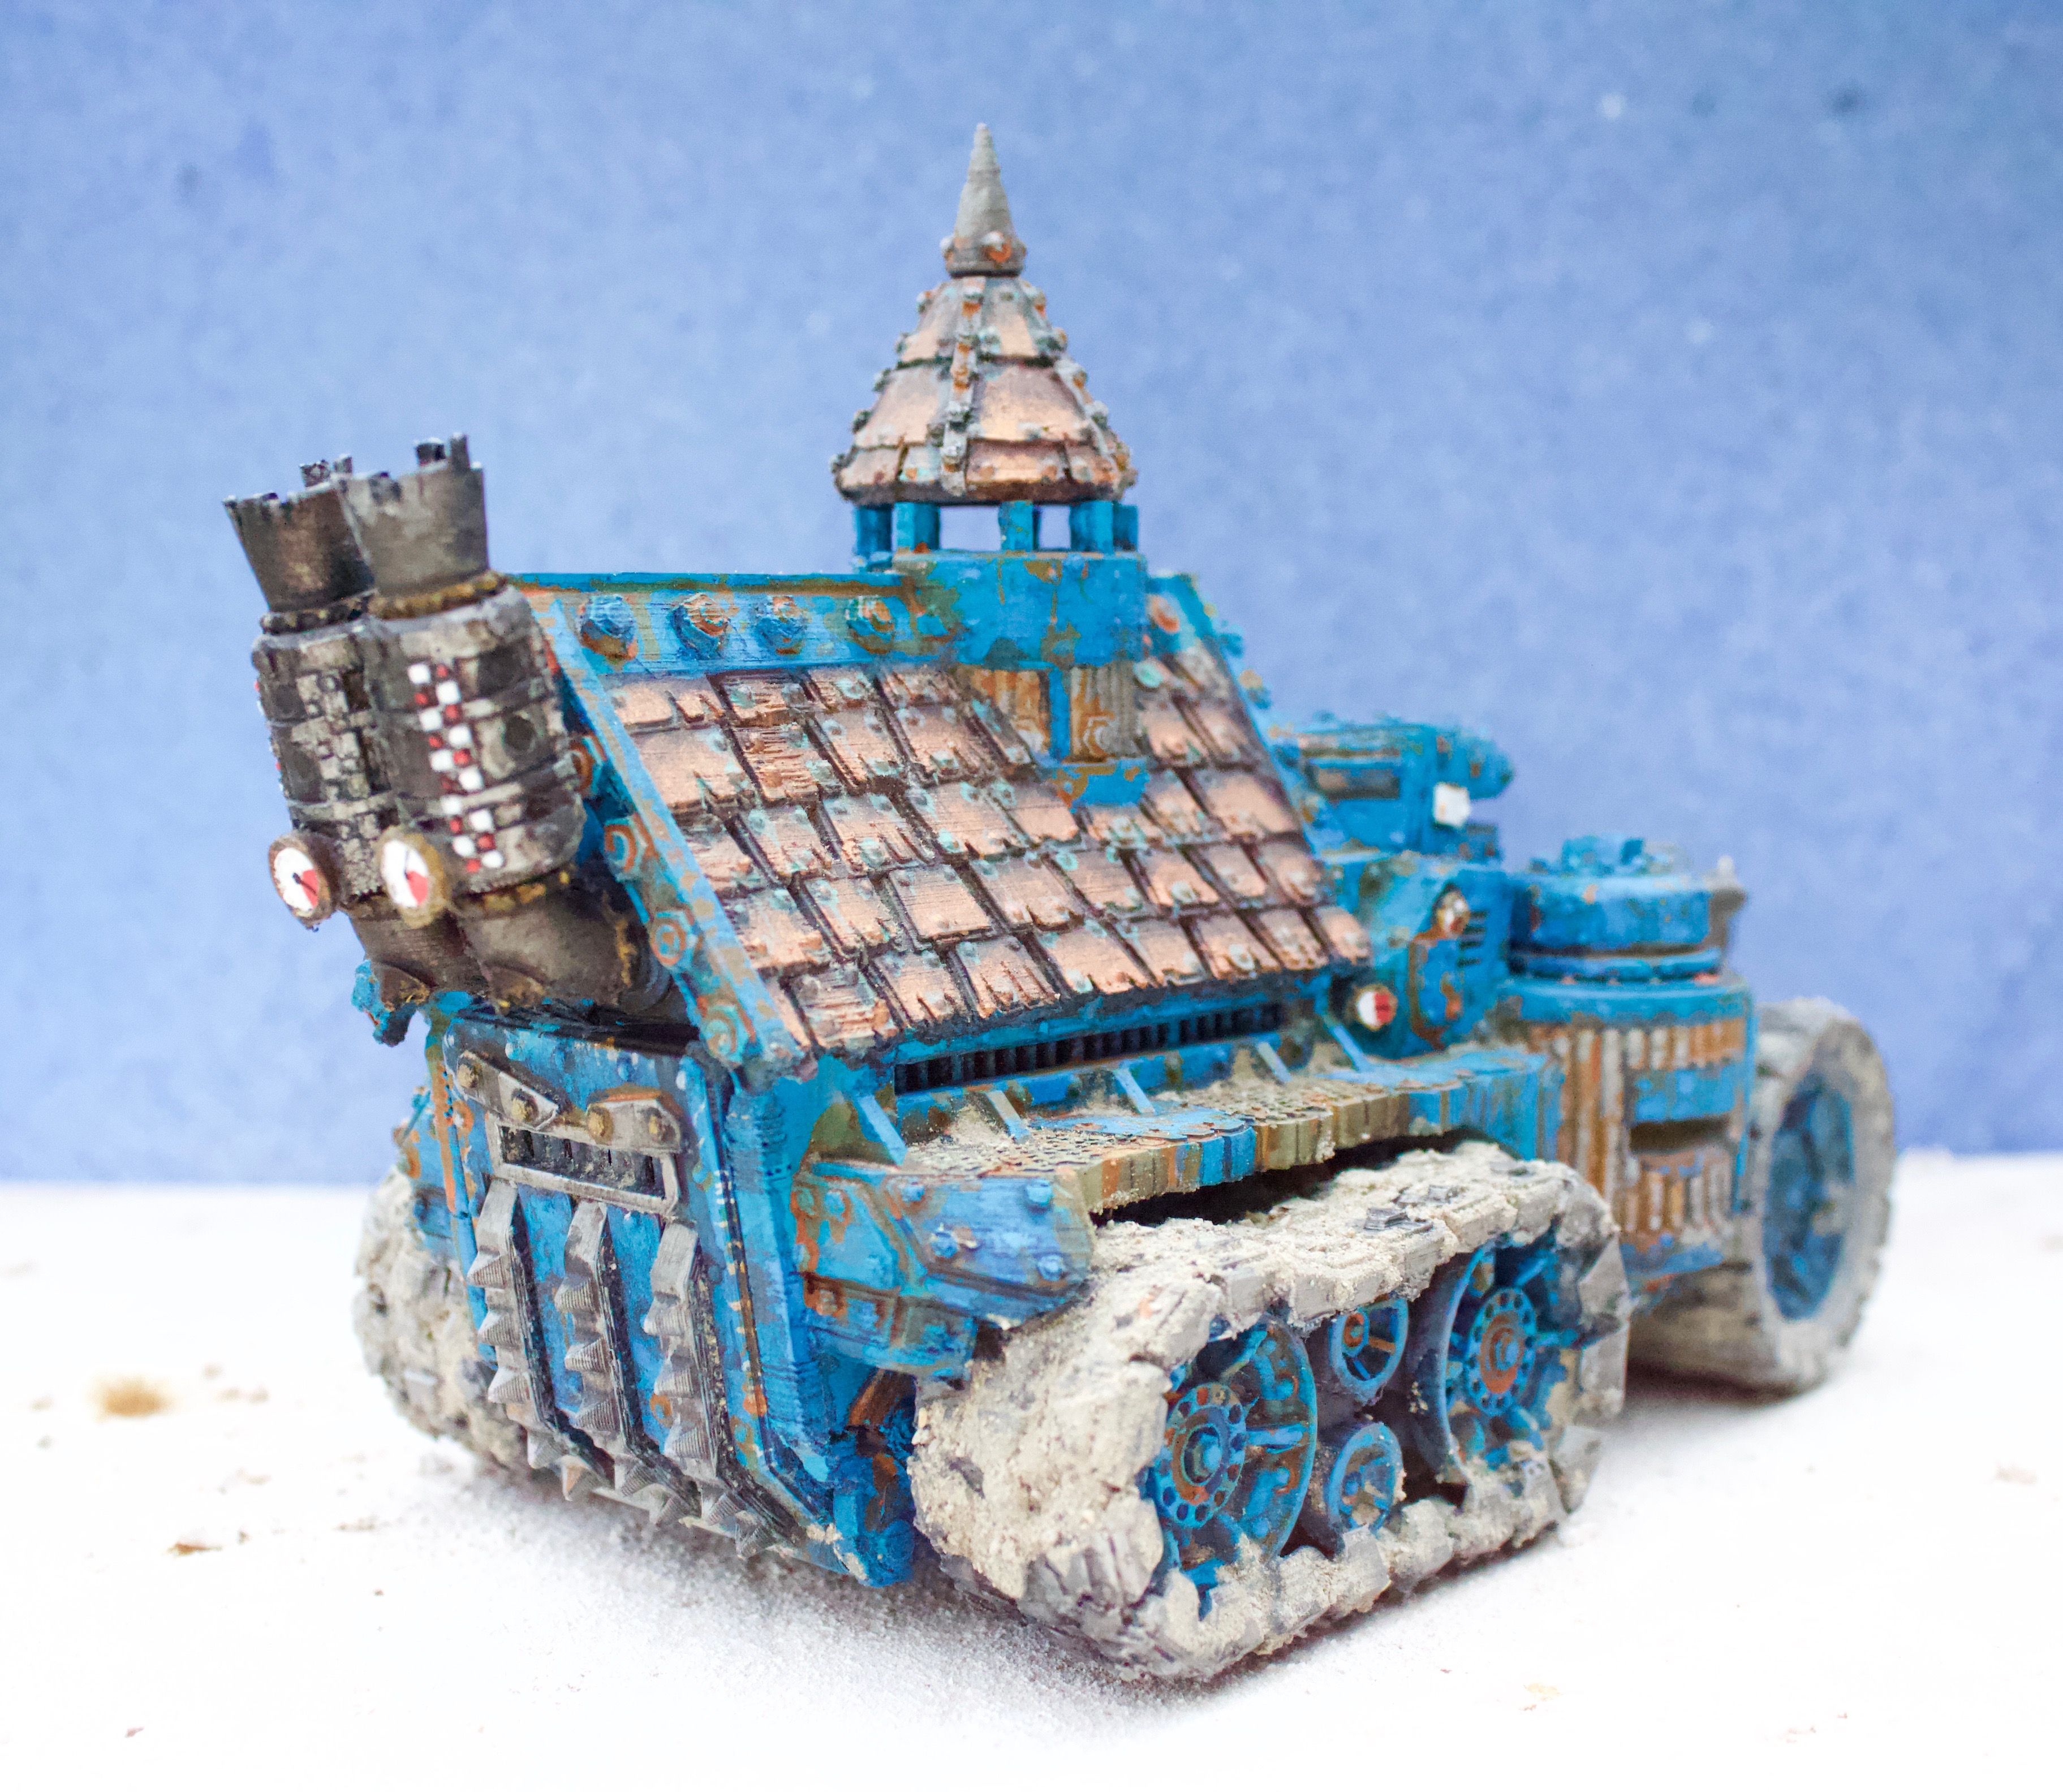
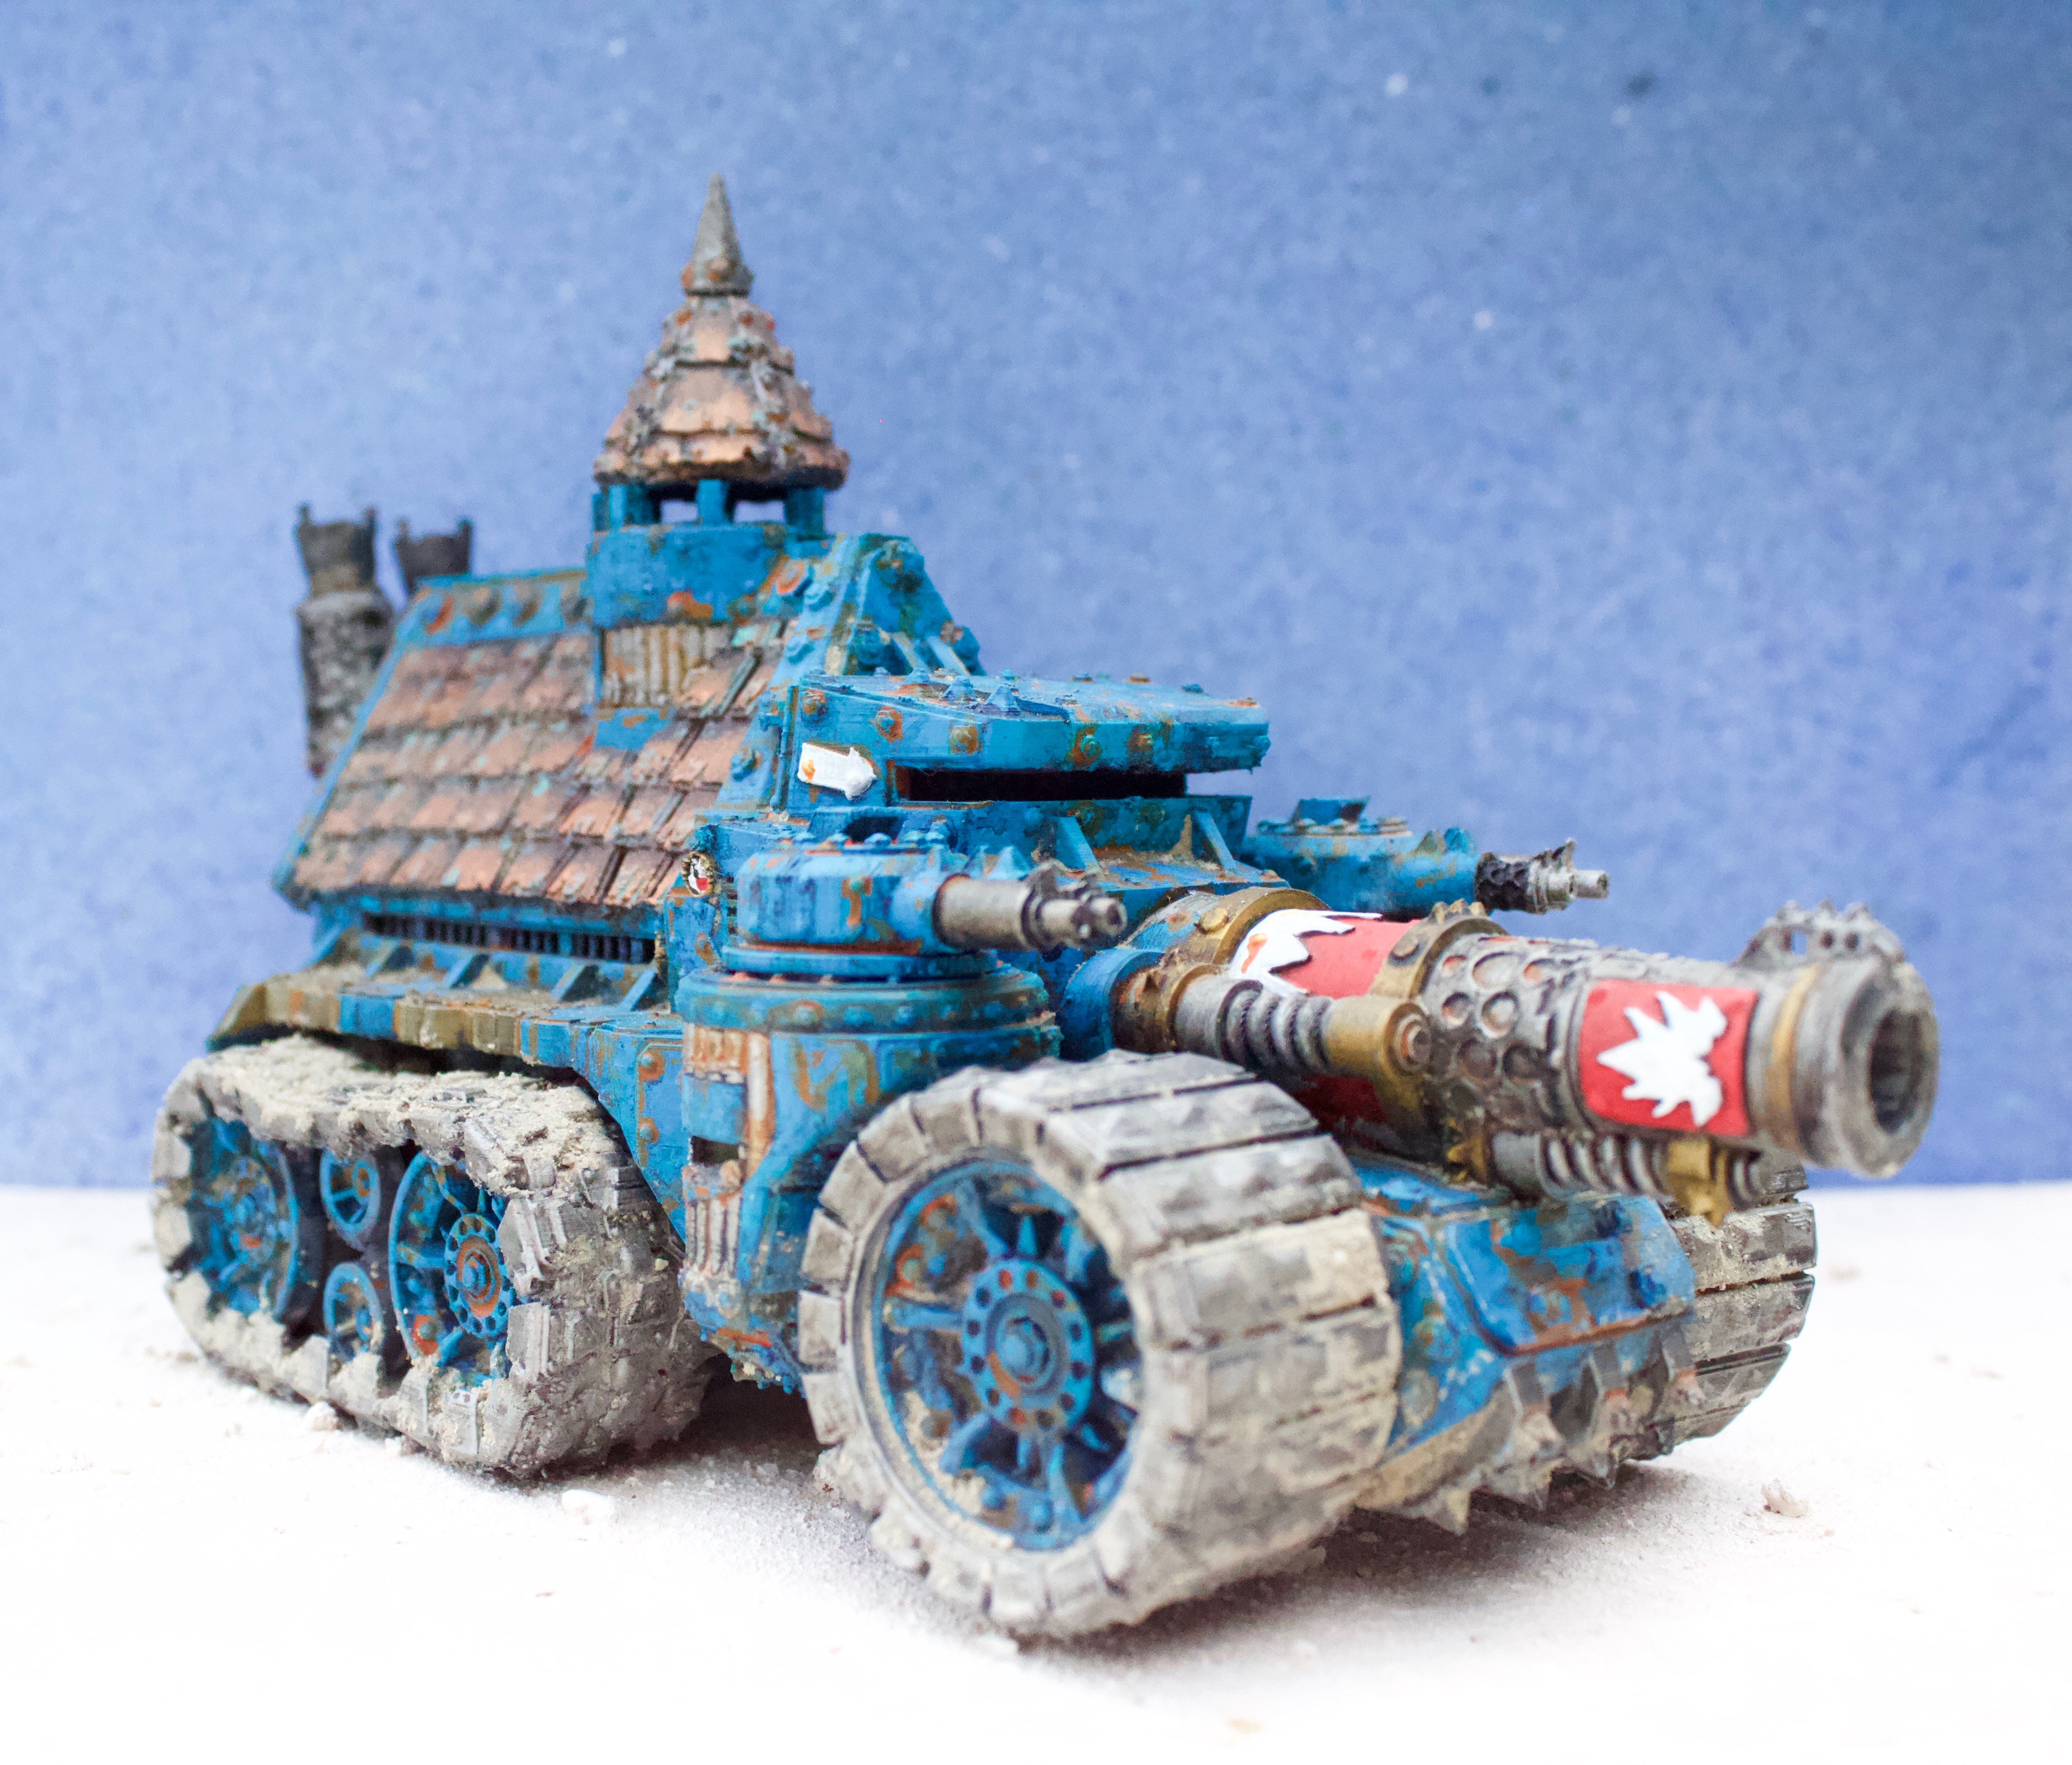
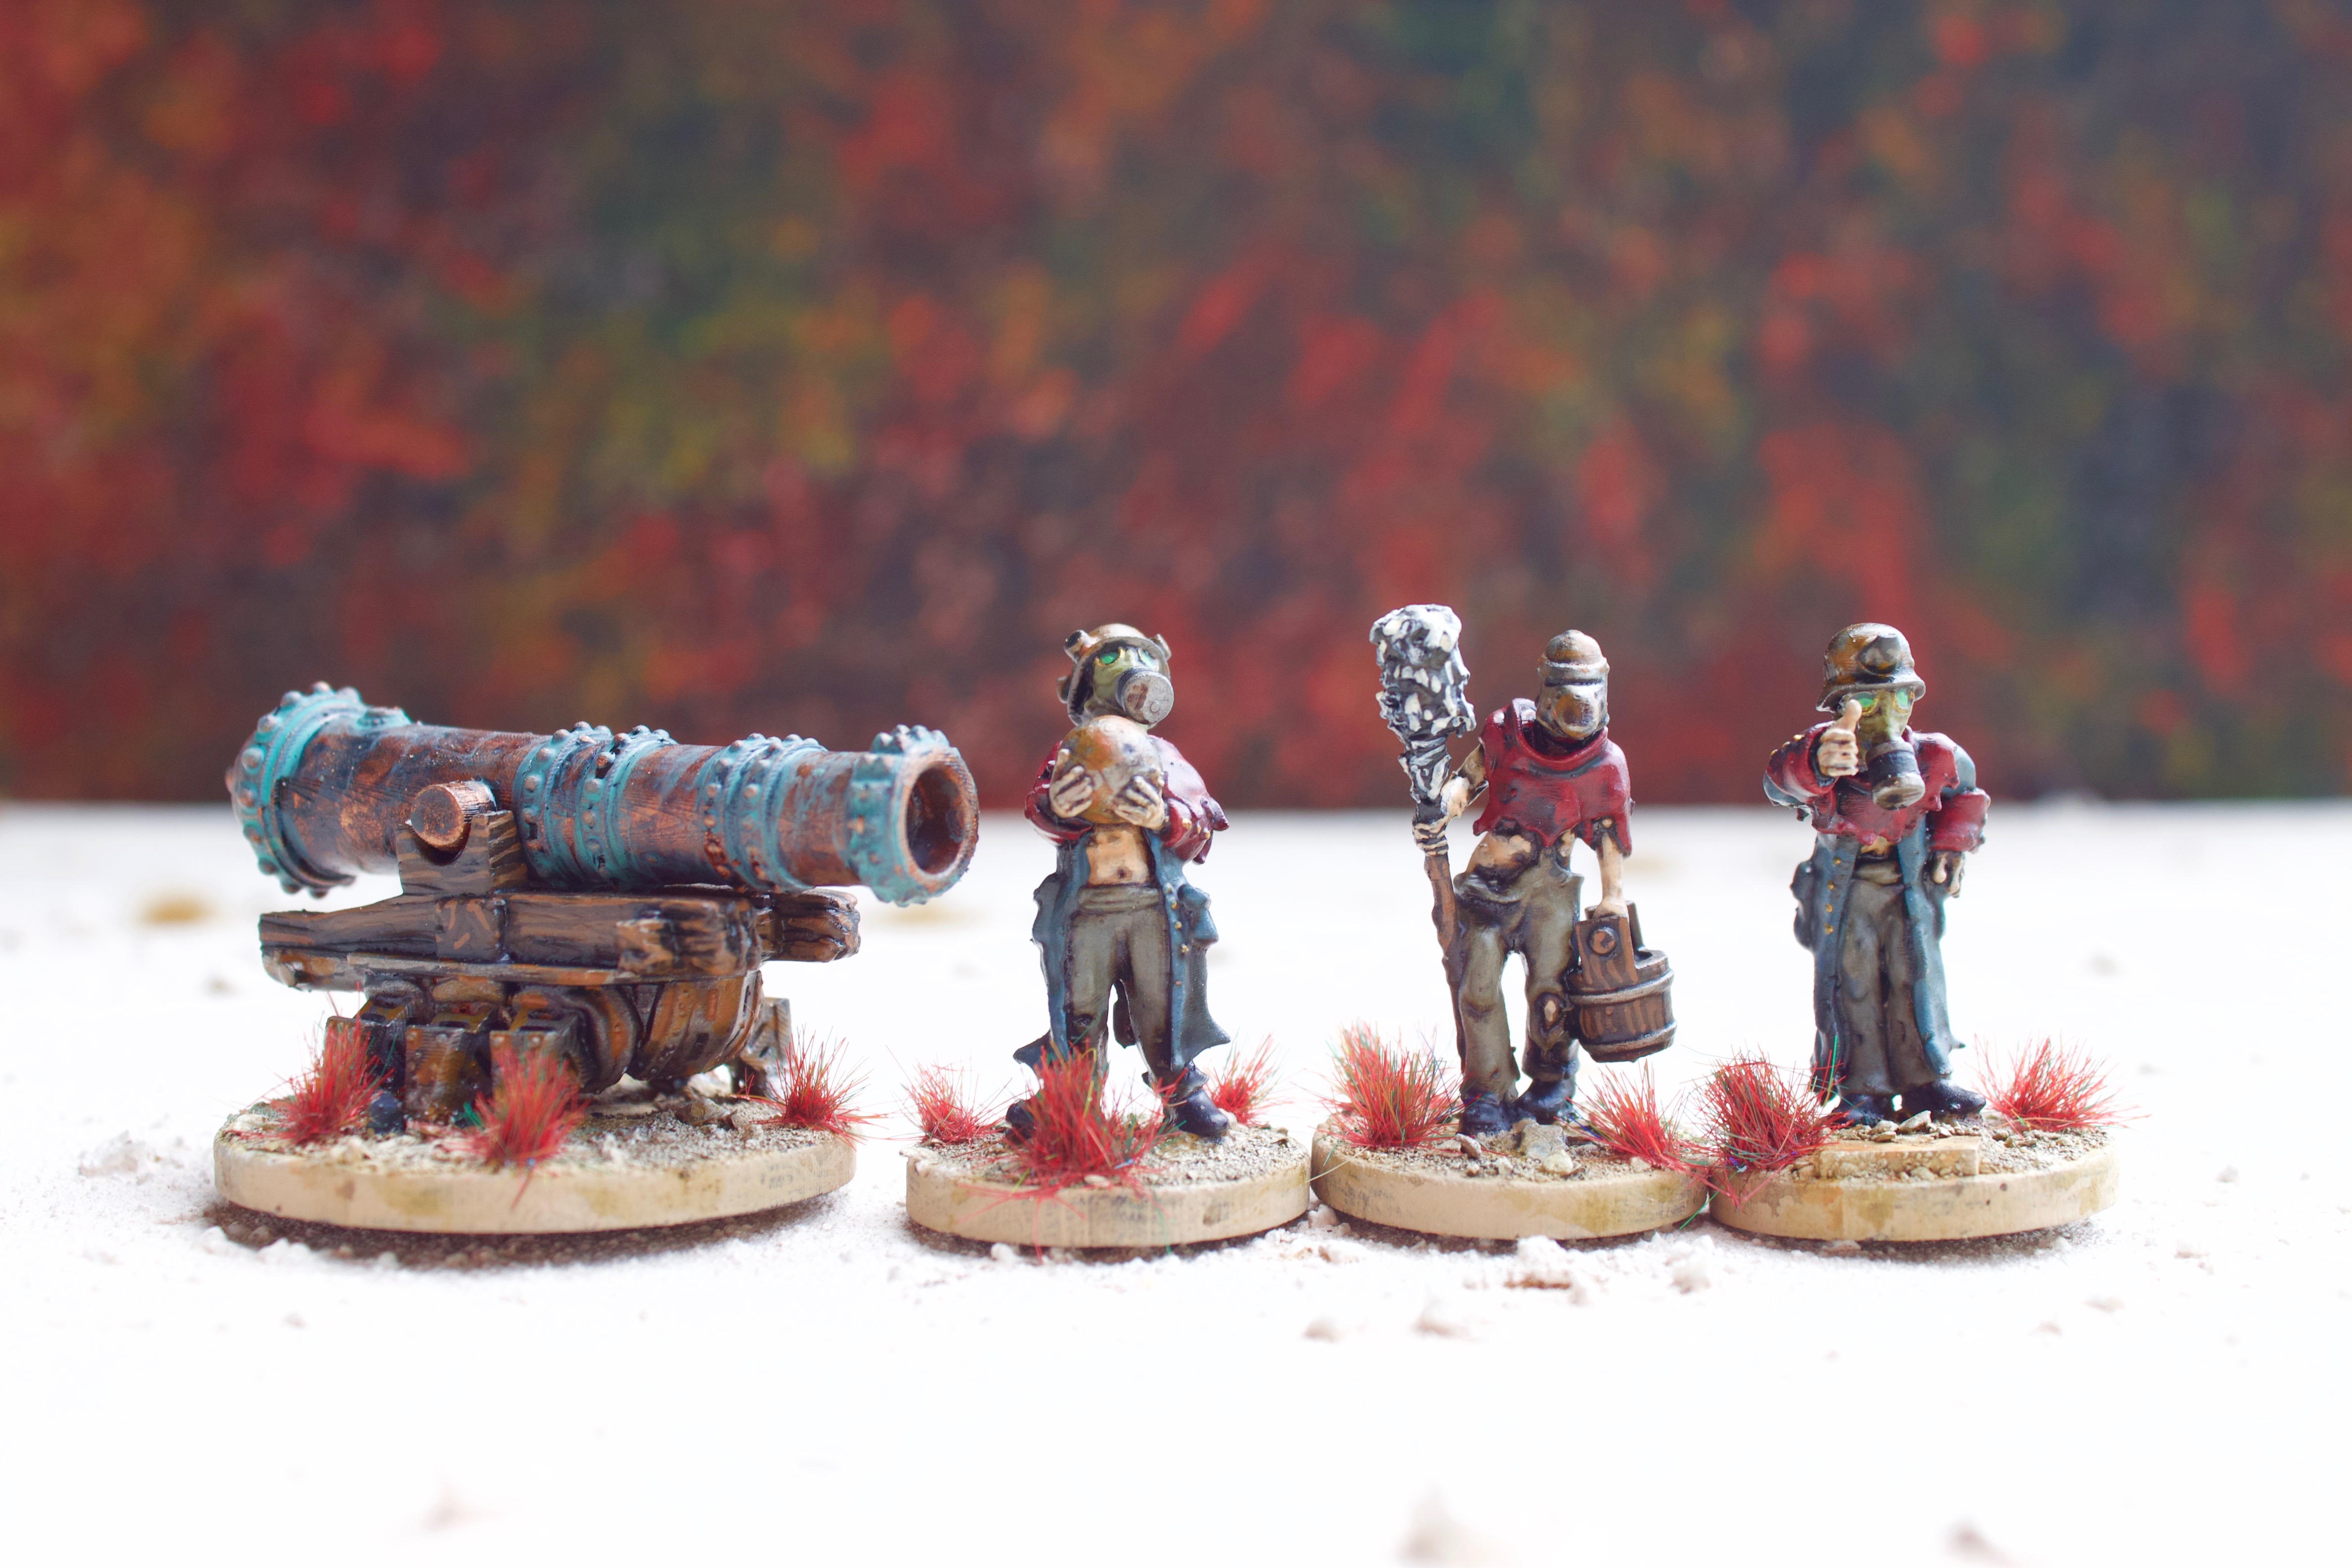
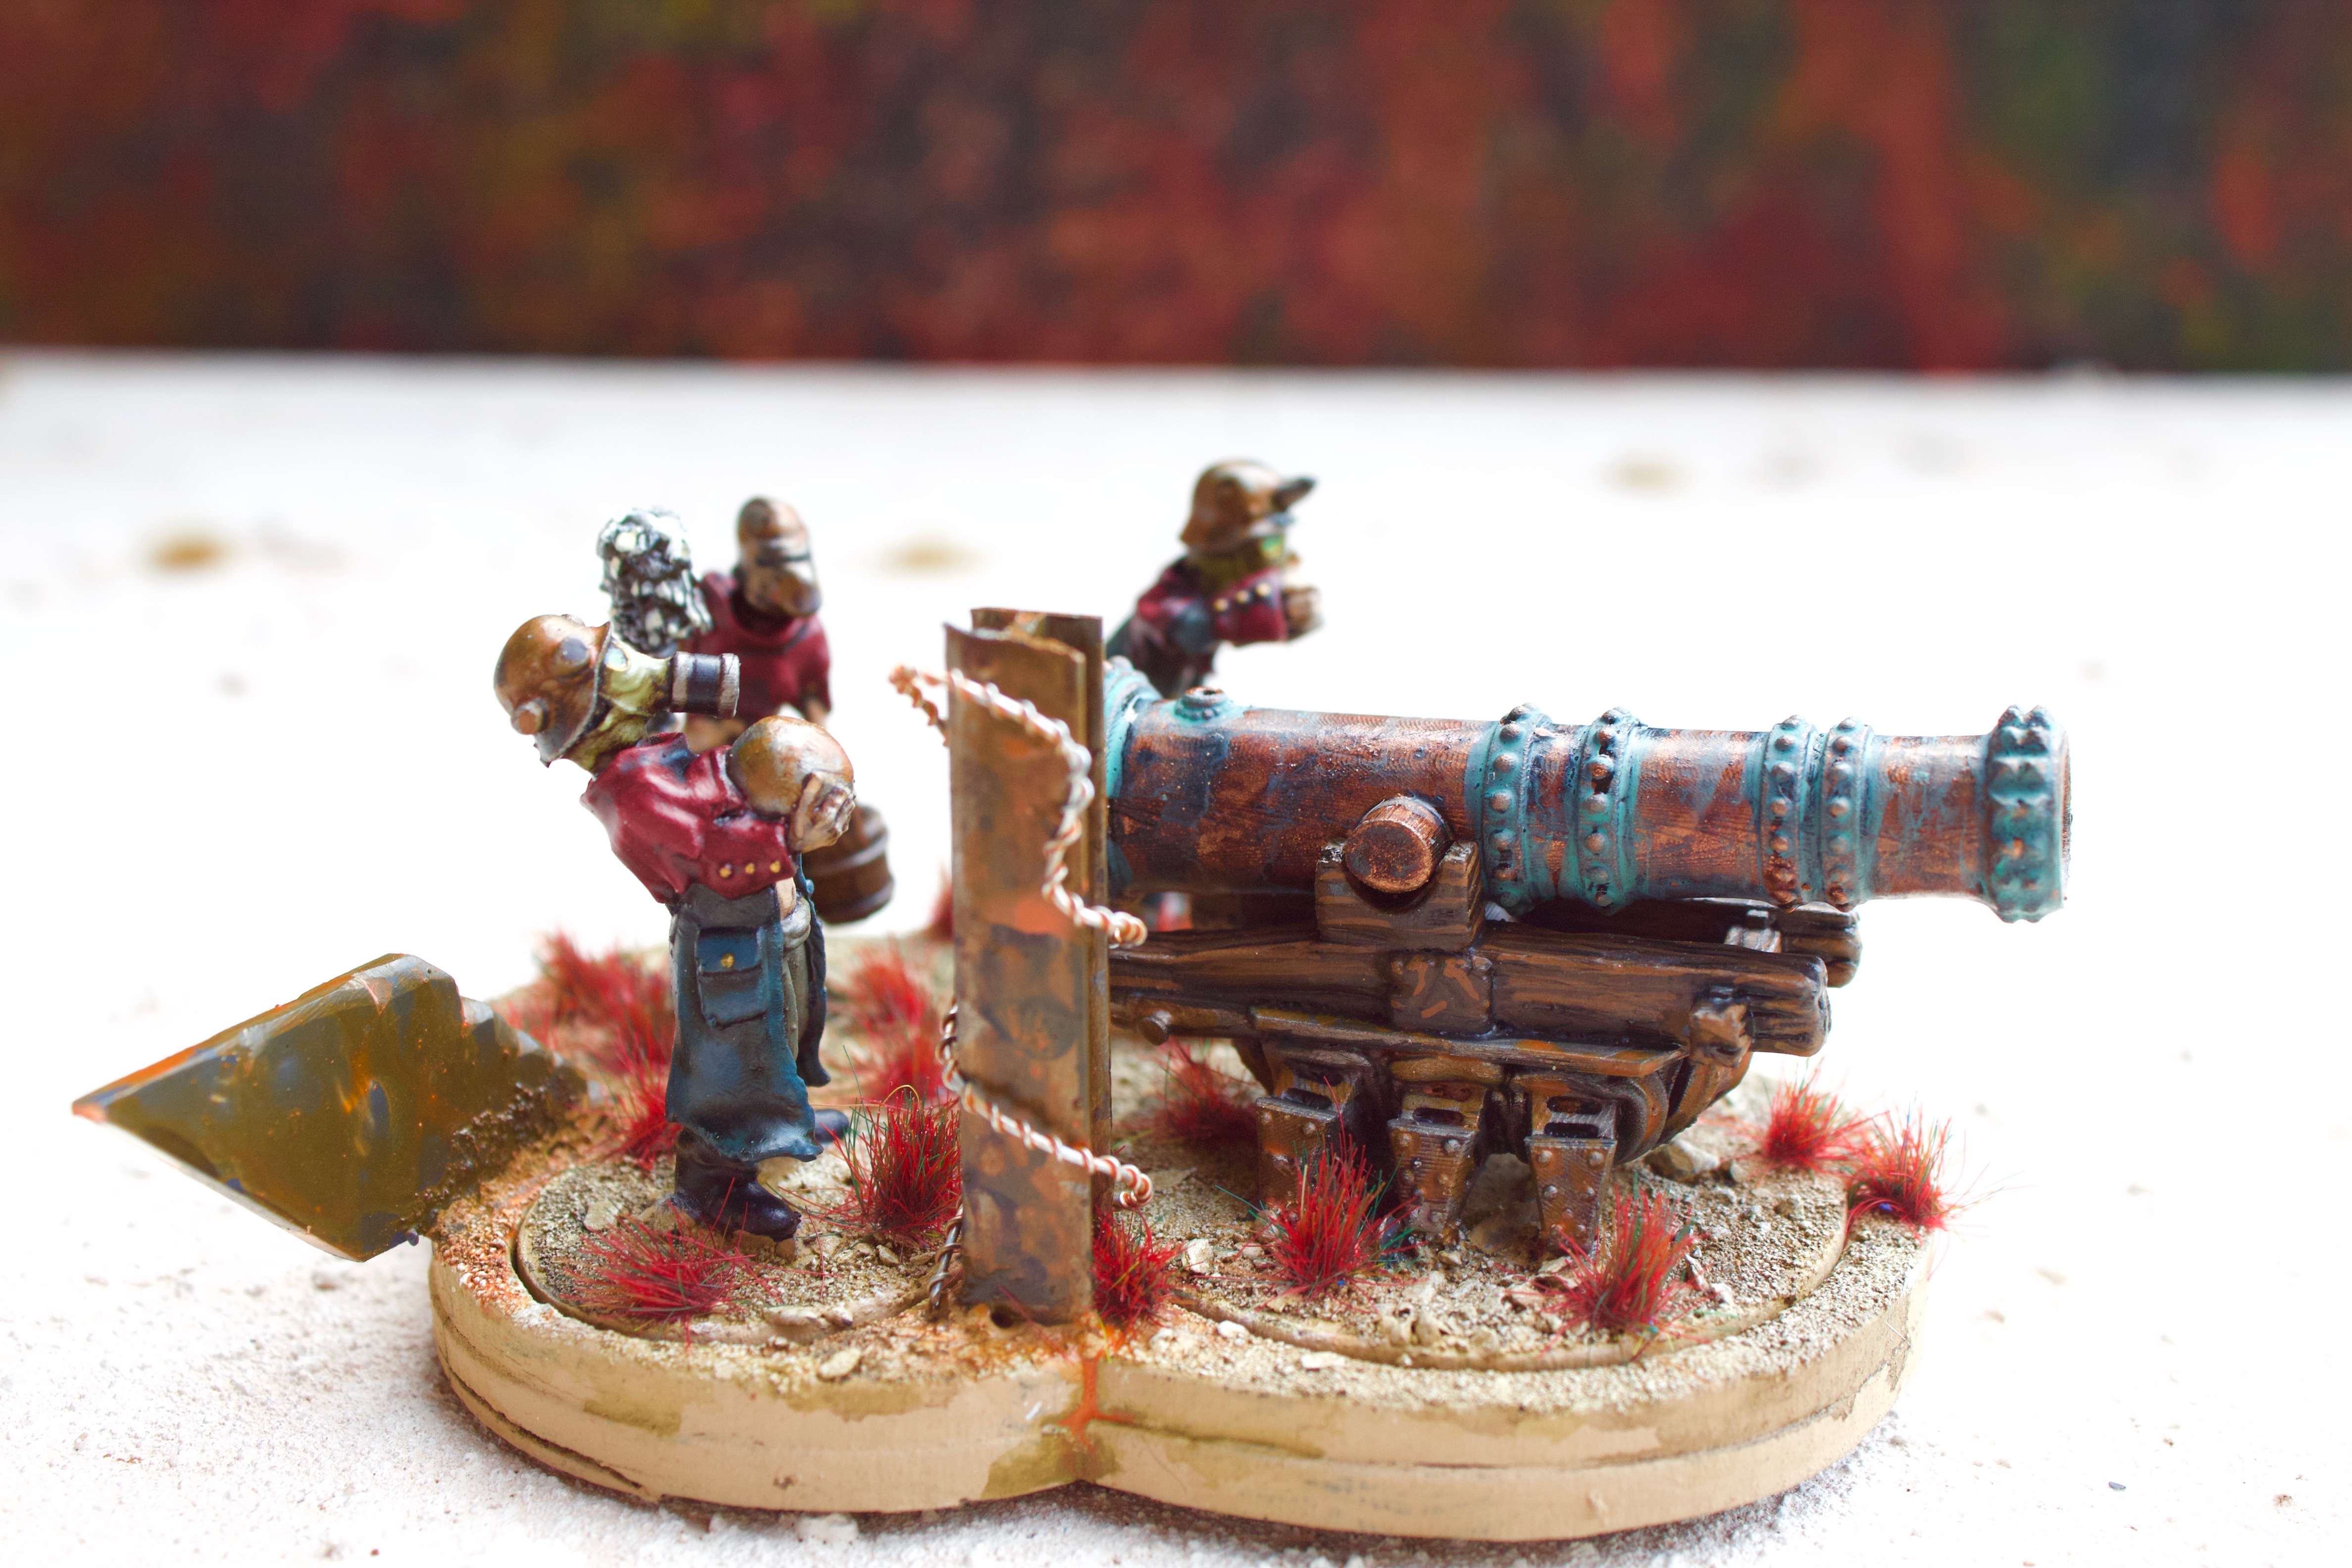
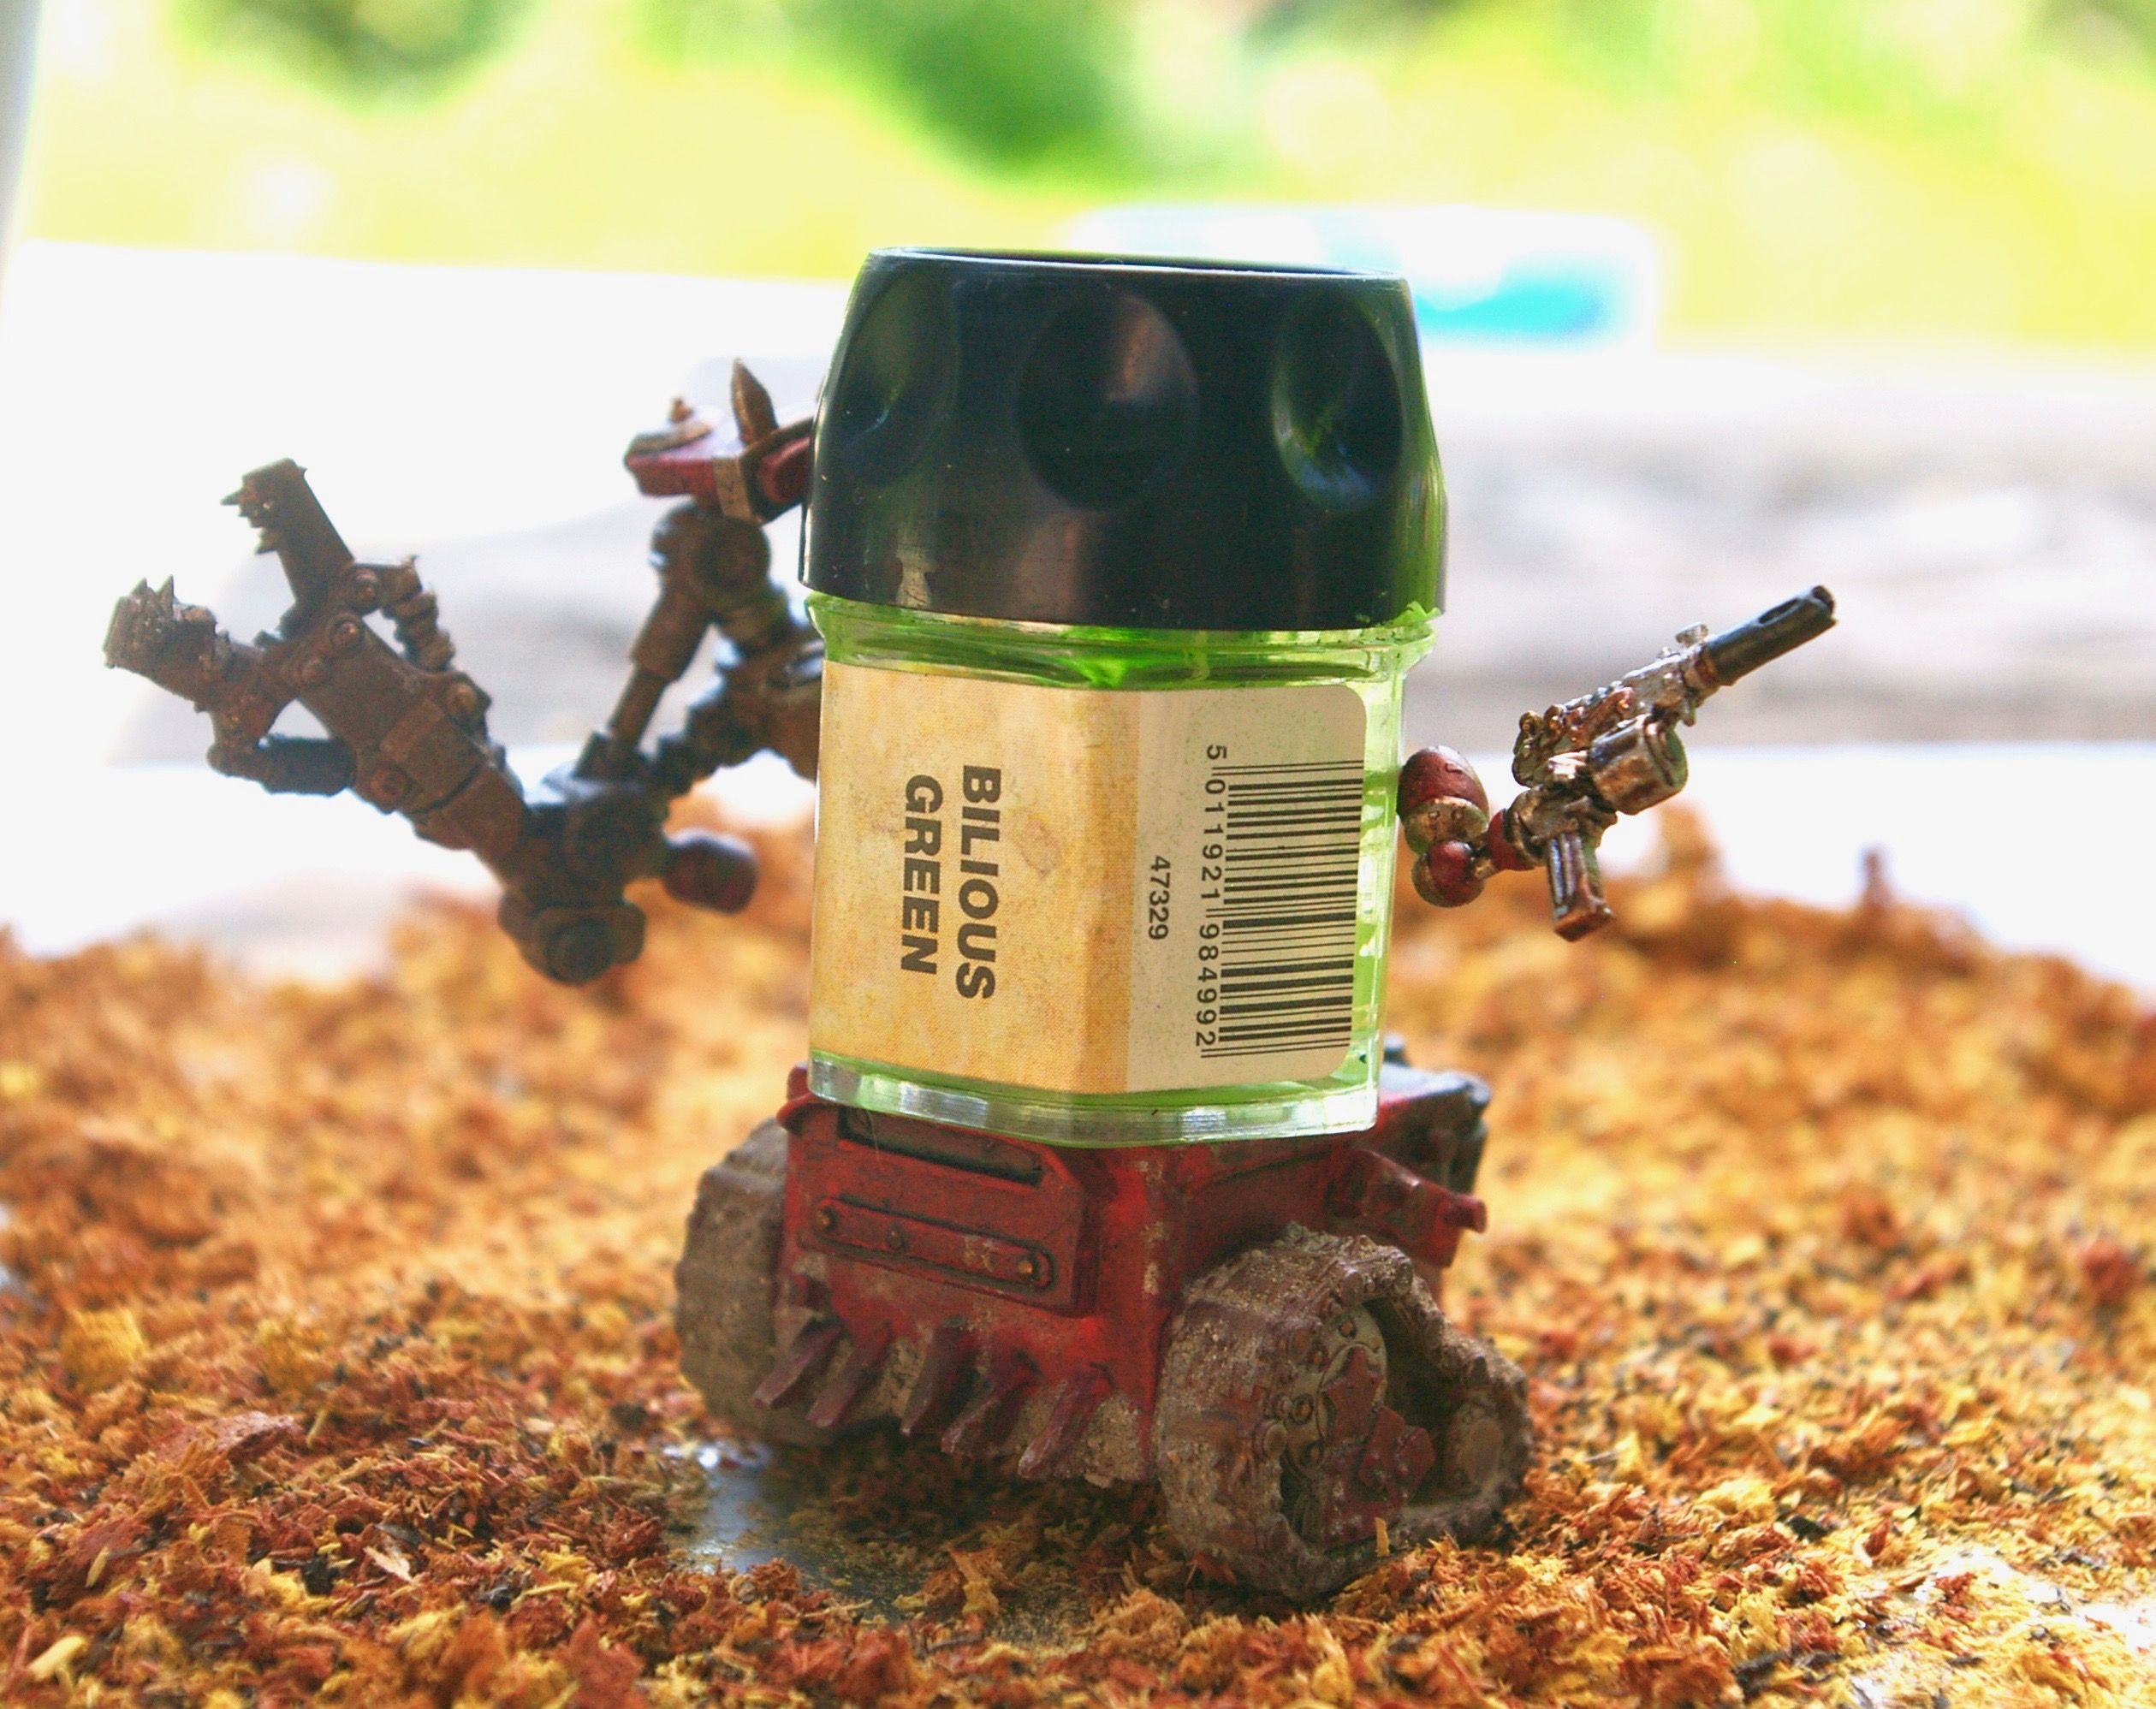
One big project I would like to attempt is to get an overview of my Lead Mountain. Just so I know exactly what I have. I think I will start with my Orks, figure out what I need and sell any surplus.
Maybe.