I have been painting, still not a joy, as yet. But plugging away and chipping away at the pile on my desk. I realised how much I had missed having a window to look out of. I moved my painting lights upstairs. Now printing off some paint racks to free up some desk space. Photos to follow when set up.
Now to a photo dump of work done.
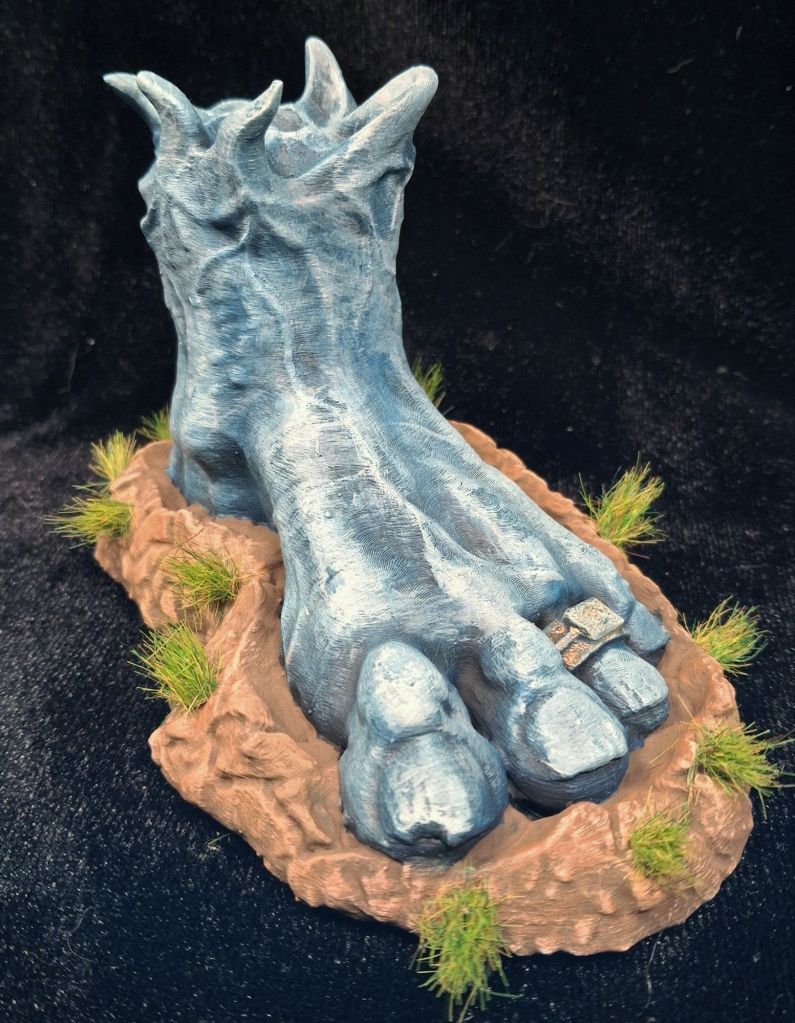
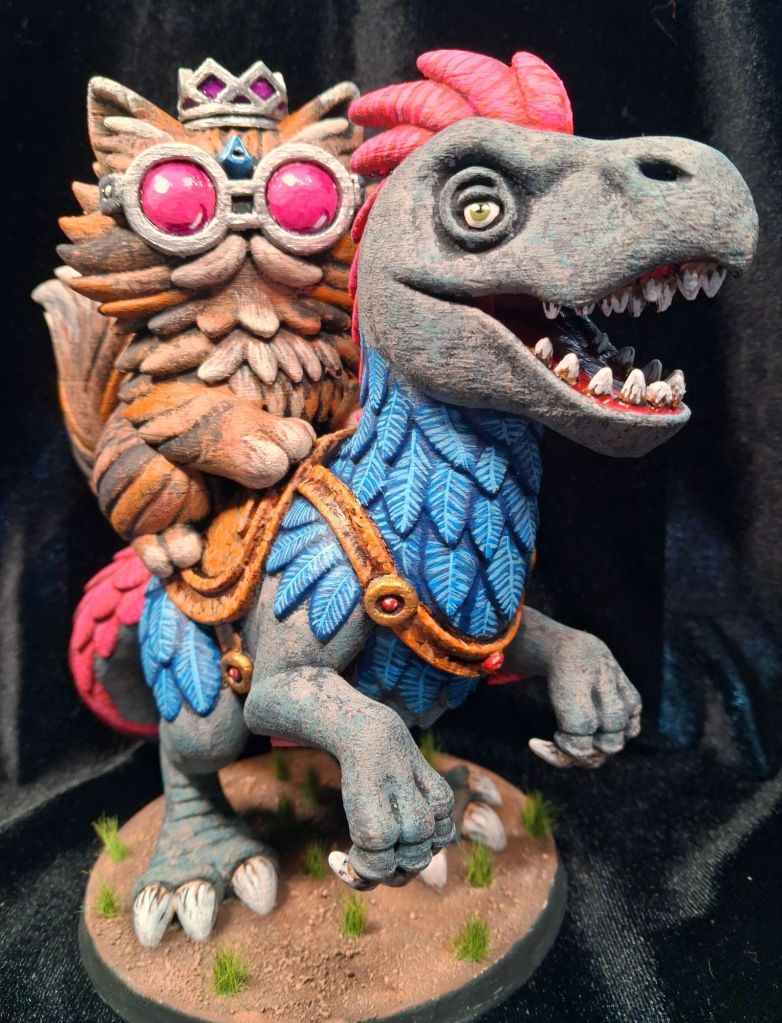
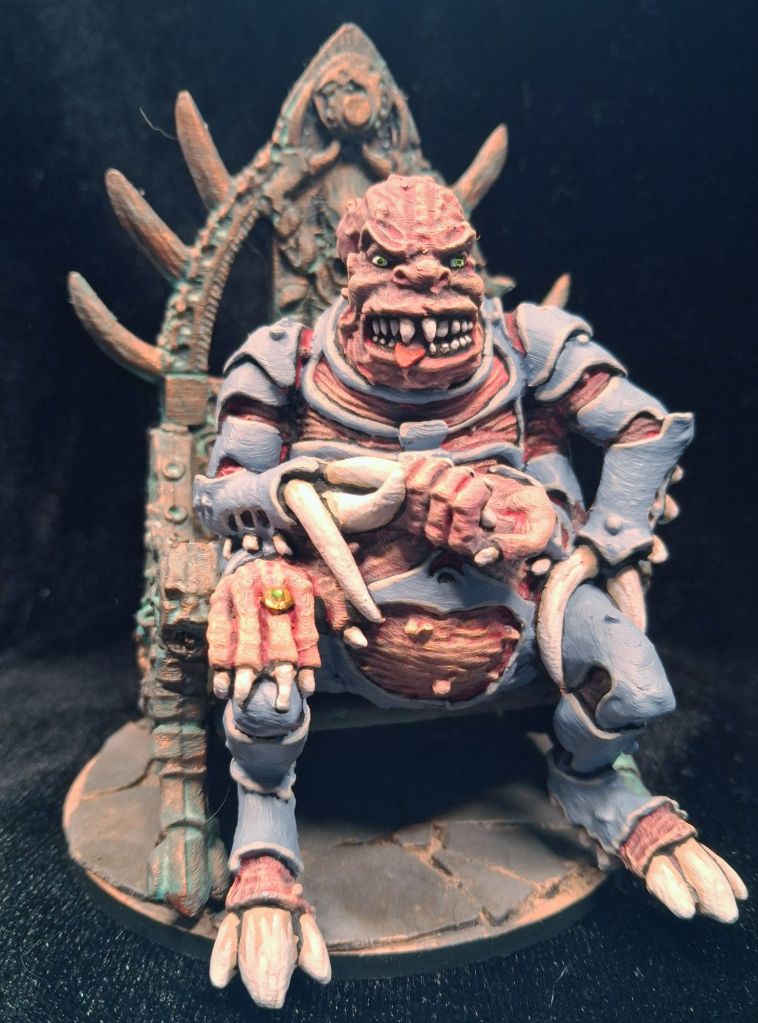
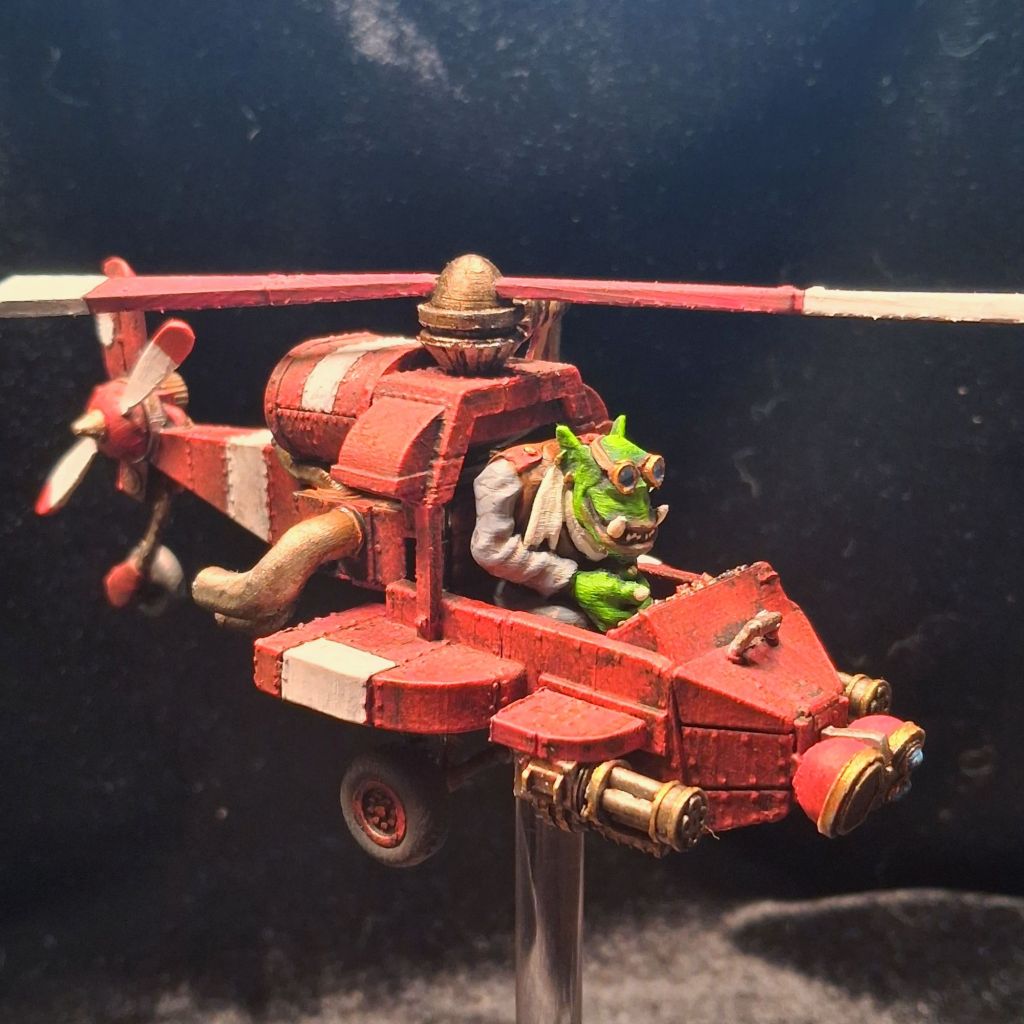
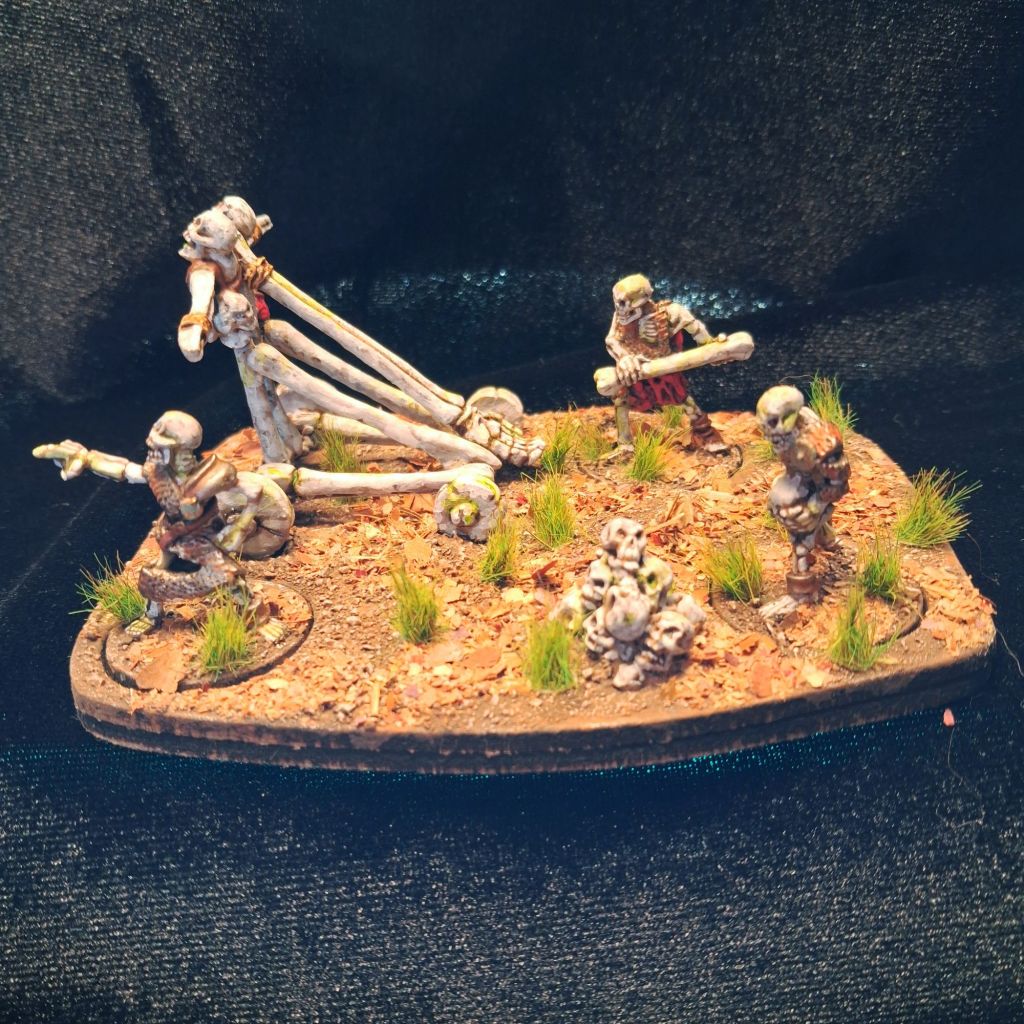
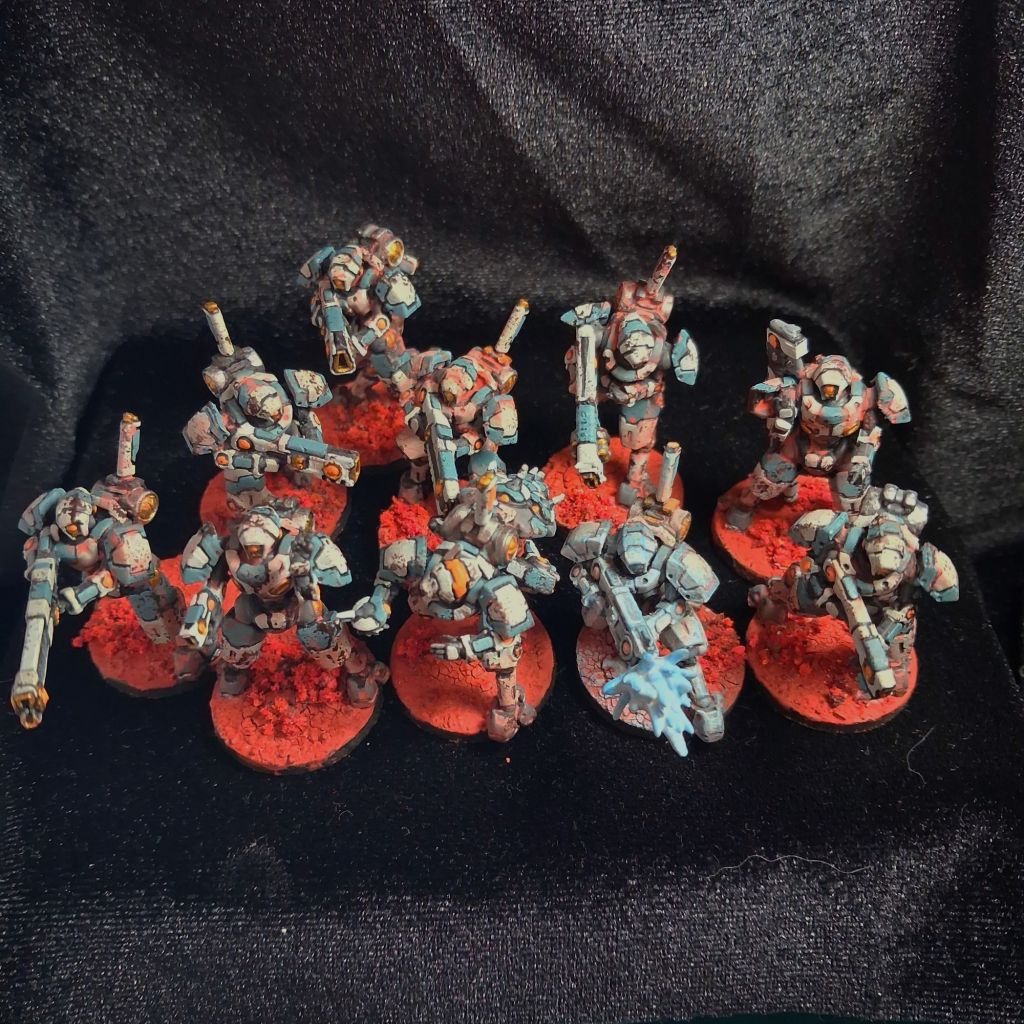
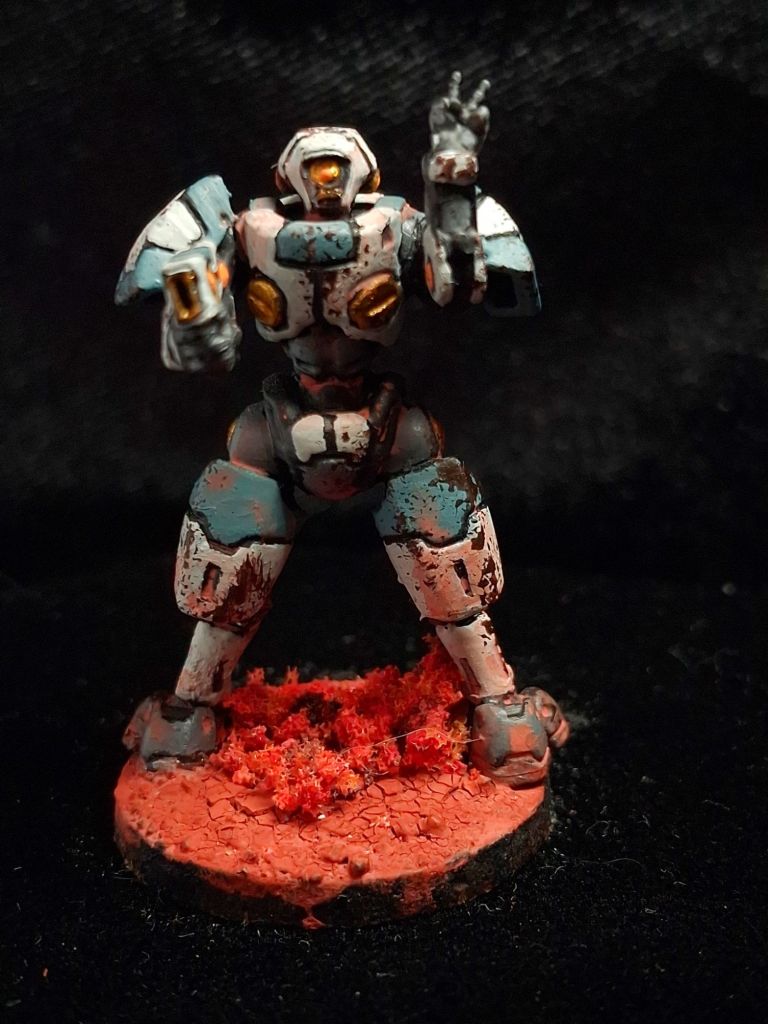
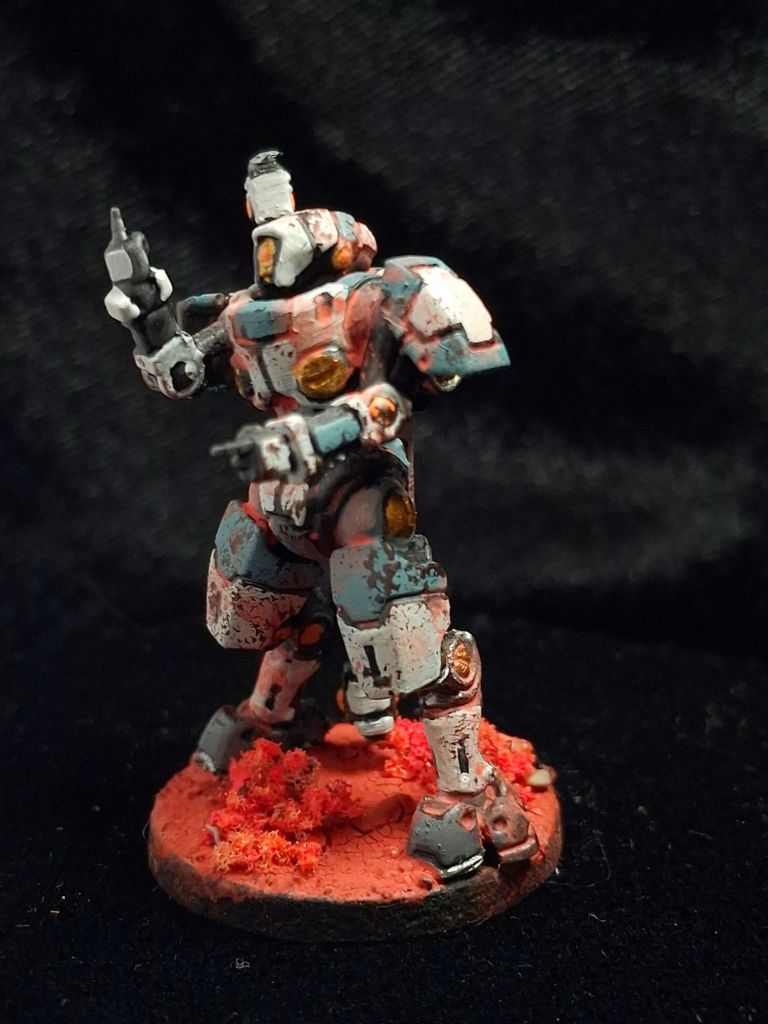
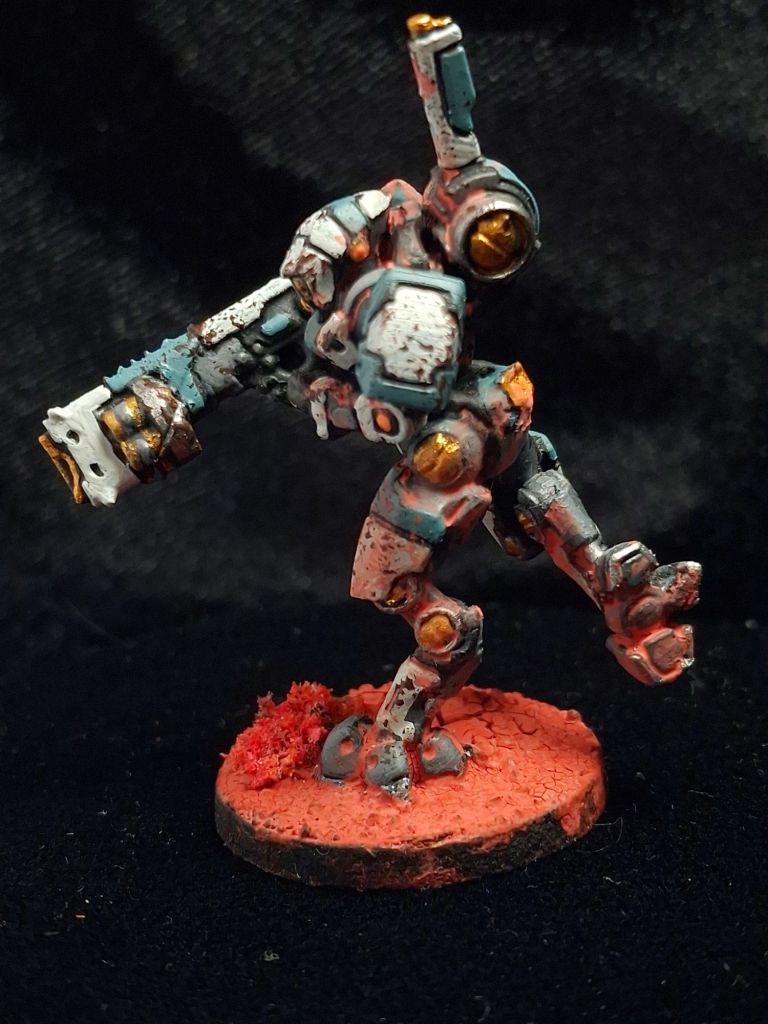
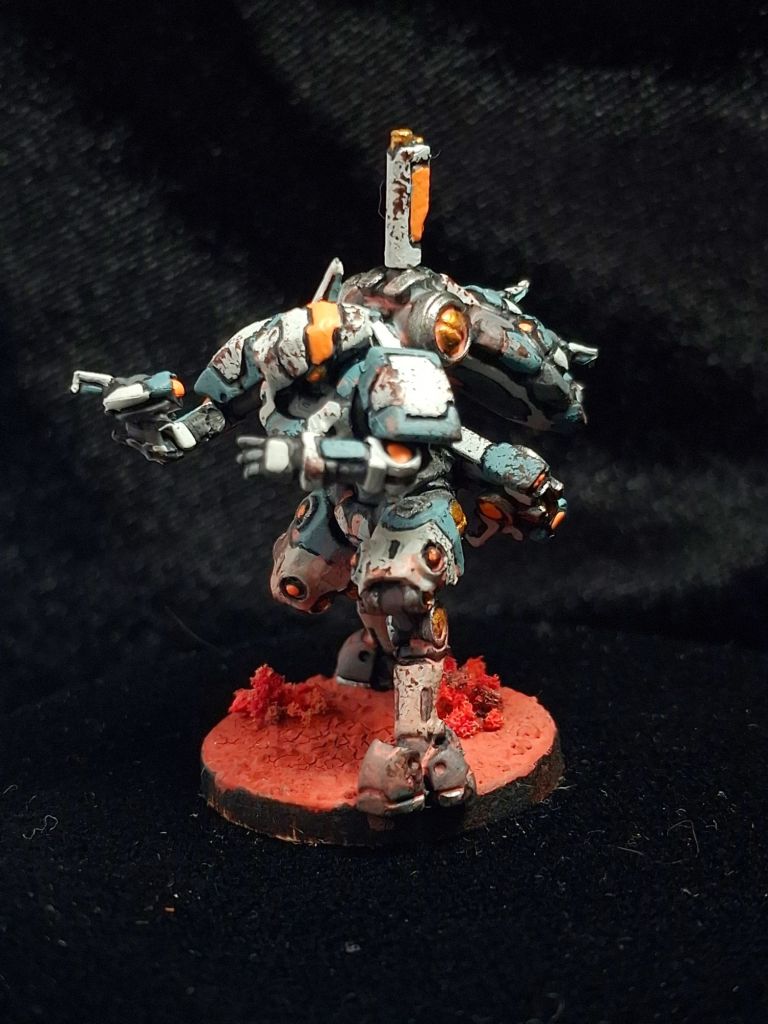
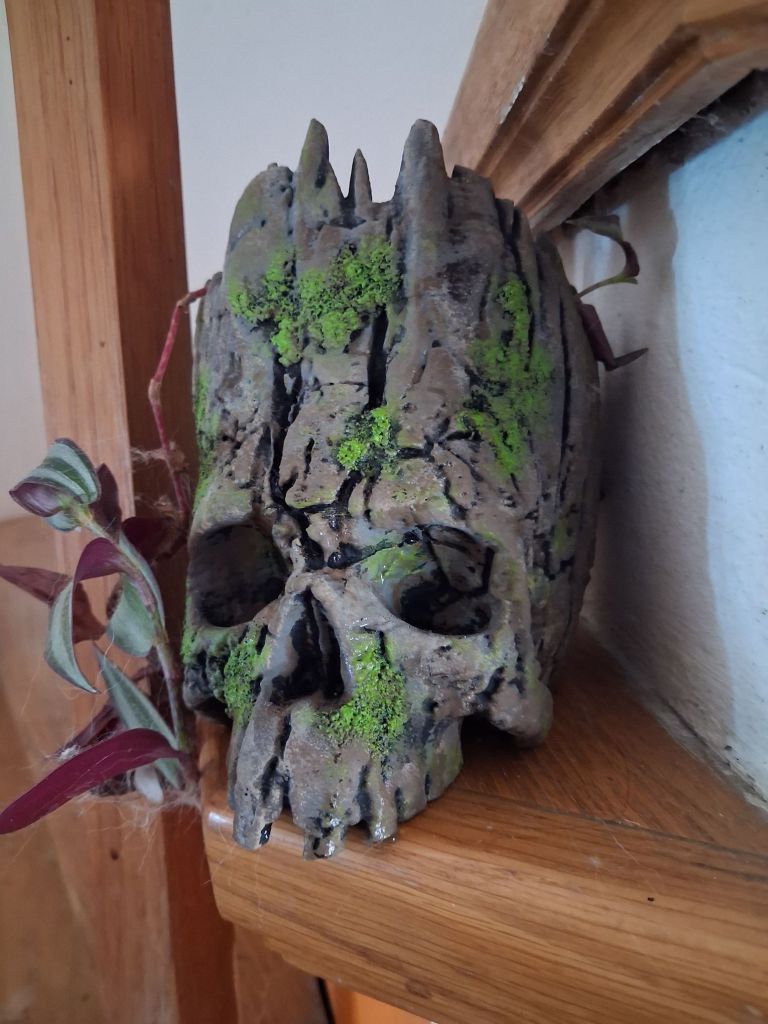
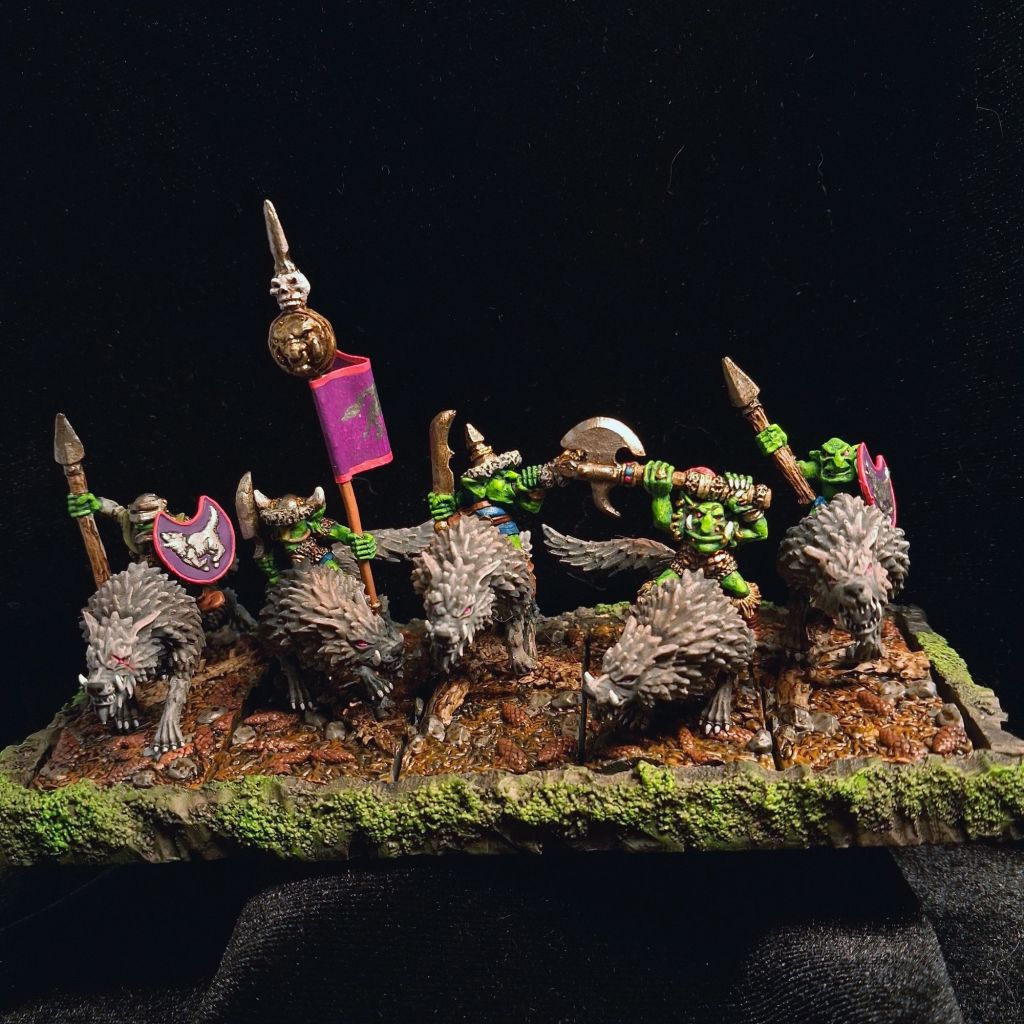
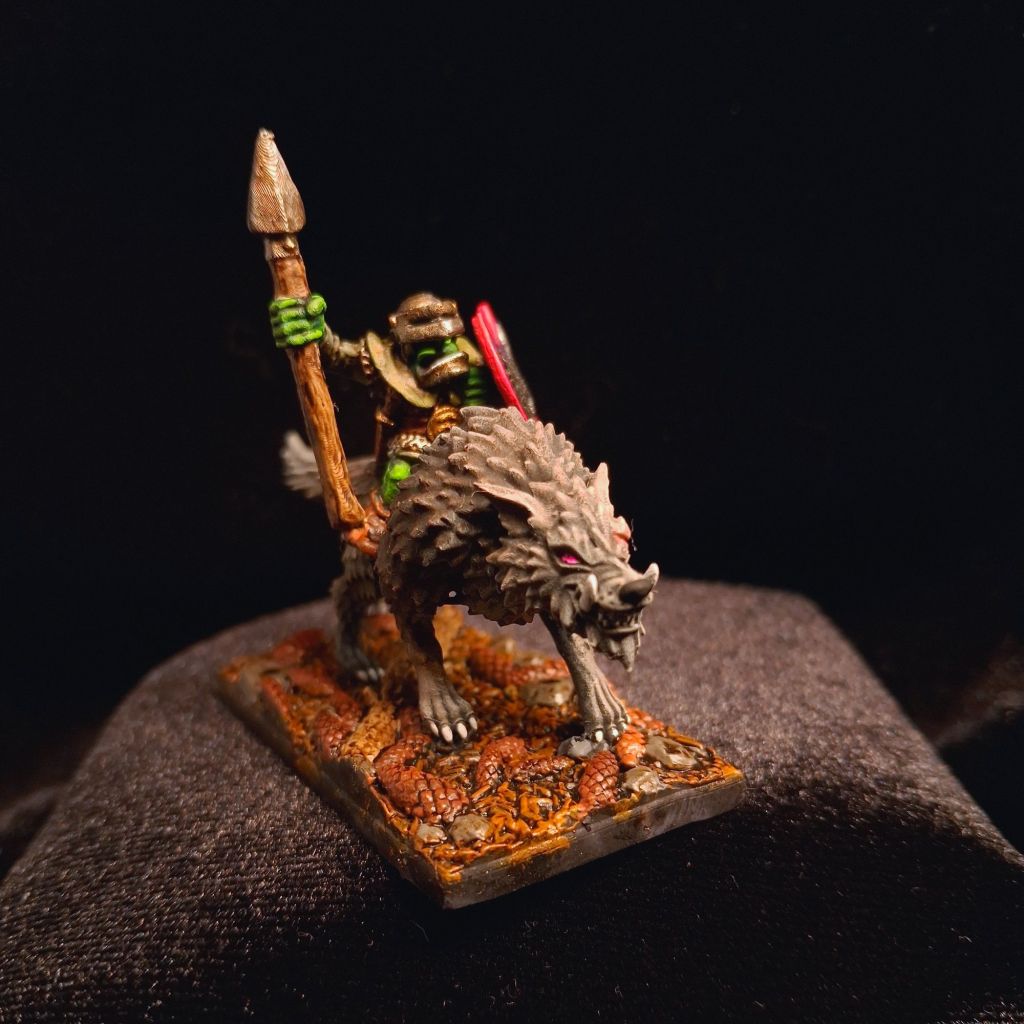
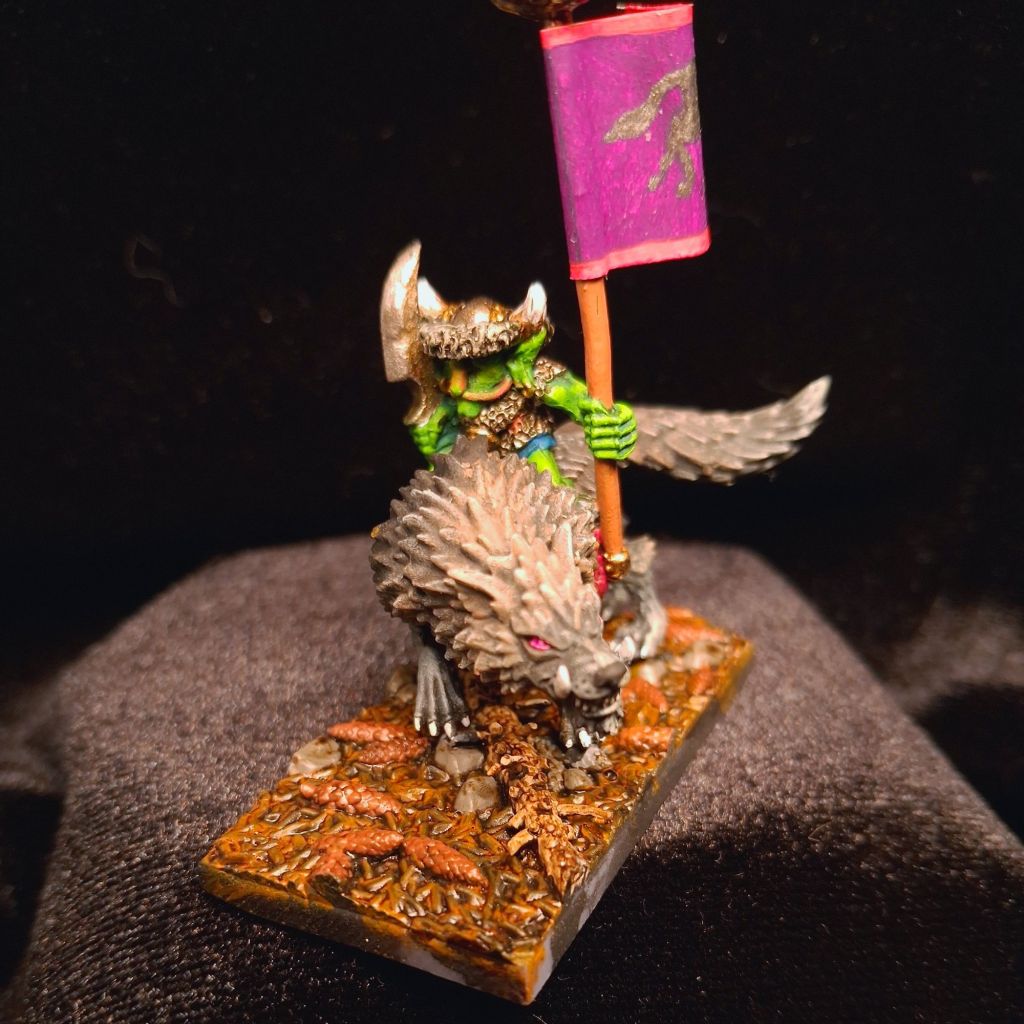
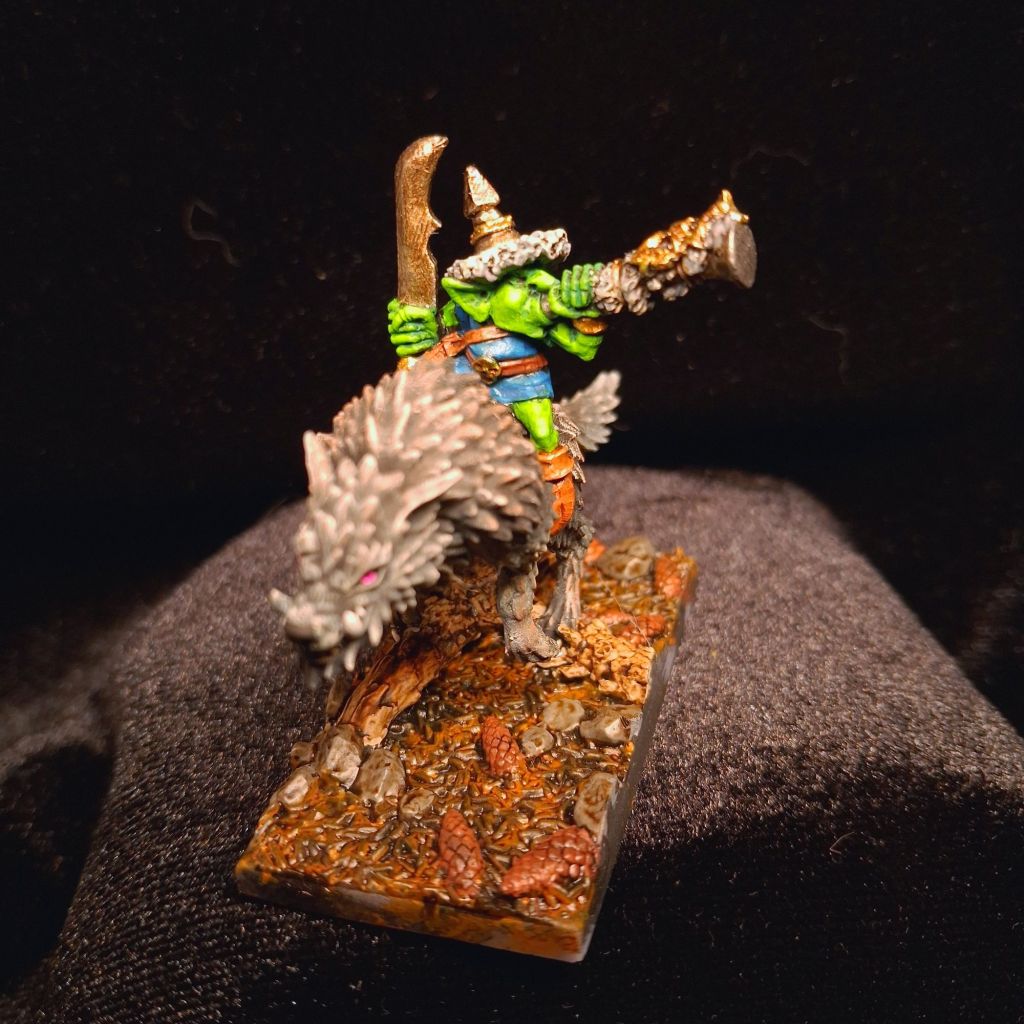
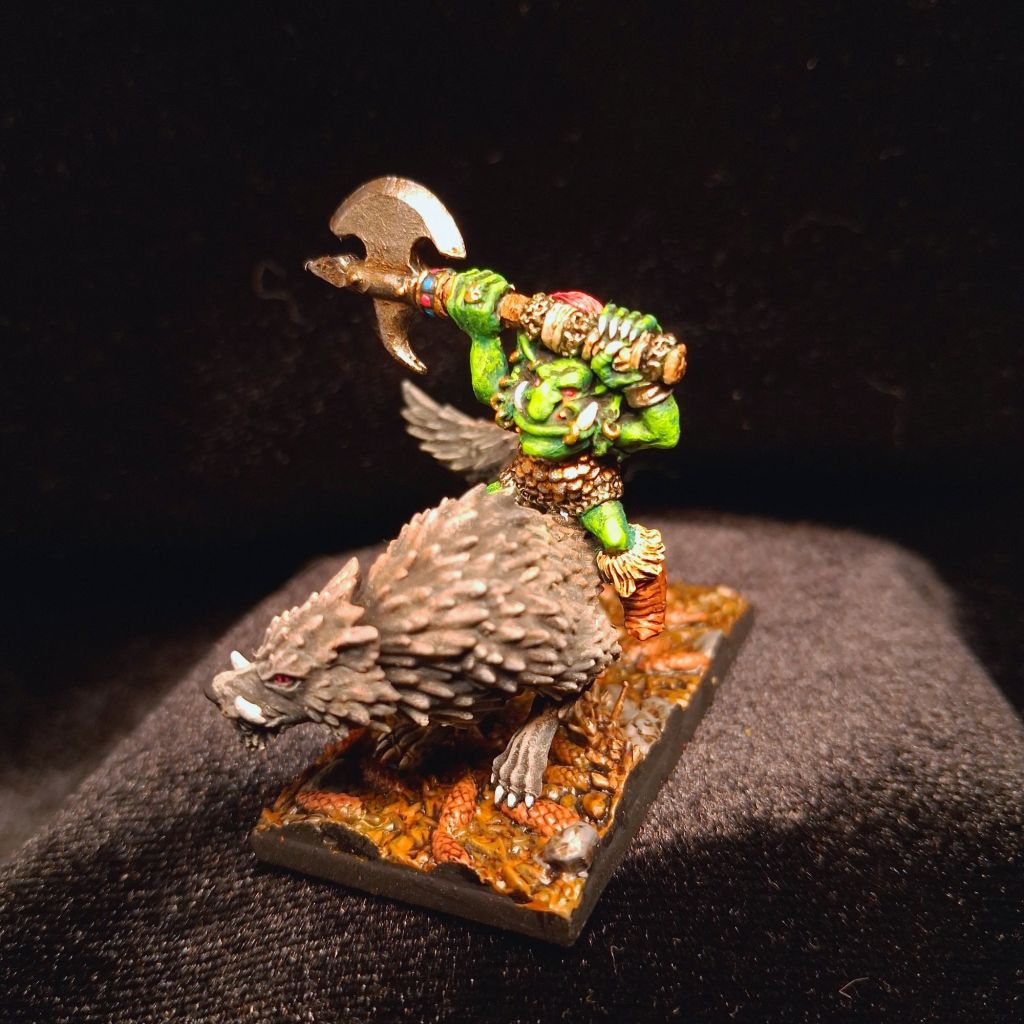
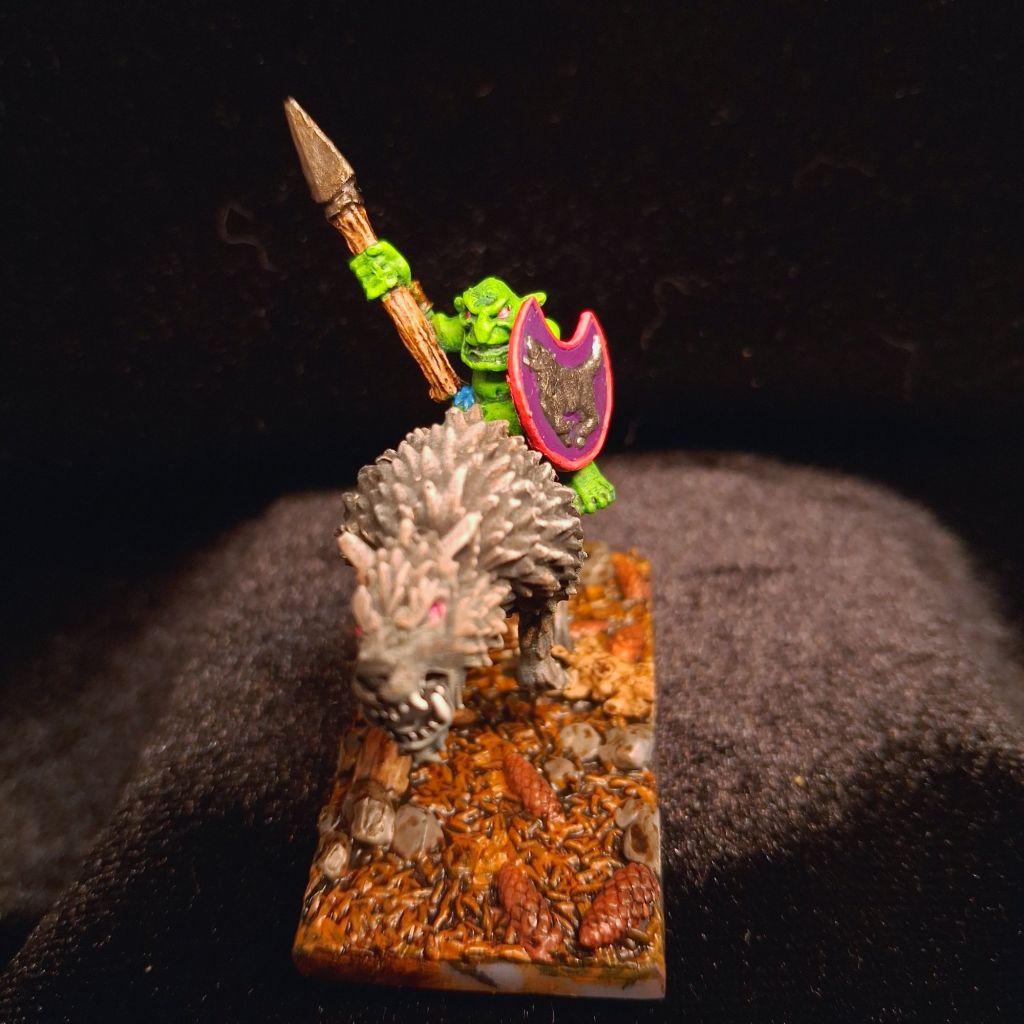
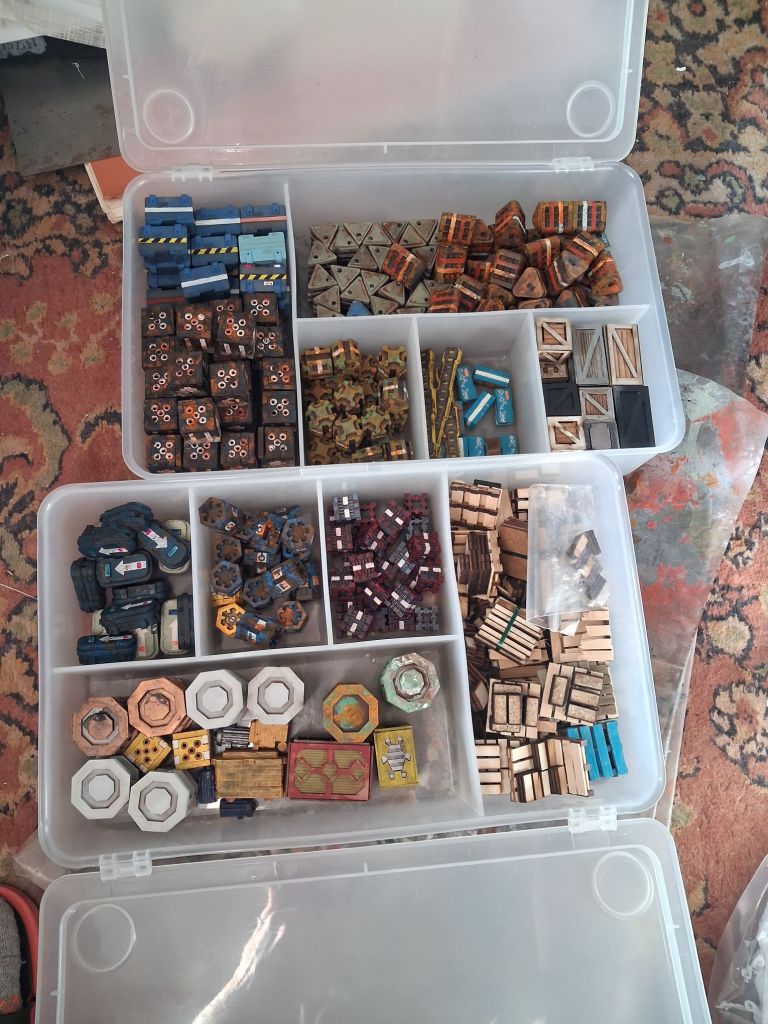
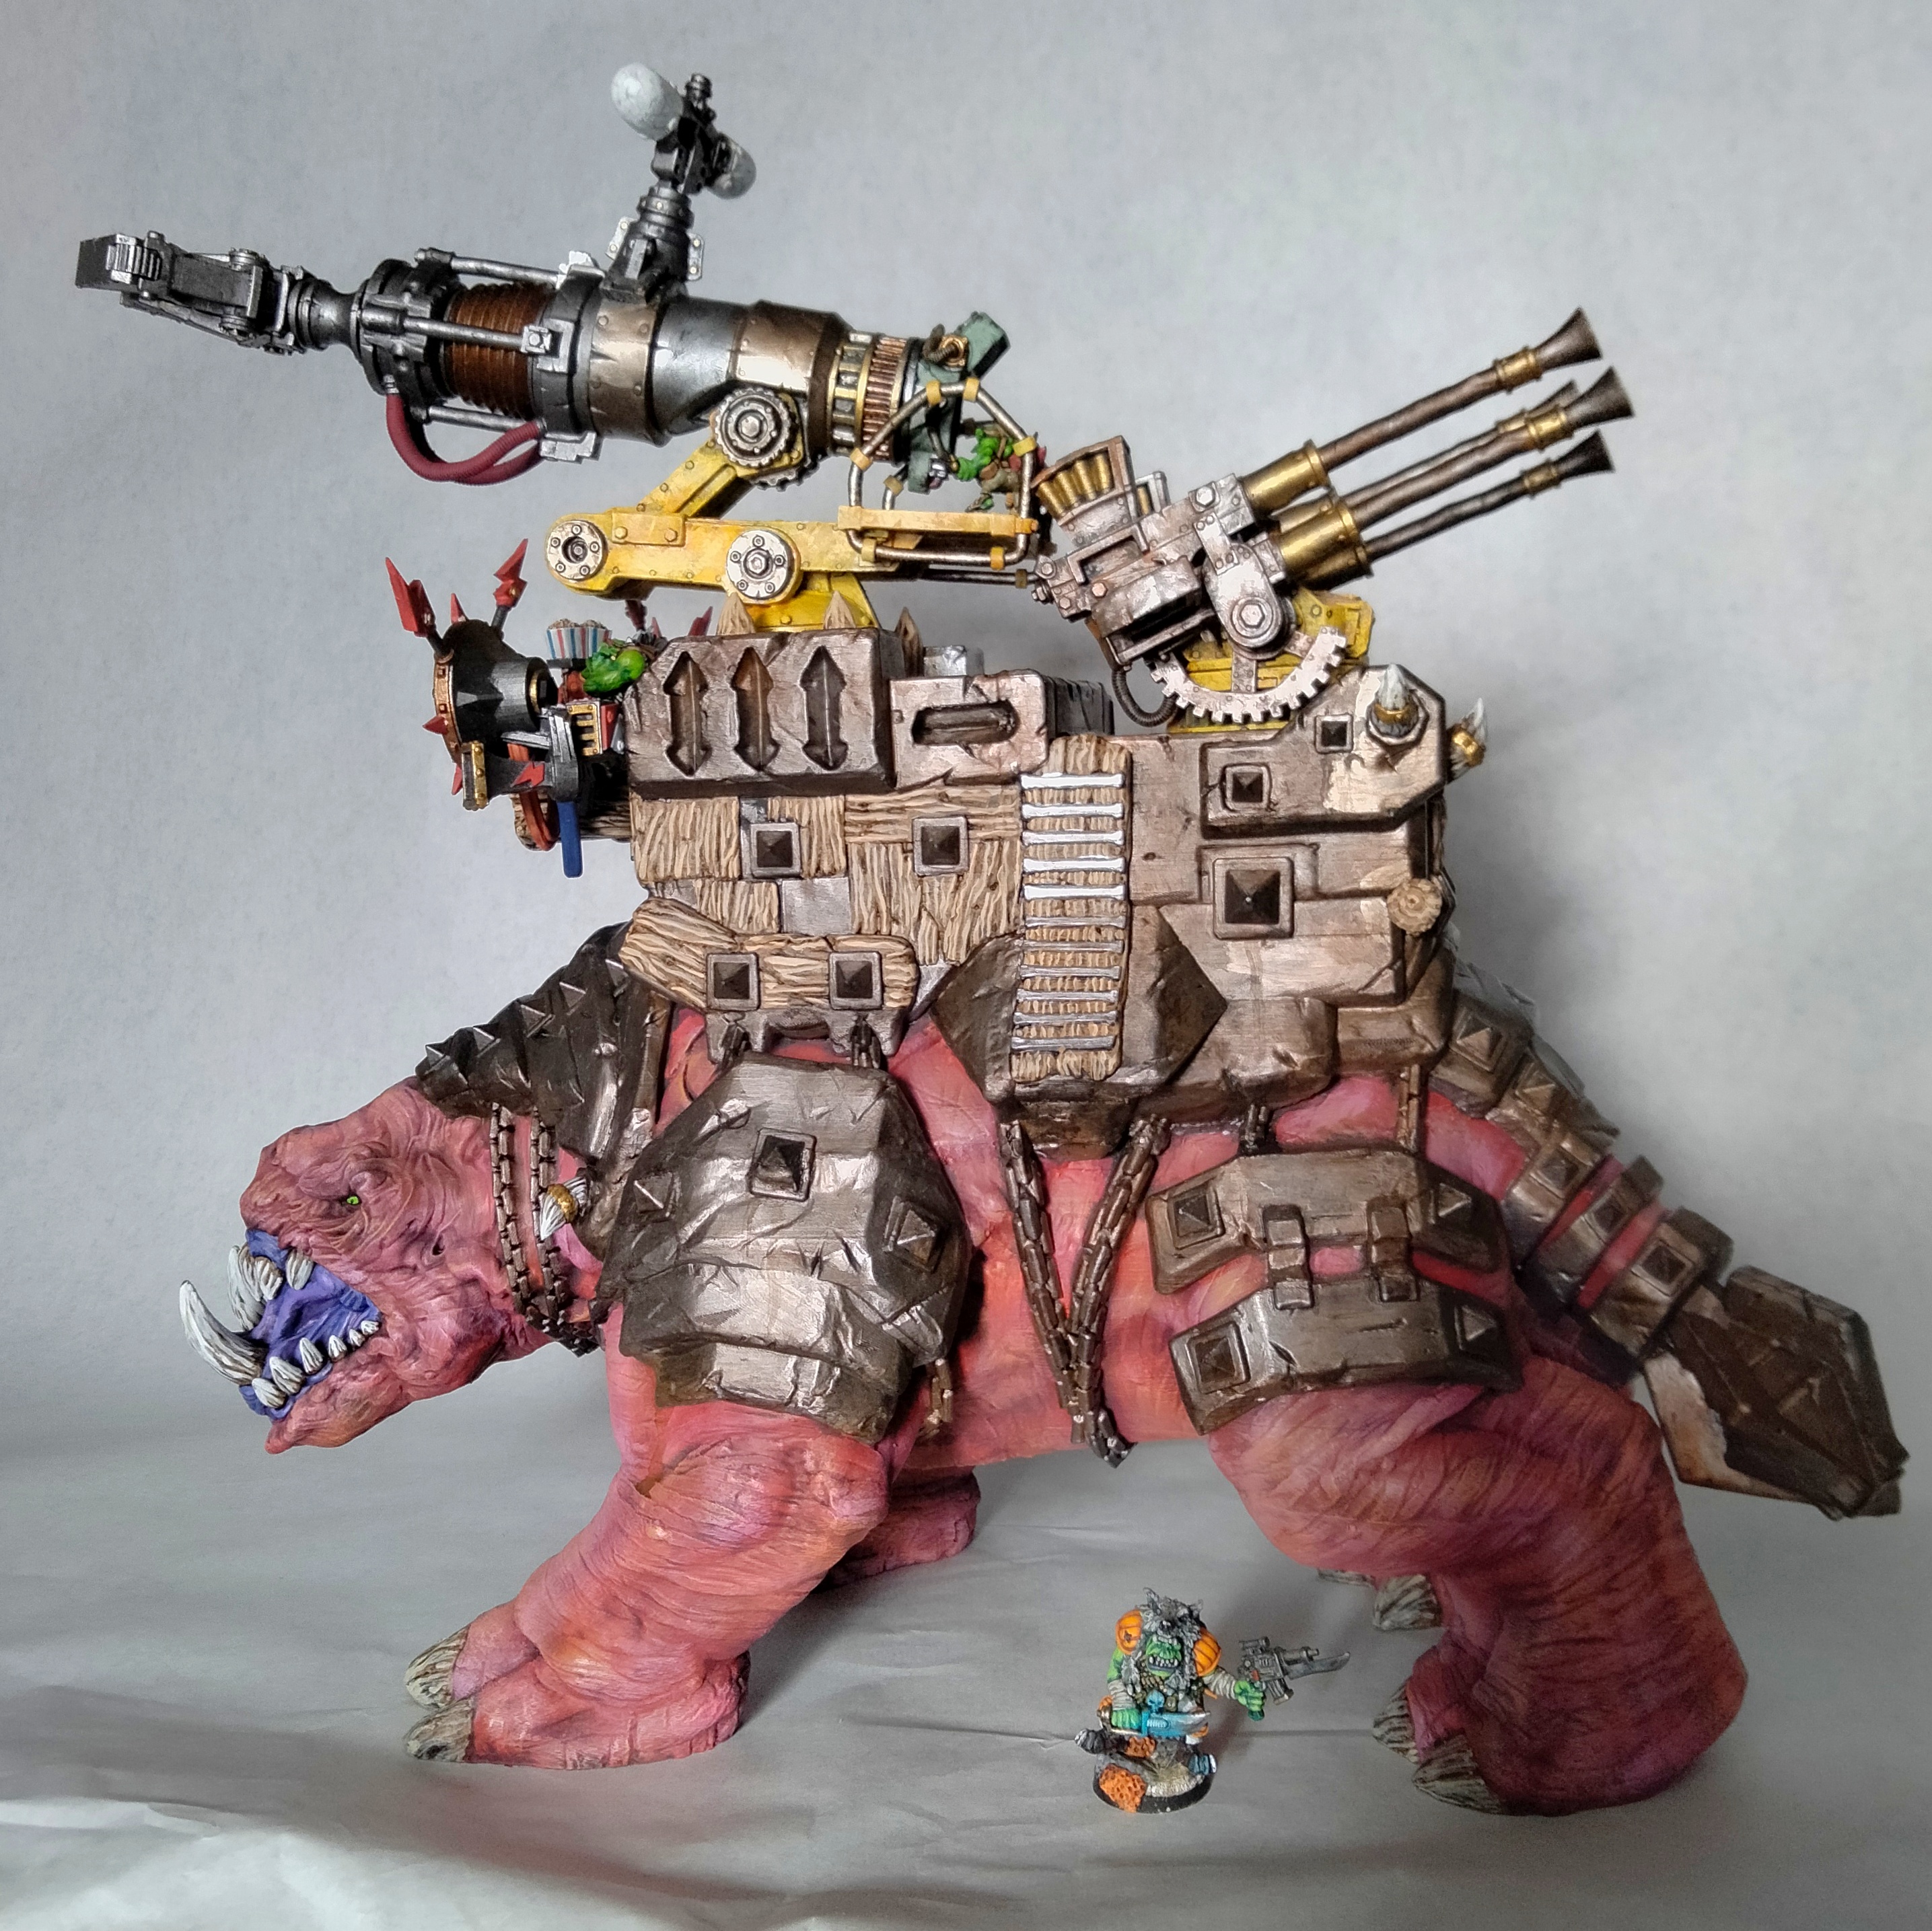
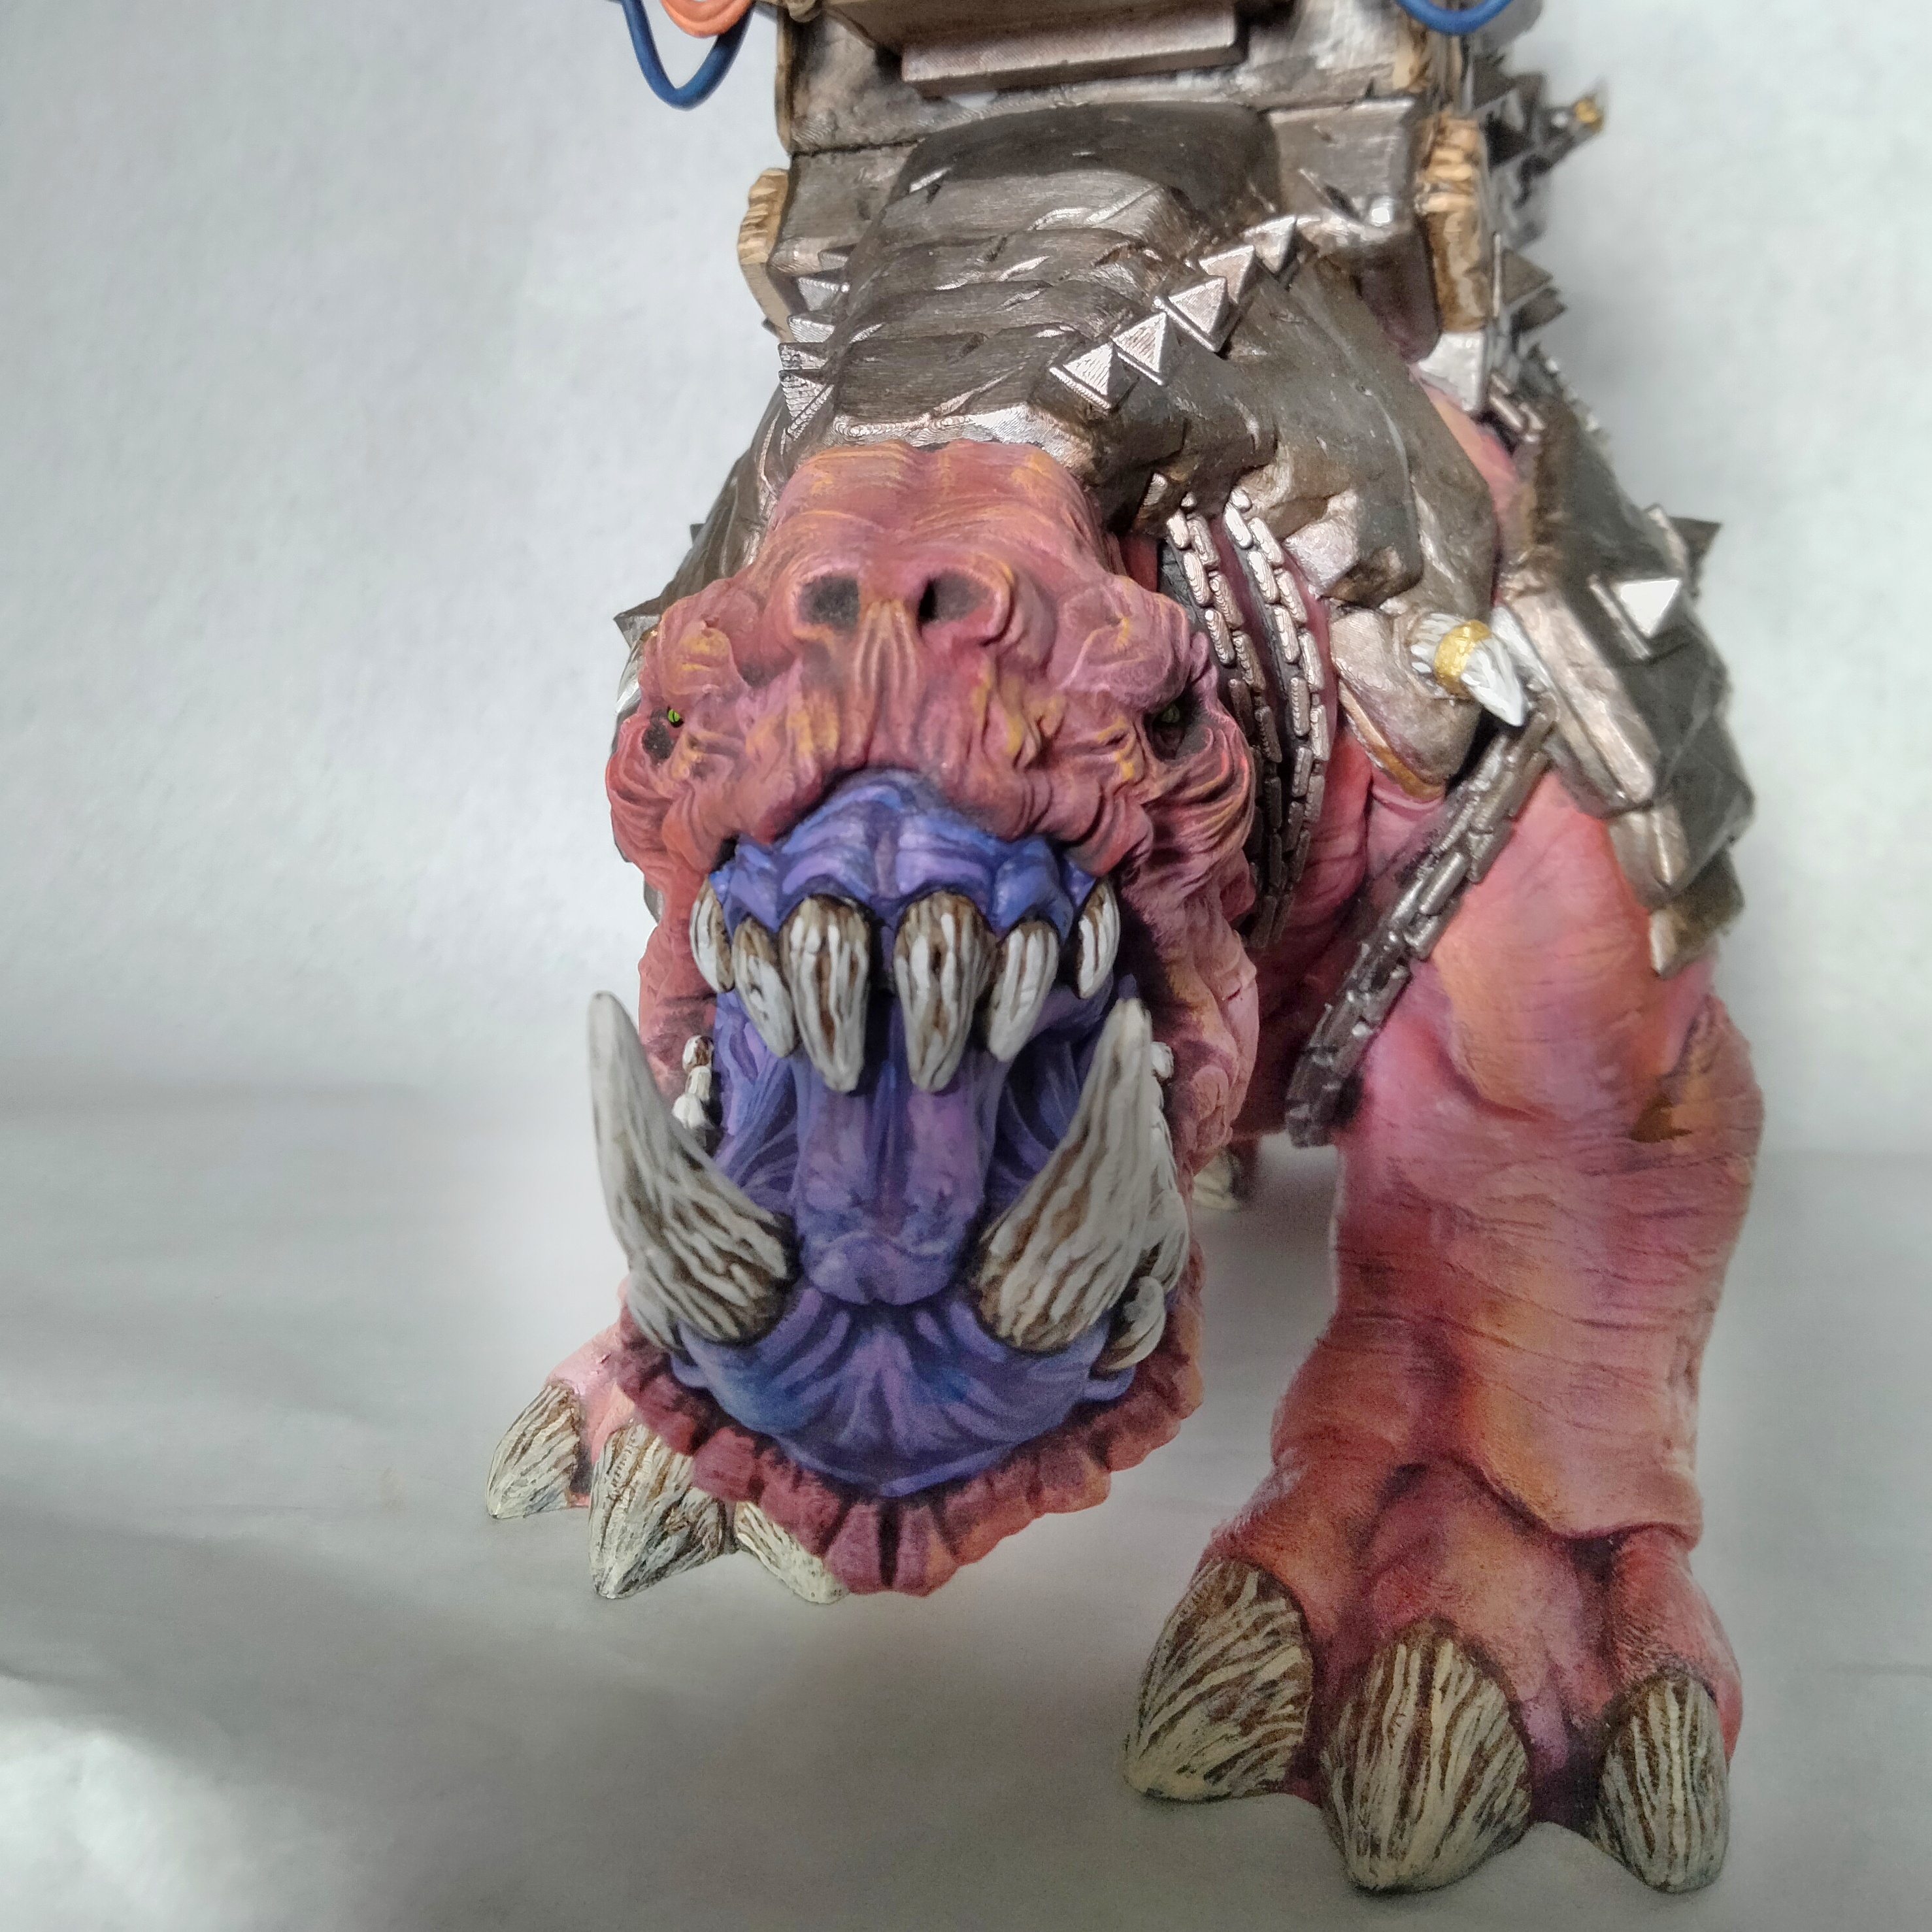
Foot of GorkPrincess Donut on Mongo I have been listening to Dungeon Crawler Carl.Genestealer PatriarchDeth KoptaSkull Chucker based for Dragon Rampant Tau proxy Pathfinders from #PipermakesFlowerpotWulfridersMdf containersSet dressing
That’s it for now.
The Sun has started making an appearance and it’s now warm enough to sit outside.
I got my Ender 3 in 2016 and although it has produced satisfactory results it needed constant tinkering and I had to deal with bed levelling and clogs.
My Neighbours asked me what I wanted for my Birthday and Christmas. I had been looking at a lot of YouTube videos and they were all pointing me towards the BambuLabs A1. And with Black Friday it was too good a deal to pass up.
All I can say is, believe the hype.
It is easy to set up and the print results are amazing. With the 0.2 hotend and highest print quality you are looking at a near resin quality. And if you apply the Three Foot Rule you would never know.
For very fine details resin is King. But dealing with the clean-up and the toxic waste is a right pain.
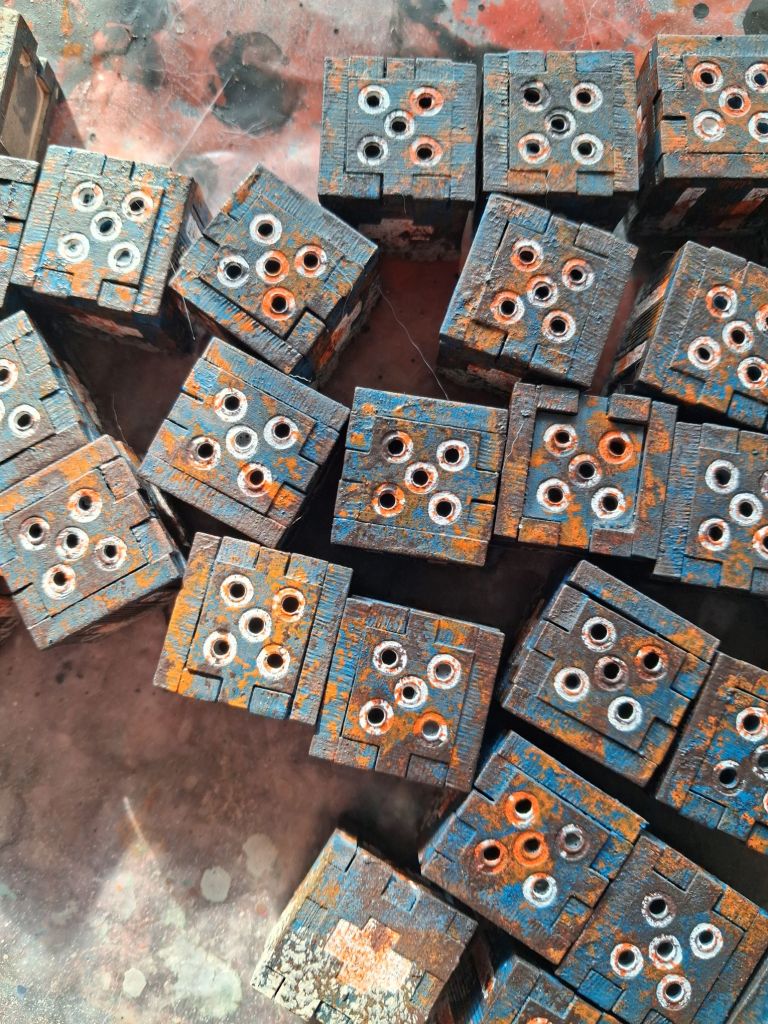
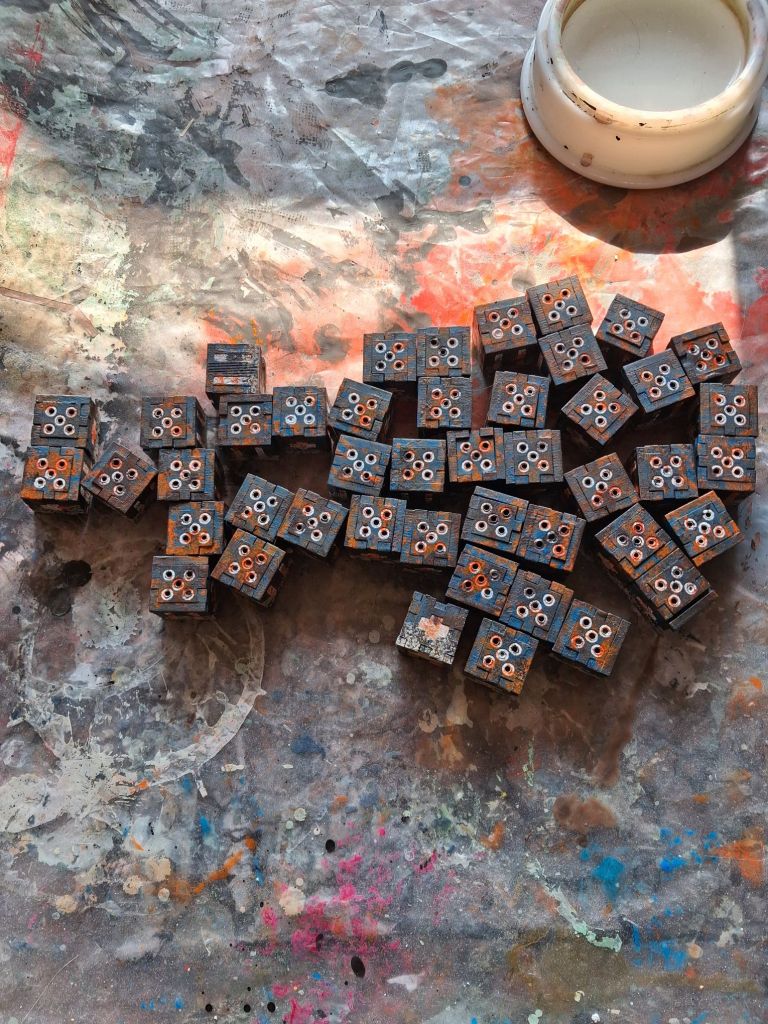
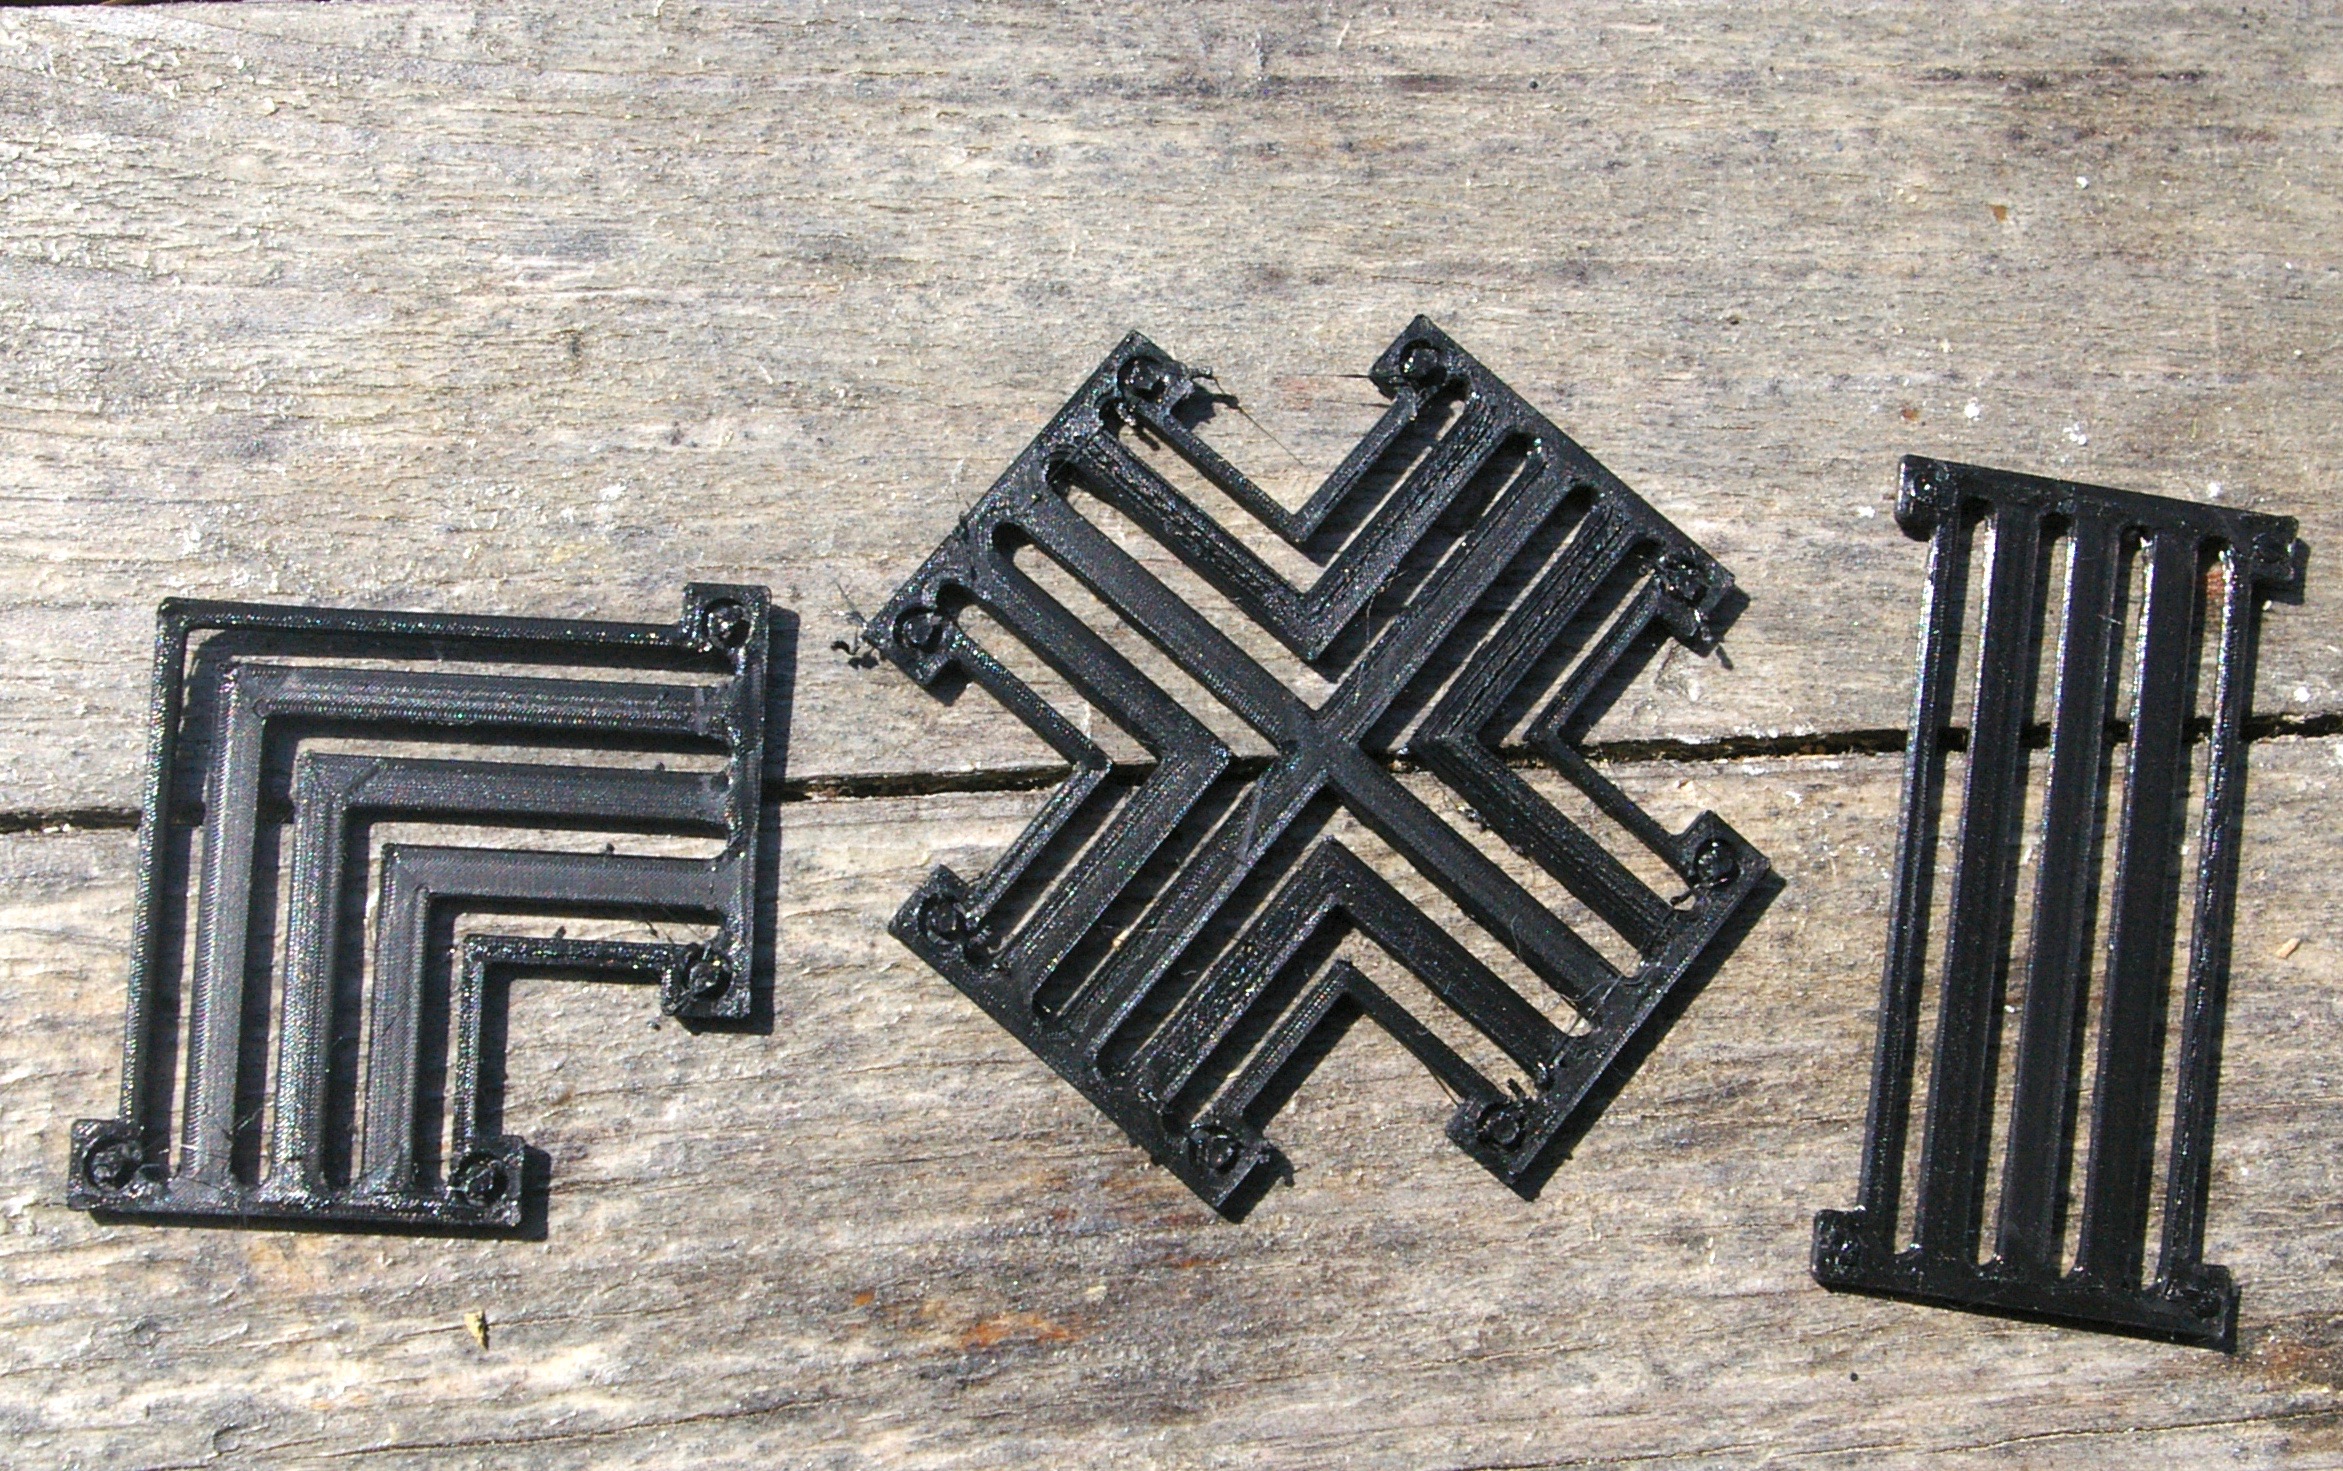
Work on Weasel Town has been plodding along slowly and now that the nice weather has started I can work outside. Originally the floor ducking (correct word?) was laser cut card but since I no longer have access to a good laser machine I have started 3D printing them. Work had stalled because of a lack of them. The home laser I have lack power because it is a cheap Chinese tube and it’s life has expired. My Blender skills and confidence have improved a tiny bit so I used it to created the ducking which I then printed out on my Ender 3.
One regret is that I didn’t look at my original card tiles as they are slightly more elegant. Mind you once they are coated in mud and grime and observed from three feet away I don’t thing anyone will be criticising the design aesthetic.
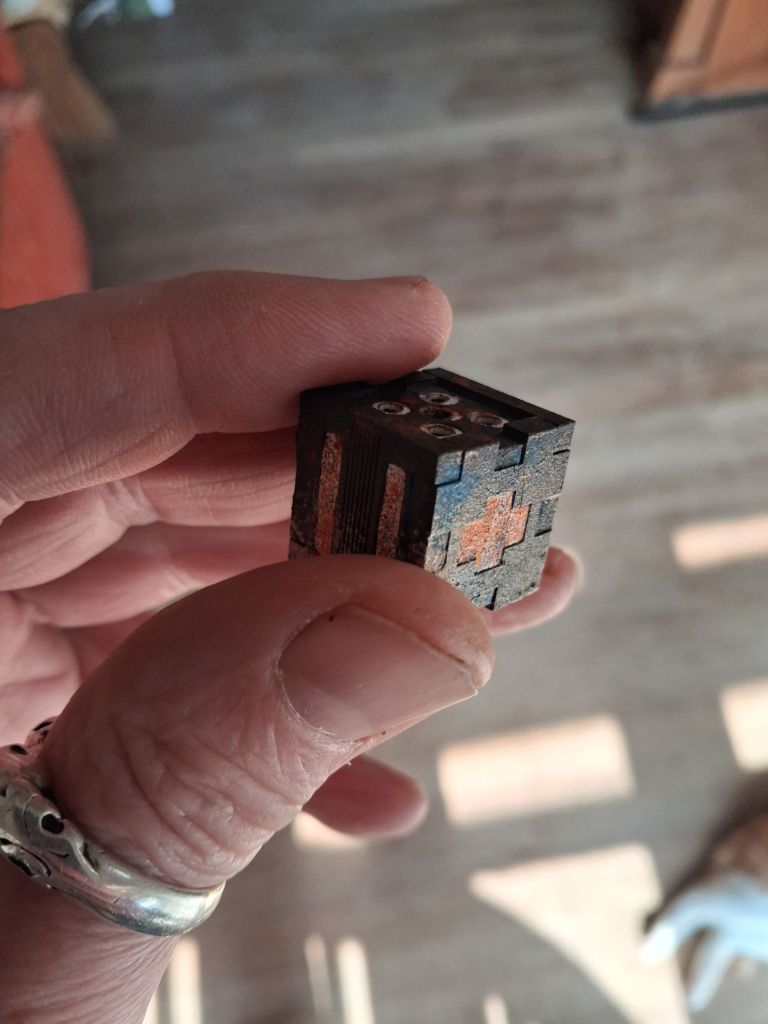
I had started designing modular tiles as way to to have a flexible tabletop. One lesson I have learnt, is to to be consistent. That way I could have integrated my ruined desert city tiles with the trench system. Possibly the way to go is to make a series of risers so the tile heights match up.
The reason I had started going modular was because of this Kickstarter.
However by the time I actually get the book I probably will have moved on to something else, rendering it redundant.
Anyway, grumbling aside, The author Michael Martin has a Youtube channel. TWS Tabletop Workshop. One of the videos was about making a diy crackle paste.
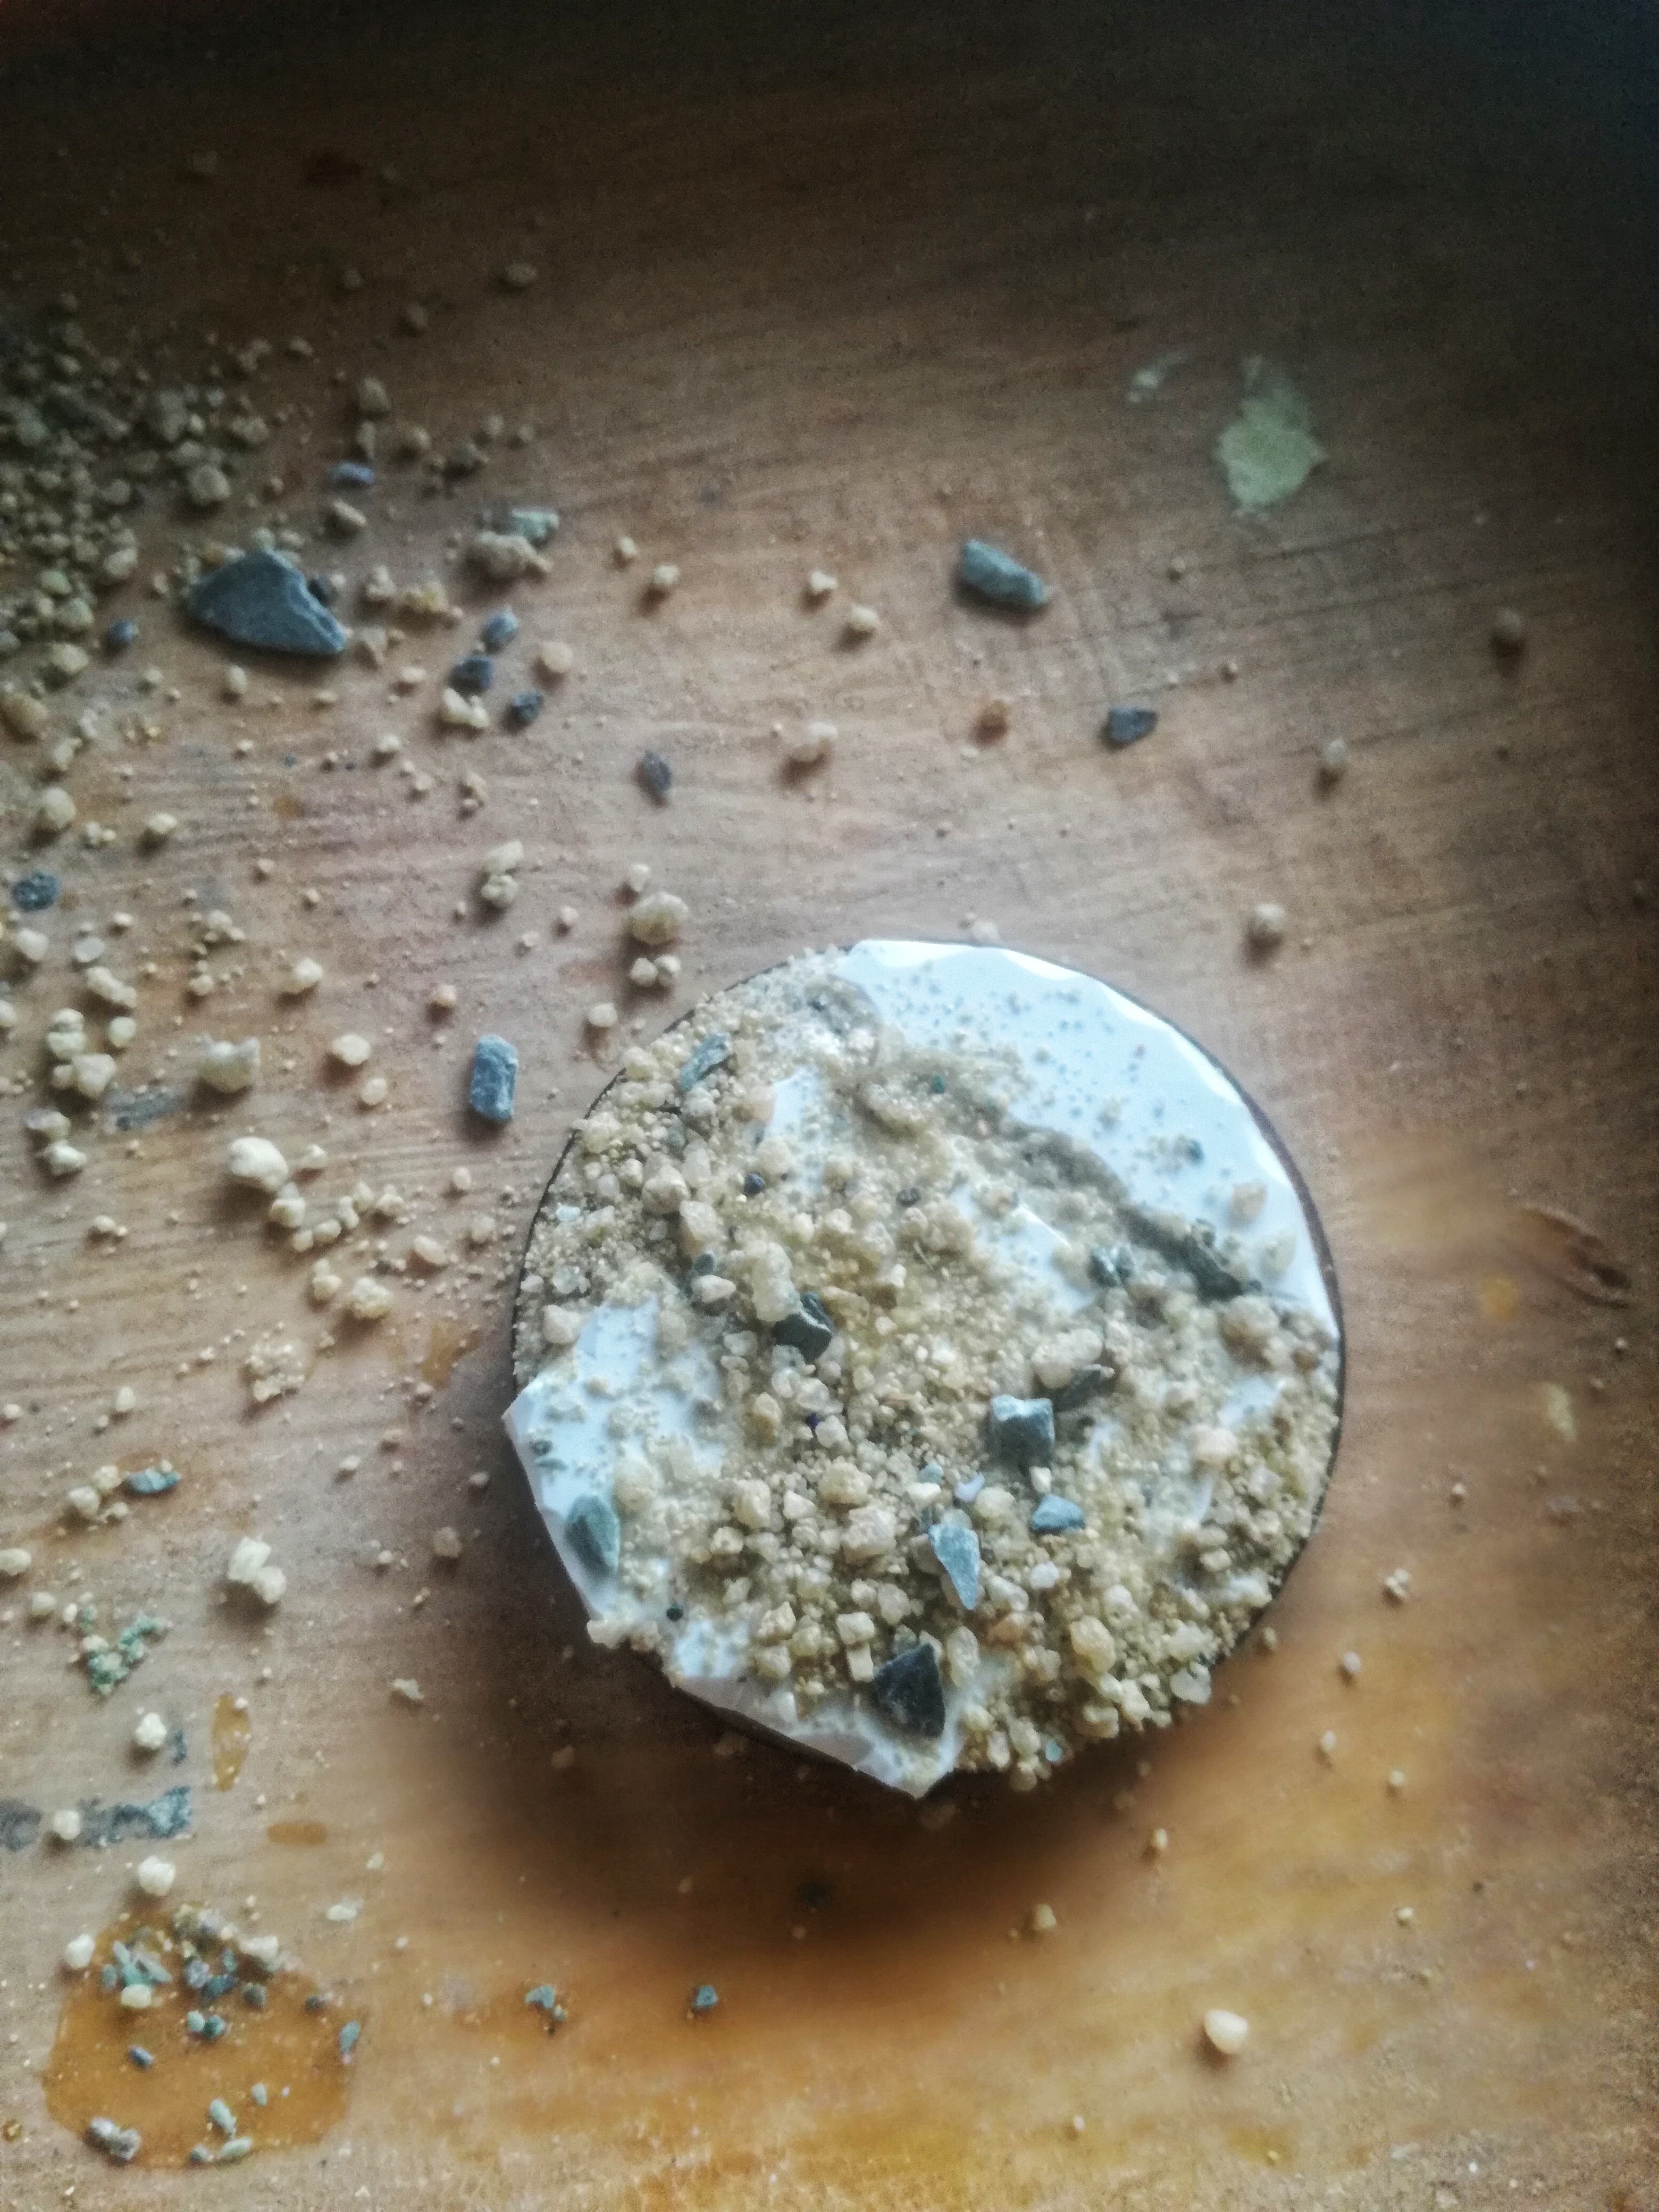
The ingredients were diatomaceous earth. This looked interesting as I want parched earth for my terrain tiles. Amazon had some but it was a touch out of my budget. Which let’s politely say is near zero.
Owning pets sometimes has an upside. We needed cat litter for our seventeen year old cat. She spends her days curled up on our bed and doesn’t venture out much. We had got a new brand which looked soil like. After she had used it, she is a prolific pisser, the litter started to crackle when dried. Interesting. Are you pondering what I’m pondering? I took some clean litter mixed a bit with PVA and stuck it on a piece of MDF. The result was really good. I then mixed up some more and applied it to one of my terrain tiles.
Rookie mistake! Make sure you put an under colour down first.
I have to experiment now and work out proportions so that consistency is maintained.
This is a link to the product and for eight litres I think that is a pretty good price. The only ingredient is Bentonite which is an absorbent swelling clay consisting mostly of montmorillonite (a type of smectite).
It has been a bit like writing a thank you letter as a child. I have been putting it off for ages, then I looked and my last post was in February.
There is loads to post and I will start tomorrow (honest).
BUT I do have to make a quick post about a Kickstarter.
Full disclosure, I am not paid by Keta Minies however we are Facebook friends and we do chat a lot about random topics and occasionally he sends me the odd file to play with.
This project is tempting me, I have never felt the need for a Daemonette army. Until now. Have a look at at the project, as always Keta has produced some superb sculpts.
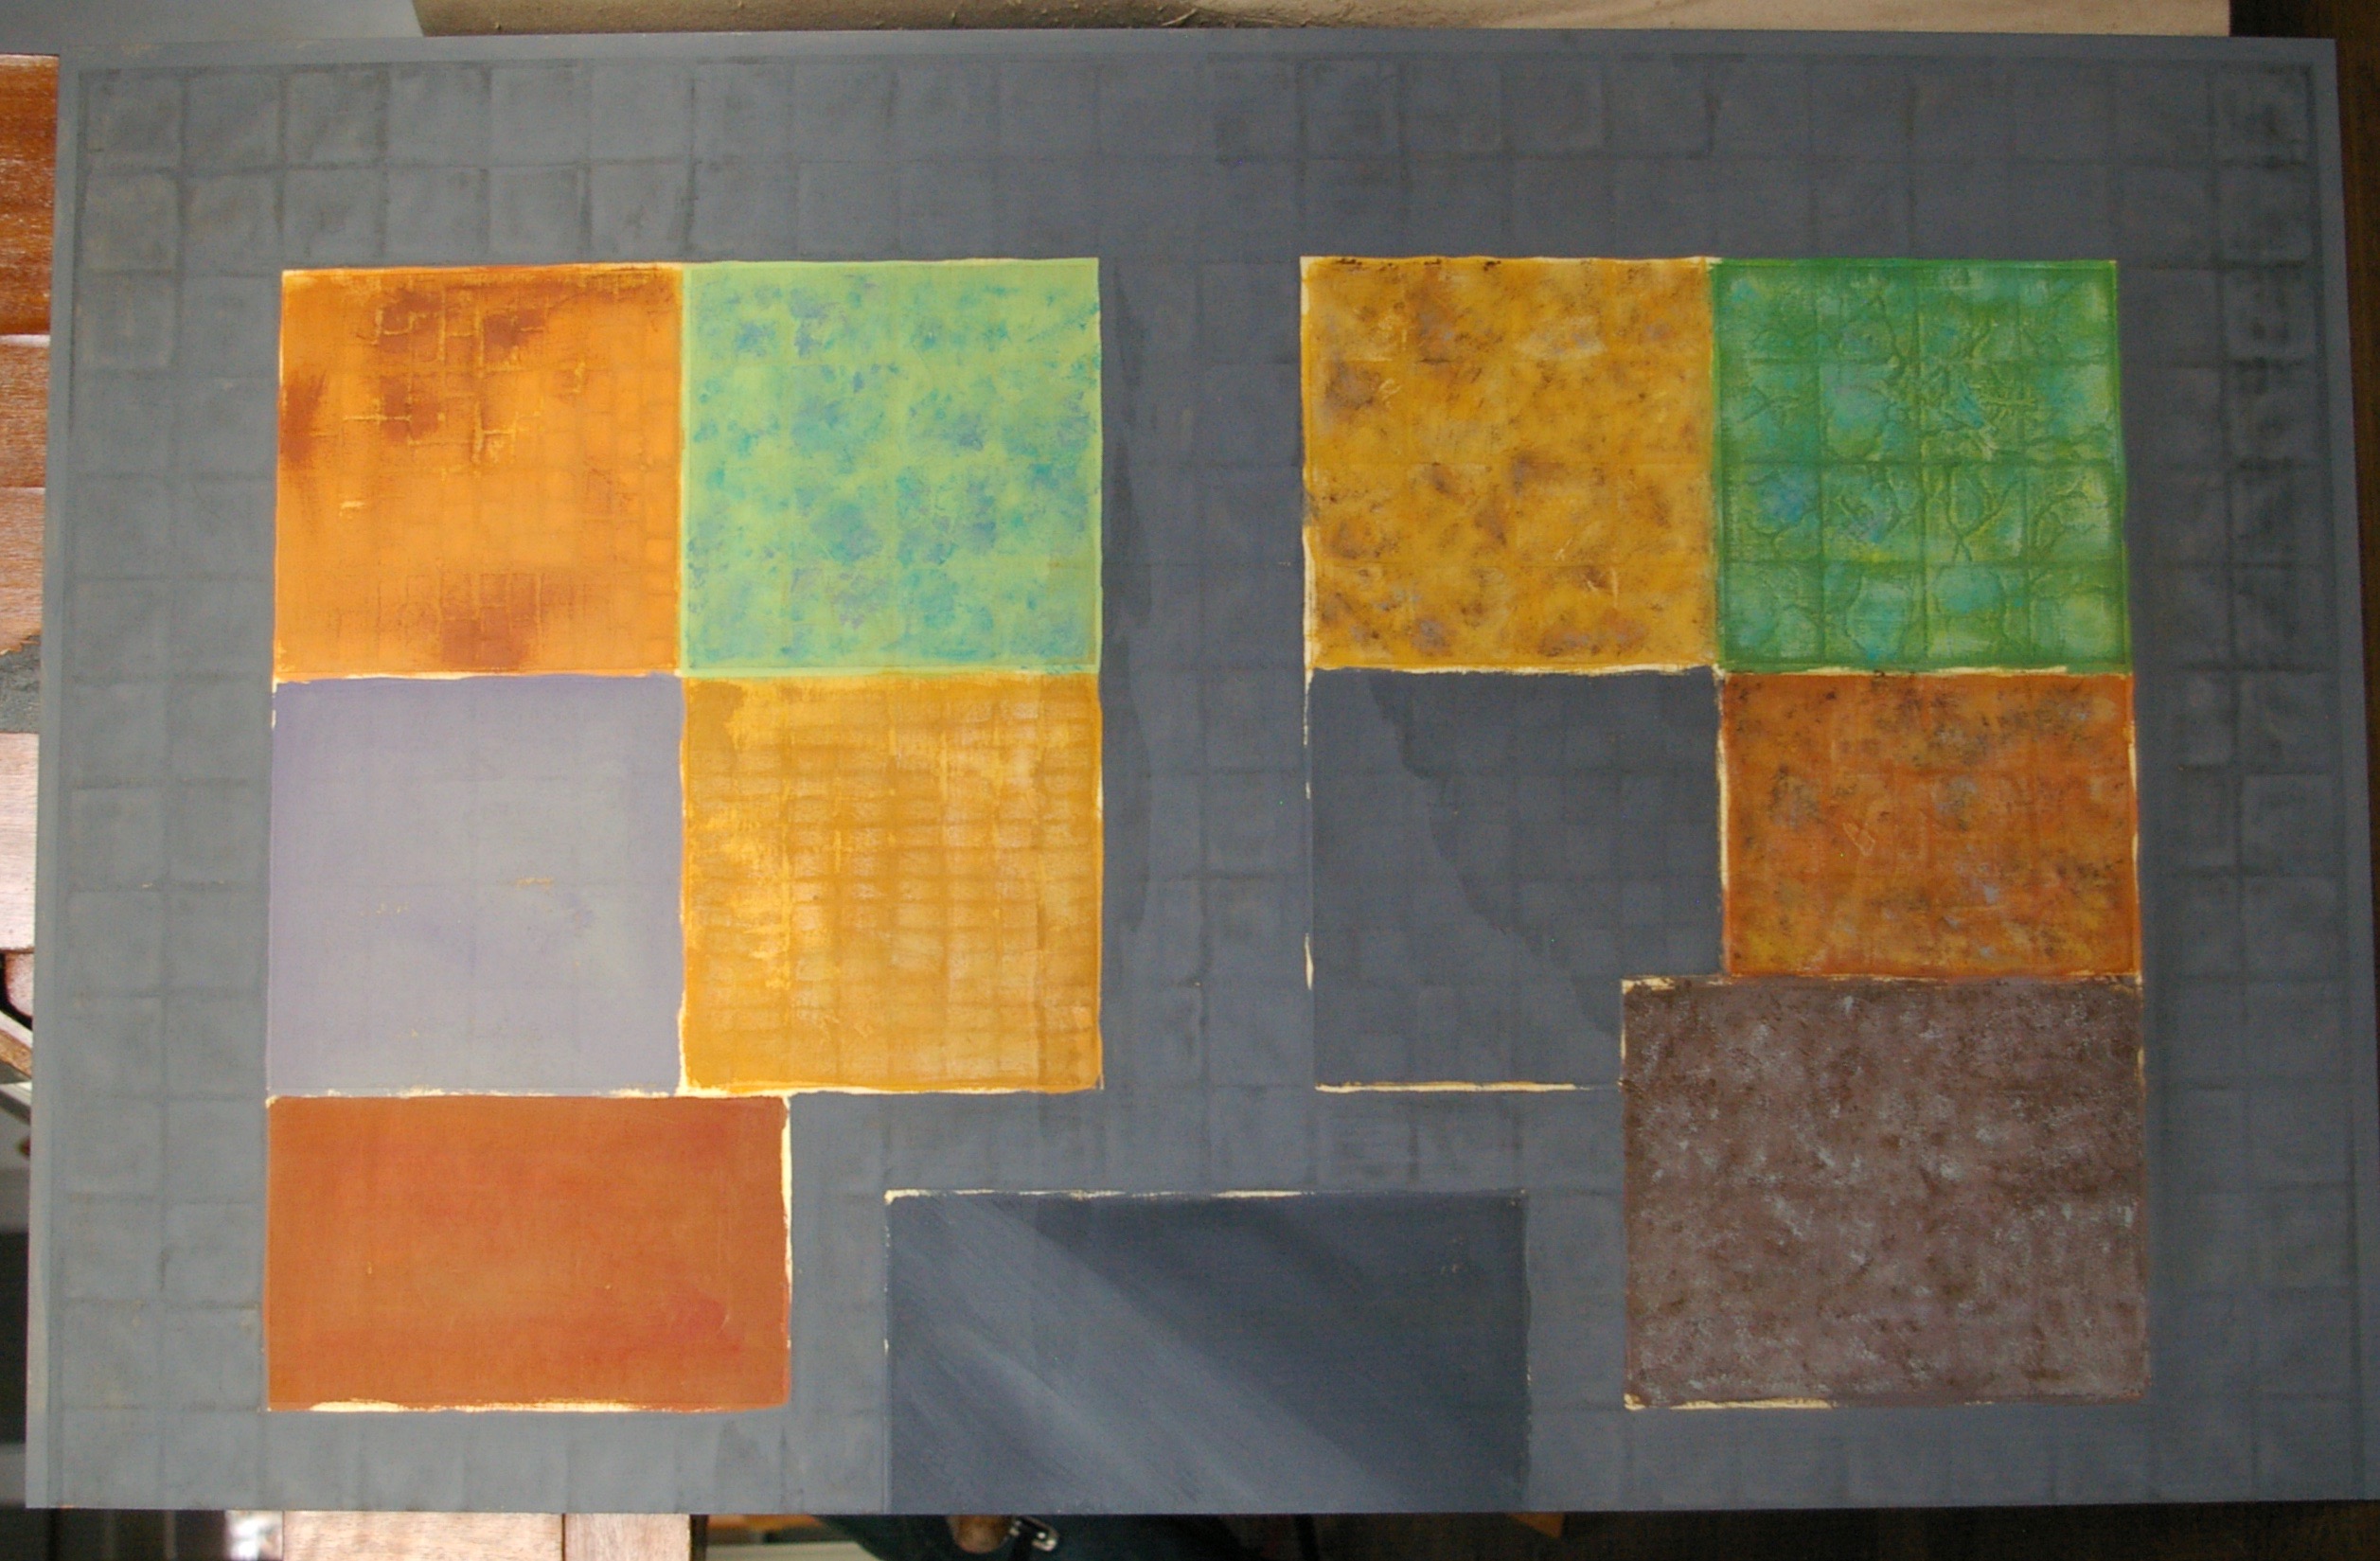
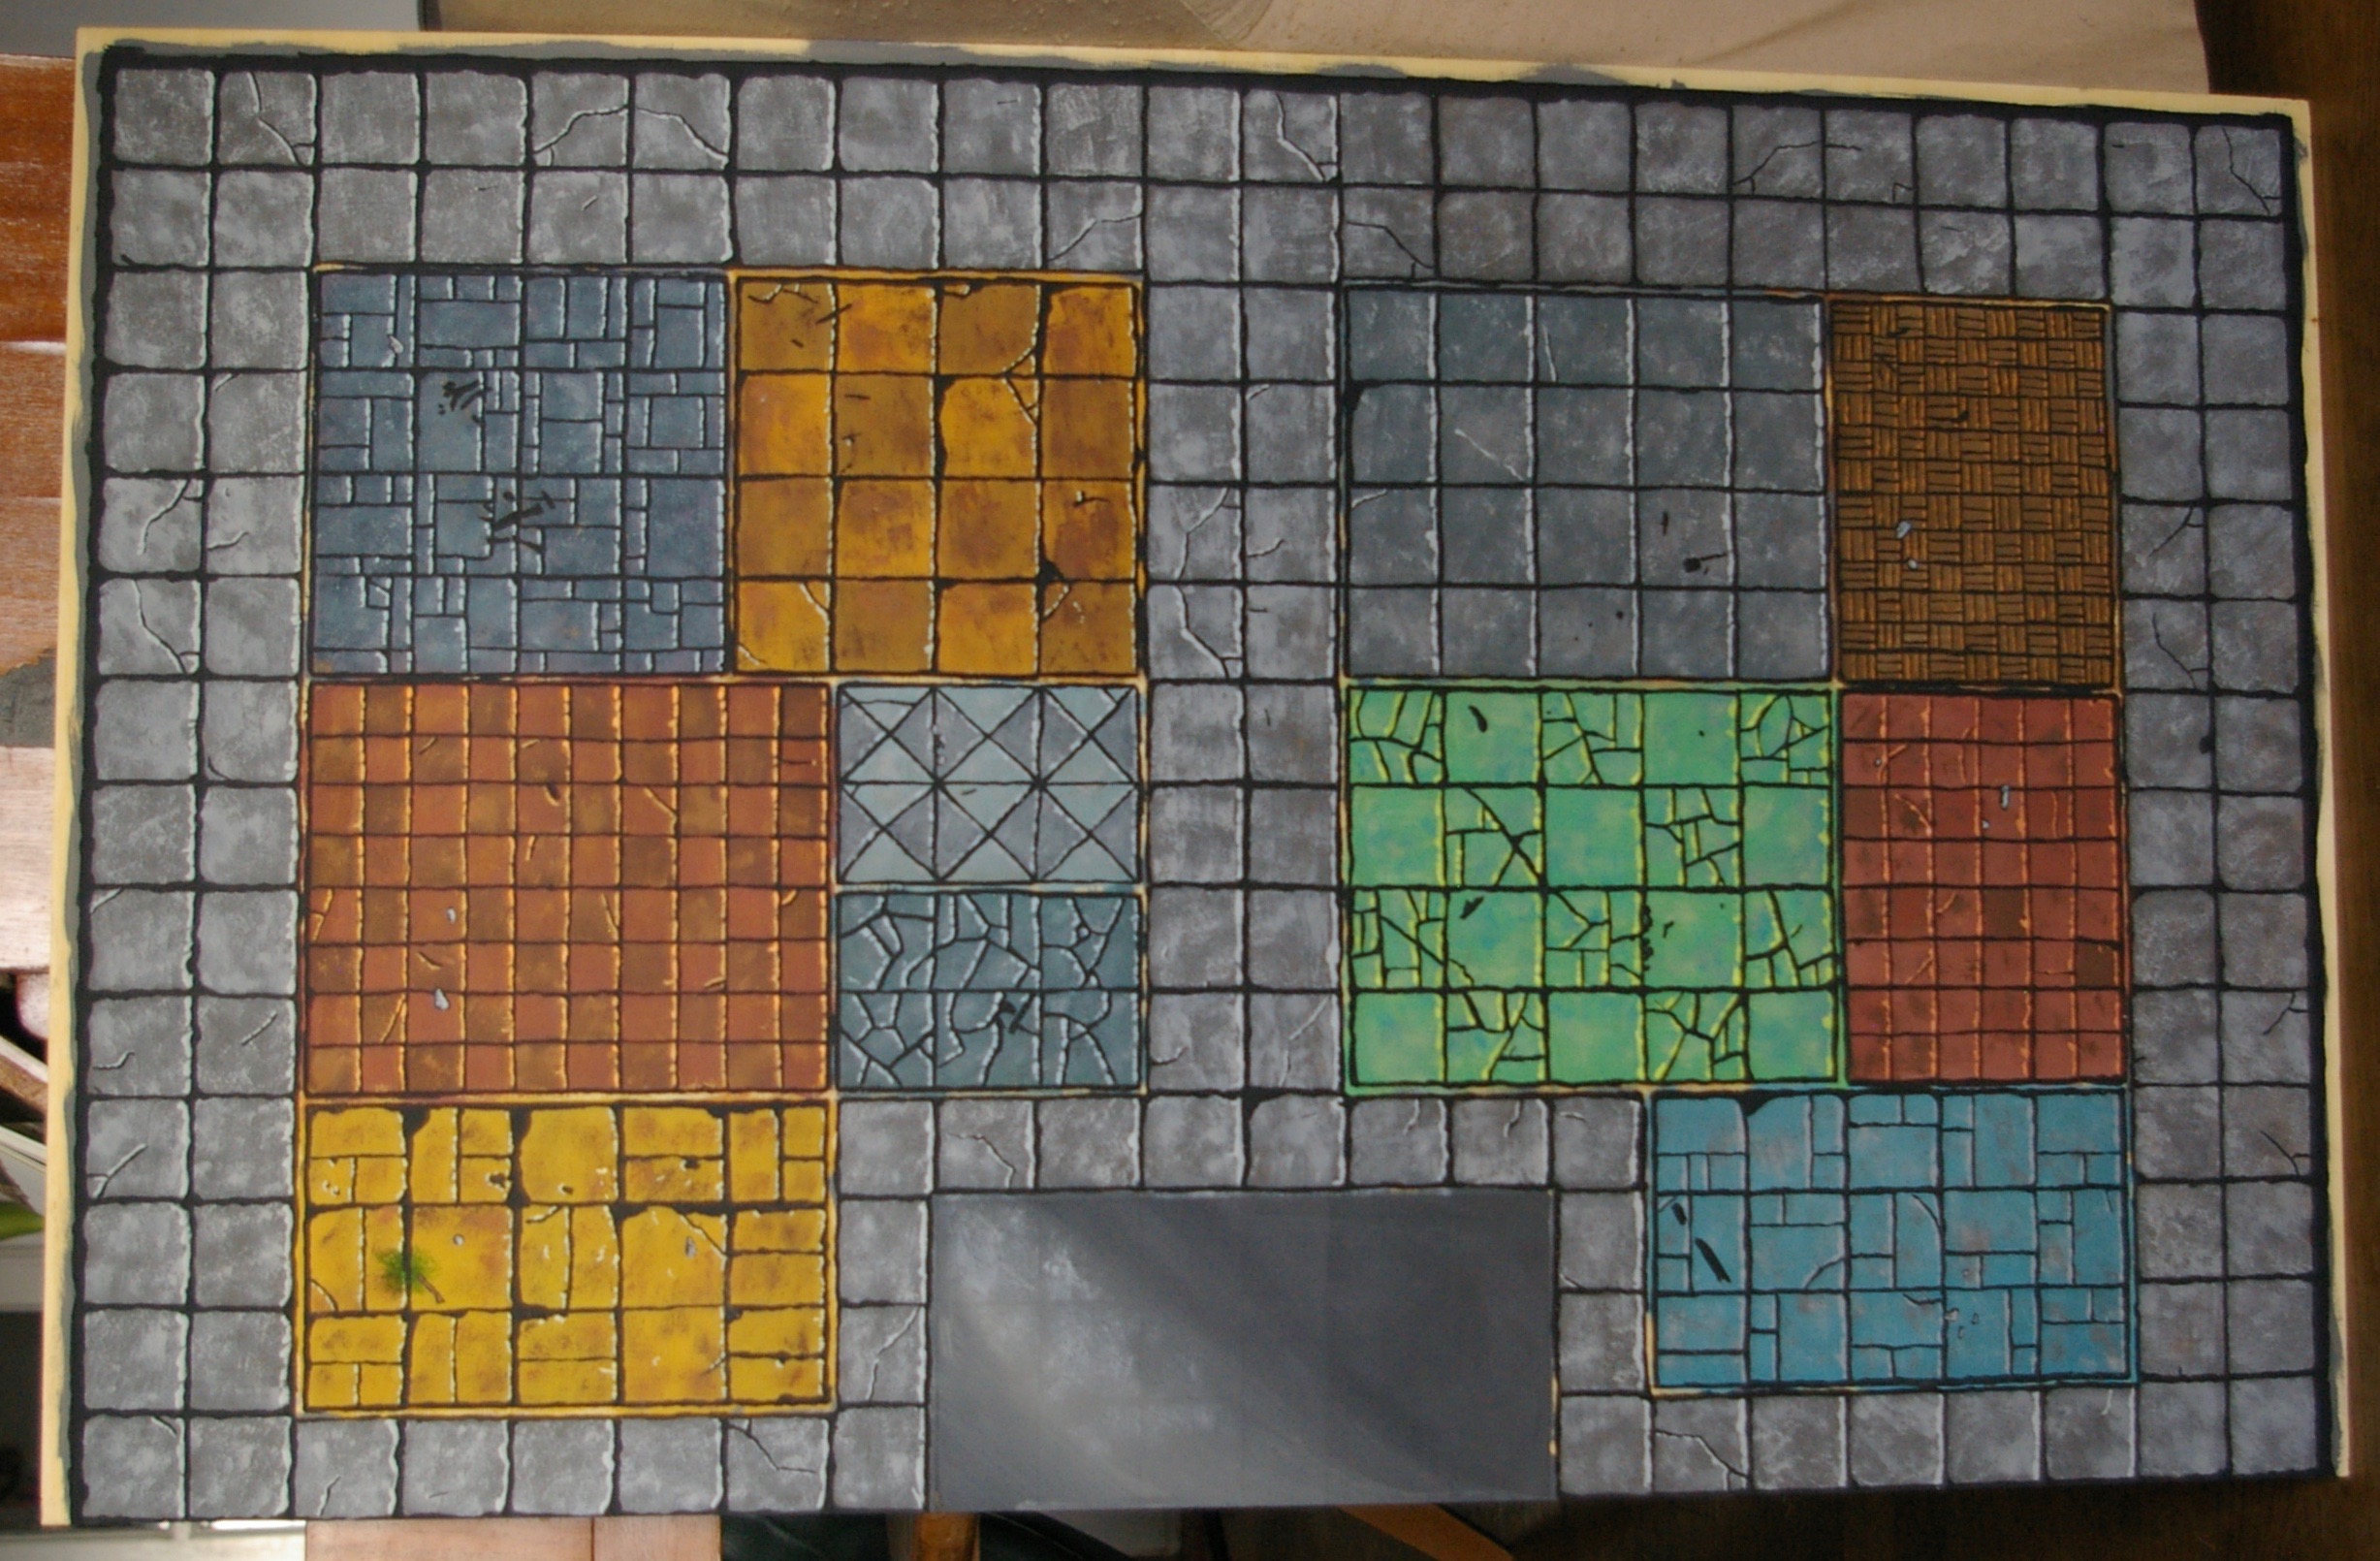
Part of this year’s aim is to finish off any half done projects. There are quite a few. One I had started about four (or more) years ago was to make a Heroquest board. I had acquired the components eight years ago from EBay. Four years I laser etched the board double size. That took about seven hours. Then over the years I made doors and 3D printed the player characters.
Here is a progress report.
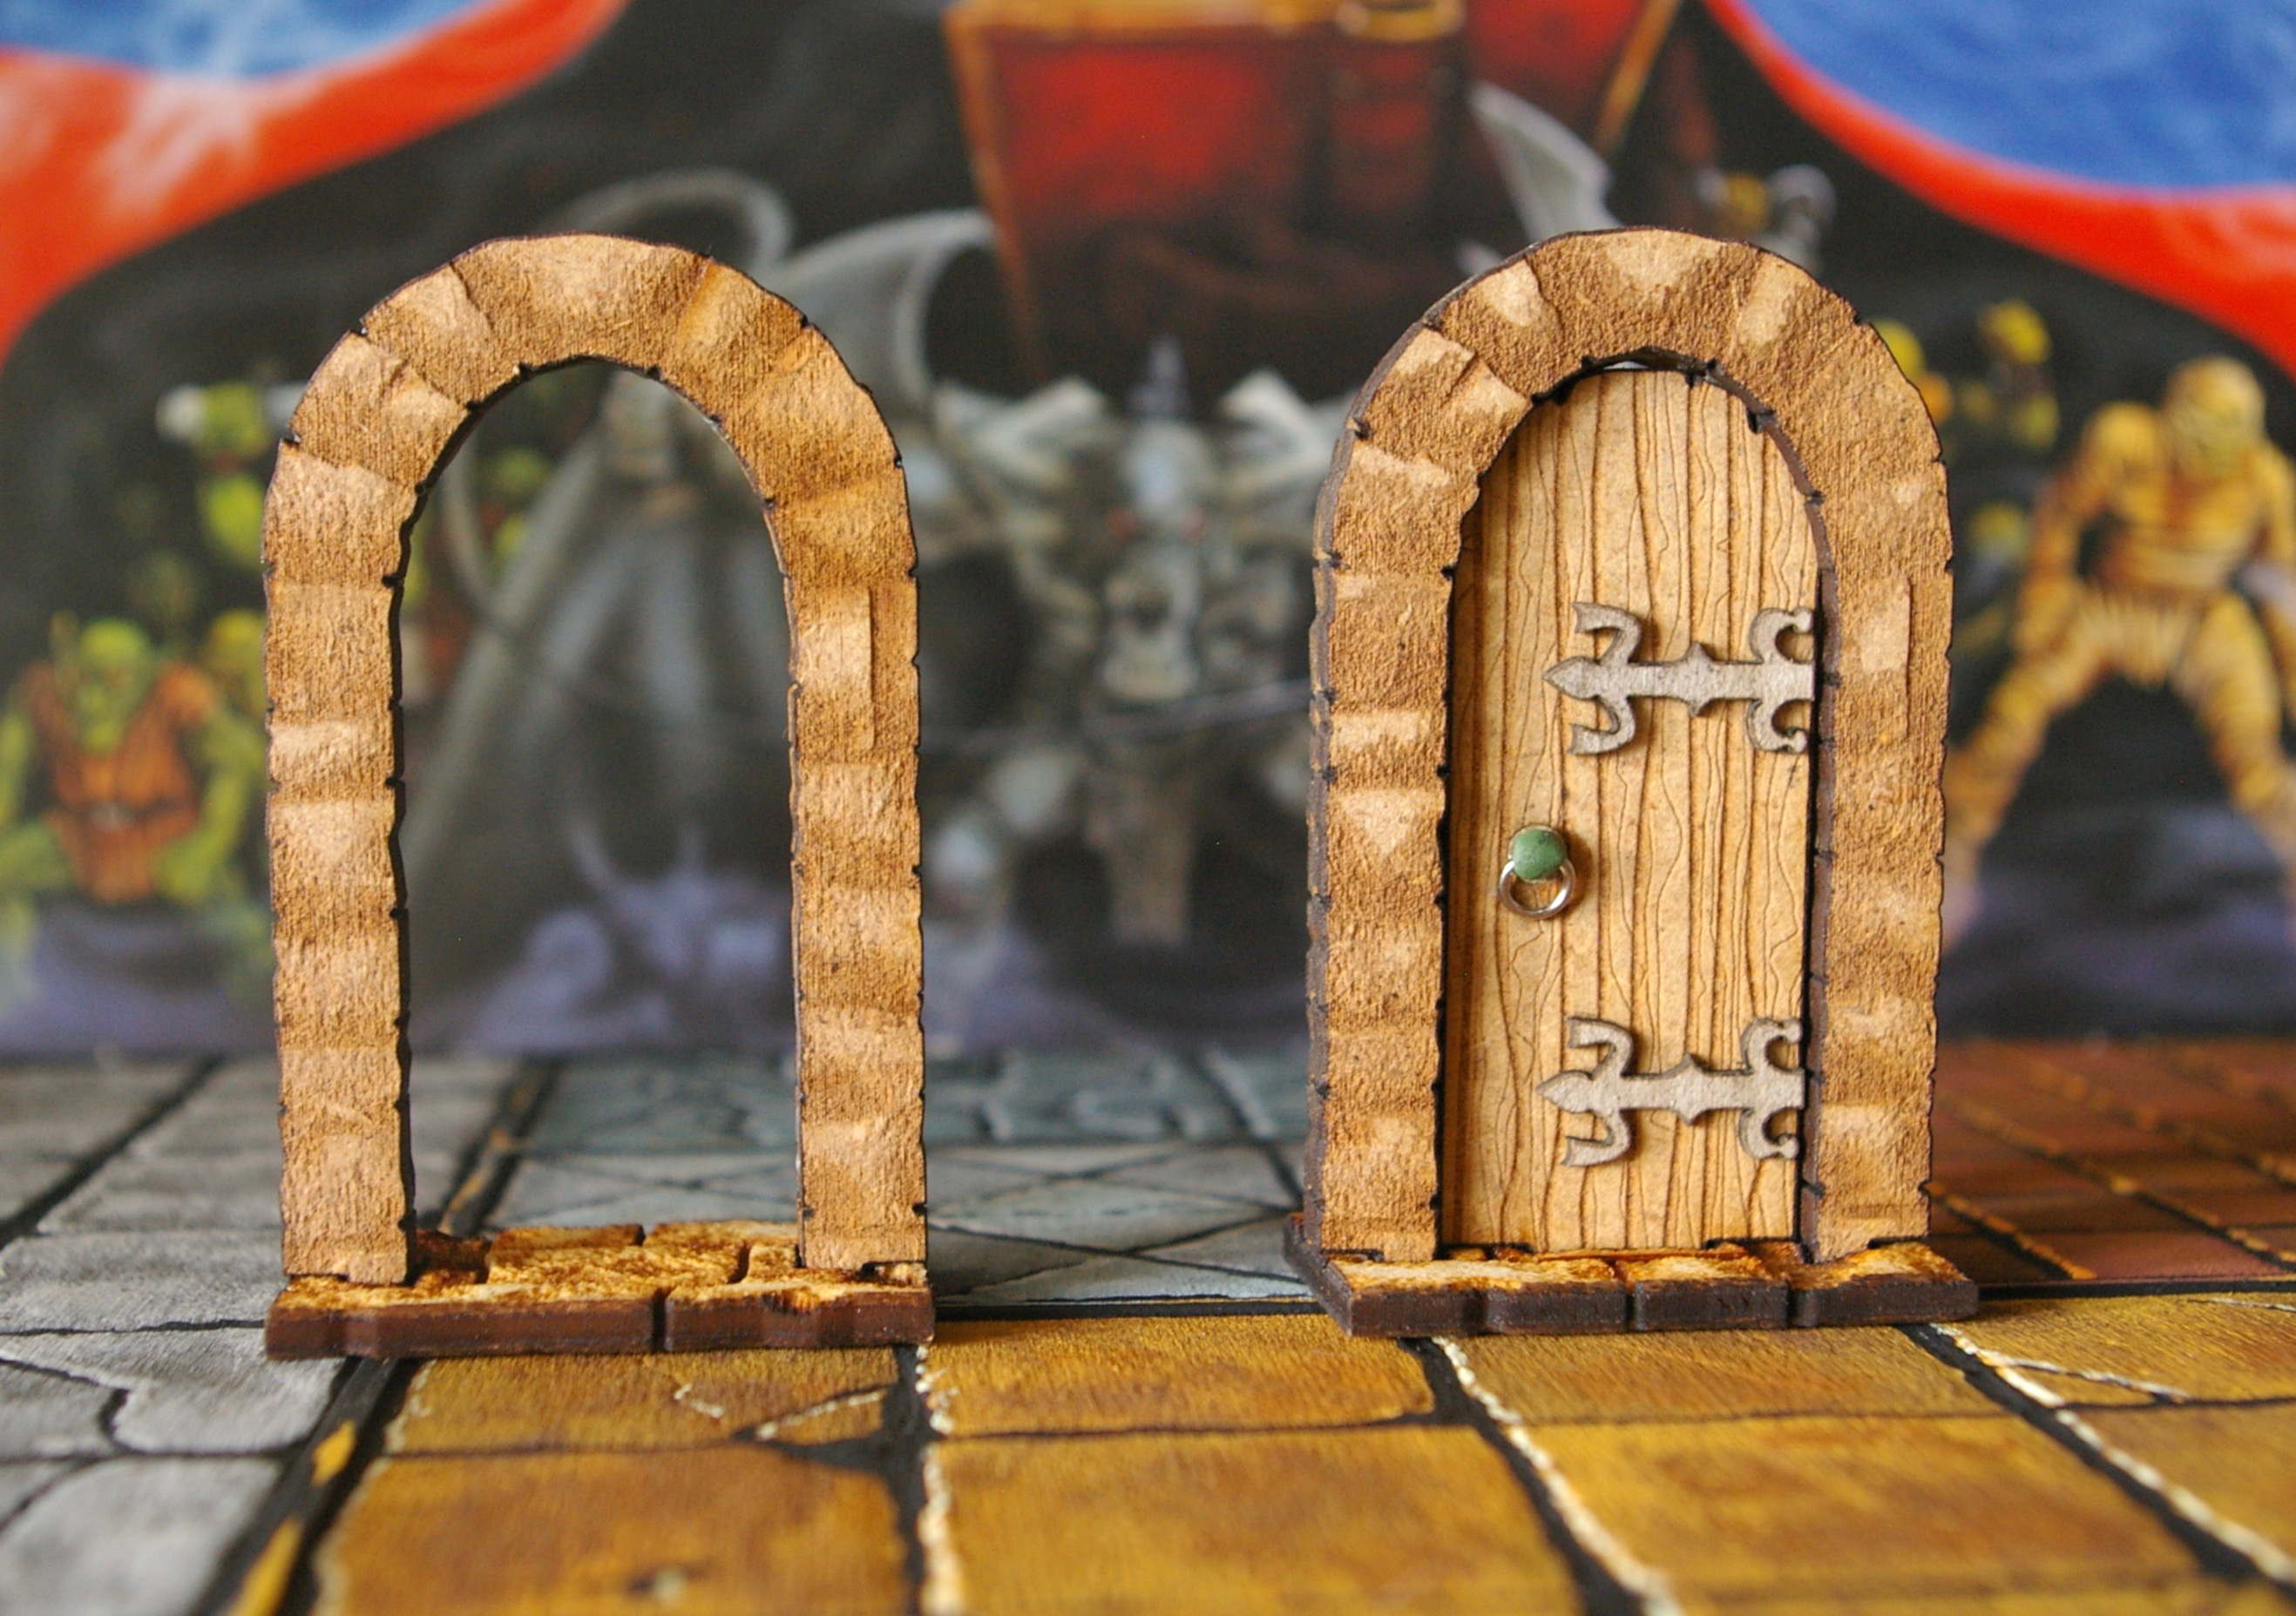
Base paints applied with a little sponge work. It was a bit dispiriting in this stage because it looked a bit crap.But I persevered. This is with black between the tiles and edge highlighting. Much better. After this I will airbrush shadows around the room edges.I have printed two versions of the player characters, classic for the purists. These came from Thingiverse complete with mold lines. The second is from StoneKing. Chibi stylee. Behind them you can see the various enemies our brave questers will have to face. They are wooden flats with some Oldhammer illustrations.The doors ready for some paint.
I will keep you updated with further progress reports.
There will be updates on my: SpaceHulk, Bloodbowl and Battlefleet Gothic. One day.
Here are a couple of Kickstarters which might be worth considering.
I was lucky enough to receive some as a Birthday present from OS Miniatures so I couldn’t resist slapping some paint on them. I’ll post some pictures when they are finished.
The second Kickstarter is from Keta Minies. I backed a previous KS campaign and the quality was outstanding.
I’ve been using filament from GST3D for the last year or so. Mainly because it is dirt cheap, if you wait for the sales, and because the quality has been good. That is until recently. My last batch of ten has had three rolls fail. One badly tangled and the other two damp resulting in clogs. Social media has been filling up with complaints about GST3D recently and they have promised to improve. We shall see.
I have started printing some “Vase Mode” models. Specially designed to only print the outside surface.
This is from the Sinister Cities Kickstarter. A free model so you could appraise the results. It is printed with a thicker nozzle, 0.8 rather than the usual 0.4, so the layer lines are noticeable. At arms length not really. This seems to be a good method for bashing out terrain.
Finally a squad of ten Terminators for the Space Hulk game I am 3D printing. I have printed all the corridors need for the Second Edition, just have to get on and paint them. Batch painting from hell. Starting with a black basecoat, then a zenithal highlight, a colour wash over that, detailing and finally rust and grime. Can’t wait.
I have a few more pictures to add, since May. May? Where did the time go?
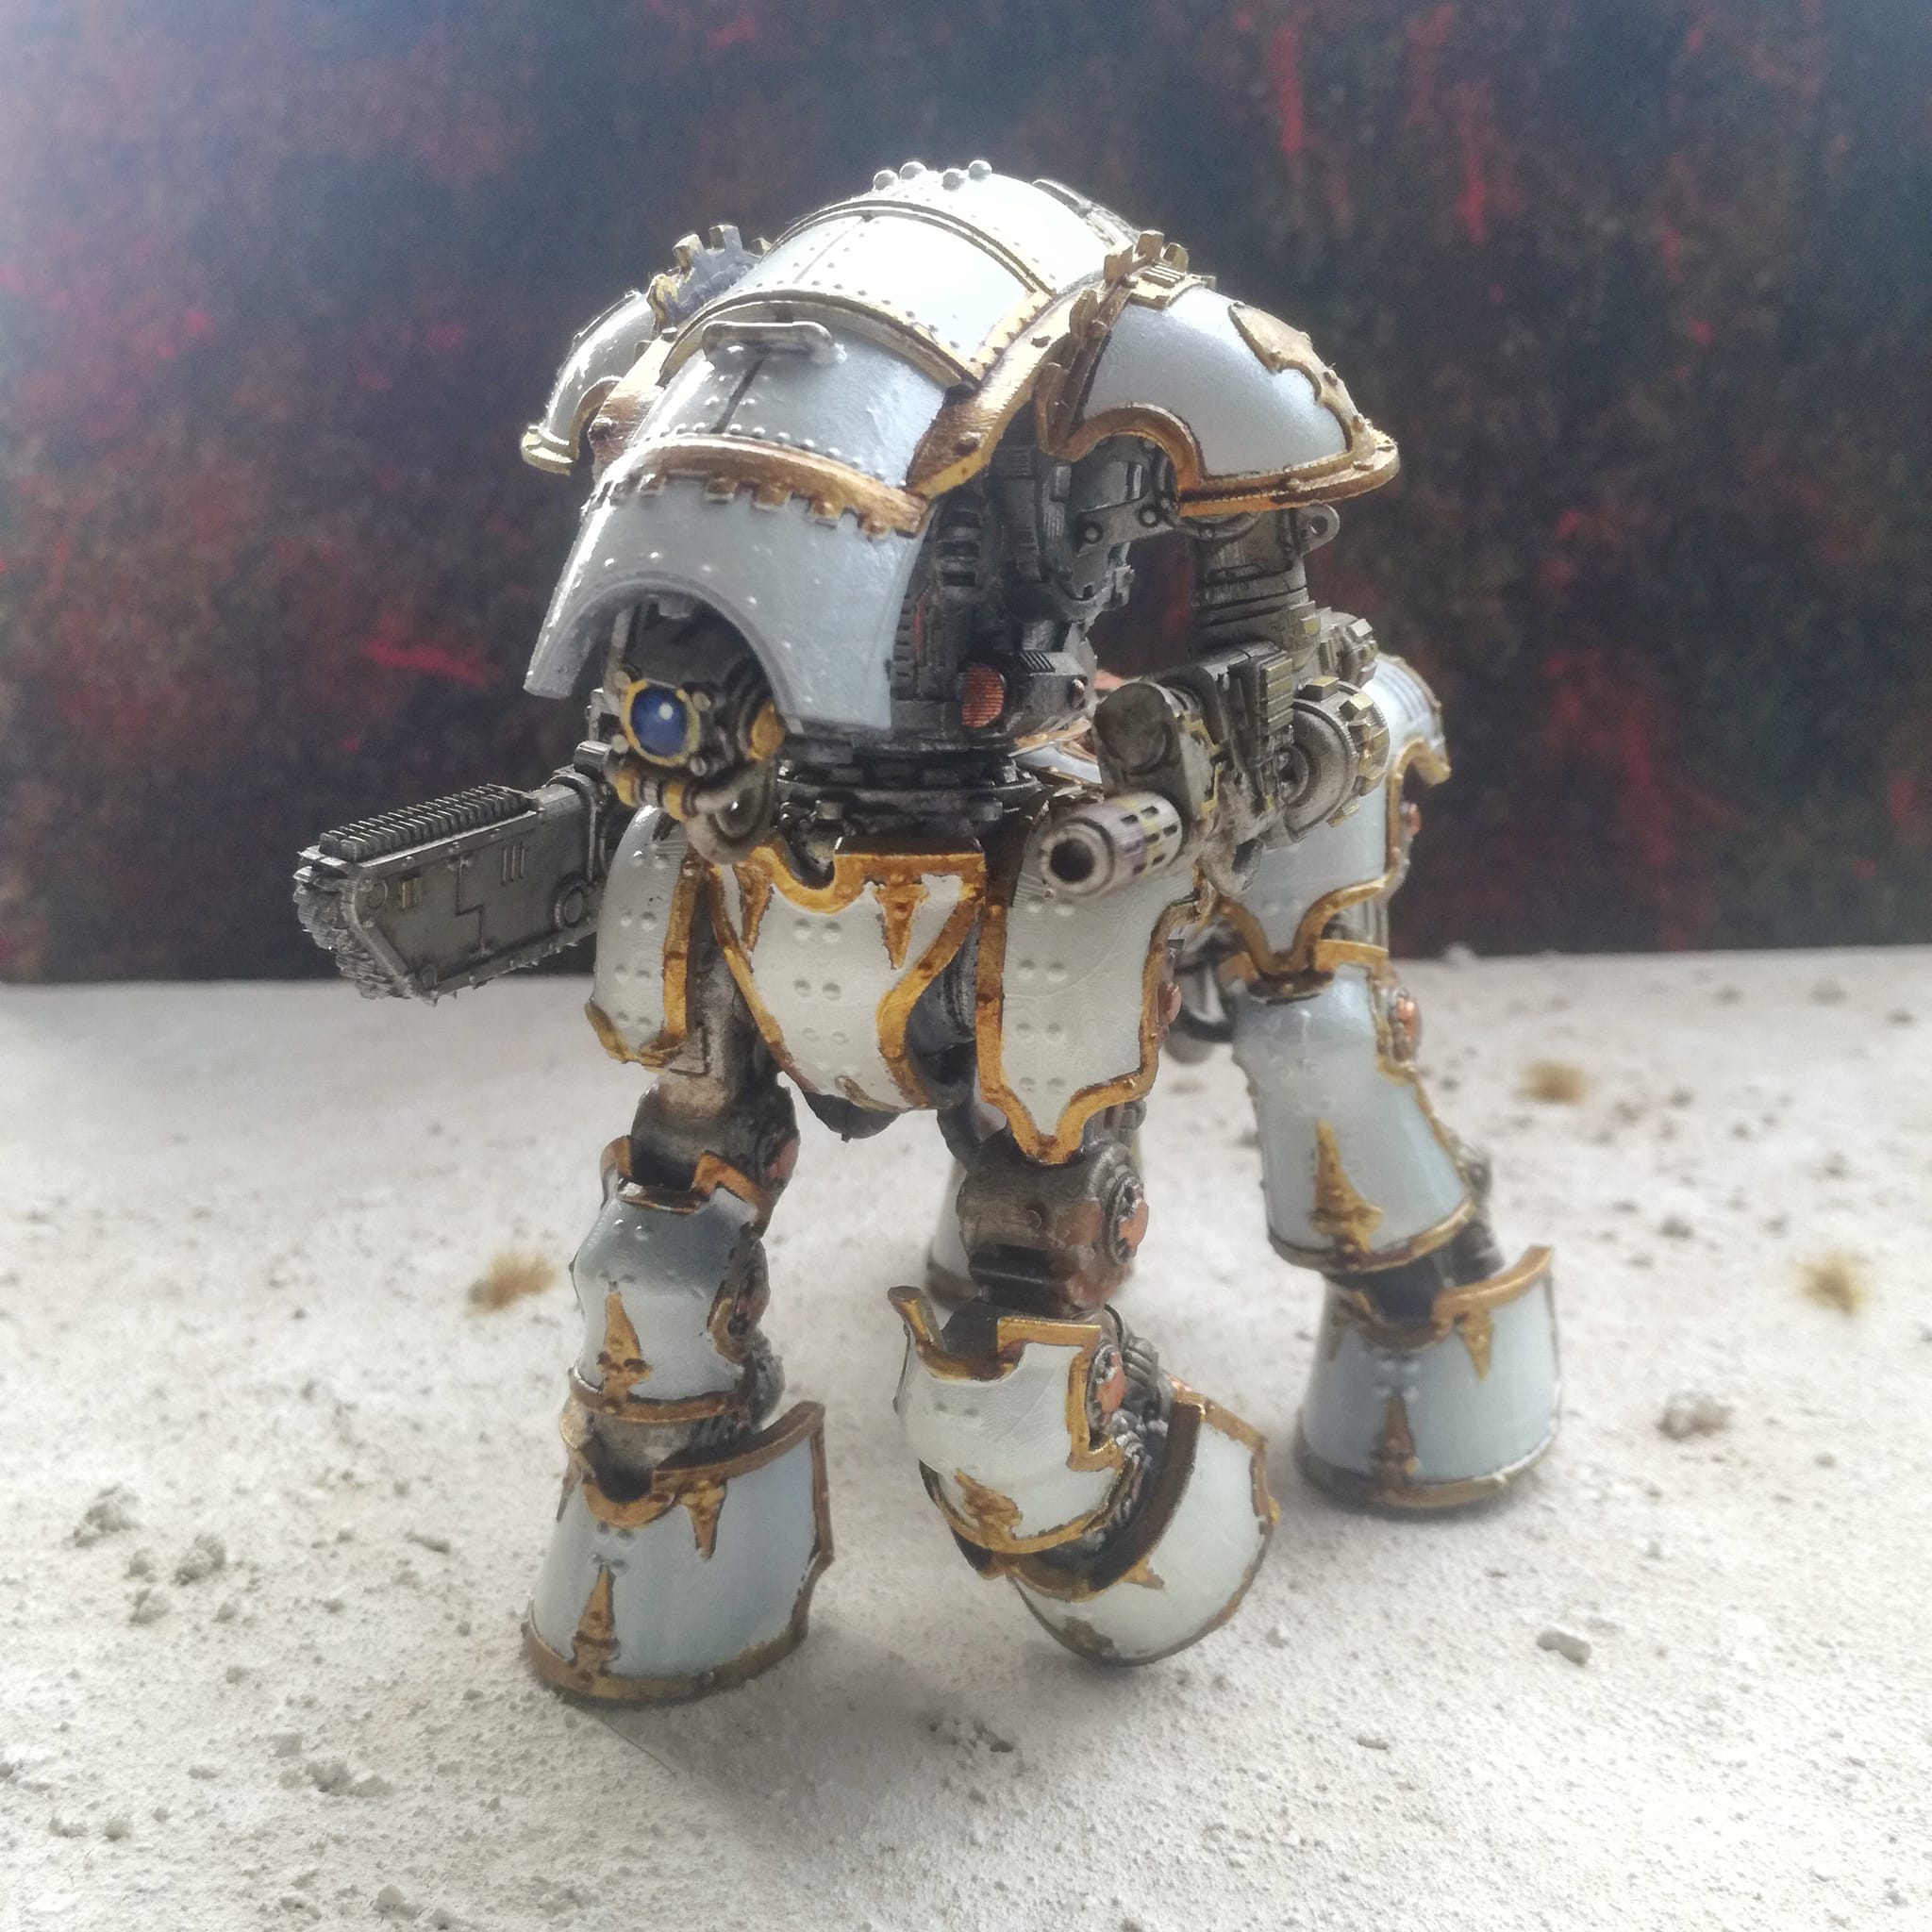
This is some armoured centaur legs, from the Makers Cult, scaled up from AT scale to 40K scale. The top half is an Armiger. This was a test of the livery I am using on my Titan, sat in a box awaiting paint. The lesson wot I did lern is to not apply gloss varnish until all the armour is painted. The gold was very problematic because of this. My next big print project is a Reaver Titan mounted on the Makers Cult 40K scale centaur legs. Warlord might be a bit much.
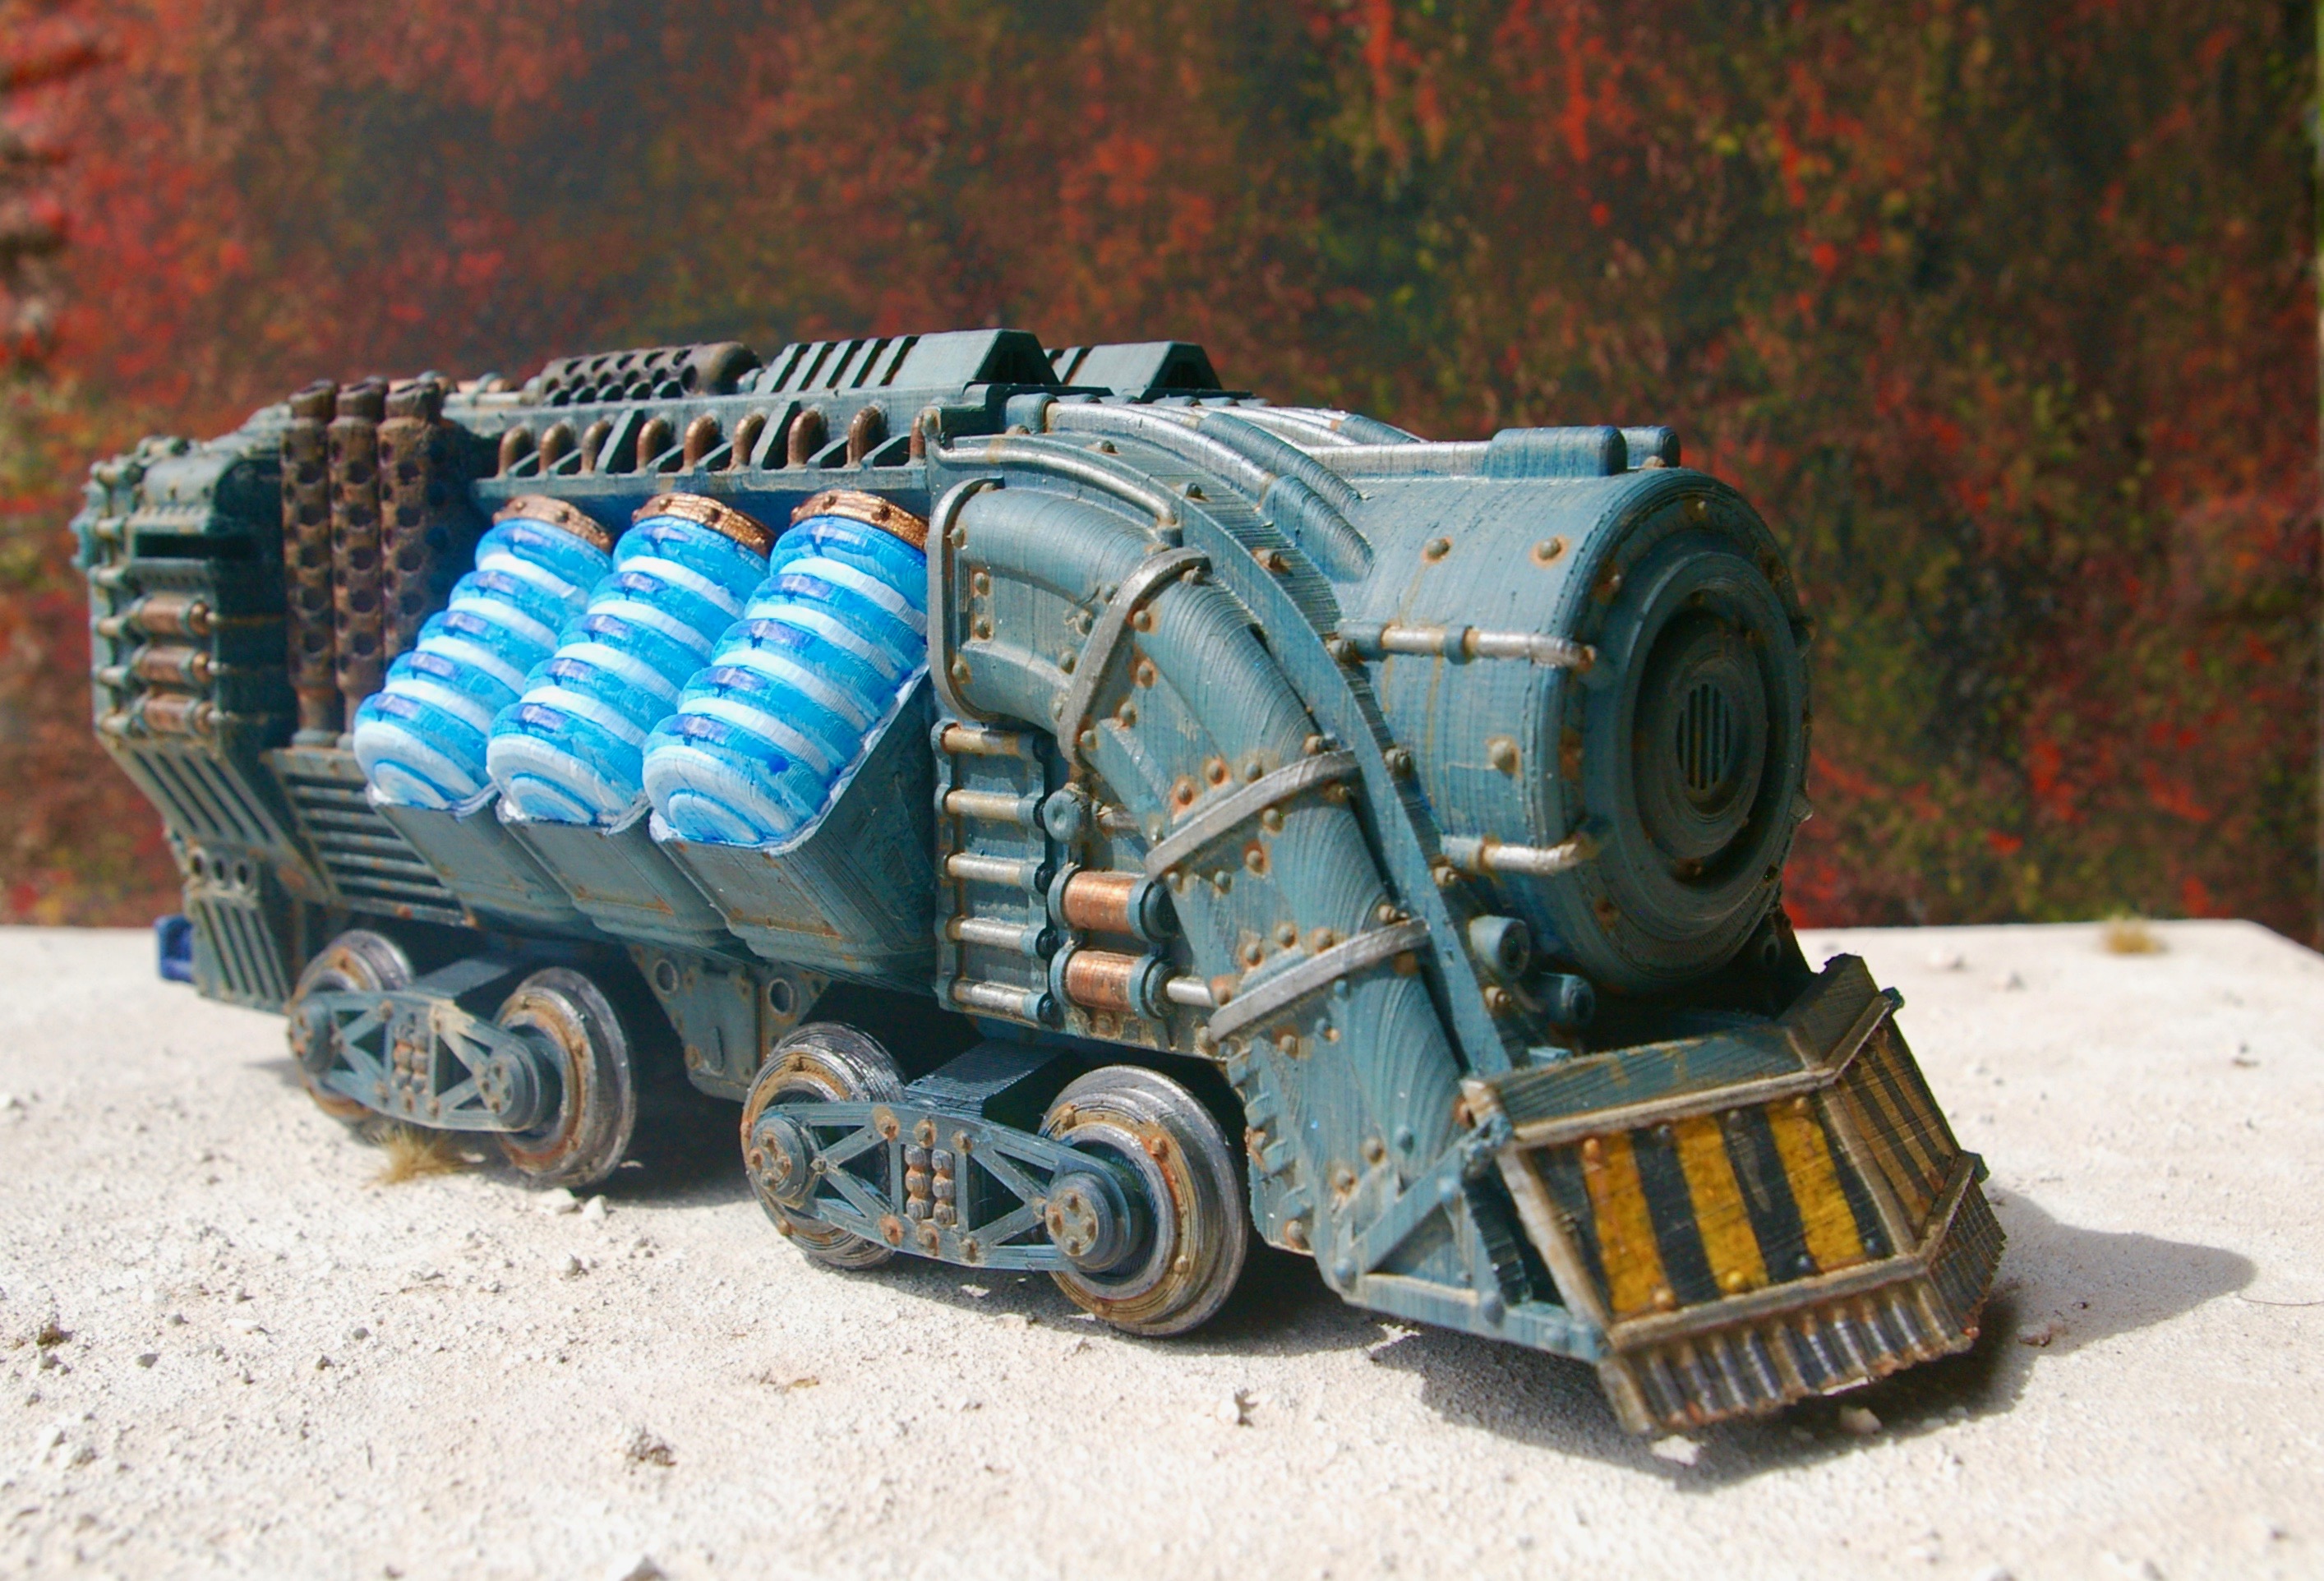
This is from the Tesseract Tomb Patreon. I have wanted a train set for ages and he is going to be producing parts over the next few months.
This is the Marauder Giant which is now starting to fetch eye watering prices on Fleabay. Many thanks to the Delta Squad who made this possible. First rule etc.
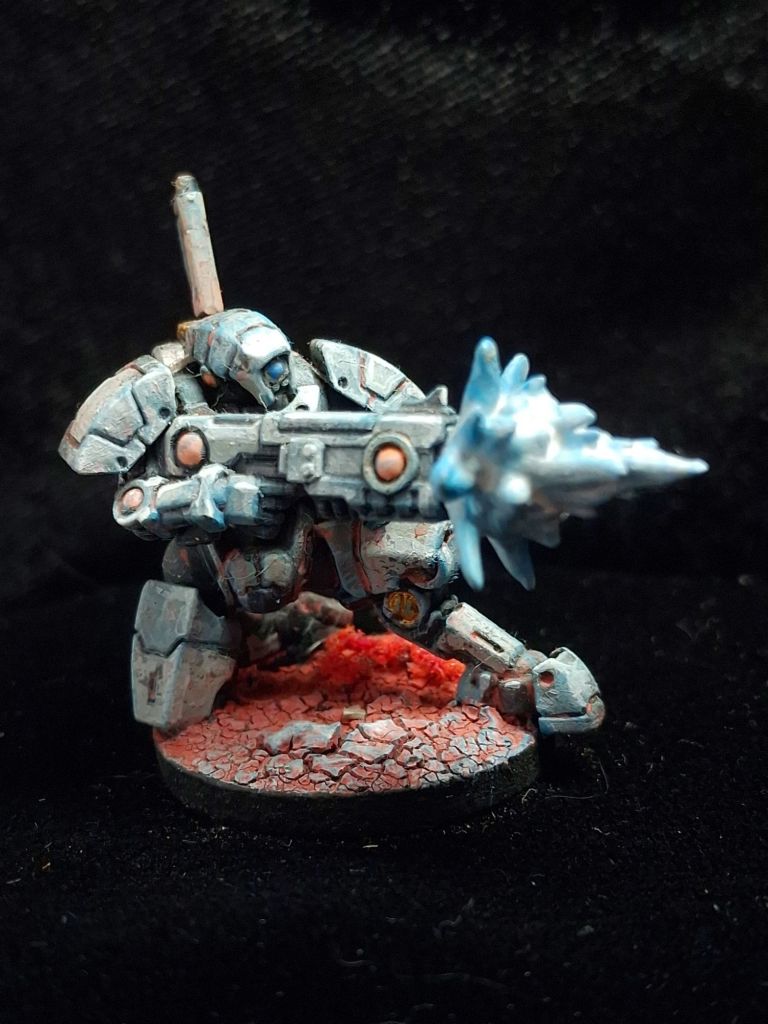
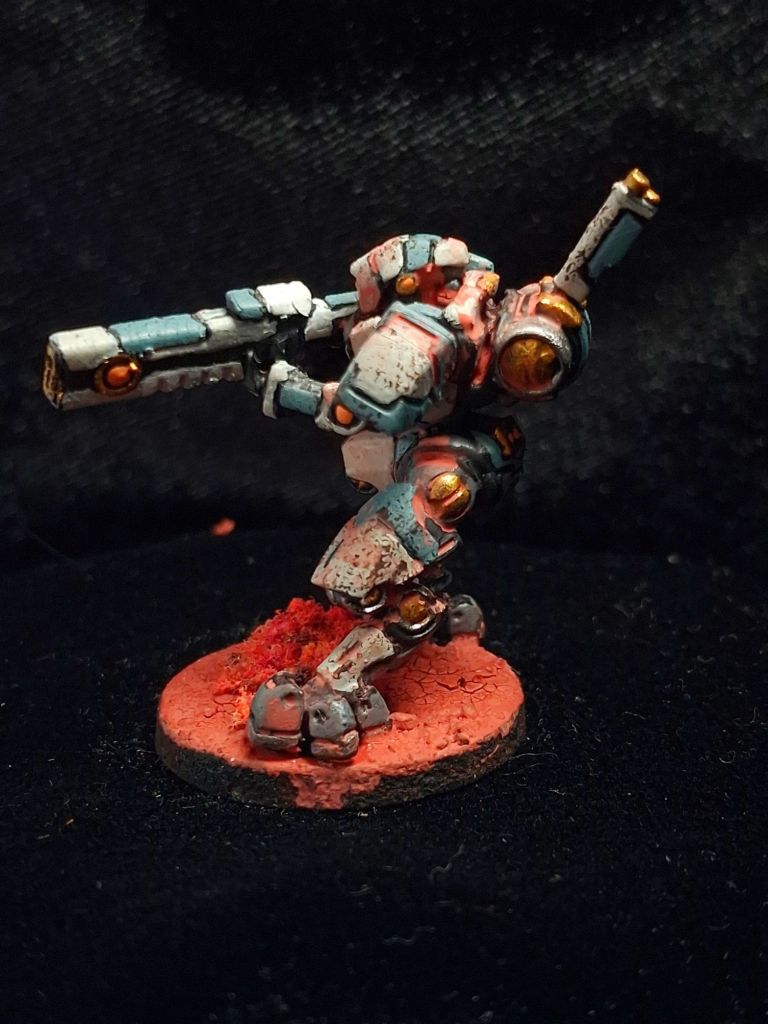
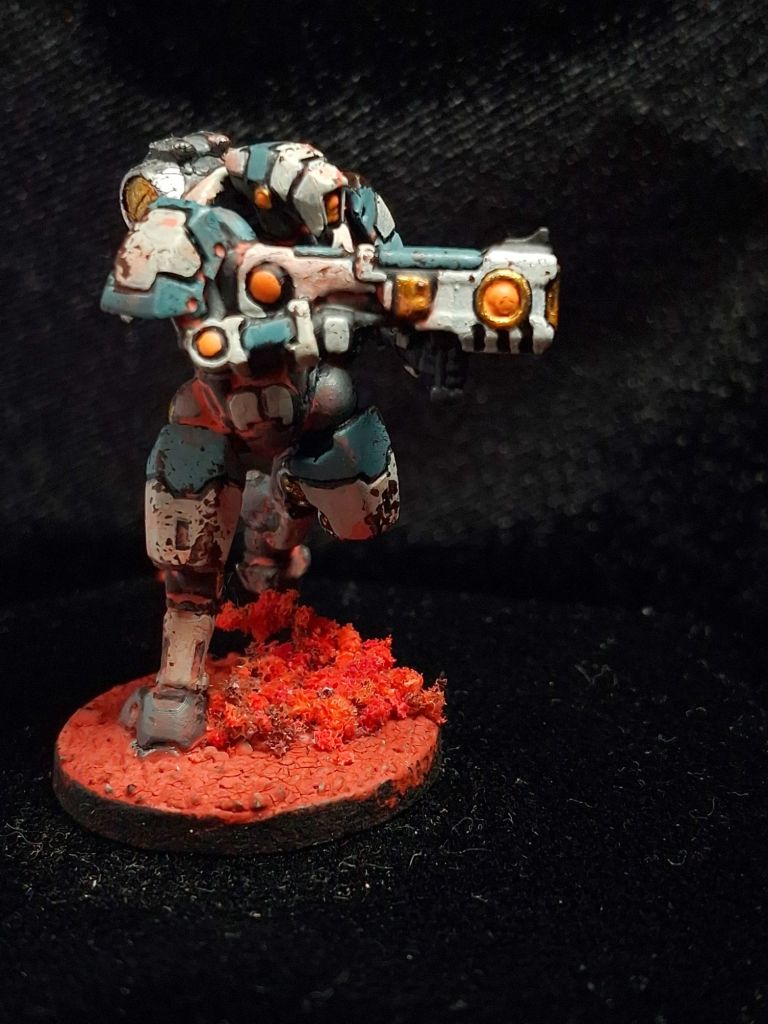
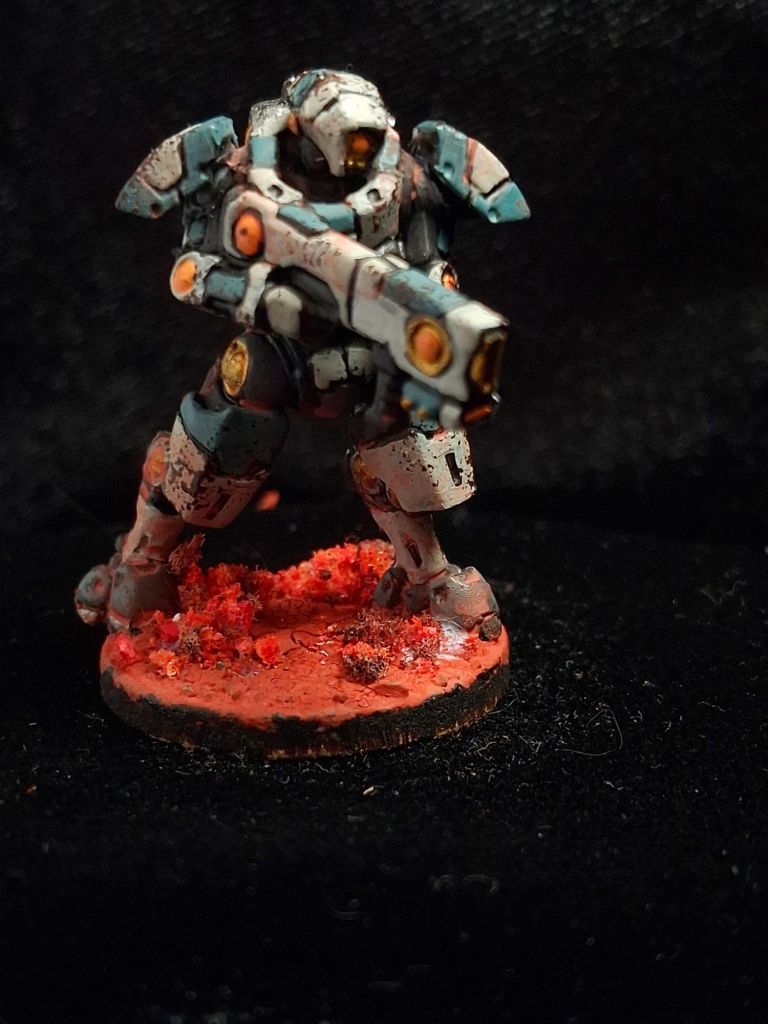
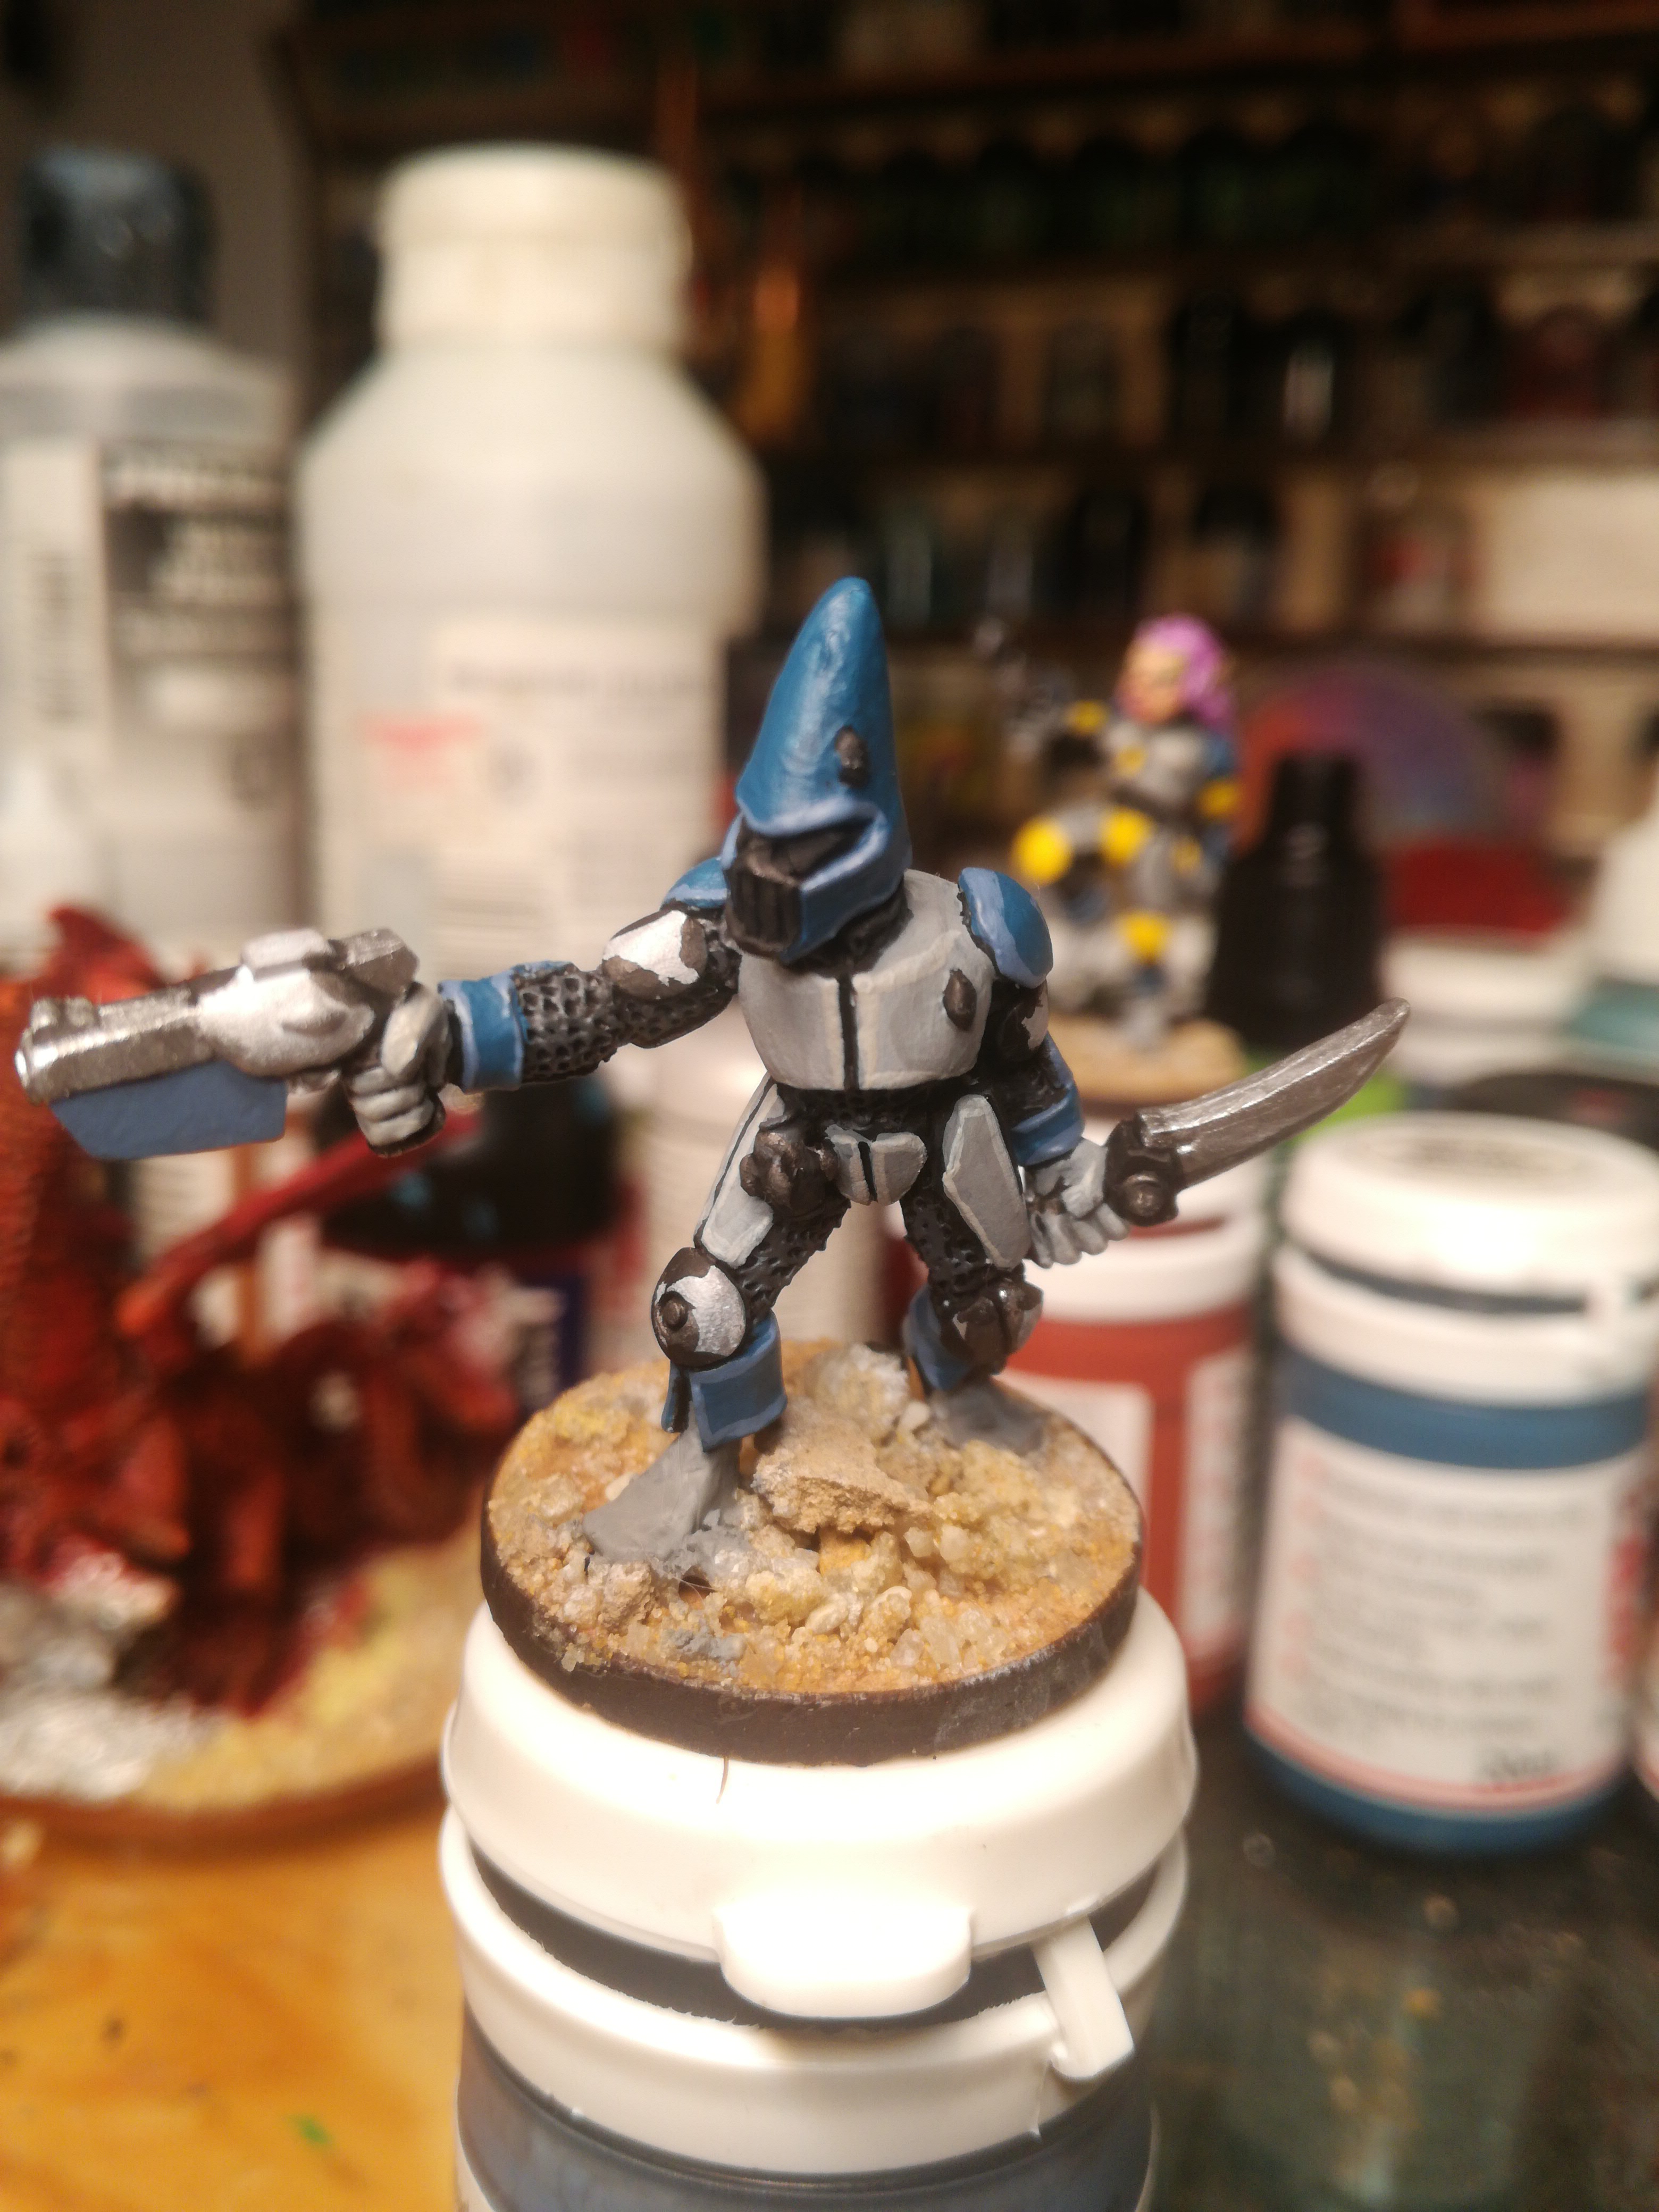
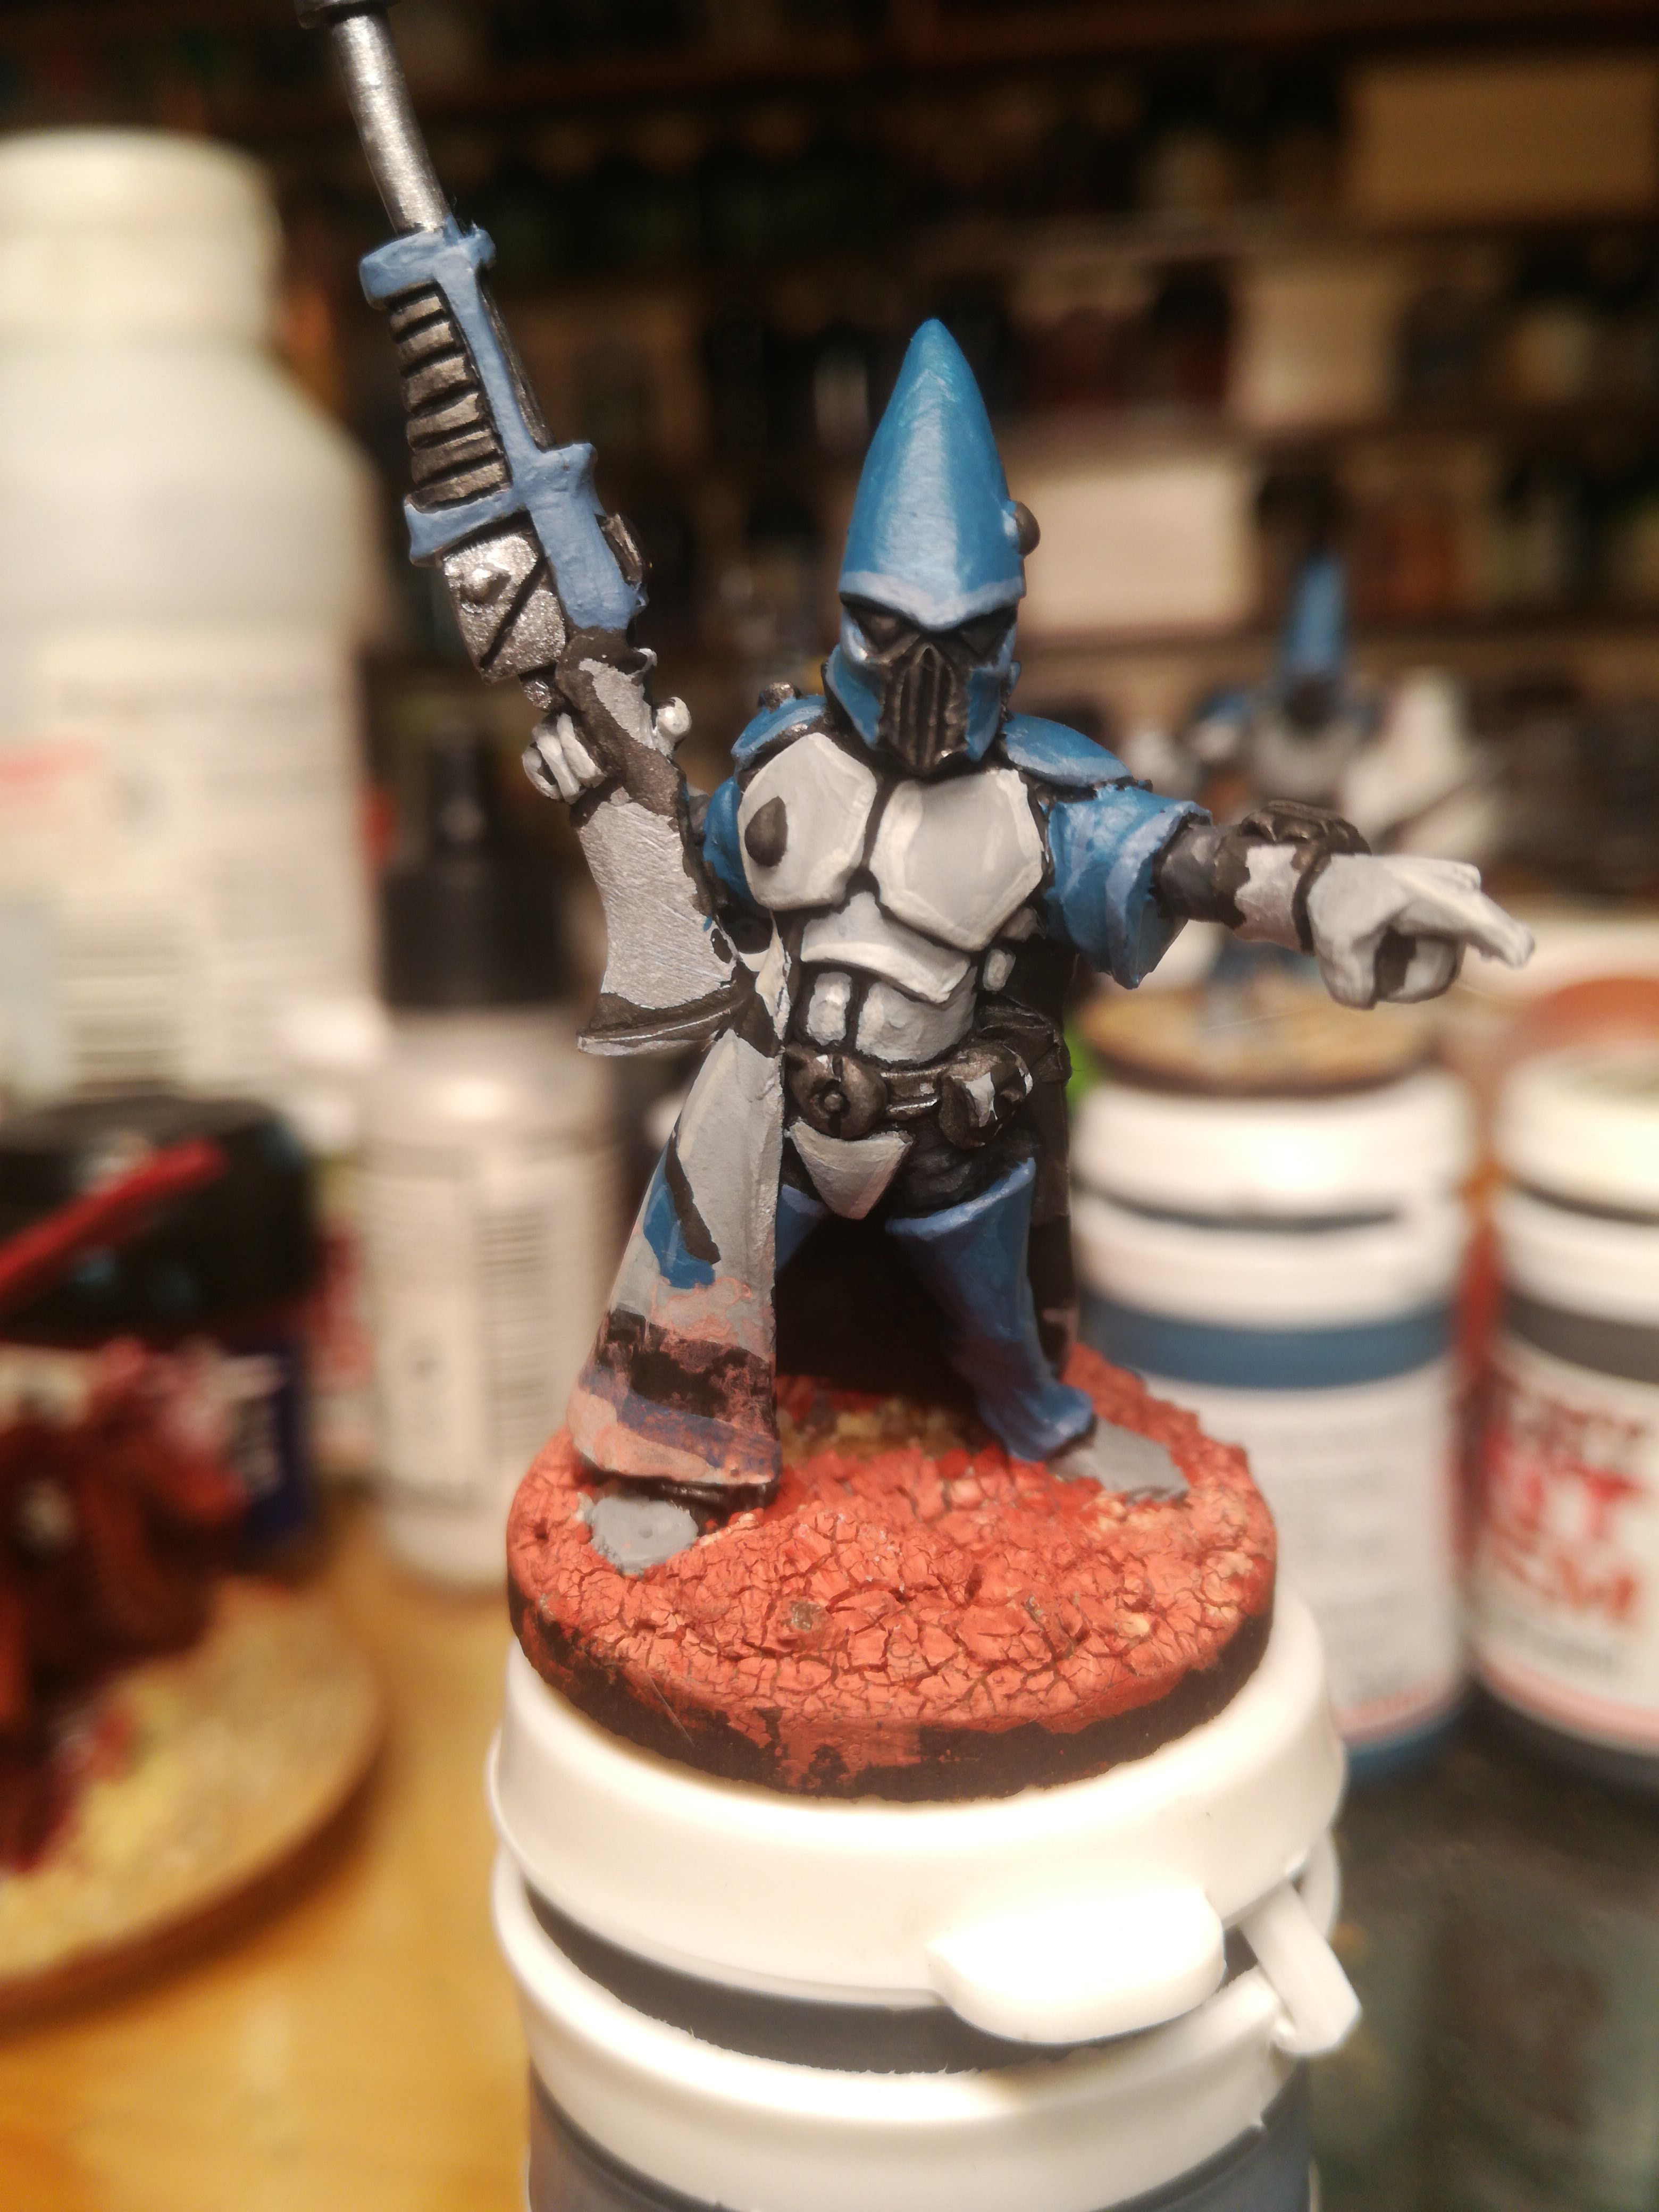
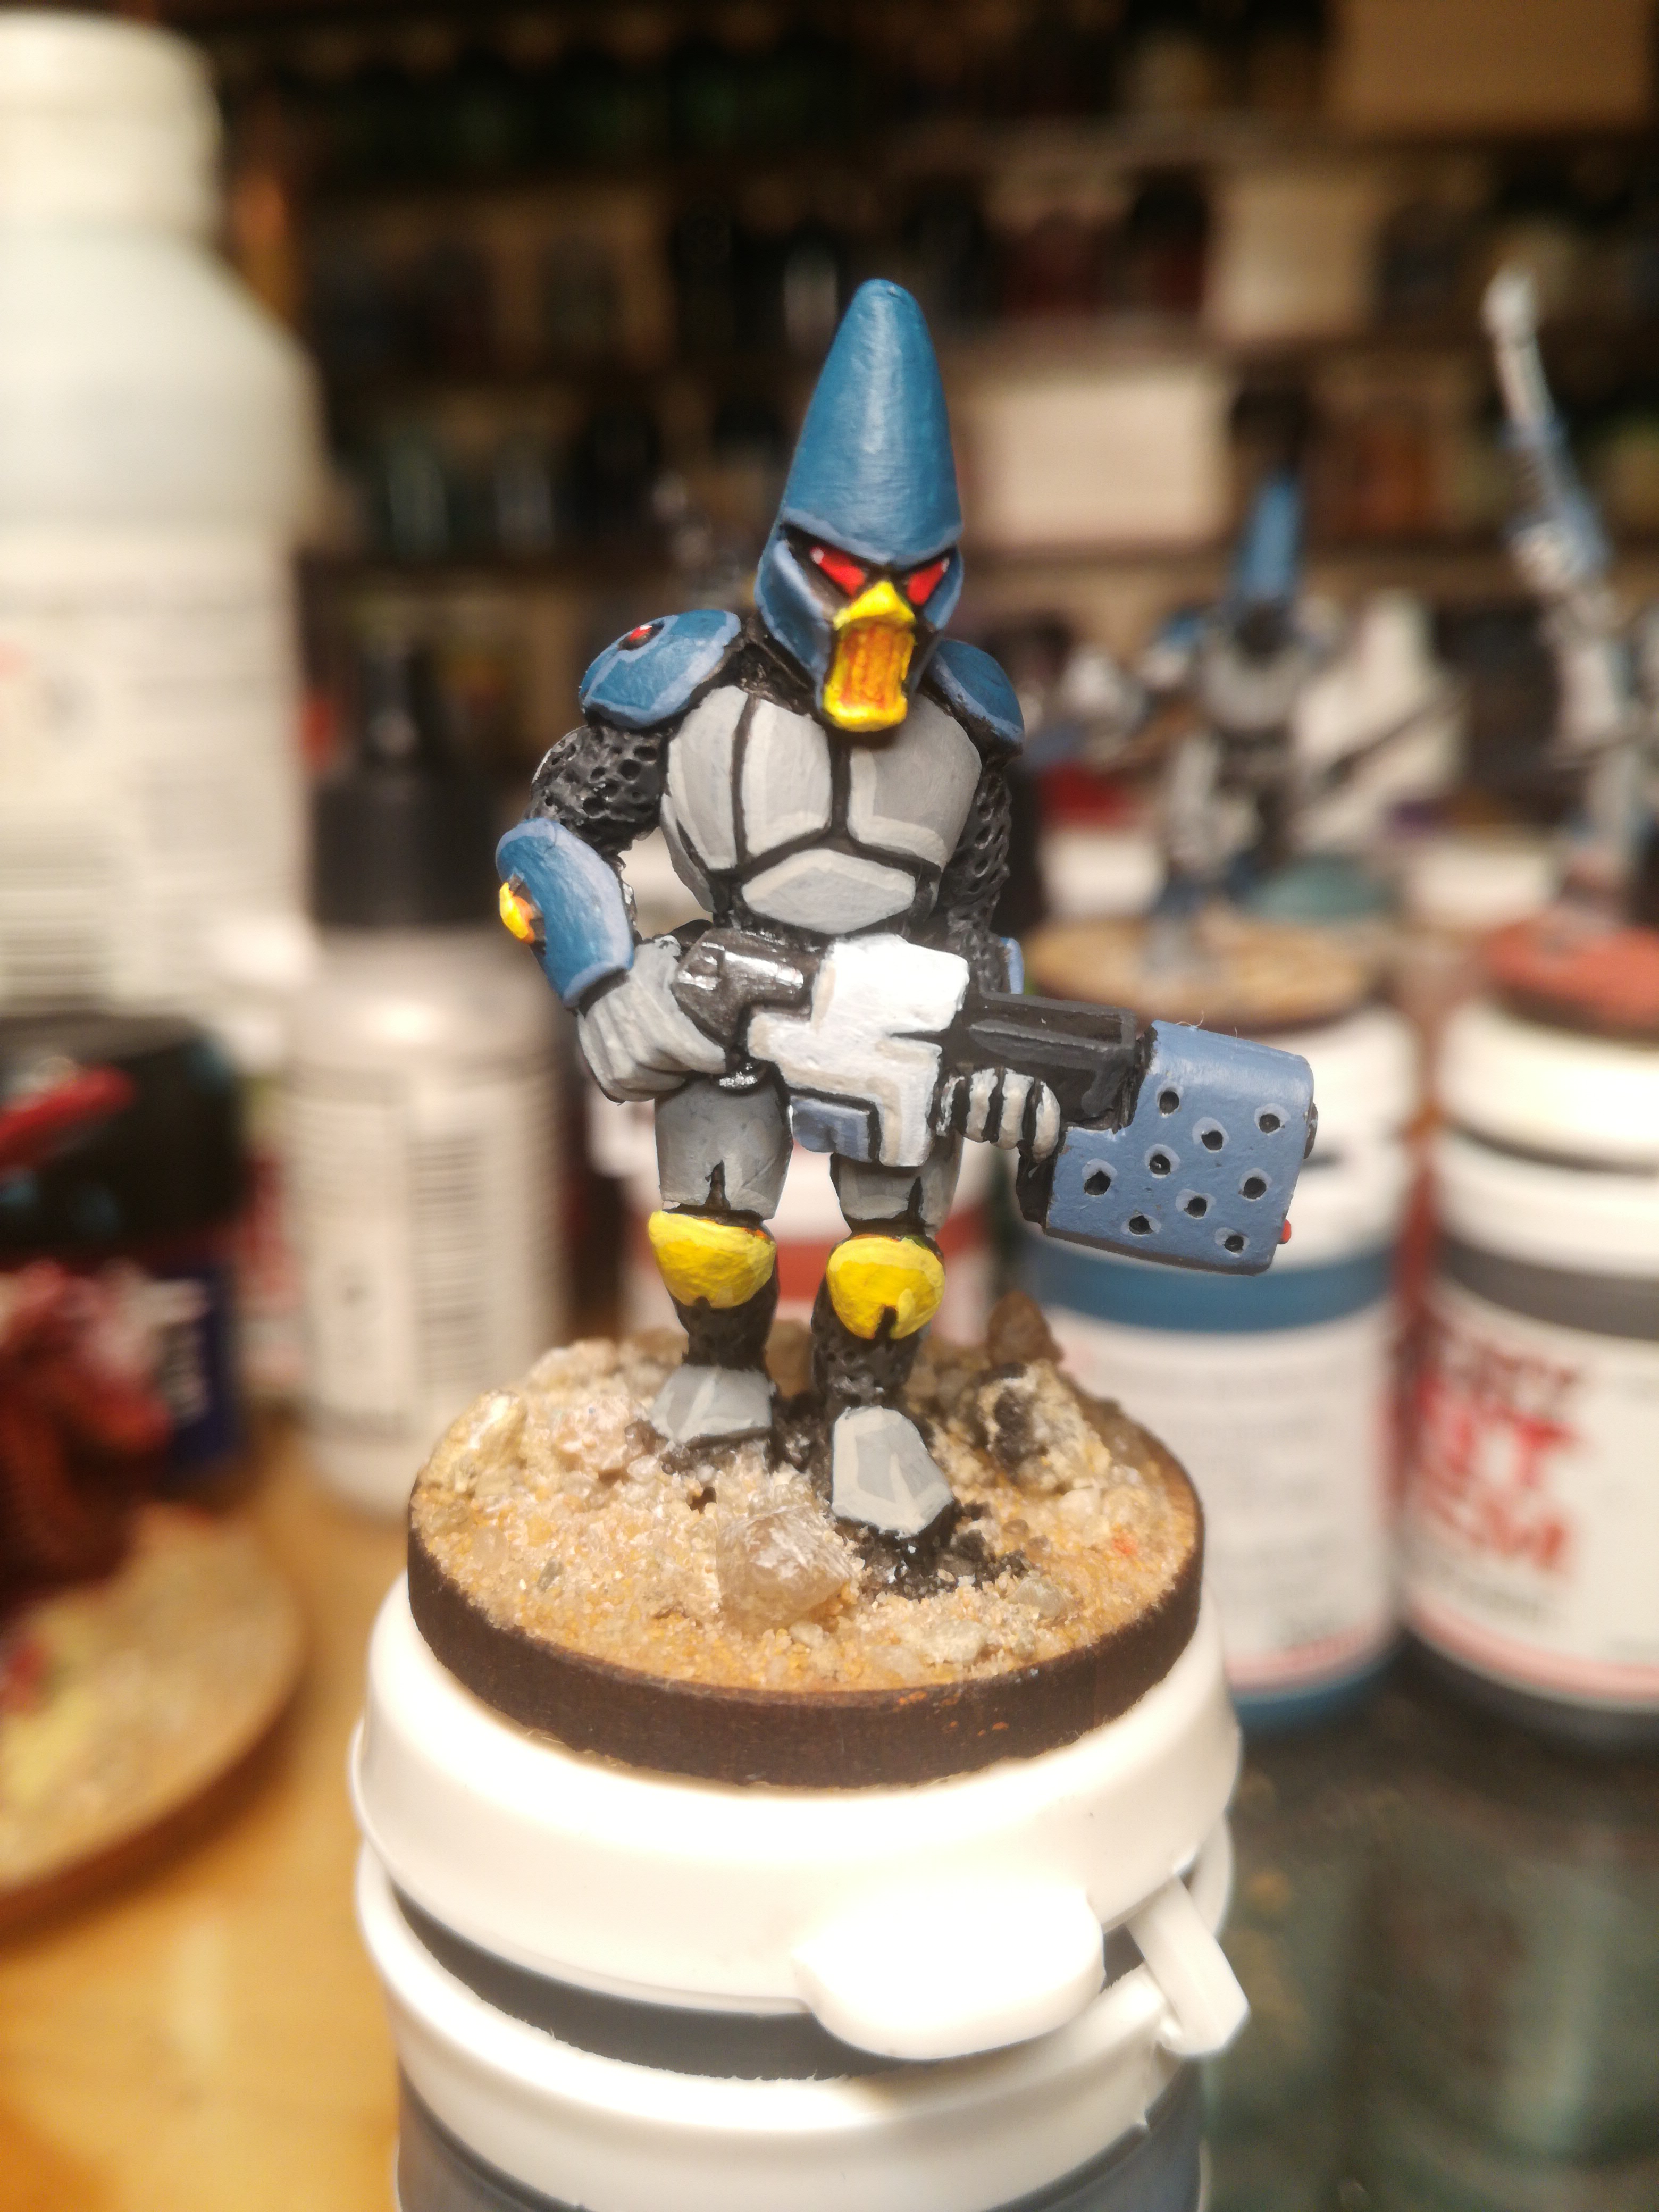
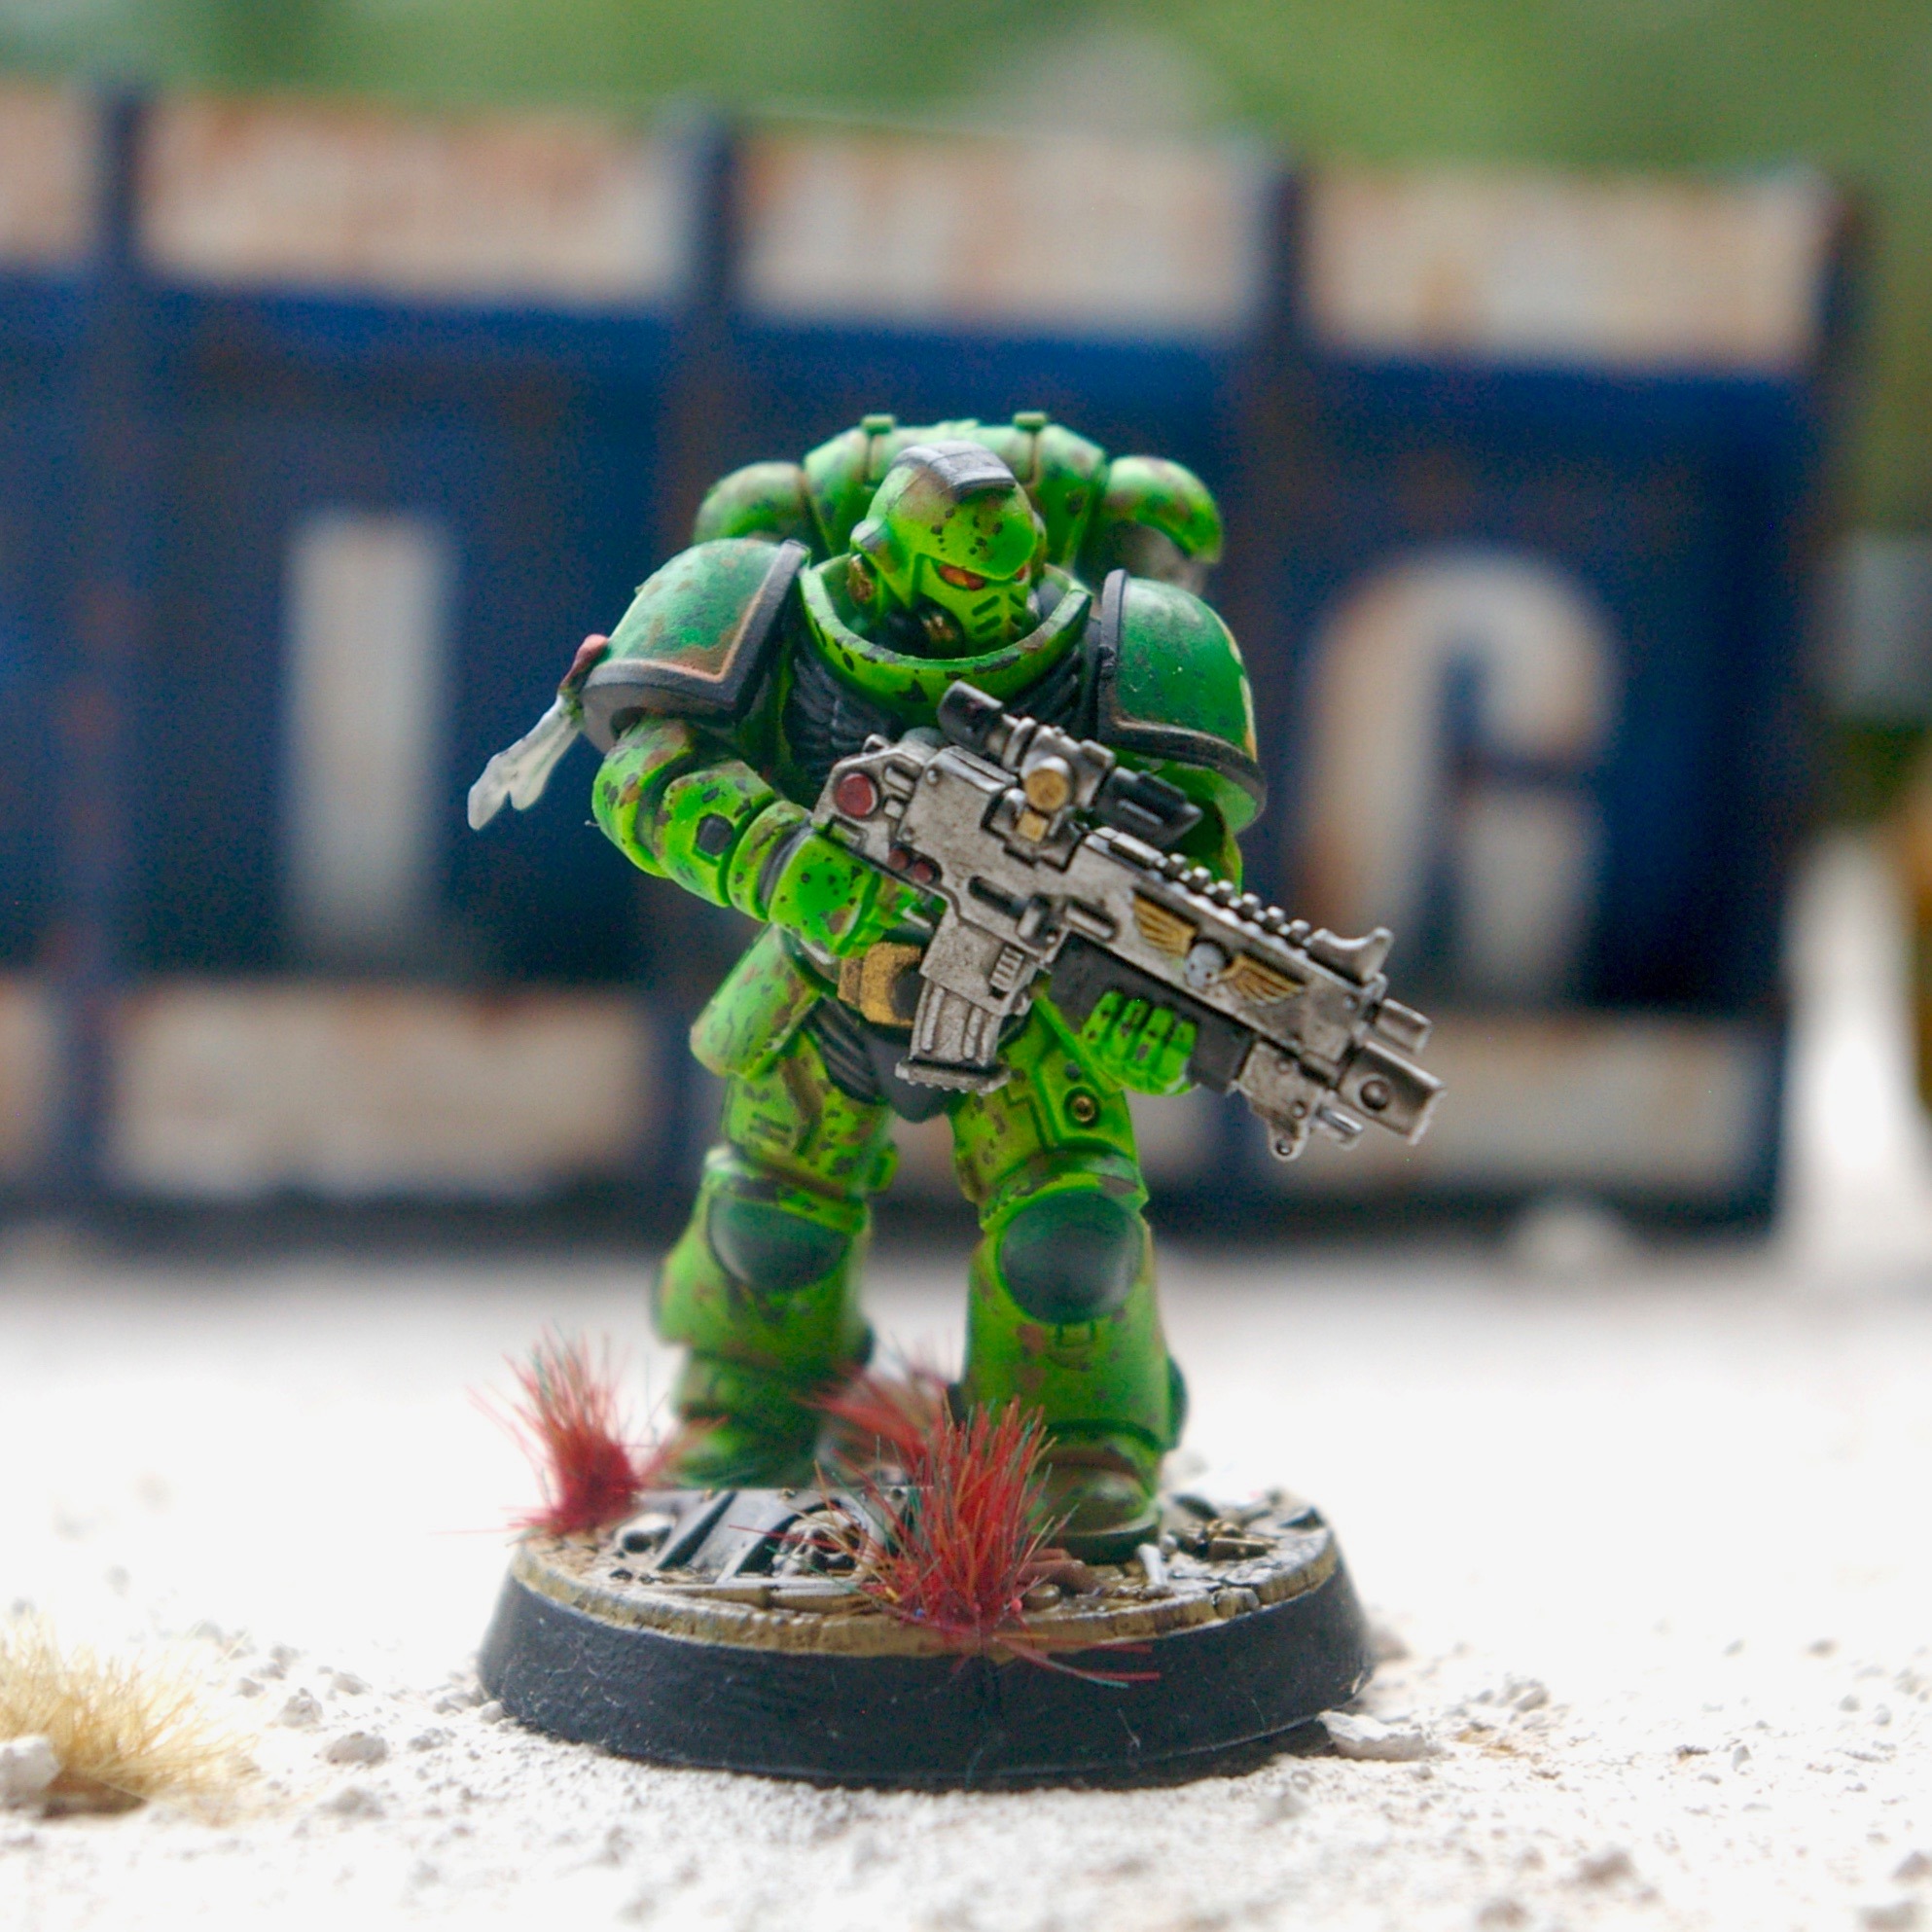
Finally a Spaash Mareen. Number One Son and I have been taking advantage of the 9Euro German rail tickets and have been travelling to Munich for lunch, As you do. I thought I would pop into WARHAMMER! and try out this newfangled Contrast paint that all the cool kids are using these days. The Red Shirt gave me a figure to try it on. While I was slappinig paint on he was inanely chatting to me in English, but in German was really (like really) pushing the hobby onto Number One Son.
One of our lunches. Nothing too extravagant, just a pork knuckle, potato dumpling, dark beer gravy and sauerkraut.
BUT as a result of the trip to WARHAMMER! Number One Son has expressed an interest in gaming. So now the modular table is getting some use, perhaps I need to get on and paint it? We are using our own version of One Hour Skirmish.
A system which utilises playing cards instead of dice which can make the turn system chaotic and fun. Highly recommended.
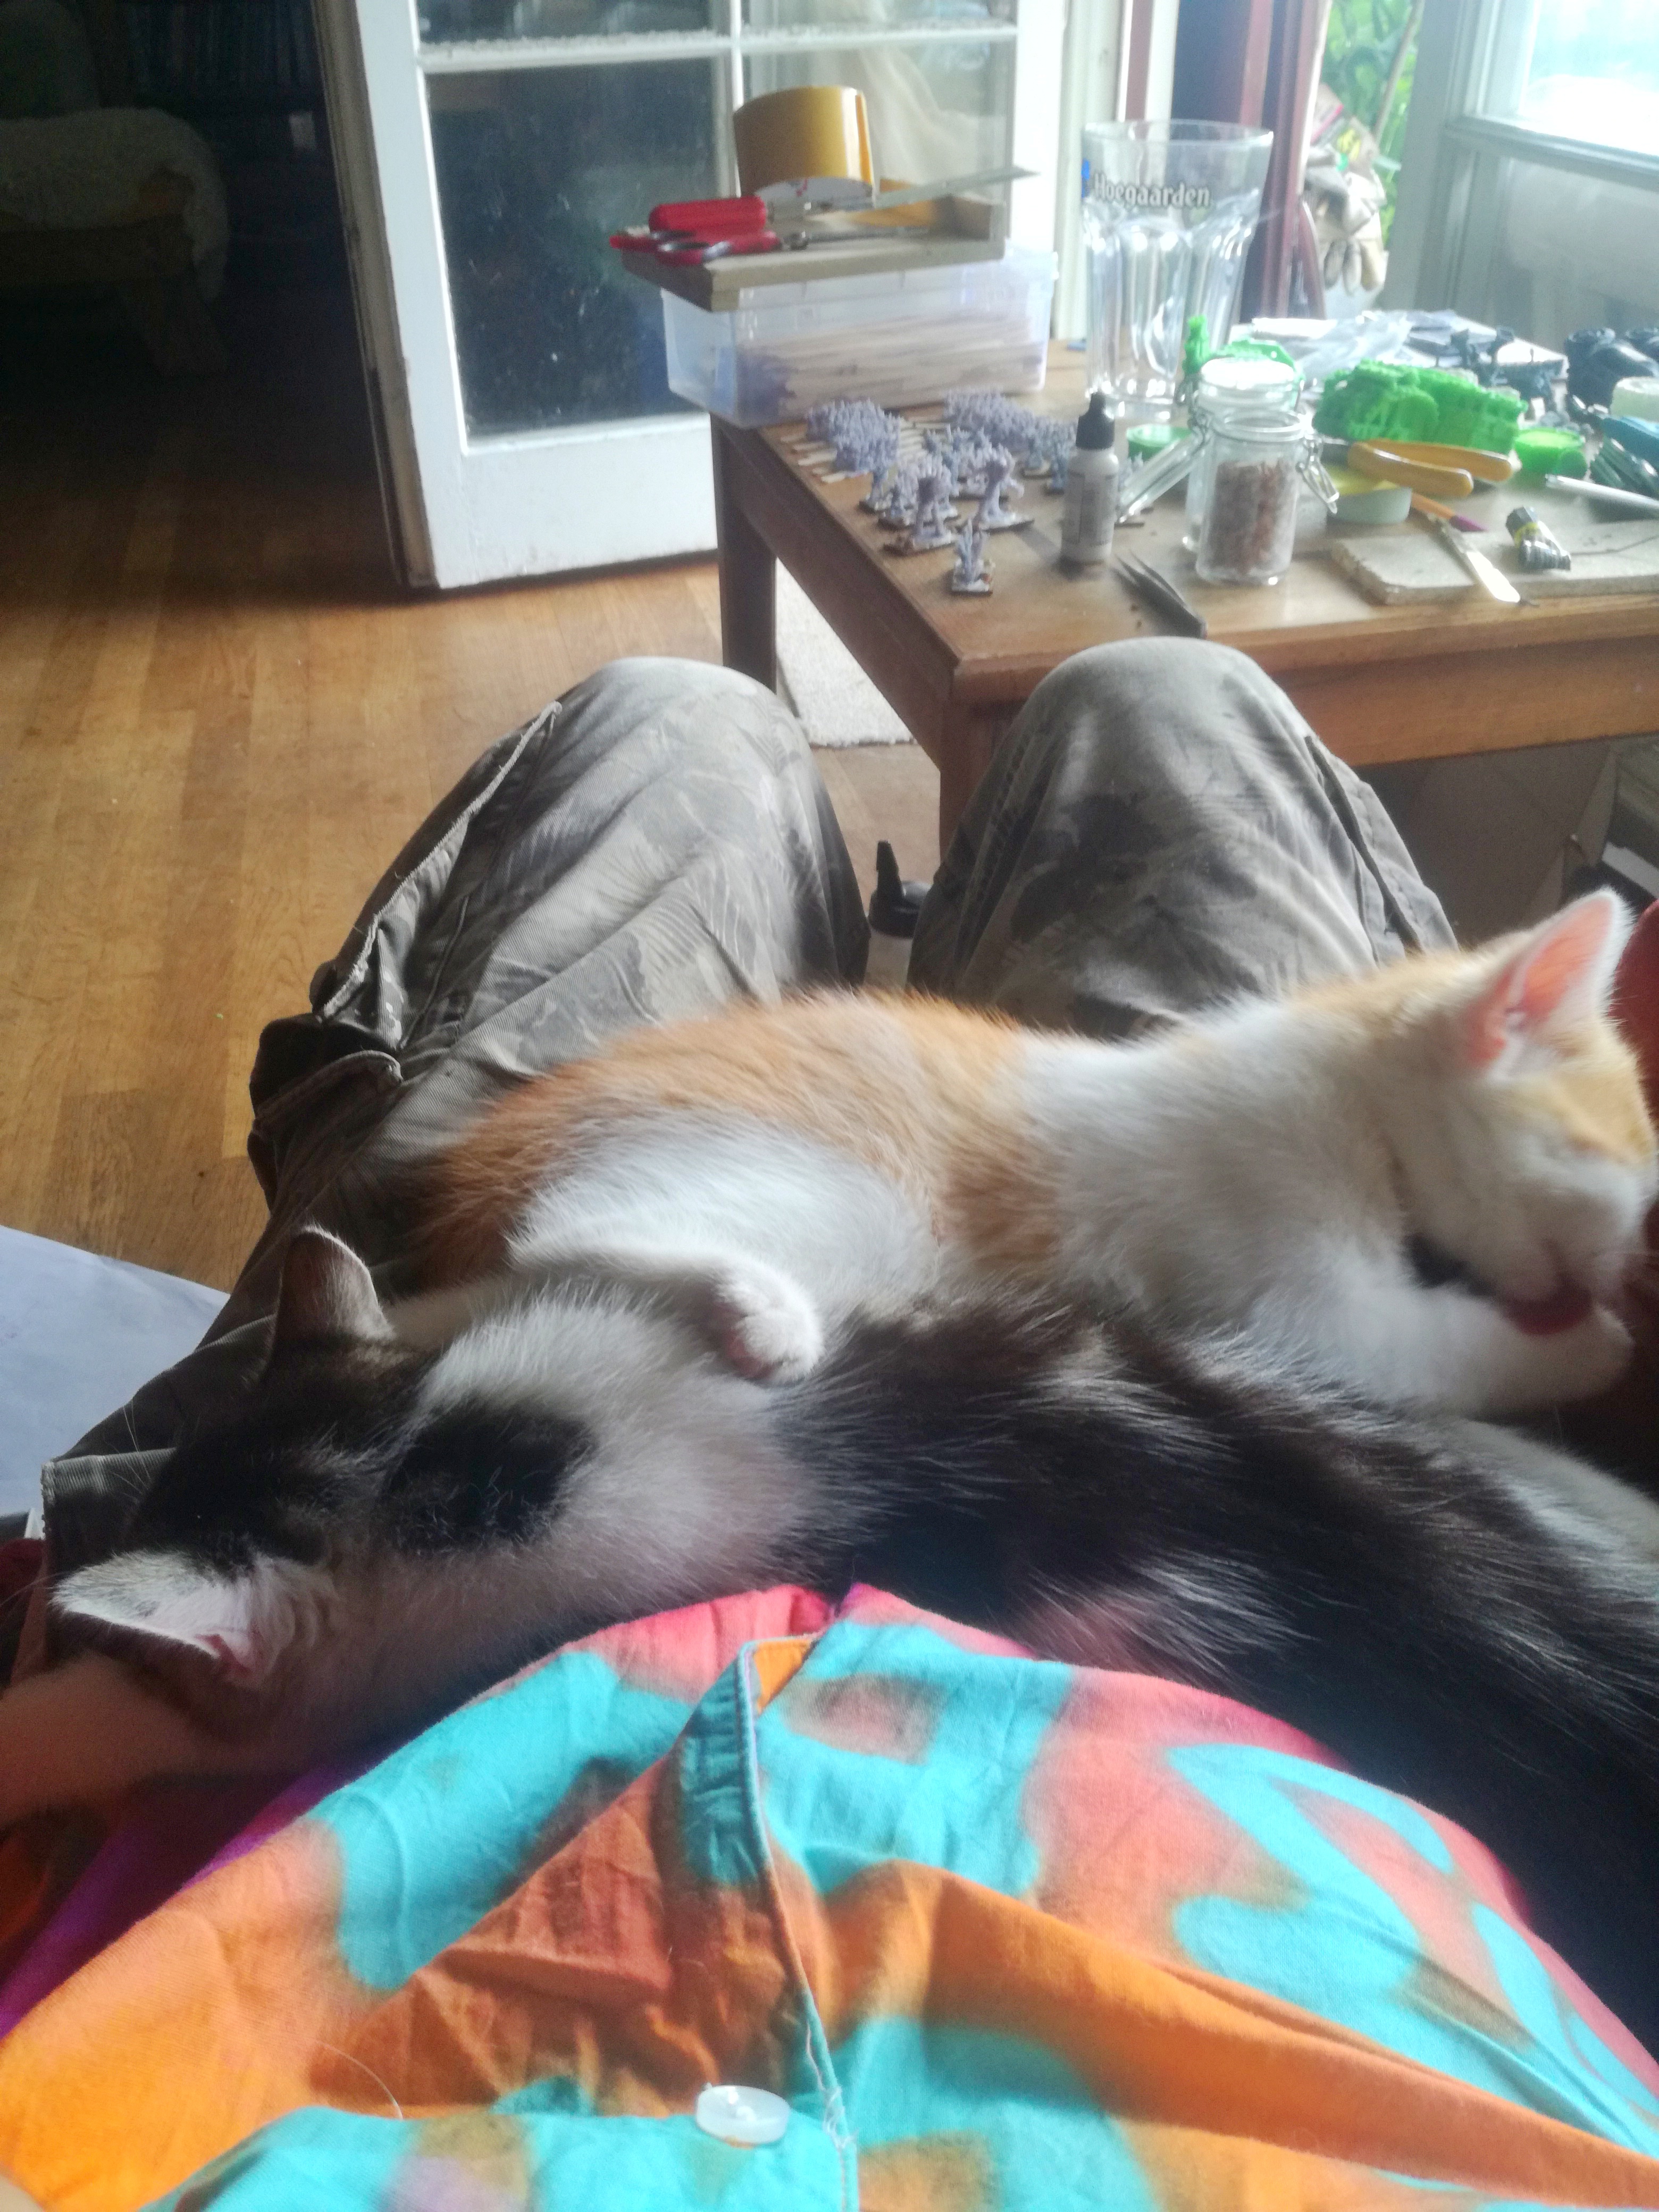
I also have been distracted by kittens, we are helping a neighbour rehouse kittens. Her farm is used as a dumping ground for unwanted kittens and she finds it a bit too much at times.
Disclaimer: the blog post has been brought to you by the generosity and patience of Chitu Systems.
Remember in my last post I said that I had a moral dilemma about fitting the 3D printer screen sent by Chitu Systems? Well they actually read my post (imagine?) and to paraphrase, “Why didn’t you say? Here’s some resin, go and play!”
Stock image. NOT my model
Shortly after they contacted me there was knock on the door and there was an Amazon package with this resin.
The only thing I could do was to fit the screen and do some test prints.
Fitting the screen was an absolute doddle and the online tutorial is a great help.
The firmware update was slightly problematic but some gentle prodding from the online support got me there quickly.
I was a bit of a numpty when it came to the exposure and kept going to high. Once I dialled it back (a lot) I was good to go.
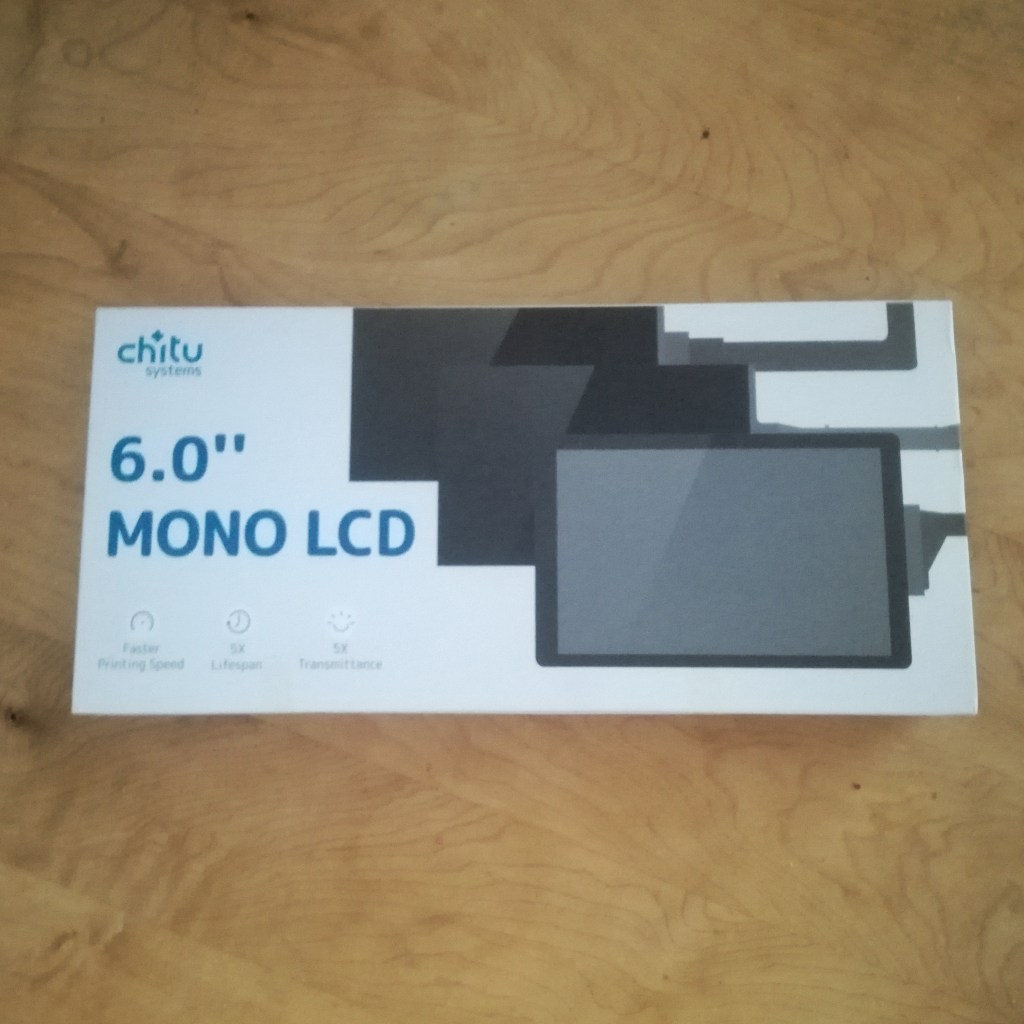
Talking about the resin this gave a little more detail than my my usual Nova3D (cheap as chips) and what I did like was that the models were slightly springy before curing. And that made removing the supports a lot easier. This is now going to be my preferred resin for printing.
This new iteration of mono screen gives a larger print area than the previous one and with a faster print speed it makes it a no-brainer replacement. If you are lucky you can pick up a Mars Pro pretty cheaply, probably second hand, and with this screen upgrade you’ve got a pretty serviceable machine. Roughly for the price of three spash mareen squads. Think on that.
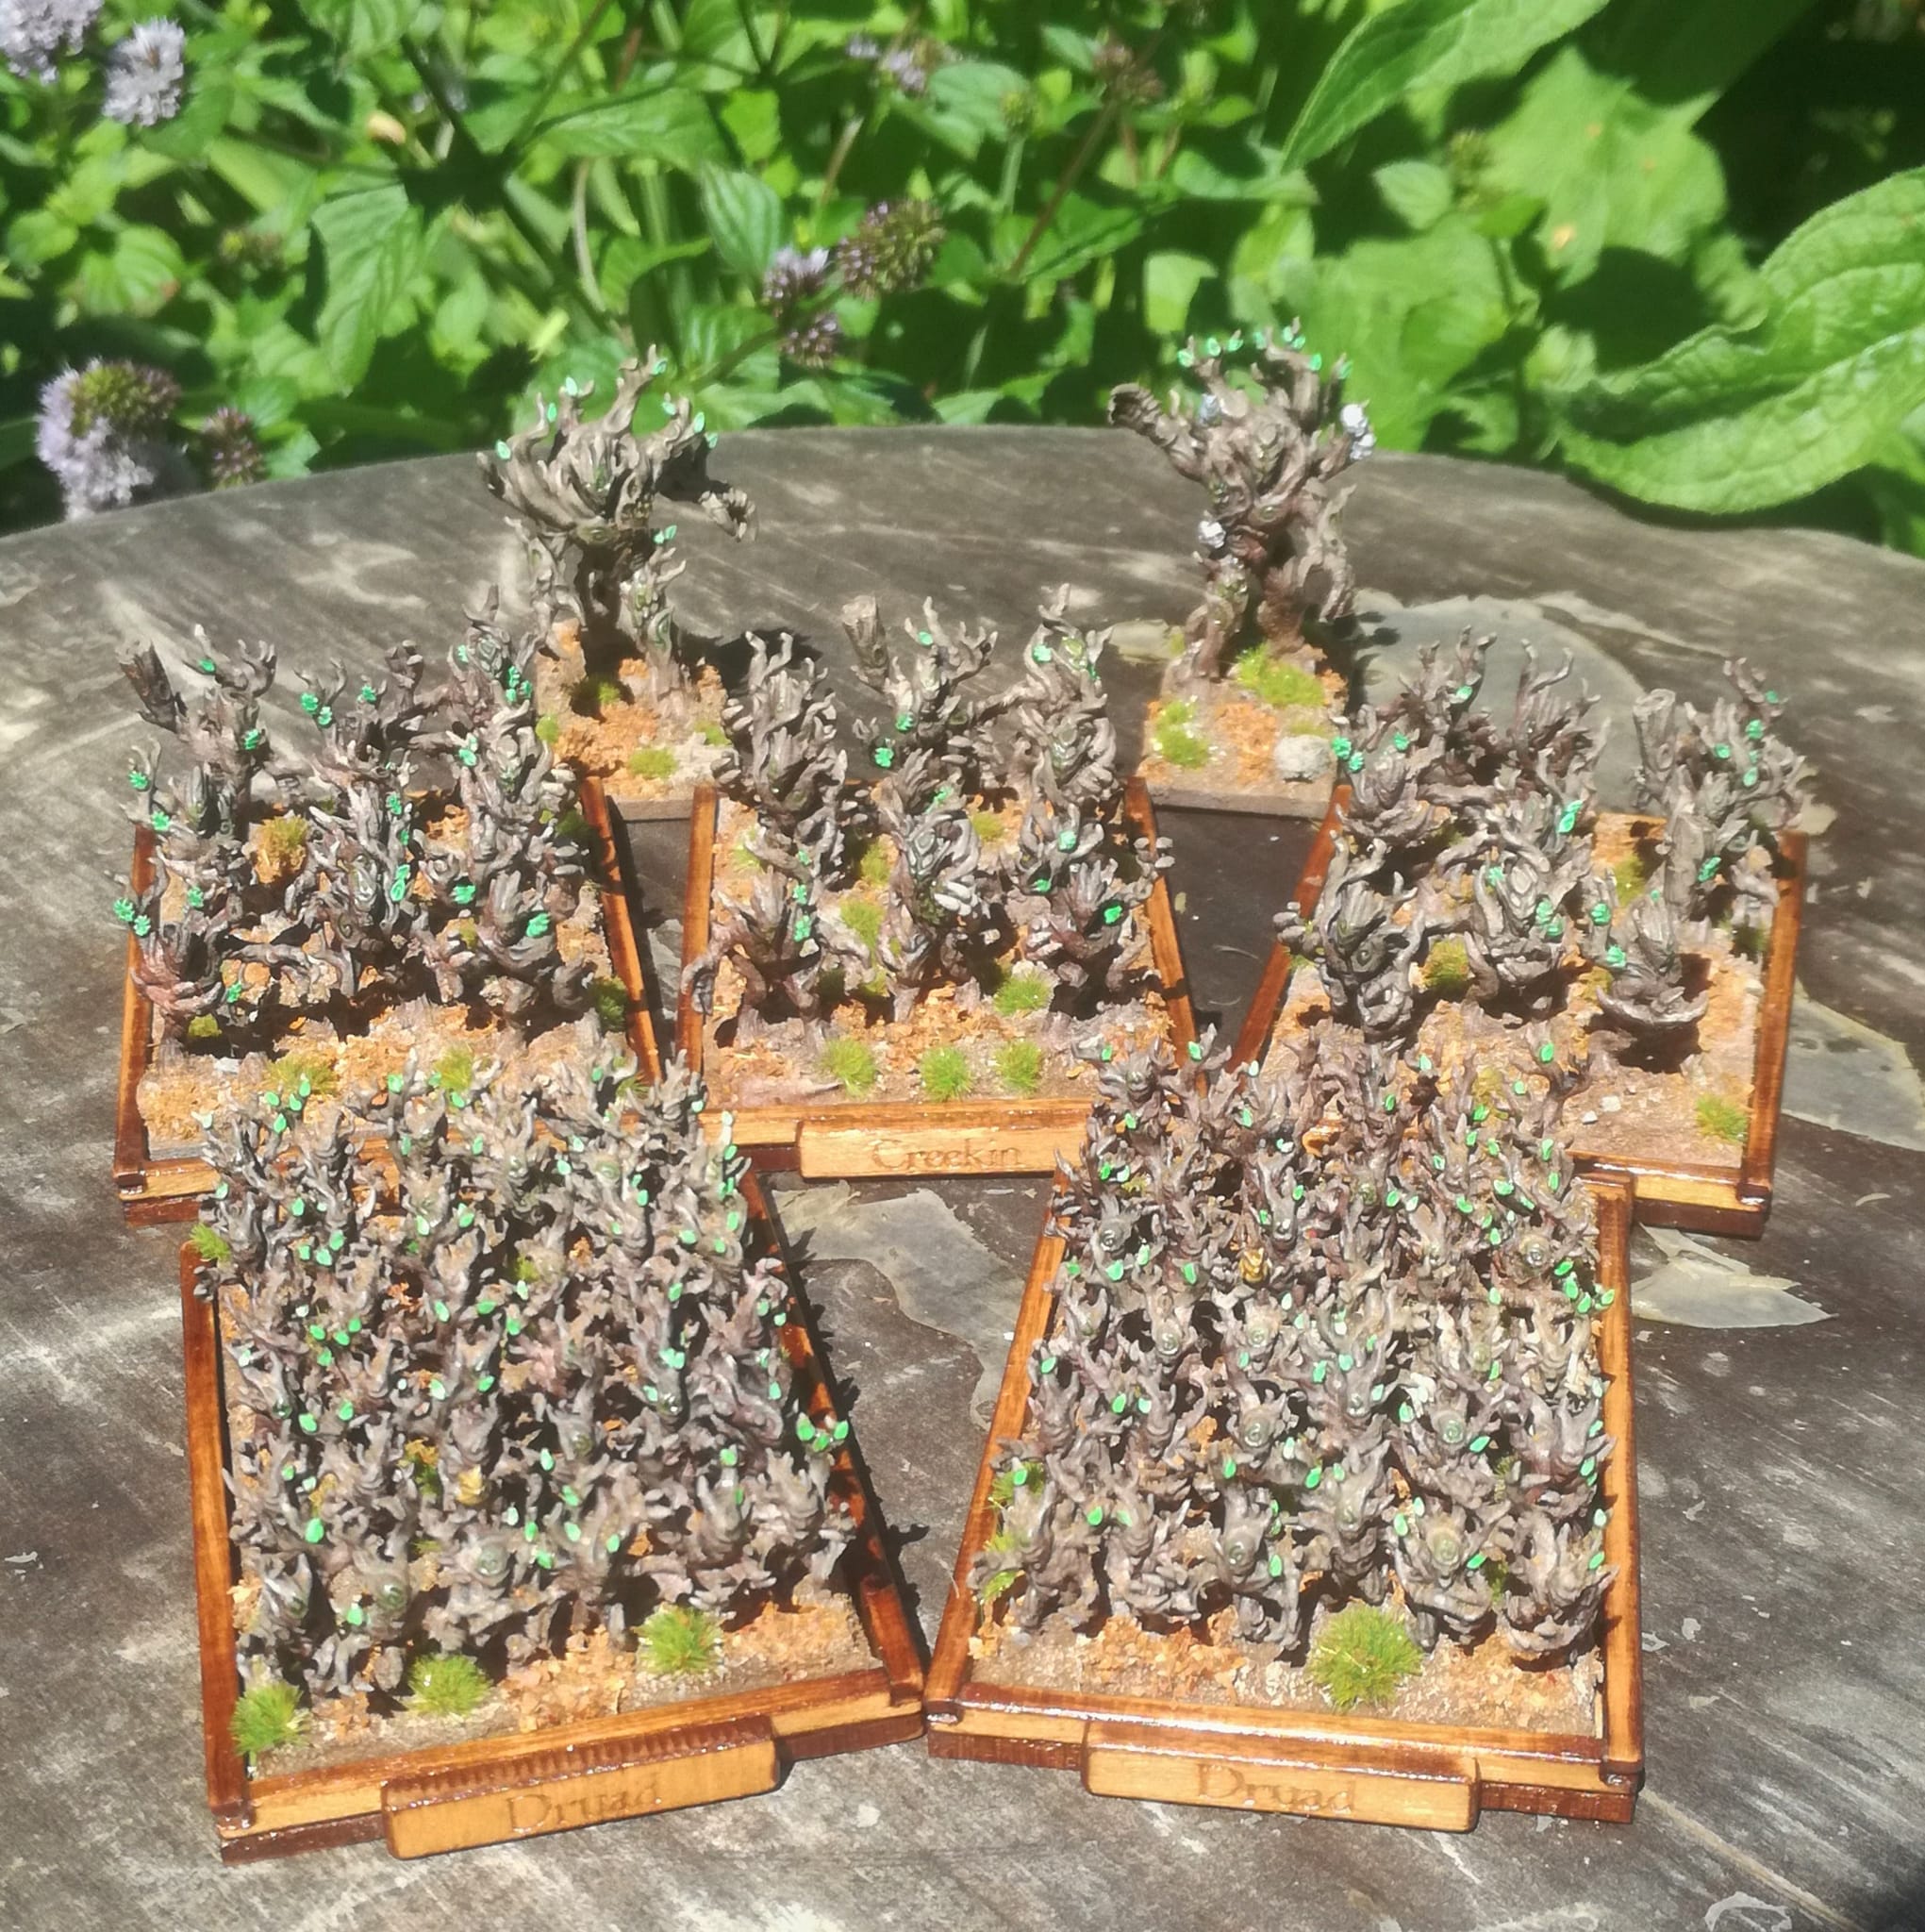
My first proper prints were of various Treefolk for a Warmaster (10mm) Wood Elf Army. Files are from Forest Dragon.
I am having a bit of a quandary on what to do. If anybody has suggestions I am all ears.
At the beginning of the year the screen failed on my Mars Pro. On one of my Facebook groups someone had posted about some new Mono screen upgrades from Chitubox. They promised a lot longer life and faster print times.
The replacement
I duly ordered it and it arrived promptly. Fitting it was easy. But I had a right kerfuffle getting the correct firmware and some conflicting advice on how to achieve it. After a couple of days it was resolved and I could print again.
To be honest I couldn’t tell if the print times were faster or if there was a difference in quality. The build space on the X/Y axis was smaller but as everything I print is small it didn’t bother me. I could print.
This is where it becomes interesting.
About two months ago I had a message in Facebook from “Chitu Systems”. Would I be interested in an upgraded screen? I didn’t really believe it was from Chitu Systems and didn’t believe anything would come of it. I said yes and promptly forgot all about it.
Then a couple of weeks later I received a package from China.
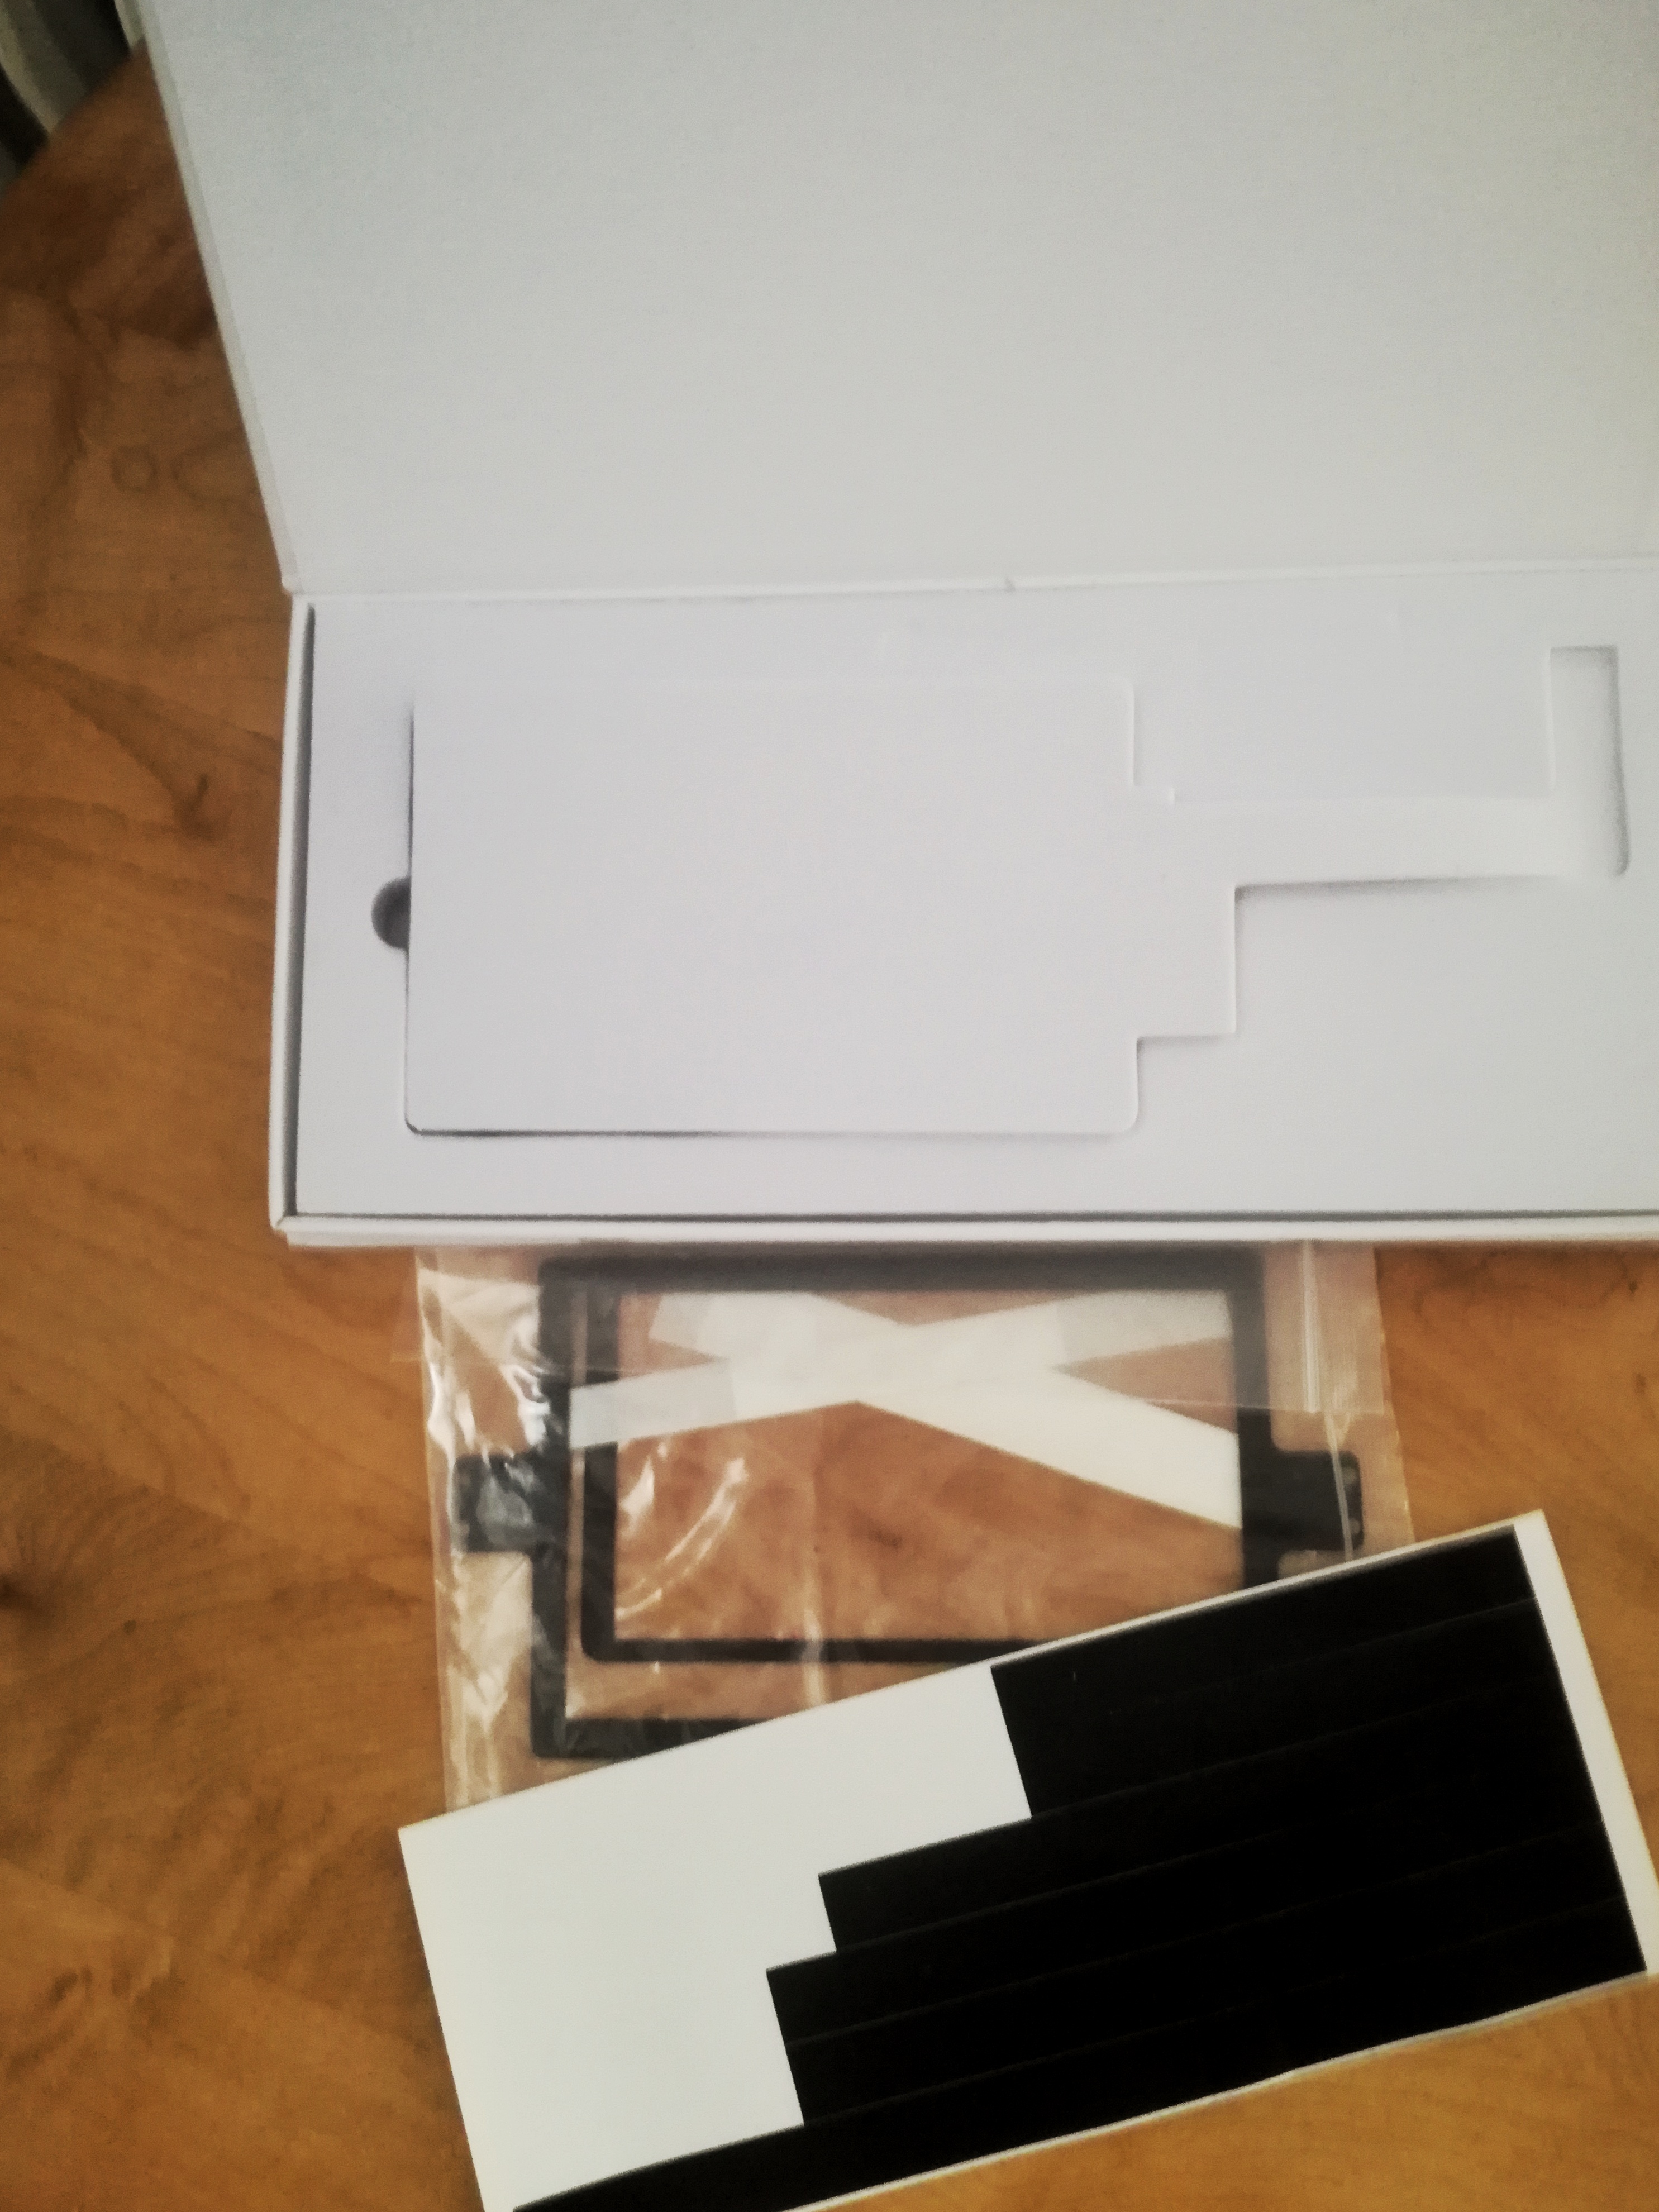
Beautifully packaged with a whole load of extras that I didn’t have with the original replacement screen. This one promises a much bigger print area.
I have some reservations about fitting it.
Firstly I have recently fitted the replacement screen and I should get another year at least from it.
Secondly I have run out of resin and due to finances I won’t be buying any for the next month or two. I have just bulk bought some FDM filament for some large projects and that depleted the cash reserves. I have no wish to fit it and not to be able to test it.
Thirdly, do I want to go through the hassle of finding the right firmware again. Timewise I have over faced myself with projects and I want to play catch up before I embark on anything else.
Stupid project making a modular trench system. Which I have no time for.
To top this, I am getting messages every couple of weeks asking if I have fitted it and how did it go. Nothing like piling on the guilt.
Here is a picture heavy painting round up. Still struggling with fatigue and concentration. This is why I made this the first job of the day so it would get done.
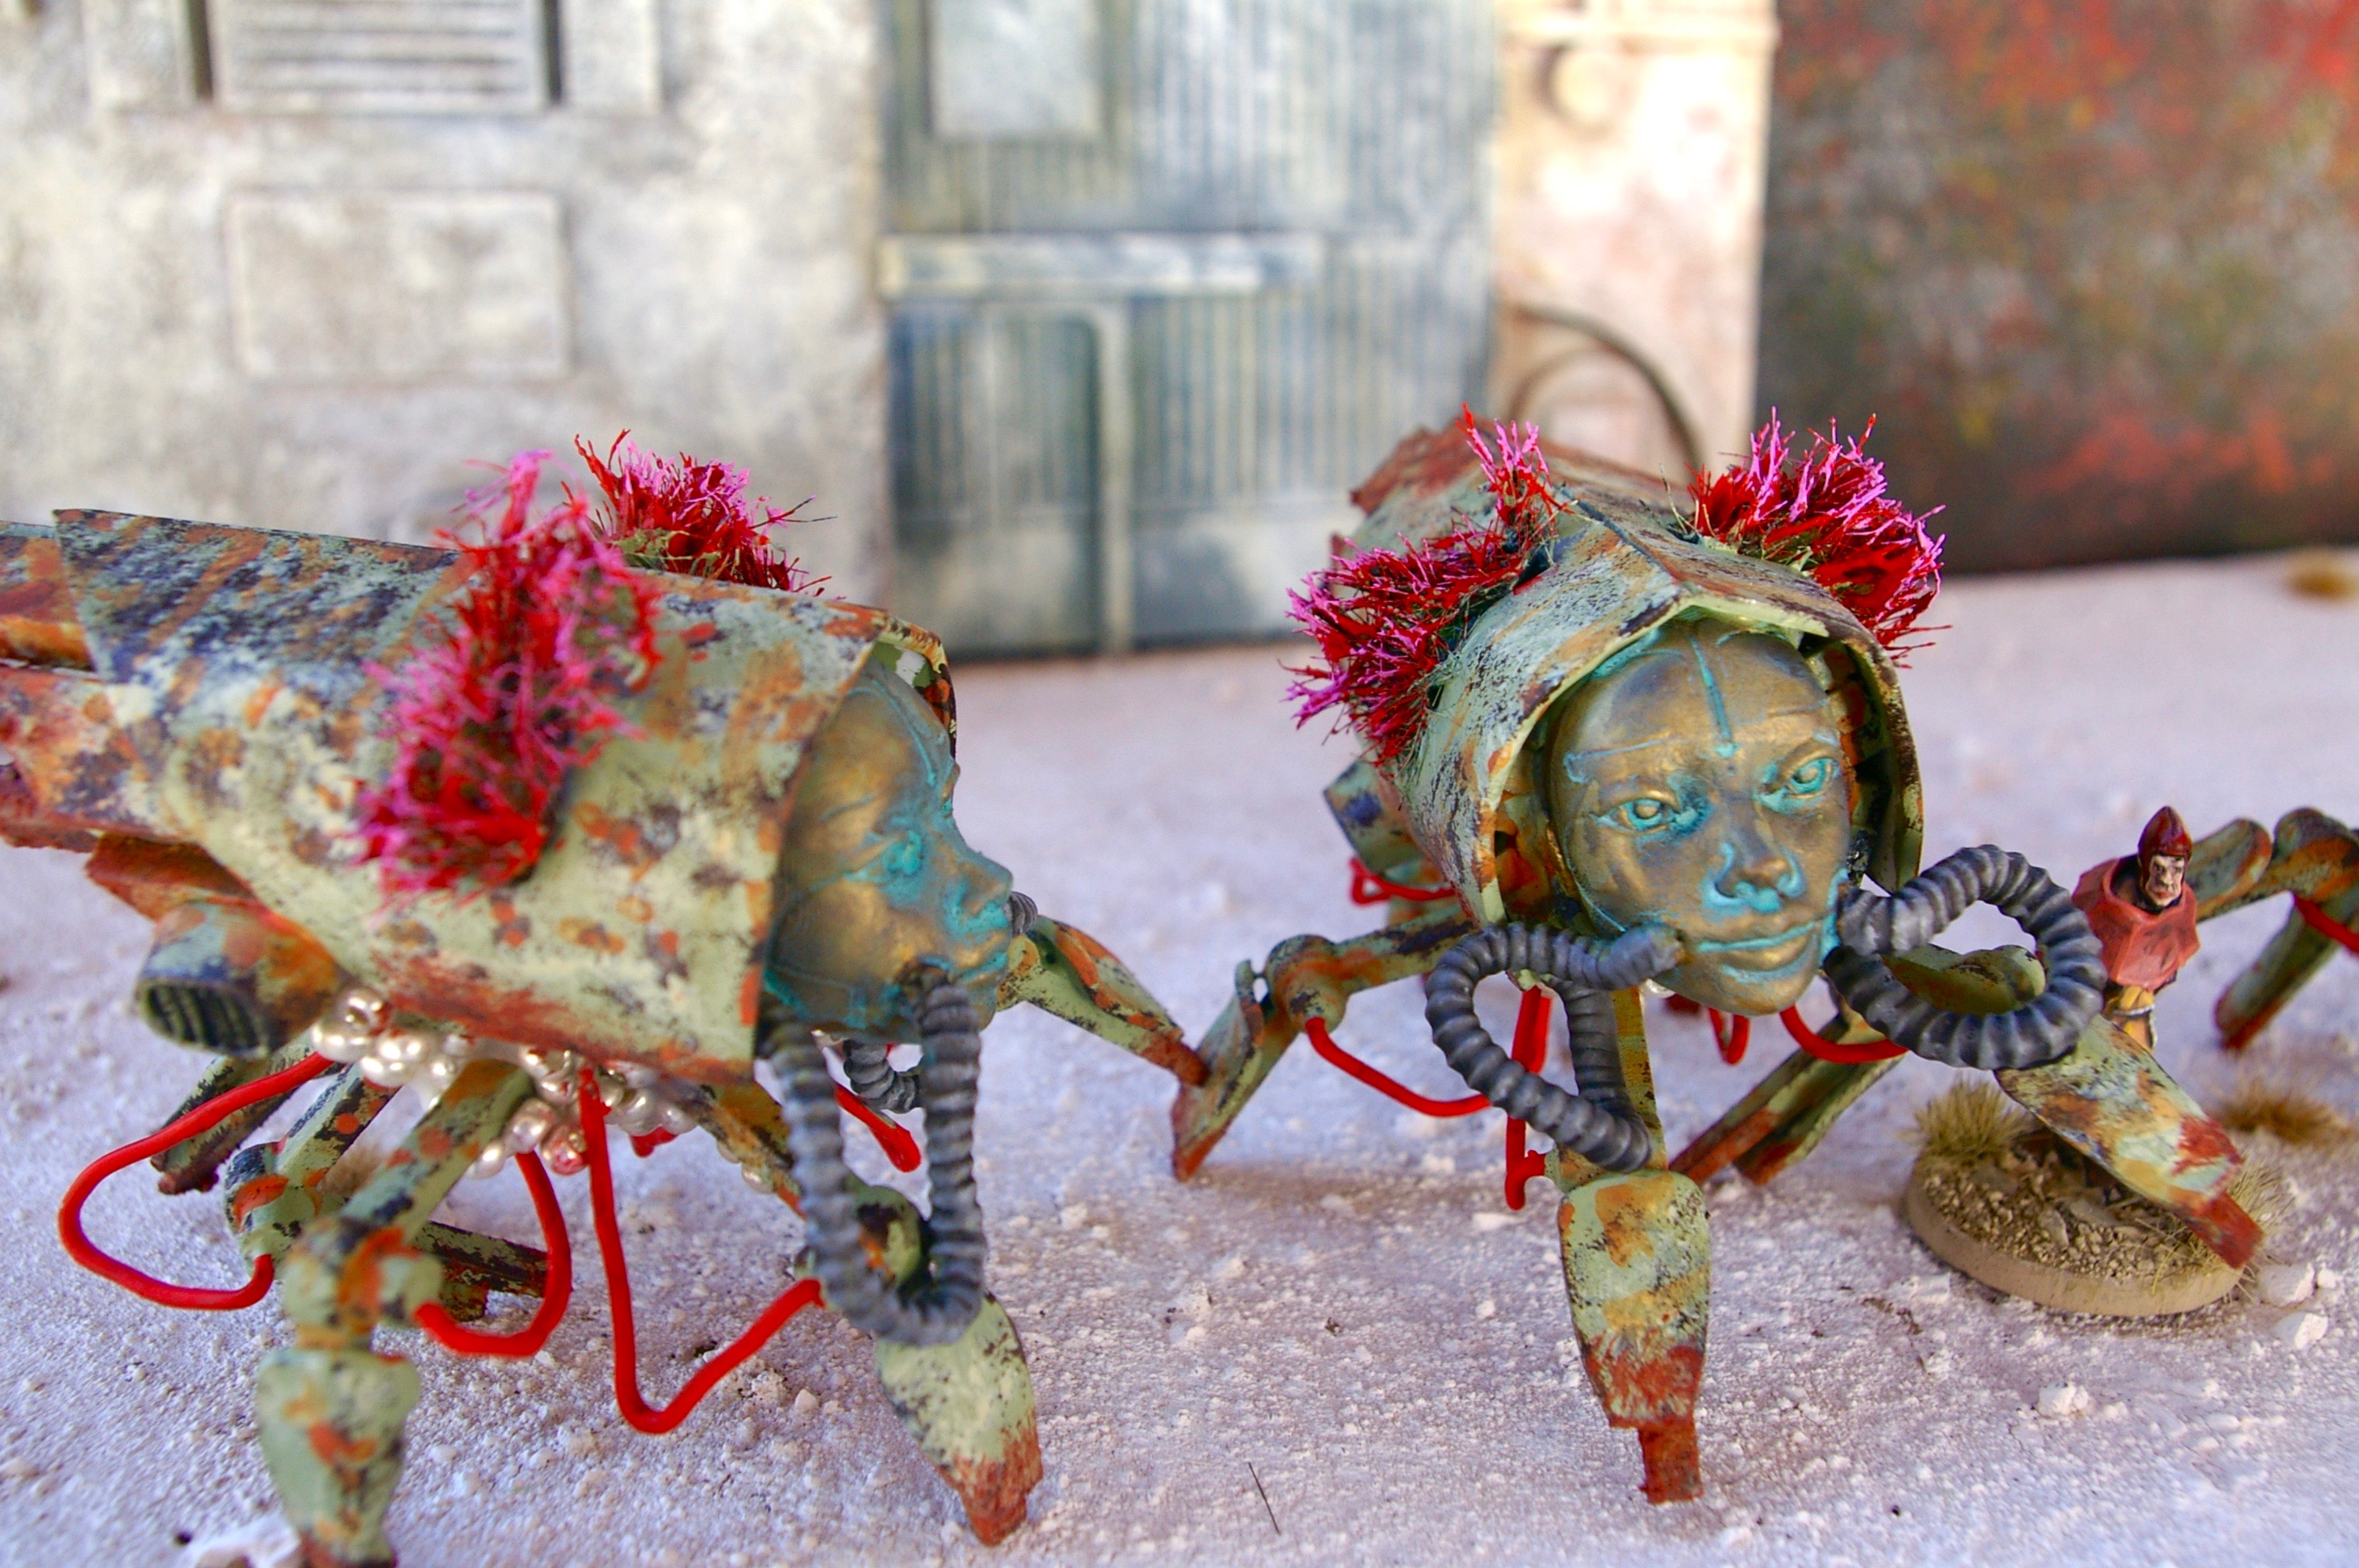
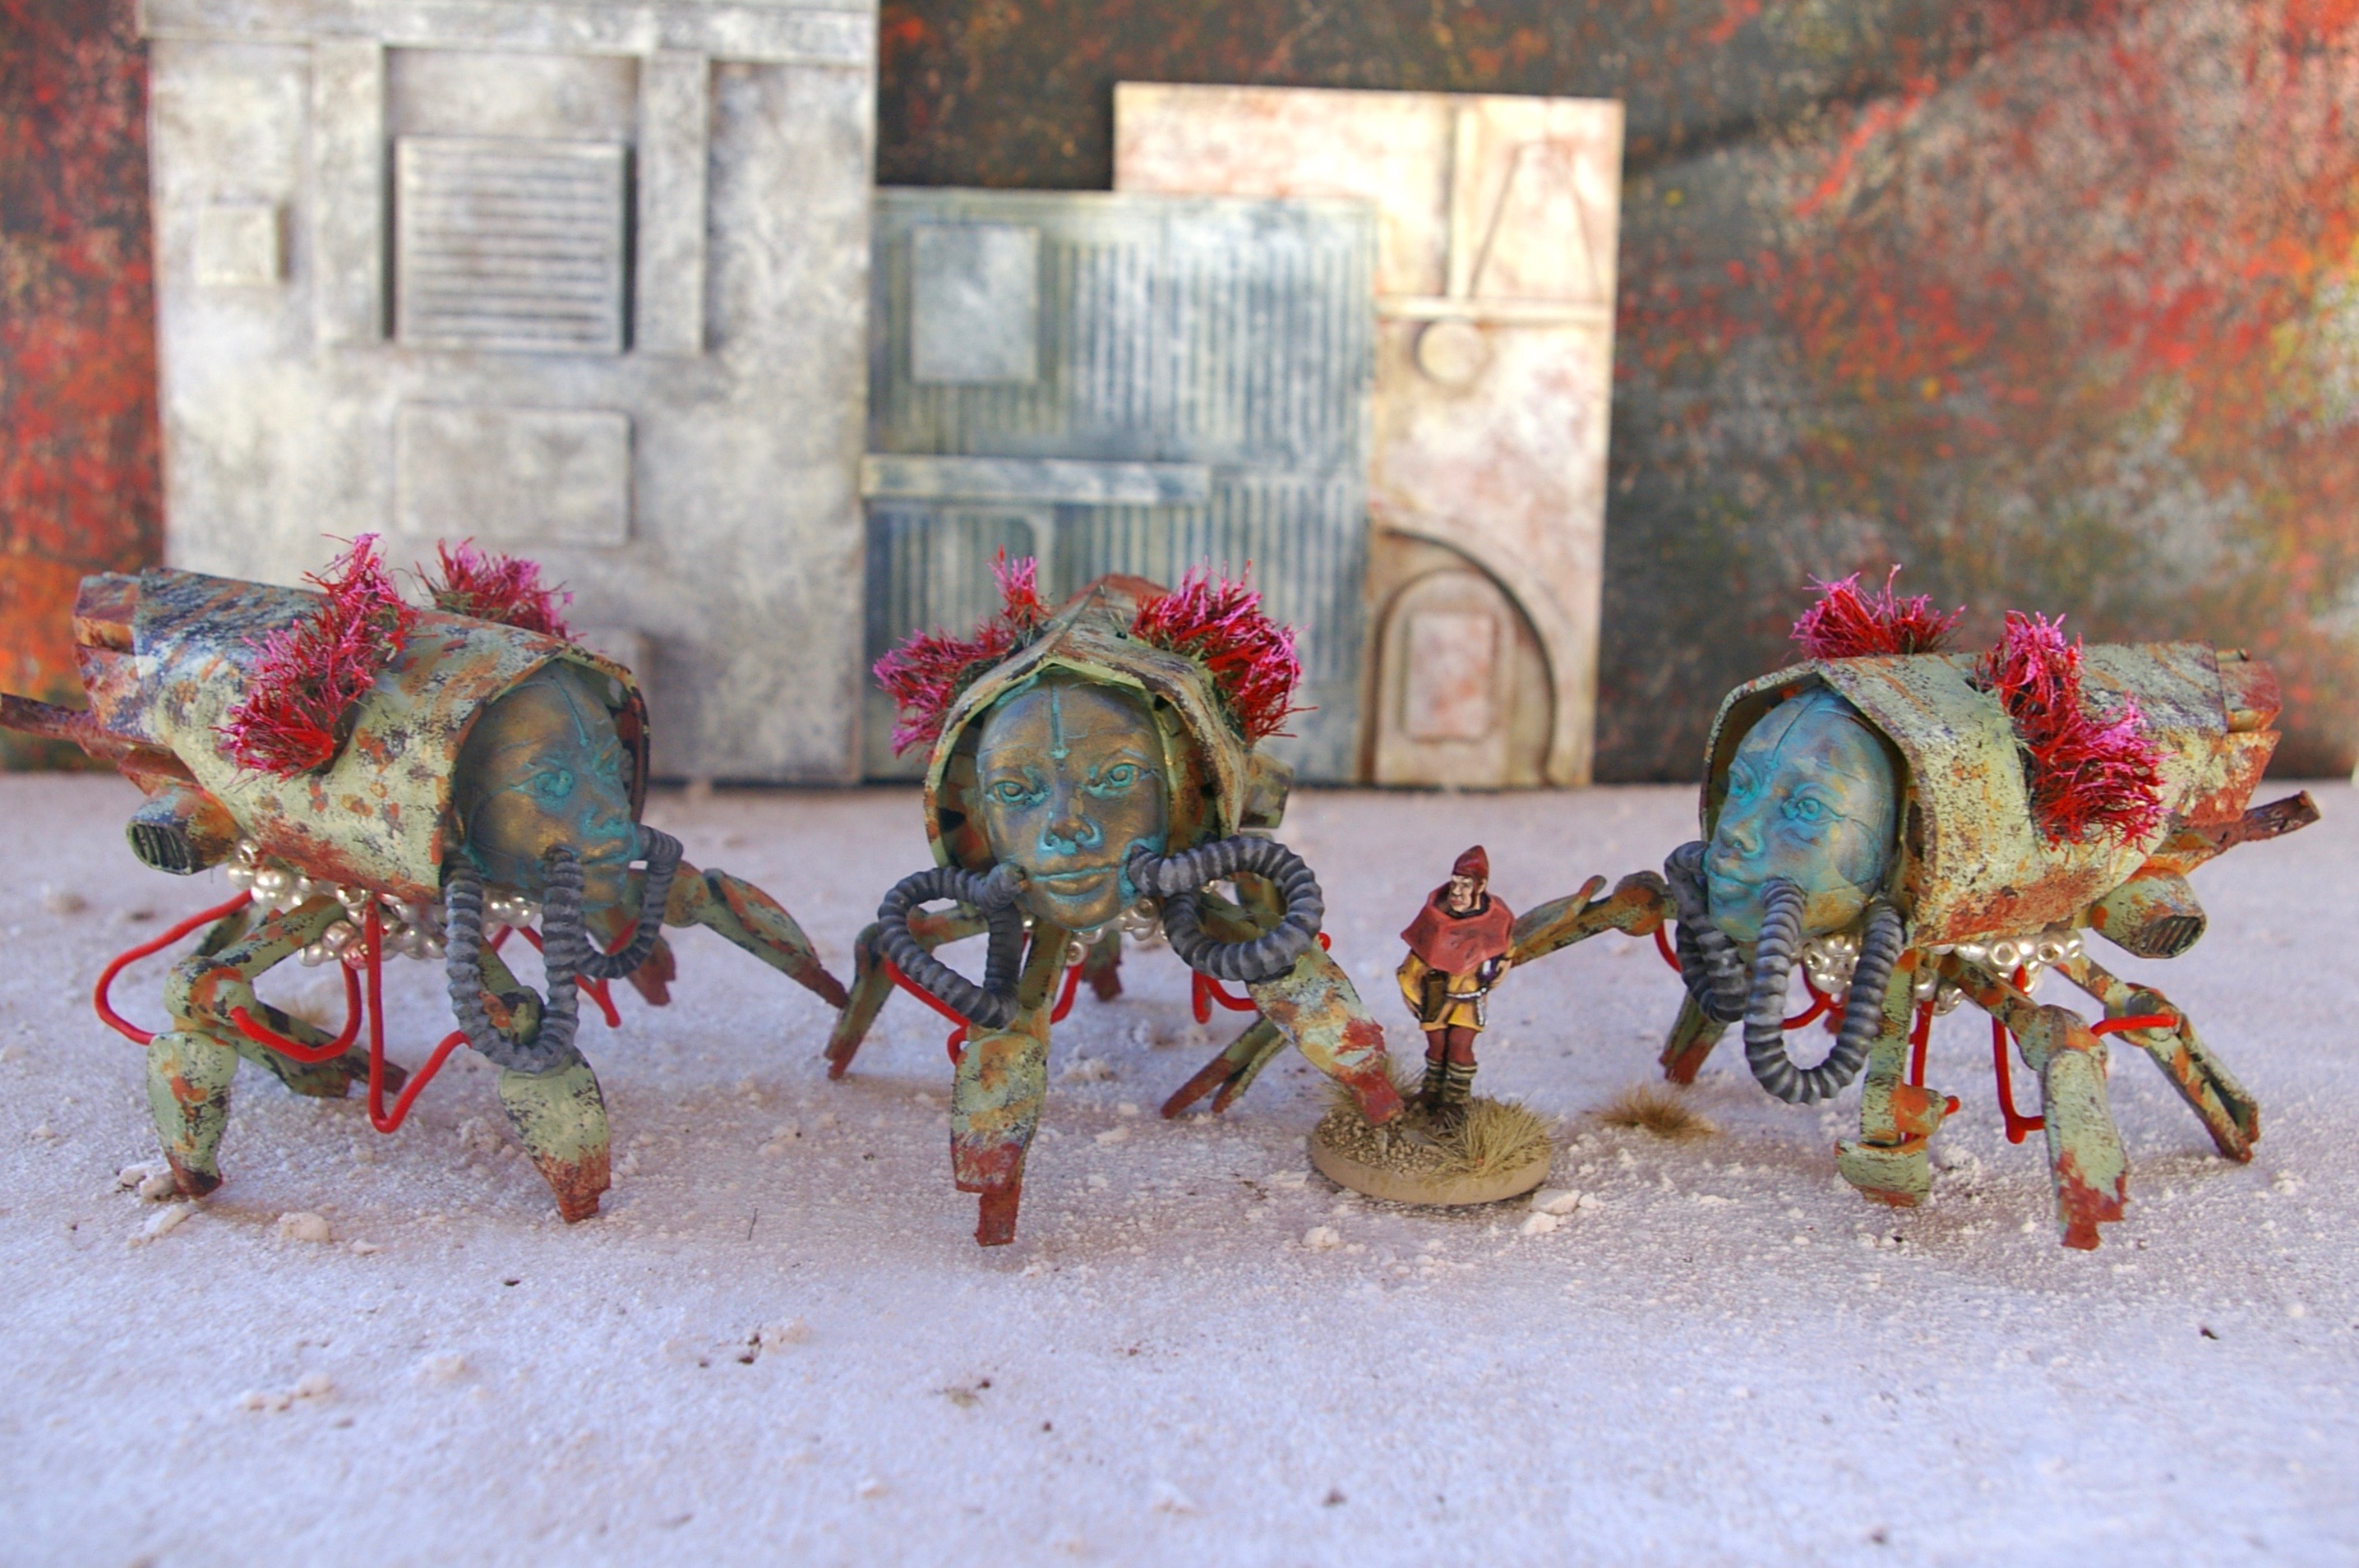
These are walking troop transports for my Traitor Guard. There are 3D printed parts from Knucklebones patreon, resin parts from Ramshackle Games and laser cut parts.
I am not quite sure what these are. 3D printed, laser cut, resin parts and physical modelling.
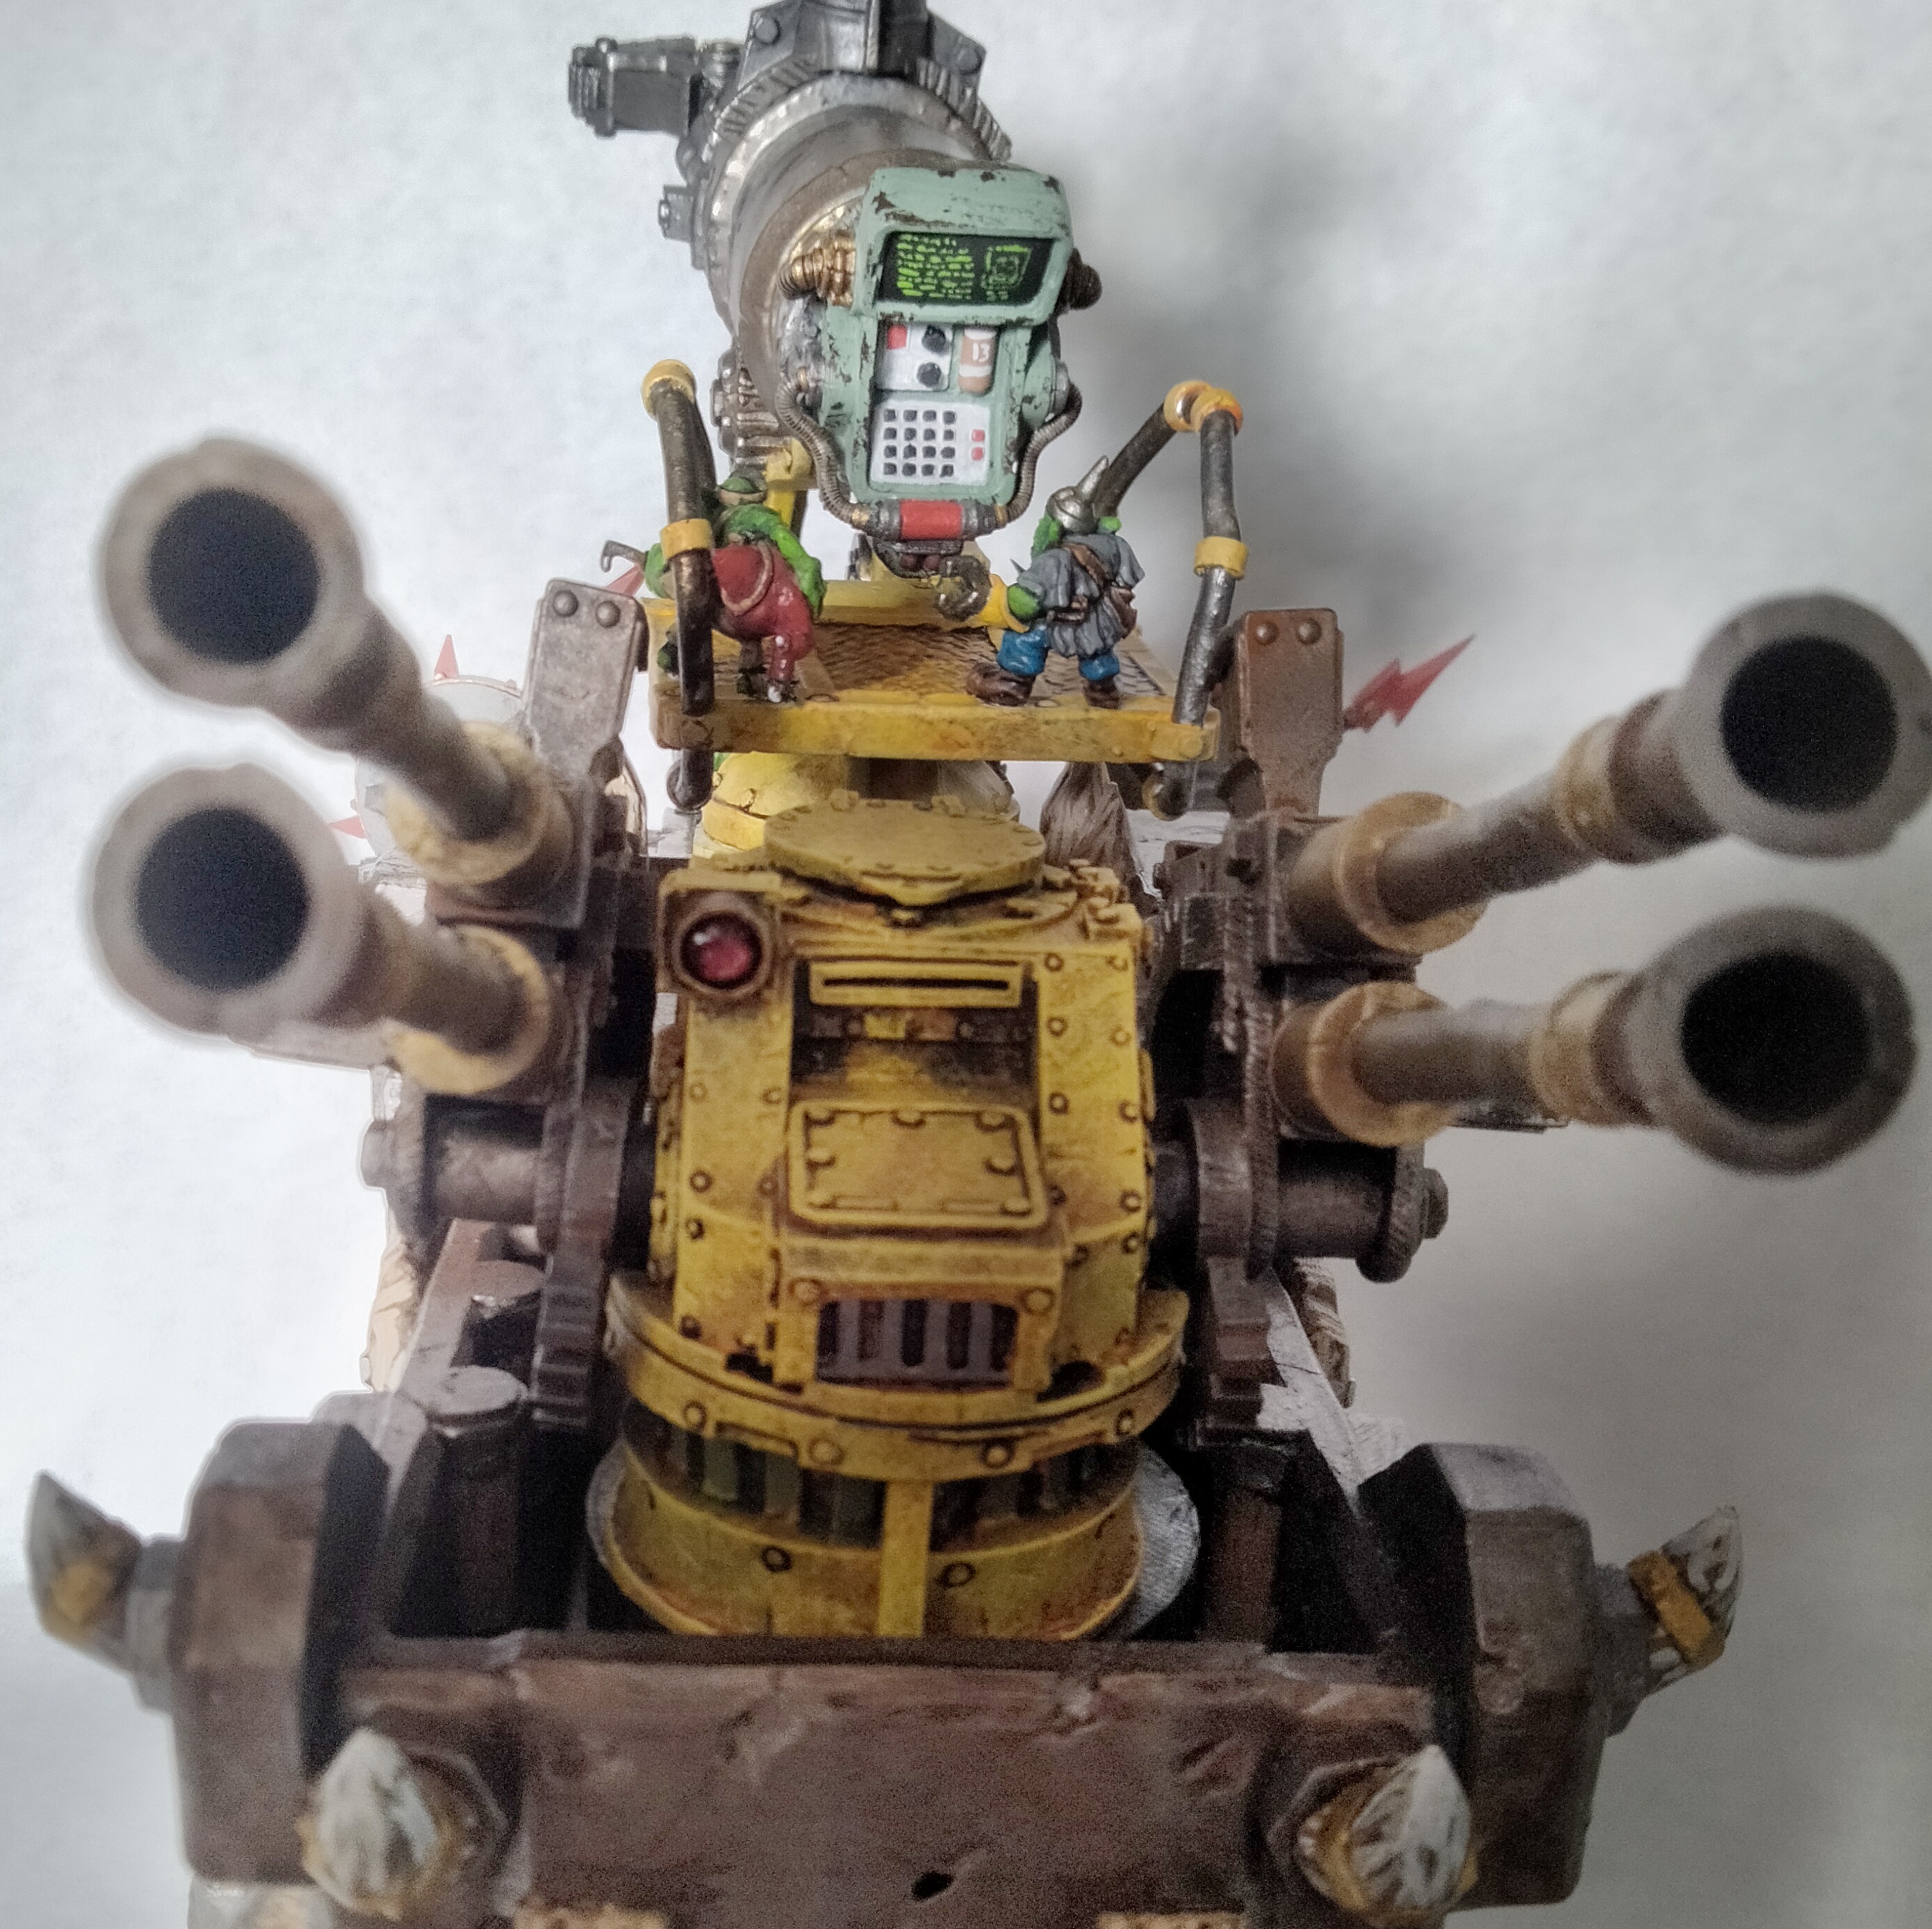
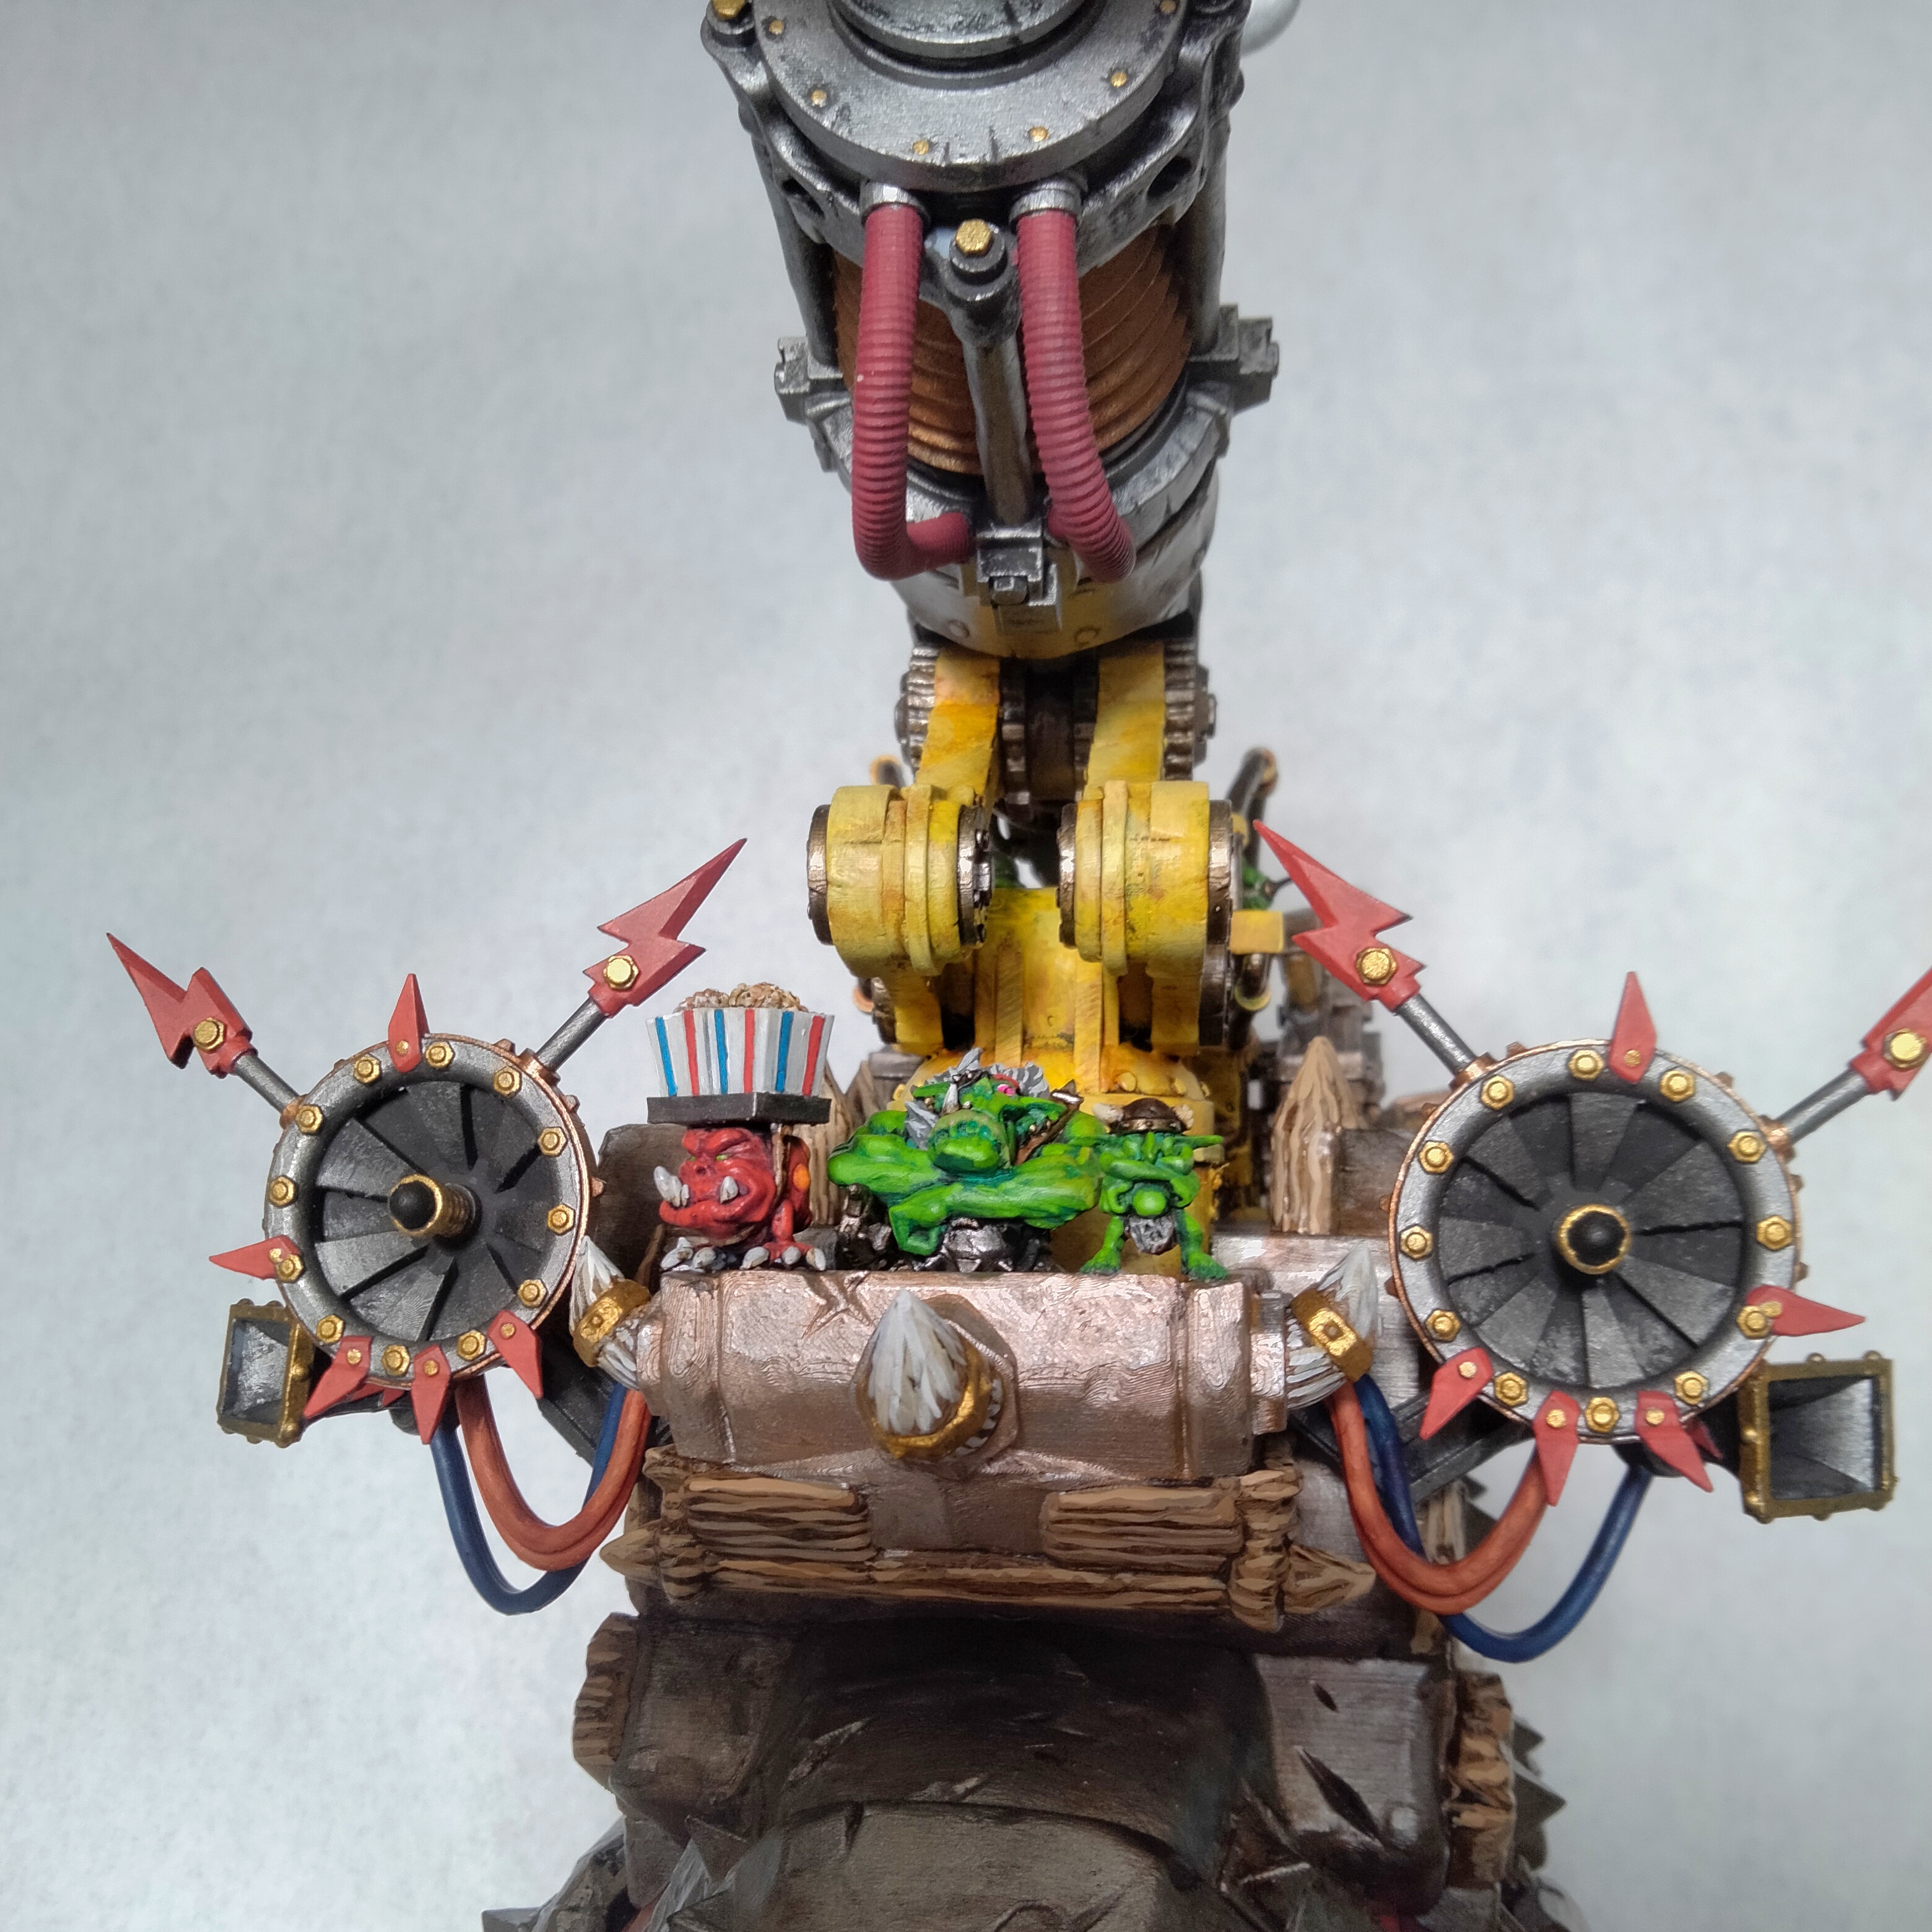
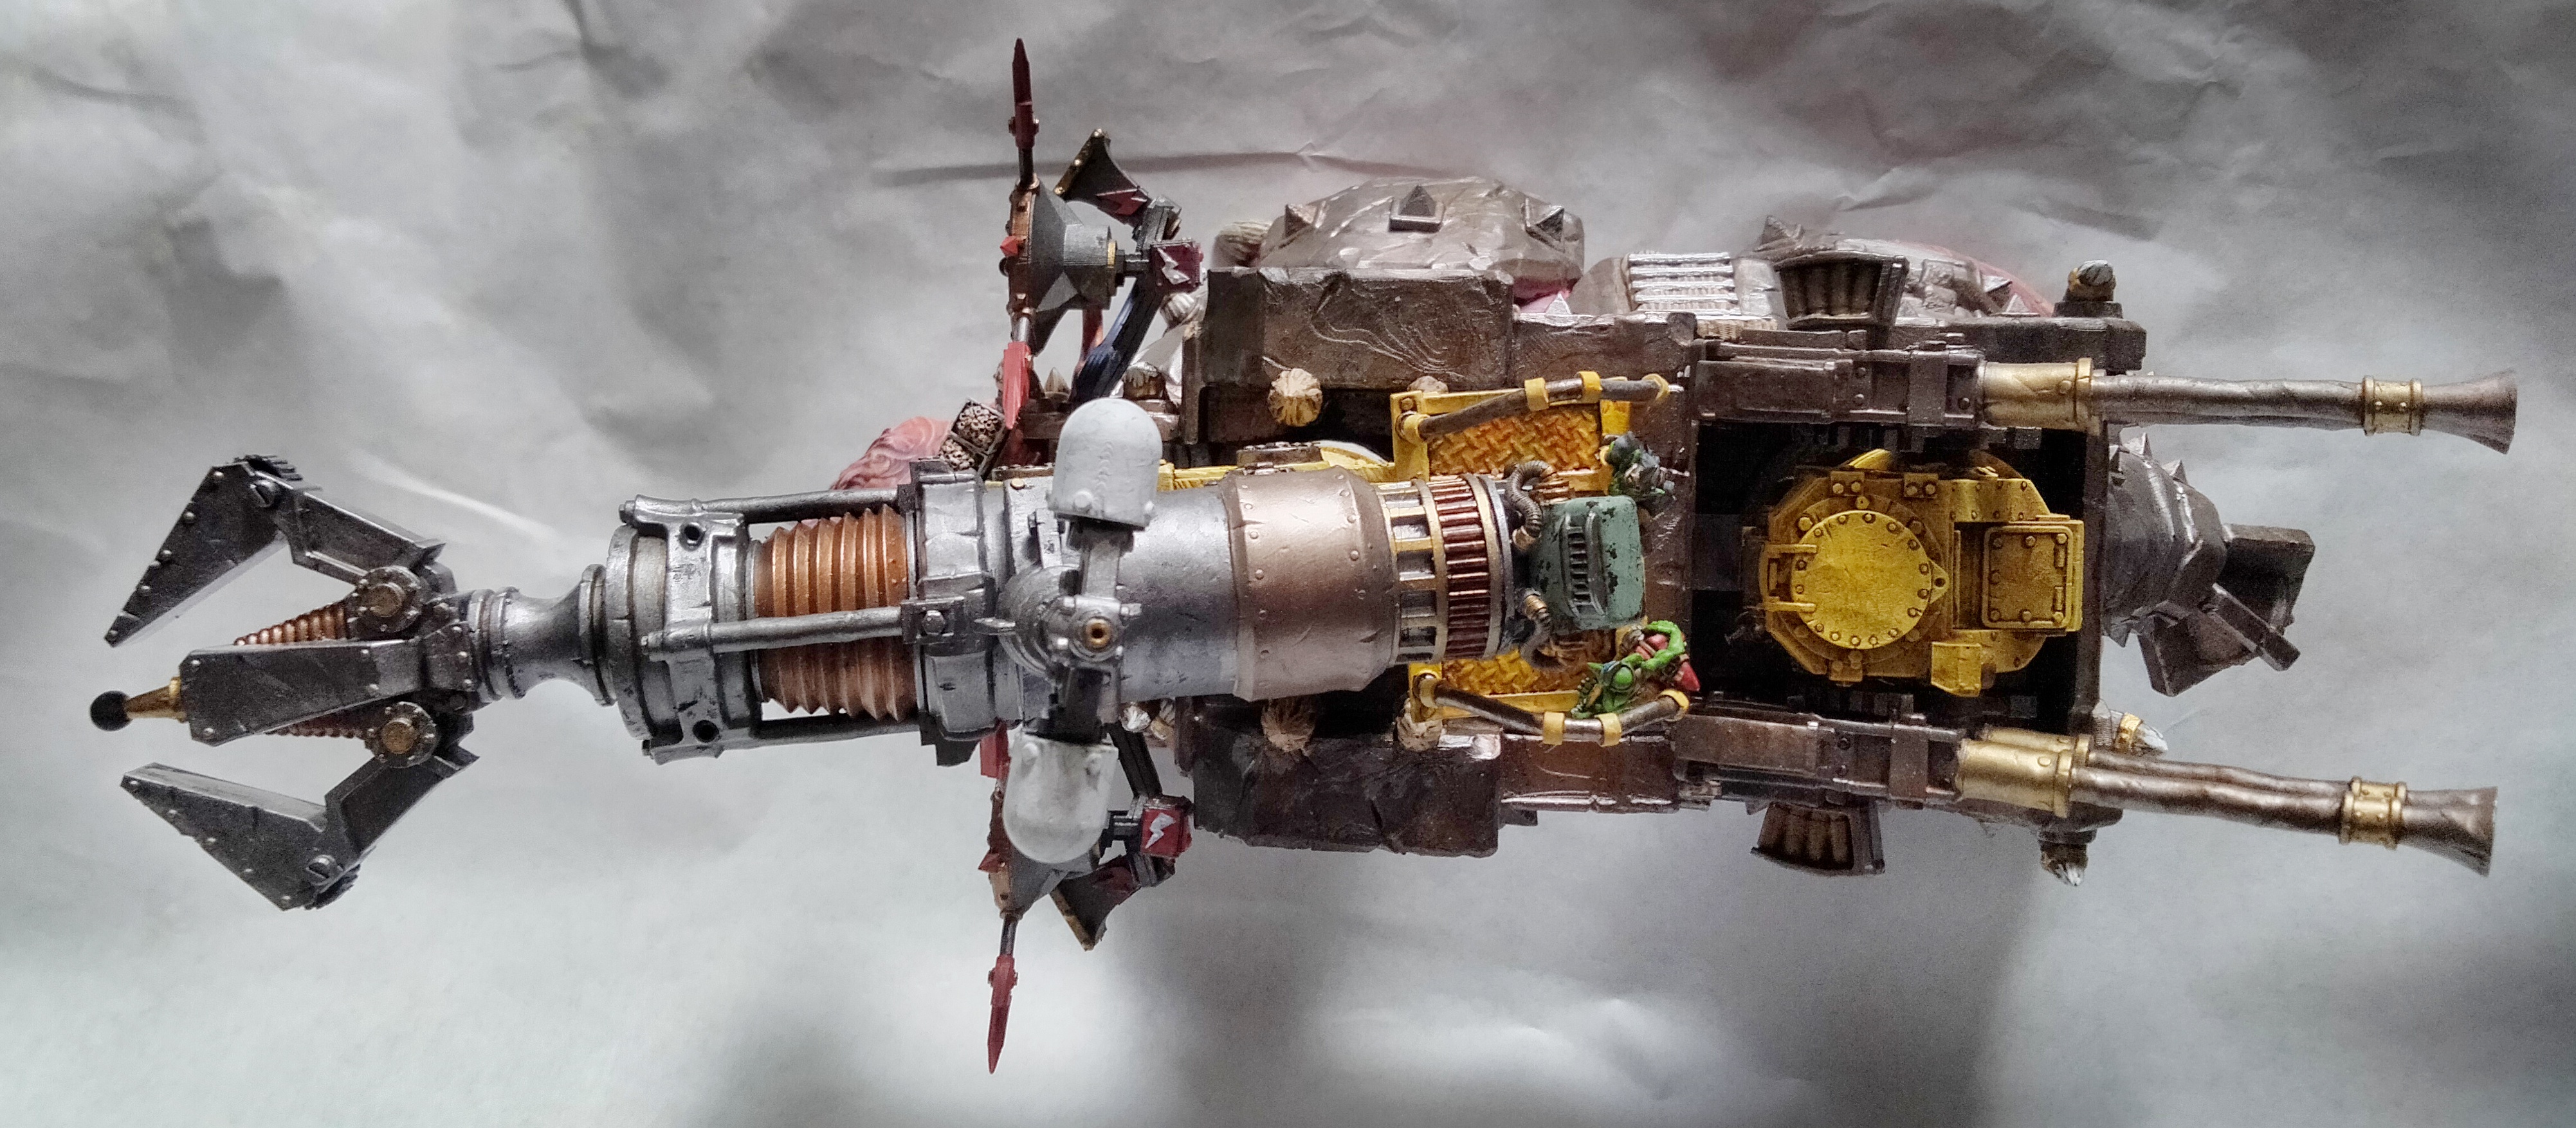
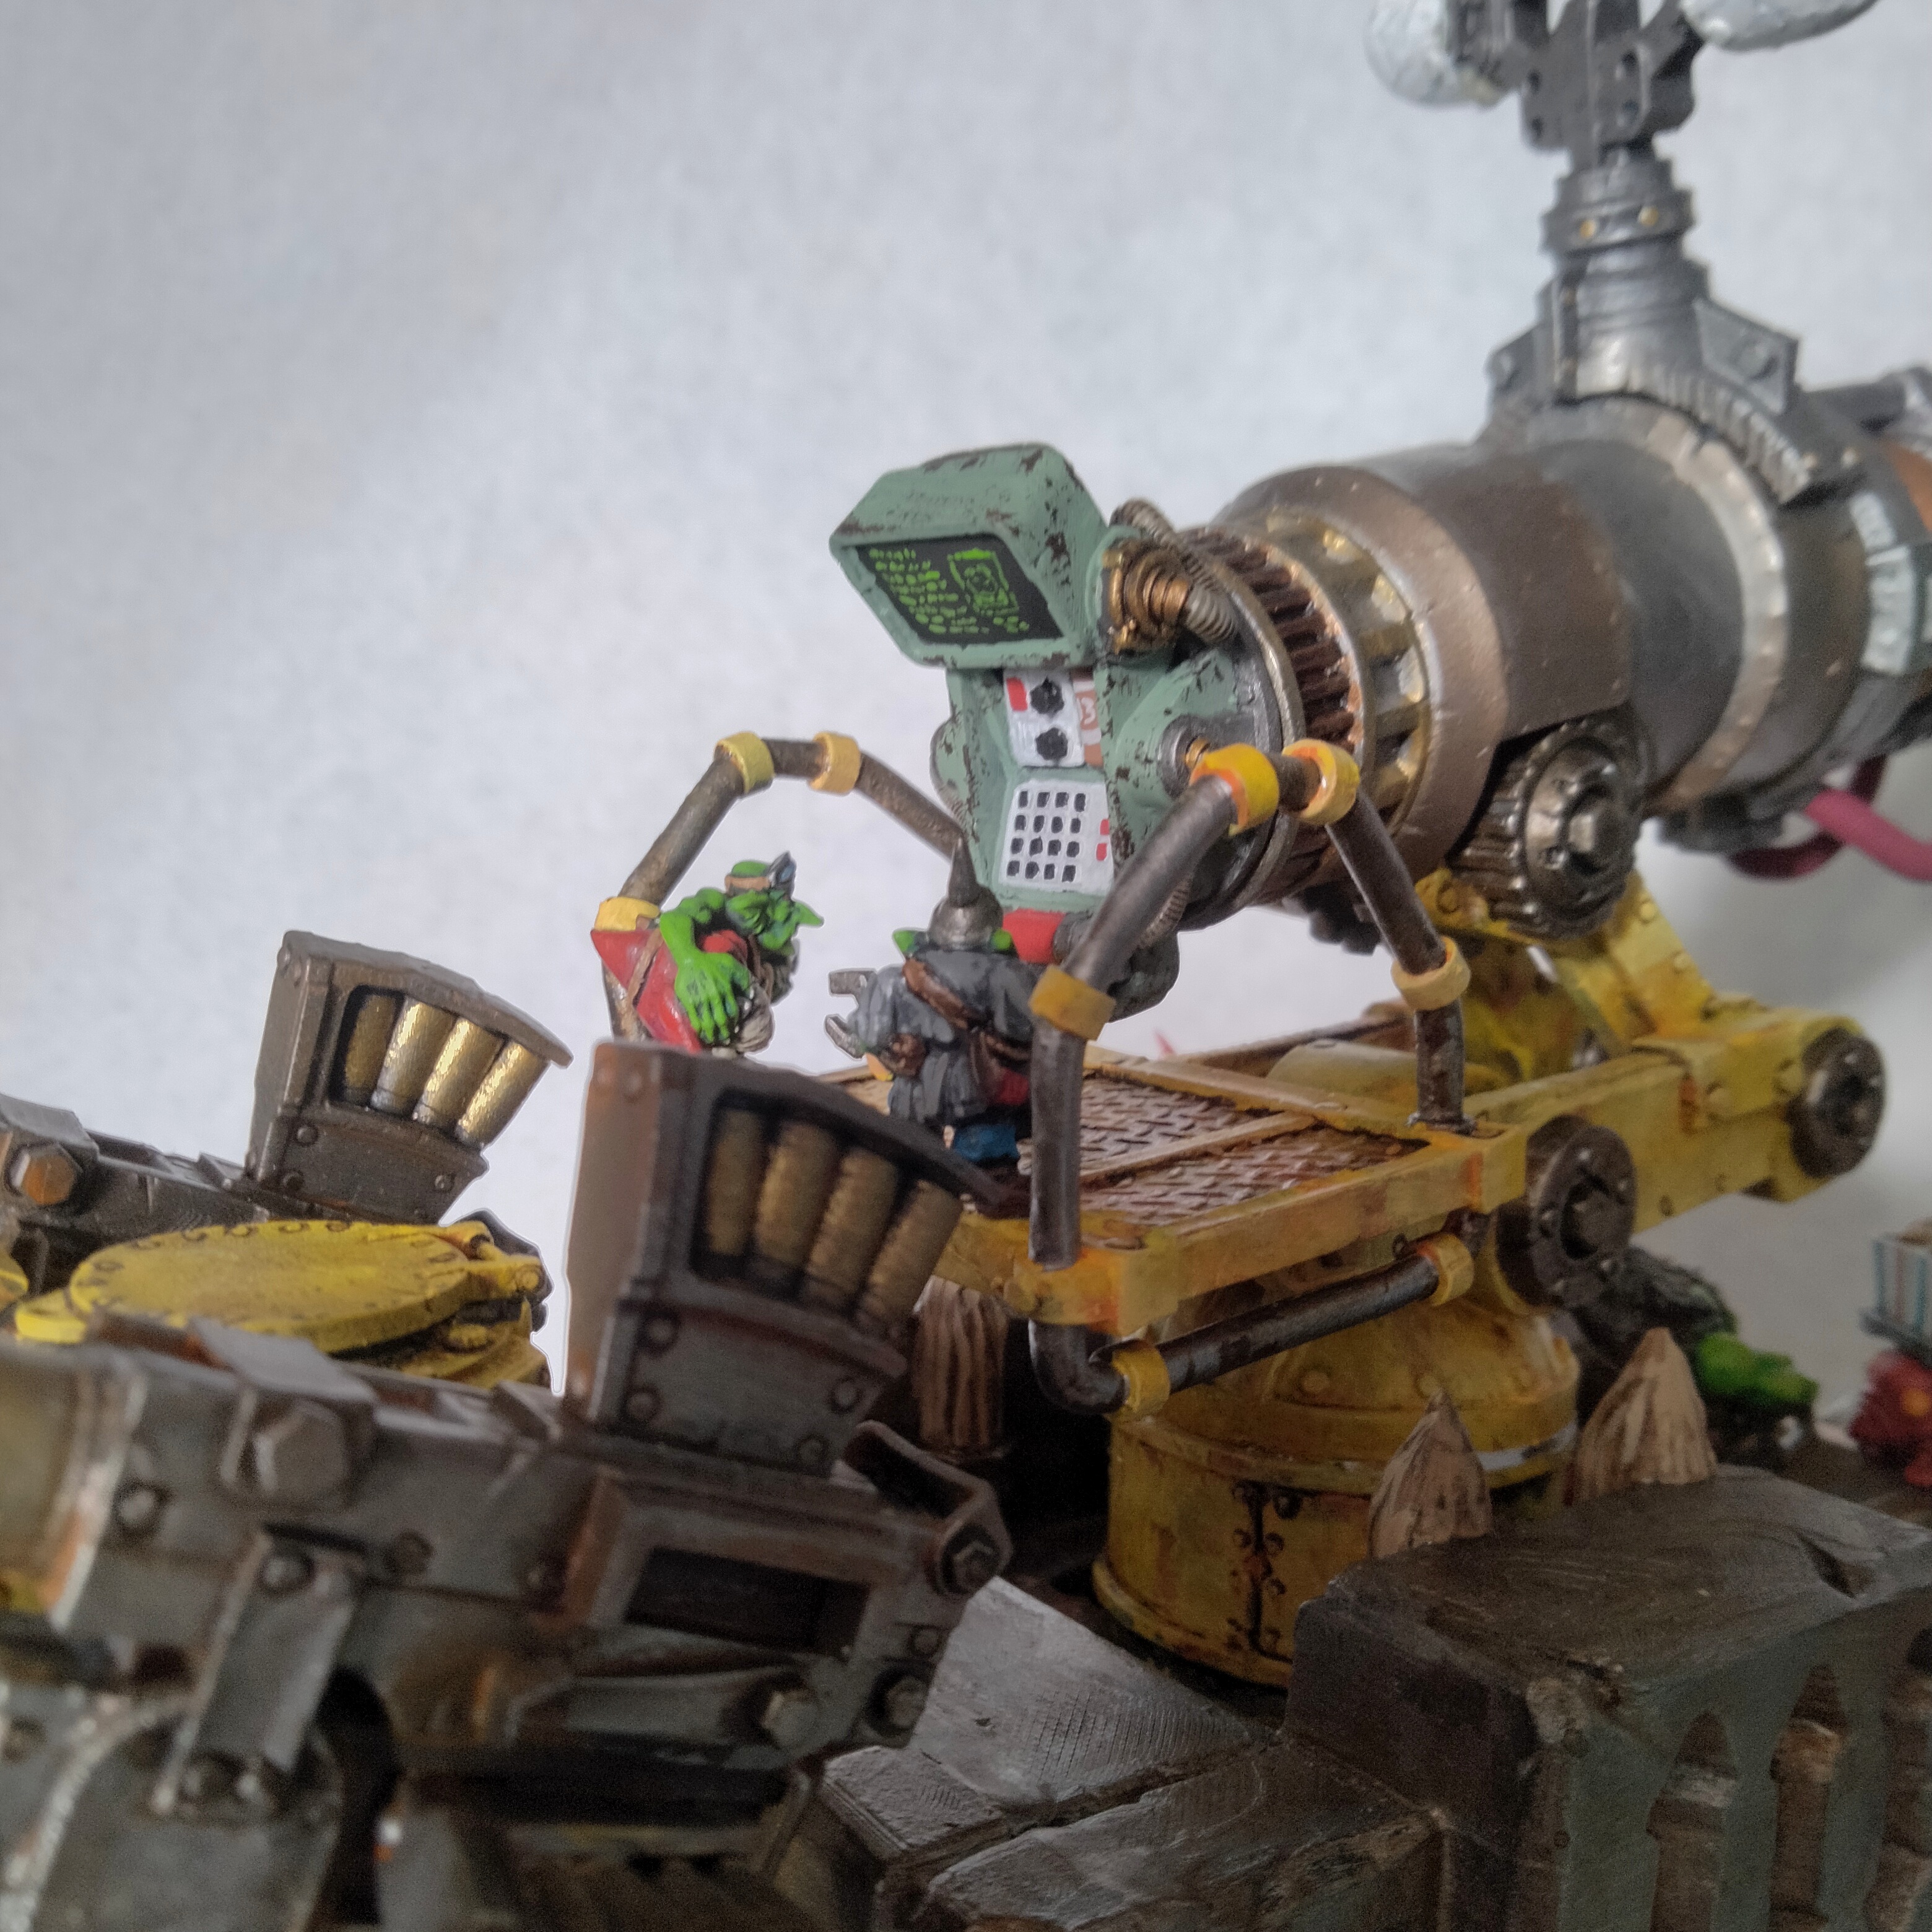
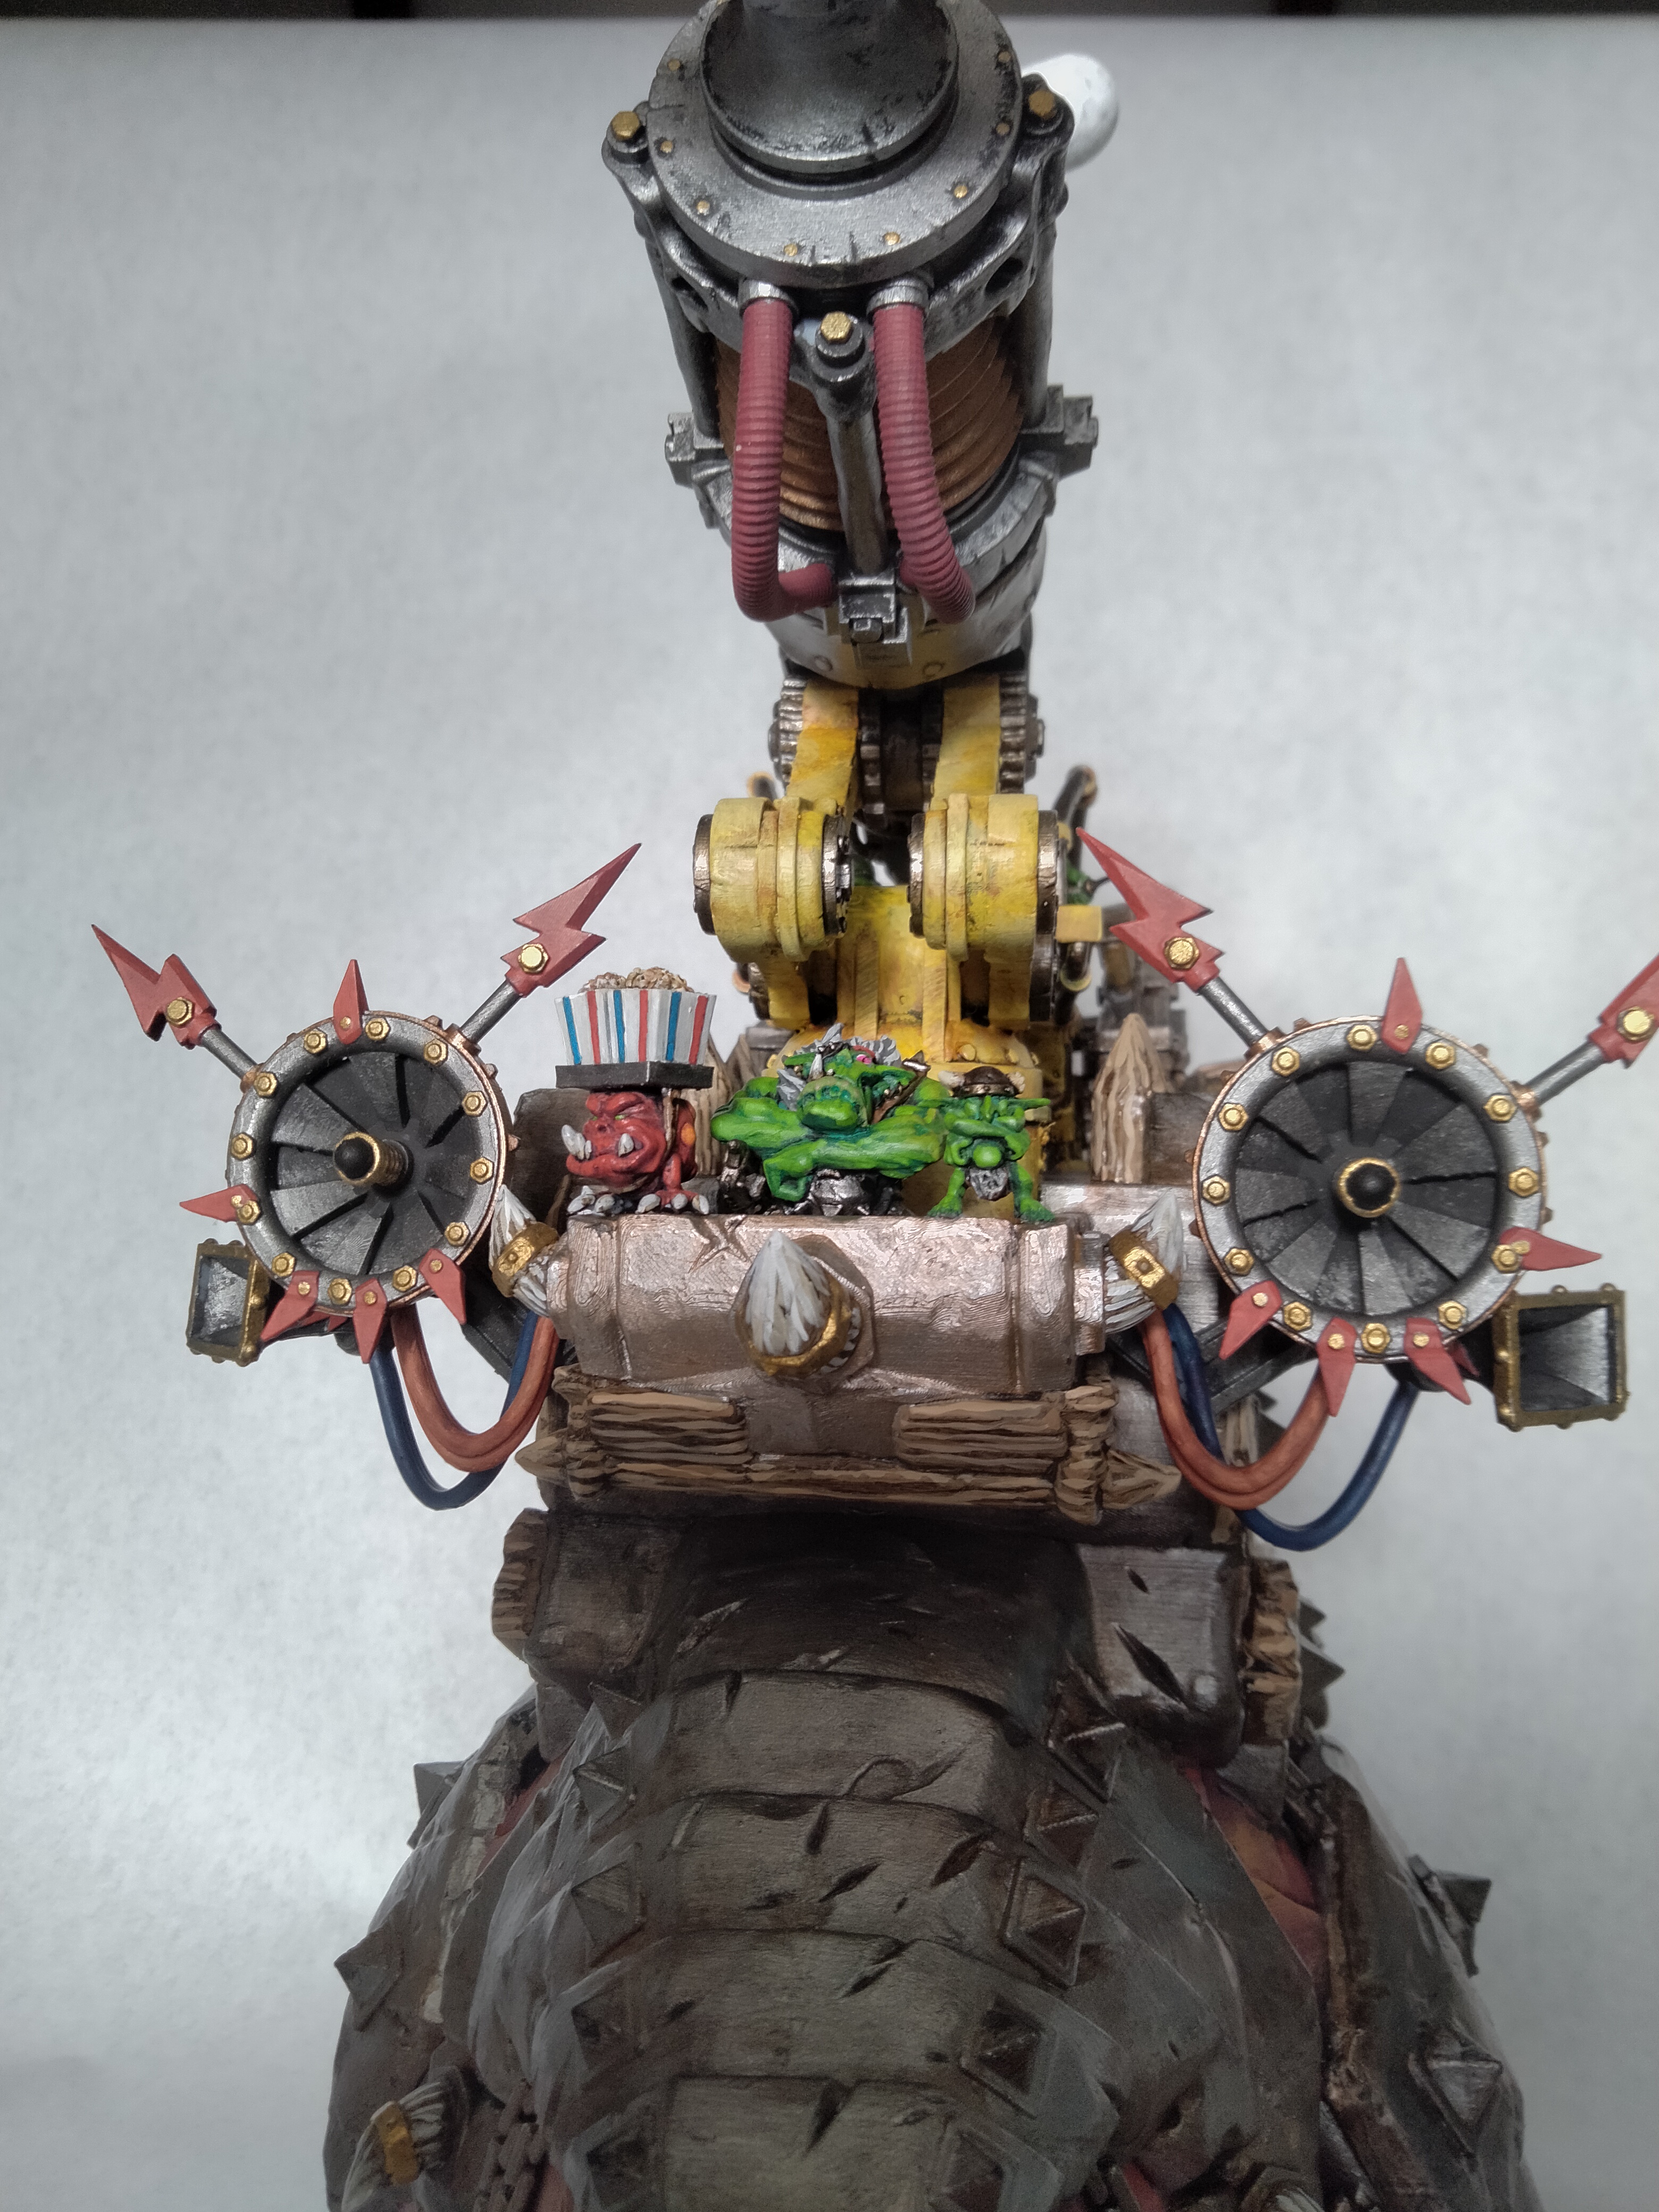
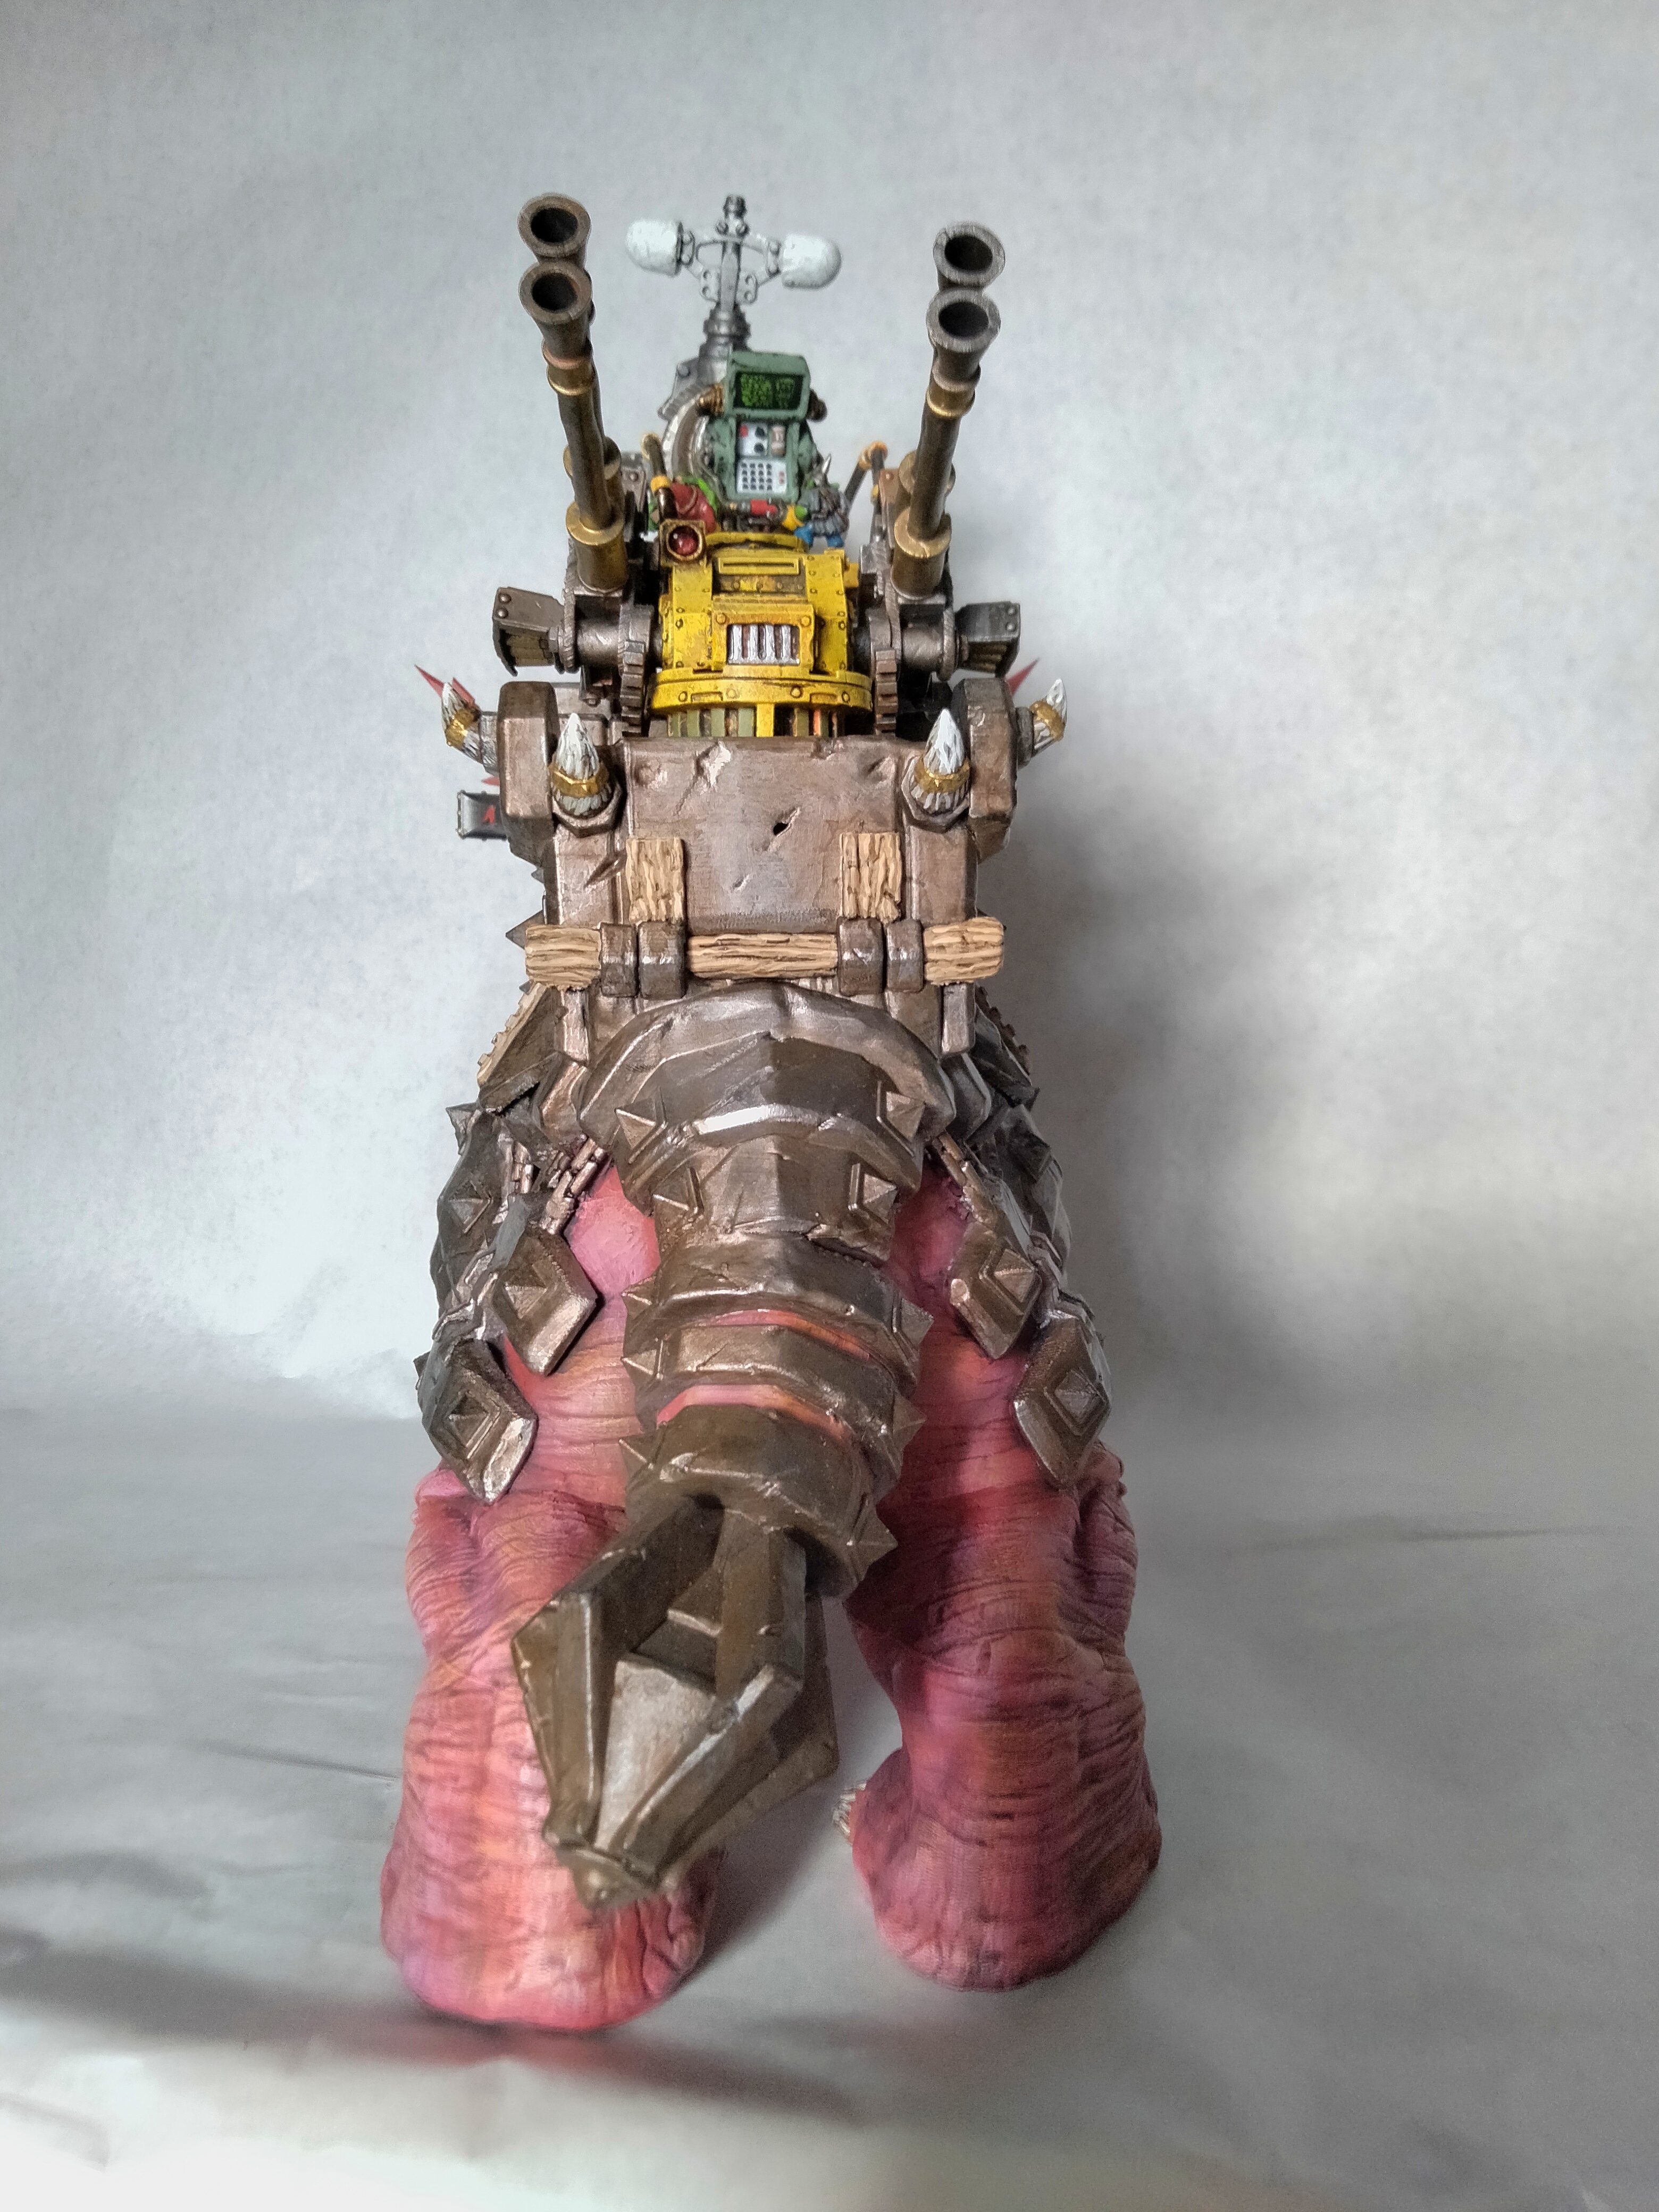
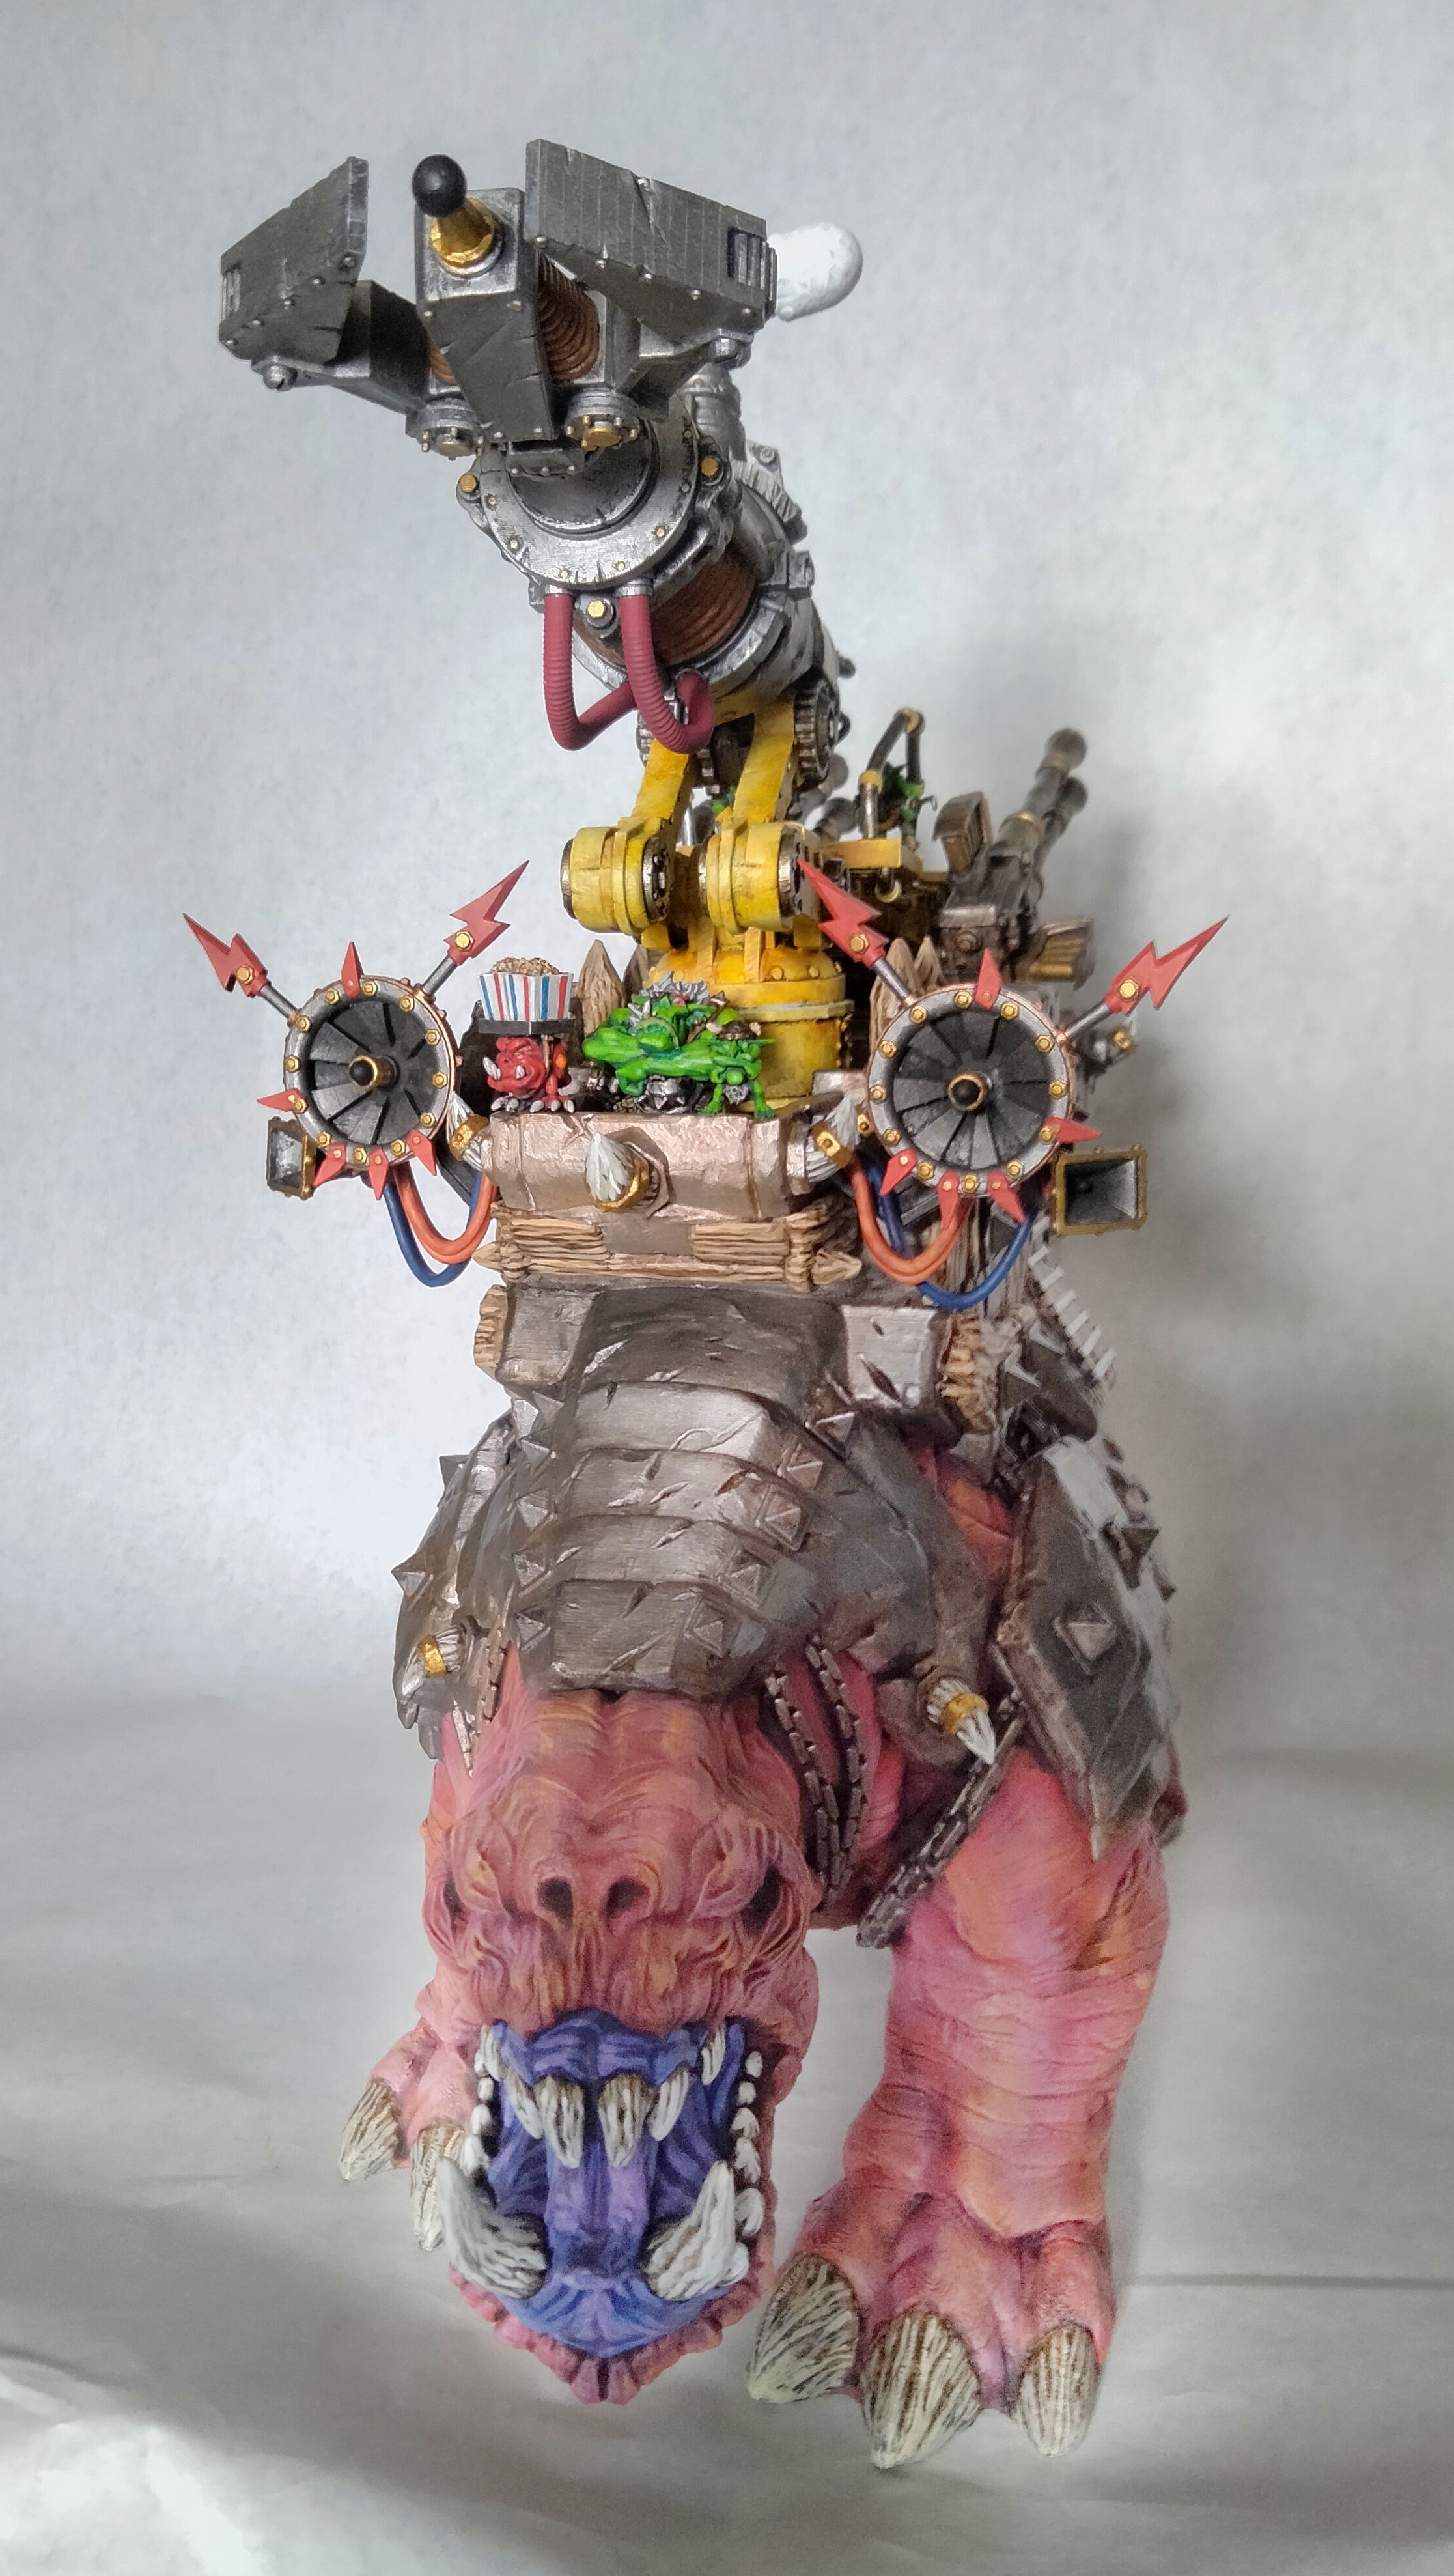
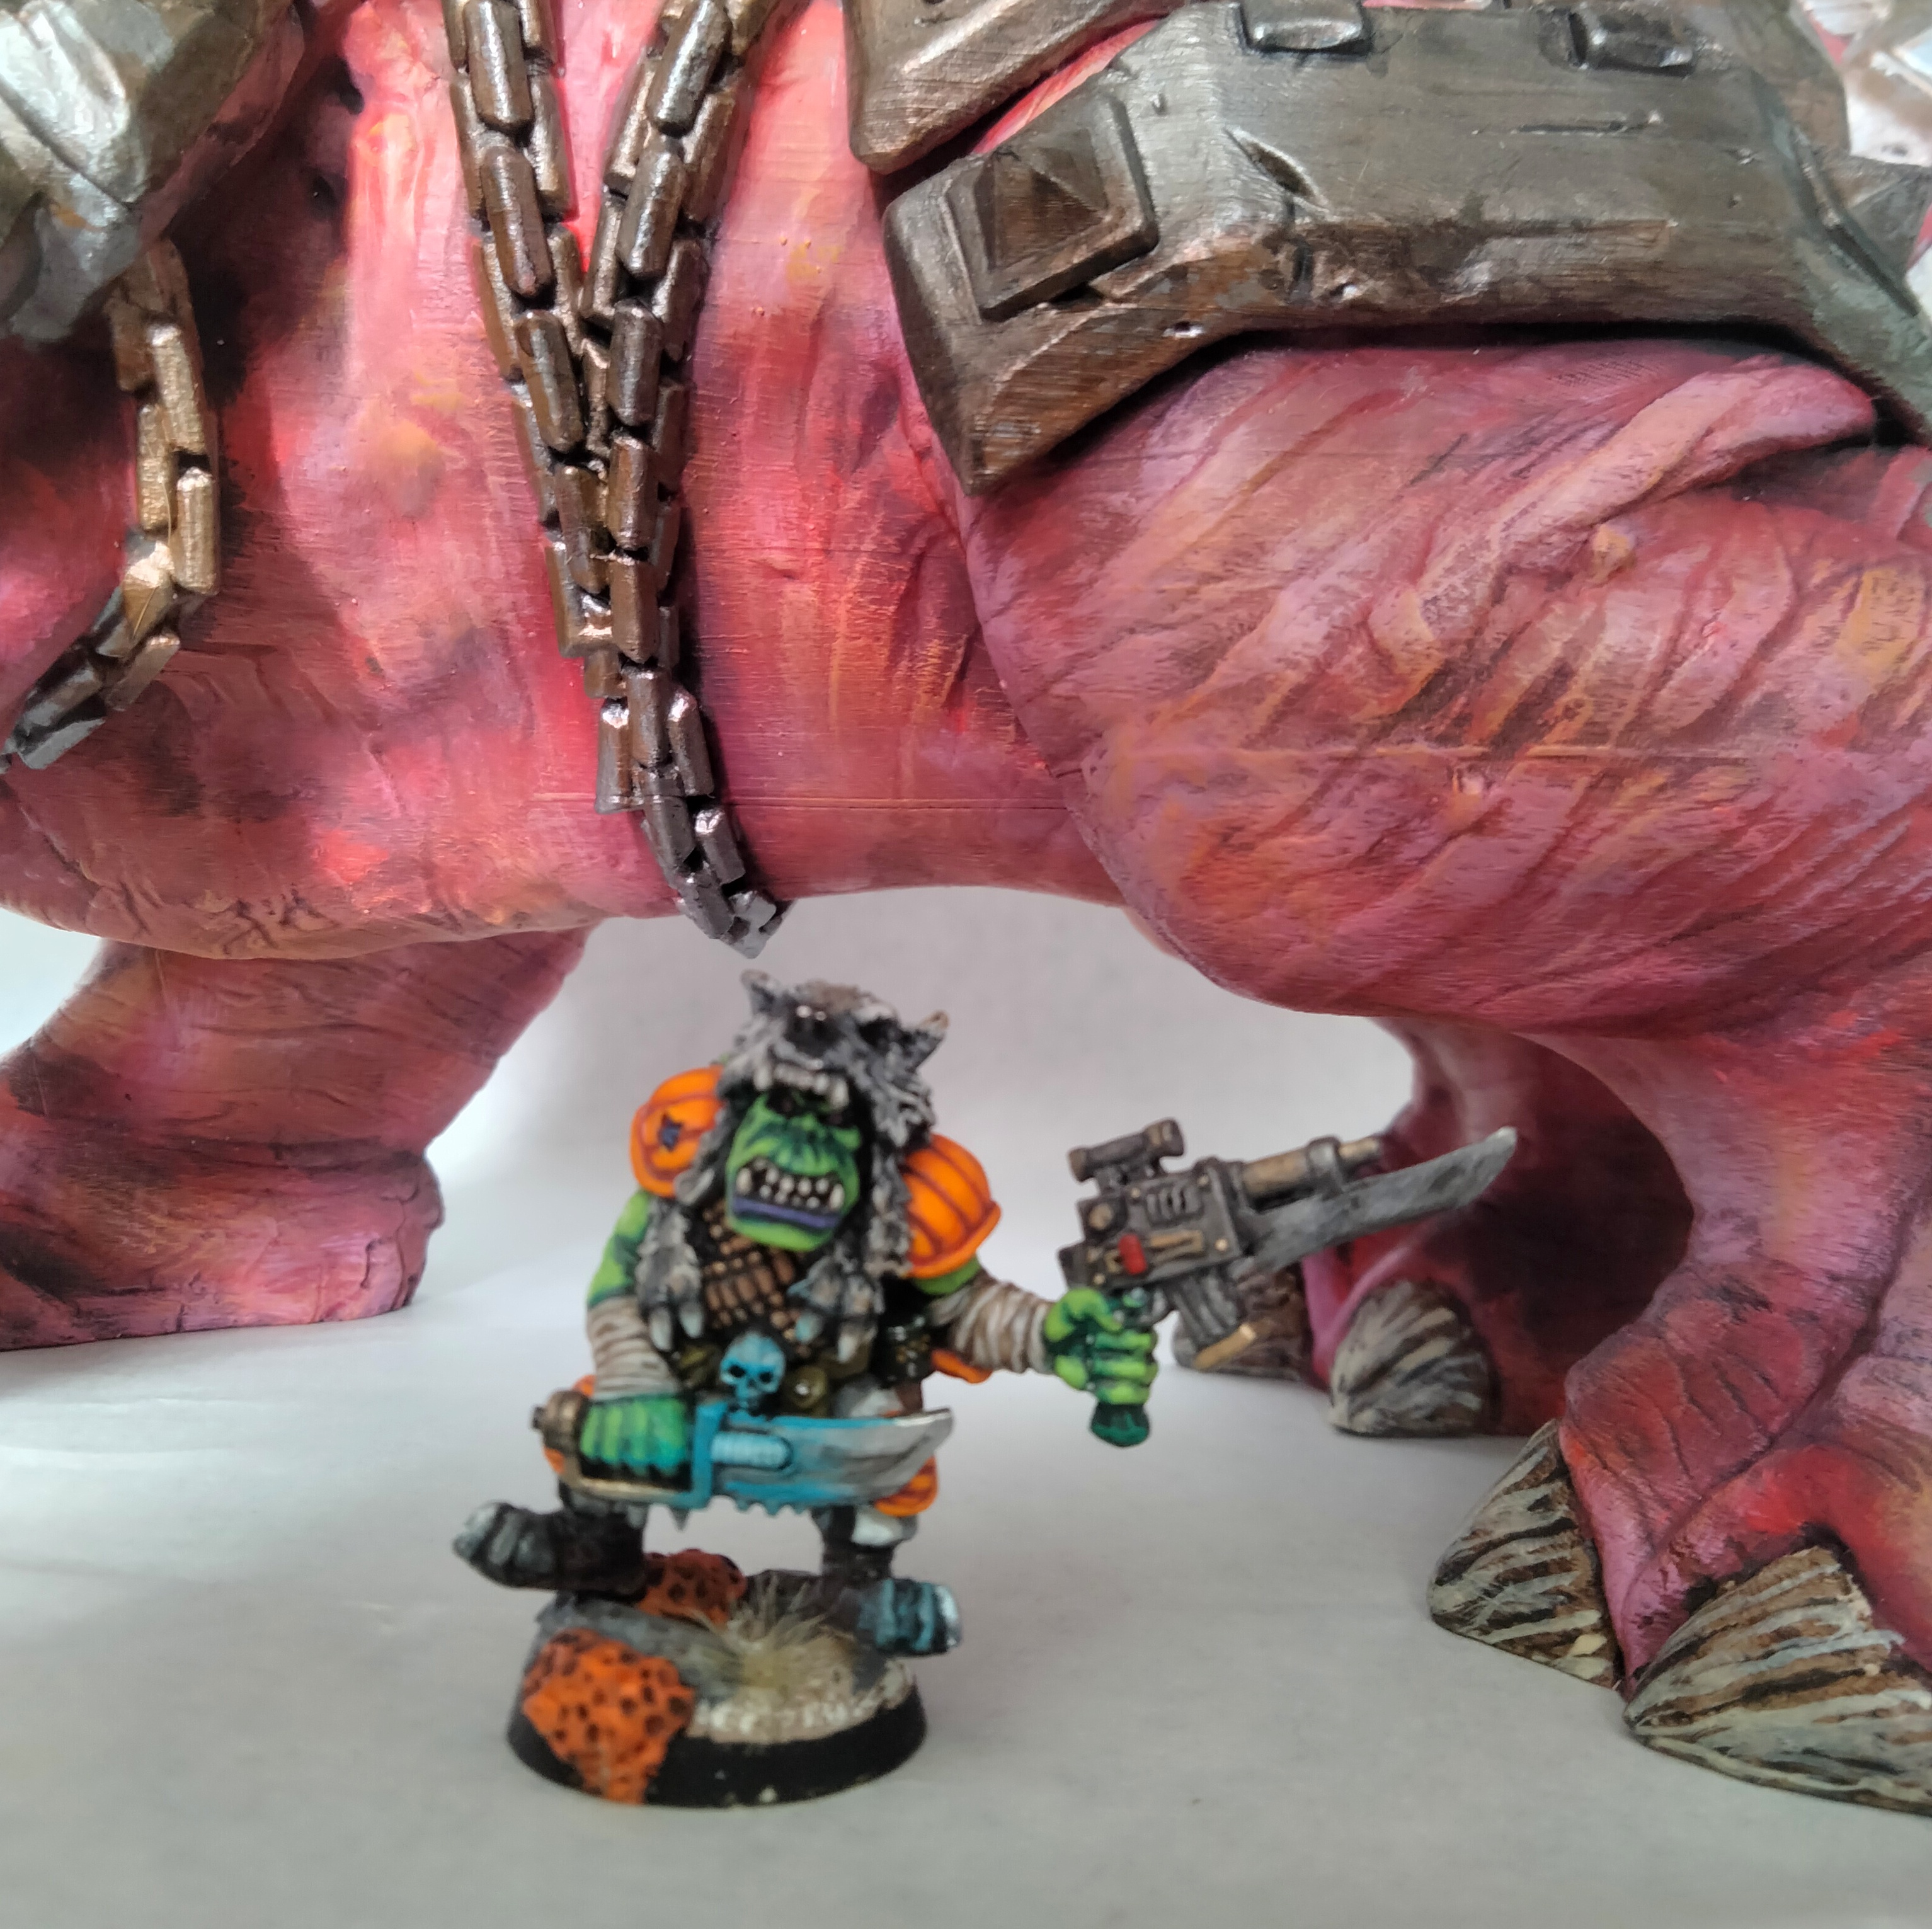
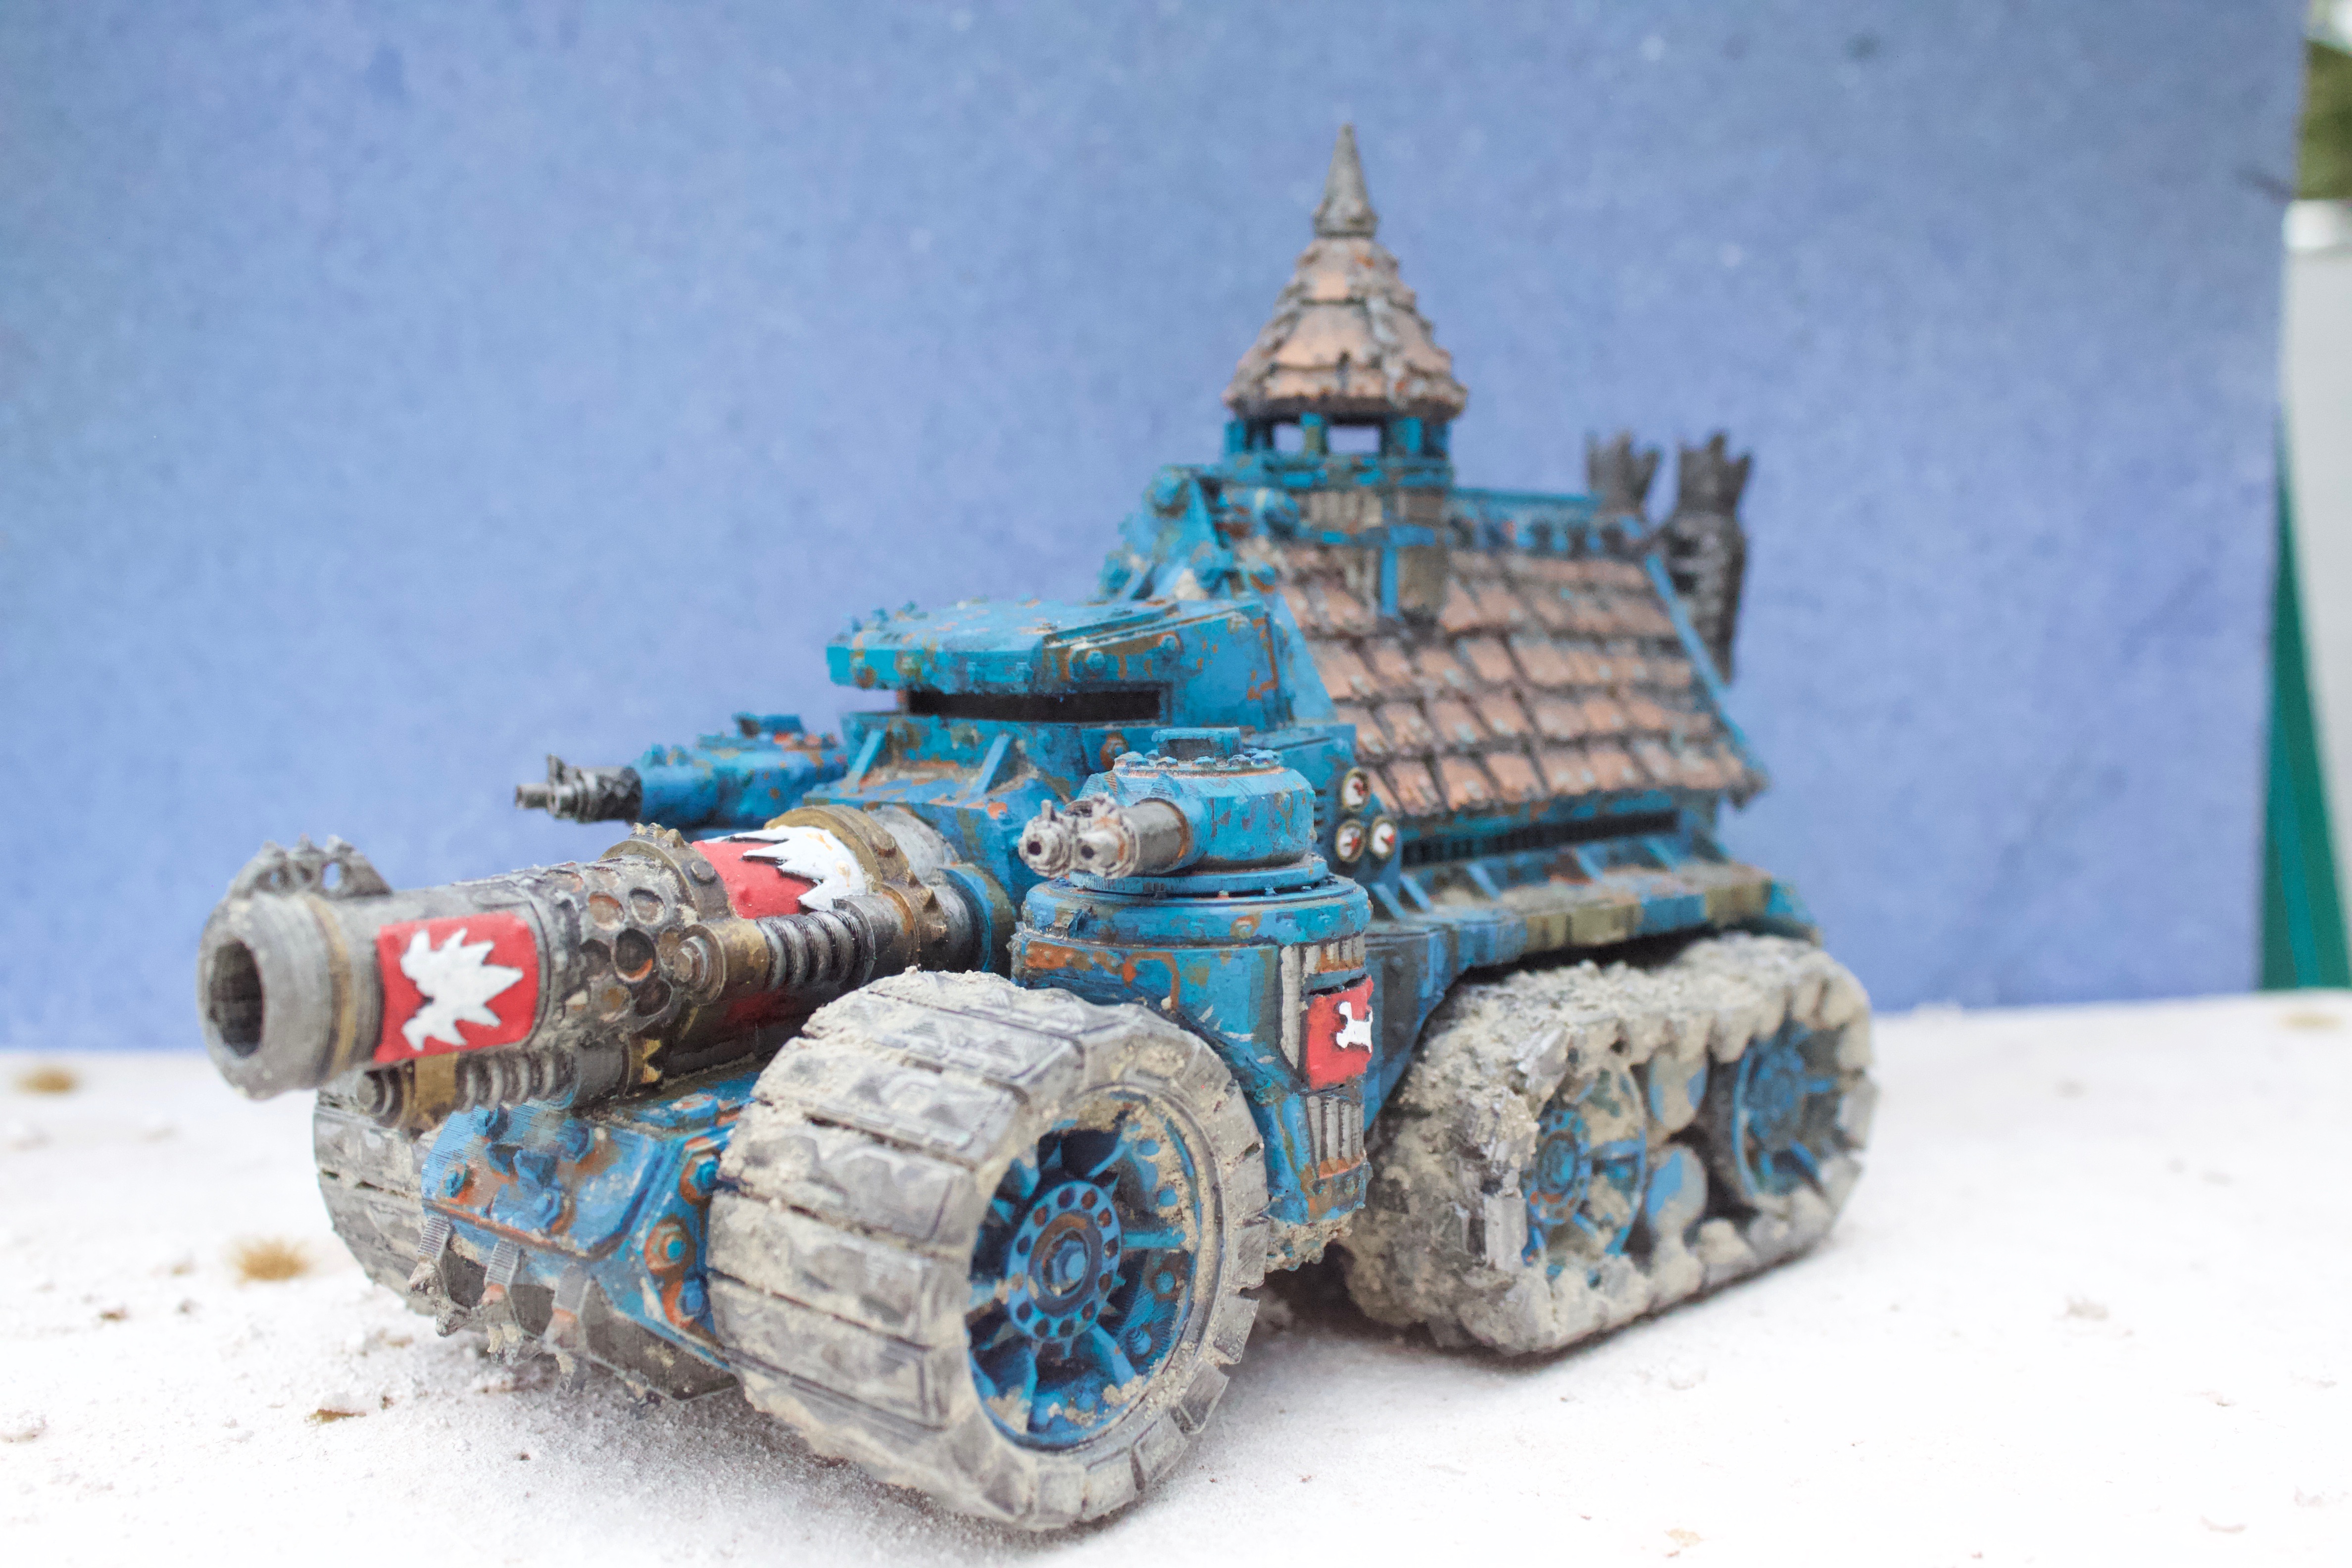
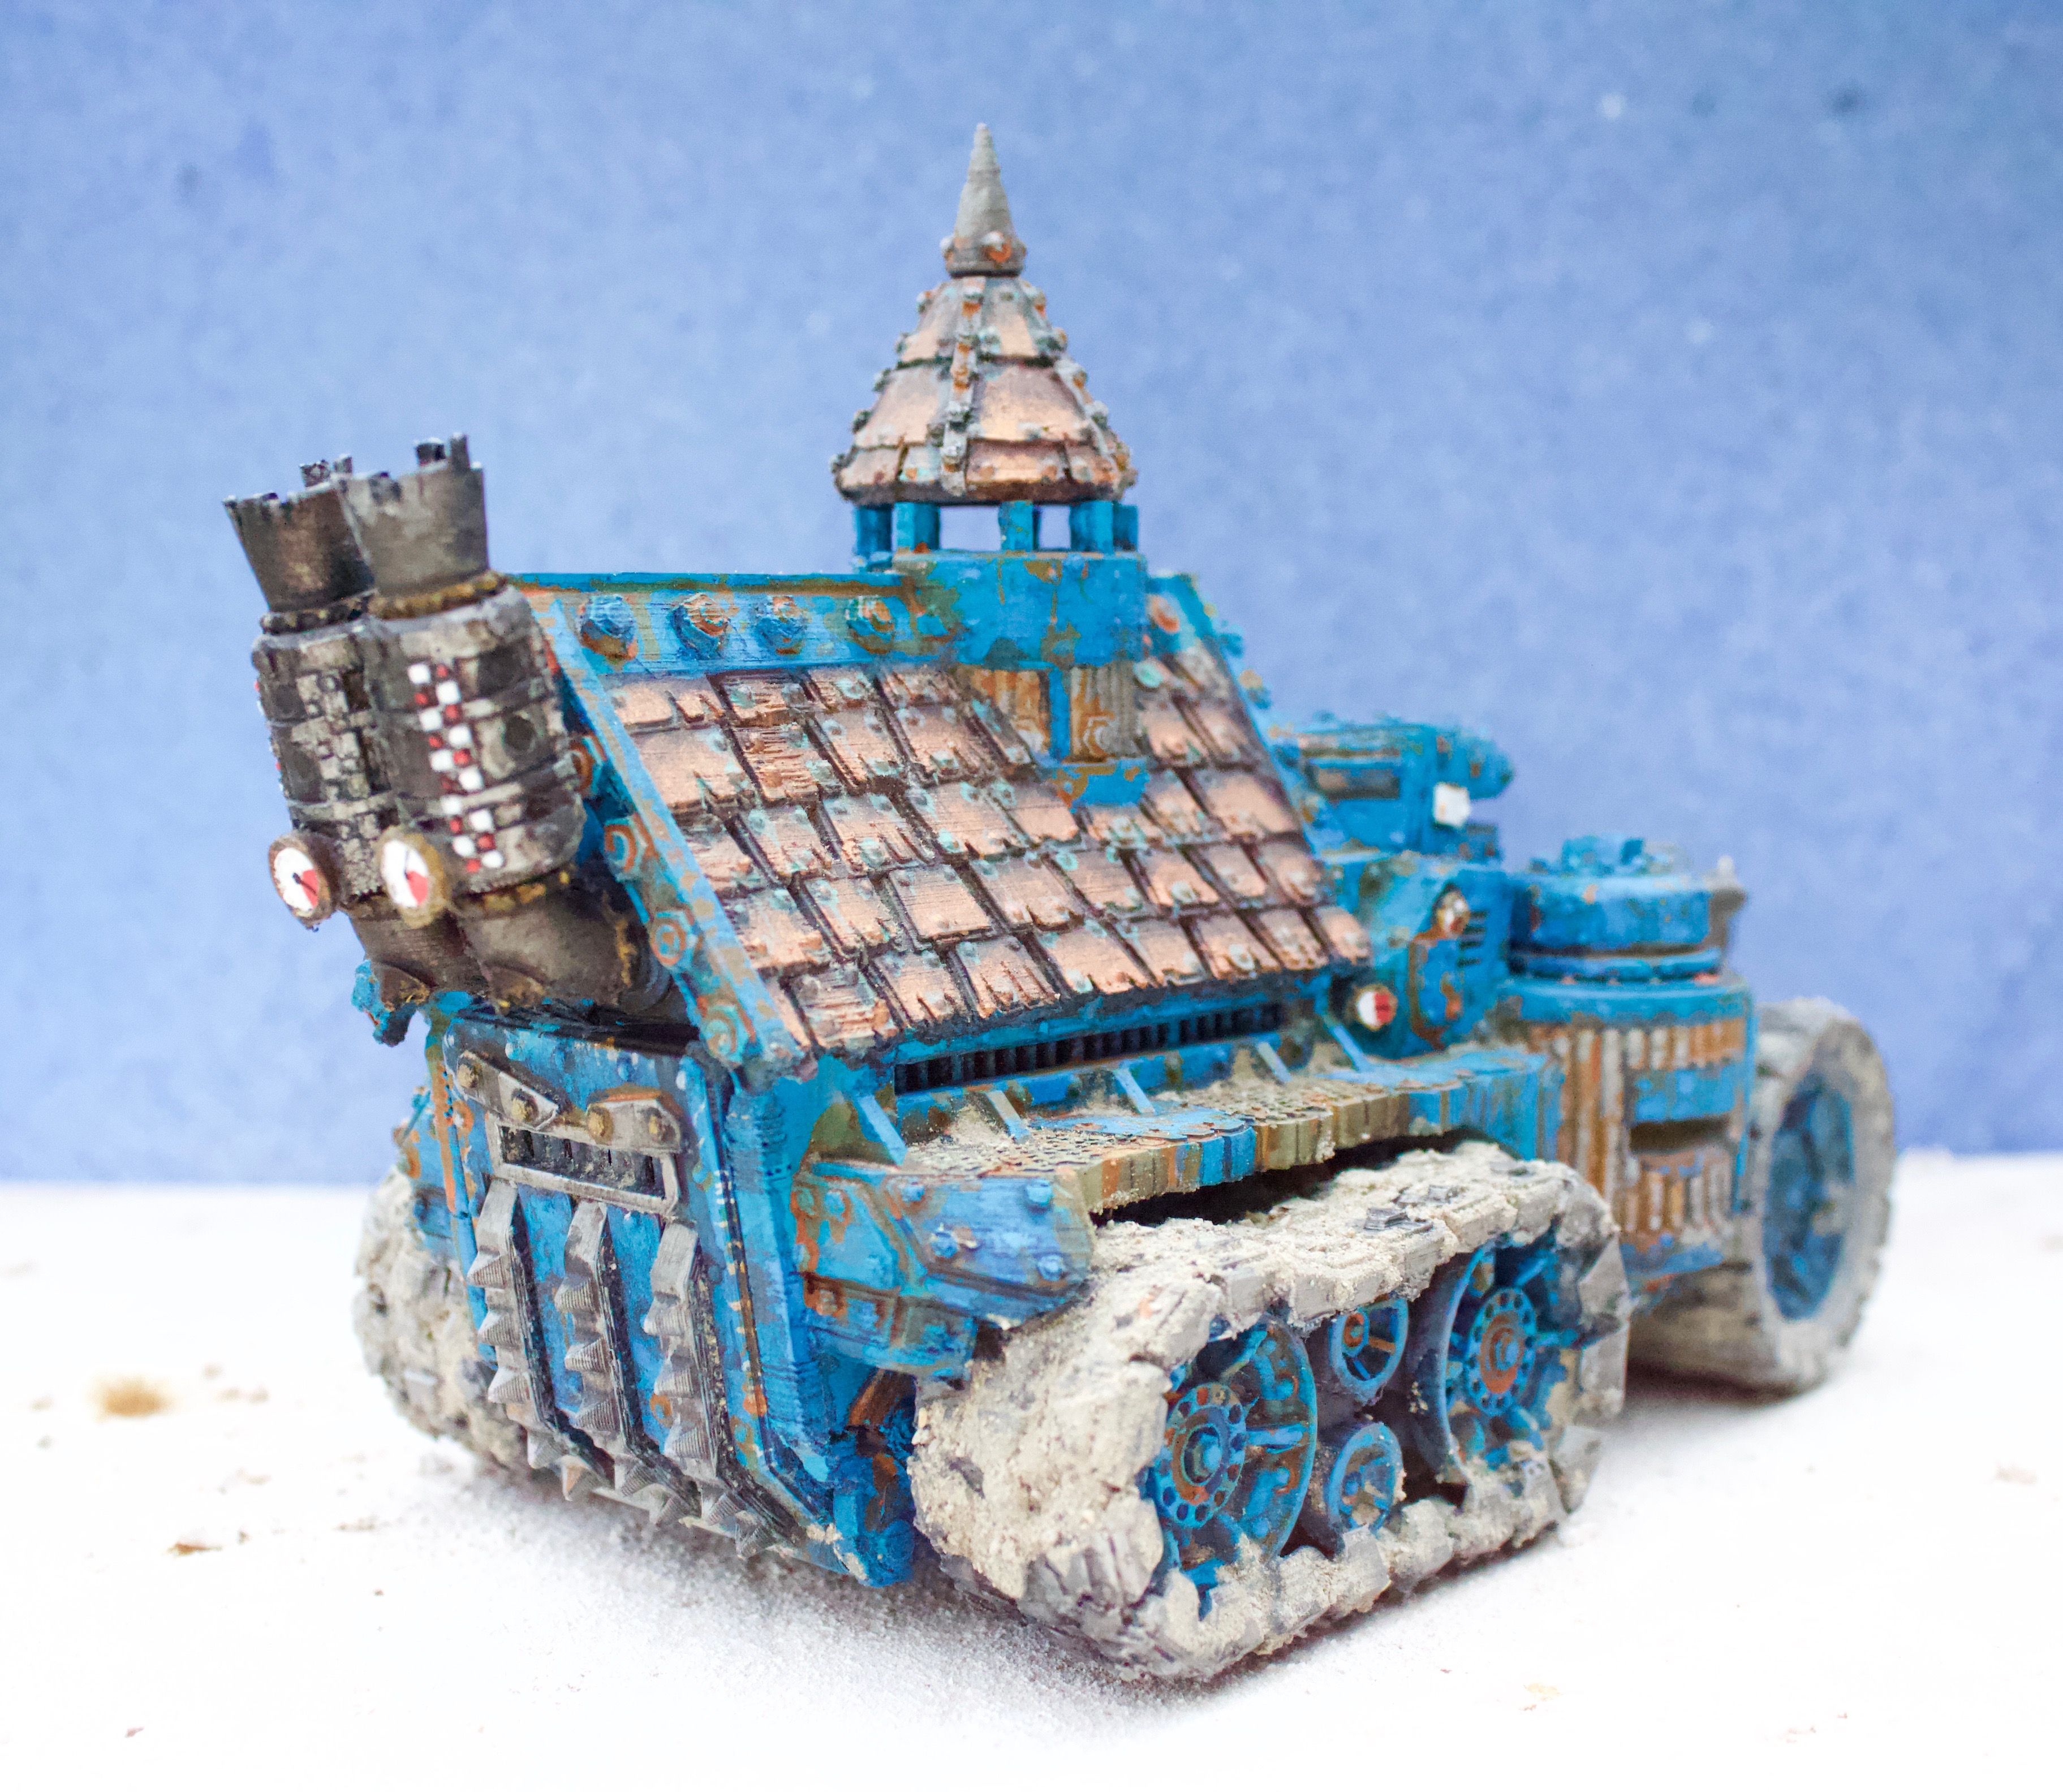
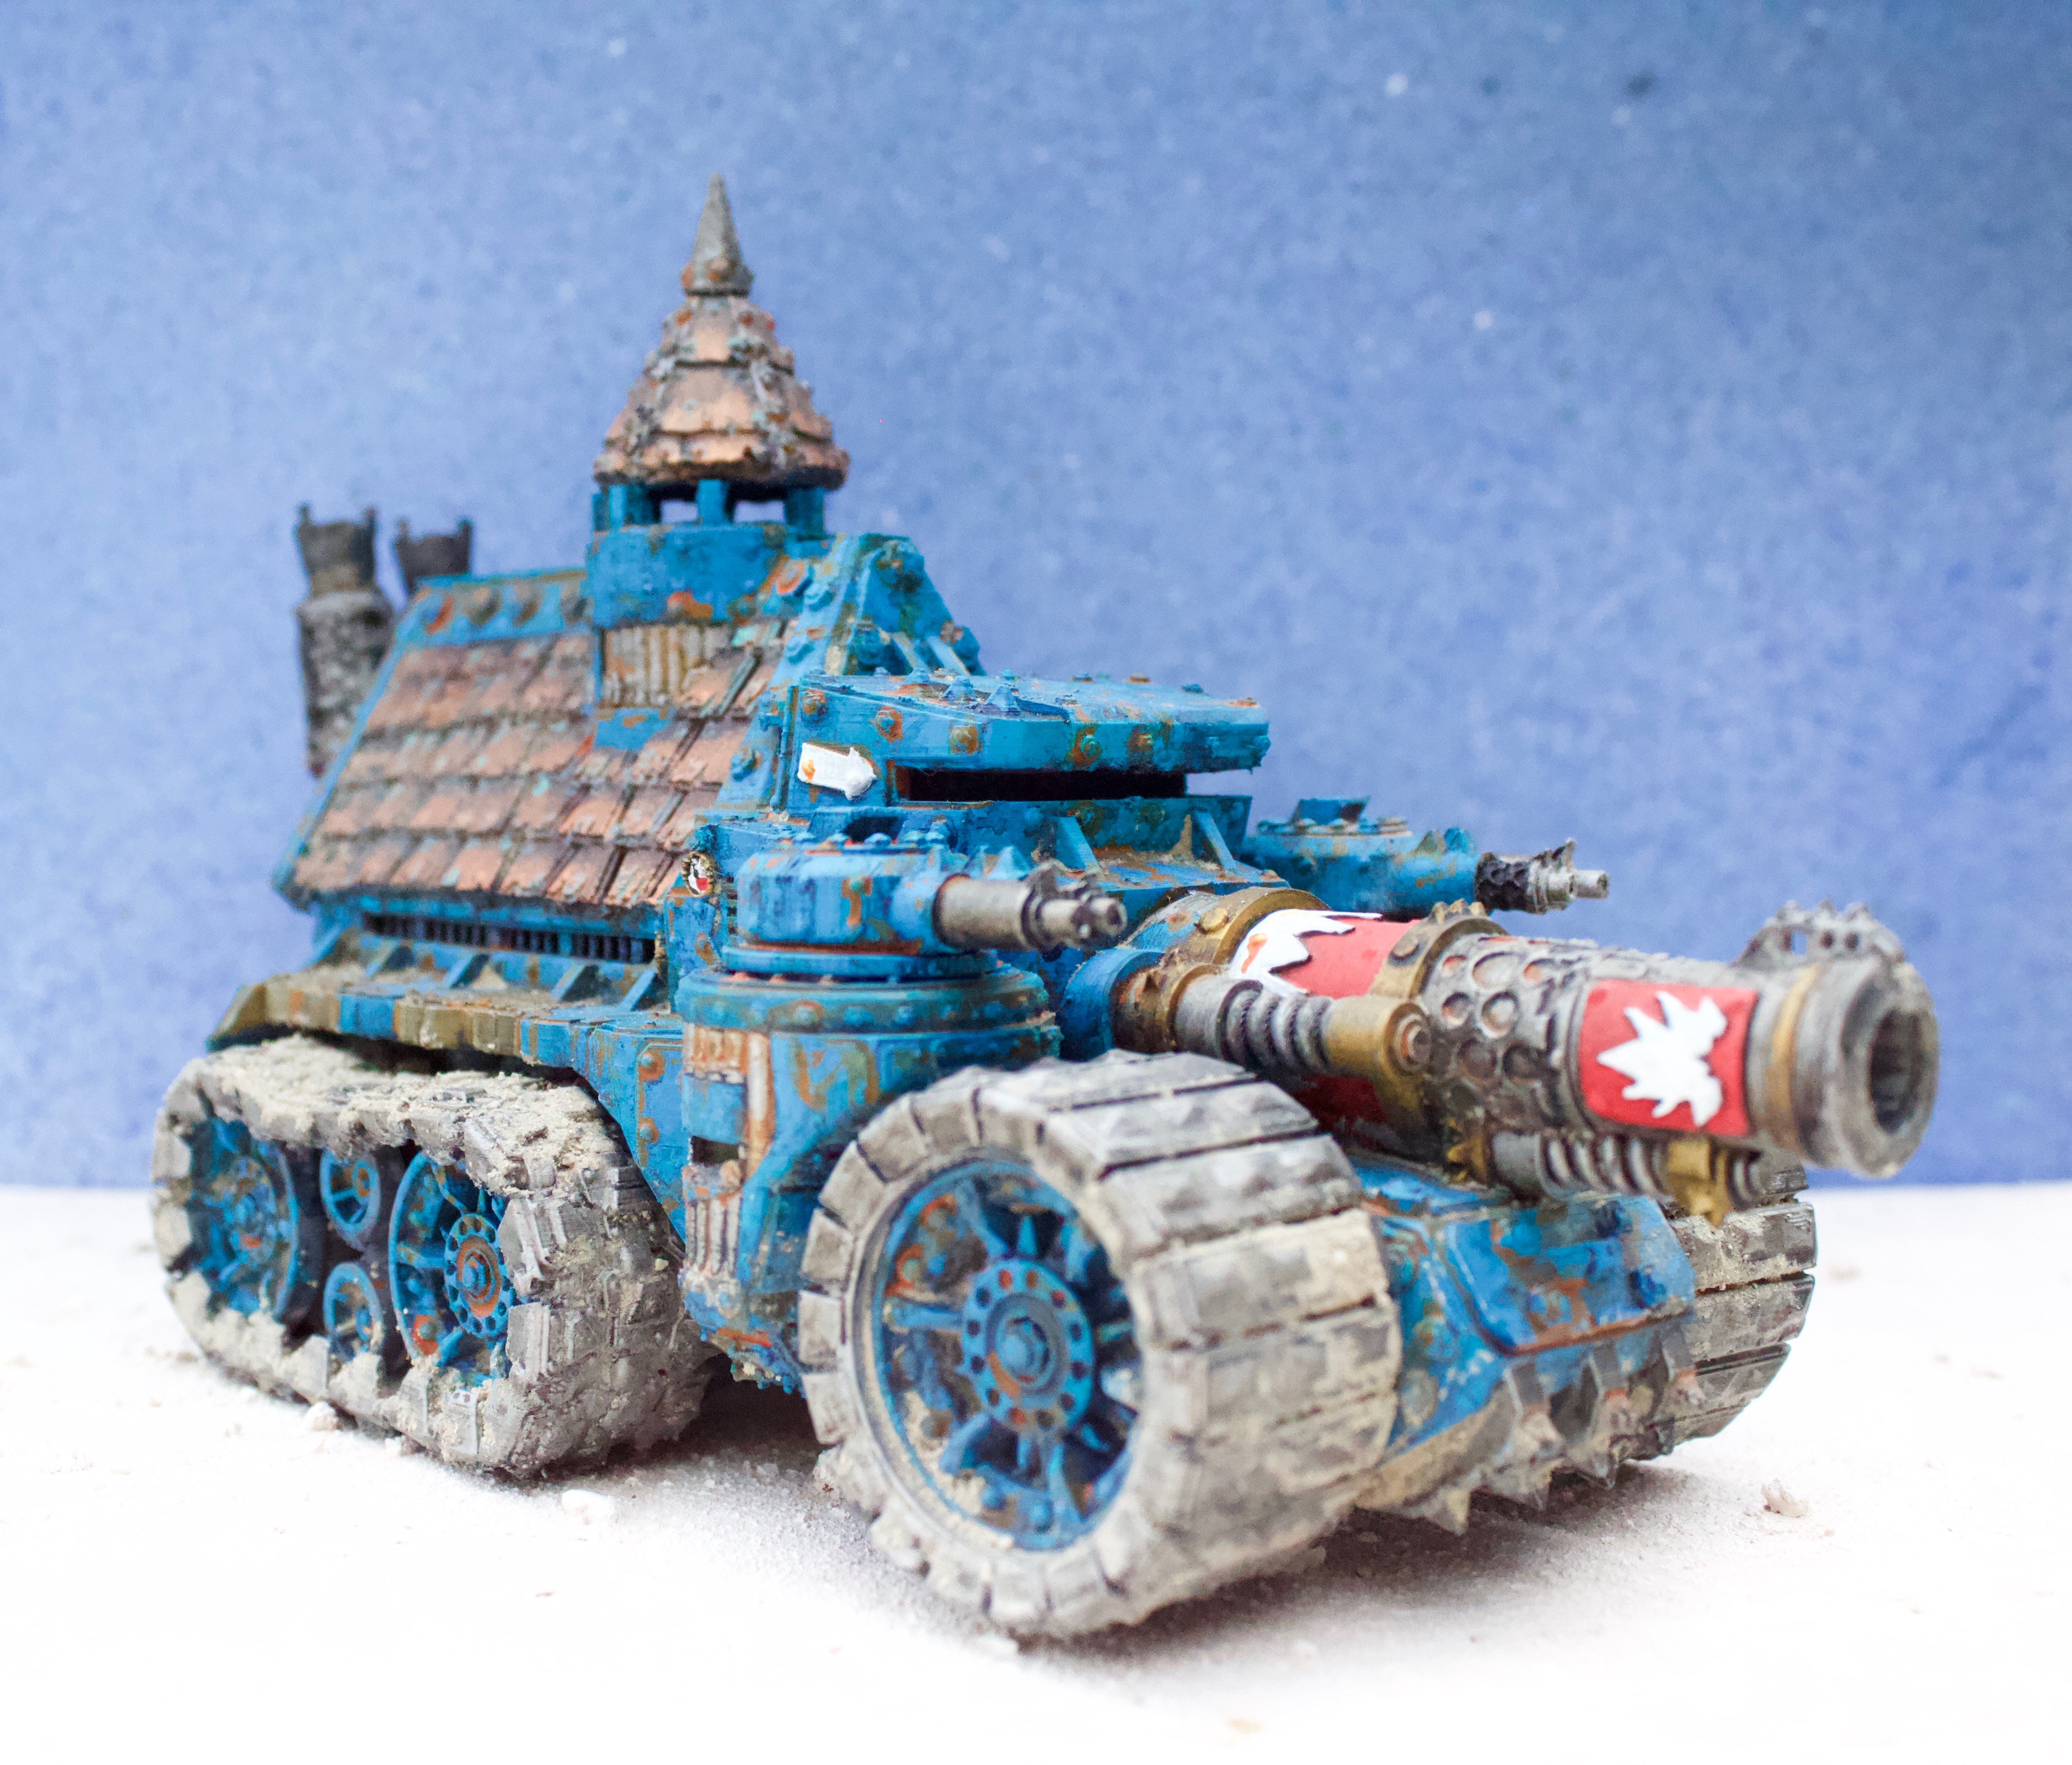
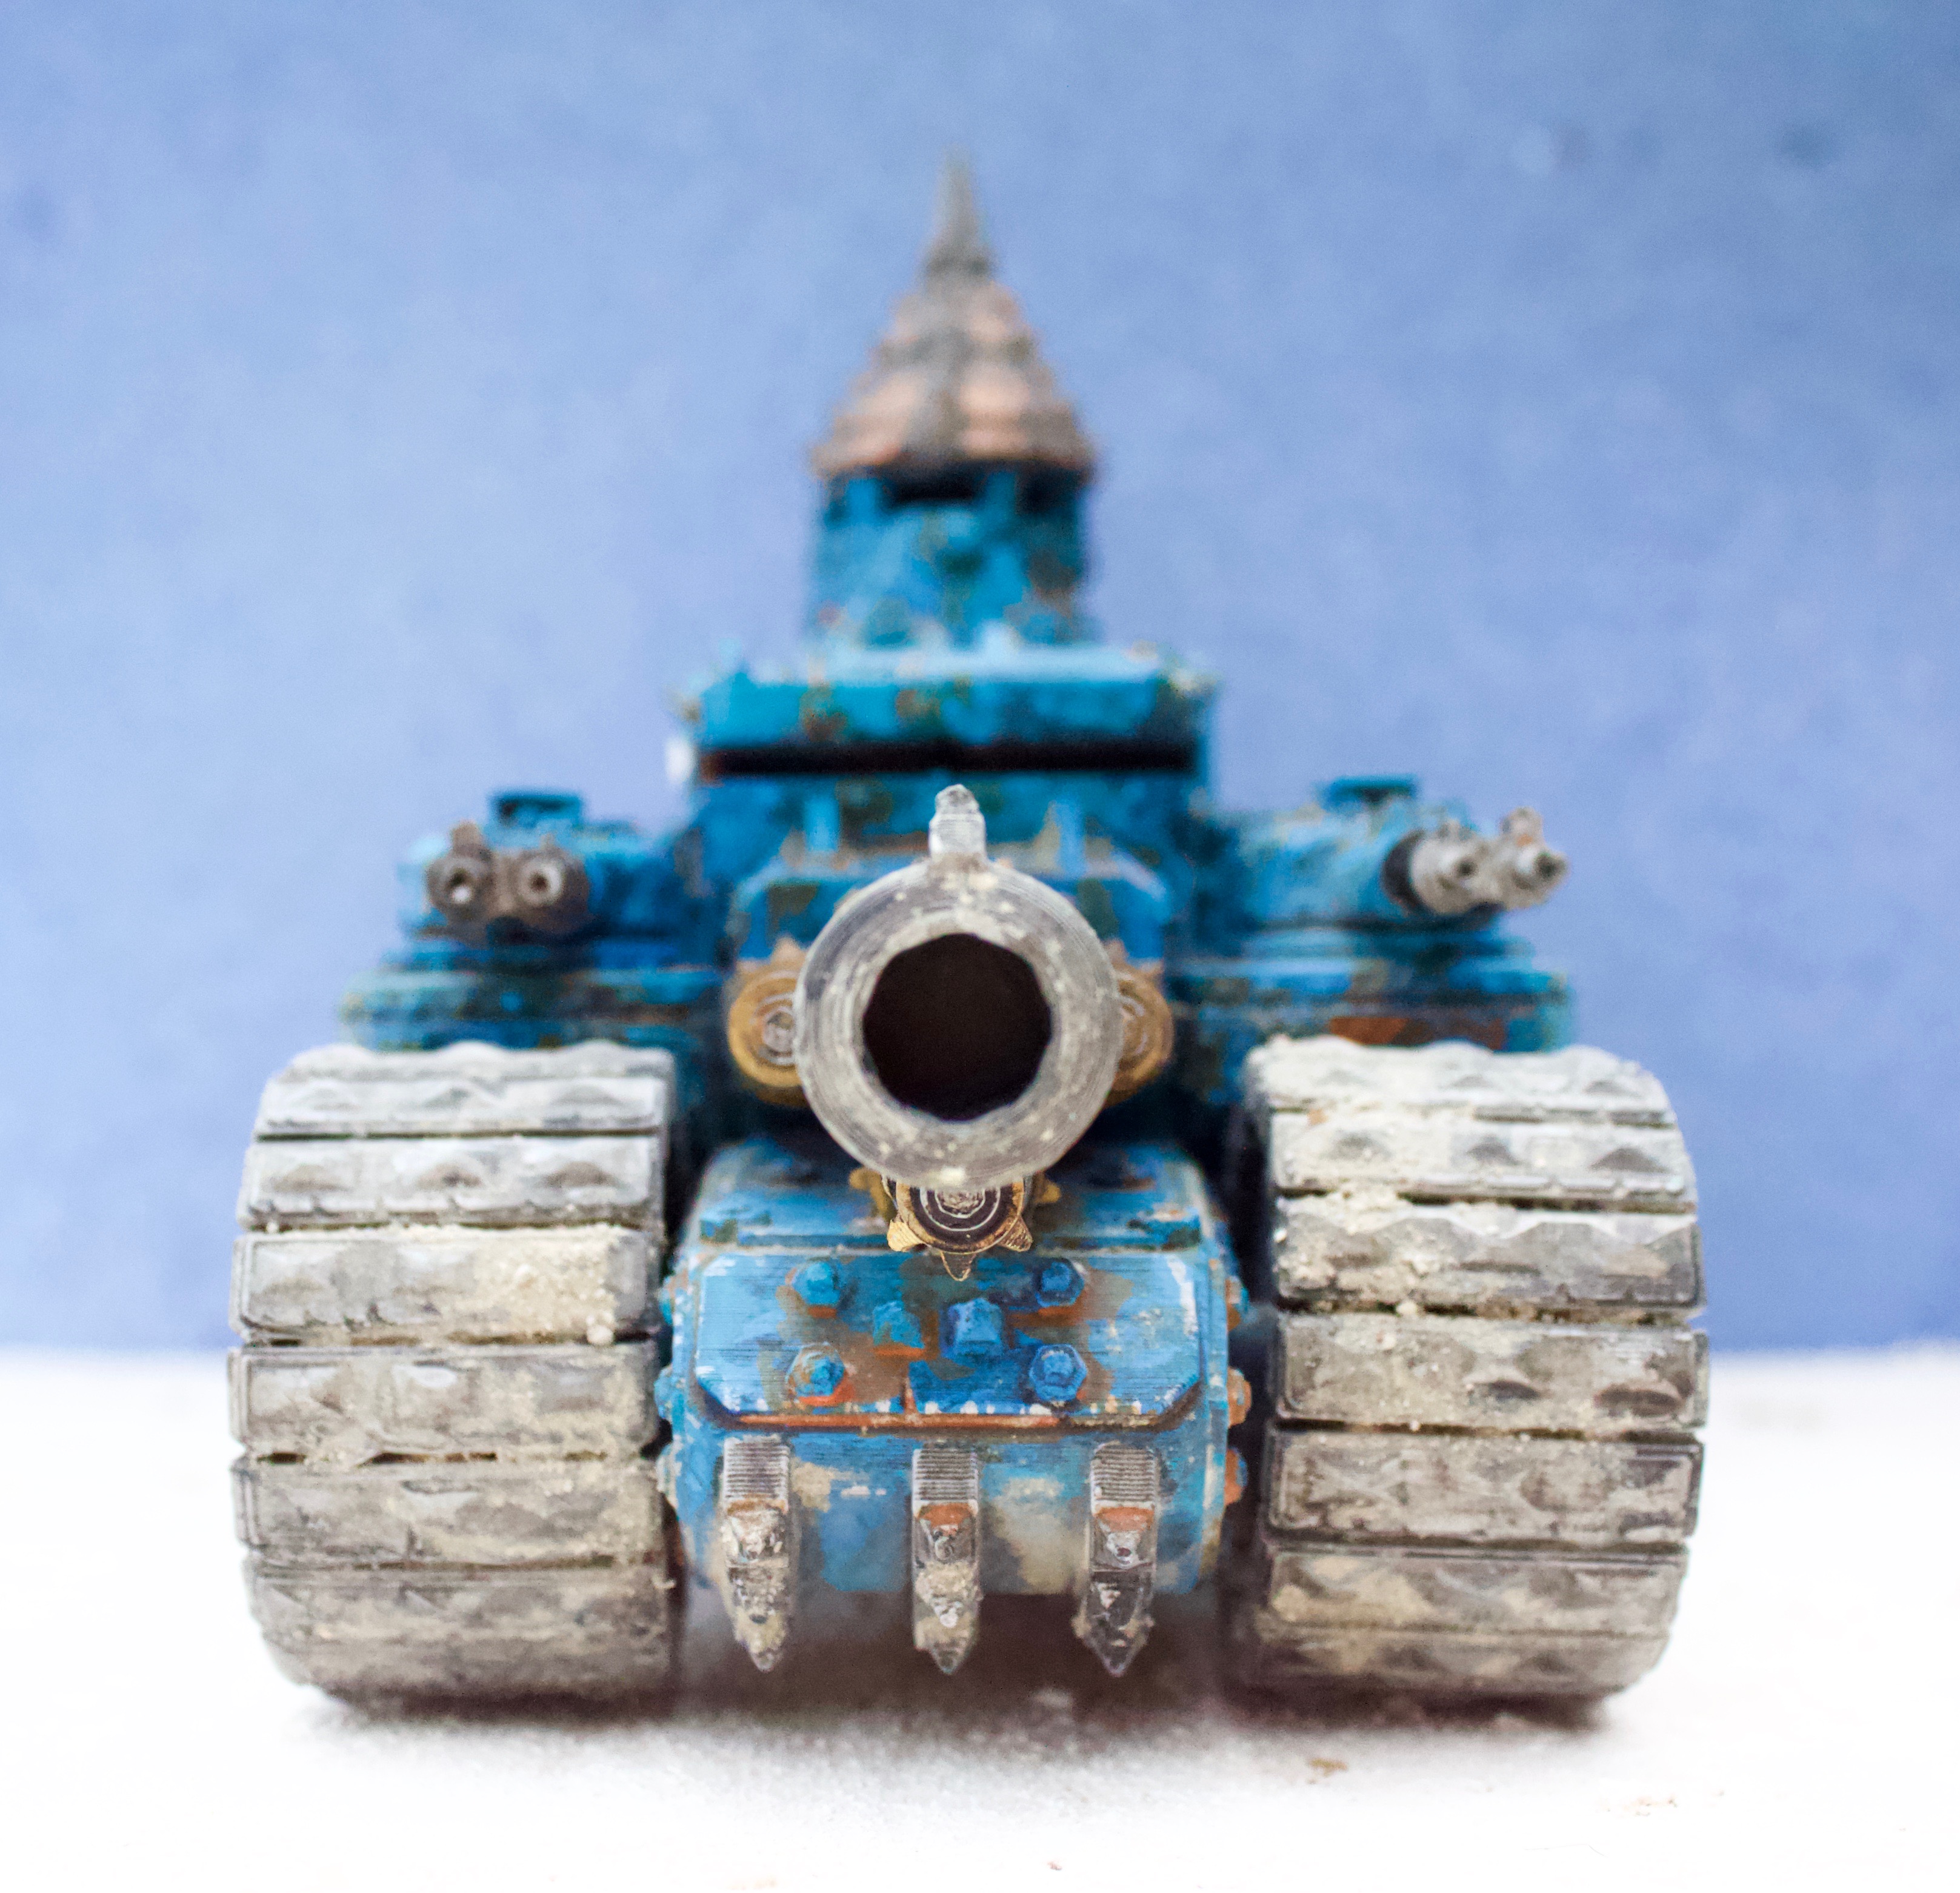
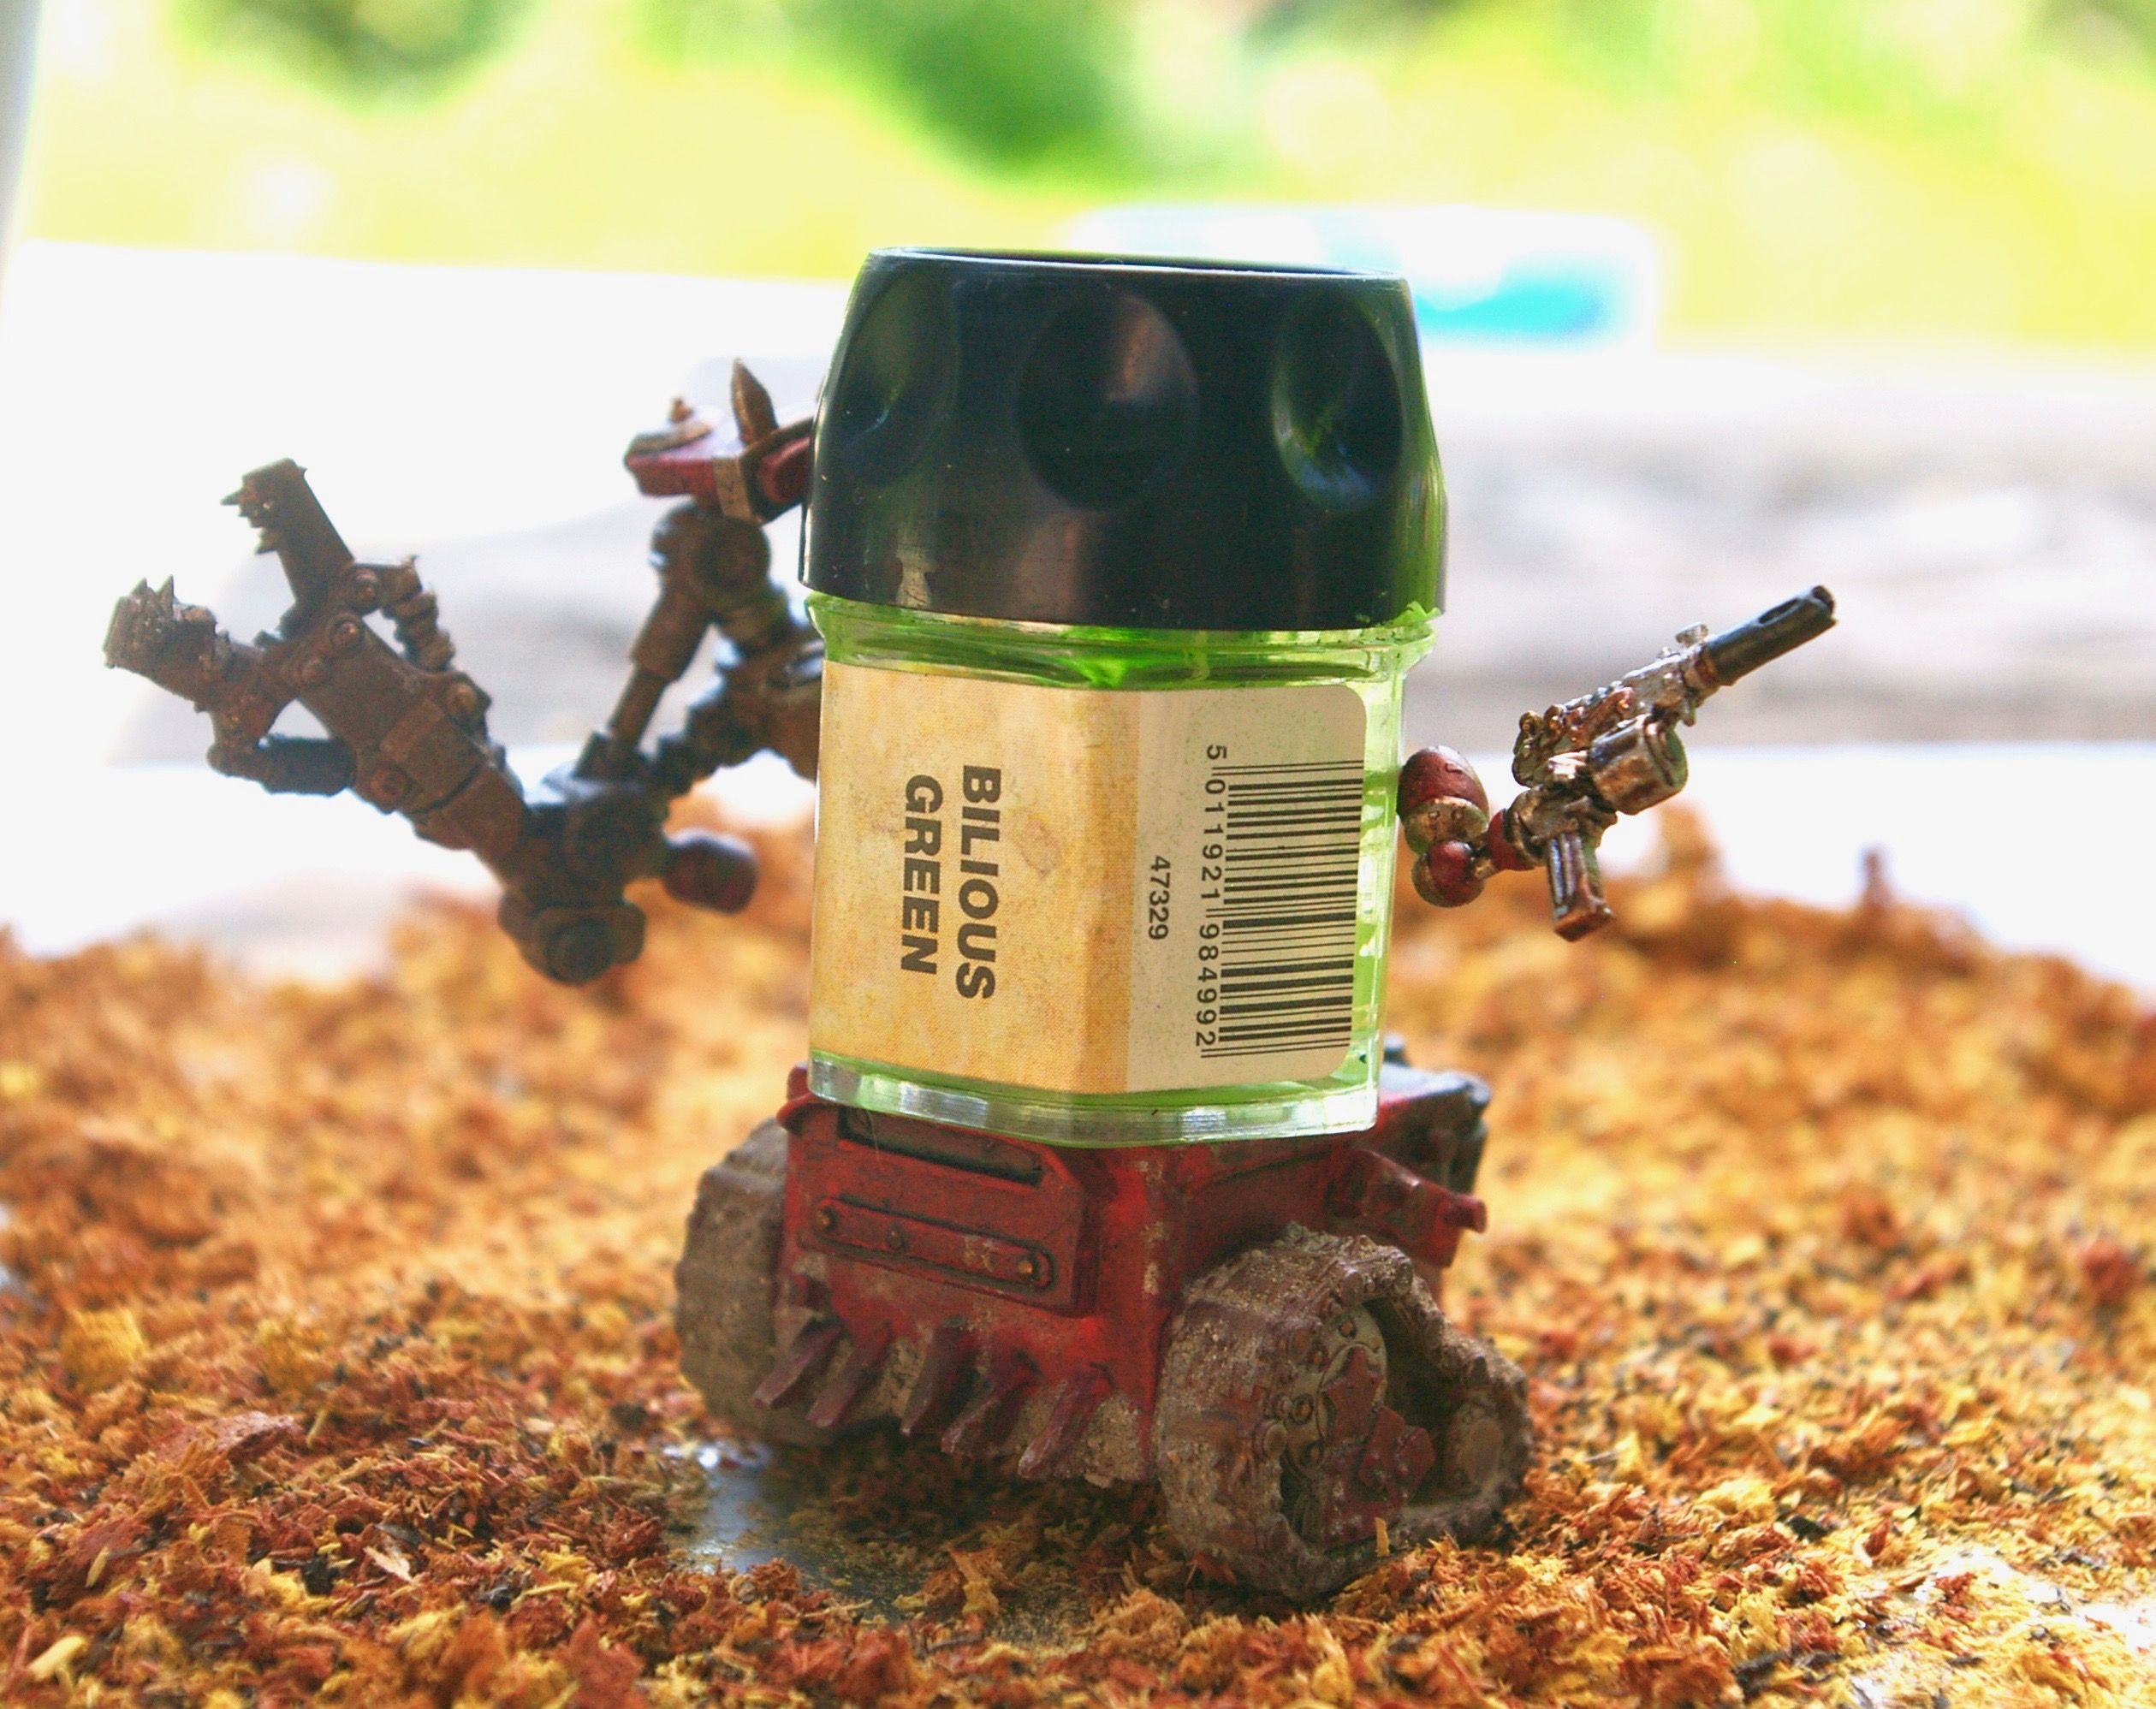
This is from Redgozfasta Patreon. The guy doing this wants to work his way through the Epic Orks collection, scaling them up to 40k size. This month (May) is the Battlewagon. One of the variations is the Weirdboy Tower which I am very much looking forwards to. Entirely printed on my Ender 3 FDM printer. My genius neighbour took my printer apart and rebuilt it totally square. The results are amazing, not resin quality but pretty damn good.
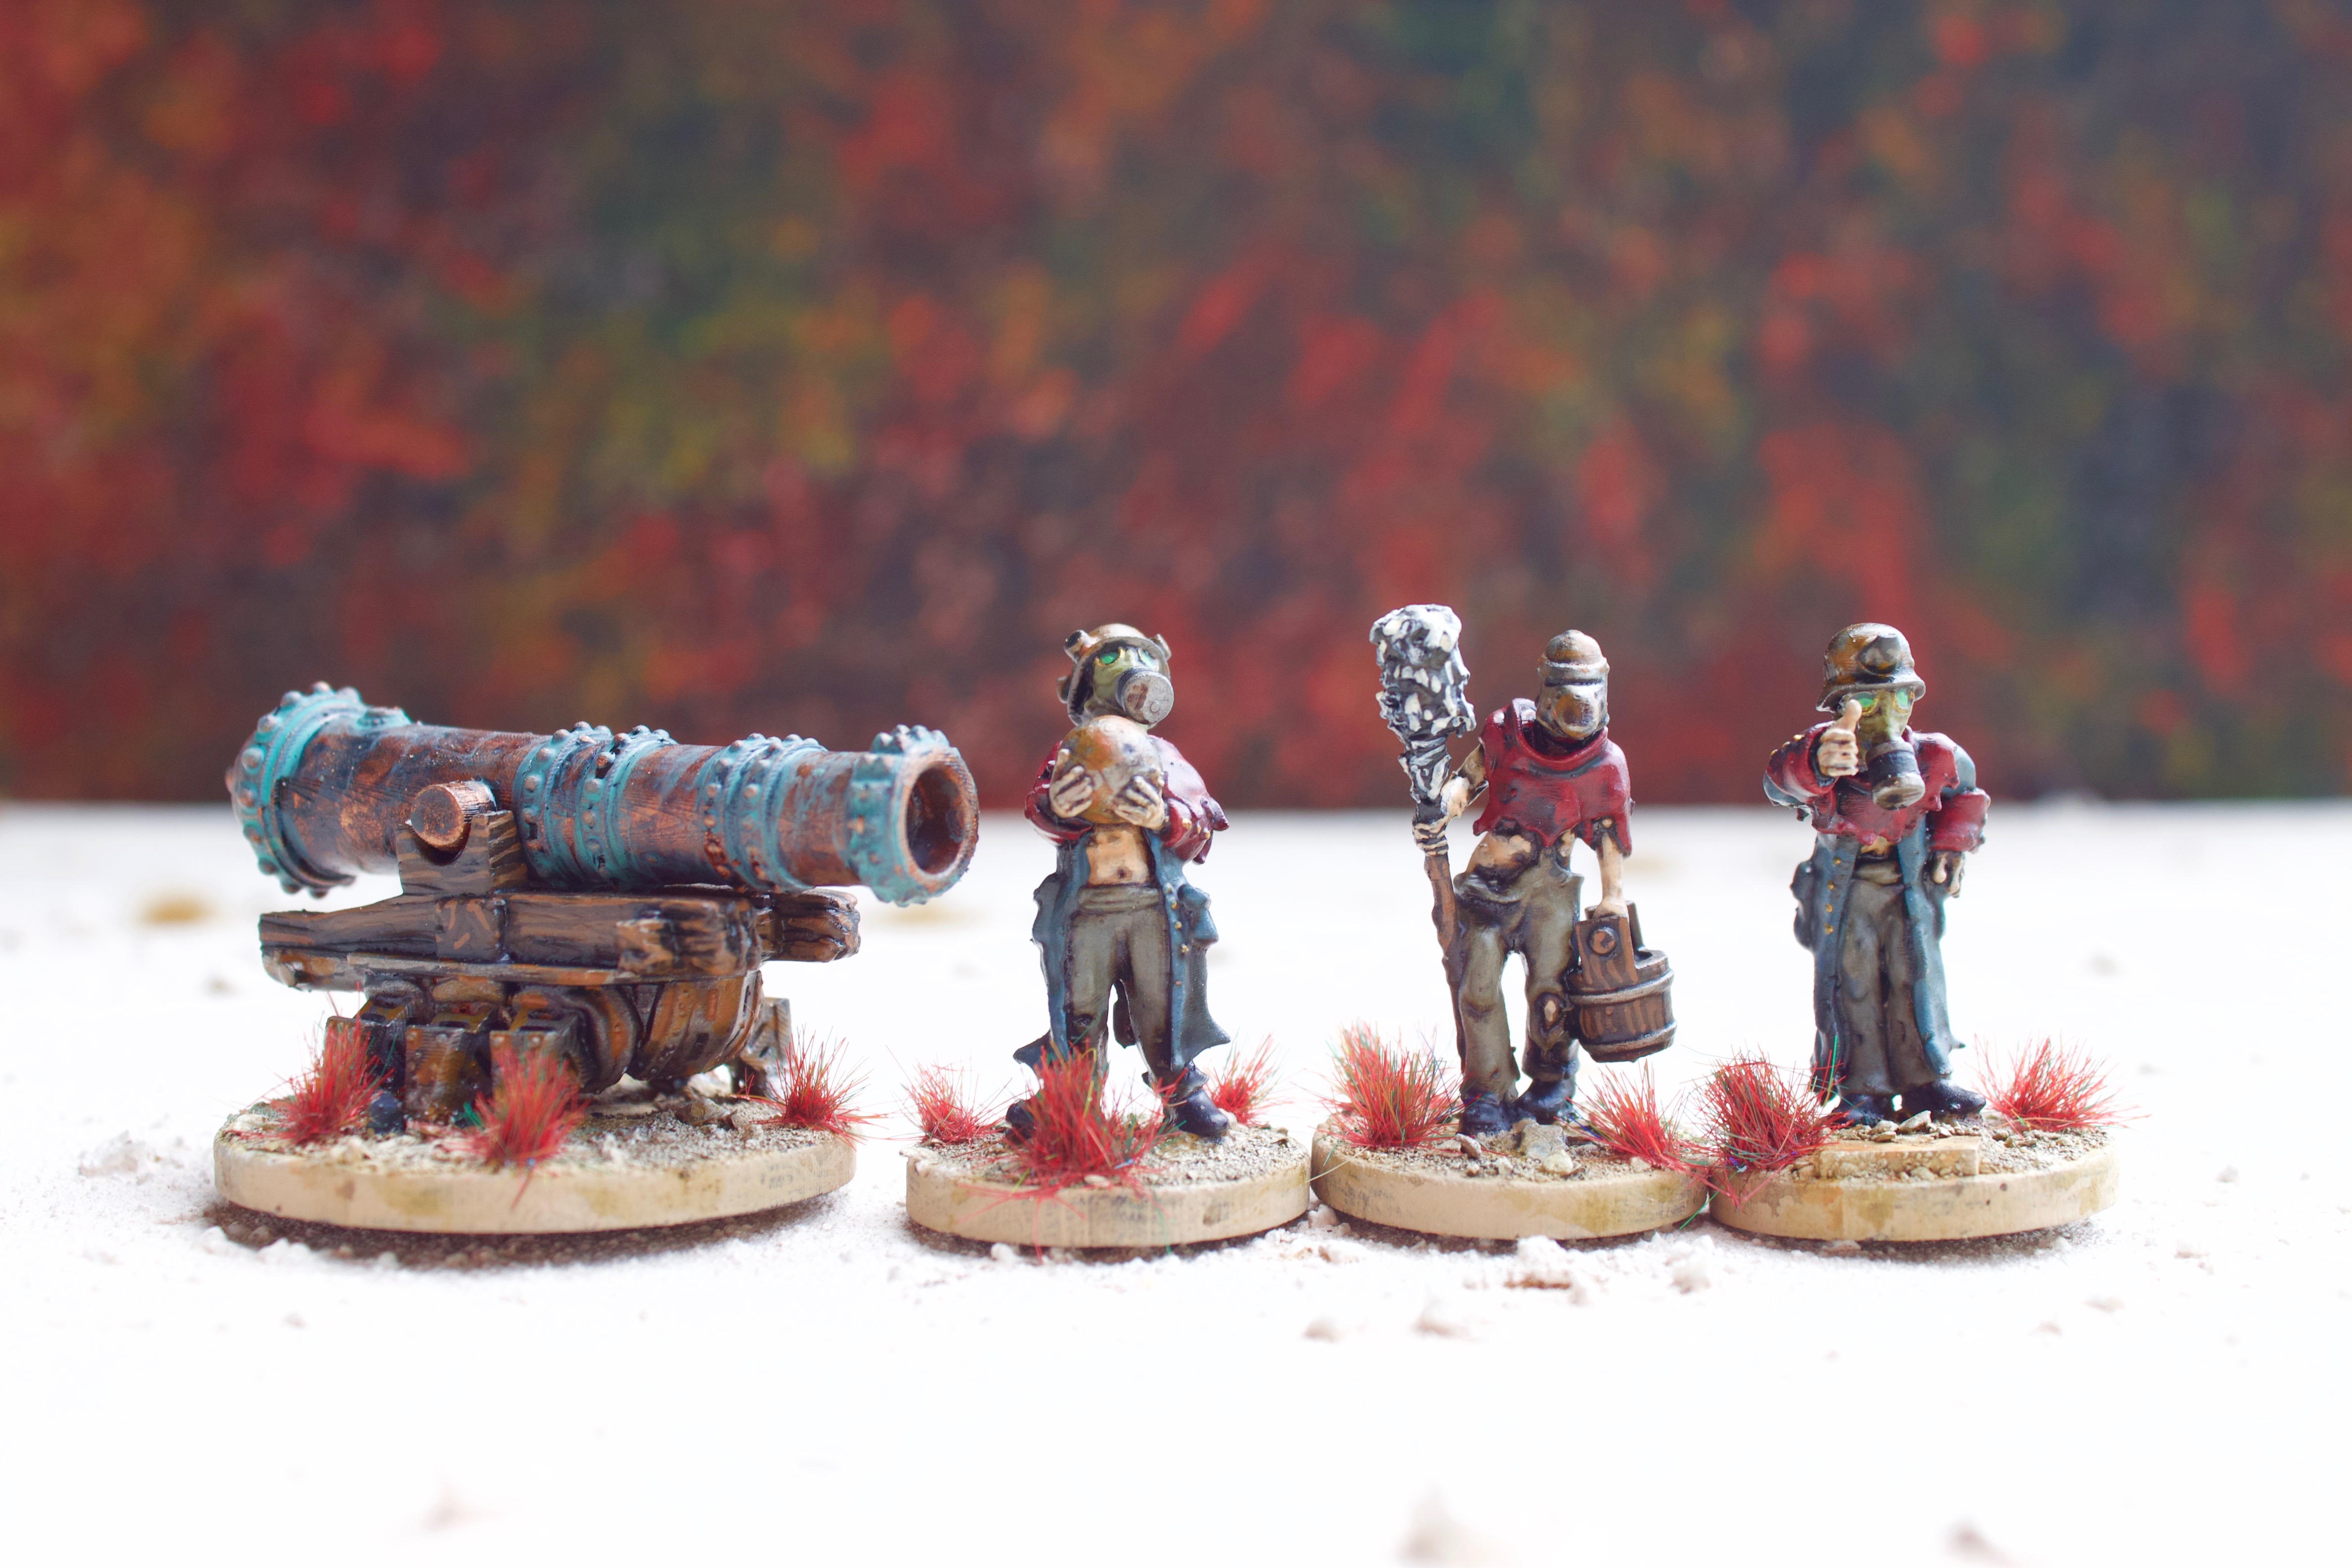
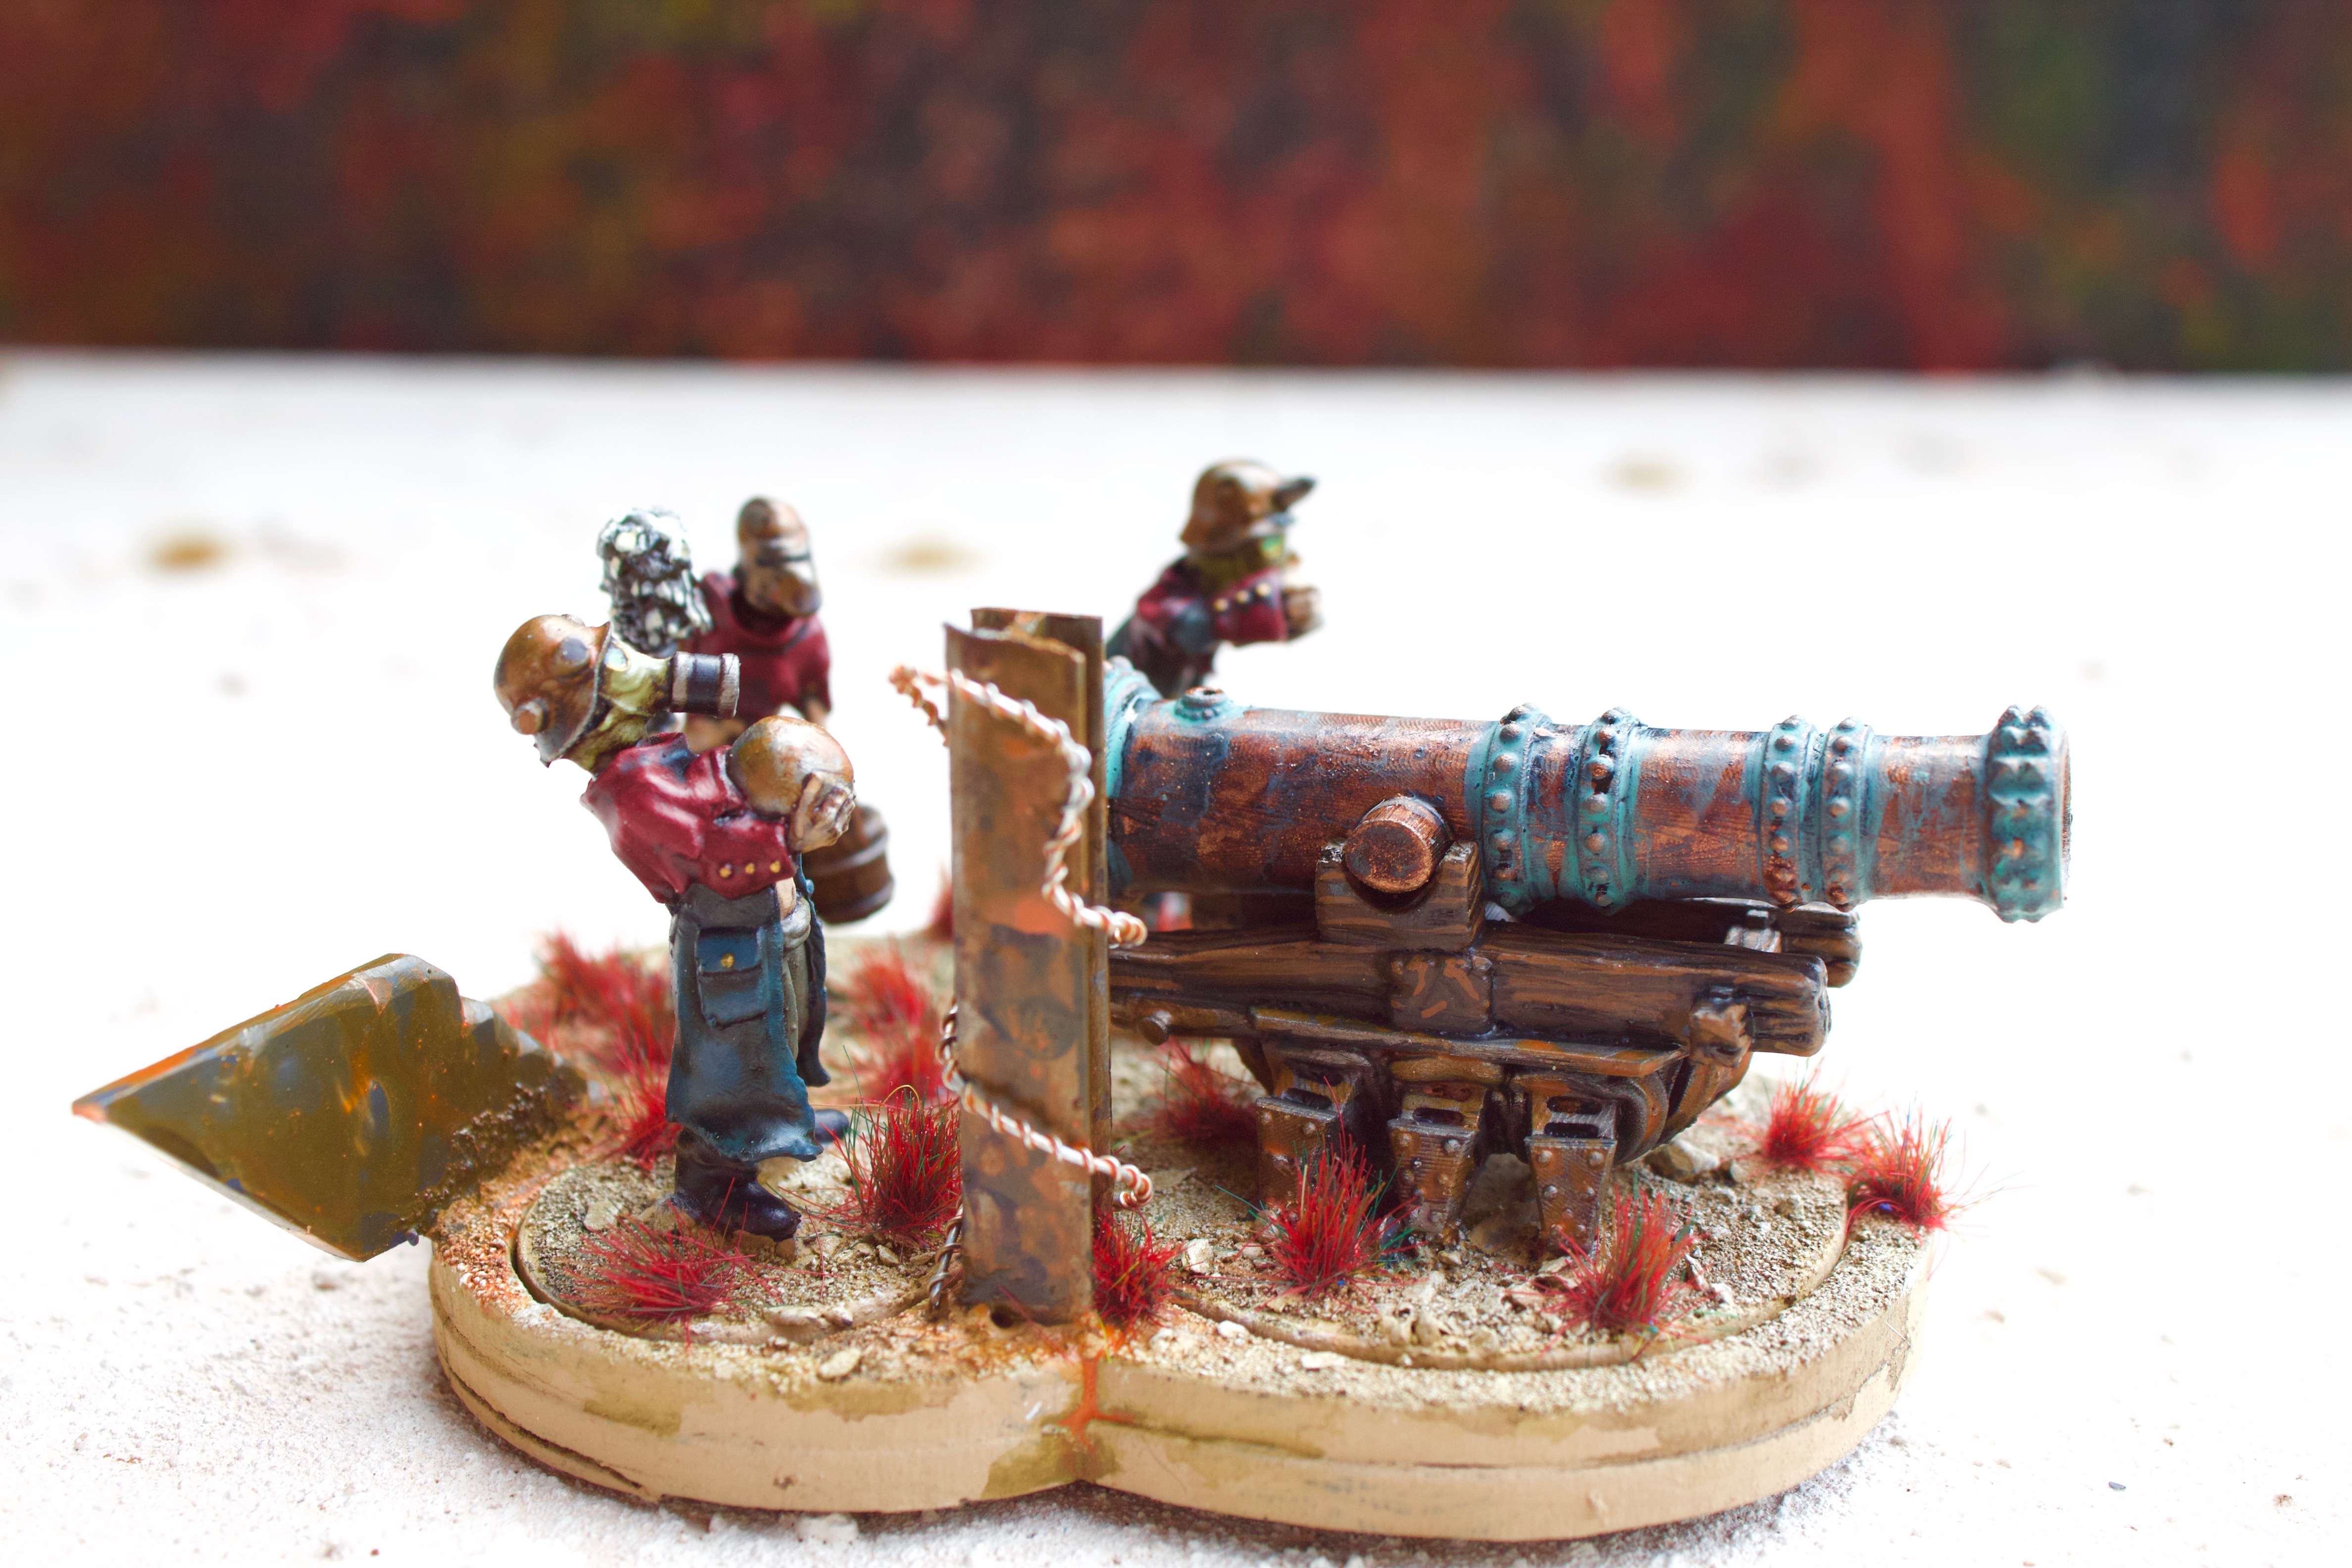
This is a gun crew for my Traitor Guard. This is all from Knucklebones patreon.
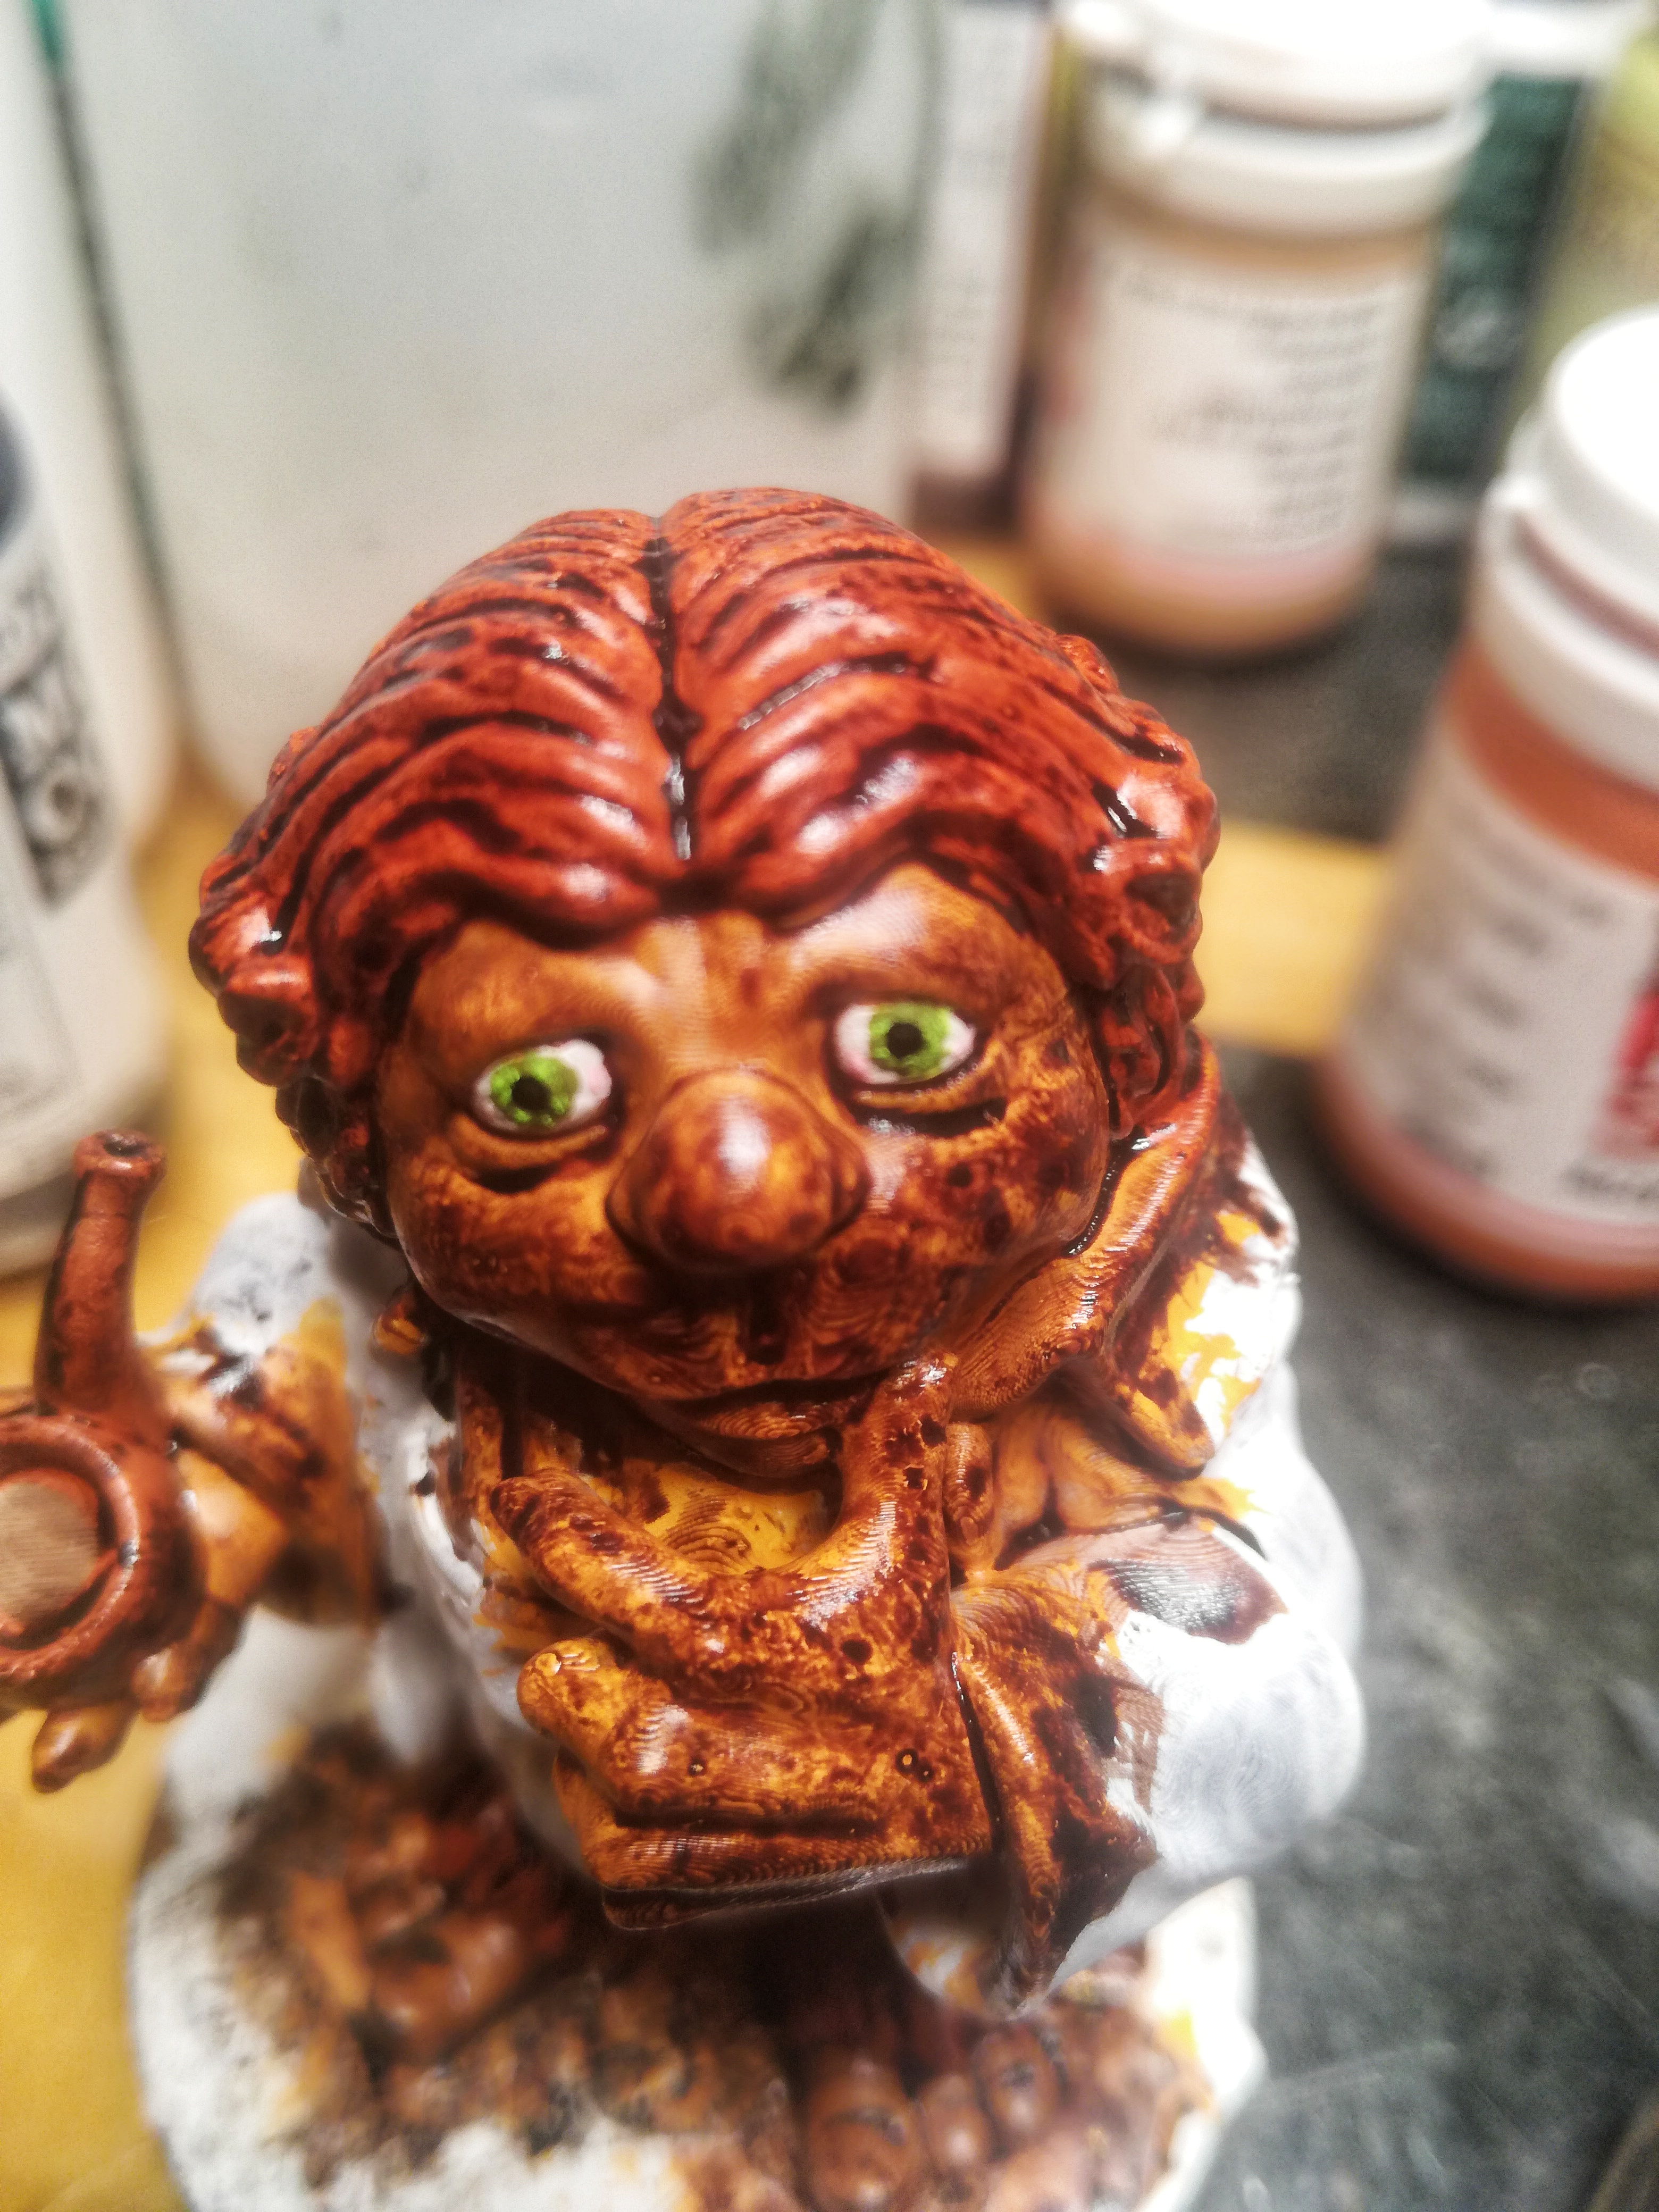
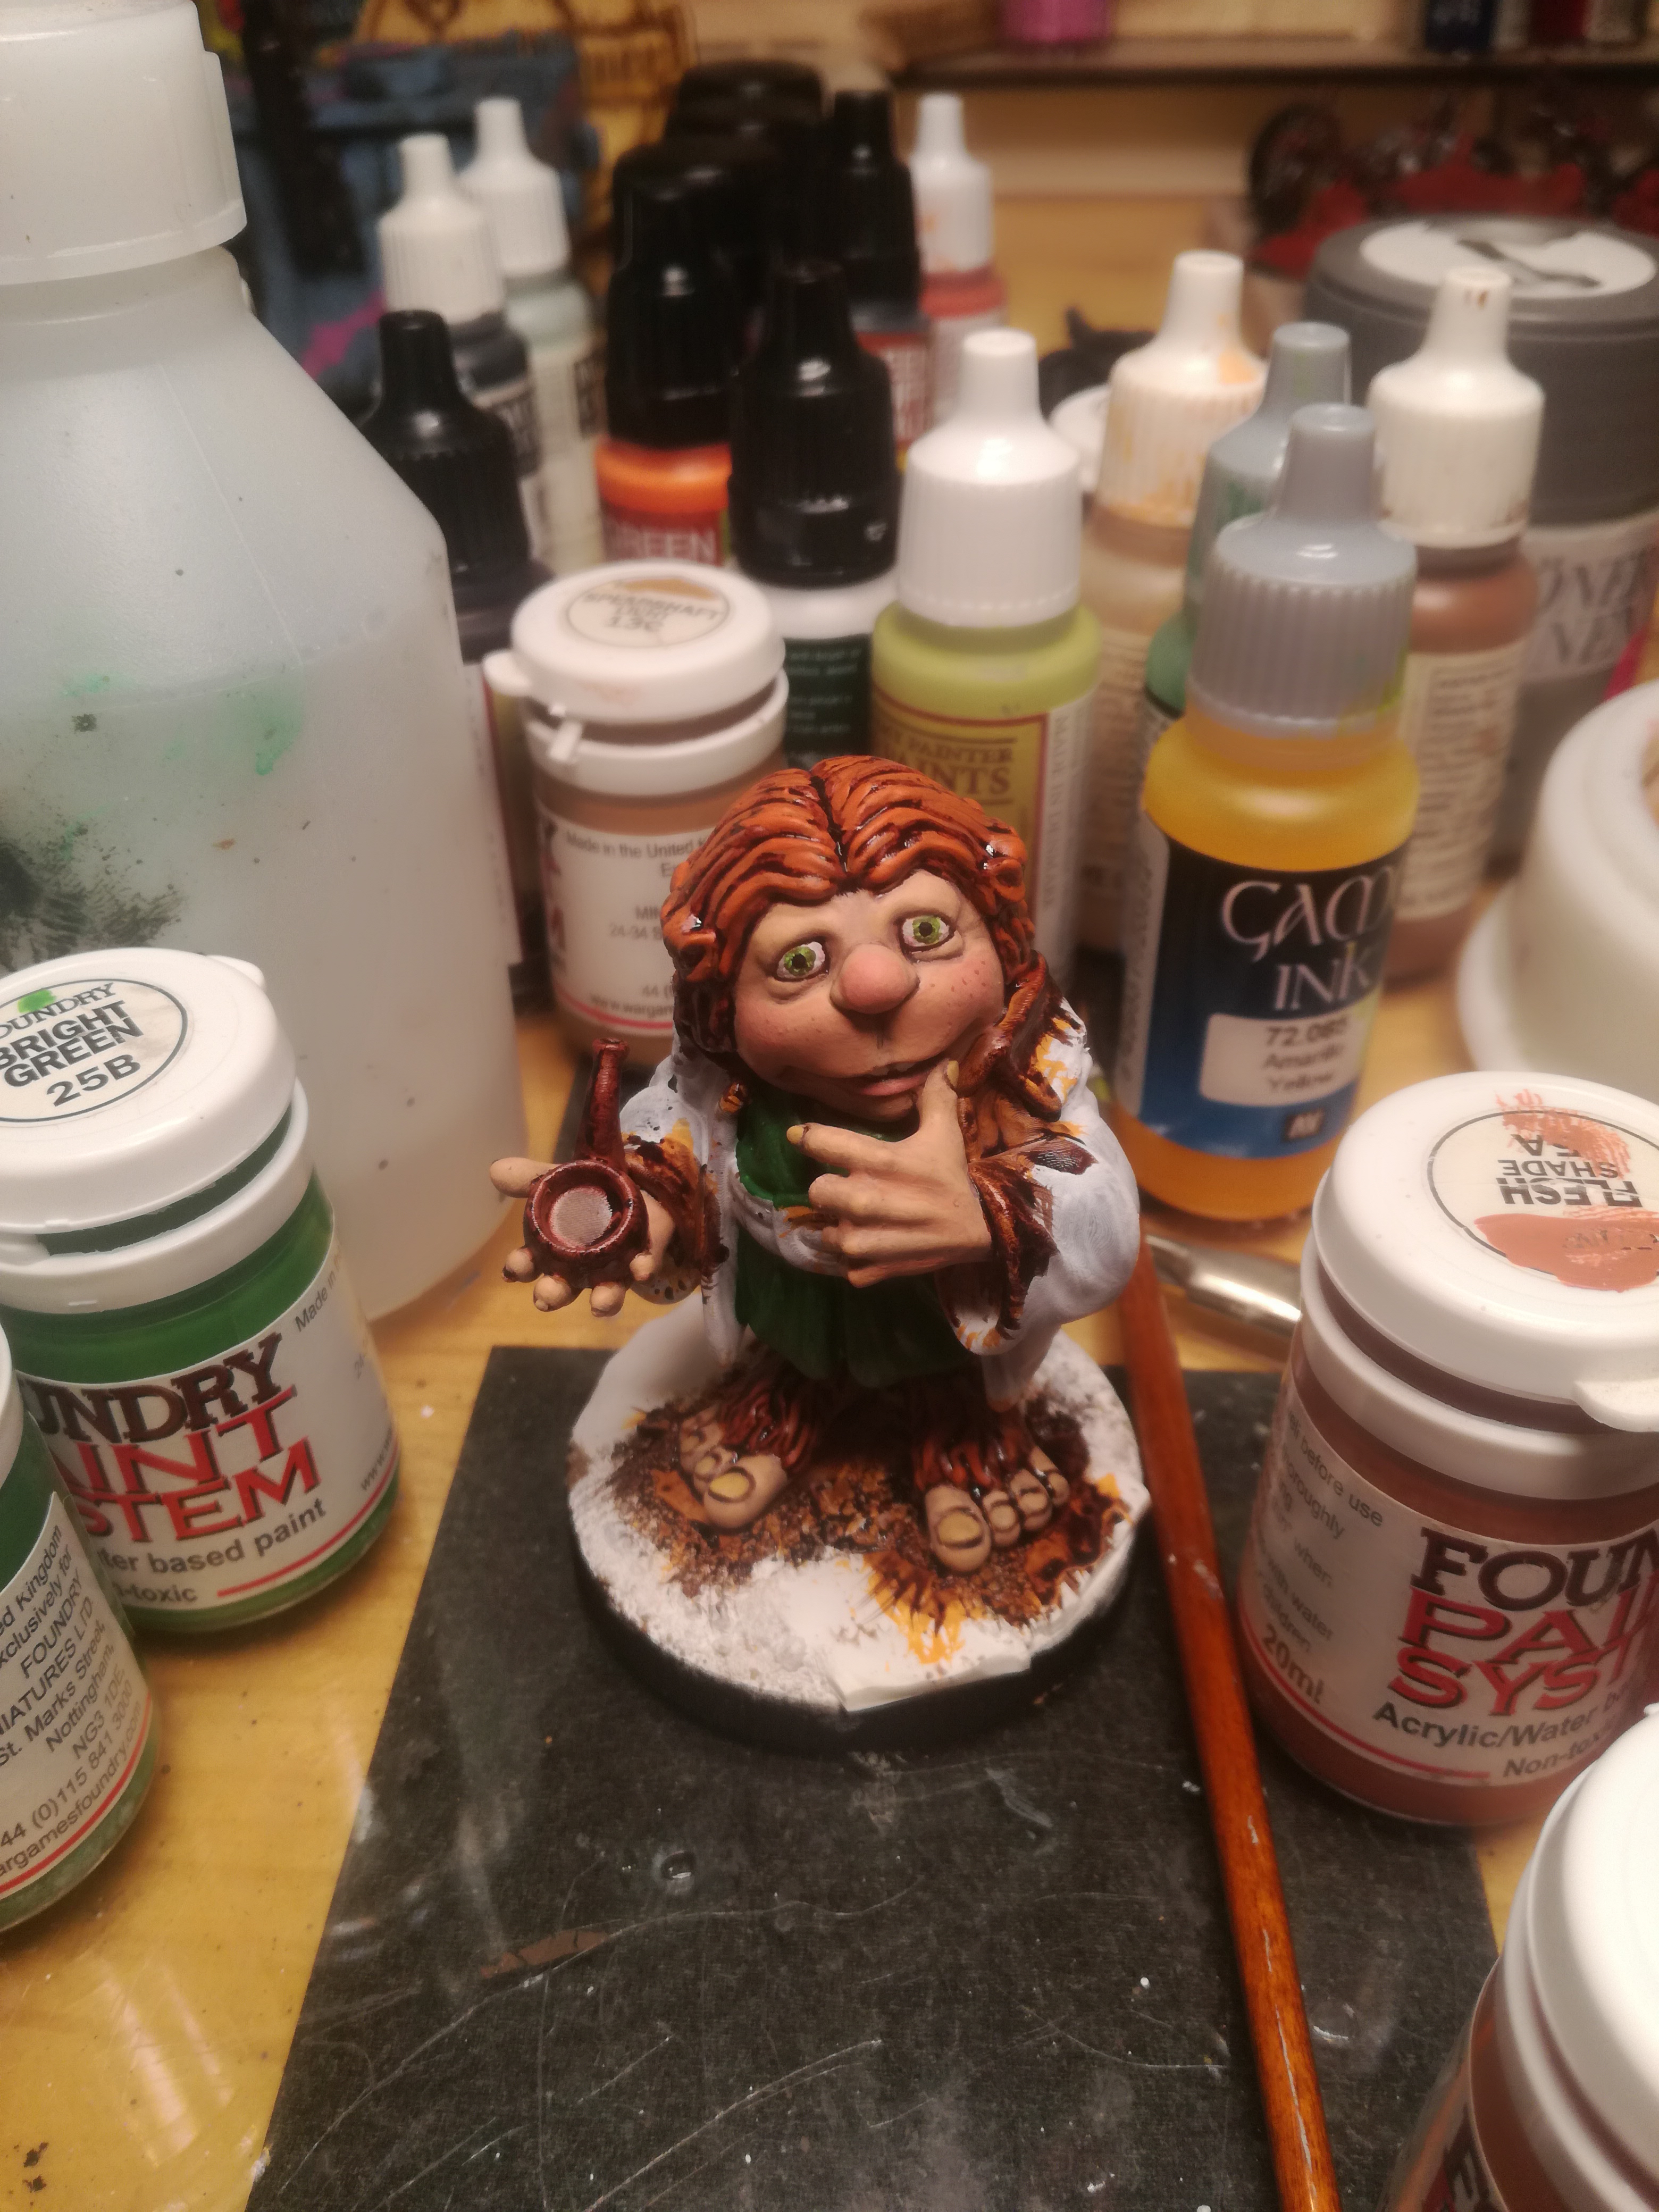
Primed and ready to goThis was my original idea for colours. Sadly a bit bland so I went my own way.First colours blocked outWash. Horrible! Make it go away!Stop staringFlesh doneHair todayAlmost there
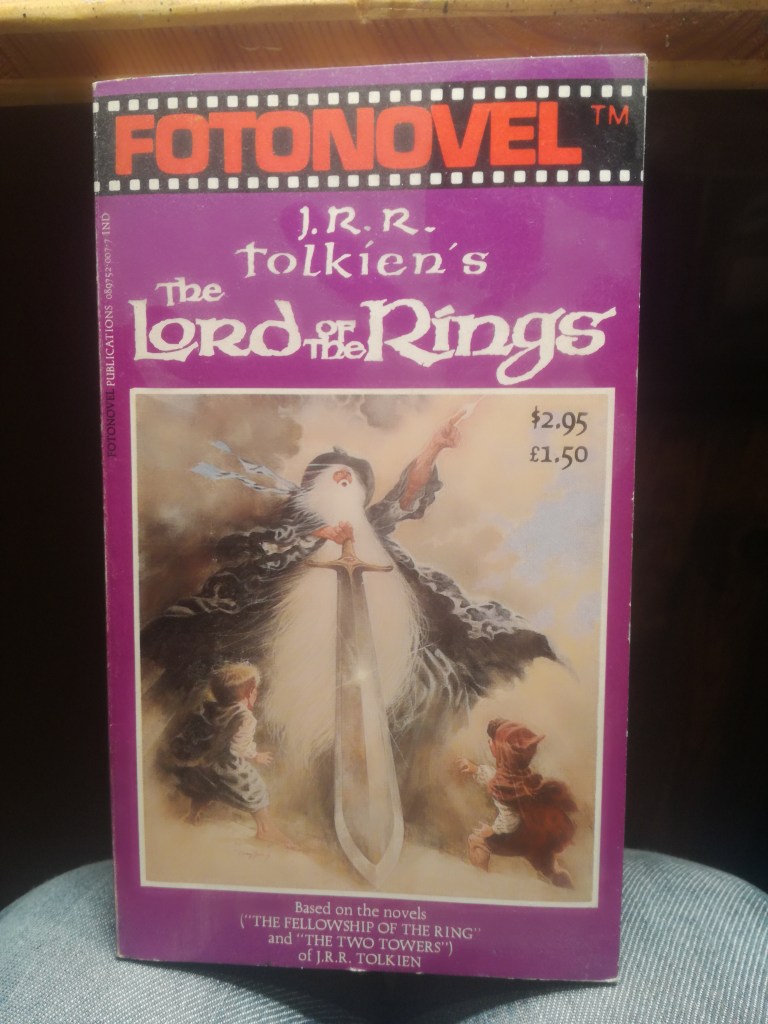
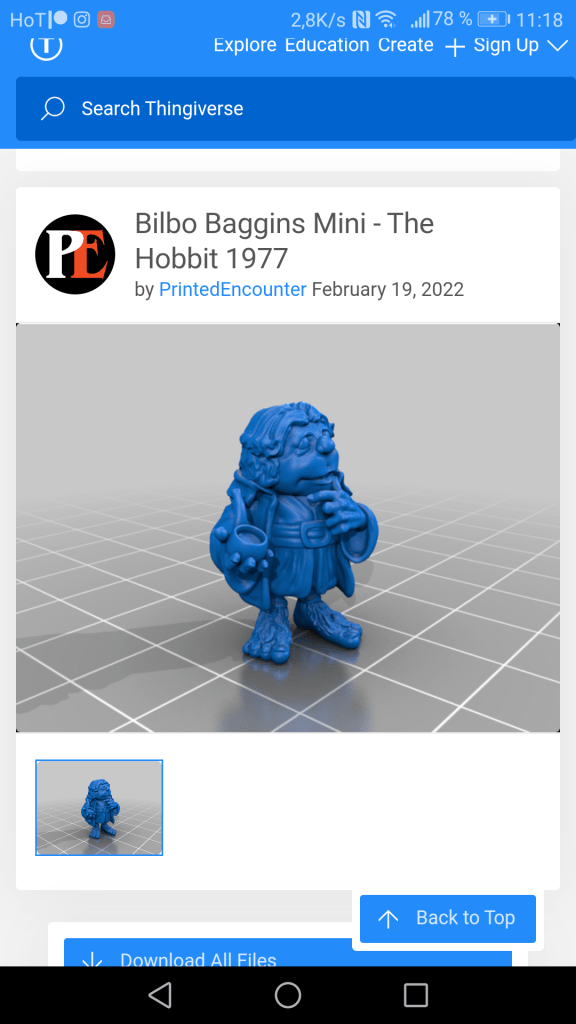
Reddit is my default opening page on my interwebs browser. When I opened it yesterday at the top of the feed was an interesting post. One of the feeds I am subbed into r/PrintedMinis had a post from u/PrintedEncounter. They had been challenged to speed sculpt. Printed Encounter took it on and produced a sculpt of Bilbo Baggins in two and a half hour.
A link was posted to it on Thingiverse. And a challenge was posted that if someone wanted to paint and post it they could suggest the next sculpt.
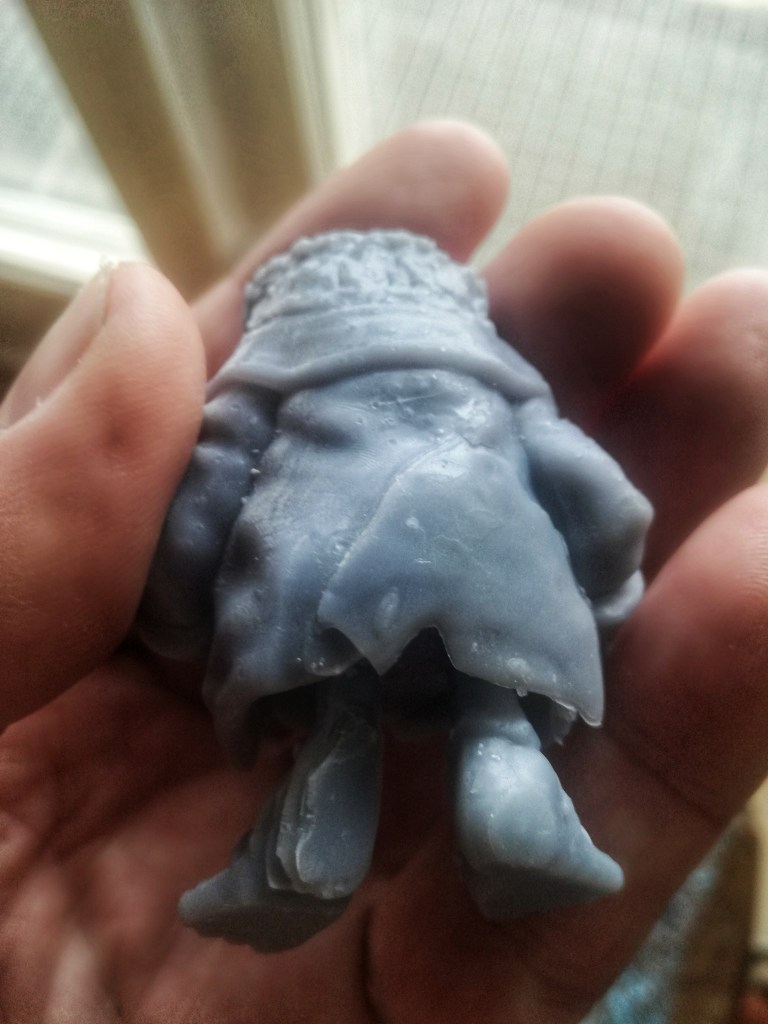
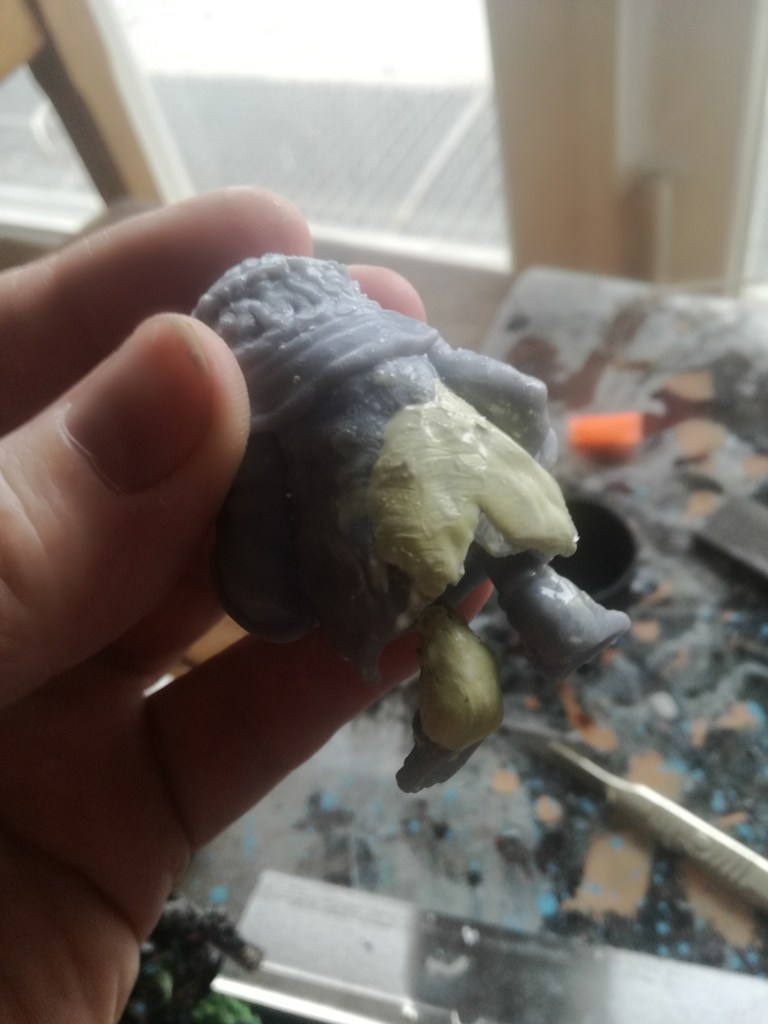
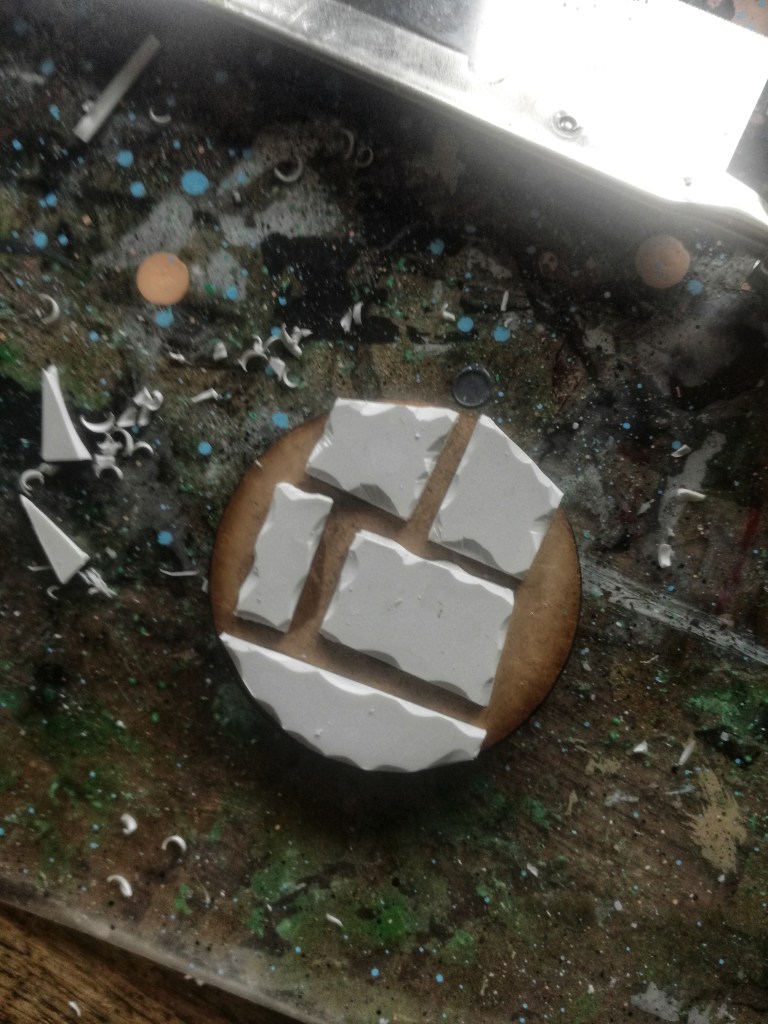
Model printed outNot enough supportsMilliput to the rescueWorking on the base
I will post in a couple of hours when I have applied some paint. I aim to have this finished by the end of today. First I have to help my youngest in Assassin’s Creed Odyssey while I wait for the milliput to dry.