This is very much a work in progress and some revisions may have to be made.
The Tabletop Minions video blog inspired me to start this project.
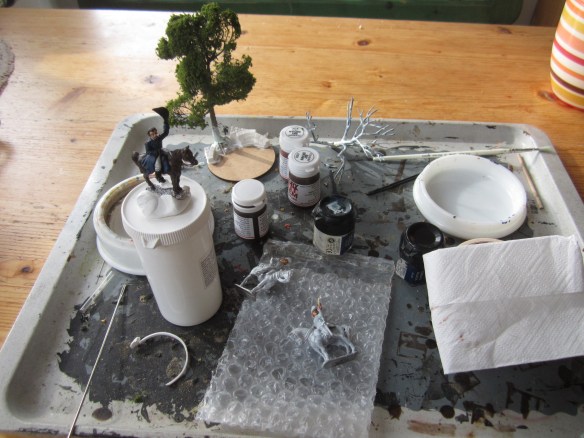
Here you can see I have assembled all the components I’ll be using

Here are the bits I need for this project
First off is an airtight food container, sourced from Morrisons. It’s not huge, about 12cm by 9cm.
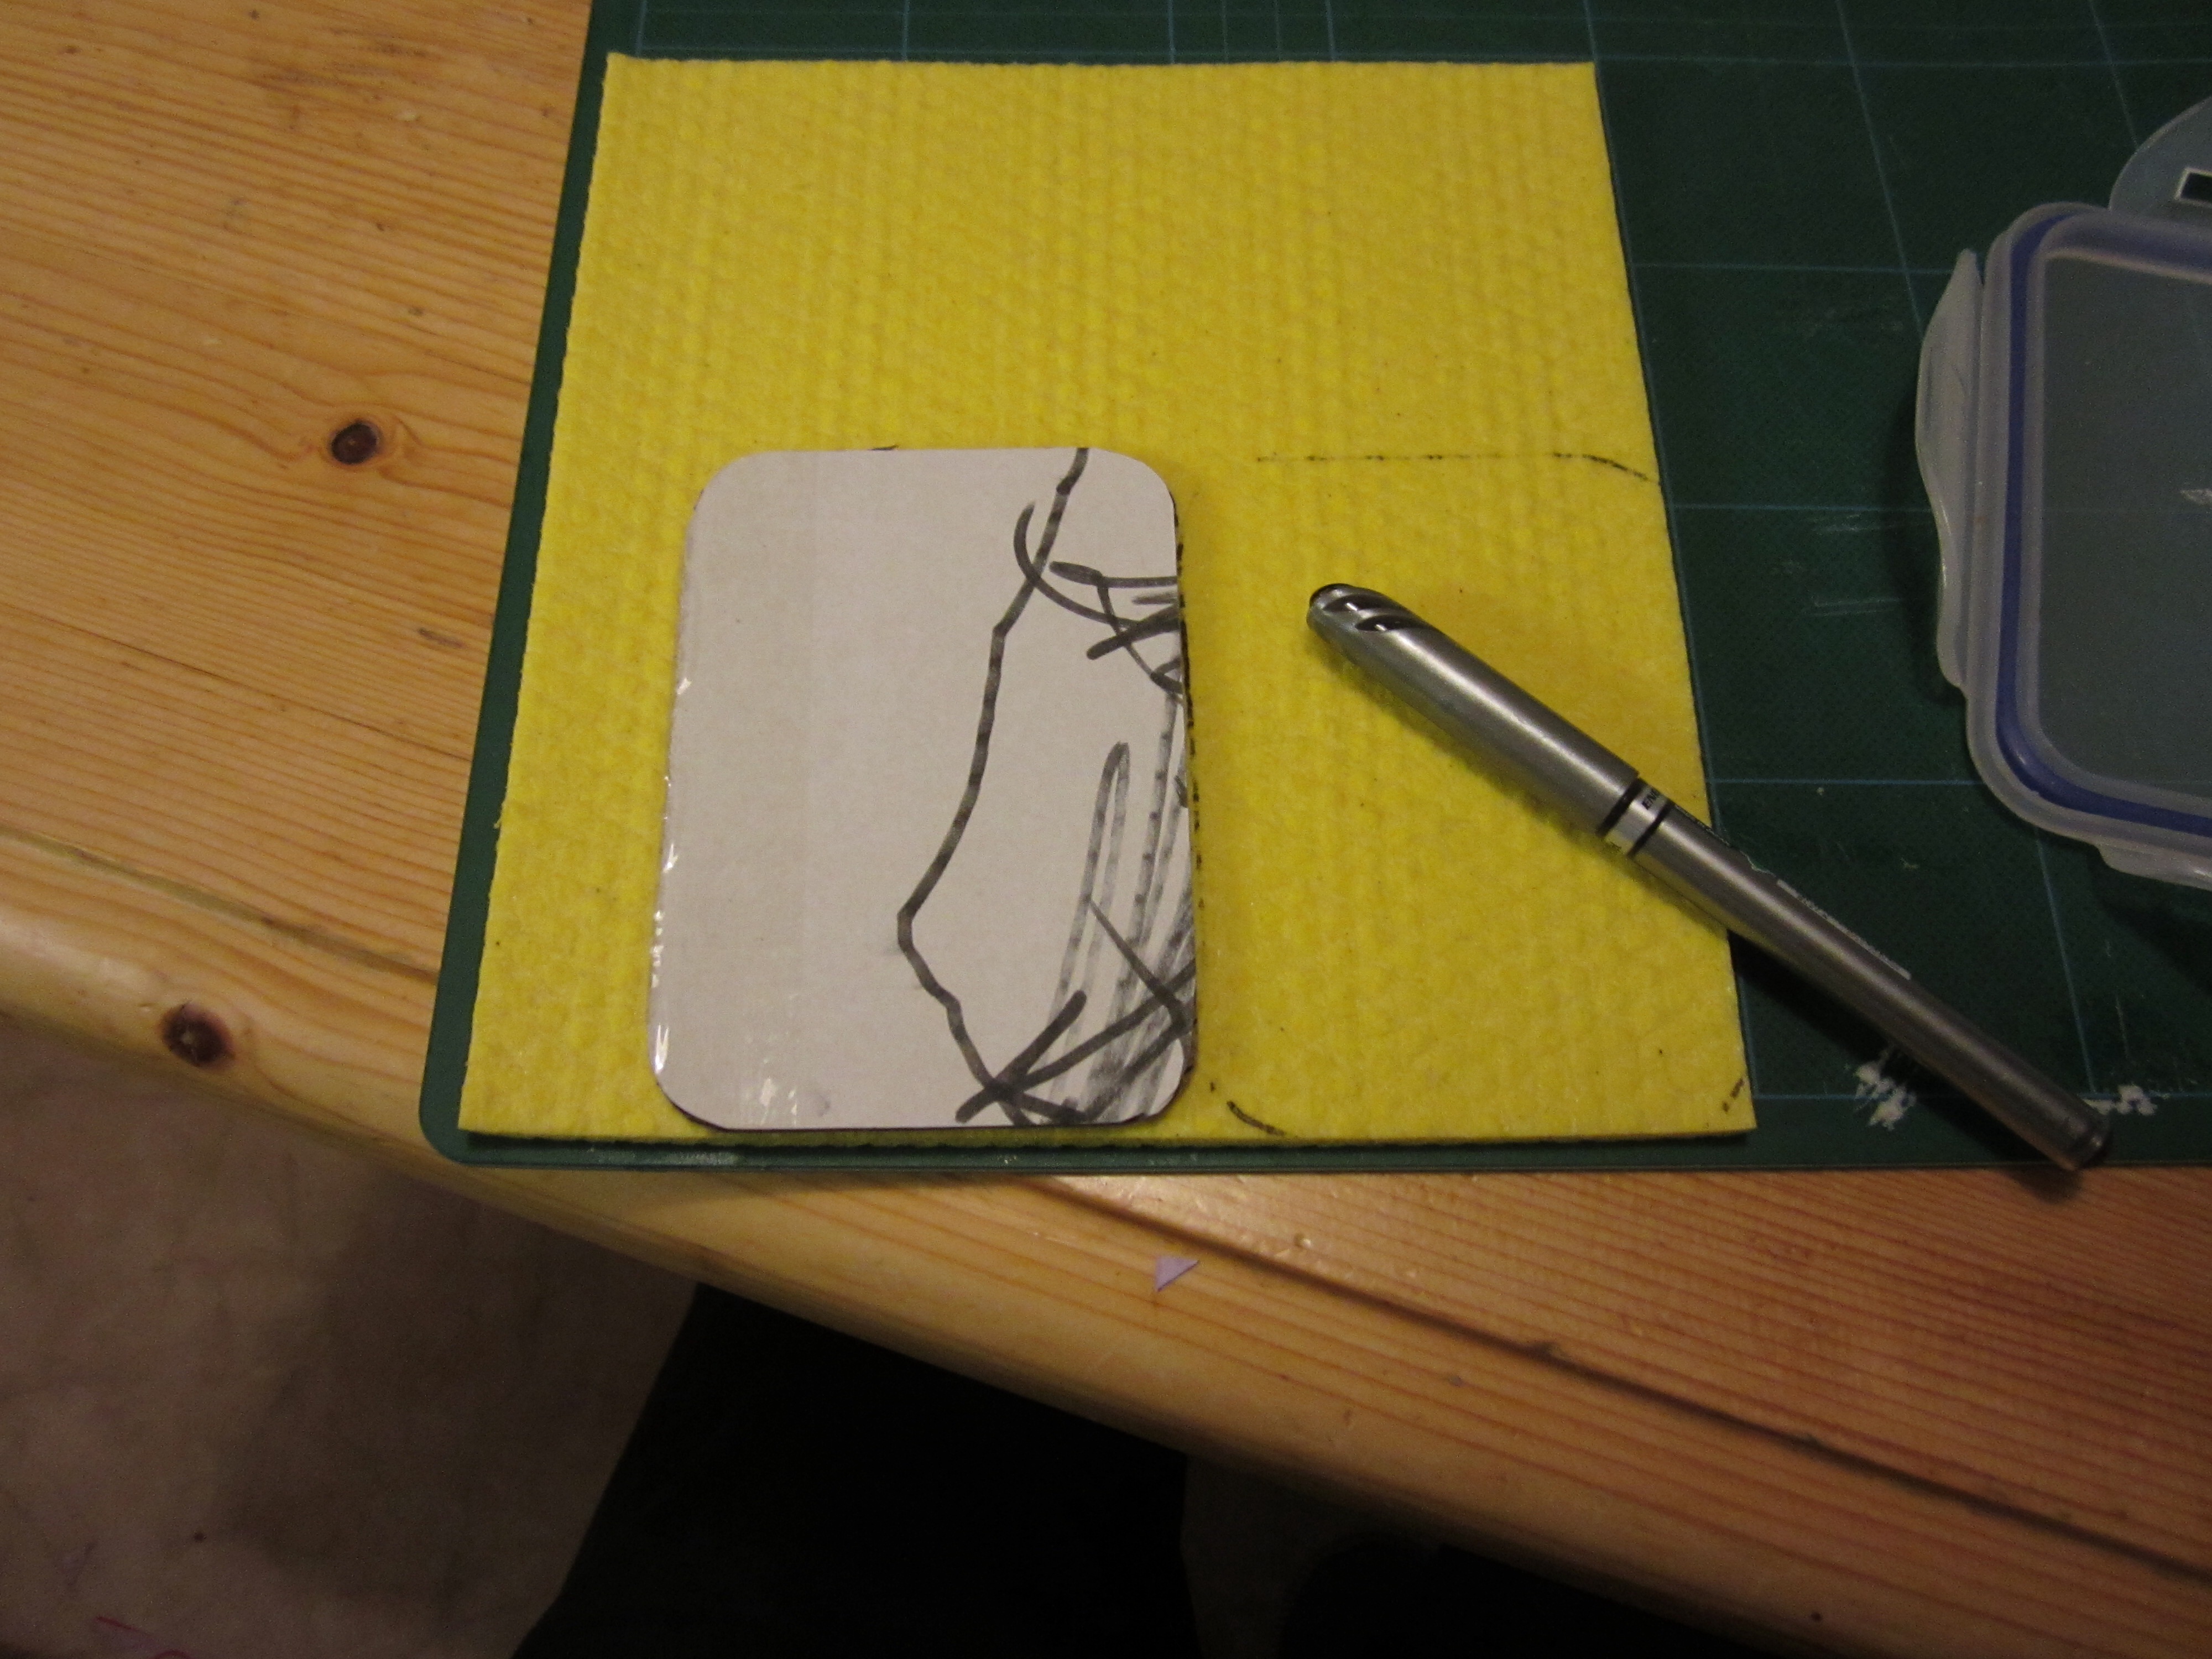
A piece of card cut to the dimensions inside the the container. This is used as a template for cutting.
Scalpel, spare blades, steel rule and a cutting mat. The cutting mat is essential if you wish to maintain cordial relations with your nearest and dearest.
A short length of speaker cable, donated by my local electronics store.
One roll of baking paper. I don’t know if this is the right stuff or whether I need baking parchment. I’ll report back.
A pack of sponge cloths. Again I’m not sure if they’ll work.
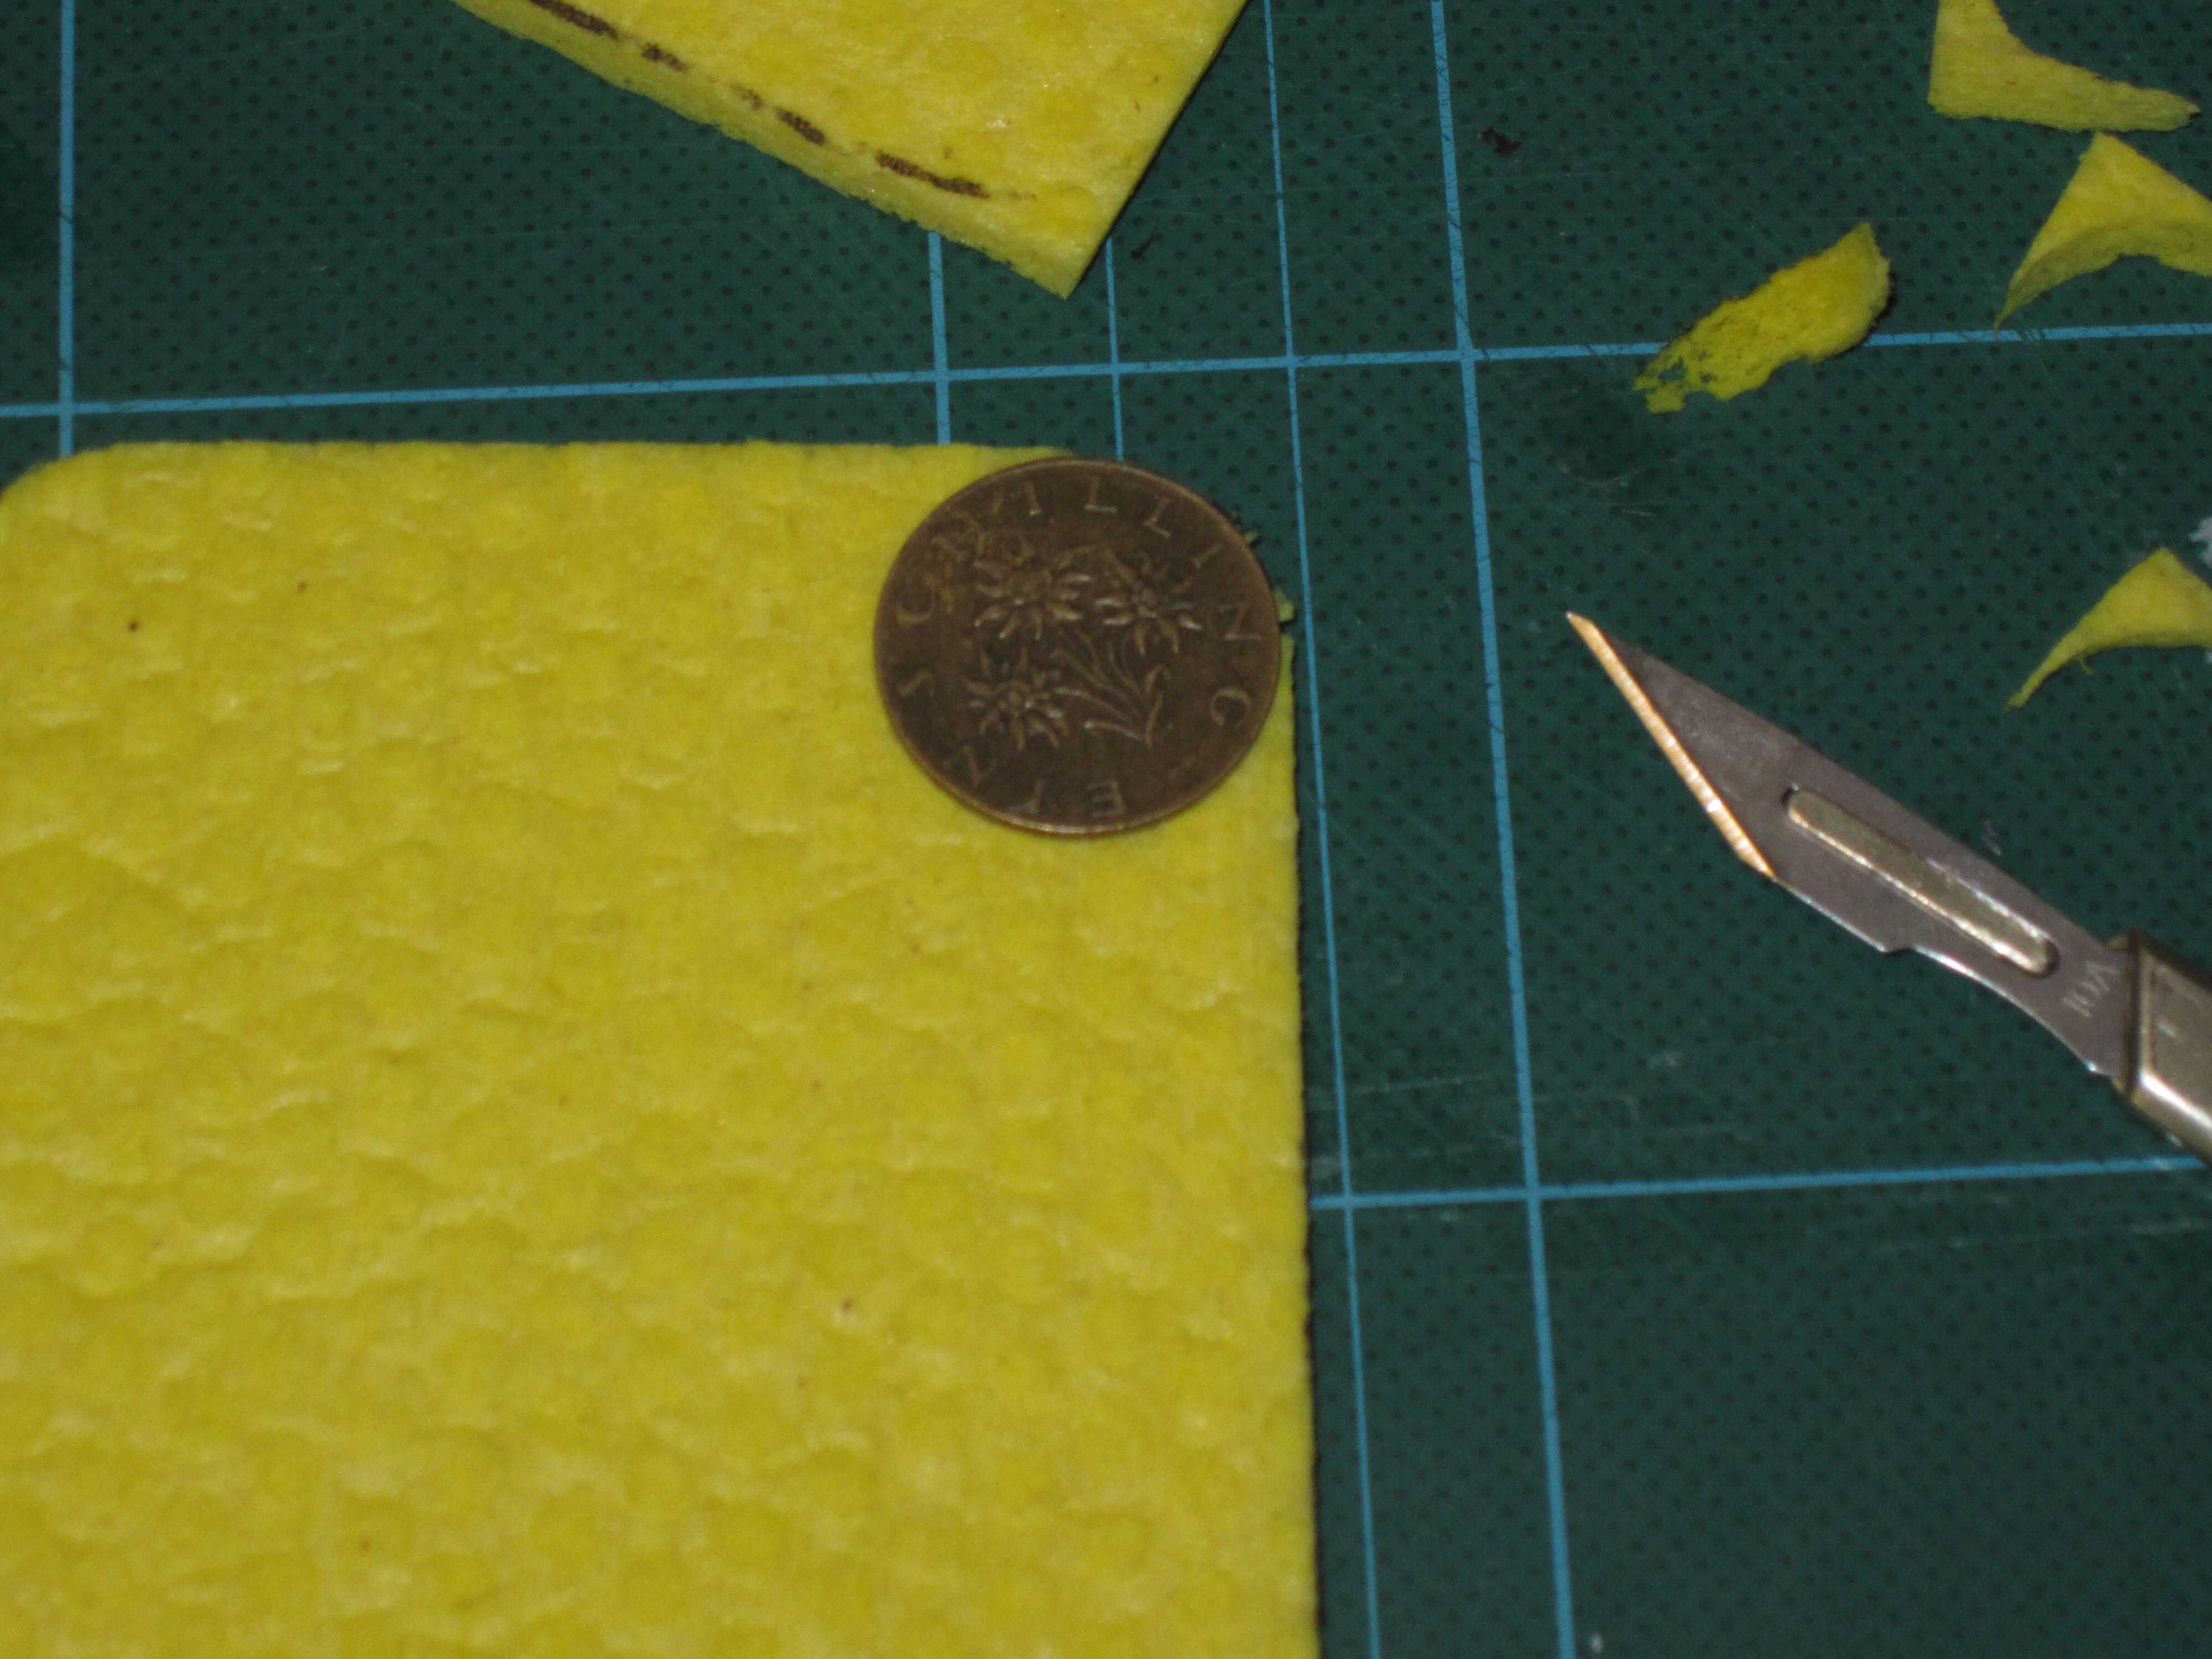
I neglected to add a schilling coin which I use to cut around the corners of the sponge and paper.

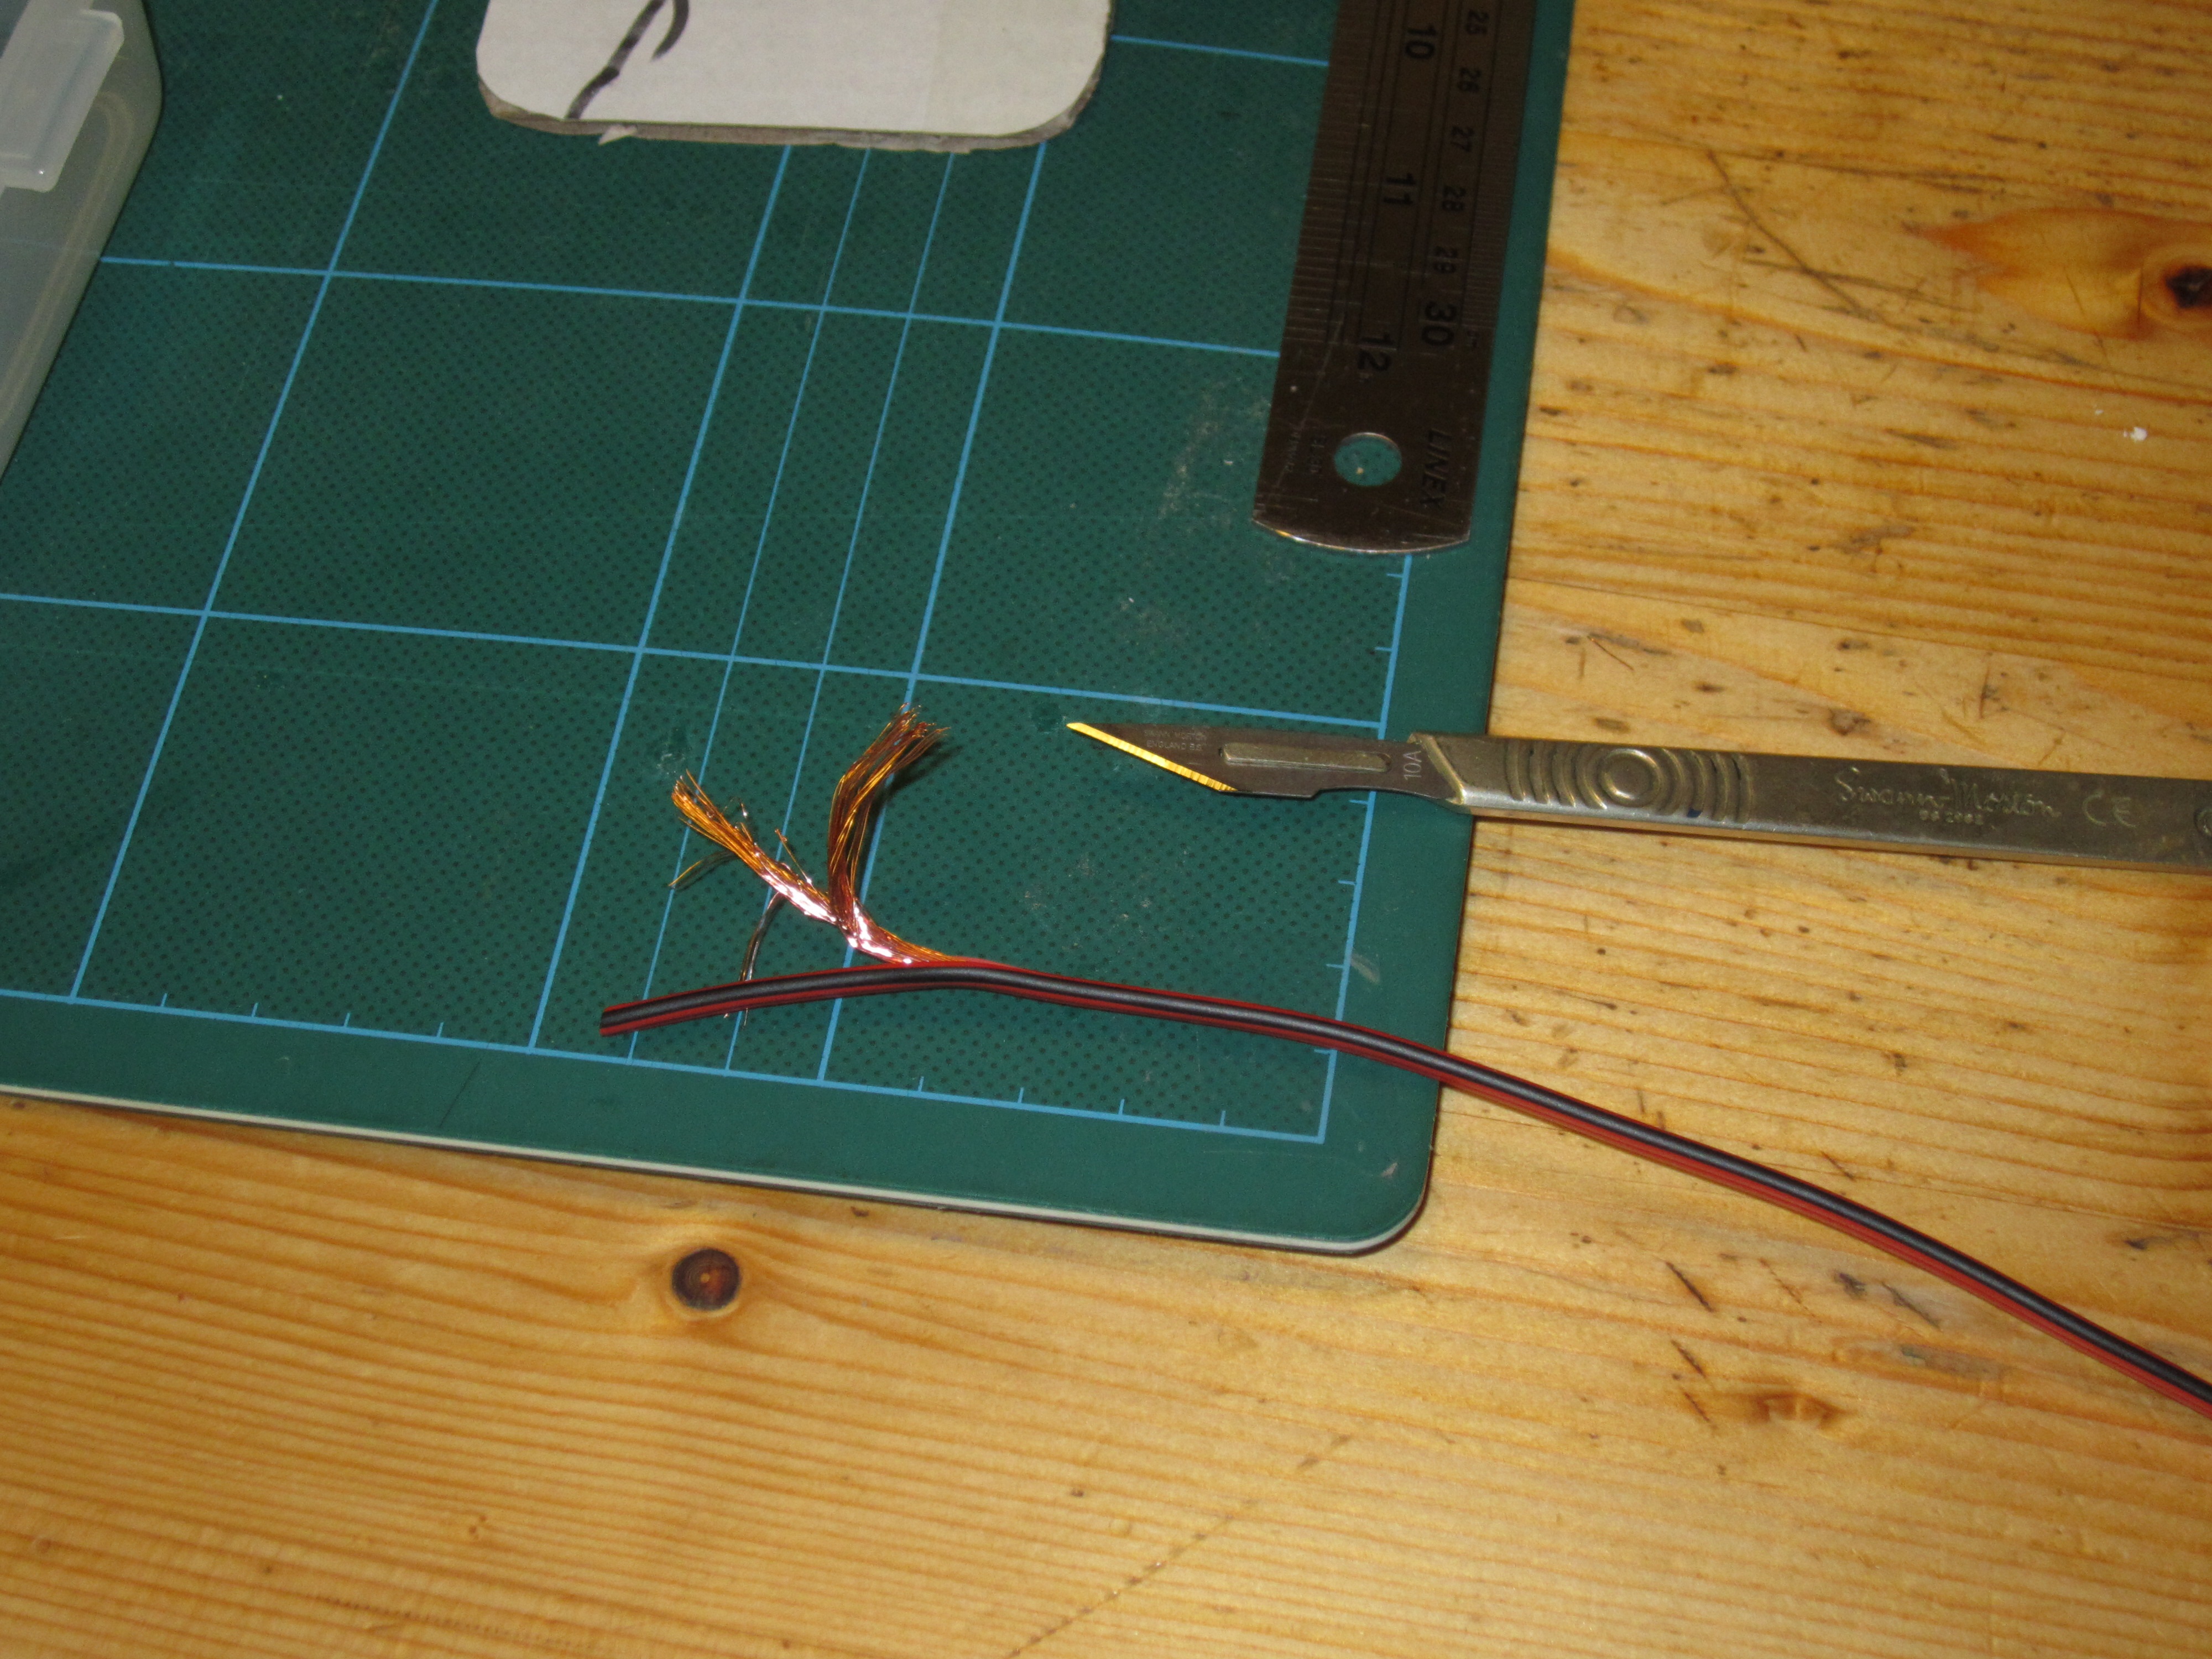
Stripping copper wire
The first thing I did was to strip out the copper wires from the speaker cable. I recently read a post on Frothers Unite where a member had sourced some parts to make some wet palettes. He had put some copper wire in them to dissuade mildew from growing.
Quick question? Where do people store their wet palettes? In the fridge? Obviously nowhere warm which would dry the paint and be a hothouse for the growth of any fungal nastiness.
He also mentioned that his containers were fairly shallow so that was no annoying reach down into a sandwich box.
“Ah Ha!” Thought I, this is why I have several layers of sponge cloth built up so the painting surface is almost level with the lip of the box.

Marking the sponge cloth for cutting
Next, using the template, mark out where to cut the sponge. A good idea is to align the template to as many edges as you can. Thus avoiding any unnecessary cutting and ensuring that at least one corner is exactly square. Really I should have aligned the second set of cut marks to the left hand side of the sponge. It would have only been one more cut more.

Cutting the corners
Then using the schilling cut round the corner of the sponge. The advantage to having layers (six in my case) is that you can achieve a much neater edge rather than the sort of hacked about look that thick sponge gets.
Now wash the sponges out. There is something on them that makes them feel weird.

Copper wire
Strands of copper wire are laid between the layers of sponge.

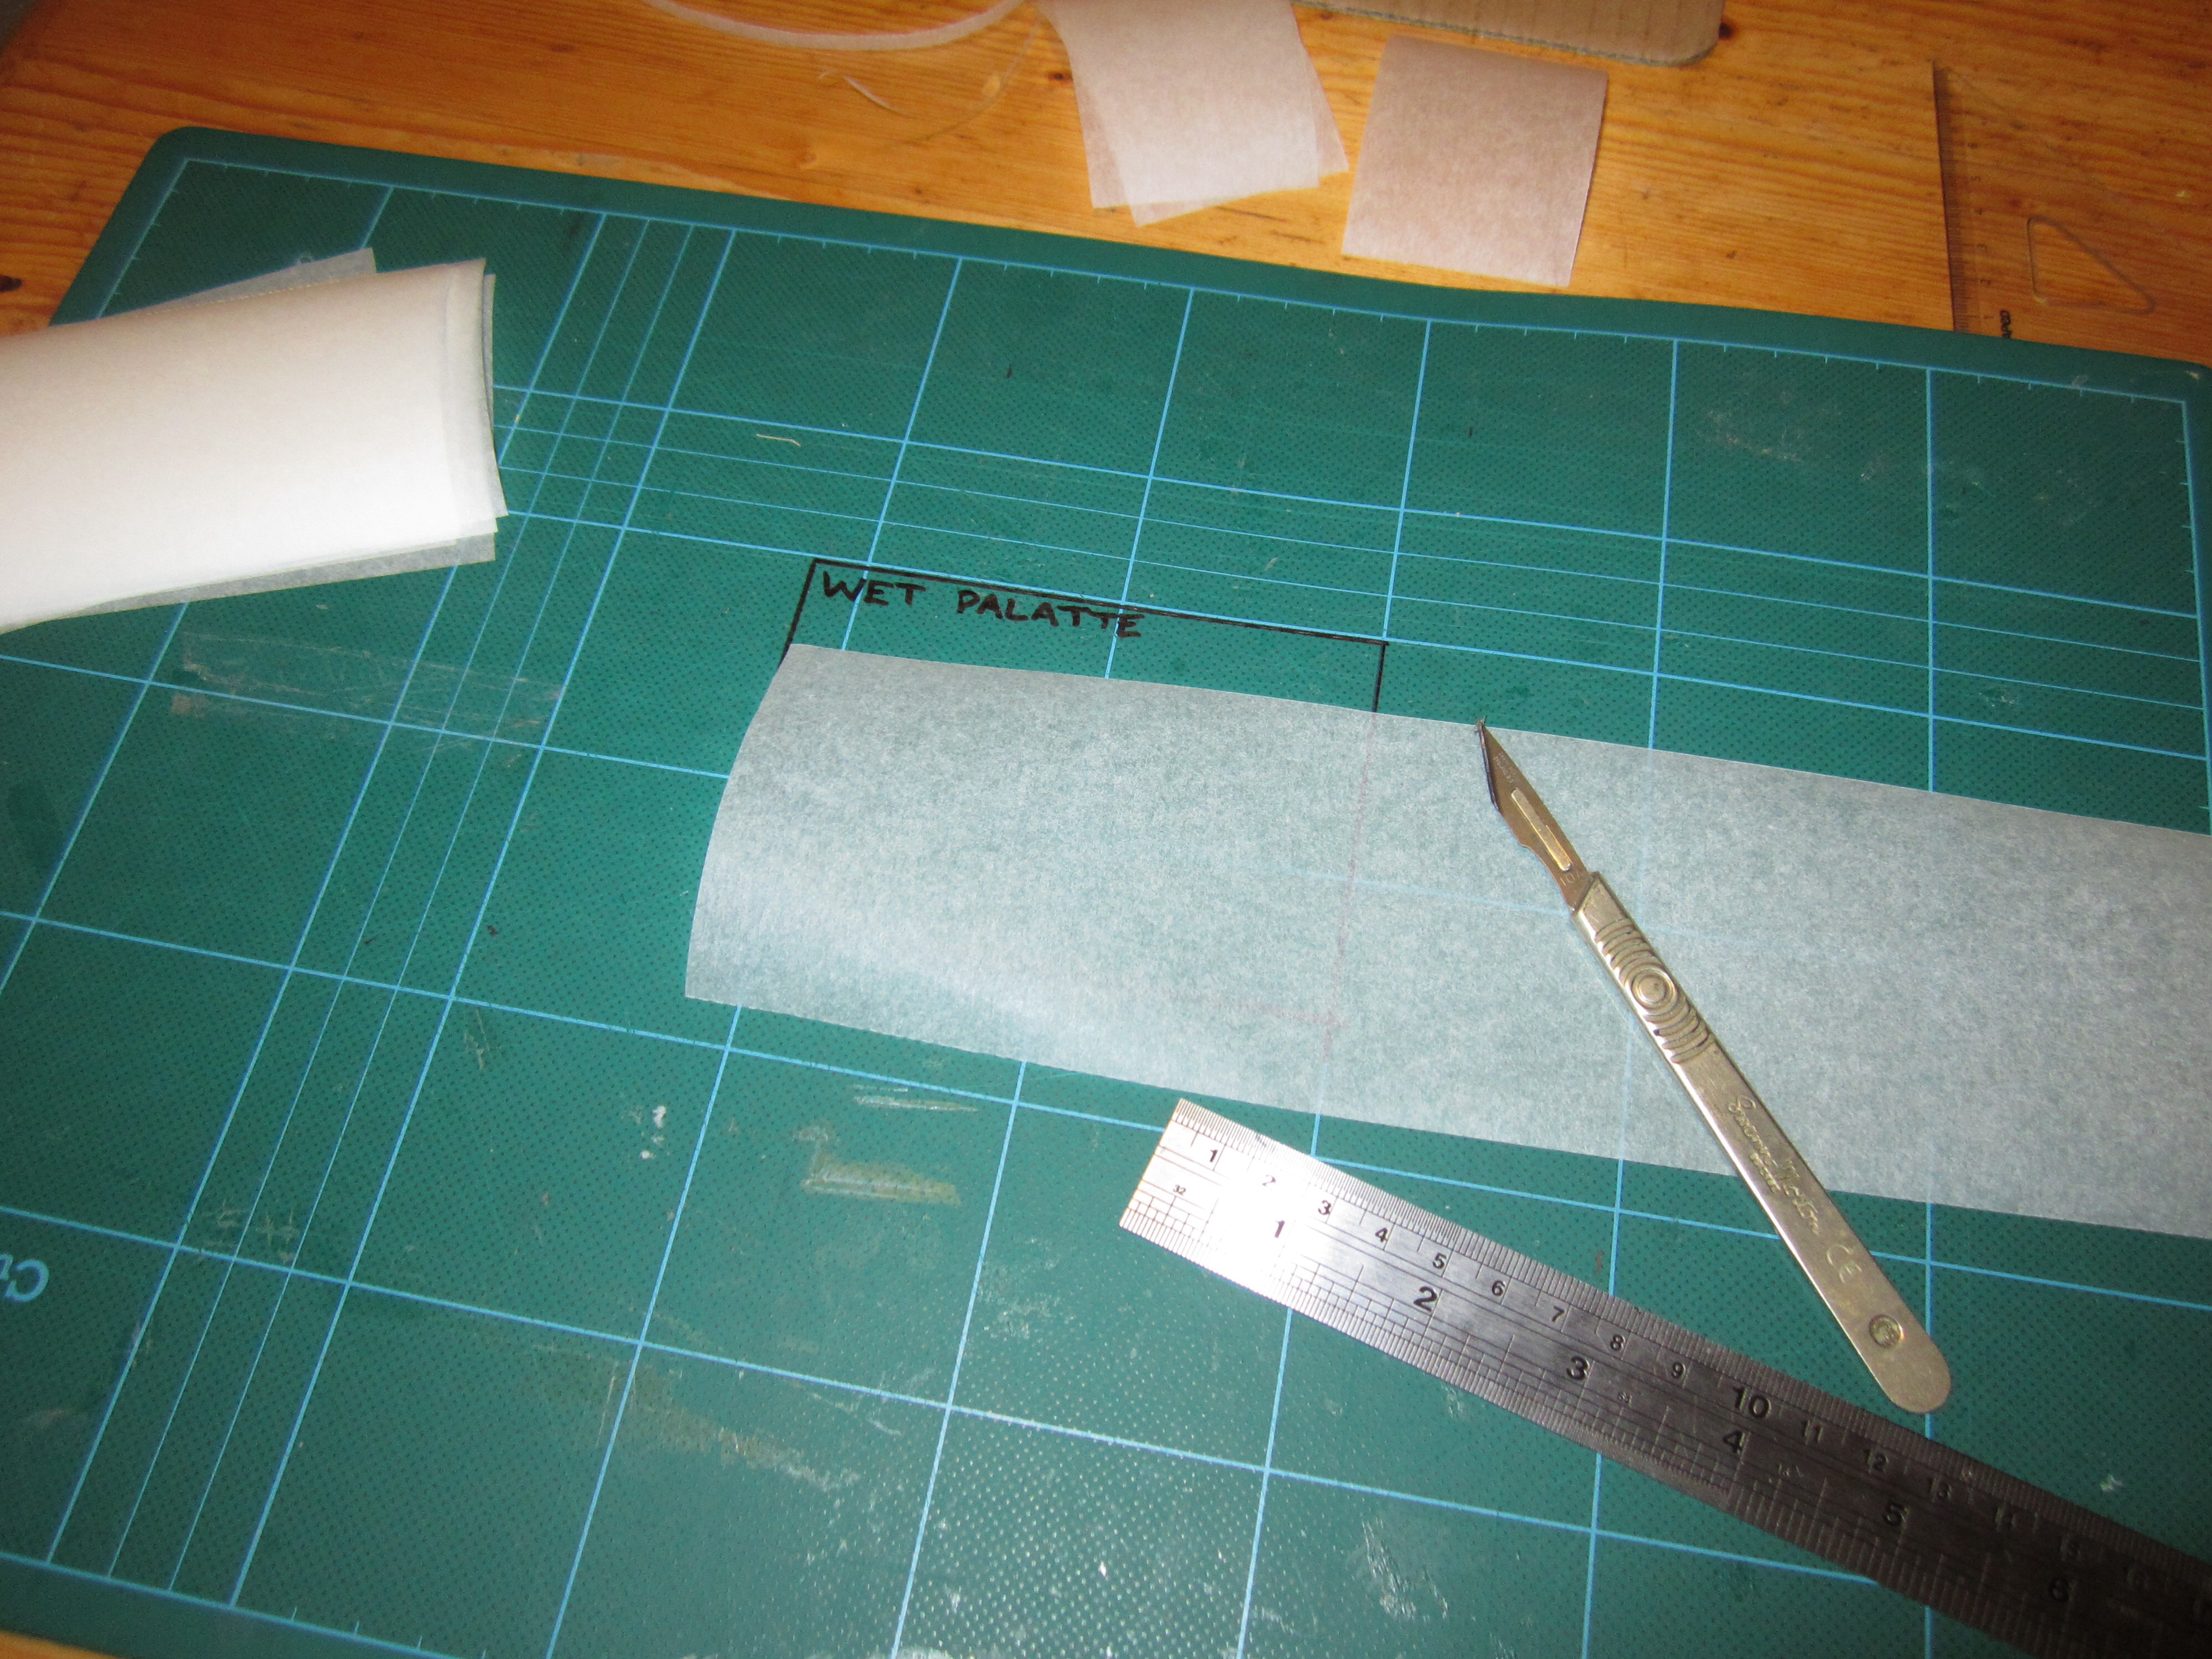
Cutting the baking paper
Now to cut the palette surface, the baking paper.
See how I have drawn a template on my cutting mat? The mat has right angles printed on it. In under an hour you can cut up enough paper and trim the corners for a years worth of painting.
Find an envelope for the spare sheets and write down where you’ve stored them.