http://www.payattention.altervista.org/albion.html
So far only the Battleforge Halflings on the Wargaming section
http://www.payattention.altervista.org/albion.html
So far only the Battleforge Halflings on the Wargaming section

Here is the next project I’m working on.
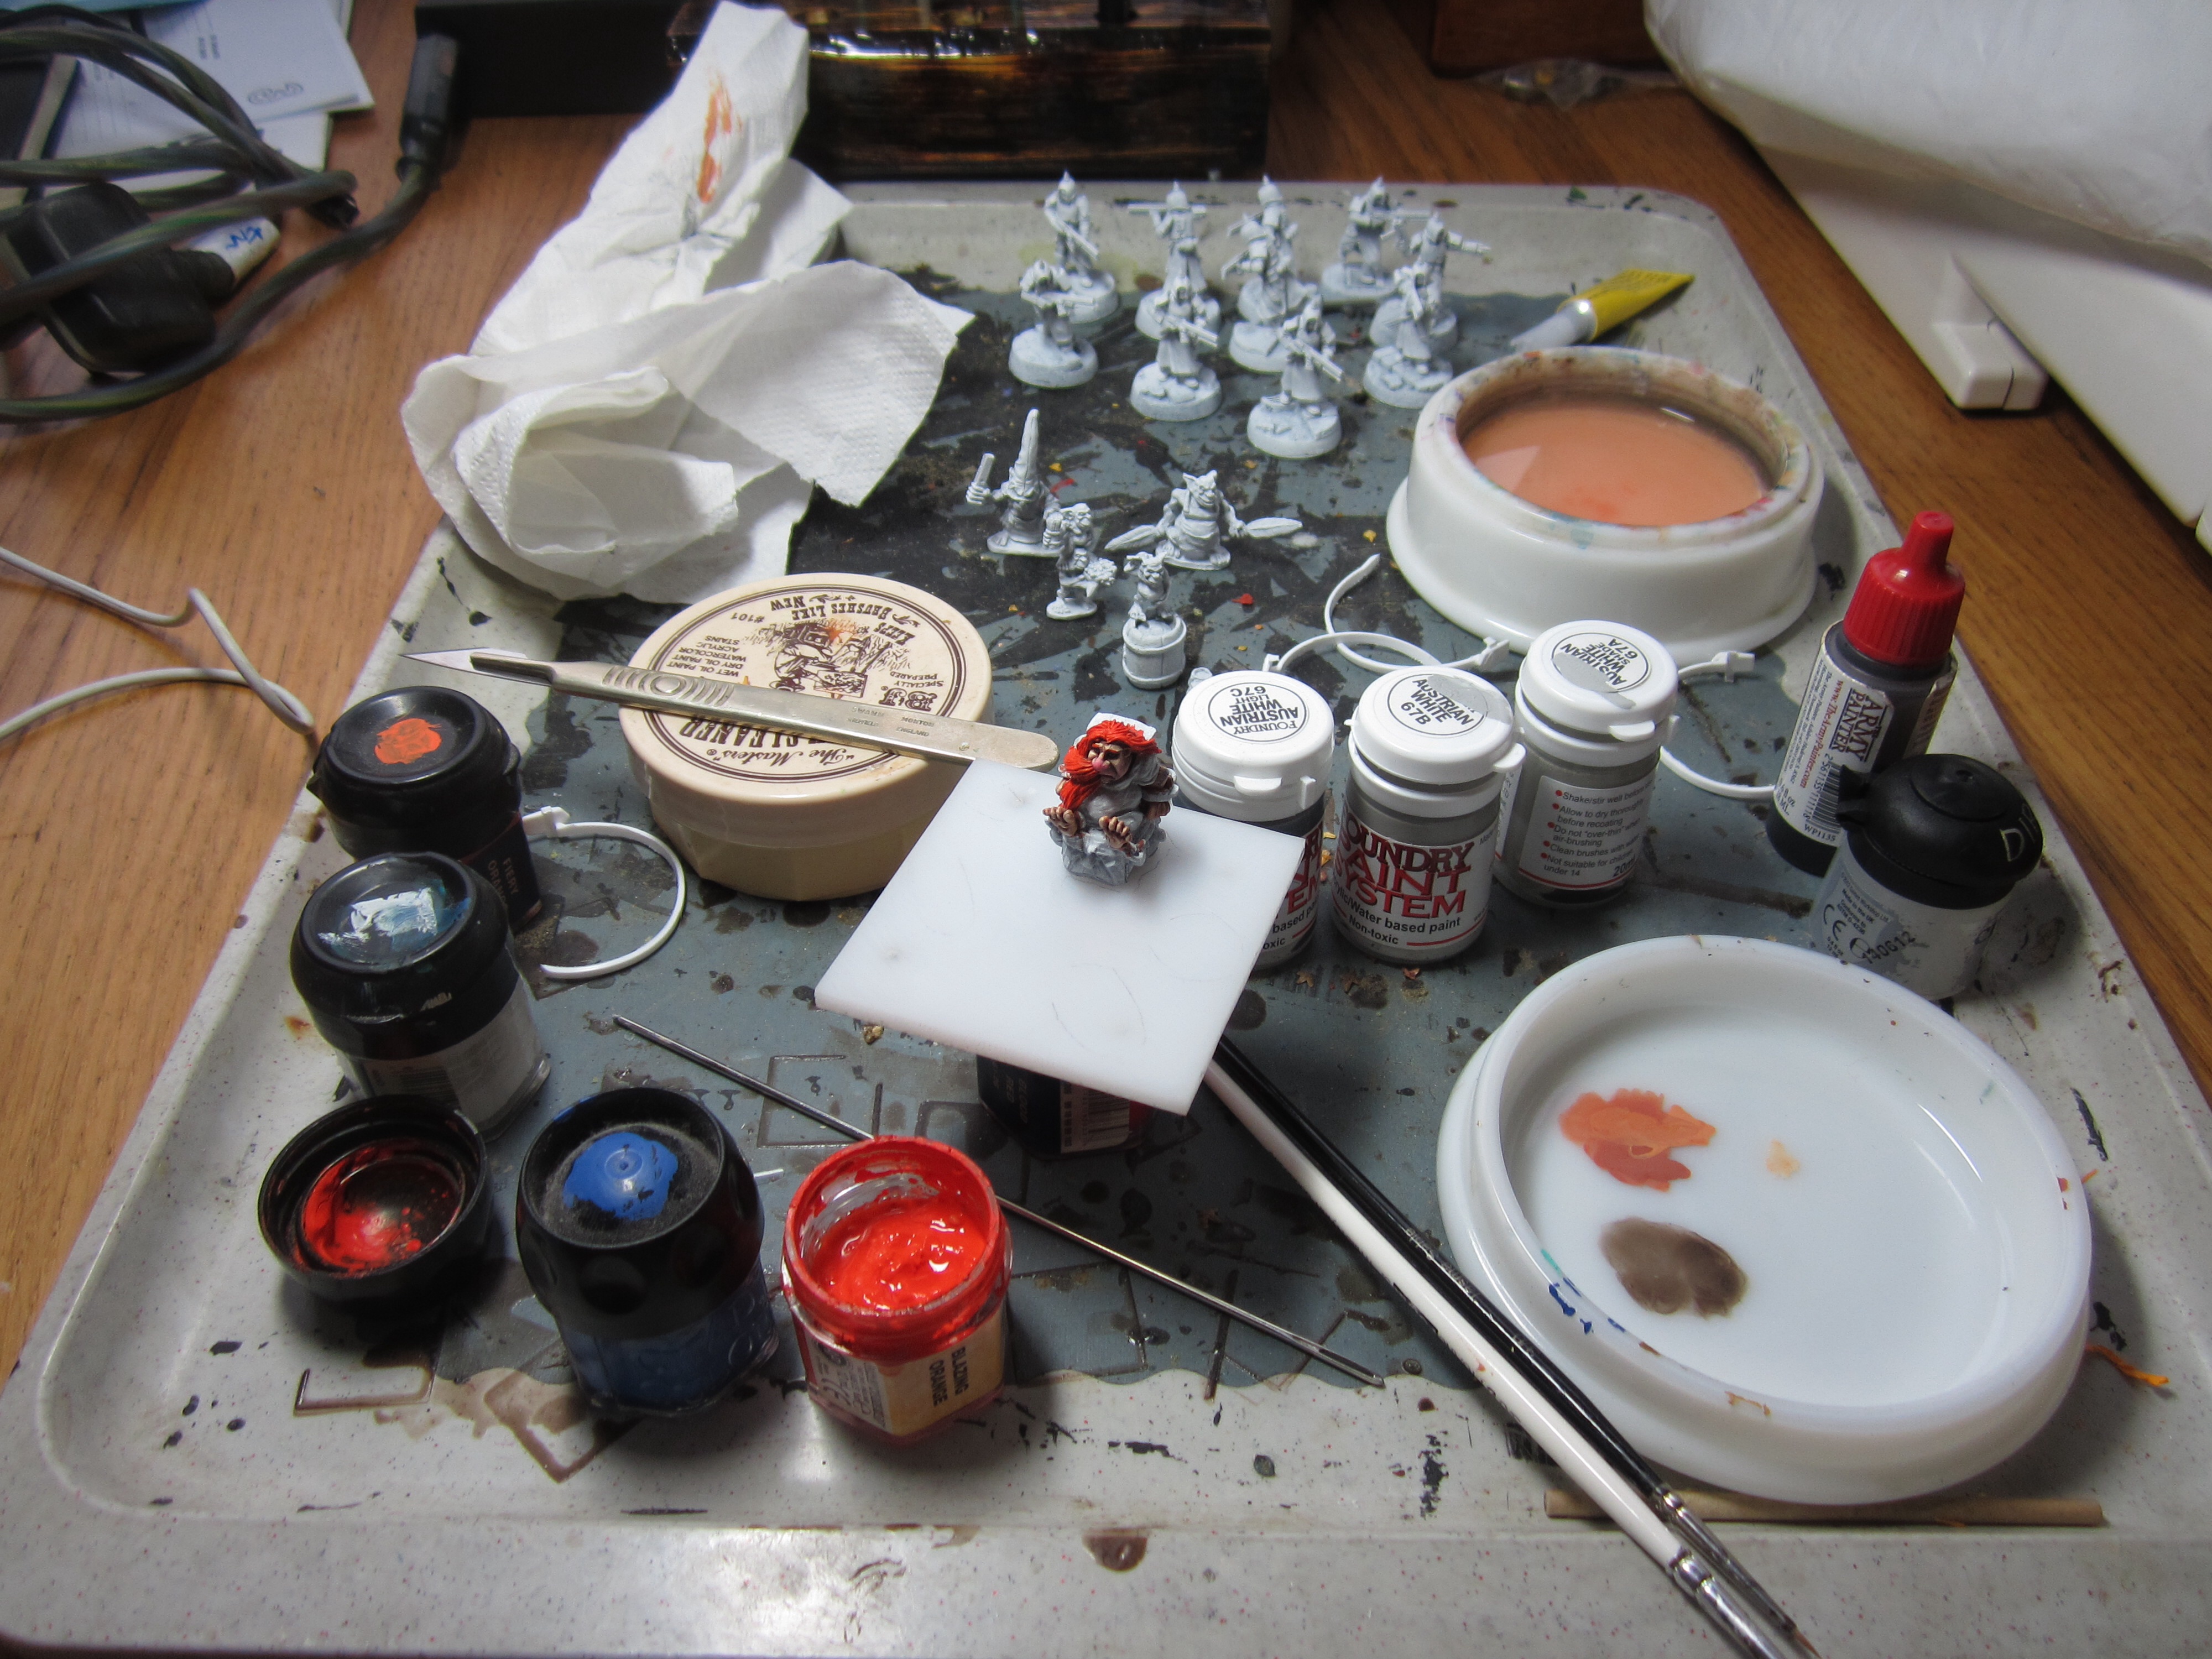
You can see in the background a squad of Tox Troopers from Anvil Industries. I often undercoat several projects in one go.
Just picked up a GW brush to block in some colour. Absolute shite. I’d picked a few up at the Artisan’s workshop a while back. At the time they had to give me a non GW detail brush because I complained so much about the quality. Still it’ll do for glue or something.

Here is the first unit finished in Austria. A unit of Halflings, made by Battleforge, for my Albion army. The sculpting isn’t amazing, but they are so full of character and fun that I’d rather have these than a unit of dull but amazingly sculpted figures.
I had a lot of angst about finishing this unit. I had started painting them before I left Blighty and I had promised myself that when I got my stuff this was to be the first unit I’d paint. When I unpacked them I did a double take. The quality of the painting was so much higher than I thought I could do. Could I match it? I wasn’t sure and spent a while prevaricating before sitting down and starting.
The end result is good, but still not up to the standard I set.
I used a couple of new techniques that I have mentioned previously.
Microplaned sponge, I’m fairly pleased with the result, though you have to make sure that the particles are really fine.
Tester pots for the basing, this works well and I am pleased with the result.
I have started cataloguing and photographing, more work needed on the model photography. When the website is live I’ll post the address.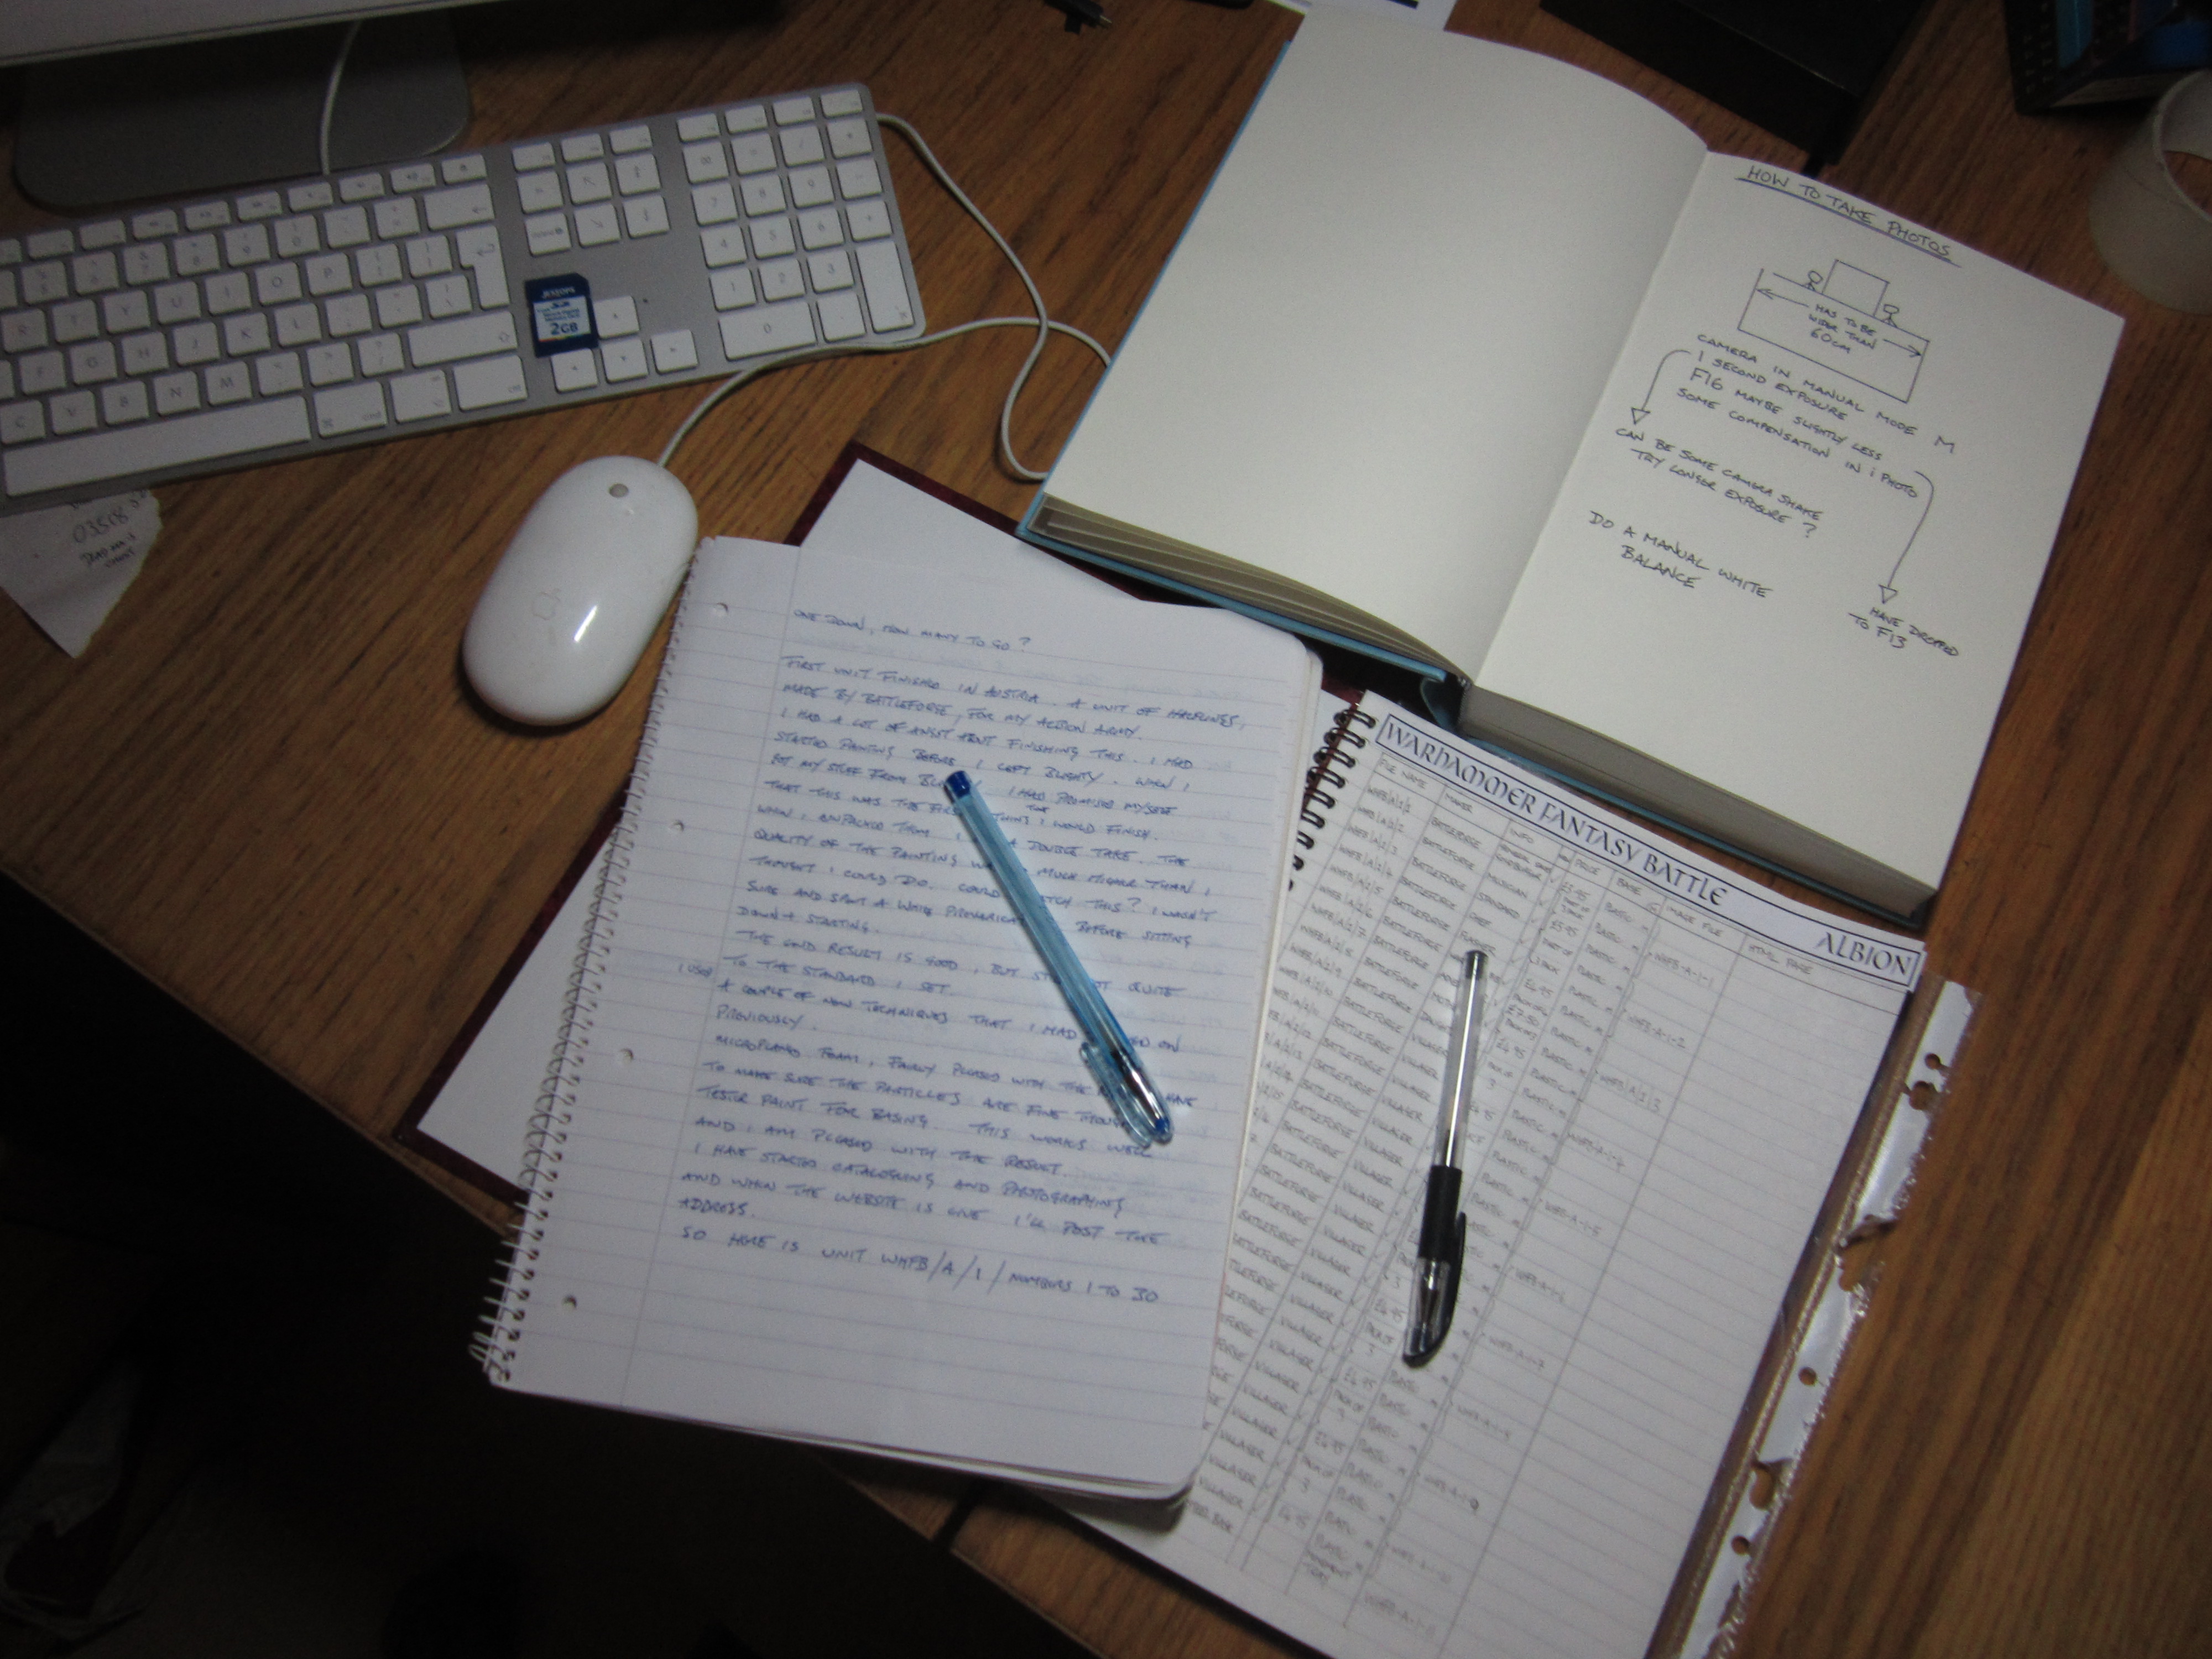
So here is unit WHFB/A/1/numbers 1 to 30.
I’ll put my money where my mouth is and offer a glass of decent red wine if this doesn’t happen.
This is based on me taking a small interest in Military Modelling and observing how that particular branch of the hobby is advancing painting techniques.
GW will introduce two, at least, weathering products. One will be a spray of chipping medium, Hairspray to you and me. And the other will be a Dust Wash or a Mud in a jar.
Just my ten pence worth.
Not strictly gaming, but damn useful.
The Really Useful Box Company.
They have proved their worth on my move overseas, strong, tough and stack like a dream.
Or how I learnt how to embrace my “Special”ness.
Have you noticed that when you spray modelling foam with an aerosol it dissolves. You can use this to your advantage.

Well due to our house sale being delayed, I’ve got the opportunity to go to Salute. This will be my ninth visit.
Embracing my autism I’ve been looking at every trader who is exhibiting and making my plan of attack.
Anyone who is attending must visit Ainsty Castings (TM105) and Fenris (TB02) and look at the greens for GoblinAid.

I got there just after nine and the queue was already sizeable. When I got in there was a half hour queue at Forgeworld.
The whole day passed in a blur and before I knew it it was five o’clock.
It was good to see collection tins for GoblinAid all over the show.
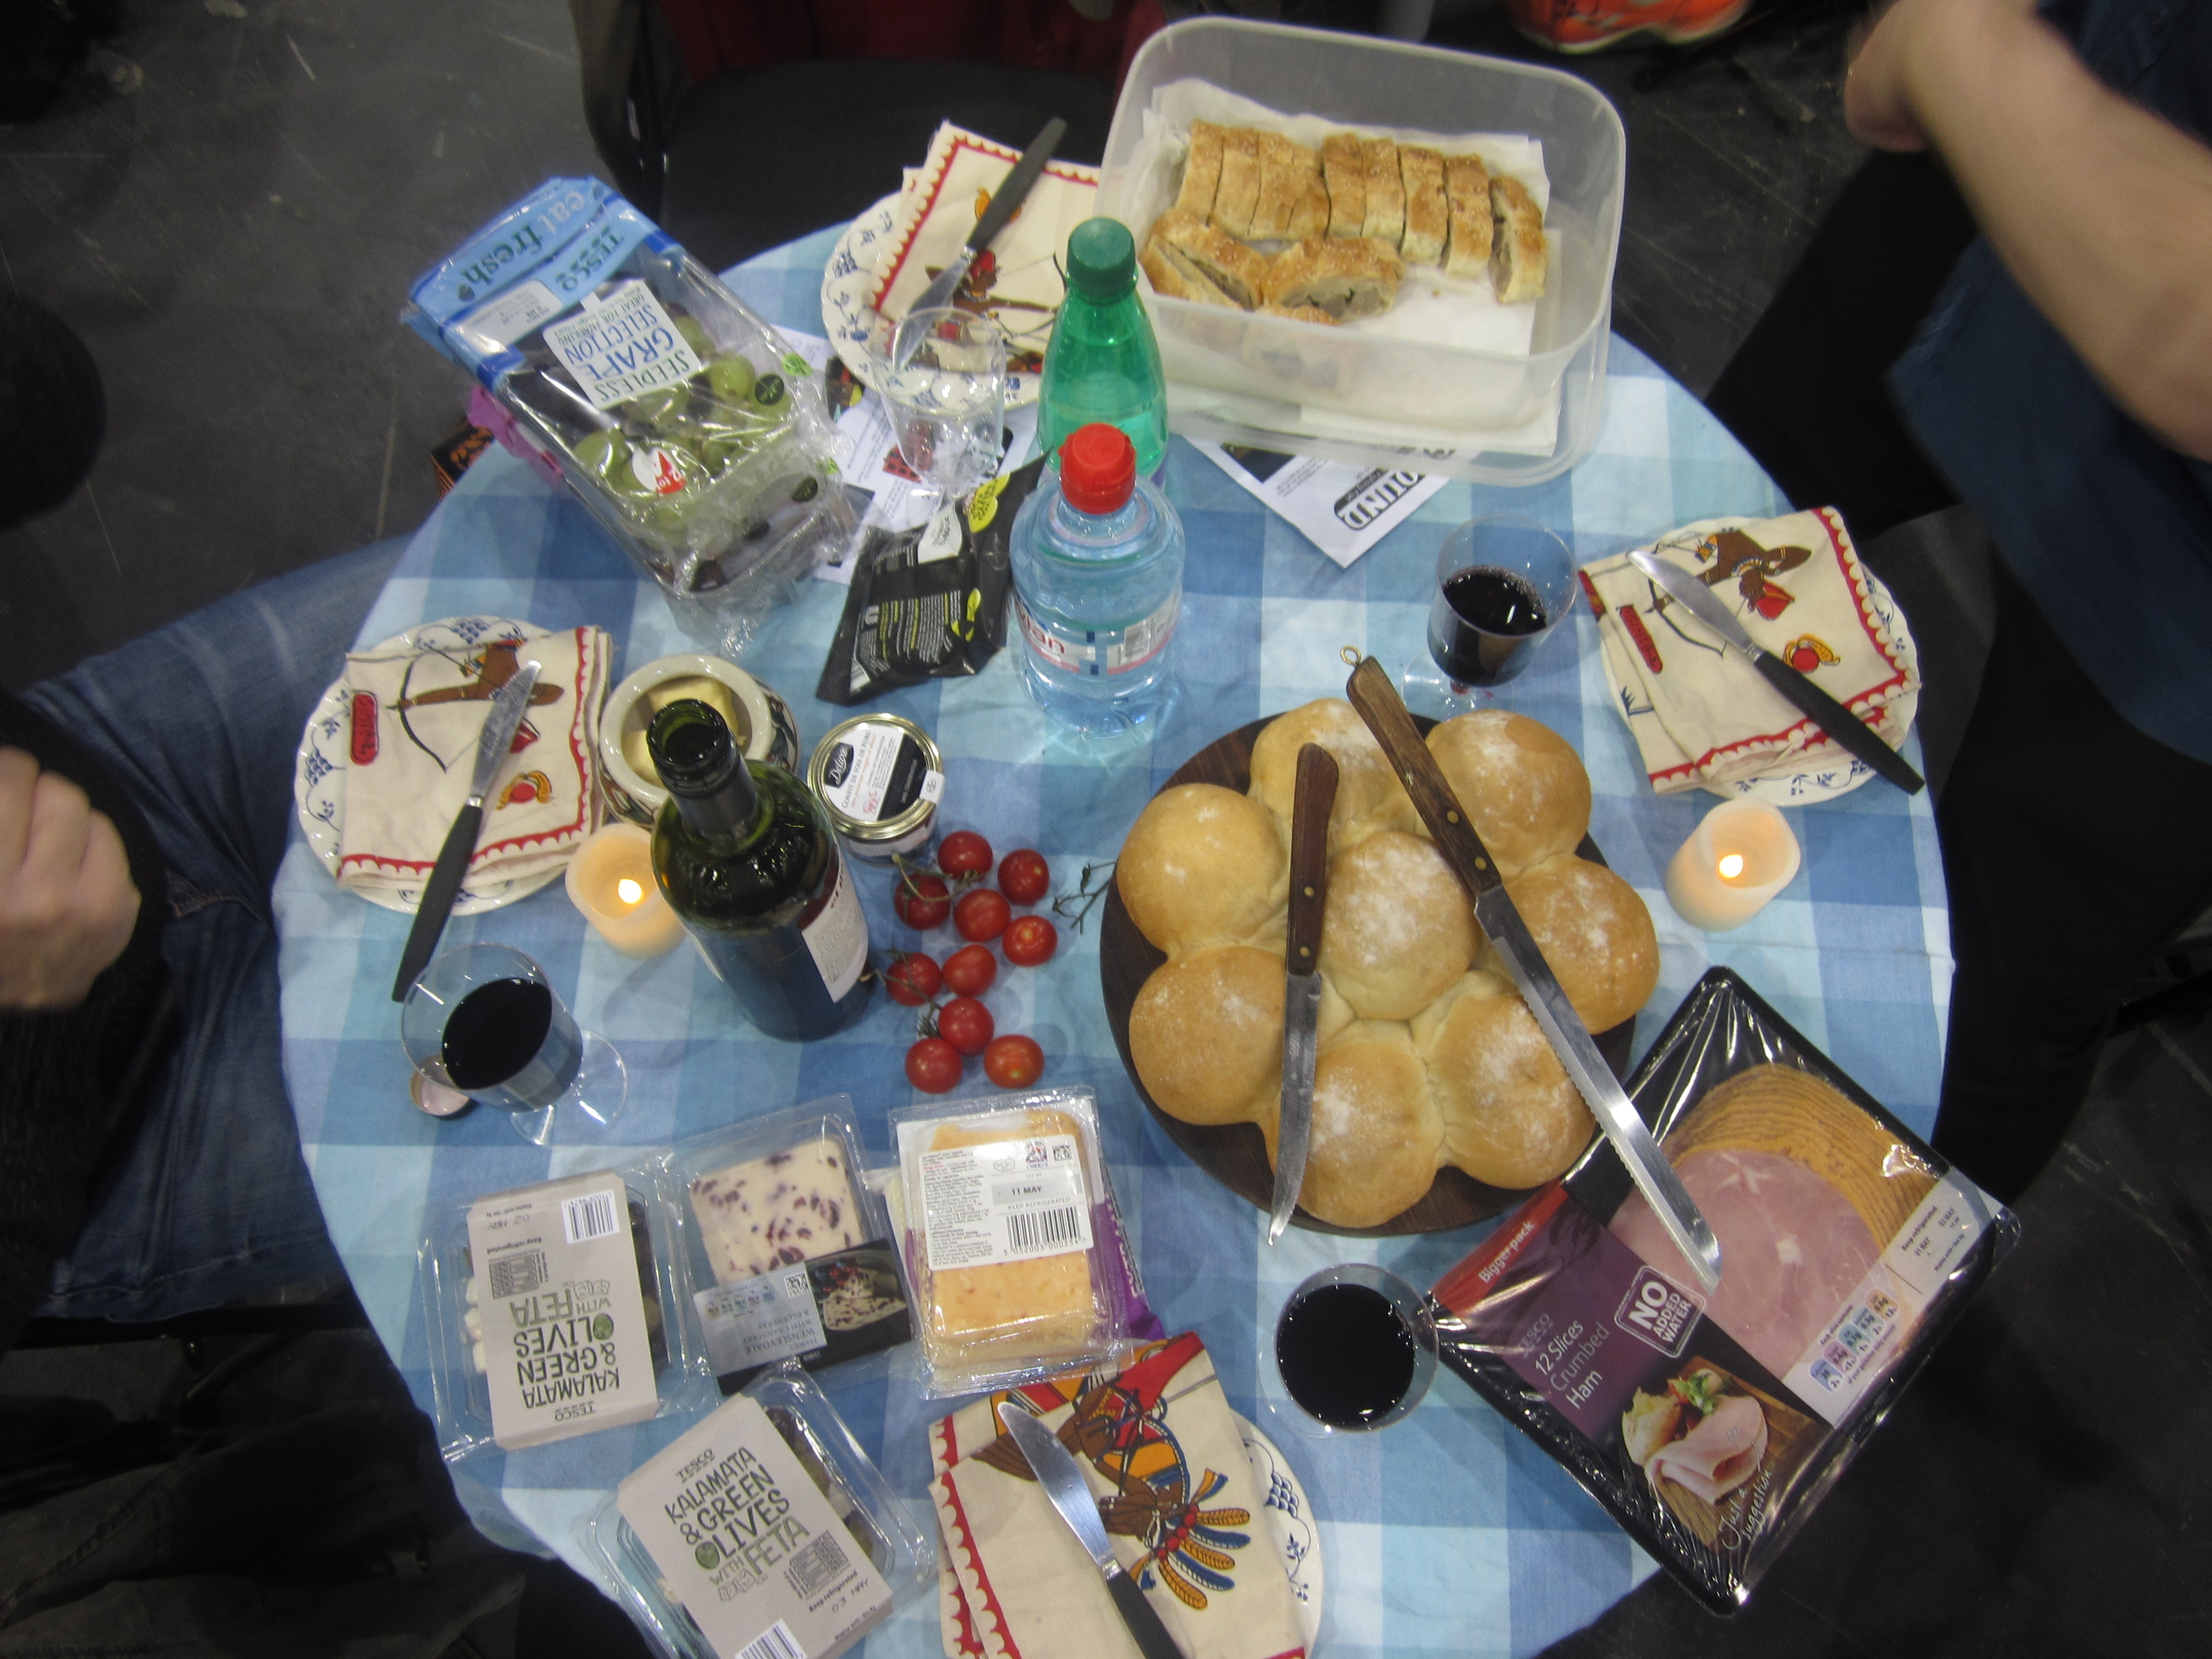
Lunch was the usual “Campaign” style lunch with wine, table-cloth, candles, fresh bread, cheeses, cold meats etc. etc.
This is this guys full time job, but even so. The sheer quantity and quality of his work is astounding. All of this was produced in one year! I’d be happy to have enough for one photo.
Anyway enough waffle, feast your eyes.
http://www.dakkadakka.com/dakkaforum/posts/list/499013.page
Here is his website, with a gallery of more goodness
News and announcements
(sorry, no balloons)
Olleys Armies Miniatures Blog, News and Workbench
Just a little bit about my hobby activities.
Let's build.
a maker, a teacher of making
In a world of poems, words steal love and put it on a blackboard
The adventures of my Greenskins, Dwarfs, and Bretonnians
A game designer's view of gaming
I play for fun... all else I take seriously
Collecting and Playing Orks
A Miniature Wargaming Blog
Turning Over a New Leaf
Fantasy, sci-fi and historical miniature gaming
Miniature painting, wargaming terrain tutorials, reviews, interviews and painting guides
A Gaming Podcast
Miniature painting and gaming from under the stairs
Custom Creations from Aaron Verbal Arcand
A fantasy war gamer grumbles into his beer.
My time well wasted
A wargamers hobby blog
Miniature painting and Modelling
Miniature wargaming and the occasional zombie
Wargaming
A YouTube channel about tabletop wargaming and the miniatures hobby, mostly.
a site for those who studied and taught glass at CSM as well as glass enthusiasts
Video Games, Comics, and Shenanigans.
An old git talking about toy soldiers and enormous wobbly breasts
